

Ocarina of Time Ice Cavern Walkthrough: Iron Boots
Room-by-room Ice Cavern guide for Ocarina of Time: bottling Blue Fire, both Silver Rupee rooms, the ice block puzzle, three Gold Skulltulas and the Iron Boots.
The Ice Cavern is a short adult mini-dungeon with no boss. It holds the Iron Boots, which the Water Temple cannot be done without. It sits between the Fire Temple and the Water Temple in the walkthrough hub order.
What do you need for the Ice Cavern?
| Item | Detail |
|---|---|
| Location | Back of Zora’s Fountain (adult) |
| Dungeon item | Iron Boots |
| Small Keys | 0 |
| Chests | 3 (Dungeon Map, Compass, Iron Boots) |
| Mini-boss | White Wolfos |
| Song | Serenade of Water (from Sheik) |
| Collectibles | 3 Gold Skulltulas (#68–#70), Heart Piece #29 |
| Bring | Empty bottles and the Hookshot |
The cavern is a single floor, and its rooms join through open passages rather than doors, apart from the mini-boss room.
- Walk to Zora’s Fountain as an adult. Zora’s Domain is frozen; King Zora and the shop entrance are sealed in Red Ice. At the fountain, ice floes replace Jabu-Jabu.
- Grab Heart Piece #28 on the way. It sits on the furthest ice floe.
- Empty your bottles before you go in. Every one you bring can carry Blue Fire.
How do you get through the first rooms?
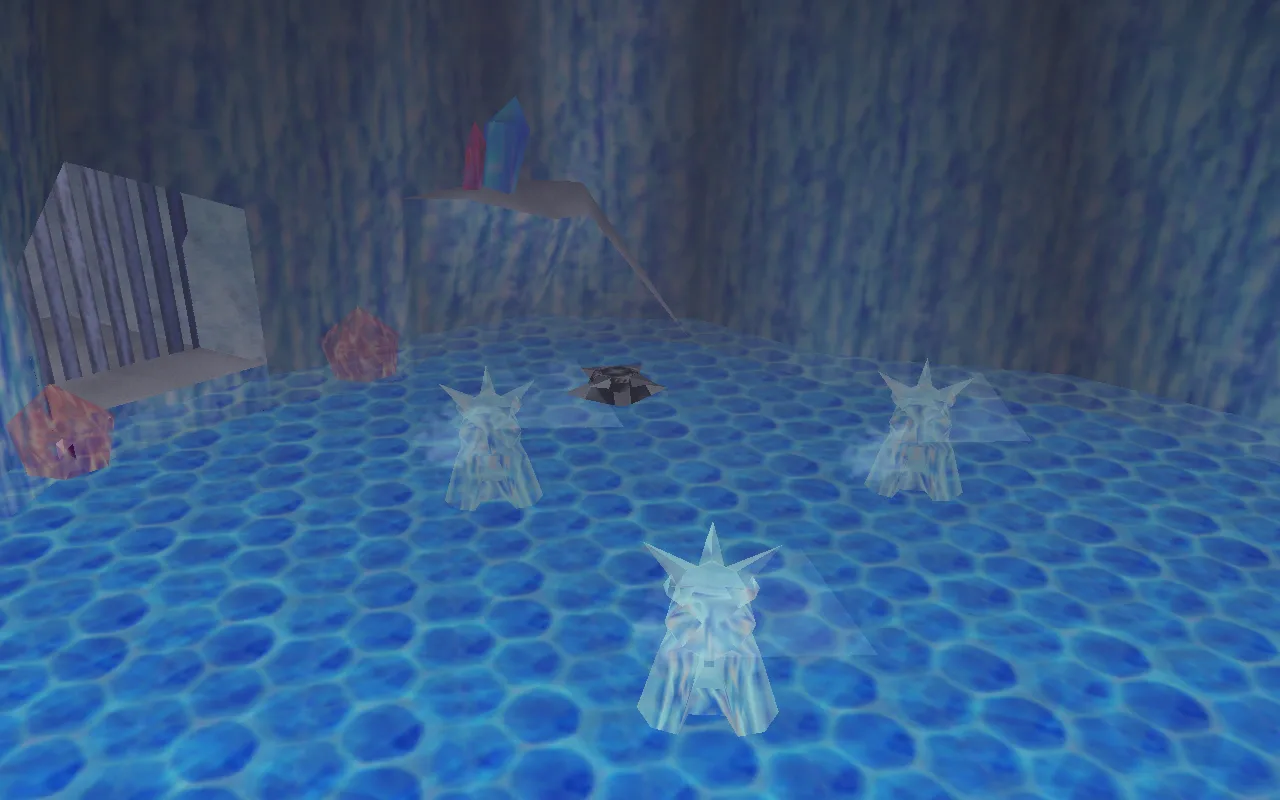
- Cut through the stalagmites and watch the ceiling. Icicles shake loose and fall as you walk under them.
- Destroy all four Freezards. Three are visible when you enter the first large room, and a fourth appears as you approach. A blade trap circles the room, so keep clear of its path. Their breath freezes Link; mash buttons to break out. The far door unlocks when all four are gone.
- Collect the five Silver Rupees around the spinning blade. Three sit in the blade’s path; guard with your shield to duck as it passes. A fourth hides behind a wall of icicles on the left, and the fifth floats in mid-air: climb the ledges at the back and jump out to grab it.
- Hookshot Gold Skulltula #68. It clings to the wall above the Silver Rupee behind the icicles.
- Go through the door at the top of the ledges. It unlocks once the fifth rupee is yours.
Where is the Dungeon Map?
- Climb the platforms to the Blue Fire. Only the platform nearest the entrance can be climbed. Shoot the Ice Keese with arrows or the Hookshot on the way.
- Fill every bottle with Blue Fire. Navi hints that this fire is unnatural; it is what melts Red Ice.
- Melt the Red Ice around the chest. Beat the Freezard on the narrow walkway first. The chest holds the Dungeon Map. Refill, then head back to the spinning blade room.
Where are the Compass and the Heart Piece?
- Melt the Red Ice barrier on the left. The spinning blade room has a red-tinged barrier on each side; the left one leads to the Compass room. More icicles fall inside.
- Melt both Red Ice blocks. One frees the chest with the Compass, the other frees Heart Piece #29.
- Hookshot Gold Skulltula #69. It is on the back of the pillar near the Heart Piece.
- Refill your bottles. This room has its own Blue Fire.
How do you solve the ice block puzzle?
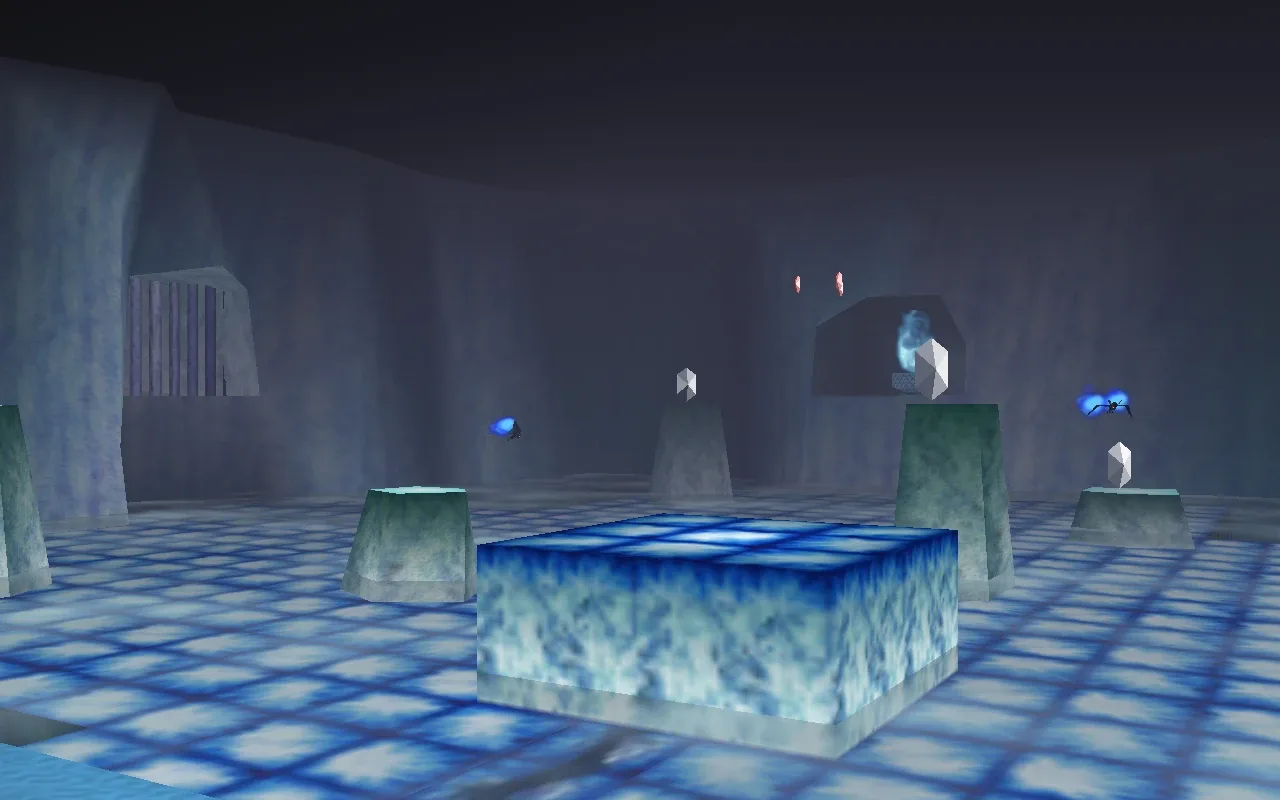
- Melt the barrier on the other side of the spinning blade room. The passage leads to a slippery room full of Ice Keese; clear them before anything else.
- Hookshot Gold Skulltula #70. It is on one of the room’s walls near the entrance.
- Slide the ice block next to a stone block and climb up. The block slides until it hits something, so push it where it stops beside a raised rock and take the Silver Rupee on top.
- Push the block to the raised alcove. Climb in, melt the Red Ice with Blue Fire, and take the rupee inside.
- Push the block off the edge to reset it. It reappears at its starting spot by the entrance.
- Take the remaining rupees from the other rocks. Five Silver Rupees in total unlock the door.
- Refill Blue Fire, then park the block under the exit. A Blue Fire cauldron is reachable from the block. Finish by sliding the block against the wall in front of the unlocked doorway and jump across.
- Melt the Red Ice in the corridor. Freezards guard this stretch; the pots behind the ice hold hearts.
How do you beat the White Wolfos?
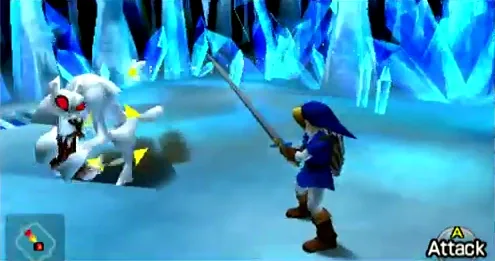
- Guard and strike the tail. Attacking it head-on only hits its guard. After it swings, it turns and shows its tail; a Deku Nut also stuns it for a jump attack.
- Open the chest for the Iron Boots. Sheik appears, explains that the Zoras are sealed under the ice and that Ruto has gone to the Water Temple, and teaches you the Serenade of Water.
- Leave through the water behind the chest. Equip the Iron Boots, sink into the small pool and follow the passage. Bottle more Blue Fire before you go.
What should you do after the Ice Cavern?
- Thaw King Zora with Blue Fire. He gives you the Zora Tunic. A second bottle melts the shop entrance, where a spare tunic costs 300 rupees.
- Sink for Heart Piece #30. It lies at the bottom of Zora’s Fountain. Wear the Iron Boots, ideally with the Zora Tunic.
- Play the Serenade of Water. It warps you to Lake Hylia and the Water Temple entrance.
What is in the Ice Cavern?
| Reward | Where |
|---|---|
| Dungeon Map | Red Ice chest in the Blue Fire room (step 11) |
| Compass | Red Ice chest in the Compass room (step 13) |
| Heart Piece #29 | Red Ice block in the Compass room (step 13) |
| Iron Boots | Chest after the White Wolfos (step 25) |
| Serenade of Water | Sheik, right after the boots |
Gold Skulltulas
| # | Where | How |
|---|---|---|
| #68 | Spinning blade room | Above the Silver Rupee behind the icicles; Hookshot |
| #69 | Compass room | Back of the pillar by the Heart Piece; Hookshot |
| #70 | Ice block room | Wall near the entrance; Hookshot |
Heart Pieces #28 and #30 are both on the Heart Piece checklist, and the tokens count toward the Gold Skulltula rewards.
よくある質問
Where is the Ice Cavern?
What is Blue Fire for?
How many Gold Skulltulas are in the Ice Cavern?
What do I need before the Water Temple?
関連記事
guides
BotW Inventory Expansion: Hestu Locations and Korok Seed Costs
How to expand weapon, bow and shield slots in Breath of the Wild: where Hestu goes, starting and maximum slots, and the Korok Seed cost of every upgrade (441 total).
guides
BotW Sheikah Slate Runes and Upgrades: Remote Bomb+, Stasis+, Sensor+
Every Sheikah Slate rune in Breath of the Wild: the four Great Plateau shrines, Camera and Sheikah Sensor, and the ancient parts Purah needs for each rune upgrade.
guides
BotW Temperature and Weather: Cold, Heat, Flame Guard and Lightning
Breath of the Wild temperature and weather: cold and heat levels, Death Mountain and Flame Guard, stacking resistance, lightning, rain climbing and the forecast.
この記事は役に立ちましたか?
フィードバックありがとうございます!