

Ocarina of Time Remake: Fire Temple Walkthrough
Get the Goron Tunic, rescue nine Gorons, follow all eight small keys, claim the Megaton Hammer and defeat Volvagia in the Switch 2 Fire Temple.
Continue from the Forest Temple. Bring bombs, the Hookshot, Fairy Bow and a shield; replenish arrows before heading into the crater. The steps below cover the main route and all nine prisoner rescues. Optional spider tokens and Scarecrow rooms are outside this route. See the walkthrough hub for the surrounding chapters.
How do you reach the temple with the Goron Tunic?
- Return to Goron City through Death Mountain Trail. From Kakariko Village, climb the mountain route and enter the city. Find the young Goron rolling around the upper walkway. Place or throw a bomb into his path, keeping yourself clear of the blast, then approach once he stops (more in the Goron City guide).
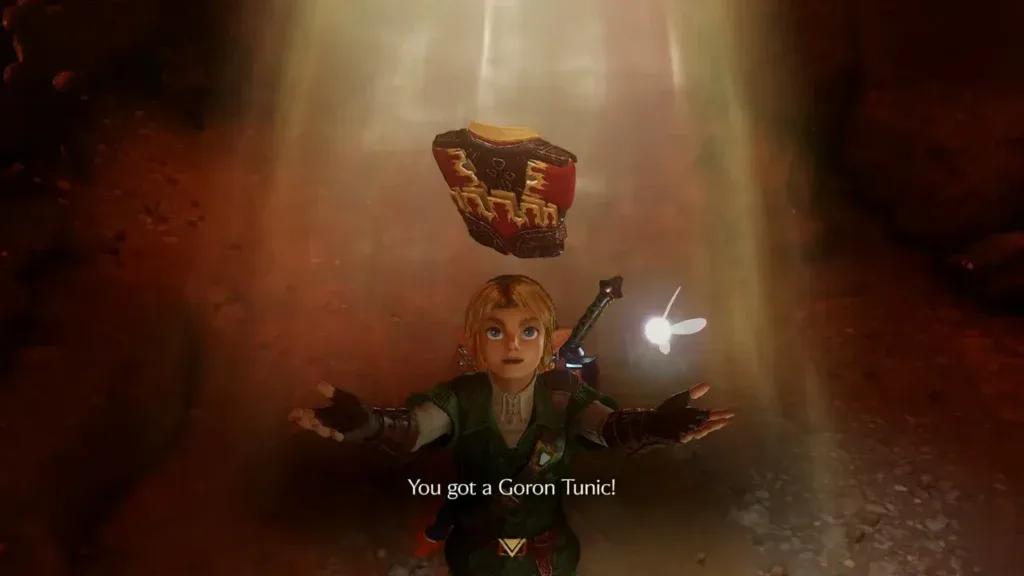
- Finish the conversation and equip the Goron Tunic. Speak about the missing Gorons and the dragon. The child gives you the red tunic. Equip it before entering the crater, then descend to Darunia’s room, grab the large statue and move it out of the way to expose the passage behind it.
- Cross the broken bridge with the Hookshot. Follow the passage into Death Mountain Crater and aim at the round target across the broken bridge. Speak to Sheik beyond it to learn the Bolero of Fire. Continue along the temple approach and descend the entrance route into the dungeon.
Where are the first three small keys?
- Meet Darunia through the entrance hall’s left door. Climb the stairs and take the unlocked door on the left. After the conversation, cross the low platforms along the room’s left side. Step on the floor switch, speak to the freed Goron and open his chest for small key 1.
- Spend key 1 on the entrance hall’s other chained door. Return to the entrance and unlock the route into the large lava hall. You now have no unused keys.
- Free the Goron in the side room for key 2. Follow the lava hall’s left-side platforms to the open doorway. Press the cell’s switch, finish the conversation and take small key 2 from the chest.
- Bomb the cracked wall for key 3. Cross the hall to the stone ledge with a cracked wall. Blast it open, enter the revealed room and release the next prisoner. Take small key 3; you should have two unused keys before climbing onward.
- Unlock the far route and ride the fire lift. Spend a key on the chained door at the far side of the lava hall, then the other on the next chained doorway. Climb the metal mesh to the high ledge. Push the large block into the fire shaft, climb onto it and ride the burst upward to the second-floor doorway.
How do you climb to the rolling-boulder maze?
- Make a step from the carved block. Clear the flame-covered slugs from the second-floor room. Activate the blue crystal, then pull the carved block away from the wall and push it into the square marked on the floor. Climb the block to reach the higher ledge. The prisoner visible here is reached later from above.
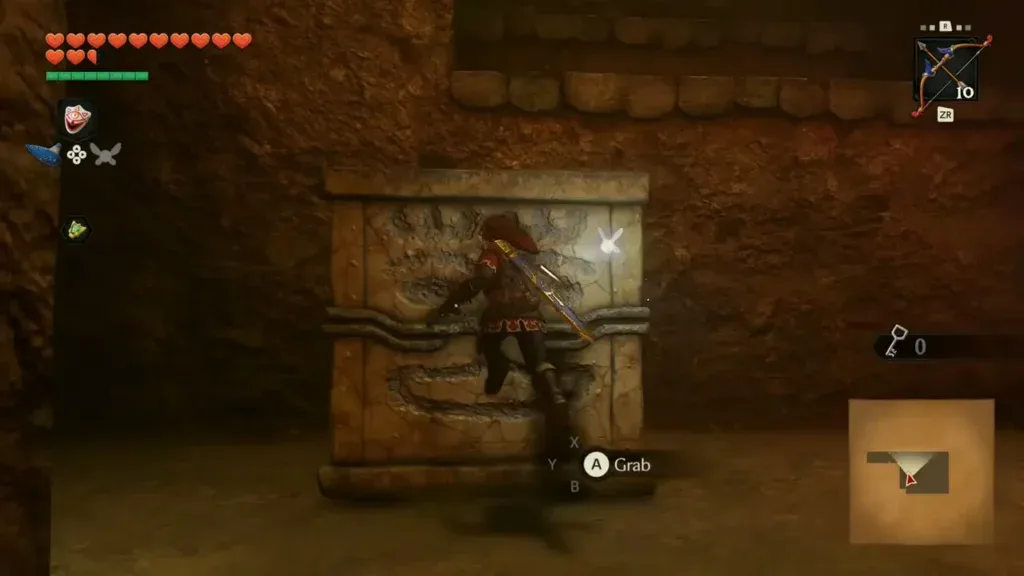
- Shoot the crystal again from the upper ledge. Its effect is temporary. Once you are ready beside the mesh, shoot the crystal to lower the flames and immediately climb through the opening to the third floor.
- Find the lower maze cell for key 4. Follow the outer passages of the rolling-boulder room, letting each boulder pass before crossing its track. Step on the switch beside the cell, speak to the prisoner and collect small key 4. Spend it on the chained exit from this lower level.
- Take the Compass and Dungeon Map before going higher. On the narrow lava walkway, shoot the eye above the doorway and enter the opened side room for the Compass. Return through the walkway to the boulder room and check the open stone recess off its lower passages for the Dungeon Map. The eye-switch chest is not the map chest.
- Outrun the pursuing wall of fire. Return to the narrow walkway, climb the tall stone foothold and jump onto the metal-grate bridges above the lava. Keep moving as the fire rises behind you. At the far ledge, move the carved block out of the way and follow the route onto the top of the boulder maze.
- Open the cracked floor, then collect key 5 from the upper cell. Bomb the cracked patch on the high platform to make a hole, but first follow the upper walkways to the floor switch and the nearby prisoner. Release him and take small key 5.
- Drop through the hole for key 6. Return to the hole you made and descend to the second-floor cell seen earlier. Press its floor switch and take small key 6 after speaking to the Goron. Climb the mesh back to the upper maze. You should now hold two unused keys.
How do you cross the large fire maze?
- Unlock the upper exit and rescue the seventh Goron. Follow the high grating to the chained door and spend one key. Inside the large circular chamber, use the outer passages to reach the next cell while avoiding rotating fire and rolling boulders. Free its prisoner and collect small key 7, bringing your unused total back to two.
- Cross the locked central passage. Work back around the maze to the chained central doorway and spend one key. A prisoner is visible behind bars inside, but his switch cannot yet be reached. Go through the other door into the far half of the maze.
- Carry a stone cube onto the floor plate. Find the switch that lowers the fire barrier and the small raised platform holding loose stone cubes. Carry one cube around the columns to the switch and set it down on the plate. Check that the barrier stays down when you step away, then cross the cleared route.
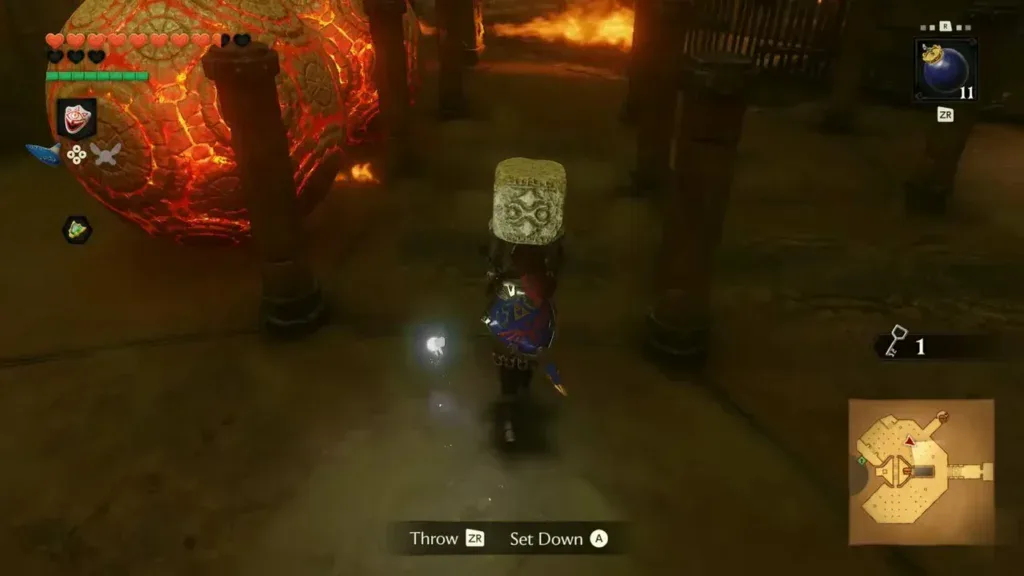
- Clear the flying flame enemy and unlock the arena. Use arrows on the enemy near the high wall, then spend your remaining key on the chained doorway. You should enter the Flare Dancer arena with no small keys left.
- Pull out the Flare Dancer’s core. Keep your distance from its burning body and use the Hookshot to draw out the small core. Cut across its running path and hit it with the sword. Repeat when it rebuilds its flames. Once it is defeated, climb onto the central platform and ride it up to the fourth floor.
How do you reach the Megaton Hammer?
- Trigger the crystal while ready to climb. Climb the first stretch of mesh to the ledge with bomb flowers. The crystal below controls the fire at the next climb. Throw a lit bomb flower down toward the crystal, then climb the next mesh as the explosion switches the flames off. If the timing expires, return to the ledge and try again.
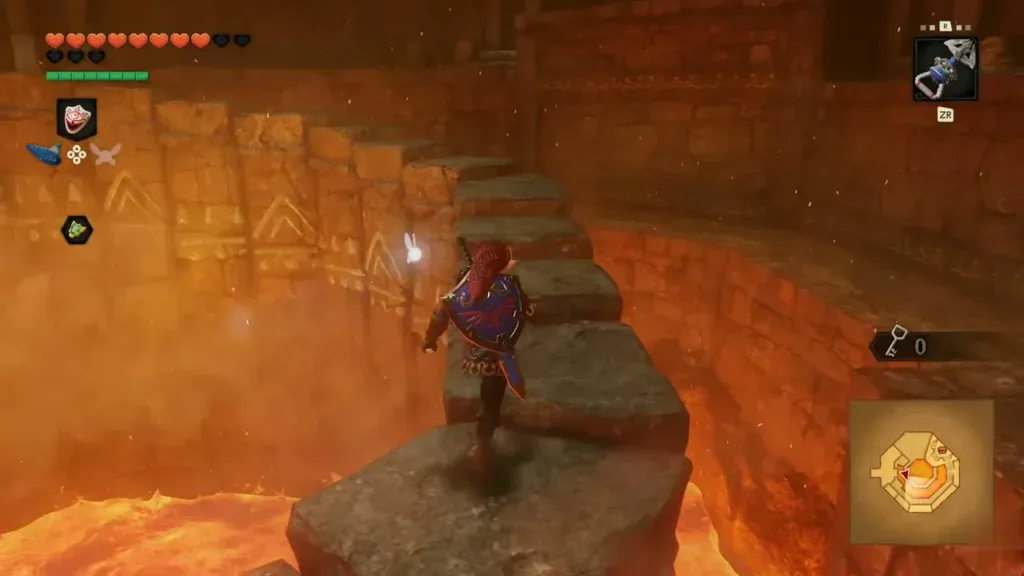
- Press the fifth-floor switch and run the curved stone path. The floor plate lowers the flames around the far chest for a limited time. Follow the narrow raised walkway around the room to the chest before the fire returns. Open it for the Megaton Hammer.
- Hammer the floor plug and break the stacked obstruction. Return to the large round plug near the room’s edge. Strike it with the hammer and drop with it to the fourth floor. Break the stacked carved stones blocking the next doorway.
- Hammer the stair switch, then the next floor plug. In the descending corridor, strike the round floor mechanism to form the staircase. Go down, pass through the door and hammer the next large plug to drop to the third floor.
- Use Song of Time and free the eighth Goron. Play Song of Time at the blue block. Use the opened route to reach the lower cell area, hammer the heavy switch and speak to the prisoner. Take small key 8 from his chest. Save it for the entrance-hall door.
- Drop the large pillar into Darunia’s room. Climb back to the broad round pillar top and hit it with the hammer. It falls to the first floor, creating the missing step toward the boss. Use the Hookshot target to cross back and return to the main entrance hall.
Where is the Boss Key?
- Break the statue beside the entrance stairs. At the entrance hall, hammer apart the stacked statue on the right of the staircase. Spend small key 8 on the chained door behind it.
- Clear the enemy rooms and the second Flare Dancer. Defeat the enemies to open the way, then guard against the flying floor tiles in the next chamber and clear the remaining enemy. Continue to the second Flare Dancer. Pull its core free with the Hookshot and strike it with the sword as before.
- Free the ninth Goron and take the Boss Key. Follow the opened route to the final cell, hammer its heavy floor switch and speak to the prisoner. Open the ornate chest for the Boss Key. This is separate from the eight small keys already spent.
- Return to Darunia’s room and cross the lowered pillar. Go back through the entrance hall and take its left staircase door. The pillar you knocked down now completes the route across the lava. Cross it and unlock the boss doorway.
How do you defeat Volvagia?
- Keep clear while the dragon flies and the floor burns. Watch the fire eruptions and burning patches and move onto clear ground. Avoid running directly beneath its flight path. Save your close-range attacks for when its head emerges from the ground.
- Hammer the armored head, then use the sword. Approach from clear ground as the head rises, strike it with the Megaton Hammer to stun it and follow with sword attacks. Move away when it recovers and repeat through the next flight and emergence cycle.
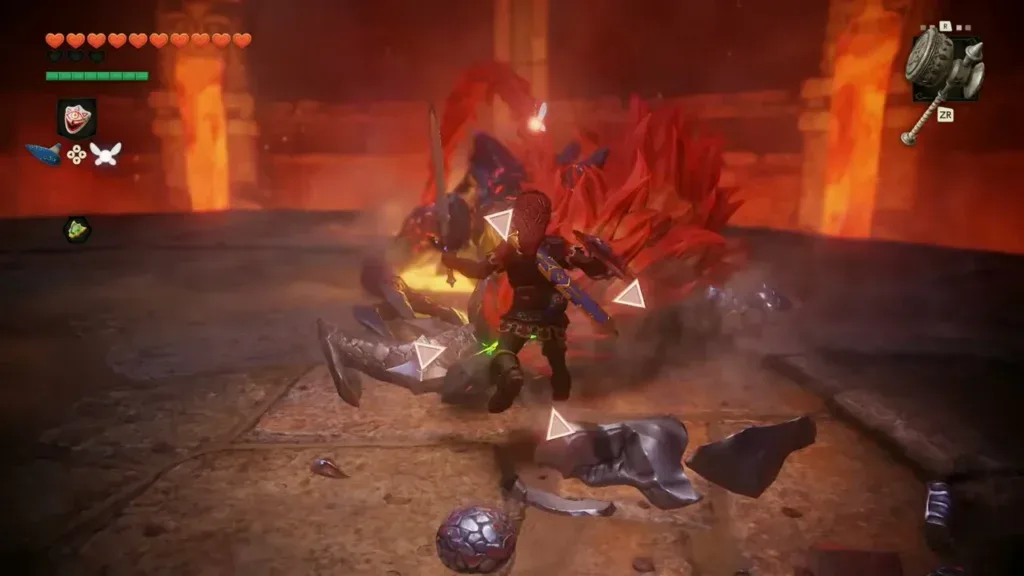
- Collect the Heart Container before taking the portal. After the dragon falls, pick up the heart and enter the blue light. Finish Darunia’s scene to receive the Fire Medallion. Next, take your bottles toward Zora Domain and the Ice Cavern.
Video walkthrough

FAQ
How many small keys do I need in the Fire Temple?
How do I keep the fire-maze switch pressed?
How do I damage the Flare Dancer and Volvagia?
Related Articles
guides
Ocarina of Time Remake Bosses: Weak Points, Items and Rematches
Every boss in the Switch 2 Ocarina of Time remake from Gohma to Ganon, plus the mini-bosses: weak point, item, how the fight works, rewards and rematches.
guides
Ocarina of Time Remake Map: Heart Pieces, Gold Skulltulas and Area Maps
Ocarina of Time Switch 2 remake map: all 36 Pieces of Heart, 100 Gold Skulltulas, beans, songs, bottles, minigames and Great Fairies, with in-game maps of 21 areas.
guides
Ocarina of Time Remake Items and Capacity Upgrades
Find the remake’s main tools and upgrade your wallet, Bomb Bag, seed bag and quiver, with the new rupee limits and horseback archery score.
Was this helpful?
Thanks for the feedback!