

Ocarina of Time Remake: Water Temple Walkthrough
Follow the remake Water Temple route through three water levels, four small keys, Dark Link, the Longshot, hammer rooms and Morpha, then collect Fire Arrows.
Finish the Ice Cavern route, including thawing King Zora for the Zora Tunic. Bring the bow, Hookshot, bombs, Din’s Fire and the Fire Temple’s hammer. This chapter covers the main route, map, compass and Fire Arrows; the laboratory, spider tokens and Biggoron Sword trade are optional. Return to the walkthrough hub for the chapter order.
How do you enter and lower the water?
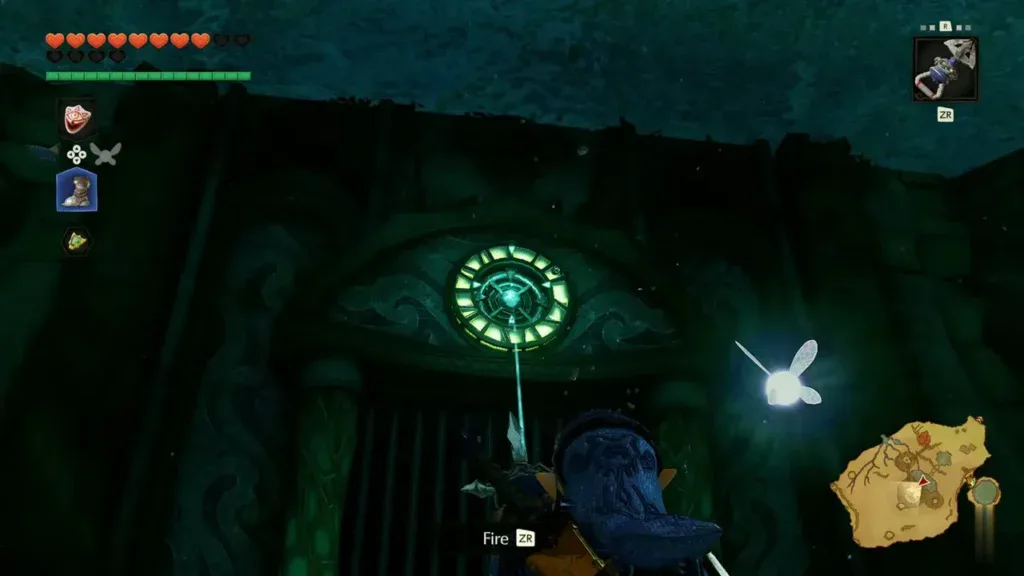
- Warp to Lake Hylia and open the underwater gate. Play the Serenade of Water, descend toward the remaining lake water and equip the Zora Tunic. Sink with the Iron Boots. Use the Hookshot on the circular ring above the barred entrance, then walk through the opened gate. Remove the boots and swim up the shaft to enter the temple.
- Sink in the main hall and follow the blue-lit route to Ruto. The hall initially has high water. Use the boots to reach the lower passages; avoid the rolling spiked enemies and use the Hookshot when a shell enemy opens. Follow the blue wall lights into the tall chamber and finish Ruto’s conversation.
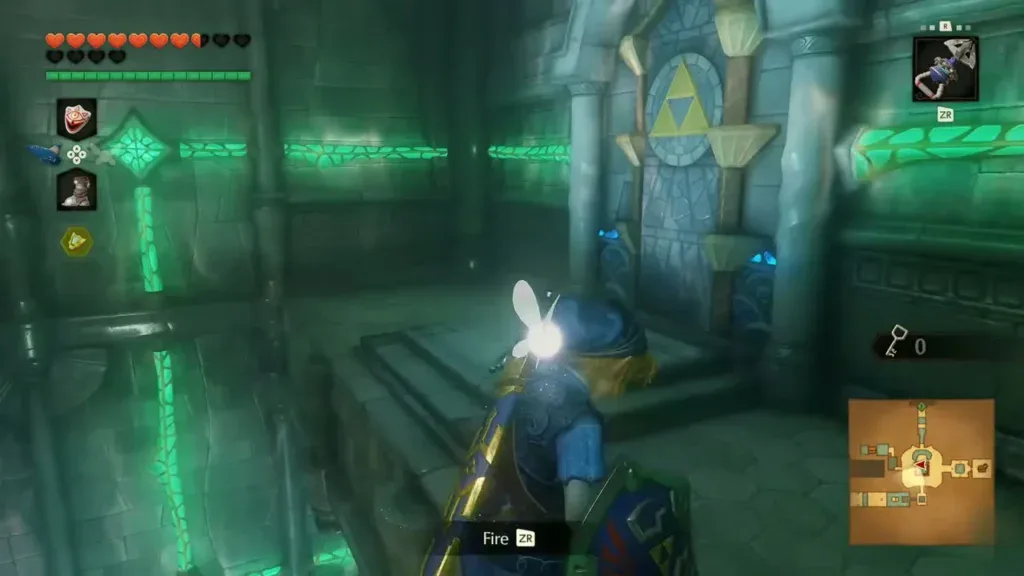
- Swim up for the Dungeon Map. Remove the boots and rise through Ruto’s chamber. Pull onto the upper landing and open the chest in front of the Triforce door for the Dungeon Map. The map is already here; a separate enemy-room fight is not required to reveal it.
- Play Zelda’s Lullaby at the blue Triforce door. This sets the water to its lowest level. Drop carefully down the chamber to the floor with the torch and sealed side door.
- Light the torches, clear the Spike room and take key 1. Use Din’s Fire near the unlit torches to open the side door. Defeat every rolling Spike inside, attacking when its spines retract or shooting from a safe distance. Open the chest that appears. You now carry one small key.
Which water controls and keys should you use?
The colored walls help distinguish the controls even when the same room looks different after flooding. Changing the water does not spend a key. A key is spent only when opening a chained door.
| Control | Landmark | Result |
|---|---|---|
| Low | Blue-lit tall chamber, above Ruto’s meeting place and the torch room | Exposes the lower routes |
| Middle | Green-lit chamber in the central structure | Floats the inner platform and reaches the 2F exits |
| High | Pink-lit upper chamber reached by the crystal-controlled water platform | Raises the central pavilion to the top level |
- Return to the main hall and bomb the cracked doorway. Leave the torch chamber through its blue-lit corridor. At the low level of the main hall, find the doorway filled with cracked stone. Place a bomb, move away and enter the pool passage it uncovers.
- Follow the submerged corridor to the compass hall. Put on the boots and clear the shell enemies when they open. At the far shaft, remove the boots and surface. Climb onto the square floor switch to raise the target pillar, then Hookshot across. Clear the jumping enemies on the landing and use the next target pillar to reach the gold-lit chest room. Open the chest for the Compass and return through the pool passage to the main hall.
- Spend key 1 on the green-lit central doorway. Cross the lower hall to the central structure and unlock its chained door. Inside, use the upper Hookshot target to reach the Triforce door. Play Zelda’s Lullaby here to set middle water. You have no small keys left.
- Take the 2F cracked-wall route for key 2. Swim up through the central room and leave by its upper door. On the middle-level ring, enter the gold-lit doorway blocked by cracked stone. Bomb the wall, sink through the short underwater passage and surface at the far end. Strike the crystal beside the water column, climb onto the round platform and strike the crystal again to ride up to the chest alcove. Collect key 2; you carry one.
- Return to the central room and dive below its raised platform. Go back to the main hall and re-enter the green-lit central chamber. The middle water level has lifted the inner platform, exposing an opening below it. Sink through that opening into the lower corridor.
- Open the underwater grate and collect key 3. At the sculpted platform, use the Hookshot on the glowing target above the grated passage. Move through, defeat the shell enemies and swim up the shaft at the end. Open the small chest in the warm-lit alcove for key 3. Return to the central chamber and main hall with two small keys.
- Spend one key at the pink-lit 2F door. Swim up to the middle-level walkway and unlock the doorway flanked by pink light. Inside, stand by the crystal and the round water platform. Trigger the crystal to lower the platform, place a bomb beside the crystal, then step onto the platform before the bomb explodes. The delayed hit raises it and carries you up. You still carry one small key.
- Set high water at the pink Triforce door. Walk from the water platform to the upper landing. Play Zelda’s Lullaby at the pink-lit control. The central pavilion rises to the highest level. Leave toward the main hall and unlock the chained 3F door leading into the long platform hall, spending your remaining key.
How do you cross the platforms and defeat Dark Link?
- Ride the moving grate platforms across the long hall. Clear the bats with the bow before jumping. Step onto the large grated platform when it reaches the entrance, then jump along the smaller moving platforms. Use their round Hookshot targets to recover your position if you drop to a lower section. At the far end, Hookshot onto the upper landing and go through the door.
- Raise the target pillars in the crystal room. Hit the blue crystal with the Hookshot so it turns pink and raises the pillars. Hookshot across their circular targets to the next safe landing. Deal with the jumping enemies before aiming again.
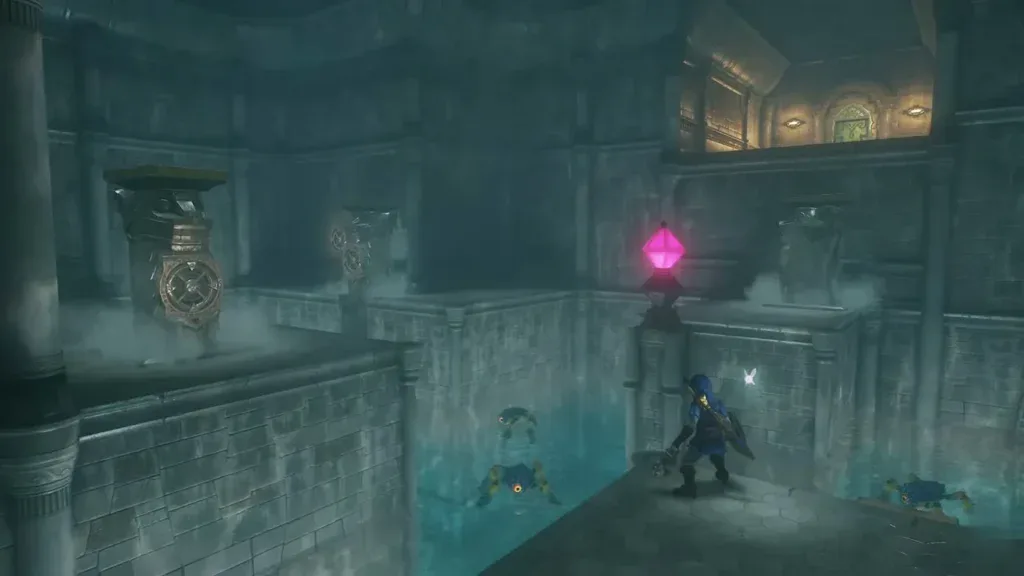
- Ride the last pillar up to the exit. At the far side, Hookshot to the wall target beside the last pillar. Hit the crystal to lower that pillar, climb onto its top, then hit the crystal again. Ride upward, pull onto the high walkway and continue through the gold-lit hall to the green door.
- Fight Dark Link beside the dead tree. Cross the misty room to reveal him. Keep your shield ready, let him finish a swing and answer with a short attack. If repeated locked-on slashes keep meeting his guard, release the lock and vary the timing rather than mashing the same attack. Heal if needed and repeat until the mist clears.
- Collect the Longshot and use the new exit. Enter the revealed room and open the chest for the Longshot. Equip it and pull the ring above the barred exit. Go through the opening and follow the flowing-water tunnel. Keep away from the whirlpool centers and use the banks to regain your position.
- Leave the current tunnel through the eye-switch exit. At the far end, shoot the eye above the barred opening, then use the target beyond it to pull through. Follow the connected pool route back to the main hall. The spider along the tunnel is optional.
How do you get the fourth key and Boss Key?
- Lower the water, then raise it to the middle level. Return through the blue-lit route to Ruto’s tall chamber, swim up and play Zelda’s Lullaby at the blue control. Drop down, return to the already-unlocked green central room, Hookshot to its landing and play the song there. You are now at middle water, with the Longshot and no small keys.
- Shoot the eye over the 2F doorway and Longshot through. Leave the central room’s upper door. On the middle ring, find the eye above a barred passage. Shoot it with the bow, quickly switch to the Longshot and pull to the target inside before the bars close.
- Dive around the cage and push the block for key 4. In the flooded chamber beyond, the chest is behind a gold-colored cage. Sink beside the cage, follow the underwater opening and approach the carved block from its exposed side. Push it along the passage until it clears the way into the chest alcove. Surface, open the chest for key 4, then return to the main hall. You carry one.
- Set low water again and use the final small-key door. Return to the blue Triforce control and play the lullaby. From the low main hall, take the passage toward the tall golden chained door. Cross its short pool and Longshot to the ring above the door. Unlock it with key 4. You have now used all four small keys.
- Cross the enemy pool to the hammer room. Clear the jumping enemies or keep enough distance to reach the far landing safely. Enter the opposite door. In the next chamber, use the Megaton Hammer to break the cracked wall beside the entrance. Follow the side passage and break the other cracked panel to reach the carved block from behind.
- Push the carved block into the pool. Move it along the narrow passage until it drops into the water. It creates a step at the far side. Swim across, climb from the block to the ledge and stand on the square floor switch. Three round platforms rise from the water.
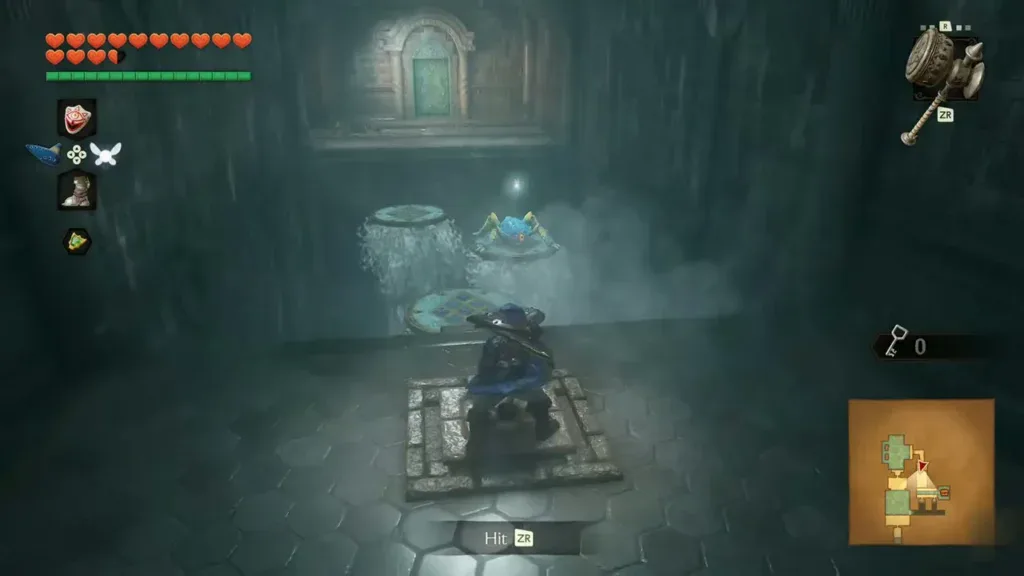
- Cross the raised platforms and open the Boss Key chest. Shoot the jumping enemy on the platforms before crossing. Jump across, clear the enemy by the door and enter the waterfall corridor. Pass the falling water, defeat the shell enemy guarding the next door and enter the gold-lit room. Open the large chest for the Boss Key.
How do you reach Morpha and finish the temple?
- Return through the hammer rooms and set middle water. Retrace the platform pool and enemy pool to the main hall. Enter the green central chamber and use its Triforce control to raise the water to the middle level. Optional underwater spider passages can wait.
- Use the pink route to restore high water. Reach the already-unlocked pink-lit 2F door. Use the crystal and round platform again to reach the upper pink Triforce control, then play Zelda’s Lullaby. The central pavilion rises back to 3F.
- Cross the pavilion to the boss approach. Step down toward the central walkway, use the Longshot on the golden target pillar and climb to the upper approach. Follow the narrow passage, avoid the moving spiked hazards and unlock the large golden door with the Boss Key.
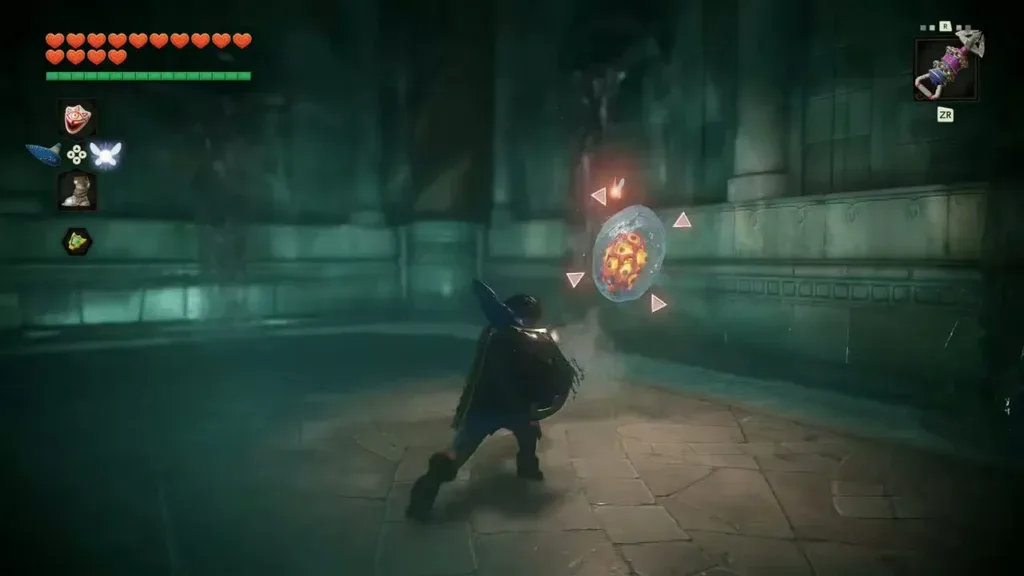
- Stay on the arena’s stone paths. Enter Morpha’s arena and move away when a water tentacle reaches toward you. Keep room to retreat instead of standing at the edge of a pool. Watch for the reddish nucleus moving inside the water mass.
- Pull the nucleus out with the Longshot and strike it. Aim at the exposed nucleus, pull it onto the stone floor and close in for sword hits. If it returns to the water, make space, avoid the next tentacle attack and repeat. Attacking the water itself does not replace hitting the nucleus.
- Take the Heart Container and Water Medallion. Collect the heart after Morpha falls, step into the blue portal and finish Ruto’s scene to receive the Water Medallion. Complete the conversation with Sheik after returning to the restored lake.
- Get Fire Arrows before leaving Lake Hylia. Read the stone beside the lake’s warp platform. Wait for dawn, stand by the stone and shoot an ordinary arrow toward the rising sun’s bright halo. A reward appears on the small island across the water. Swim over and collect Fire Arrows. Then return to Kakariko Village and continue with the Bottom of the Well route.
Video walkthrough

FAQ
What equipment should I bring to the Water Temple?
How many small keys does this remake route use?
How do I distinguish the three water-level controls?
How do I leave the Longshot chest room?
Related Articles
guides
Ocarina of Time Remake Bosses: Weak Points, Items and Rematches
Every boss in the Switch 2 Ocarina of Time remake from Gohma to Ganon, plus the mini-bosses: weak point, item, how the fight works, rewards and rematches.
guides
Ocarina of Time Remake Map: Heart Pieces, Gold Skulltulas and Area Maps
Ocarina of Time Switch 2 remake map: all 36 Pieces of Heart, 100 Gold Skulltulas, beans, songs, bottles, minigames and Great Fairies, with in-game maps of 21 areas.
guides
Ocarina of Time Remake Items and Capacity Upgrades
Find the remake’s main tools and upgrade your wallet, Bomb Bag, seed bag and quiver, with the new rupee limits and horseback archery score.
Was this helpful?
Thanks for the feedback!