

Ocarina of Time Remake Gold Skulltulas: All 100 Locations Checklist
Every Gold Skulltula in the Ocarina of Time Switch 2 remake by area and dungeon, with age, items and night-only spawns, all six rewards and a browser checklist.
All 100 Gold Skulltulas in the Nintendo Switch 2 remake of The Legend of Zelda: Ocarina of Time, grouped by area and dungeon. The numbers are this site’s checklist numbers and roughly follow the order a normal playthrough reaches each one. Every row says which age can get it, what you need and whether it only appears at night. “Bug” means catching a bug in an empty bottle and releasing it on a patch of soft soil. For the main route through each dungeon, start from the walkthrough hub.
What do Gold Skulltula tokens unlock?
Each Gold Skulltula you defeat leaves a token. Take them to the Cursed Rich Man in the House of Skulltula in Kakariko Village. At every threshold one of his sons is freed and he gives you a reward. Most players aim for the Echo Gem at 20 first, then the Piece of Heart at 50.
| Tokens | Reward |
|---|---|
| 10 | Adult’s Wallet (holds 500 Rupees) |
| 20 | Echo Gem: equip it and it lights up and chimes near Gold Skulltulas |
| 30 | Giant’s Wallet (holds 1,000 Rupees) |
| 40 | 20 Bombchus |
| 50 | Piece of Heart |
| 100 | A 200-Rupee gold rupee, again every time you talk to him |
The wallet sizes match the items and upgrades page: you start with a 200-Rupee wallet. The 20-token Stone of Agony from the original has been replaced by the Echo Gem.
How do I find Gold Skulltulas?
The Cursed Rich Man gives the main hints himself. Spiders out in the open only come out at night, so play the Sun’s Song if you arrive during the day. Some hide in soft soil, and releasing a bottled bug on the patch draws them out. Trees with a spider in them drop leaves; dash and roll into the trunk to knock it down. Others are in crates or behind walls you bomb. For ones out of reach, use the Boomerang as a child or the Hookshot as an adult; both also pull the token back to you.
The remake’s world map shows a Gold Skulltula counter for each area. Once you have the Echo Gem, wear it and sweep any area that still shows missing tokens.
0 / 0 collected
Saved only in this browser, no account needed. Locations changed in the remake, so ticks from the old list do not carry over.
Where are the Gold Skulltulas in the child dungeons? (16)
Great Deku Tree, Dodongo Cavern, Lord Jabu-Jabu’s Belly and the Bottom of the Well hold 16 between them. Dodongo Cavern #56 needs an adult with the Hookshot. In the remake all four Deku Tree tokens can be taken on the first visit; you no longer need to come back with bombs or the Boomerang.
| # | Location | Needs | How | Map |
|---|---|---|---|---|
| 1 | Great Deku Tree | Child | 3F compass room: step on the switch to raise the platforms, go to the alcove on the left, beat the Skulltula blocking it and the token is on the wall | Show on map |
| 2 | Great Deku Tree | Fairy Slingshot, child | After dropping through the web to the basement, swim out and turn around: on the vines back up to 1F. Shoot it, then climb up | Show on map |
| 3 | Great Deku Tree | Fairy Slingshot, child | Same basement area, on the grate by the water. Shoot it and jump over | Show on map |
| 4 | Great Deku Tree | Deku Stick, Fairy Slingshot, child | Basement larva room: clear it, light a Deku Stick at the torch and burn the web in the corner. Shoot the one high on the vines behind it and climb up | Show on map |
| 20 | Dodongo Cavern | Bombs, or a Baby Dodongo’s blast | The corridor east of the entrance hall, behind the cracked wall near the end | Show on map |
| 21 | Dodongo Cavern | Goron Bracelet, Fairy Slingshot | Chain the Bomb Flowers to lower the big staircase, climb it and turn around before the exit: on the climbing net. Shoot it, then climb | Show on map |
| 22 | Dodongo Cavern | Bombs | Once you have the Bomb Bag, bomb the cracked wall on the entrance hall’s upper floor. In the room with two Dodongos, behind the central rock | Show on map |
| 23 | Dodongo Cavern | Bombs | Past the giant skull’s mouth, push the block under the cracked wall, bomb it and climb up. In the small room behind the Armos | Show on map |
| 56 | Dodongo Cavern | Scarecrow Song, Hookshot, adult | High ledge in the #20 corridor: play the Scarecrow Song to call Pierre, then Hookshot up | Show on map |
| 33 | Lord Jabu-Jabu’s Belly | Child | After following Ruto down to B1, head north. Step on the switch in the pit to raise the water, then climb the west vines to the ledge with pots | Show on map |
| 34 | Lord Jabu-Jabu’s Belly | Boomerang, child | After clearing the tentacles, drop through the hole in the main room: on the north wall | Show on map |
| 35 | Lord Jabu-Jabu’s Belly | Boomerang, child | Same area, on the ceiling of the passage to the northwest | Show on map |
| 36 | Lord Jabu-Jabu’s Belly | Boomerang or Fairy Slingshot, child | Last room before the boss, on the vines at the back of the tall pillar | Show on map |
| 79 | Bottom of the Well | Lenses of Truth, Boomerang, child | Northeast corner of the outer ring: use the Lenses to avoid the hidden pits and go through the door. Past the Like Like, on the back wall | Show on map |
| 80 | Bottom of the Well | Small Key, Lenses of Truth, child | The locked east door off the central room: follow the invisible walkway to the end | Show on map |
| 81 | Bottom of the Well | Small Key, child | The locked west door off the central room: beat the Deku Baba, block the flying pots with your shield, then take the token on the back wall | Show on map |
Where are the Gold Skulltulas in Kakariko Village and the Graveyard? (8)
The Kakariko Village guide covers the rest of the village.
| # | Location | Needs | How | Map |
|---|---|---|---|---|
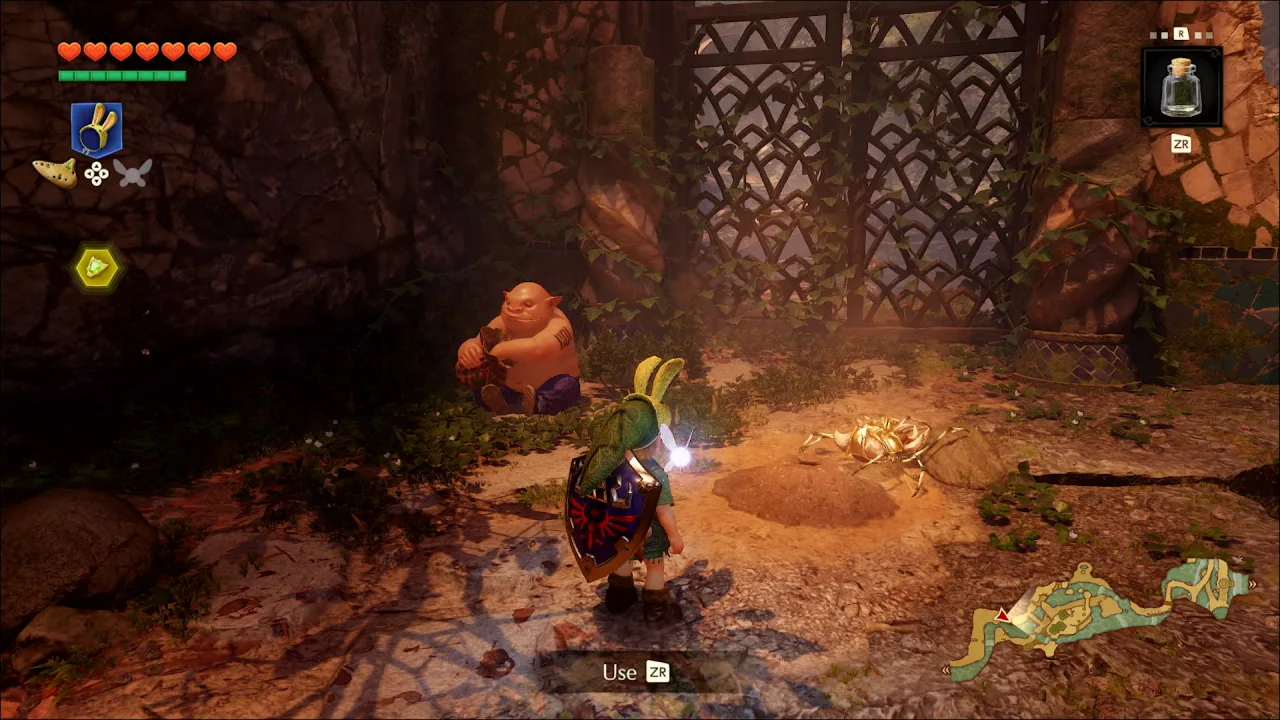
| 9 | Kakariko Village | Child | Roll into the tree in the village square near the entrance. If nothing falls during the day, try again at night | Show on map |
| 10 | Kakariko Village | Child, night | On the wall left of the House of Skulltula’s door | Show on map |
| 11 | Kakariko Village | Child, night | House under construction: climb the scaffolding, high on the red brick wall | Show on map |
| 12 | Kakariko Village | Fairy Slingshot, child, night | On the ladder of the watchtower on the way to the Death Mountain gate. Shoot it, then climb | Show on map |
| 13 | Kakariko Village | Child, night | On the wall of the house next to the Death Mountain gate | Show on map |
| 44 | Kakariko Village | Hookshot, adult, night | Hookshot the vines by Impa’s House to reach the roof; on the wall nearby | Show on map |
| 14 | Graveyard | Bug, child | Go left up the steps from the entrance; soft soil by a small tree | Show on map |
| 40 | Graveyard | Night; Boomerang as a child or Hookshot as an adult | High on the wall behind Dampé’s hut | Show on map |
Where are the Gold Skulltulas in Hyrule Field, Castle Town, Hyrule Castle and Lon Lon Ranch? (10)
| # | Location | Needs | How | Map |
|---|---|---|---|---|
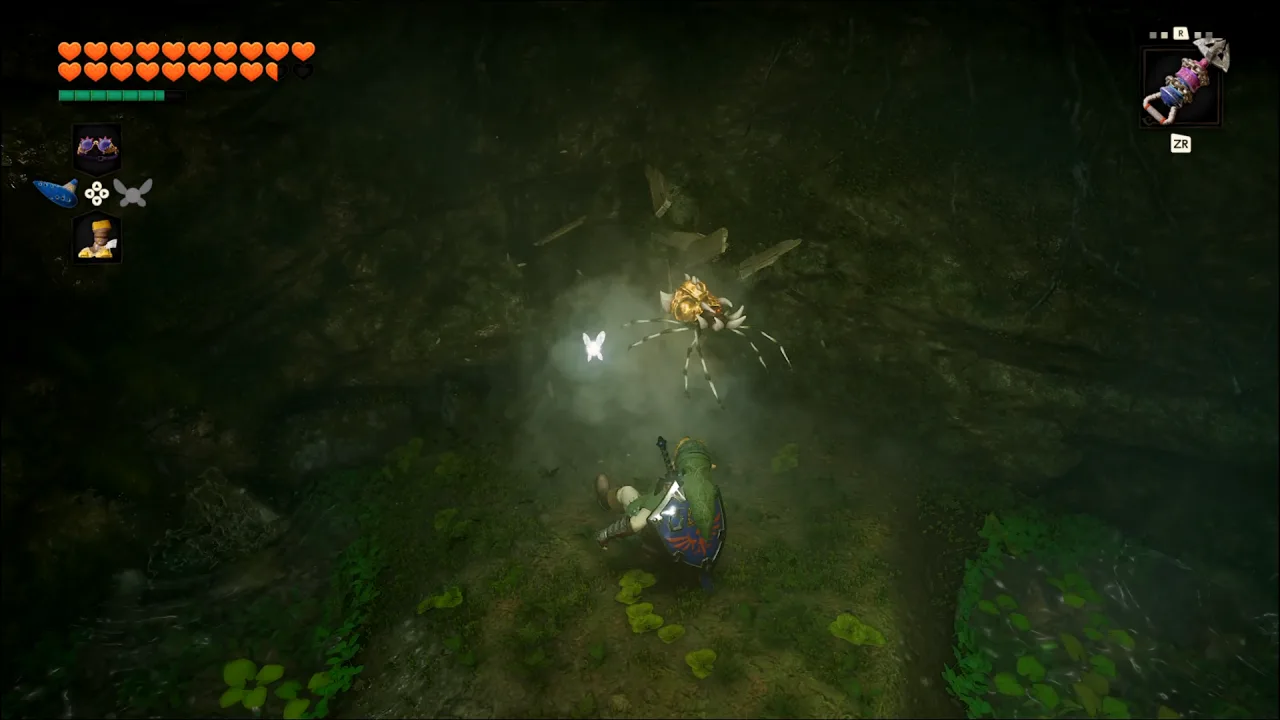
| 5 | Hyrule Field | Child is fine | Leaving Kokiri Forest, cross the stream to the lone skinny tree and roll into it | Show on map |
| 27 | Hyrule Field | Bombs; Boomerang as a child or Hookshot as an adult | In the trees on the south side of the field (south of Lon Lon Ranch), bomb the ring of cracked stone and drop into the grotto. Beat the Skulltula; the Gold Skulltula is on the back wall | Show on map |
| 55 | Hyrule Field | Bombs; child first, then adult | A bombable grotto among the marshy ponds in the southeast of the field, toward Kokiri Forest: as a child, beat the Skullwalltula on the back wall. Return as an adult and break the crate inside the grotto | Show on map |
| 6 | Castle Town | Child | The guard house on the right just inside the gate. Of the two crates at the back, roll into the one that shakes | Show on map |
| 7 | Hyrule Castle | Child | In the castle grounds, right of the vine wall up to the moat: roll into the skinny tree by the building | Show on map |
| 54 | Hyrule Castle | Song of Storms, Bombs, Boomerang, child | Play the Song of Storms by the tree at the moat, drop into the hole, bomb the cracked wall and use the Boomerang | Show on map |
| 45 | Outside Ganondorf’s Castle | Hookshot, adult | Where Hyrule Castle used to be, high on the back of the ruined archway | Show on map |
| 8 | Lon Lon Ranch | Child is fine | Small yard with a wooden tower behind the main house; roll into the skinny tree | Show on map |
| 38 | Lon Lon Ranch | Boomerang, child, night | On the main house wall by a window, near the entrance | Show on map |
| 39 | Lon Lon Ranch | Boomerang, night | Inside the stone tower in the corner of the ranch (the one with a Piece of Heart); look up at the high vines | Show on map |
Where are the Gold Skulltulas in Kokiri Forest, the Lost Woods and the Sacred Grove? (7)
The village itself, with its shop and houses, is on the Kokiri Forest page.
| # | Location | Needs | How | Map |
|---|---|---|---|---|
| 15 | Kokiri Forest | Bug, child | Soft soil behind the Kokiri Shop | Show on map |
| 16 | Kokiri Forest | Child, night | Back wall of the Know-It-All Brothers’ house (once day and night start cycling after you meet Zelda) | Show on map |
| 46 | Kokiri Forest | Hookshot, adult, night | High on the back of the Twins’ house | Show on map |
| 17 | Lost Woods | Bug, child | Go left from the entrance, then left again; soft soil in that area | Show on map |
| 18 | Lost Woods | Bug, child | Right, left, right, left, left: the clearing with Business Scrubs, soft soil by the big tree | Show on map |
| 47 | Lost Woods | Magic Bean, adult | Plant a bean in the #18 soil as a child, then ride the plant up to the ledge as an adult | Show on map |
| 48 | Sacred Grove | Hookshot, adult, night | High on the east wall before the big stairway to the temple | Show on map |
Where are the Gold Skulltulas on Death Mountain? (8)
| # | Location | Needs | How | Map |
|---|---|---|---|---|
| 19 | Death Mountain Trail | Goron Bracelet, bug, child | After blowing the boulder off Dodongo Cavern with a Bomb Flower, soft soil at the entrance | Show on map |
| 24 | Death Mountain Trail | Bombs | Cracked wall just around the first bend from Kakariko | Show on map |
| 64 | Death Mountain Trail | Megaton Hammer, adult, night | On the way down from the summit Great Fairy, smash the large dark boulder | Show on map |
| 65 | Death Mountain Trail | Megaton Hammer, adult, night | Large dark boulder outside Goron City, where the lone Bomb Flower used to be | Show on map |
| 25 | Goron City | Bombs, child | Upper left from the entrance tier: bomb into the room full of boulders, blast through to the back and roll into the crate | Show on map |
| 57 | Goron City | Hookshot, adult | One level down from the top, go round to the back of the central platform and aim up at the rock hanging below it | Show on map |
| 26 | Death Mountain Crater | Child | Just inside from the summit entrance: roll into the crate beside a pot | Show on map |
| 58 | Death Mountain Crater | Bolero of Fire, bug, child | Warp in as a child with the Bolero of Fire; soft soil near the temple entrance | Show on map |
Where are the Gold Skulltulas around Zora River, Zora Domain, Zora Fountain and the Ice Cavern? (11)
Region overview: Zora Domain.
| # | Location | Needs | How | Map |
|---|---|---|---|---|
| 28 | Zora River | Bug, child | Soft soil beside the Magic Bean seller | Show on map |
| 29 | Zora River | Child, night | Before the waterfall into Zora Domain, drop from the ramps to the riverbank below; by the vines | Show on map |
| 66 | Zora River | Hookshot, adult, night | On top of the large rock in the middle of the river, high on its south side | Show on map |
| 67 | Zora River | Hookshot, adult, night | High wall near the entrance to Zora Domain; standing on the railing helps | Show on map |
| 68 | Zora Domain | Hookshot, adult | Beside the frozen waterfall, left of the stairs to the throne room: aim left from the top of the waterfall | Show on map |
| 32 | Zora Fountain | Child | The shallow area to the south; roll into the skinny tree | Show on map |
| 37 | Zora Fountain | Boomerang, child, night | South of Lord Jabu-Jabu, climb the slanted stone ruin; on the rock wall at the top | Show on map |
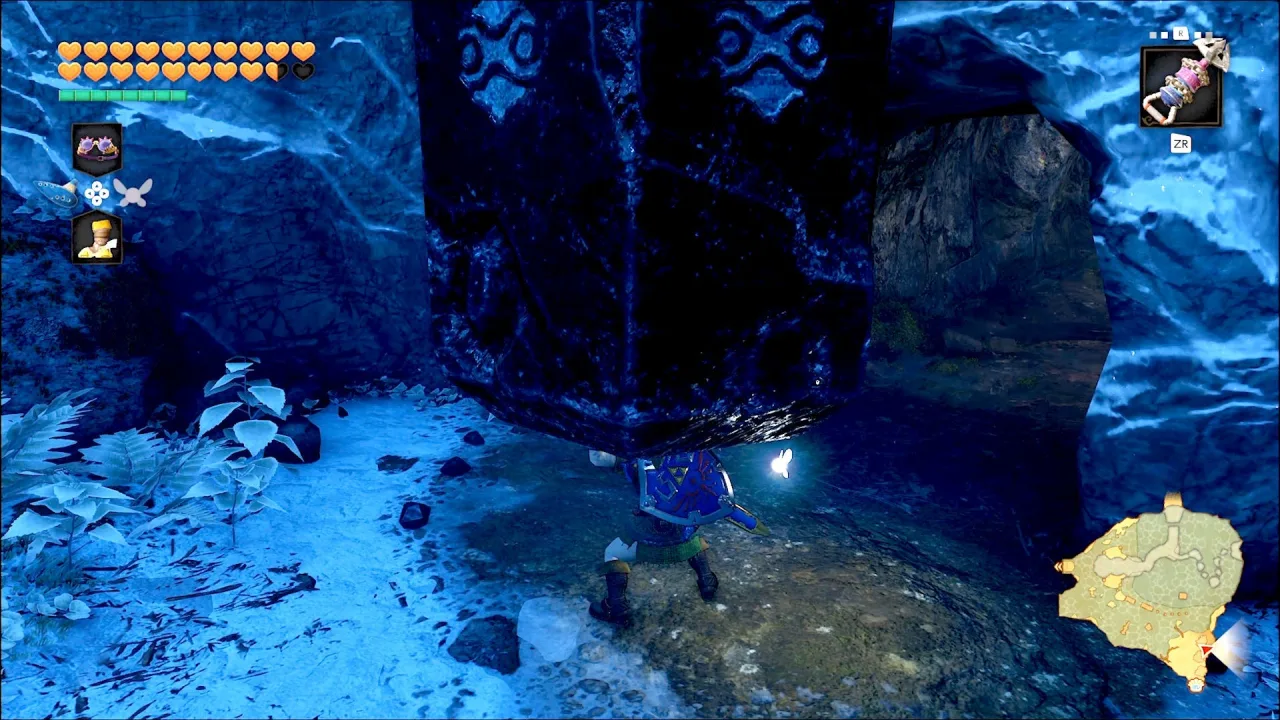
| 100 | Zora Fountain | Silver Gauntlets, Longshot, adult, night; bring the Lenses of Truth | Lift the dark stone pillars and climb all the way up the cave behind them (it has invisible Skulltulas). At the top, play the Sun’s Song if it is day, then turn around and Longshot it | Show on map |
| 69 | Ice Cavern | Hookshot | The room with two spinning blades and silver rupees, on the south wall | Show on map |
| 70 | Ice Cavern | Blue Fire, Hookshot | Melt the pink ice to the east; behind the ice pillar next to the compass chest | Show on map |
| 71 | Ice Cavern | Blue Fire, Hookshot | Melt the pink ice to the west into the block room; after crossing to the ice floor, look back at the low wall | Show on map |
Where are the Gold Skulltulas at Lake Hylia? (5)
See the Lake Hylia guide for the area.
| # | Location | Needs | How | Map |
|---|---|---|---|---|
| 30 | Lake Hylia | Bug, child | Soft soil by the Lakeside Laboratory, in front of the barrels and sacks stacked against the building wall | Show on map |
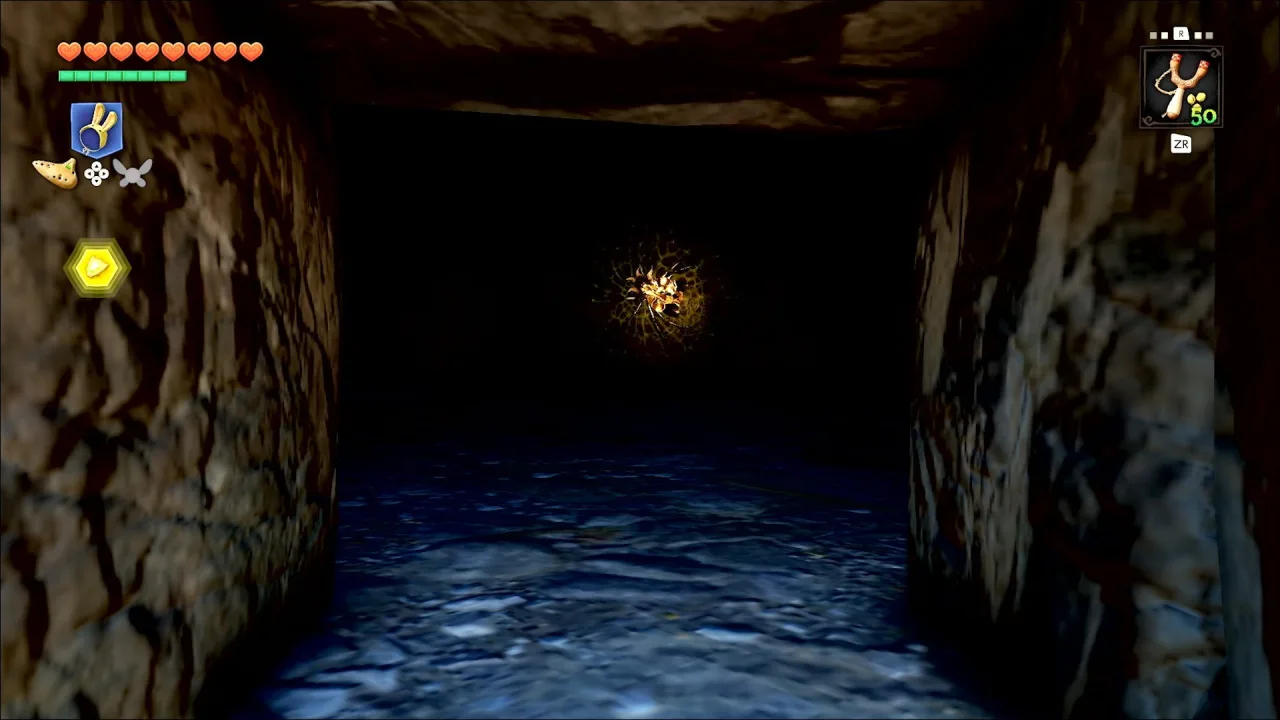
| 31 | Lake Hylia | Child | Swim to the southern tip of the lake (southwest shore), climb the small ledge and crawl through the tunnel to the end | Show on map |
| 43 | Lake Hylia | Boomerang, child, night | From the bridge beside the laboratory, look back at the laboratory wall | Show on map |
| 72 | Lakeside Laboratory | Iron Boots, Hookshot, adult | Sink to the bottom of the laboratory pool in the Iron Boots, roll into the crate and Hookshot the spider and its token | Show on map |
| 78 | Lake Hylia | Longshot, adult, night | The big tree on the island above the Water Temple: Longshot the vines near the top and climb into the hollow at the top of the trunk. The spider is there at night; play the Sun’s Song in the hollow if it is day | Show on map |
Where are the Gold Skulltulas in Gerudo Valley and the desert? (10)
| # | Location | Needs | How | Map |
|---|---|---|---|---|
| 41 | Gerudo Valley | Boomerang, child, night | Under the first wooden bridge as you enter the valley | Show on map |
| 42 | Gerudo Valley | Bug, Cucco, child | Go down to the grassy ledge with the cow below the bridge (glide there with a Cucco). Pick up a Cucco on that ledge and glide on down to the low rock shelf by the water under the cliff; soft soil there | Show on map |
| 87 | Gerudo Valley | Adult, night; Epona or the Longshot to cross the broken bridge | On the ruined wall behind the carpenters’ tent | Show on map |
| 88 | Gerudo Valley | Megaton Hammer, Hookshot, adult, night | The area of dark boulders across from the carpenters’ tent: smash the boulders by the natural stone arch, then Hookshot the spider on the inside of the arch | Show on map |
| 89 | Gerudo Fortress | Longshot, adult, night | Up the rooftops, on the wall beside a high entrance | Show on map |
| 90 | Gerudo Fortress | Gerudo Pass, Longshot, adult, night | Northeast corner of the horseback archery range, on the back of the raised target | Show on map |
| 91 | Mirage Desert | Adult | Follow the flags to the stone ruin, climb down the ladder; on the wall of the small room. Use the Longshot if it is out of reach | Show on map |
| 92 | Evil Desert Colossus | Longshot, adult, night | On the cliff wall in the northwest corner | Show on map |
| 93 | Evil Desert Colossus | Requiem of Spirit, bug, child | Soft soil left of the Spirit Temple entrance; plant a Magic Bean there too for #97 | Show on map |
| 97 | Evil Desert Colossus | Magic Bean, adult, night | After planting at #93 as a child, ride the plant as an adult to the large rock plateau to the northeast | Show on map |
Where are the Gold Skulltulas in the adult temples? (25)
Each of these five temples has five. For the main route see the Forest Temple, Fire Temple, Water Temple, Shadow Temple and Spirit Temple walkthroughs. Spirit Temple #94 to #96 are taken as young Link. Wear the Zora Tunic throughout the Water Temple.
| # | Location | Needs | How | Map |
|---|---|---|---|---|
| 49 | Forest Temple | Hookshot | First room: after climbing the vine-covered tree for the key, turn around; top of the vines | Show on map |
| 50 | Forest Temple | Hookshot | Top of the north stairs in the main hall; turn right toward the blue window | Show on map |
| 51 | Forest Temple | Hookshot, Fairy Bow | After straightening the twisted corridor and dropping to 1F, the balcony above the northwest courtyard: edge round the corner past the door | Show on map |
| 52 | Forest Temple | Hookshot, Scarecrow Song | Ledge above the northeast courtyard: play the Scarecrow Song to call Pierre and Hookshot over | Show on map |
| 53 | Forest Temple | Hookshot | After beating all four Poes and riding the elevator down, the small room to the south, on the right. Turn the round room if it is blocked | Show on map |
| 59 | Fire Temple | Song of Time | High in the northeast corner of the lava room east of the entrance: move the blue block with the Song of Time. Through the door, block the flying tiles and beat the Like Like; on the back wall | Show on map |
| 60 | Fire Temple | Bombs | 3F boulder maze: follow the walls north and bomb the cracked wall | Show on map |
| 61 | Fire Temple | Hookshot, Scarecrow Song | After racing the fire wall back to the upper platforms of the boulder room, turn round, play the Scarecrow Song, Hookshot over, then Hookshot up to 4F; top of the climbing nets | Show on map |
| 62 | Fire Temple | Hookshot, Scarecrow Song | Same route up to 5F; inner wall of the round room above the lava pit | Show on map |
| 63 | Fire Temple | Megaton Hammer | With the Hammer, go back to the entrance hall and knock down the statue blocking a door. In the room with flying tiles and a Like Like, smash the rock at the back | Show on map |
| 73 | Water Temple | Iron Boots, Hookshot | After raising the water to the middle level, go back down into the central pillar’s basement. Hookshot the switch to open the hatch and climb up | Show on map |
| 74 | Water Temple | Iron Boots, Bombs | At middle water, the east room on 1F (where you first met Ruto): float up and bomb the cracked wall on the ledge | Show on map |
| 75 | Water Temple | Iron Boots, Longshot | After beating Dark Link for the Longshot, drop into the whirlpool river. When the channel turns south, look back up at the rock | Show on map |
| 76 | Water Temple | Longshot | Enter the central pillar at low water, raise it one level and Longshot up to the top; near the ceiling | Show on map |
| 77 | Water Temple | Longshot | Boulder room before the boss key chest, behind the small waterfall | Show on map |
| 82 | Shadow Temple | Lenses of Truth, Hover Boots | B3: past the guillotine platforms and the Stalfos, cross east over the invisible platforms with the Hover Boots. Clear the room with the invisible scythe to open the door | Show on map |
| 83 | Shadow Temple | Lenses of Truth | B3, past the silver rupee area to the west, the falling spike room: pull out the block to stop the spikes, push it to the far end and climb up, then look back at the wall above | Show on map |
| 84 | Shadow Temple | Iron Boots, Longshot | B3, the narrow fan corridors to the north: look down from the gap; on the wall below | Show on map |
| 85 | Shadow Temple | Scarecrow Song, Longshot | B4 ship dock: on top of the cage, play the Scarecrow Song and pull yourself to Pierre; on the wall nearby | Show on map |
| 86 | Shadow Temple | Bombs, Lenses of Truth | After the boat, through the invisible maze to the west room; bomb each of the three spinning skulls | Show on map |
| 94 | Spirit Temple | Boomerang, child | Through the northwest crawlspace, clear the room and take the right door; on the mesh wall | Show on map |
| 95 | Spirit Temple | Child | 2F room with the giant statue, in the corner by the statue’s folded legs | Show on map |
| 96 | Spirit Temple | Boomerang, child | 3F, the corridor after the sunlight puzzle room and before the first Iron Knuckle: turn round and look above the door | Show on map |
| 98 | Spirit Temple | Silver Gauntlets, adult | From the entrance hall as an adult, northeast to the half-pipe room with rolling boulders; in the alcove on the left | Show on map |
| 99 | Spirit Temple | Scarecrow Song, Hookshot, adult | 3F giant statue room: play the Scarecrow Song where the air swirls in the upper west corner and Hookshot over | Show on map |
What should I read next?
- Pieces of Heart checklist: includes the one from 50 tokens
- Magic Beans: #47 and #97 both need a planted bean
- Ocarina of Time walkthrough hub: dungeon order
- Remake vs N64 and 3DS
Video walkthrough

FAQ
What do Gold Skulltula tokens unlock?
Are the remake's Gold Skulltulas in the same places as on N64?
What does the Echo Gem do?
Are any Gold Skulltulas missable?
Related Articles
guides
Ocarina of Time Remake Map: Heart Pieces, Gold Skulltulas and Area Maps
Ocarina of Time Switch 2 remake map: all 36 Pieces of Heart, 100 Gold Skulltulas, beans, songs, bottles, minigames and Great Fairies, with in-game maps of 21 areas.
guides
Ocarina of Time Remake Bottles: All 5 Locations
Find all five bottles in Ocarina of Time Remake: the new Potion Shop errand, Cuccos, ranch milk, Ruto’s Letter and the 500-point Big Poe reward.
guides
Ocarina of Time Remake Big Poes: All 10 Locations and Ghost Shop Rewards
All ten Big Poe locations in the Ocarina of Time remake, how to make them appear on Epona, and Ghost Shop rewards: 30 rupees each, a bottle at 500 points.
Was this helpful?
Thanks for the feedback!