Ocarina of Time Hyrule Map
What is on the map?
| On the map | Count | Checklist |
|---|---|---|
| Pieces of Heart | 36 | Piece of Heart locations |
| Gold Skulltulas | 100 | Gold Skulltula locations |
| Magic Beans (soil and seller) | 8 | Magic Beans |
| Songs | 13 | All songs and notes |
| Bottles | 5 | Bottles |
| Minigames and side quests | 23 | Side quests and minigames |
| Mask trade | 4 | Masks |
| Items and gear | 23 | Items and upgrades |
| Bosses | 10 | Boss guide |
| Great Fairy Fountains | 6 | Great Fairy Fountains |
| Main quest route | 15 chapters | Walkthrough |
The main quest runs across the world map as numbered stops joined by a line; pick one for what to bring, what you get and the chapter guide. Turn categories on and off above the map. Choosing Child or Adult keeps only what that age can collect. The numbers next to each place name count its entries.
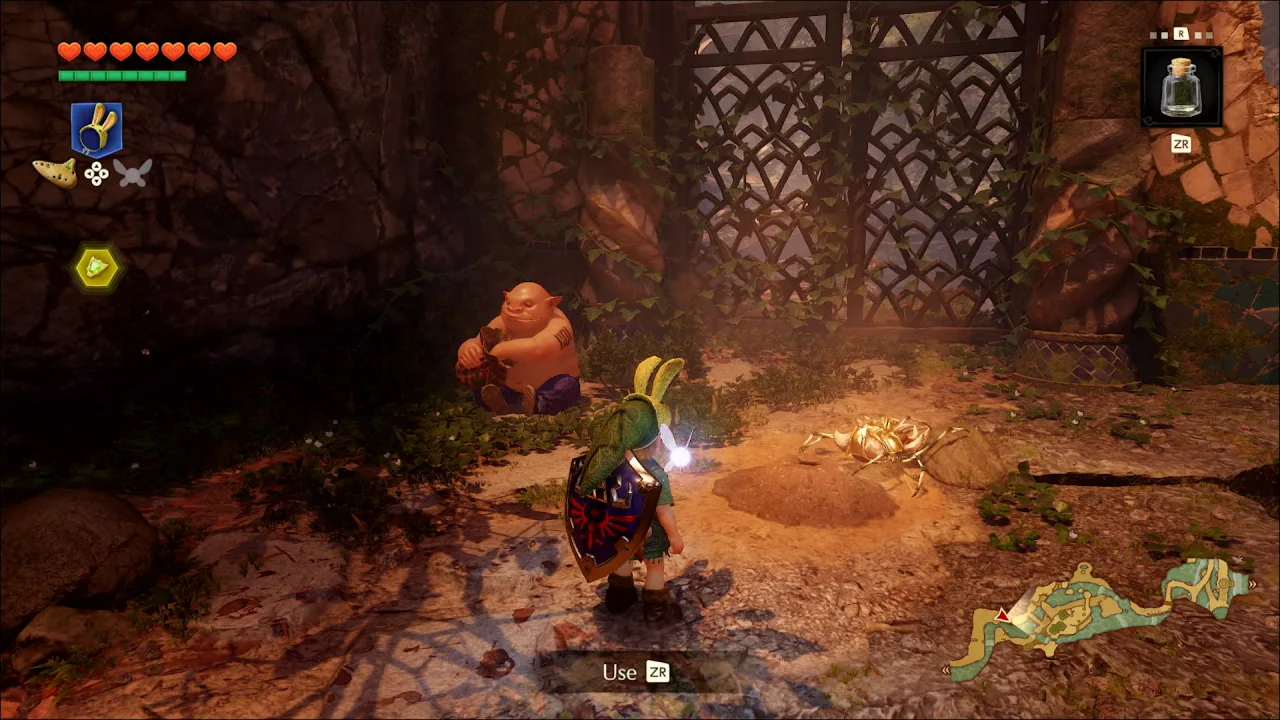
How do the area maps work?
Pick a place or a dungeon and the panel lists everything there. Every place has an area map: press “Open the area map” and the world map gives way to that area’s map from the pause menu, with a numbered pin for every entry. Tap a pin to read the entry right there and tick it off; the search box at the top finds any entry by number, name or place, and the browser’s Back button returns from an area map to Hyrule.
- Pick an entry in the list and the map moves to it; pick a pin and its entry lights up in the list.
- Place names at the edges are exits that take you to the next area.
- Hyrule Castle has two maps: switch to Adult for the map outside Ganondorf’s Castle.
- The Big Poe hunt has 10 pins. They mark where Link stood to shoot; each Poe floats a little further on. The Big Poe locations guide describes each spot.
Ticked entries fade on the map. Pieces of Heart and Gold Skulltulas share their ticks with their checklist pages.
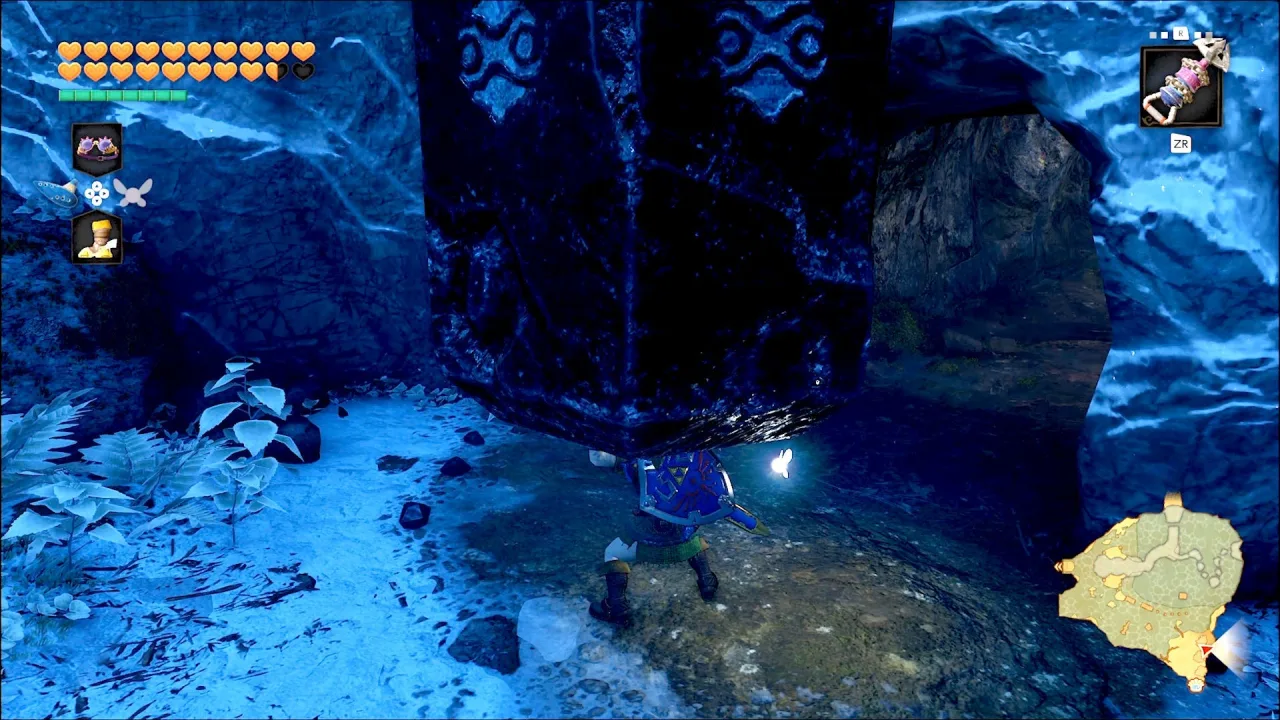
How were the pins placed?
Every entry says where its spot comes from:
| Label | Meaning |
|---|---|
| Game map icon | Once collected, the pause-menu area map draws an icon on the spot; the pin sits on that icon |
| Checked in gameplay footage | Worked out from Link’s place on the minimap when he collects it in remake gameplay |
| Building on the map | Shops, minigames, temple entrances and other buildings drawn on the map |
| Estimated from the guide text | No icon or footage to check against; placed from the checklist text and drawn dashed |
Fourteen pins are estimates, for example graveyard Piece of Heart #1 and Zelda’s Lullaby (the castle courtyard has no minimap). Read the note in the list before you go.
Every area at a glance
| Pieces of Heart | Gold Skulltulas | Magic Beans | Songs | Bottles | Minigames and side quests | Mask trade | Items and gear | ||
|---|---|---|---|---|---|---|---|---|---|
| Kokiri Forest | — | 3 | — | — | — | — | — | 2 | Show on map |
| Lost Woods | 2 | 3 | 1 | — | — | 3 | 1 | — | Show on map |
| Sacred Grove | — | 1 | — | 2 | — | — | — | — | Show on map |
| Hyrule Field | 2 | 3 | — | 1 | — | 1 | 1 | — | Show on map |
| Lon Lon Ranch | 1 | 3 | — | 1 | 1 | 3 | — | — | Show on map |
| Castle Town | 3 | 1 | — | — | 2 | 4 | — | 2 | Show on map |
| Hyrule Castle | — | 3 | — | 1 | — | — | — | — | Show on map |
| Temple of Time | — | — | — | 1 | — | — | — | 1 | Show on map |
| Kakariko Village | 4 | 6 | — | 2 | 1 | 3 | 1 | — | Show on map |
| Graveyard | 4 | 2 | — | 1 | — | 2 | 1 | — | Show on map |
| Death Mountain Trail | 1 | 4 | 1 | — | — | — | — | — | Show on map |
| Goron City | 1 | 2 | — | — | — | 1 | — | 3 | Show on map |
| Death Mountain Crater | 3 | 2 | 1 | 1 | — | — | — | — | Show on map |
| Zora River | 4 | 4 | 2 | — | — | 1 | — | — | Show on map |
| Zora Domain | 1 | 1 | — | — | 1 | 1 | — | 2 | Show on map |
| Zora Fountain | 2 | 3 | — | — | — | — | — | — | Show on map |
| Lake Hylia | 3 | 5 | 1 | 1 | — | 2 | — | — | Show on map |
| Gerudo Valley | 2 | 4 | 1 | — | — | — | — | — | Show on map |
| Gerudo Fortress | 2 | 2 | — | — | — | 2 | — | — | Show on map |
| Mirage Desert | — | 1 | — | — | — | — | — | — | Show on map |
| Evil Desert Colossus | 1 | 3 | 1 | 1 | — | — | — | — | Show on map |
| Great Deku Tree | — | 4 | — | — | — | — | — | 1 | Show on map |
| Dodongo Cavern | — | 5 | — | — | — | — | — | 1 | Show on map |
| Lord Jabu-Jabu's Belly | — | 4 | — | — | — | — | — | 1 | Show on map |
| Bottom of the Well | — | 3 | — | — | — | — | — | 1 | Show on map |
| Ice Cavern | — | 3 | — | 1 | — | — | — | 1 | Show on map |
| Forest Temple | — | 5 | — | — | — | — | — | 1 | Show on map |
| Fire Temple | — | 5 | — | — | — | — | — | 1 | Show on map |
| Water Temple | — | 5 | — | — | — | — | — | 1 | Show on map |
| Shadow Temple | — | 5 | — | — | — | — | — | 1 | Show on map |
| Spirit Temple | — | 5 | — | — | — | — | — | 2 | Show on map |
| Gerudo Proving Grounds | — | — | — | — | — | — | — | 1 | Show on map |
| Ganondorf's Castle | — | — | — | — | — | — | — | 1 | Show on map |