Some terrain tiles could not load. Switch to the coordinate grid or retry.
West of the Great Hyrule Forest, northeast of Mount Drena, in rocky ground. Launch from Thyphlo Ruins Skyview Tower and glide southwest. Coordinates match our 152-shrine table.
Item
Detail
Trial
Shining in Darkness
Region
Great Hyrule Forest (surface, northeast of Mount Drena)
Kikakin Shrine is a maze with the lights off: one flashlight, one locked door, one key hidden under a slab, and four chests for anyone who wants to see the whole thing.
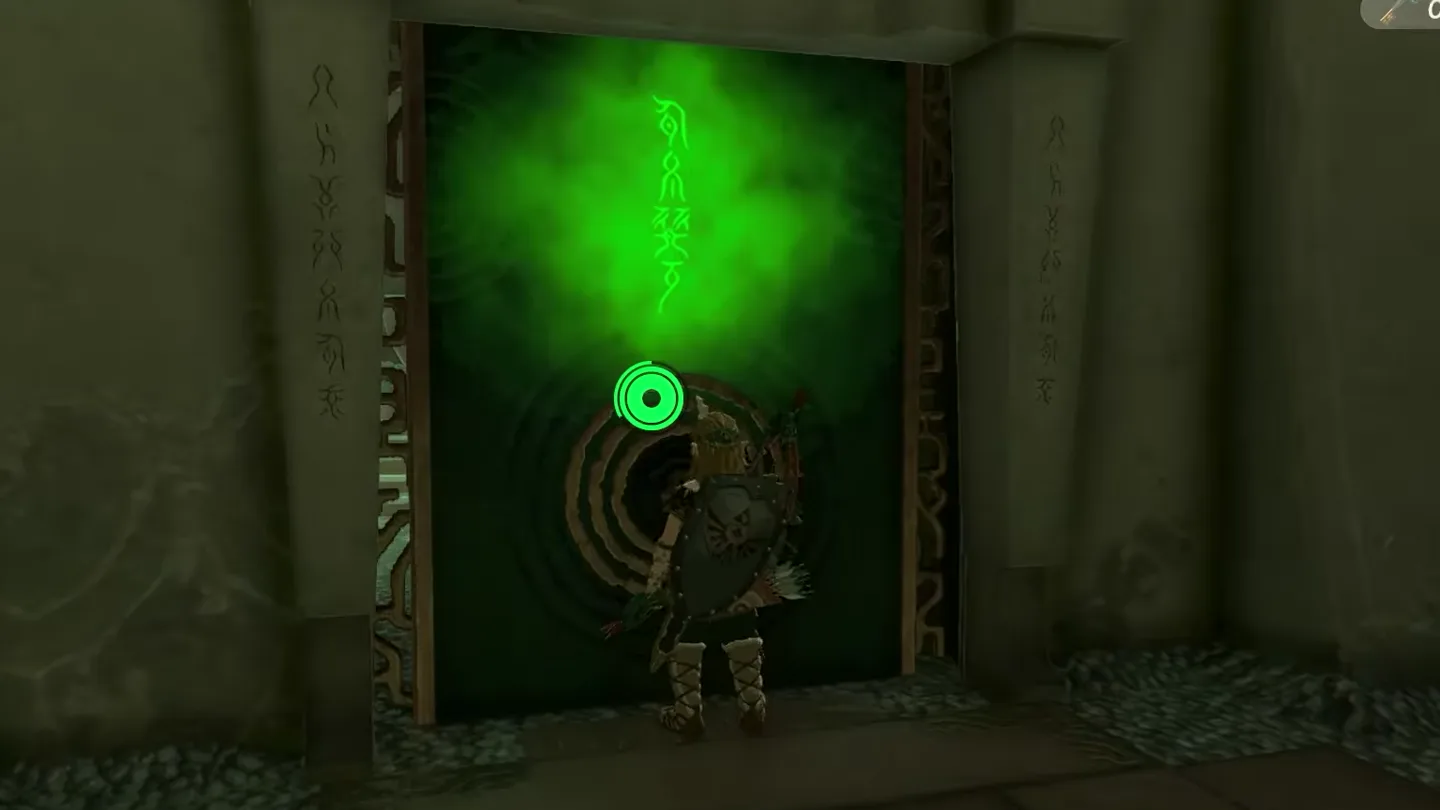
The altar door is locked and only the small key matters. Go to the right-hand side of the shrine, follow the corridor toward the northeast until you reach a stone slab you can lift with Ultrahand. The chest beneath it holds the key. Bring it back to the entrance and open the door.
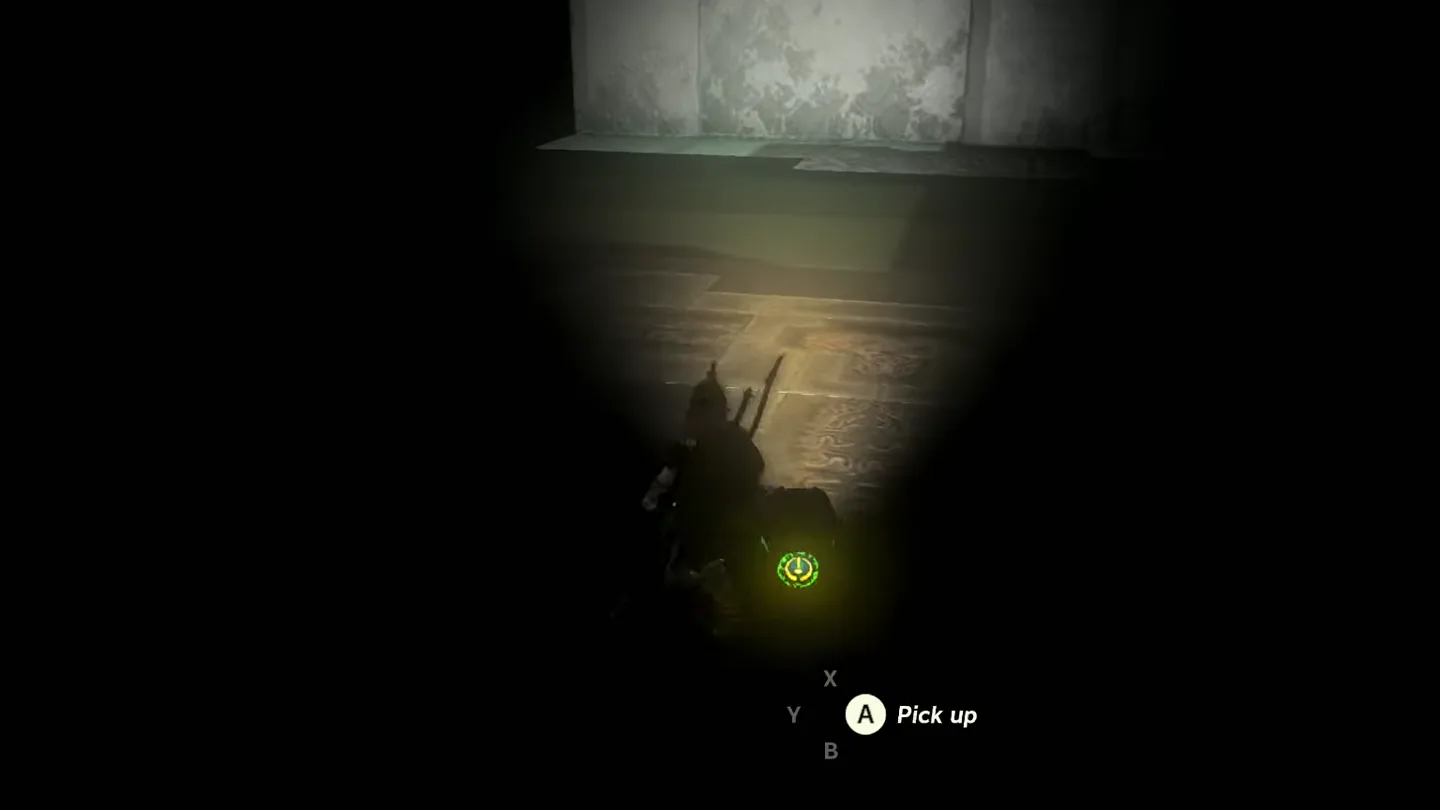
Pick up the flashlight. It glows on the floor to your right as you enter the dark room. Carry it everywhere.
Take the left hallway. Shine the light on the left side of the room and go in. Brightbloom Seeds, if you have any, also light up the maze when thrown.
Pick up the glowing flashlight ① on the floor to your right as you enter, and carry it everywhere. Screenshot (cropped) from Perfect Score
· used with permission
2. Left Corridor: Amber and the Ledge
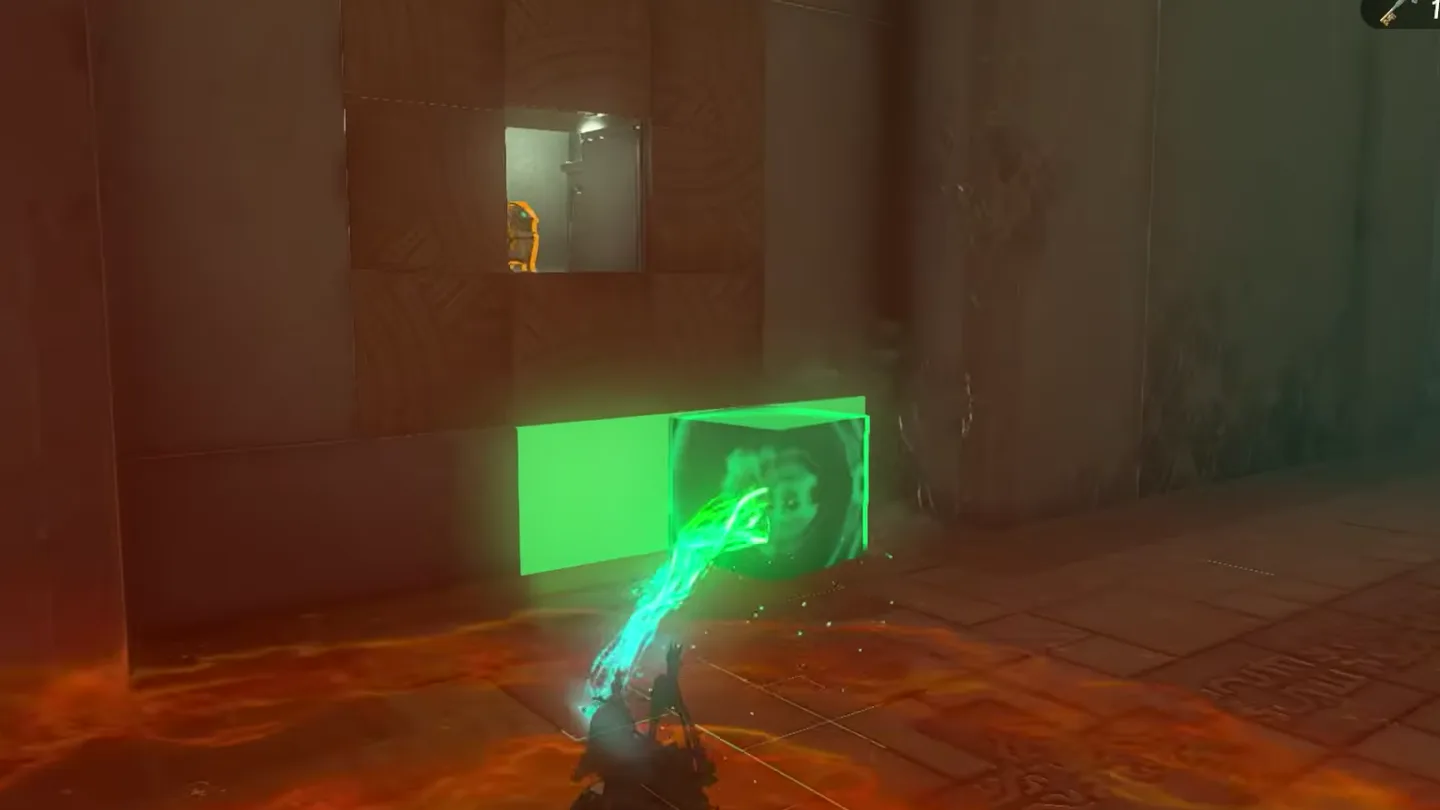
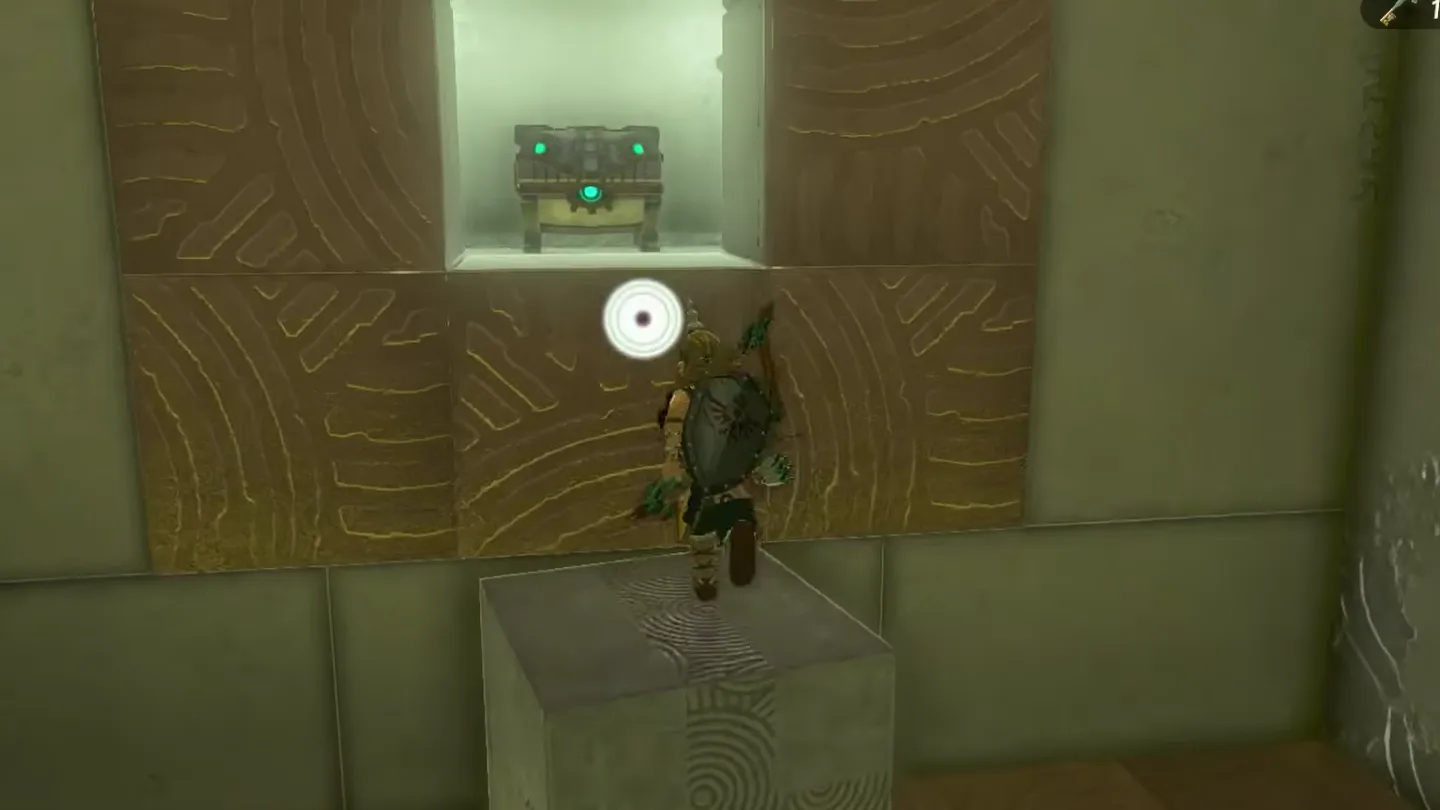
Amber. From the left hallway turn right and use Ultrahand to pull the square block out of the right-hand wall. Use it as a step to reach the hidden chest — Amber.
Ascend the ledge. Continue until you see spikes on the wall ahead. Turn left, look up for a ledge on the left wall, and Ascend onto it.
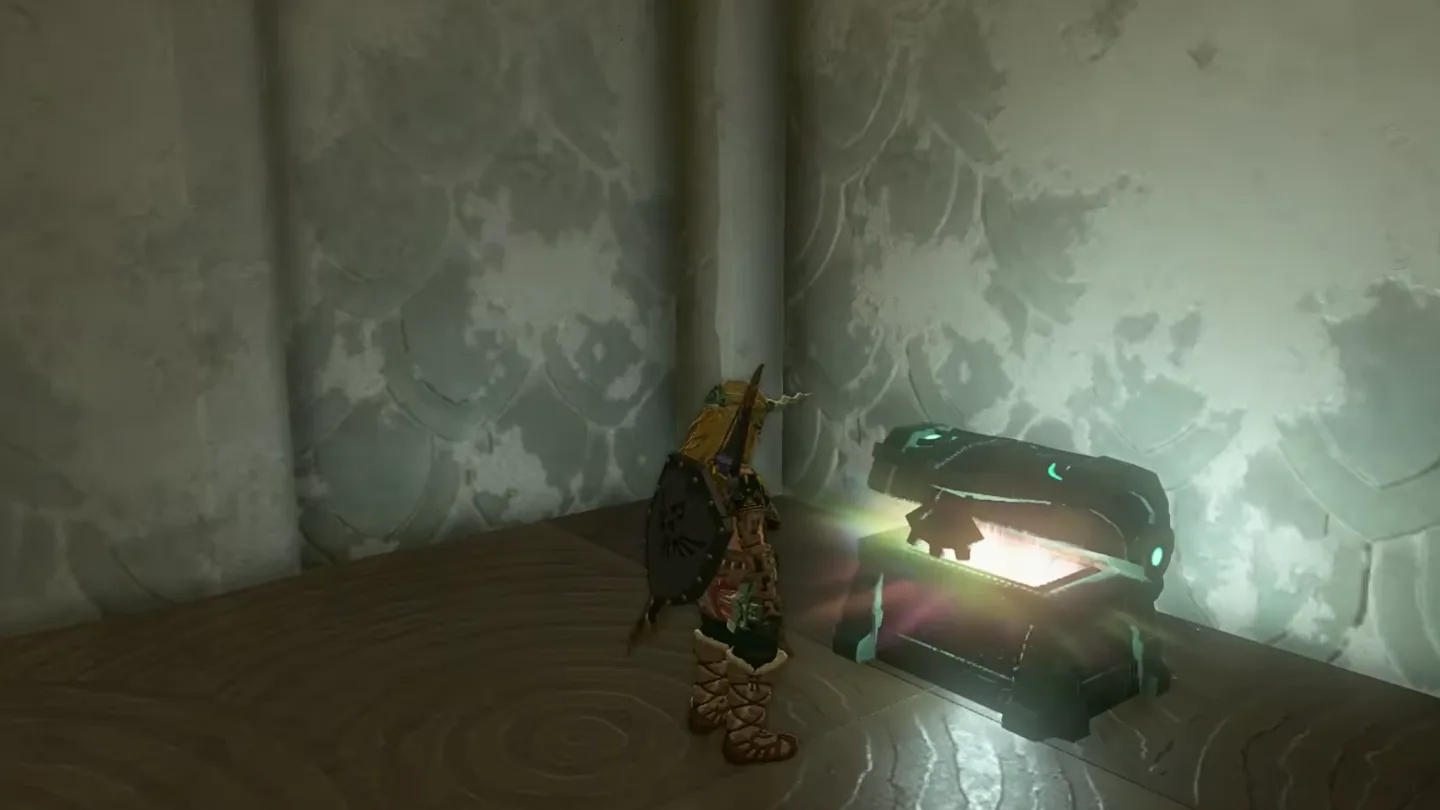
Zonaite Bow. Walk along the ledge until a lit room appears on your left. Enter and open the chest — Zonaite Bow.
After Ascending onto the ledge, walk along it to the lit room and open the chest ①: Zonaite Bow. Screenshot (cropped) from Perfect Score
· used with permission Pull the square block ① out of the right-hand wall with Ultrahand; the hidden chest sits in the alcove ② above. Screenshot (cropped) from Perfect Score
· used with permission Use the block as a step to reach the chest ①: Amber. Screenshot (cropped) from Perfect Score
· used with permission
3. Middle Hallway Descent
Drop into the middle hallway. Go back to the ledge, drop down, and enter the hallway near the middle of it.
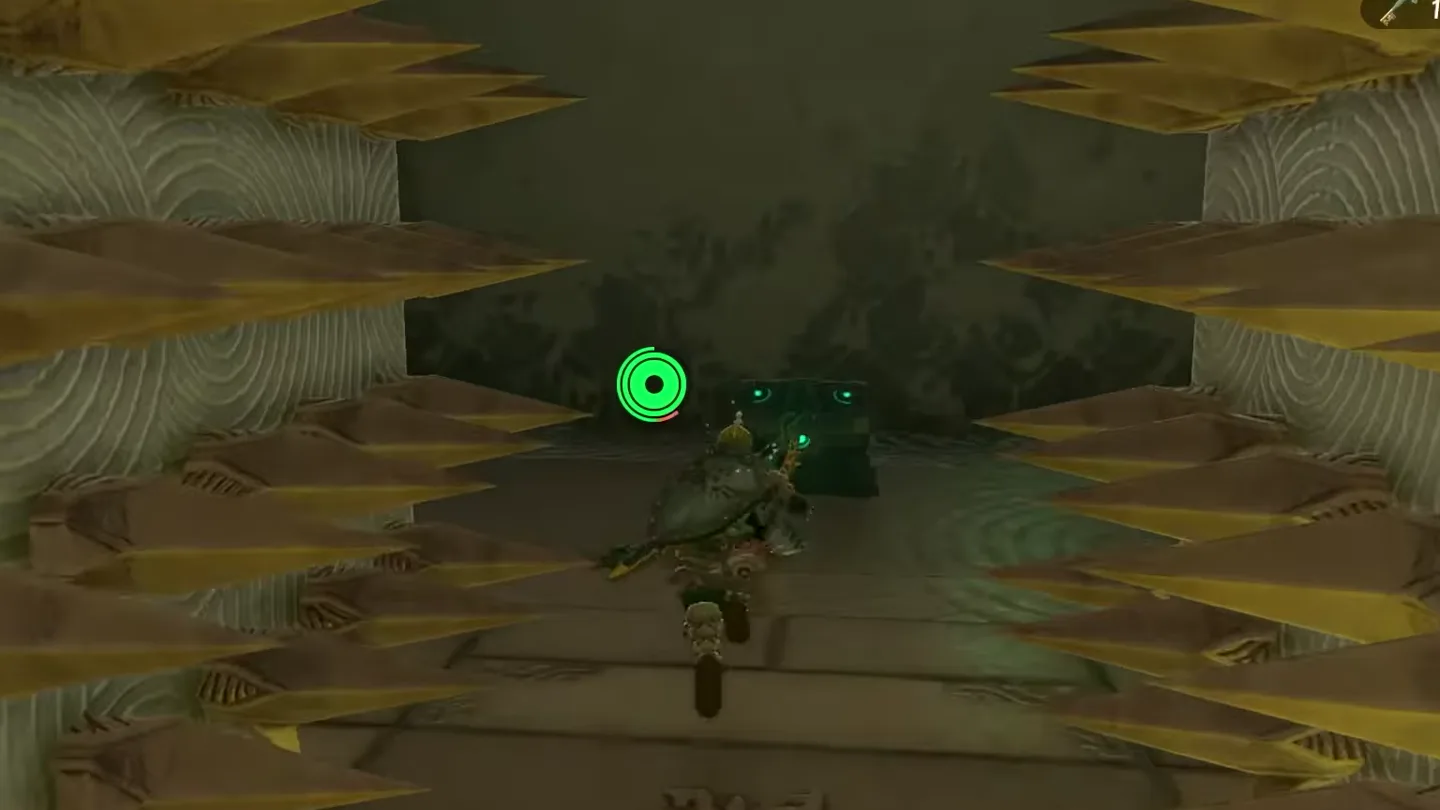
Luminous Stone. Follow the hallway to the chest at the end — Luminous Stone. Mind the spikes on both walls.
Follow the middle hallway, minding the spikes on both walls, to the chest ① at the end: Luminous Stone. Screenshot (cropped) from Perfect Score
· used with permission
4. Right Corridor and the Small Key
Back out, turn right. Return to the hallway entrance and turn right.
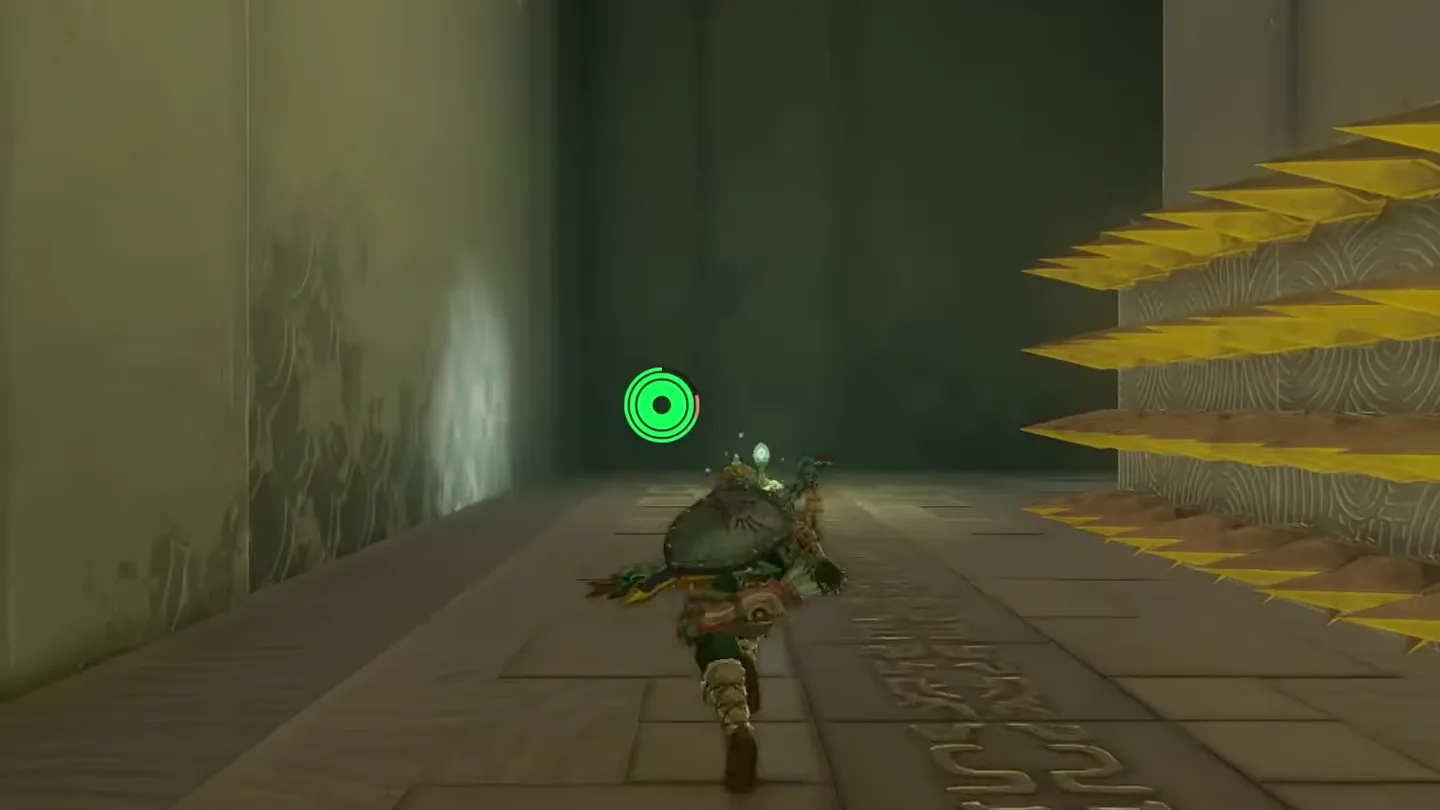
Right again. At the end, turn right once more; spikes on the right-hand wall mean you are on track.
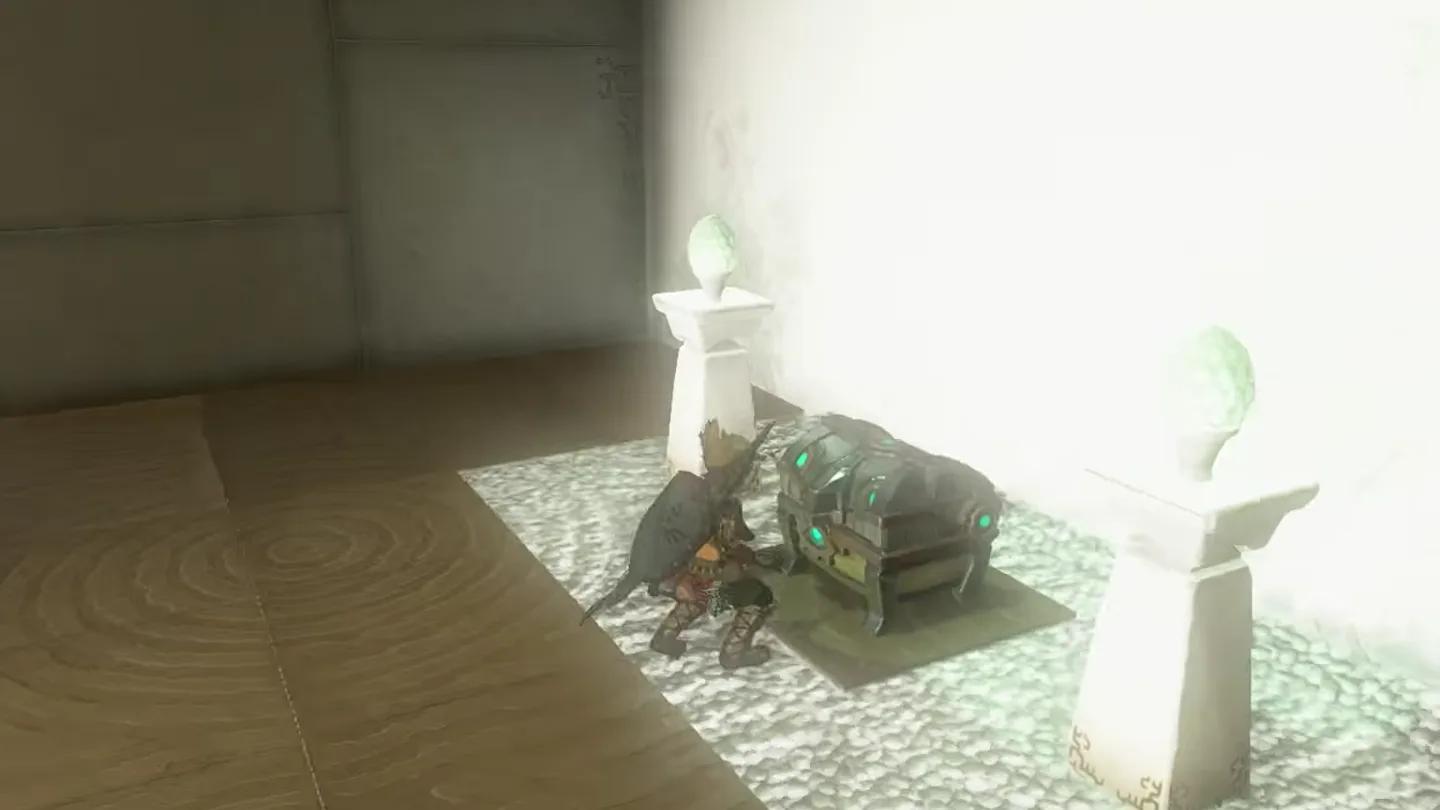
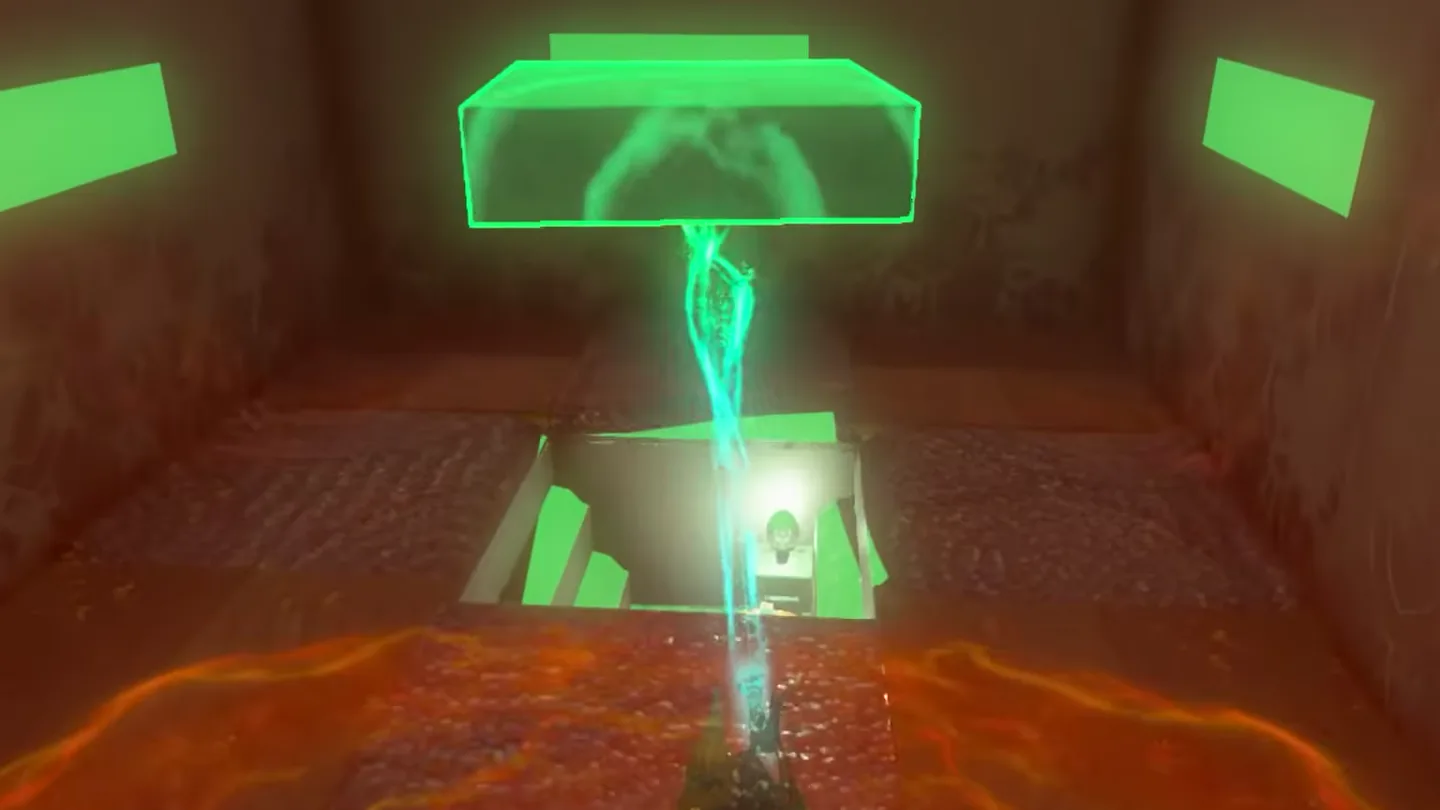
Small key. At the end of that hallway, lift the floor block with Ultrahand and open the chest beneath — small key.
Spikes on the right-hand wall mean you are in the key hallway. Screenshot (cropped) from Perfect Score
· used with permission At the end of that hallway, lift the floor block ① with Ultrahand and open the chest in the pit ② below: small key. Screenshot (cropped) from Perfect Score
· used with permission
5. Spikes, Lasers, and the Final Chest
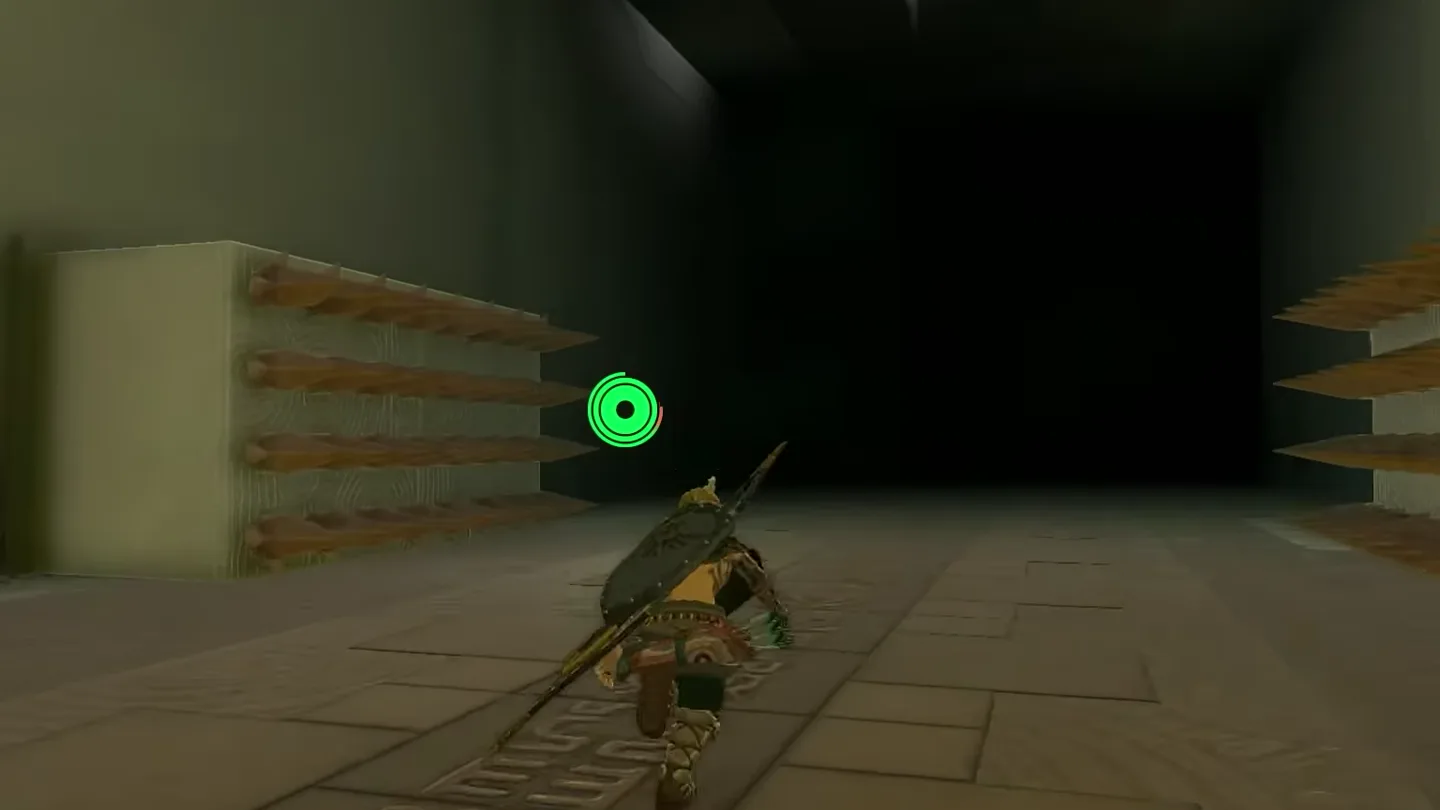
Back to the big hallway. Return to the entrance of the hallway you are in and continue into the larger corridor, marked by two big spikes on either wall.
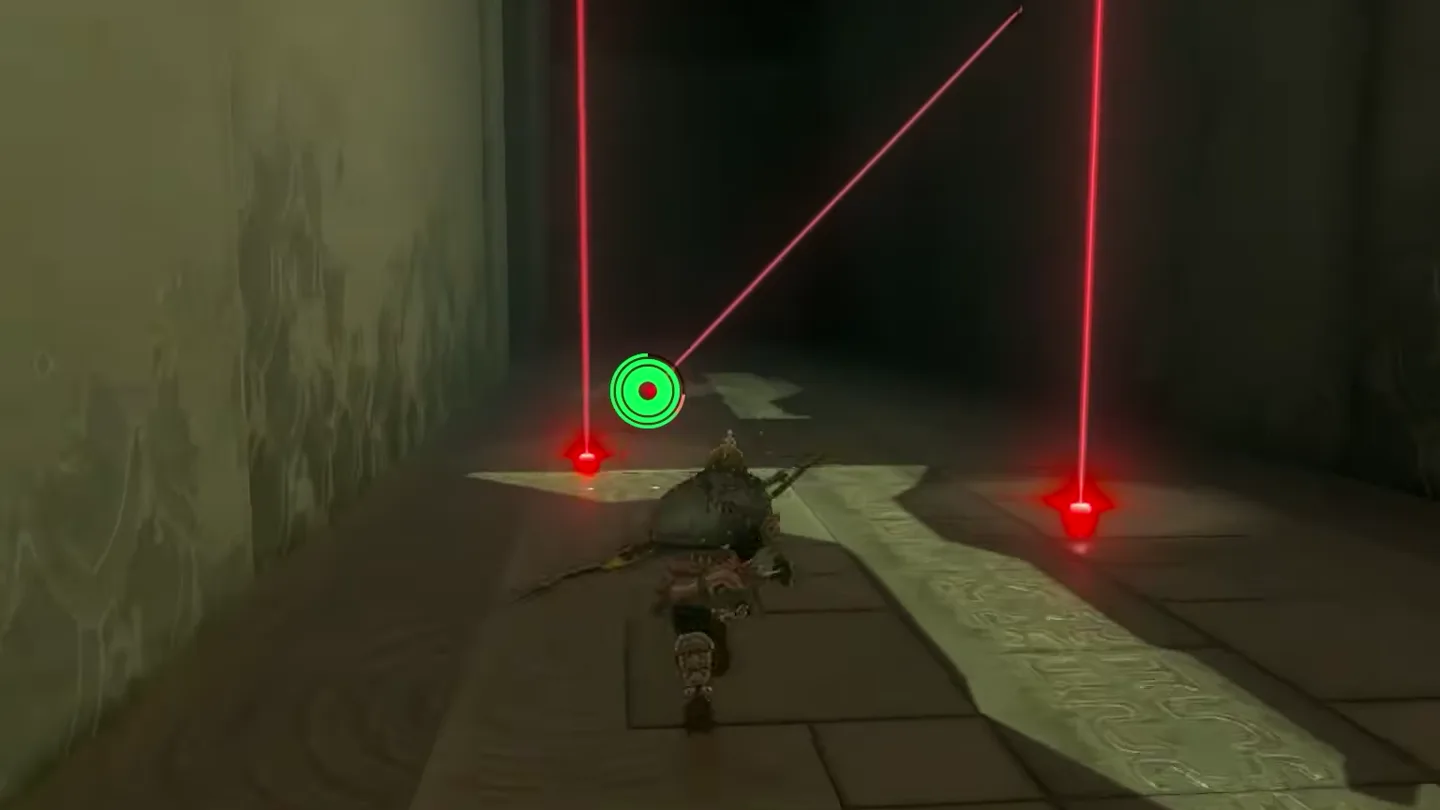
Find the lasers. Past the big spikes, turn left, then into the hallway on your right where the lasers are.
Opal. Thread through the lasers to the chest at the end — Opal.
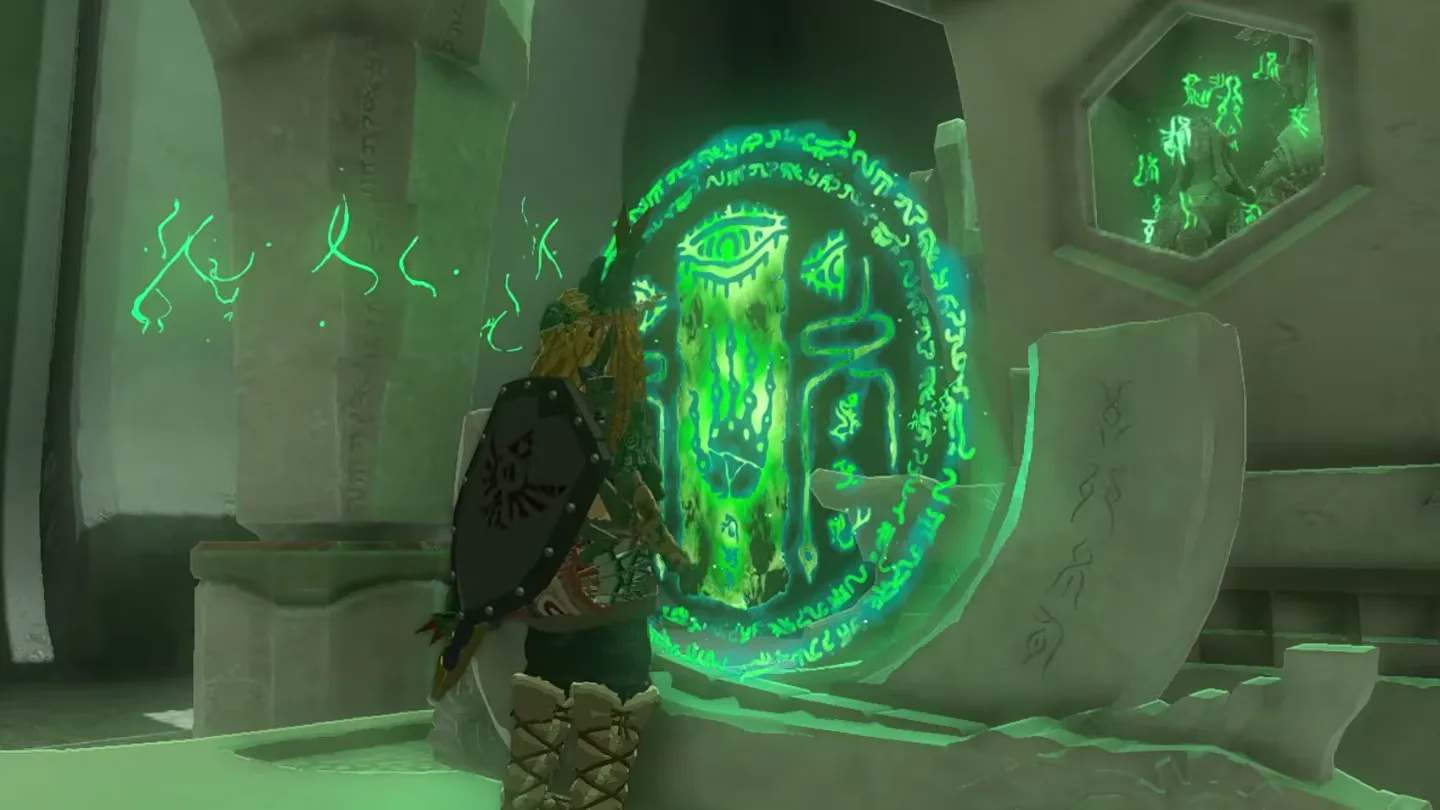
Home. Back through the lasers, right at the end, right again, and you are at the entrance. Use the key on the altar door and take the Light of Blessing.
West of the Great Hyrule Forest and northeast of Mount Drena, at -0396, 2736, 0308, in rocky terrain. Launch from Thyphlo Ruins Skyview Tower and glide southwest.
Where is the small key in Kikakin Shrine?
On the right-hand side of the maze. Follow the corridor toward the northeast until you find a stone slab you can lift with Ultrahand — the chest underneath holds the small key that opens the altar door.
How many chests are in Kikakin Shrine?
Five including the key chest. The other four hold Amber (hidden compartment, reach it with the wall block), a Zonaite Bow (lit room above the ledge), a Luminous Stone (end of the middle hallway) and an Opal (past the lasers).