

Kitawak Shrine Location and Solution (TotK)
Kitawak Shrine in Tears of the Kingdom, East Gerudo Mesa: Upward and Forward reuses stone slabs as bridges, a gear ride and a launcher. Chest: Arrow x10.
Where is Kitawak Shrine?
On East Gerudo Mesa in the Gerudo Highlands, northeast of the South Lomei Labyrinth. Launch from Gerudo Canyon Skyview Tower and glide southeast. The location matches our 152-shrine table.
| Item | Detail |
|---|---|
| Trial | Upward and Forward |
| Region | Gerudo (surface, East Gerudo Mesa) |
| Location | Show on map |
| Type | Puzzle — Ultrahand |
| Chests | 1 (Arrow x10) |
| Names | 奇塔瓦卡神廟 (zh-TW) · 奇塔瓦卡神庙 (zh-CN) |
Video walkthrough

Step-by-step solution
Upward and Forward gives you stone slabs that must be detached and reused as bridges, moving steps, and a final launching arm.
1. First Bridge and Gear Ride
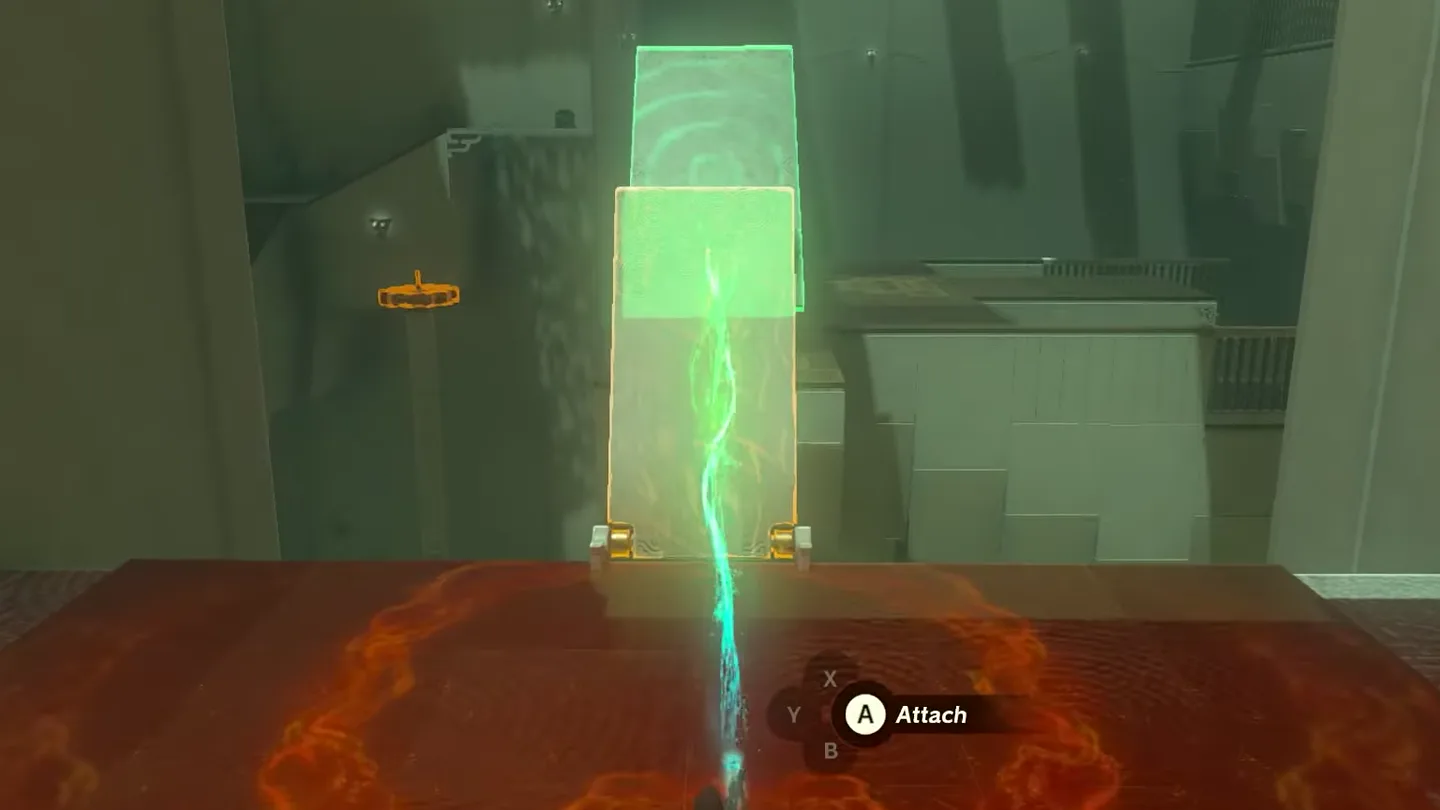
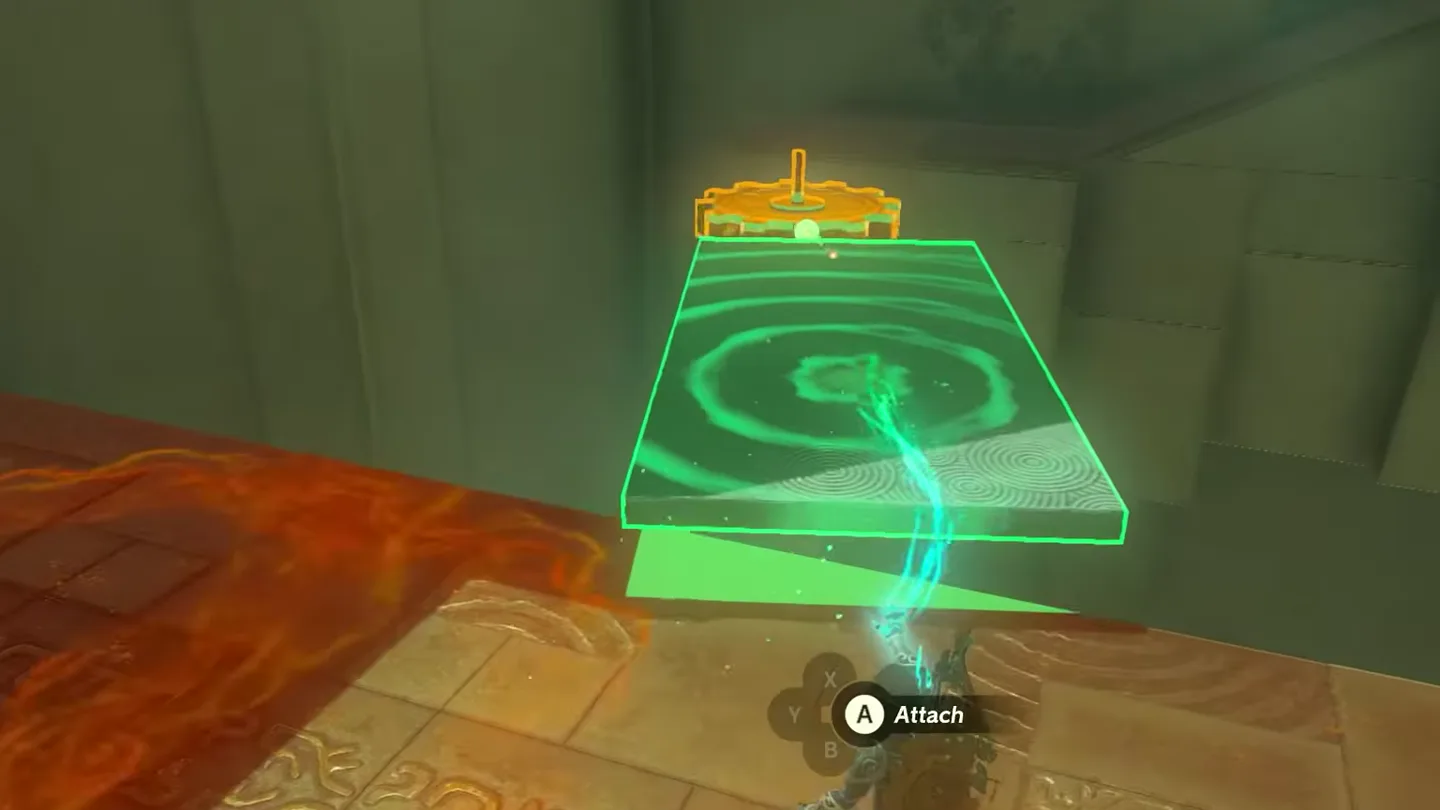
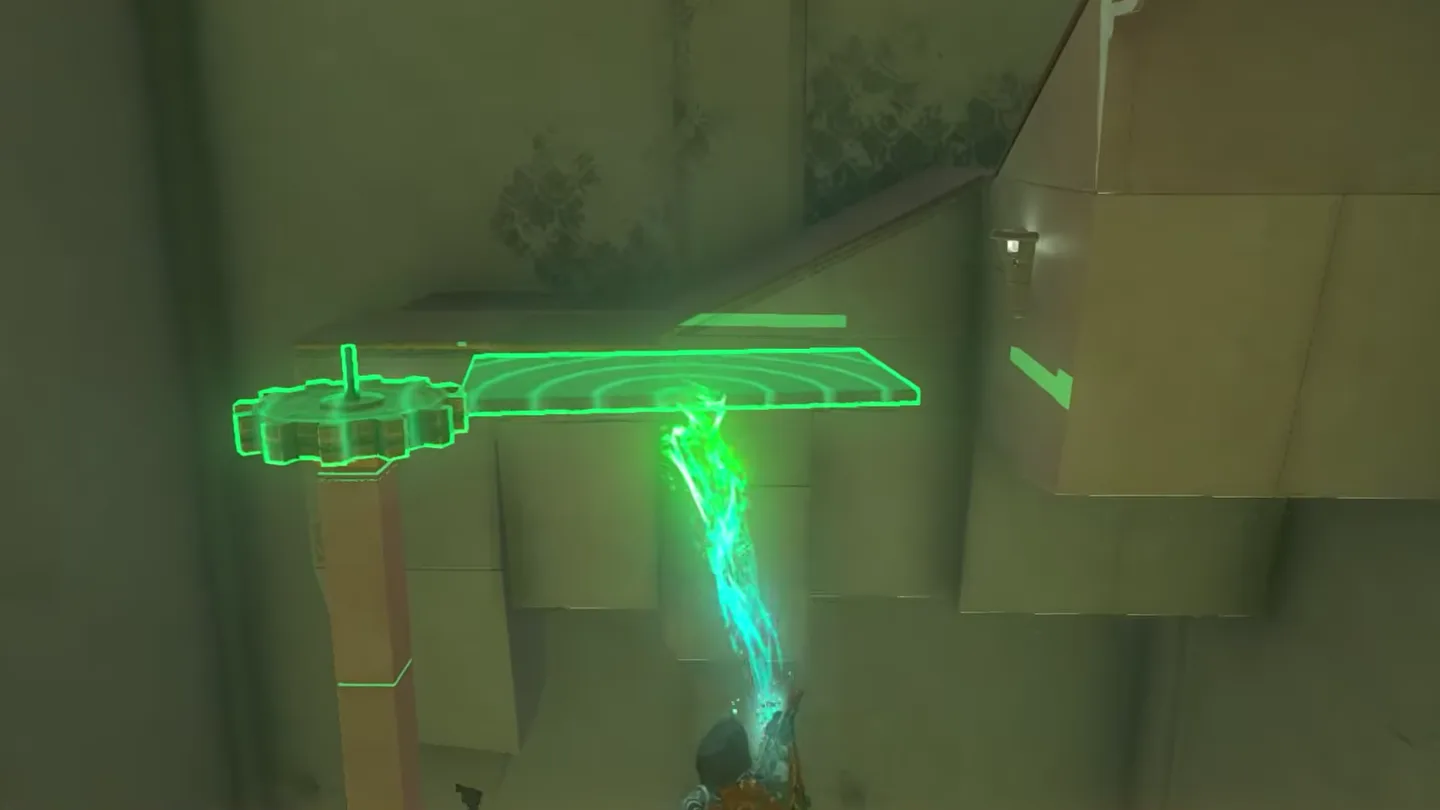
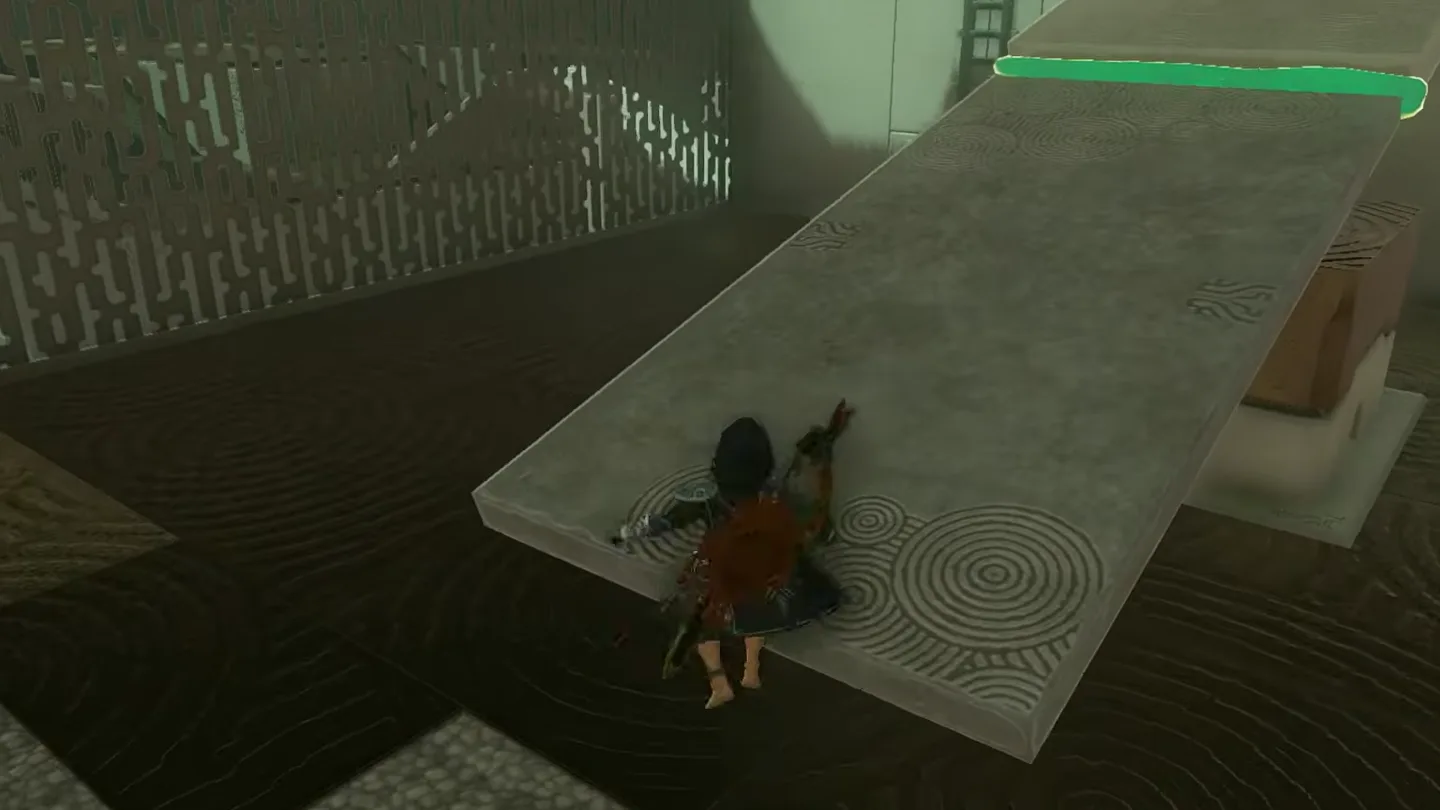
Make the first bridge. Use Ultrahand to take the slab from the right wall and attach it to the far end of the standing platform ahead. Cross it.
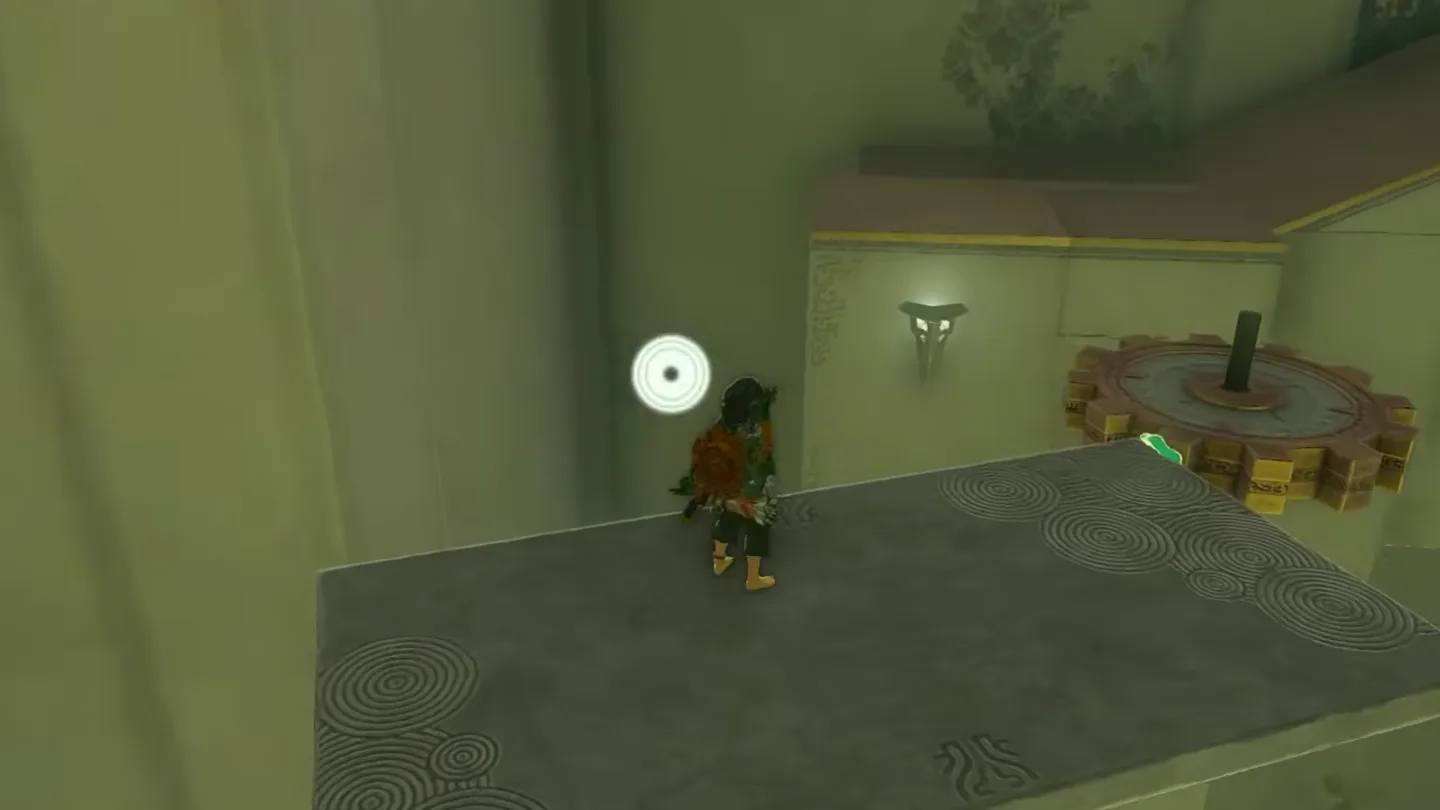
Move the slab to the gear. Detach that same slab and attach it to the moving gear on the left. Step onto it when it rotates within reach, then ride across.
2. Chest Collection and Slab Recovery
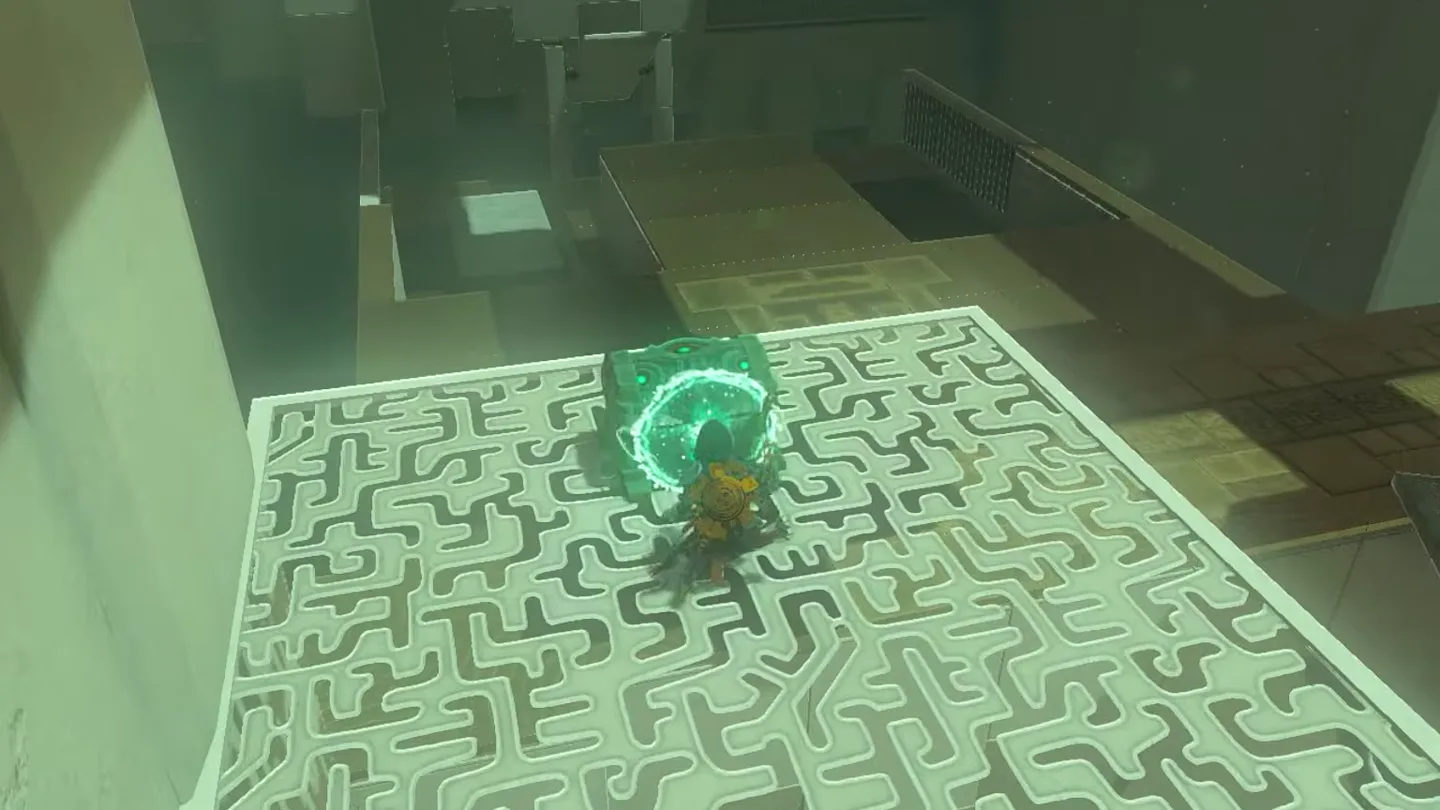
Collect the chest. Continue up the ramp and open the chest for Arrow x10.
Recover the moving slab. Return to the previous section and detach the slab from the gear.
3. Second Crossing and Launcher Setup
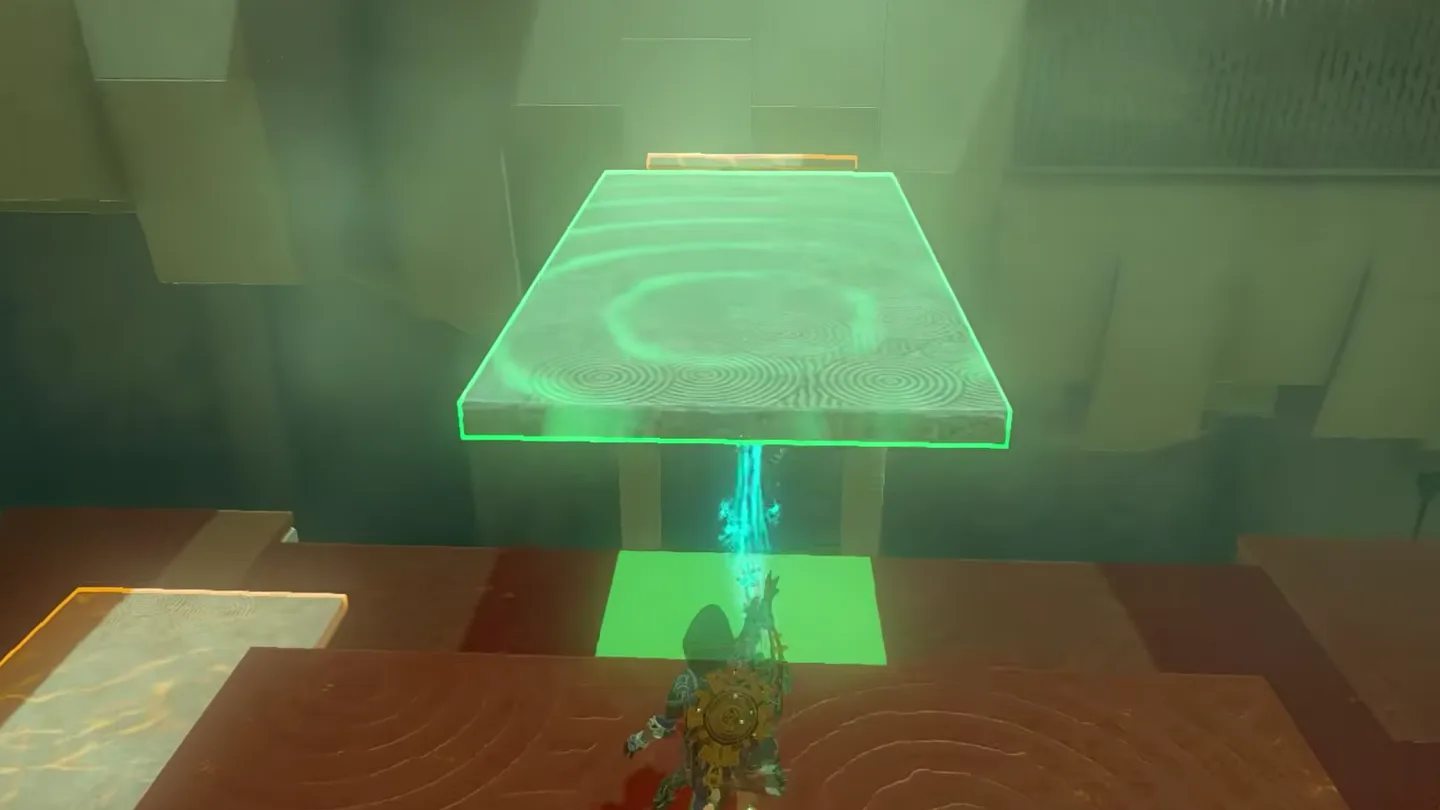
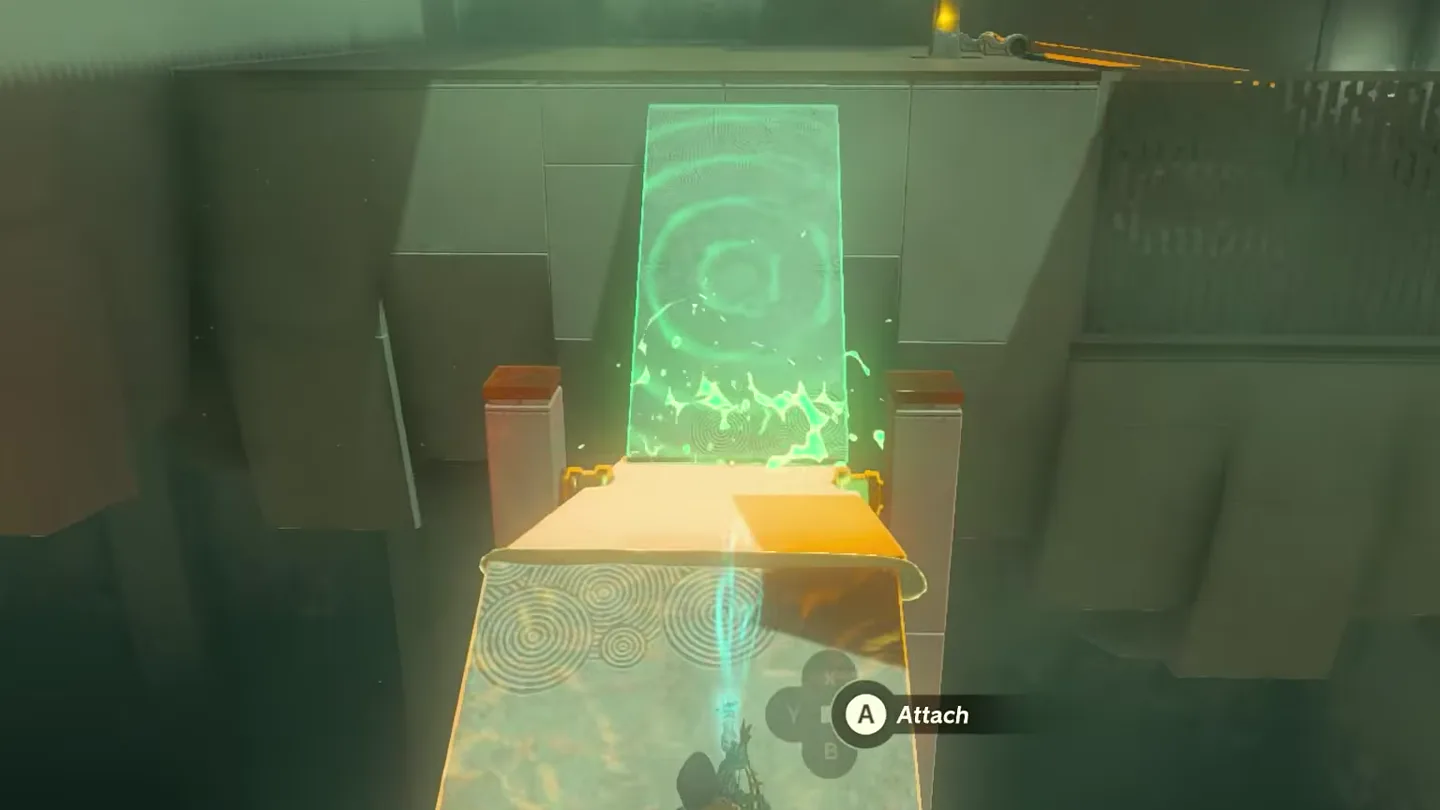
Build the next crossing. At the next platform, attach one slab vertically to the end nearest you. Carry the other slab across, then attach it to the far end as a ramp.
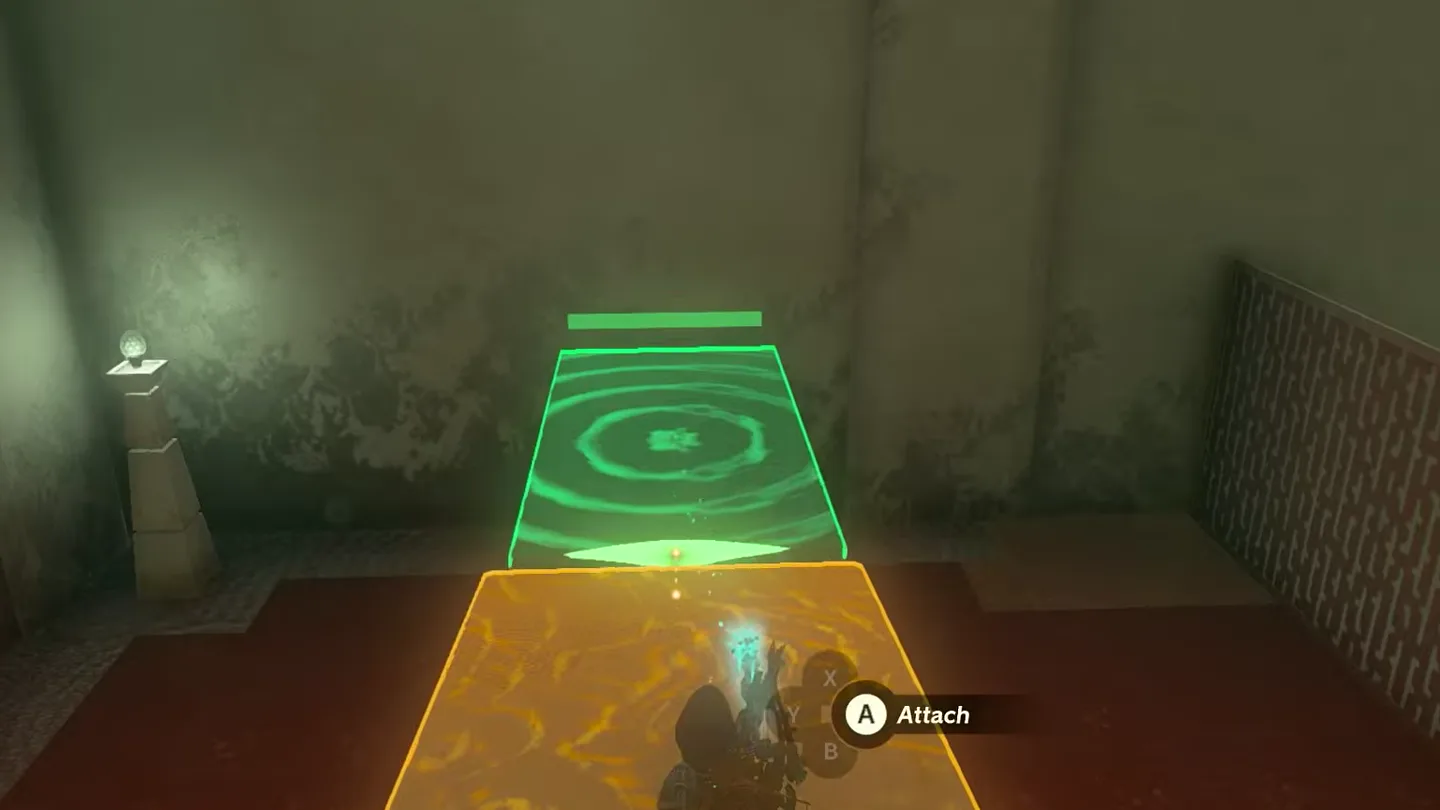
Prepare the launcher. Take the ramp slab with you and attach it to the far end of the platform on the right.
4. Launch to Altar
Trigger the launch. Stand on that far edge and shoot the switch with a bow and arrow. The platform propels you toward the altar.
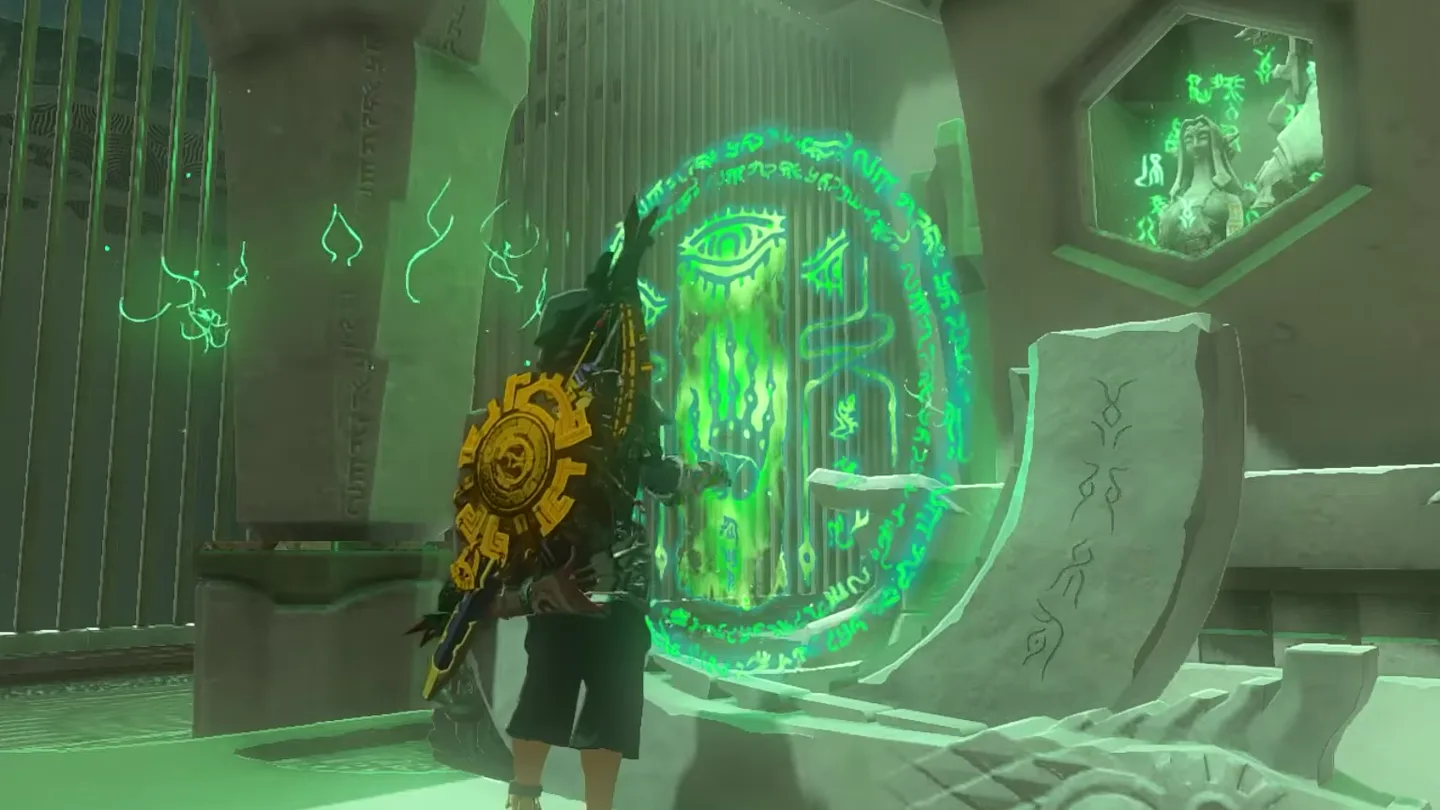
Altar. Examine it for the Light of Blessing.
Chests
| Chest | Contents | How |
|---|---|---|
| 1 | Arrow x10 | Attach the first slab to the moving gear, ride it across, and follow the ramp up |
Related
- All 152 shrine locations — the full checklist
- Interactive shrine map — plot Kitawak with every Gerudo shrine
- Mayamats Shrine — another Gerudo shrine solution
- Rotsumamu Shrine — another Gerudo shrine walkthrough
FAQ
Where is Kitawak Shrine?
How does the final platform work in Kitawak Shrine?
Where is the chest in Kitawak Shrine?
Related Articles
armor
BotW Jewelry and Monster Masks: Prices, Effects, Where to Get
Breath of the Wild jewelry from the Gerudo Town shop: rupee and gem costs, effects, upgrades, plus the four monster masks, their Mon prices and whether they work.
guides
BotW The Forgotten Sword: Where the Sword Is and Snow Boots
The Forgotten Sword in Breath of the Wild: how to start it after The Eighth Heroine, where the giant sword on Gerudo Summit is, what to bring, and the Snow Boots.
guides
BotW The Secret Club's Secret: Password Answer, Where to Hear It
The Secret Club's Secret in Breath of the Wild: the Gerudo Secret Club password, what happens if you get it wrong, where to eavesdrop, and what the club sells.
Was this helpful?
Thanks for the feedback!