Otak Shrine Location and Solution (Tears of the Kingdom)
How to melt your way into Icefall Foothills Cave to reach Otak Shrine (-4391, 3714, 0234), the six-Construct route, and the Mighty Construct Bow chest.
8/31/2026 1.4.3 QuestFern Team Last updated: 9/23/2026 5 min read
Some terrain tiles could not load. Switch to the coordinate grid or retry.
Inside Icefall Foothills Cave, the northwestern-most corner of the map. Pack warm food and expect a long trek: glide down from the peaks to the cave mouth at -4429, 3752, 0224. Coordinates match our 152-shrine table.
Item
Detail
Trial
Proving Grounds: Traps
Region
Hebra (surface, Icefall Foothills Cave)
Coordinates
-4391, 3714, 0234
Type
Proving Grounds — combat
Chests
1 (Mighty Construct Bow)
Names
歐塔卡卡神廟 (zh-TW) · 欧塔卡卡神庙 (zh-CN)
How to reach it
Melt the entrance. The cave mouth is blocked by ice. Stand beside it with a torch or any burning item and it melts — no need to swing.
Optional: thaw the enemies. Two enemies are frozen in the first section. You can melt them out and fight them, or walk past.
Melt the next wall, then break the ice floor in the centre by jumping on it — it takes a few landings.
Fight the camp. A Black Bokoblin, an archer and a staff Bokoblin wait below, and they hit hard. Take the archer out first, then use a Shock Emitter to keep the staff Bokoblin out of the fight while you deal with the Black Bokoblin. A Flame Emitter catches several at once.
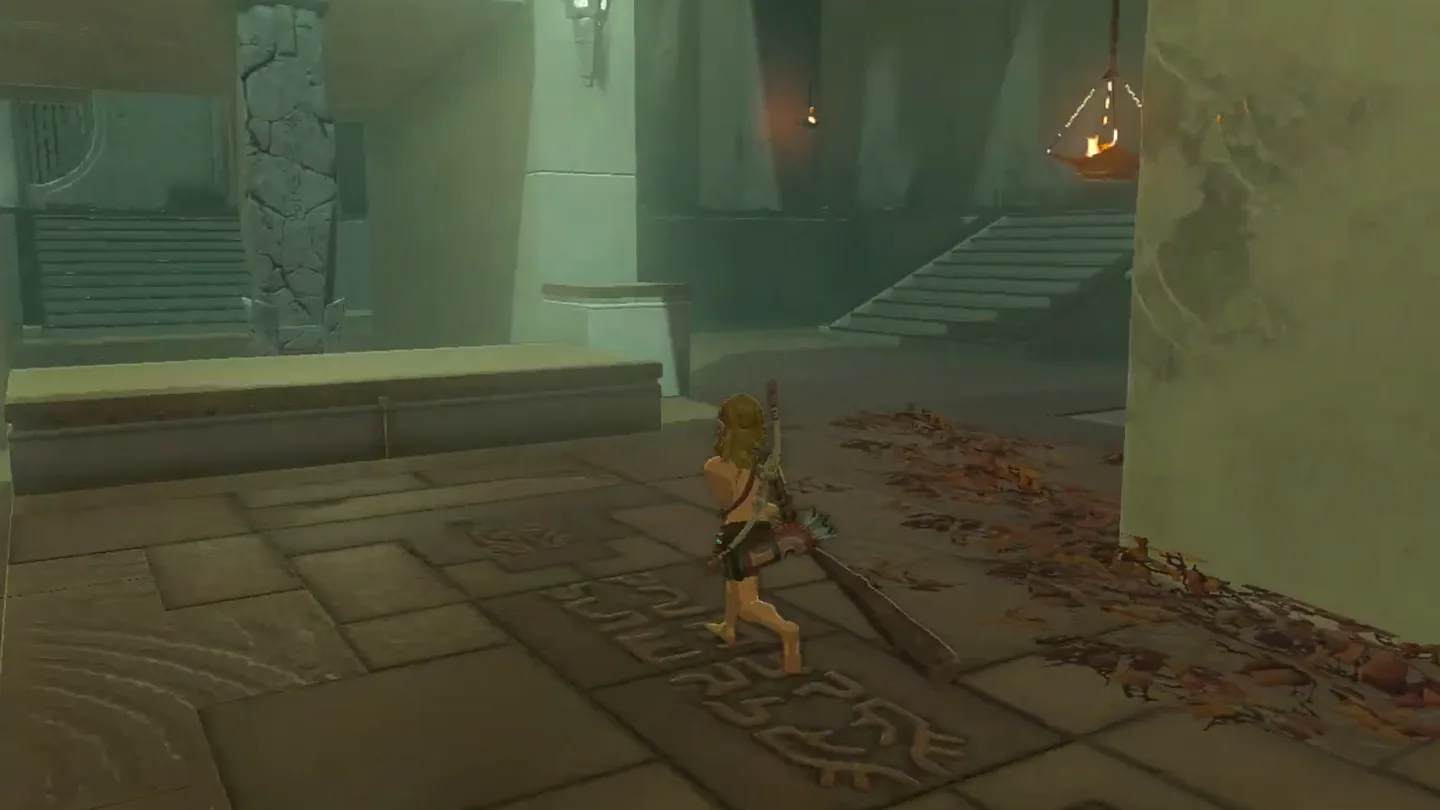
Melt the last ice on the raised path and step into the shrine.
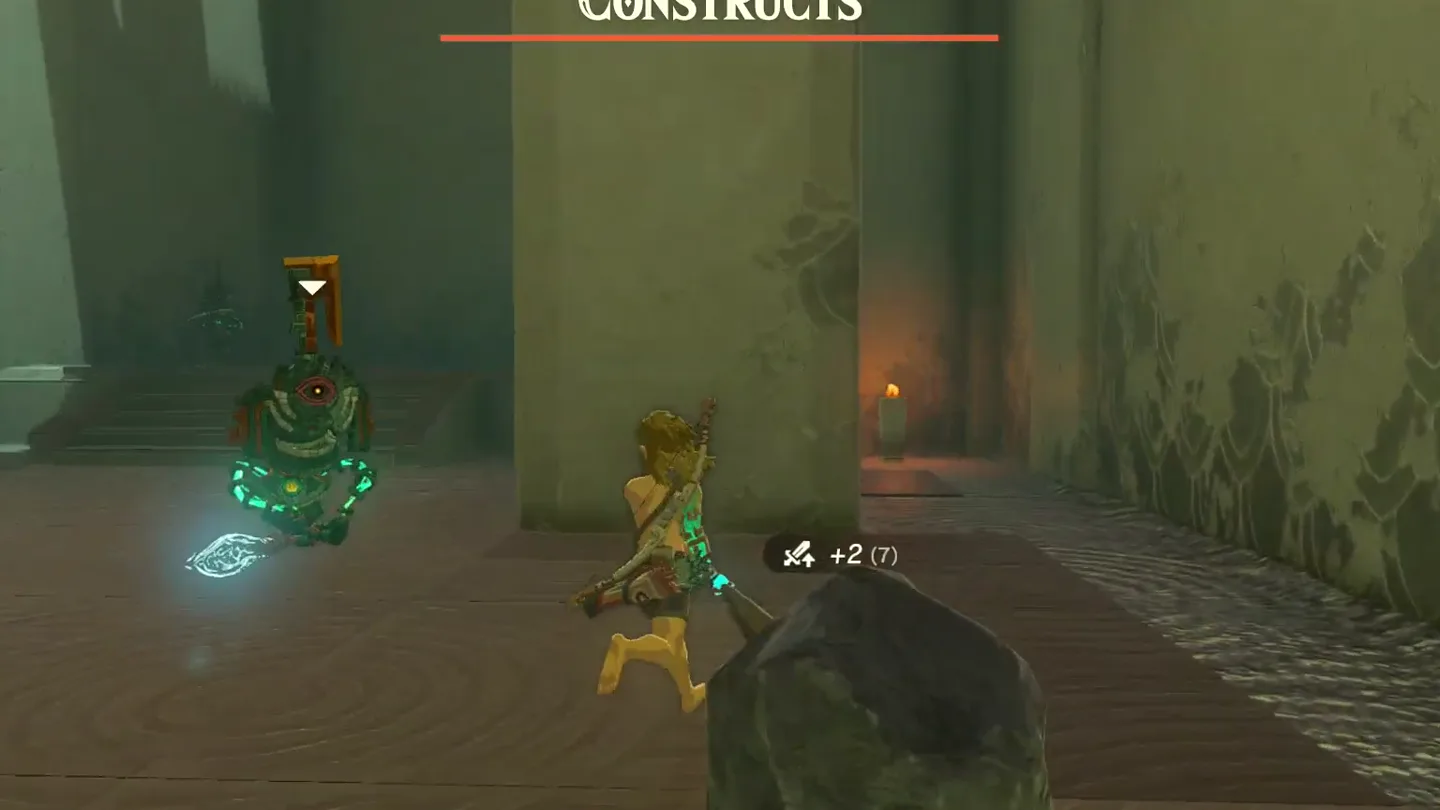
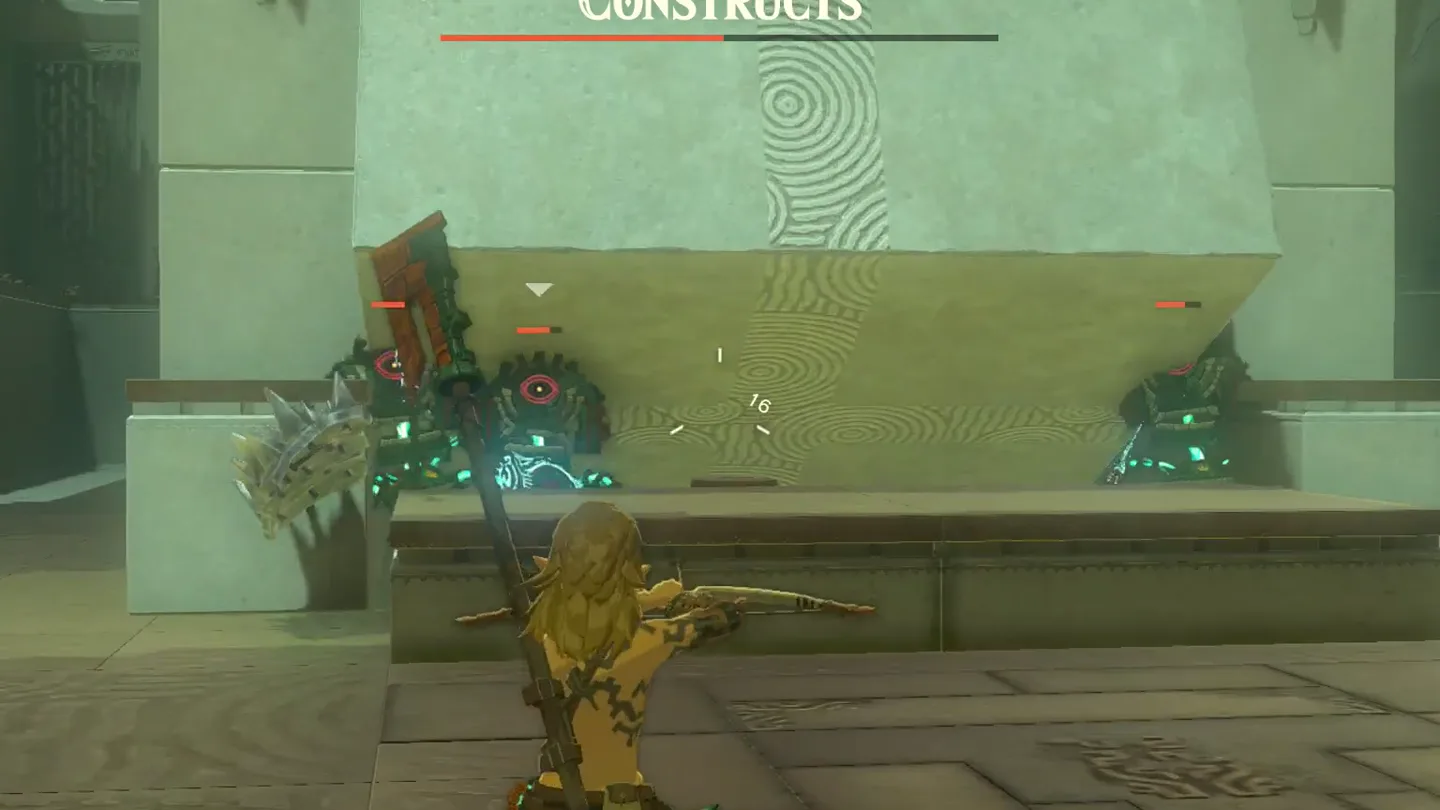
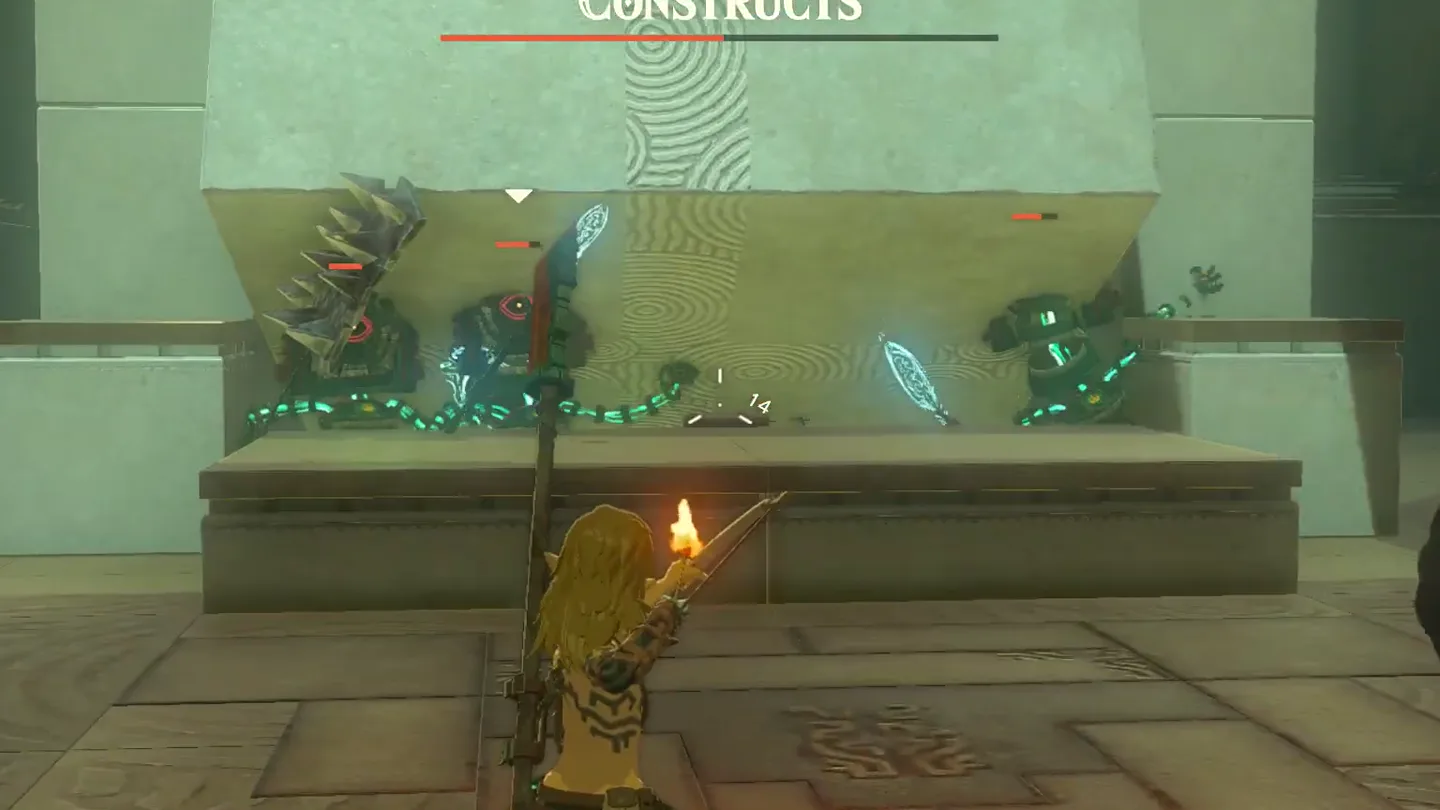
Pull the right-hand pair. There are six Constructs in three pairs. Shoot an arrow to aggro the pair on the right — the archer usually comes first. Duck behind the pillars and collect the arrows it fires at you for ammo.
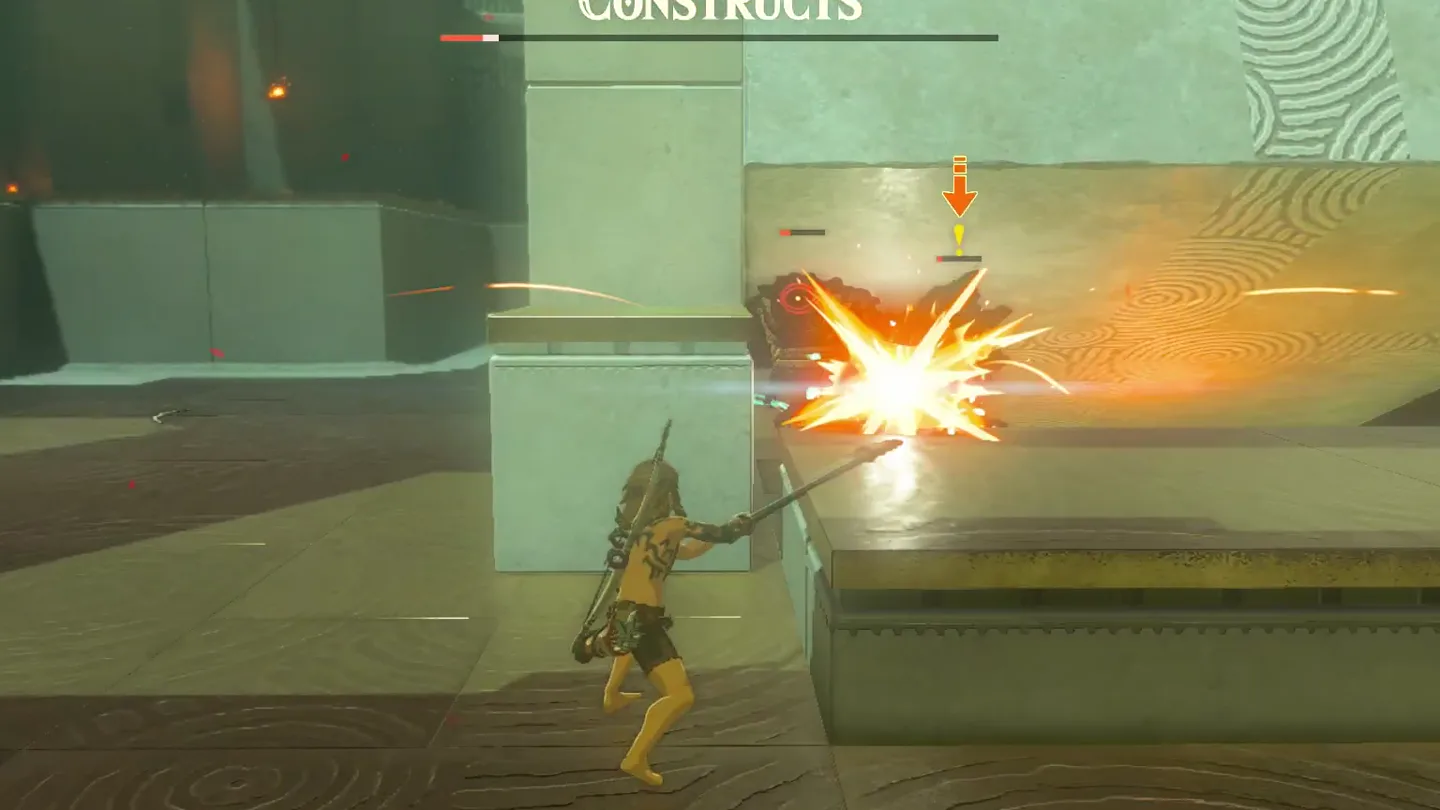
Stun the spear Construct with timed hits as it closes, and take it down without trading damage.
Fuse. Combine the materials and weapon it drops into something better.
Kill the archer at range or up close — either way it feeds you more materials.
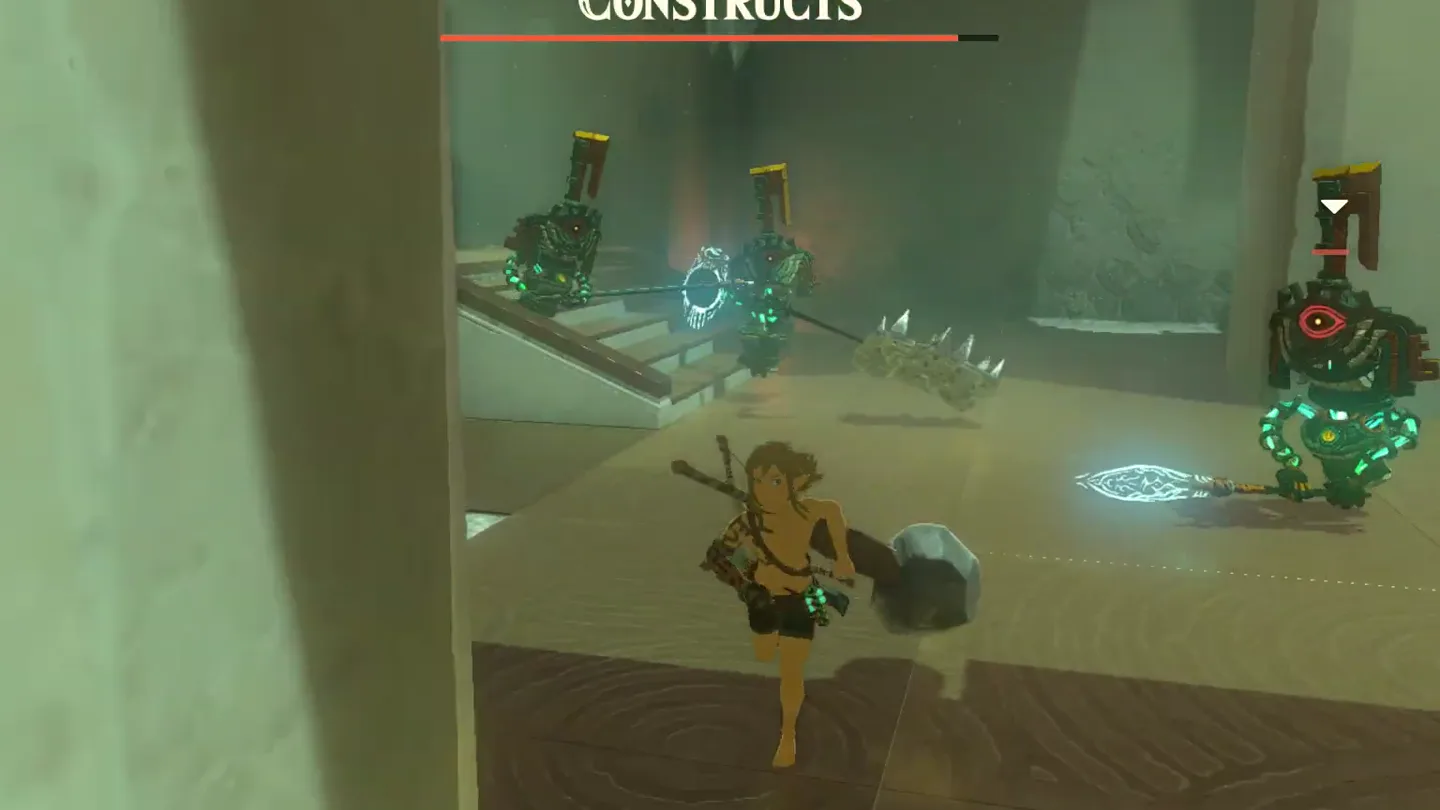
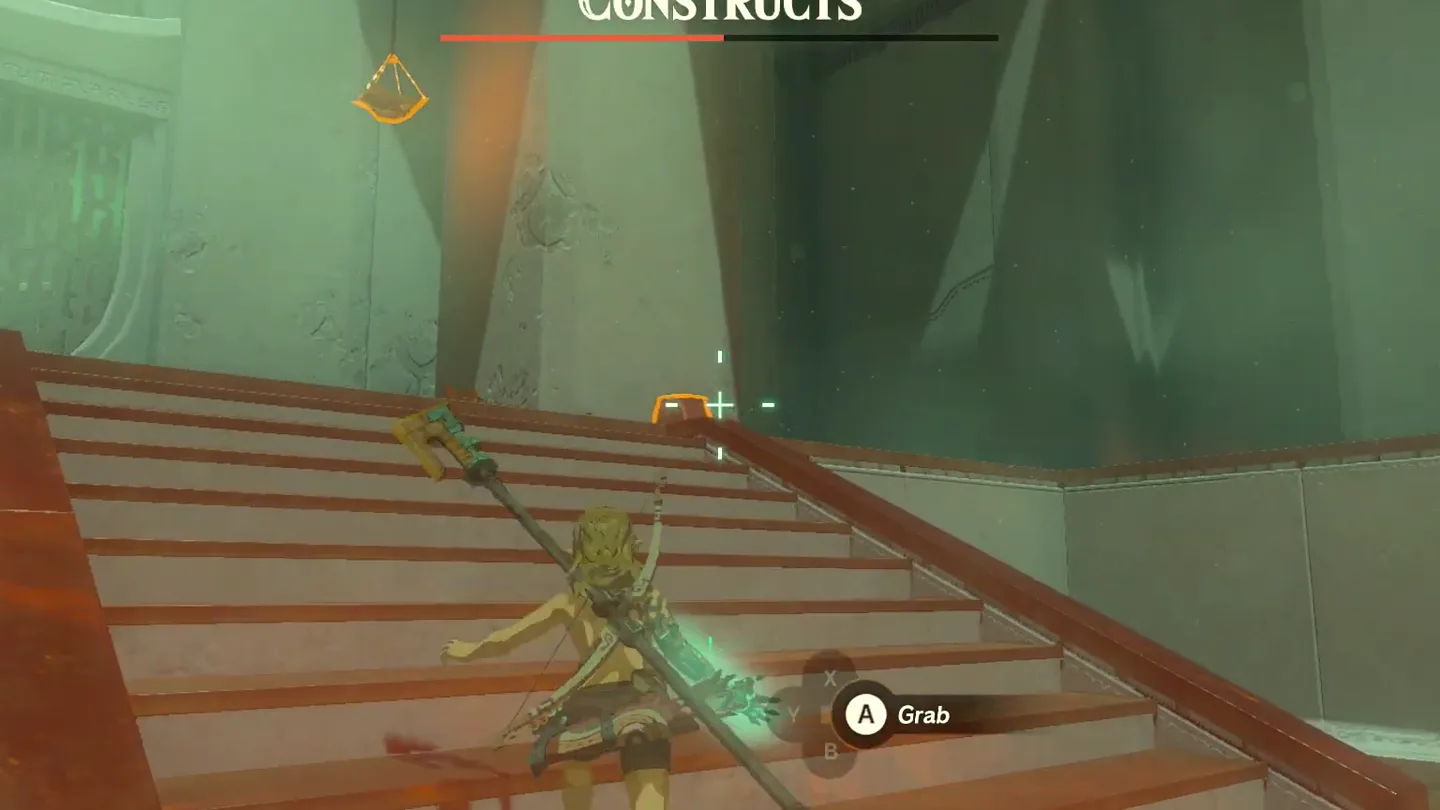
Aggro the second pair, and as they chase you, cut the rope on the hanging lamp to drop it on them.
Isolate them. One carries a shield and a spin attack. Climb the platform and hop back down to break their pursuit so you fight the spear Construct alone first.
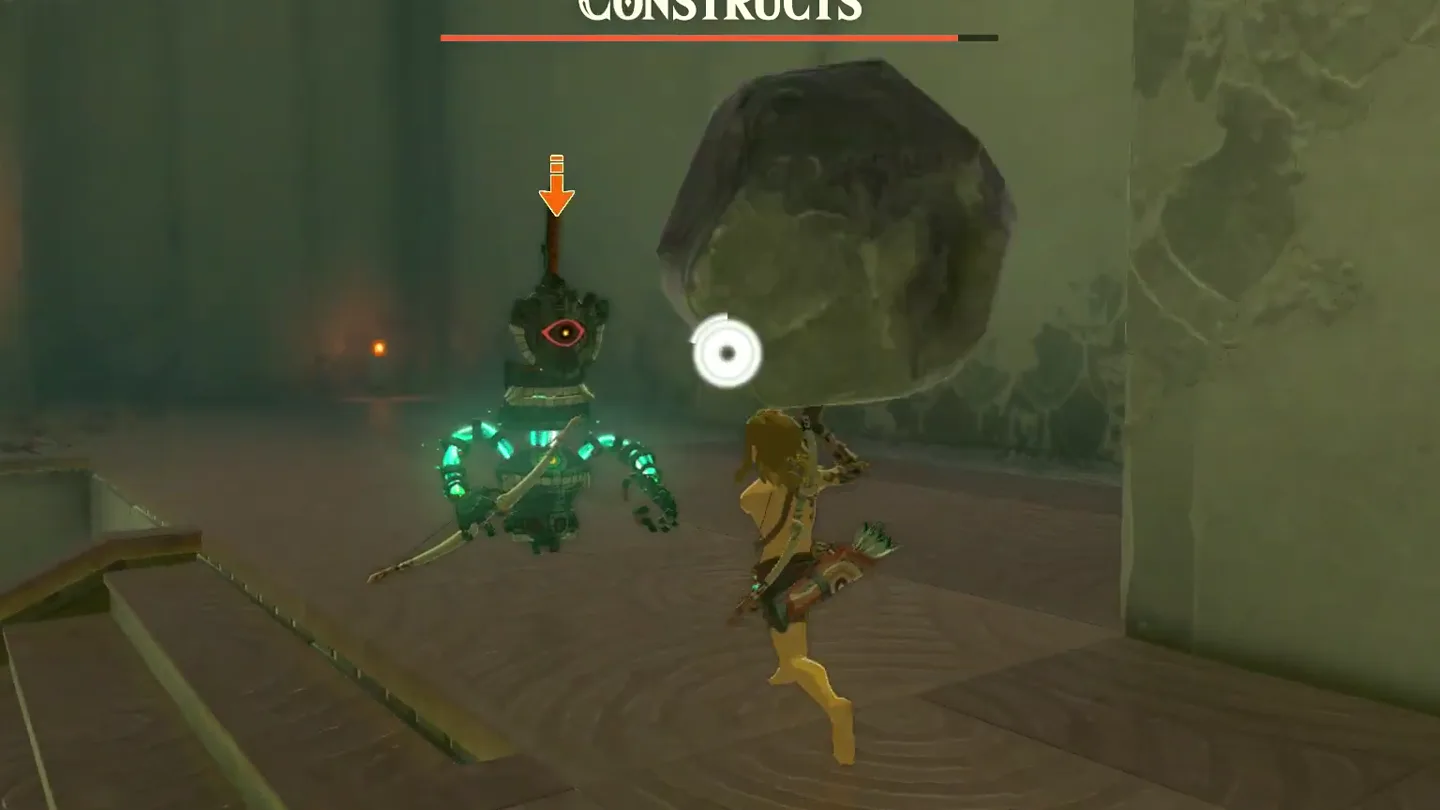
Arrow the spinner. When it starts its spin attack, shoot it — it staggers, and you can close in and finish it before it recovers.
Finish the last pair with the shield you have now taken, blocking rather than dodging. The door opens.
Eutoum Shrine — the other Hebra Proving Grounds, to the east
FAQ
How do I get into Icefall Foothills Cave?
The cave mouth at -4429, 3752, 0224 is sealed with ice. Stand next to it holding a torch or any burning item and the ice melts on its own. Two more ice walls inside need the same treatment, and one floor of ice has to be broken by jumping on it.
How many enemies are in Otak Shrine?
Six Constructs inside the shrine, in three pairs. Outside, the cave itself holds a Black Bokoblin, a bow Bokoblin and a staff Bokoblin — bring hearts, they hit hard.
How do I beat the Construct with the shield and spin attack?
Shoot it with an arrow the moment it starts spinning. That stuns it — rush in and keep swinging so it never recovers.