Where is Mayaumekis Shrine?
◈ Surface ◇ Sky ⊞ All
⌕ Explore shrines All regions Great Sky Island Hyrule Field Tabantha Hebra Great Hyrule Forest Akkala Eldin Lanayru Necluda Faron Gerudo
Gutanbac Shrine Great Sky Island · 0709, -1383, 1582 ↗ In-isa Shrine Great Sky Island · 0026, -1504, 1409 ↗ Nachoyah Shrine Great Sky Island · 0390, -1661, 2284 ↗ Ukouh Shrine Great Sky Island · 0275, -0913, 1460 ↗ En-oma Shrine Hyrule Field · 0103, -2518, -0061 ↗ Ishodag Shrine Hyrule Field · -0879, 0423, 0074 ↗ Jinodok Shrine Hyrule Field · -1257, -1487, 1016 ↗ Jiosin Shrine Hyrule Field · -0241, -0371, 0052 ↗ Jojon Shrine Hyrule Field · 1202, 0330, 0052 ↗ Kamizun Shrine Hyrule Field · -0178, -1558, 0048 ↗ Kyokugon Shrine Hyrule Field · -0709, -1551, 0032 ↗ Kyononis Shrine Hyrule Field · -0205, 0451, 0046 ↗ Makurukis Shrine Hyrule Field · -2847, 0630, 0255 ↗ Mayachin Shrine Hyrule Field · -0706, -0869, 0057 ↗ Ren-iz Shrine Hyrule Field · 0756, 0824, 0106 ↗ Riogok Shrine Hyrule Field · -1441, -1616, 0113 ↗ Runakit Shrine Hyrule Field · -2530, 1170, 0200 ↗ Sepapa Shrine Hyrule Field · 0222, 1085, 0053 ↗ Serutabomac Shrine Hyrule Field · -0179, 1170, 0301 ↗ Sinakawak Shrine Hyrule Field · -1415, 0757, 0113 ↗ Sonapan Shrine Hyrule Field · -1922, -0359, 0250 ↗ Susuyai Shrine Hyrule Field · -0785, -0434, 0044 ↗ Tadarok Shrine Hyrule Field · -1082, -2187, 0152 ↗ Tajikats Shrine Hyrule Field · 0344, -1009, 0042 ↗ Taki-ihaban Shrine Hyrule Field · -1830, 1195, 0171 ↗ Teniten Shrine Hyrule Field · -0075, -1116, 0046 ↗ Tenmaten Shrine Hyrule Field · -0595, 1551, 0011 ↗ Tsutsu-um Shrine Hyrule Field · -1423, -1351, 0092 ↗ Usazum Shrine Hyrule Field · -2139, -0874, 0118 ↗ Yamiyo Shrine Hyrule Field · 0333, 0470, 0054 ↗ Ga-ahisas Shrine Tabantha · -3596, 0961, 1694 ↗ Ganos Shrine Tabantha · -3370, 0467, 1691 ↗ Gasas Shrine Tabantha · -4153, 0098, 0066 ↗ Gatakis Shrine Tabantha · -3652, 1806, 0191 ↗ Ikatak Shrine Tabantha · -3951, 1139, 0135 ↗ Iun-orok Shrine Tabantha · -3539, 0851, -0105 ↗ Mayausiy Shrine Tabantha · -1167, 2602, -0057 ↗ Nouda Shrine Tabantha · -2318, 2201, 0196 ↗ Oromuwak Shrine Tabantha · -3079, 1617, 0264 ↗ Taunhiy Shrine Tabantha · -2402, 0825, 0630 ↗ Turakawak Shrine Tabantha · -3498, -0197, 0090 ↗ Wao-os Shrine Tabantha · -4058, 1990, 0206 ↗ Eutoum Shrine Hebra · -3507, 3570, 0406 ↗ Ijo-o Shrine Hebra · -3861, 2682, 0716 ↗ Kahatanaum Shrine Hebra · -3296, 3432, 1349 ↗ Mayaotaki Shrine Hebra · -0825, 3535, 0256 ↗ Mayaumekis Shrine Hebra · -2948, 3051, 0907 ↗ Orochium Shrine Hebra · -1637, 2642, 0261 ↗ Oshozan-u Shrine Hebra · -1404, 3678, 0308 ↗ Otak Shrine Hebra · -4391, 3714, 0234 ↗ Rutafu-um Shrine Hebra · -2998, 3102, 0531 ↗ Sahirow Shrine Hebra · -3354, 2386, 0380 ↗ Sisuran Shrine Hebra · -2559, 3354, 0266 ↗ Taninoud Shrine Hebra · -1802, 3407, 0958 ↗ Tauyosipun Shrine Hebra · -4539, 2880, 0283 ↗ Tenbez Shrine Hebra · -0970, 3535, 1019 ↗ Ekochiu Shrine Great Hyrule Forest · 1063, 1280, 0071 ↗ Kikakin Shrine Great Hyrule Forest · -0396, 2736, 0308 ↗ Kiuyoyou Shrine Great Hyrule Forest · -1107, 2088, 0128 ↗ Mayam Shrine Great Hyrule Forest · 0340, 2815, 1814 ↗ Musanokir Shrine Great Hyrule Forest · 0408, 2134, 0167 ↗ Ninjis Shrine Great Hyrule Forest · 0355, 1892, 0201 ↗ Pupunke Shrine Great Hyrule Forest · 0621, 2211, 0187 ↗ Sakunbomar Shrine Great Hyrule Forest · 0167, 2320, 0202 ↗ Simosiwak Shrine Great Hyrule Forest · 0162, 1972, 0771 ↗ Domizuin Shrine Akkala · 3305, 1443, 0444 ↗ Gatanisis Shrine Akkala · 4498, 0826, 0119 ↗ Gemimik Shrine Akkala · 4513, 2116, 0027 ↗ Gikaku Shrine Akkala · 4506, 2166, 1160 ↗ Igashuk Shrine Akkala · 4655, 3714, 0154 ↗ Jochi-ihiga Shrine Akkala · 3811, 1219, 0115 ↗ Jochi-iu Shrine Akkala · 4347, 2876, 0188 ↗ Kamatukis Shrine Akkala · 3431, 3357, 0095 ↗ Mogisari Shrine Akkala · 4655, 3500, 1018 ↗ Natak Shrine Akkala · 3671, 1484, 1163 ↗ Rasitakiwak Shrine Akkala · 4167, 1323, 0251 ↗ Rasiwak Shrine Akkala · 4664, 3263, 0027 ↗ Sinatanika Shrine Akkala · 3842, 2300, 0073 ↗ Isisim Shrine Eldin · 1842, 2842, 0383 ↗ Jiotak Shrine Eldin · 1834, 3180, 0279 ↗ Kadaunar Shrine Eldin · 1882, 1203, 1255 ↗ Kimayat Shrine Eldin · 2864, 3638, 0262 ↗ Kisinona Shrine Eldin · 2568, 1246, 0196 ↗ Marakuguc Shrine Eldin · 1762, 2510, 0455 ↗ Mayachideg Shrine Eldin · 3061, 1824, 0238 ↗ Mayak Shrine Eldin · 1270, 3733, 0130 ↗ Minetak Shrine Eldin · 0394, 3485, 0093 ↗ Momosik Shrine Eldin · 2960, 2758, 0541 ↗ Moshapin Shrine Eldin · 2679, 1904, 0154 ↗ Sibajitak Shrine Eldin · 2400, 3275, 0421 ↗ Sikukuu Shrine Eldin · 0699, 2793, 0248 ↗ Sitsum Shrine Eldin · 2369, 2596, 0802 ↗ Timawak Shrine Eldin · 1800, 1640, 0332 ↗ Apogek Shrine Lanayru · 3887, -0217, 0187 ↗ Igoshon Shrine Lanayru · 3481, 0666, 1328 ↗ Ihen-a Shrine Lanayru · 3786, 0578, 0503 ↗ Jikais Shrine Lanayru · 4267, -1673, 0204 ↗ Jirutagumac Shrine Lanayru · 2916, 0534, 0960 ↗ Joniu Shrine Lanayru · 2918, 0507, 0178 ↗ Jonsau Shrine Lanayru · 1744, 0018, 0051 ↗ Kurakat Shrine Lanayru · 2361, -0511, 0179 ↗ Maoikes Shrine Lanayru · 2276, 0147, 0103 ↗ Mayanas Shrine Lanayru · 4613, -0947, 1784 ↗ Mogawak Shrine Lanayru · 3300, 0424, 0136 ↗ Morok Shrine Lanayru · 1182, -0779, 0157 ↗ O-ogim Shrine Lanayru · 2756, -1089, 0124 ↗ Sihajog Shrine Lanayru · 4546, -0846, 1127 ↗ Tukarok Shrine Lanayru · 0915, -0251, 0059 ↗ Yomizuk Shrine Lanayru · 4413, -0613, 0060 ↗ Zakusu Shrine Lanayru · 3526, -1482, 0190 ↗ Anedamimik Shrine Necluda · 4232, -2178, 0013 ↗ Bamitok Shrine Necluda · 3094, -3210, 0106 ↗ Eshos Shrine Necluda · 1566, -1945, 0180 ↗ Jochisiu Shrine Necluda · 0931, -1903, 0055 ↗ Jogou Shrine Necluda · 3346, -1187, 0082 ↗ Joju-u-u Shrine Necluda · 1515, -3577, 0165 ↗ Josiu Shrine Necluda · 1758, -1208, 0933 ↗ Kumamayn Shrine Necluda · 2857, -2856, 1216 ↗ Makasura Shrine Necluda · 1770, -1052, 0189 ↗ Marari-in Shrine Necluda · 4631, -3712, 0044 ↗ Mayahisik Shrine Necluda · 3729, -2059, 0211 ↗ Sifumim Shrine Necluda · 2826, -3270, 0102 ↗ Susub Shrine Necluda · 0349, -2052, -0001 ↗ Tokiy Shrine Necluda · 2304, -2378, -0003 ↗ Ukoojisi Shrine Necluda · 1469, -2169, 0601 ↗ Utojis Shrine Necluda · 1218, -2543, 0121 ↗ Yansamin Shrine Necluda · 2351, -1783, 1475 ↗ Zanmik Shrine Necluda · 3470, -2181, 0171 ↗ Ishokin Shrine Faron · -0565, -3524, 0152 ↗ Jiukoum Shrine Faron · 0868, -2278, 0165 ↗ Joku-u Shrine Faron · 1376, -3340, 0447 ↗ Joku-usin Shrine Faron · 1075, -3348, 0798 ↗ Utsushok Shrine Faron · 0670, -3358, 0096 ↗ Chichim Shrine Gerudo · -3211, -3007, -0024 ↗ Irasak Shrine Gerudo · -4159, -3825, 0053 ↗ Karahatag Shrine Gerudo · -3728, -3625, 0068 ↗ Kitawak Shrine Gerudo · -1530, -2929, 0341 ↗ Kudanisar Shrine Gerudo · -4167, -2143, 0075 ↗ Mayamats Shrine Gerudo · -4638, -1513, 0470 ↗ Mayasiar Shrine Gerudo · -3547, -0321, 1956 ↗ Mayatat Shrine Gerudo · -3291, -2512, 0050 ↗ Miryotanog Shrine Gerudo · -4680, -3086, 0079 ↗ Motsusis Shrine Gerudo · -1795, -3487, 0070 ↗ Otutsum Shrine Gerudo · -4469, -0671, 0526 ↗ Rakakudaj Shrine Gerudo · -2037, -1853, 0089 ↗ Rakashog Shrine Gerudo · -1715, -2119, 1155 ↗ Rotsumamu Shrine Gerudo · -3407, -1363, 0355 ↗ Siwakama Shrine Gerudo · -2446, -3344, 0067 ↗ Siyamotsus Shrine Gerudo · -1795, -3295, 1019 ↗ Soryotanog Shrine Gerudo · -3882, -2963, 0147 ↗ Suariwak Shrine Gerudo · -2524, -1770, 0155 ↗ Turakamik Shrine Gerudo · -2657, -2237, 0092 ↗ No shrine matches those filters.
↑N + − ⛶
Terrain Coordinate grid
◈ Select a shrine to explore its location.
Height is a reference value; it may differ from the map marker height.
In a cave — the marker is not the cave entrance.
Some terrain tiles could not load. Switch to the coordinate grid or retry. Retry terrain
Rising Island Chain , in the Hebra Mountain Sky region. Launch from Rospro Pass Skyview Tower and glide north toward the islands. The sky route is extremely cold, so prepare cold-resistant armor or dishes. Coordinates match our 152-shrine table .
Item Detail Trial Downward Force Region Hebra (sky, Rising Island Chain) Coordinates -2948, 3051, 0907 Type Puzzle — bow, paraglider, flying-boat bounces Chests 1 (Arrow ×10) Names 馬亞烏每奇薩神廟 (zh-TW) · 马亚乌每奇萨神庙 (zh-CN)
Video walkthrough
Step-by-step solution
Downward Force turns the flying boats into springboards. Each bounce supplies the height needed for the next glide.
1. Open Gate and Climb Stairs
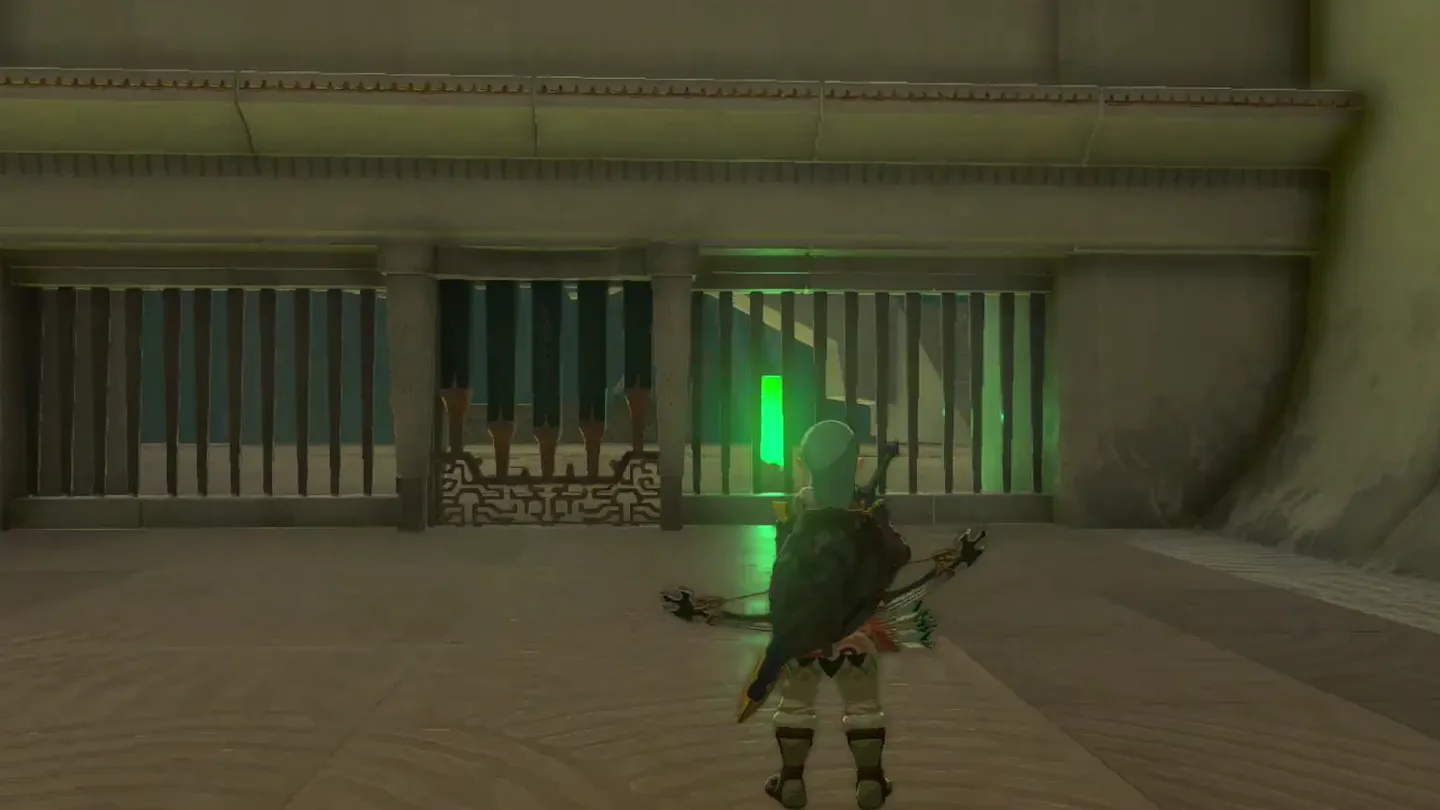
Open the gate. Shoot the switch on the far side of the first gate with a bow and arrow.
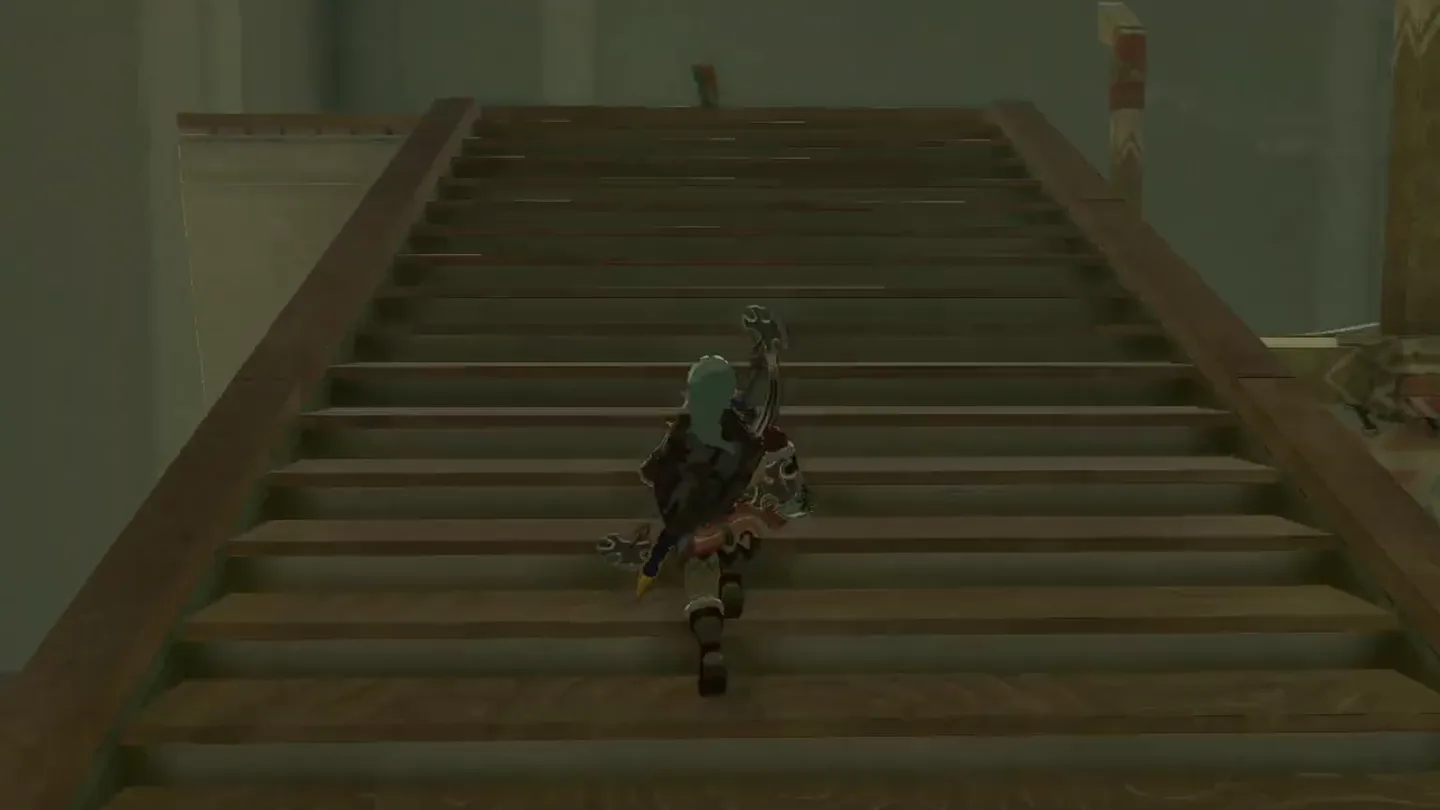
Climb the stairs. Go up in the next room and defeat the Soldier Construct II at the top.
1 Shoot the switch ① behind the first gate with a bow and arrow. Screenshot (cropped) from 西瓜GAMEPlayer
· used with permission
Climb the stairs and defeat the Soldier Construct II at the top. Screenshot (cropped) from 西瓜GAMEPlayer
· used with permission
2. Bounce on Flying Boats
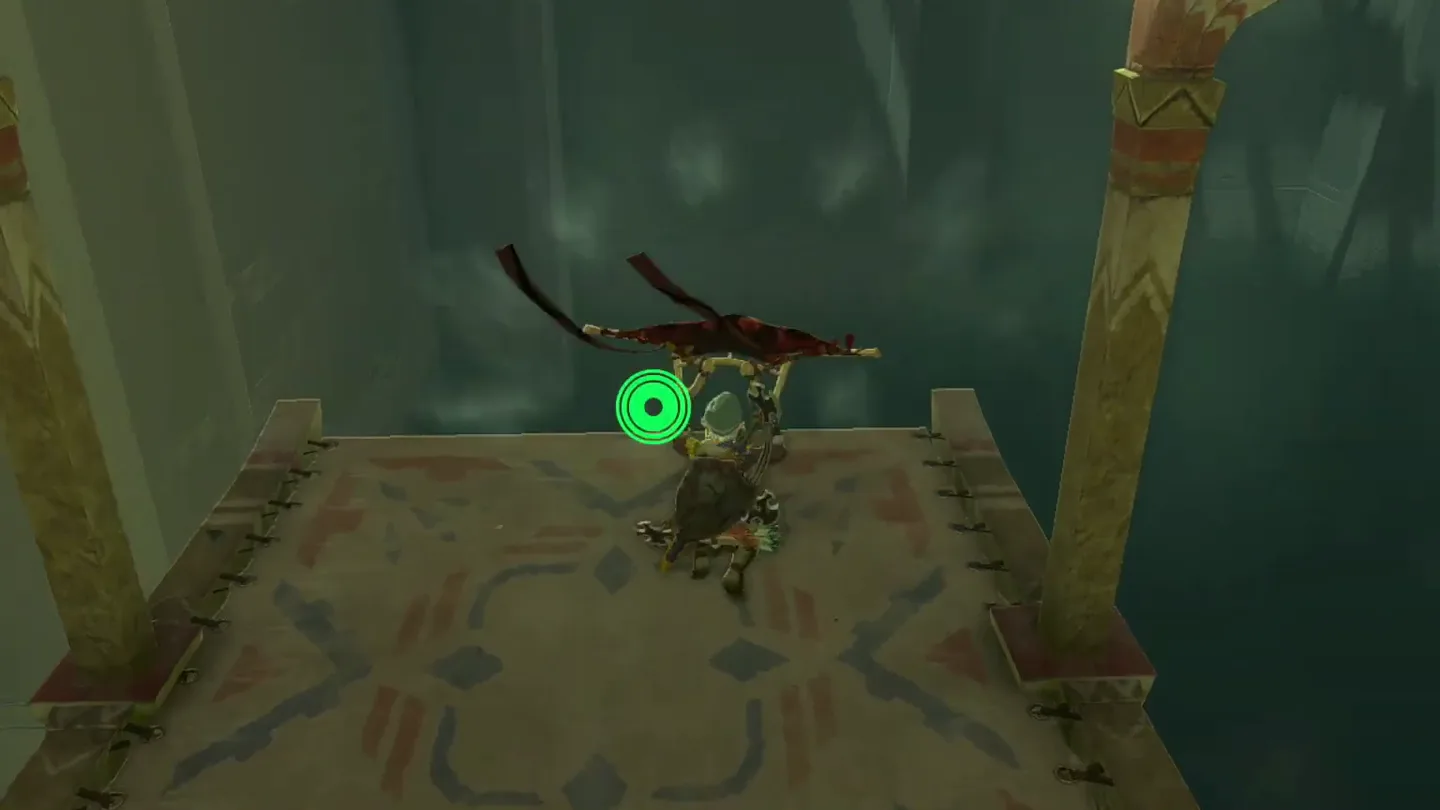
Take the first bounce. Jump onto the nearby flying boat and use its springy deck to launch upward.
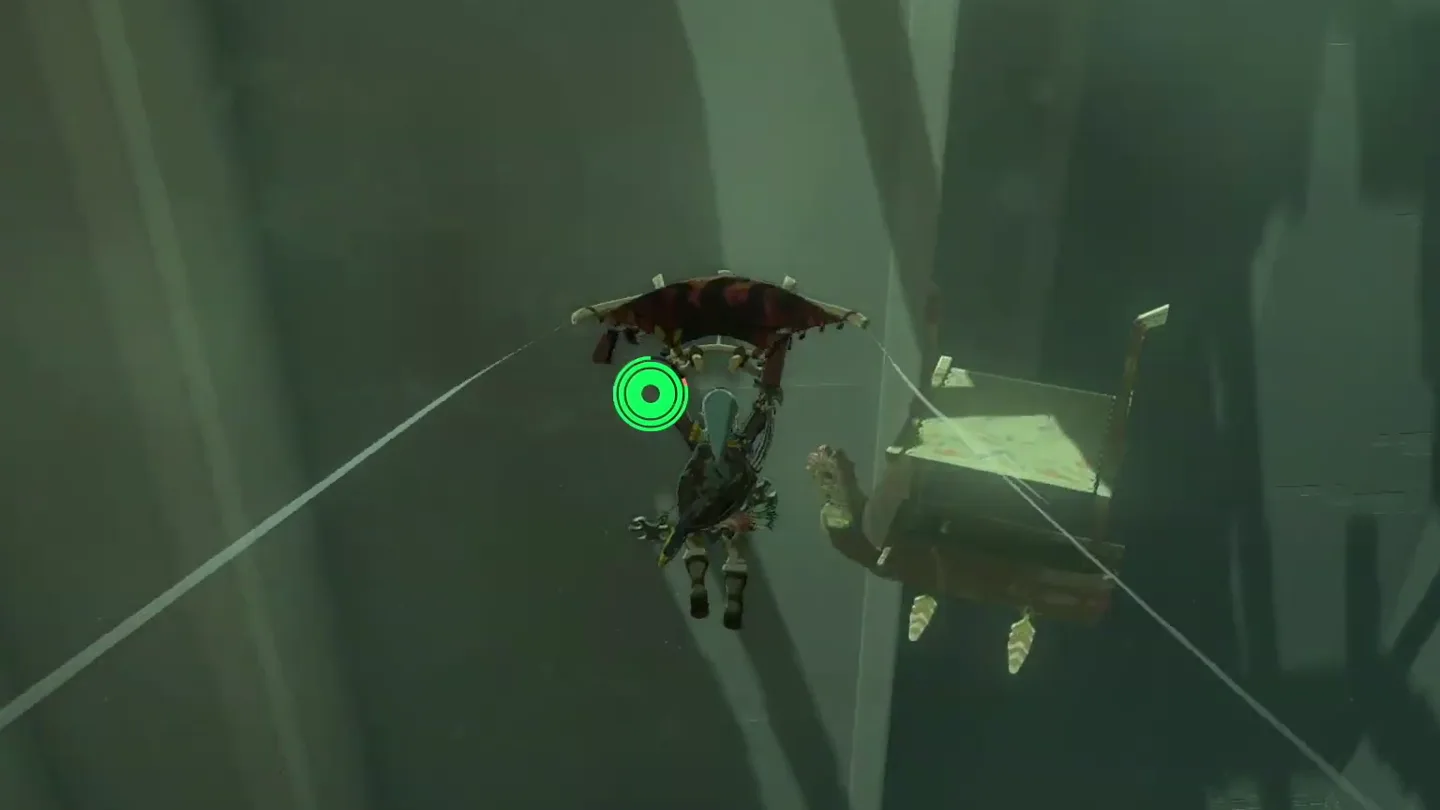
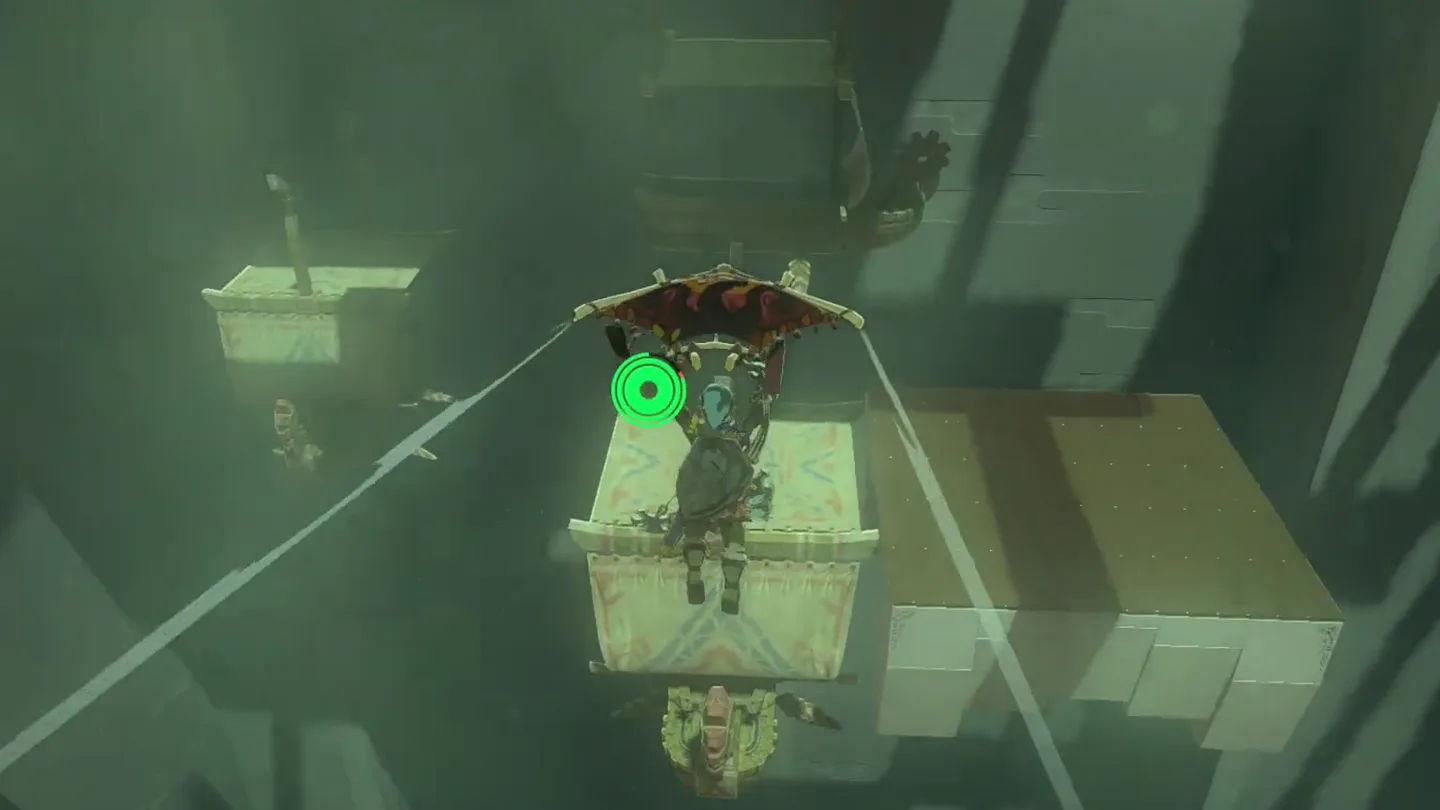
Reach the moving boat. On the higher platform, bounce from the next boat. Open the paraglider at the top of the jump and glide to the moving flying boat.
Jump onto the flying boat and let its springy deck launch you upward. Screenshot (cropped) from 西瓜GAMEPlayer
· used with permission
1 Bounce off the next boat, open the paraglider at the top and glide to the moving boat ①. Screenshot (cropped) from 西瓜GAMEPlayer
· used with permission
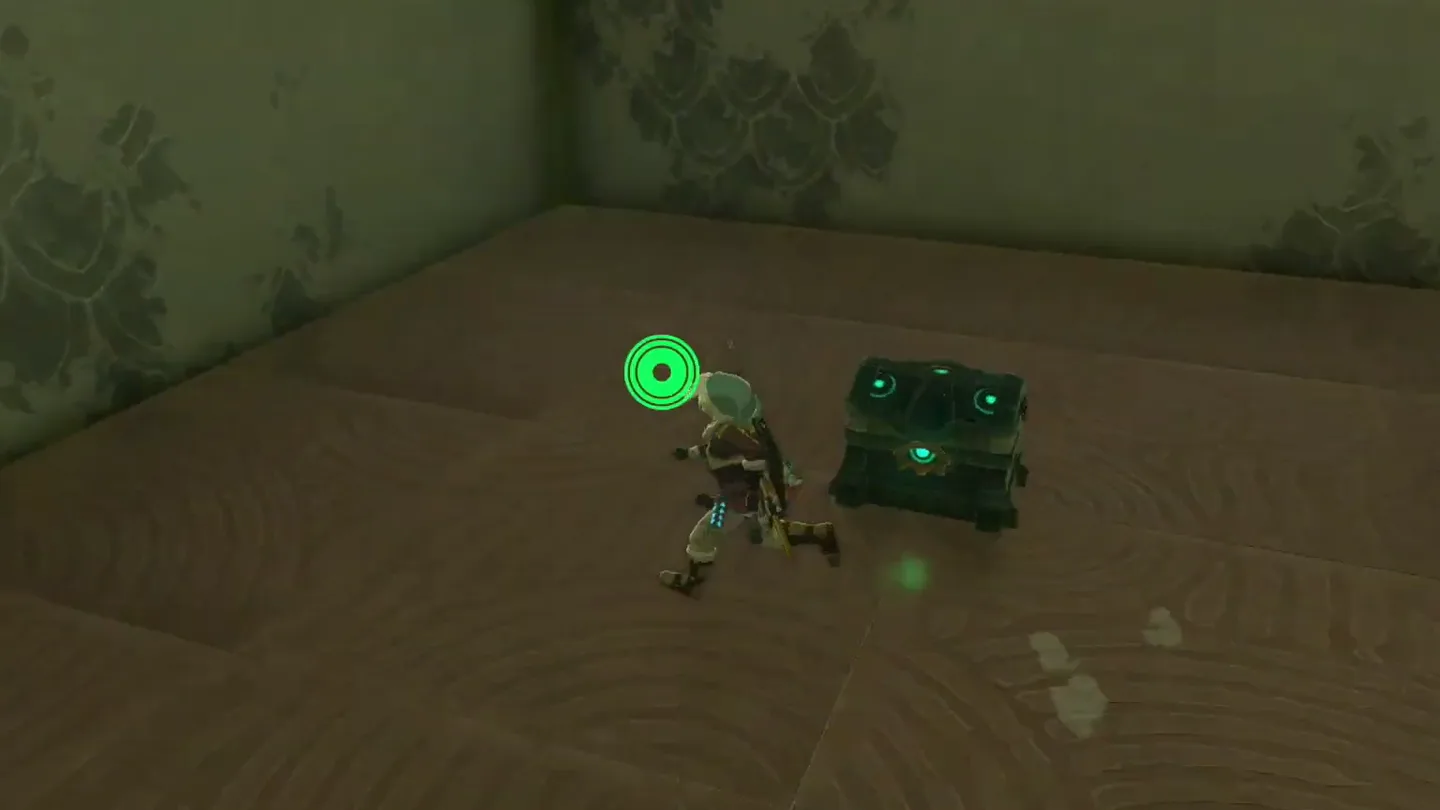
Collect the chest. Wait until the moving boat passes near the chest pillar, bounce, and paraglide to the pillar. Open the chest for Arrow ×10 .
Glide to a floating platform. Leave the chest pillar and land on one of the nearby floating platforms.
1 When the moving boat nears the pillar, bounce and glide over, then open the chest ① for Arrow ×10. Screenshot (cropped) from 西瓜GAMEPlayer
· used with permission
Glide from the chest pillar to one of the nearby floating platforms. Screenshot (cropped) from 西瓜GAMEPlayer
· used with permission
4. Final Switch and Altar Room
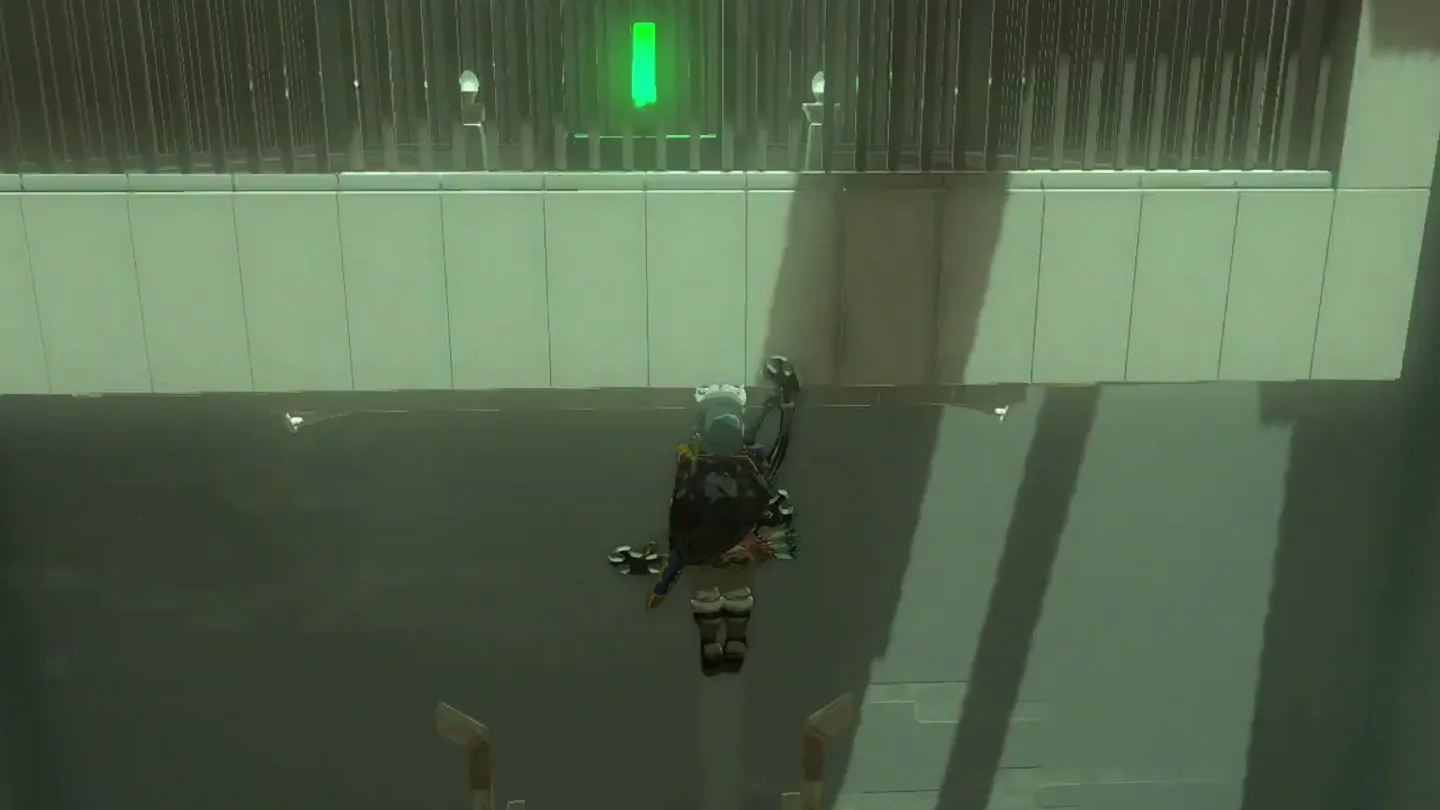
Line up the final switch. Bounce from the nearby flying boat while facing the switch. Draw the bow at the top of the jump to slow time, then shoot the switch.
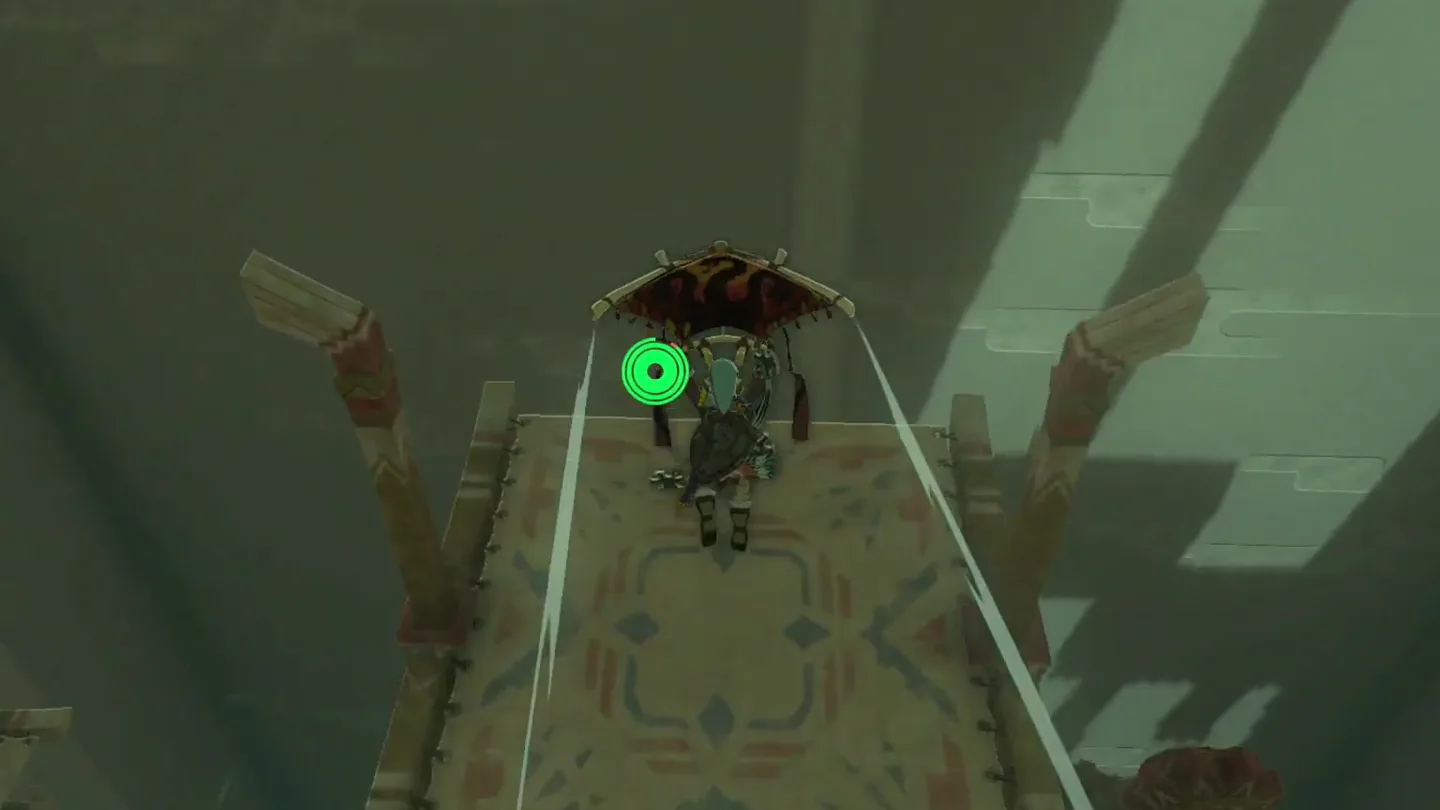
Reach the altar room. Bounce on the flying boat directly below the opened room and land inside.
1 Bounce facing the switch ①, draw the bow at the top of the jump to slow time, and shoot it. Screenshot (cropped) from 西瓜GAMEPlayer
· used with permission
Bounce on the boat directly below the opened room and land inside. Screenshot (cropped) from 西瓜GAMEPlayer
· used with permission
5. Receive the Blessing
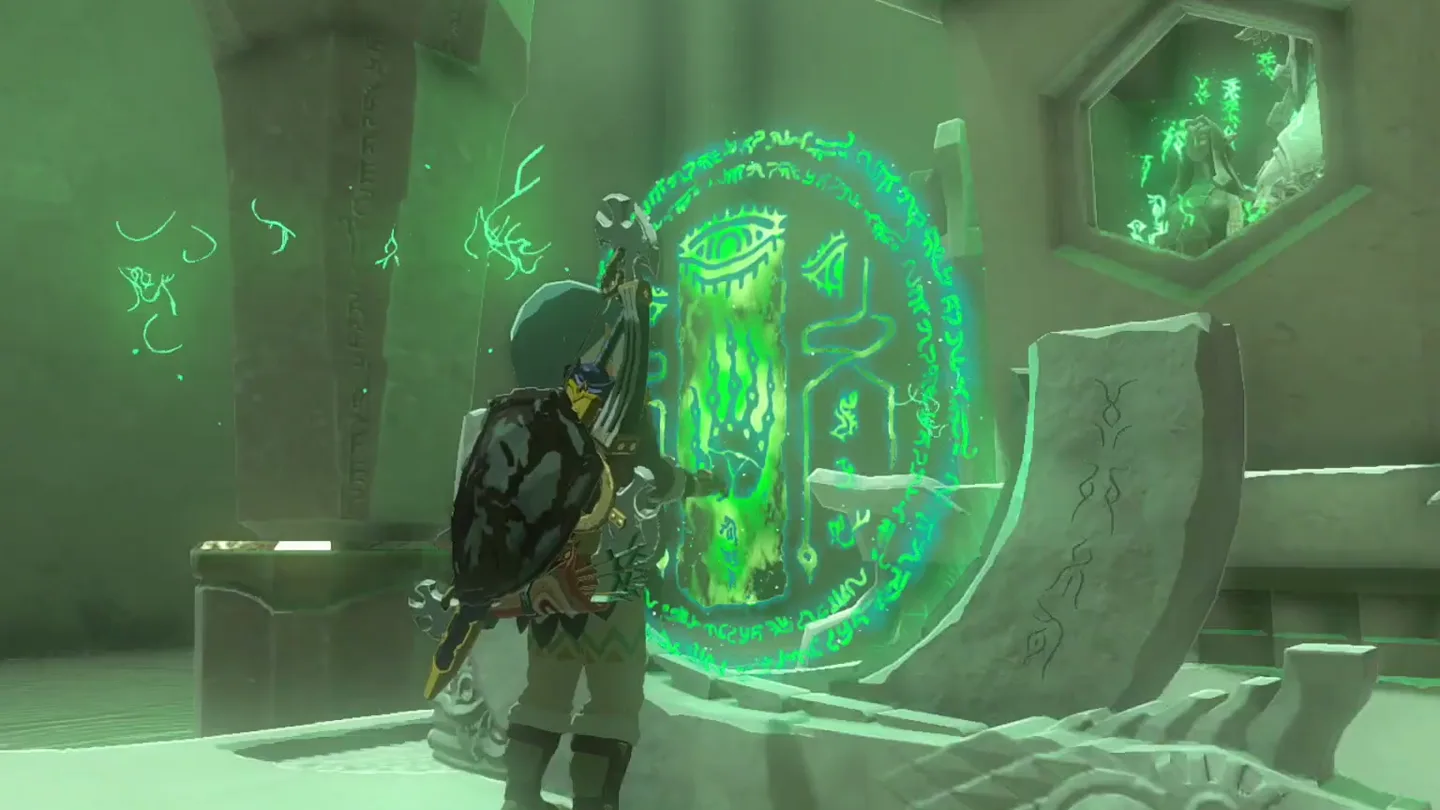
Altar. Examine the altar for the Light of Blessing .
Use the top of each bounce
Open the paraglider or draw the bow only after the flying boat has launched you to its highest point. That gives enough height for the chest glide and a clear angle on the final switch.
Examine the altar for the Light of Blessing. Screenshot (cropped) from 西瓜GAMEPlayer
· used with permission
Chests
Chest Contents How 1 Arrow ×10 Bounce from the moving flying boat near the pillar, then paraglide onto the pillar top