Where is Kamatukis Shrine?
◈ Surface ◇ Sky ⊞ All
⌕ Explore shrines All regions Great Sky Island Hyrule Field Tabantha Hebra Great Hyrule Forest Akkala Eldin Lanayru Necluda Faron Gerudo
Gutanbac Shrine Great Sky Island · 0709, -1383, 1582 ↗ In-isa Shrine Great Sky Island · 0026, -1504, 1409 ↗ Nachoyah Shrine Great Sky Island · 0390, -1661, 2284 ↗ Ukouh Shrine Great Sky Island · 0275, -0913, 1460 ↗ En-oma Shrine Hyrule Field · 0103, -2518, -0061 ↗ Ishodag Shrine Hyrule Field · -0879, 0423, 0074 ↗ Jinodok Shrine Hyrule Field · -1257, -1487, 1016 ↗ Jiosin Shrine Hyrule Field · -0241, -0371, 0052 ↗ Jojon Shrine Hyrule Field · 1202, 0330, 0052 ↗ Kamizun Shrine Hyrule Field · -0178, -1558, 0048 ↗ Kyokugon Shrine Hyrule Field · -0709, -1551, 0032 ↗ Kyononis Shrine Hyrule Field · -0205, 0451, 0046 ↗ Makurukis Shrine Hyrule Field · -2847, 0630, 0255 ↗ Mayachin Shrine Hyrule Field · -0706, -0869, 0057 ↗ Ren-iz Shrine Hyrule Field · 0756, 0824, 0106 ↗ Riogok Shrine Hyrule Field · -1441, -1616, 0113 ↗ Runakit Shrine Hyrule Field · -2530, 1170, 0200 ↗ Sepapa Shrine Hyrule Field · 0222, 1085, 0053 ↗ Serutabomac Shrine Hyrule Field · -0179, 1170, 0301 ↗ Sinakawak Shrine Hyrule Field · -1415, 0757, 0113 ↗ Sonapan Shrine Hyrule Field · -1922, -0359, 0250 ↗ Susuyai Shrine Hyrule Field · -0785, -0434, 0044 ↗ Tadarok Shrine Hyrule Field · -1082, -2187, 0152 ↗ Tajikats Shrine Hyrule Field · 0344, -1009, 0042 ↗ Taki-ihaban Shrine Hyrule Field · -1830, 1195, 0171 ↗ Teniten Shrine Hyrule Field · -0075, -1116, 0046 ↗ Tenmaten Shrine Hyrule Field · -0595, 1551, 0011 ↗ Tsutsu-um Shrine Hyrule Field · -1423, -1351, 0092 ↗ Usazum Shrine Hyrule Field · -2139, -0874, 0118 ↗ Yamiyo Shrine Hyrule Field · 0333, 0470, 0054 ↗ Ga-ahisas Shrine Tabantha · -3596, 0961, 1694 ↗ Ganos Shrine Tabantha · -3370, 0467, 1691 ↗ Gasas Shrine Tabantha · -4153, 0098, 0066 ↗ Gatakis Shrine Tabantha · -3652, 1806, 0191 ↗ Ikatak Shrine Tabantha · -3951, 1139, 0135 ↗ Iun-orok Shrine Tabantha · -3539, 0851, -0105 ↗ Mayausiy Shrine Tabantha · -1167, 2602, -0057 ↗ Nouda Shrine Tabantha · -2318, 2201, 0196 ↗ Oromuwak Shrine Tabantha · -3079, 1617, 0264 ↗ Taunhiy Shrine Tabantha · -2402, 0825, 0630 ↗ Turakawak Shrine Tabantha · -3498, -0197, 0090 ↗ Wao-os Shrine Tabantha · -4058, 1990, 0206 ↗ Eutoum Shrine Hebra · -3507, 3570, 0406 ↗ Ijo-o Shrine Hebra · -3861, 2682, 0716 ↗ Kahatanaum Shrine Hebra · -3296, 3432, 1349 ↗ Mayaotaki Shrine Hebra · -0825, 3535, 0256 ↗ Mayaumekis Shrine Hebra · -2948, 3051, 0907 ↗ Orochium Shrine Hebra · -1637, 2642, 0261 ↗ Oshozan-u Shrine Hebra · -1404, 3678, 0308 ↗ Otak Shrine Hebra · -4391, 3714, 0234 ↗ Rutafu-um Shrine Hebra · -2998, 3102, 0531 ↗ Sahirow Shrine Hebra · -3354, 2386, 0380 ↗ Sisuran Shrine Hebra · -2559, 3354, 0266 ↗ Taninoud Shrine Hebra · -1802, 3407, 0958 ↗ Tauyosipun Shrine Hebra · -4539, 2880, 0283 ↗ Tenbez Shrine Hebra · -0970, 3535, 1019 ↗ Ekochiu Shrine Great Hyrule Forest · 1063, 1280, 0071 ↗ Kikakin Shrine Great Hyrule Forest · -0396, 2736, 0308 ↗ Kiuyoyou Shrine Great Hyrule Forest · -1107, 2088, 0128 ↗ Mayam Shrine Great Hyrule Forest · 0340, 2815, 1814 ↗ Musanokir Shrine Great Hyrule Forest · 0408, 2134, 0167 ↗ Ninjis Shrine Great Hyrule Forest · 0355, 1892, 0201 ↗ Pupunke Shrine Great Hyrule Forest · 0621, 2211, 0187 ↗ Sakunbomar Shrine Great Hyrule Forest · 0167, 2320, 0202 ↗ Simosiwak Shrine Great Hyrule Forest · 0162, 1972, 0771 ↗ Domizuin Shrine Akkala · 3305, 1443, 0444 ↗ Gatanisis Shrine Akkala · 4498, 0826, 0119 ↗ Gemimik Shrine Akkala · 4513, 2116, 0027 ↗ Gikaku Shrine Akkala · 4506, 2166, 1160 ↗ Igashuk Shrine Akkala · 4655, 3714, 0154 ↗ Jochi-ihiga Shrine Akkala · 3811, 1219, 0115 ↗ Jochi-iu Shrine Akkala · 4347, 2876, 0188 ↗ Kamatukis Shrine Akkala · 3431, 3357, 0095 ↗ Mogisari Shrine Akkala · 4655, 3500, 1018 ↗ Natak Shrine Akkala · 3671, 1484, 1163 ↗ Rasitakiwak Shrine Akkala · 4167, 1323, 0251 ↗ Rasiwak Shrine Akkala · 4664, 3263, 0027 ↗ Sinatanika Shrine Akkala · 3842, 2300, 0073 ↗ Isisim Shrine Eldin · 1842, 2842, 0383 ↗ Jiotak Shrine Eldin · 1834, 3180, 0279 ↗ Kadaunar Shrine Eldin · 1882, 1203, 1255 ↗ Kimayat Shrine Eldin · 2864, 3638, 0262 ↗ Kisinona Shrine Eldin · 2568, 1246, 0196 ↗ Marakuguc Shrine Eldin · 1762, 2510, 0455 ↗ Mayachideg Shrine Eldin · 3061, 1824, 0238 ↗ Mayak Shrine Eldin · 1270, 3733, 0130 ↗ Minetak Shrine Eldin · 0394, 3485, 0093 ↗ Momosik Shrine Eldin · 2960, 2758, 0541 ↗ Moshapin Shrine Eldin · 2679, 1904, 0154 ↗ Sibajitak Shrine Eldin · 2400, 3275, 0421 ↗ Sikukuu Shrine Eldin · 0699, 2793, 0248 ↗ Sitsum Shrine Eldin · 2369, 2596, 0802 ↗ Timawak Shrine Eldin · 1800, 1640, 0332 ↗ Apogek Shrine Lanayru · 3887, -0217, 0187 ↗ Igoshon Shrine Lanayru · 3481, 0666, 1328 ↗ Ihen-a Shrine Lanayru · 3786, 0578, 0503 ↗ Jikais Shrine Lanayru · 4267, -1673, 0204 ↗ Jirutagumac Shrine Lanayru · 2916, 0534, 0960 ↗ Joniu Shrine Lanayru · 2918, 0507, 0178 ↗ Jonsau Shrine Lanayru · 1744, 0018, 0051 ↗ Kurakat Shrine Lanayru · 2361, -0511, 0179 ↗ Maoikes Shrine Lanayru · 2276, 0147, 0103 ↗ Mayanas Shrine Lanayru · 4613, -0947, 1784 ↗ Mogawak Shrine Lanayru · 3300, 0424, 0136 ↗ Morok Shrine Lanayru · 1182, -0779, 0157 ↗ O-ogim Shrine Lanayru · 2756, -1089, 0124 ↗ Sihajog Shrine Lanayru · 4546, -0846, 1127 ↗ Tukarok Shrine Lanayru · 0915, -0251, 0059 ↗ Yomizuk Shrine Lanayru · 4413, -0613, 0060 ↗ Zakusu Shrine Lanayru · 3526, -1482, 0190 ↗ Anedamimik Shrine Necluda · 4232, -2178, 0013 ↗ Bamitok Shrine Necluda · 3094, -3210, 0106 ↗ Eshos Shrine Necluda · 1566, -1945, 0180 ↗ Jochisiu Shrine Necluda · 0931, -1903, 0055 ↗ Jogou Shrine Necluda · 3346, -1187, 0082 ↗ Joju-u-u Shrine Necluda · 1515, -3577, 0165 ↗ Josiu Shrine Necluda · 1758, -1208, 0933 ↗ Kumamayn Shrine Necluda · 2857, -2856, 1216 ↗ Makasura Shrine Necluda · 1770, -1052, 0189 ↗ Marari-in Shrine Necluda · 4631, -3712, 0044 ↗ Mayahisik Shrine Necluda · 3729, -2059, 0211 ↗ Sifumim Shrine Necluda · 2826, -3270, 0102 ↗ Susub Shrine Necluda · 0349, -2052, -0001 ↗ Tokiy Shrine Necluda · 2304, -2378, -0003 ↗ Ukoojisi Shrine Necluda · 1469, -2169, 0601 ↗ Utojis Shrine Necluda · 1218, -2543, 0121 ↗ Yansamin Shrine Necluda · 2351, -1783, 1475 ↗ Zanmik Shrine Necluda · 3470, -2181, 0171 ↗ Ishokin Shrine Faron · -0565, -3524, 0152 ↗ Jiukoum Shrine Faron · 0868, -2278, 0165 ↗ Joku-u Shrine Faron · 1376, -3340, 0447 ↗ Joku-usin Shrine Faron · 1075, -3348, 0798 ↗ Utsushok Shrine Faron · 0670, -3358, 0096 ↗ Chichim Shrine Gerudo · -3211, -3007, -0024 ↗ Irasak Shrine Gerudo · -4159, -3825, 0053 ↗ Karahatag Shrine Gerudo · -3728, -3625, 0068 ↗ Kitawak Shrine Gerudo · -1530, -2929, 0341 ↗ Kudanisar Shrine Gerudo · -4167, -2143, 0075 ↗ Mayamats Shrine Gerudo · -4638, -1513, 0470 ↗ Mayasiar Shrine Gerudo · -3547, -0321, 1956 ↗ Mayatat Shrine Gerudo · -3291, -2512, 0050 ↗ Miryotanog Shrine Gerudo · -4680, -3086, 0079 ↗ Motsusis Shrine Gerudo · -1795, -3487, 0070 ↗ Otutsum Shrine Gerudo · -4469, -0671, 0526 ↗ Rakakudaj Shrine Gerudo · -2037, -1853, 0089 ↗ Rakashog Shrine Gerudo · -1715, -2119, 1155 ↗ Rotsumamu Shrine Gerudo · -3407, -1363, 0355 ↗ Siwakama Shrine Gerudo · -2446, -3344, 0067 ↗ Siyamotsus Shrine Gerudo · -1795, -3295, 1019 ↗ Soryotanog Shrine Gerudo · -3882, -2963, 0147 ↗ Suariwak Shrine Gerudo · -2524, -1770, 0155 ↗ Turakamik Shrine Gerudo · -2657, -2237, 0092 ↗ No shrine matches those filters.
↑N + − ⛶
Terrain Coordinate grid
◈ Select a shrine to explore its location.
Height is a reference value; it may differ from the map marker height.
In a cave — the marker is not the cave entrance.
Some terrain tiles could not load. Switch to the coordinate grid or retry. Retry terrain
North of Tempest Gulch in Deep Akkala, on open grassy terrain. Launch from Ulri Mountain Skyview Tower and glide north toward the shrine. Coordinates match our 152-shrine table .
Item Detail Trial A Precise Strike Region Akkala (surface, north of Tempest Gulch) Coordinates 3431, 3357, 0095 Type Puzzle — Ultrahand, swinging cubes and stone balls Chests 1 (Mighty Zonaite Longsword) Names 卡馬茲奇薩神廟 (zh-TW) · 卡马兹奇萨神庙 (zh-CN)
Video walkthrough
Step-by-step solution
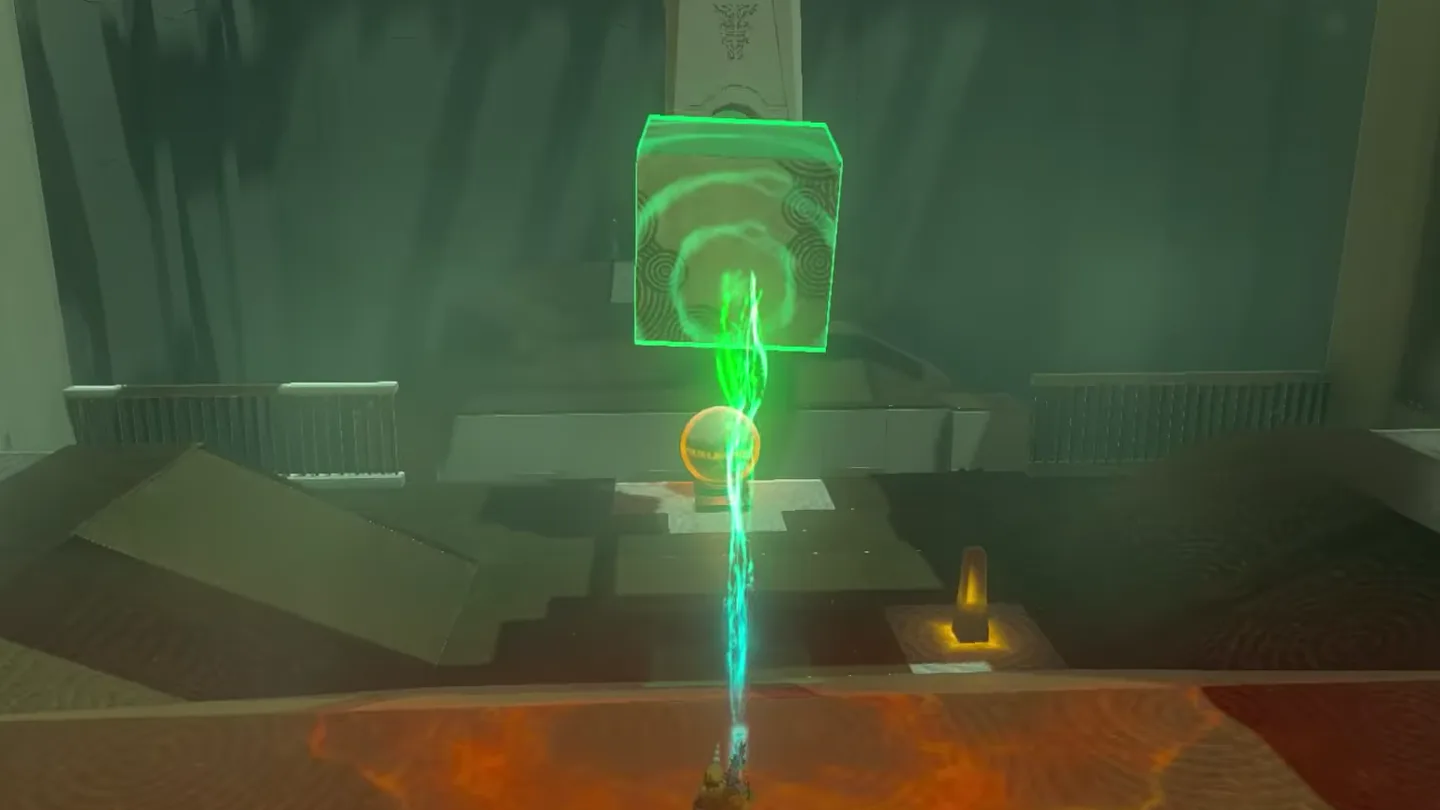
A Precise Strike has two versions of the same shot: use a hanging metal cube as a club and send a stone ball into a target mechanism.
1. Solving the Left Room Puzzle
Enter the left room first. Walk toward the main puzzle, then turn left into the room with the moving platform.
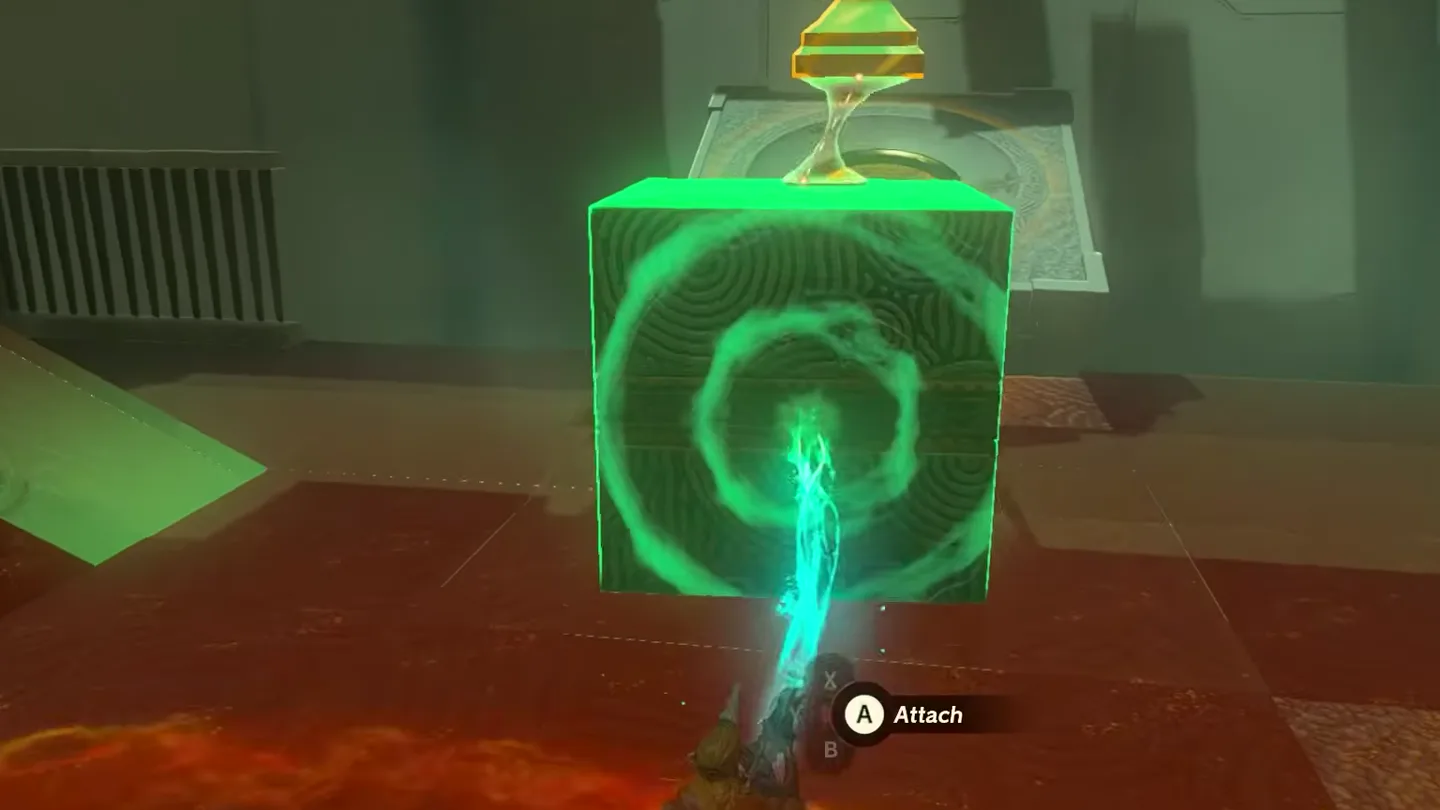
Attach the metal cube. Use Ultrahand to connect the nearby cube to the hanging swing.
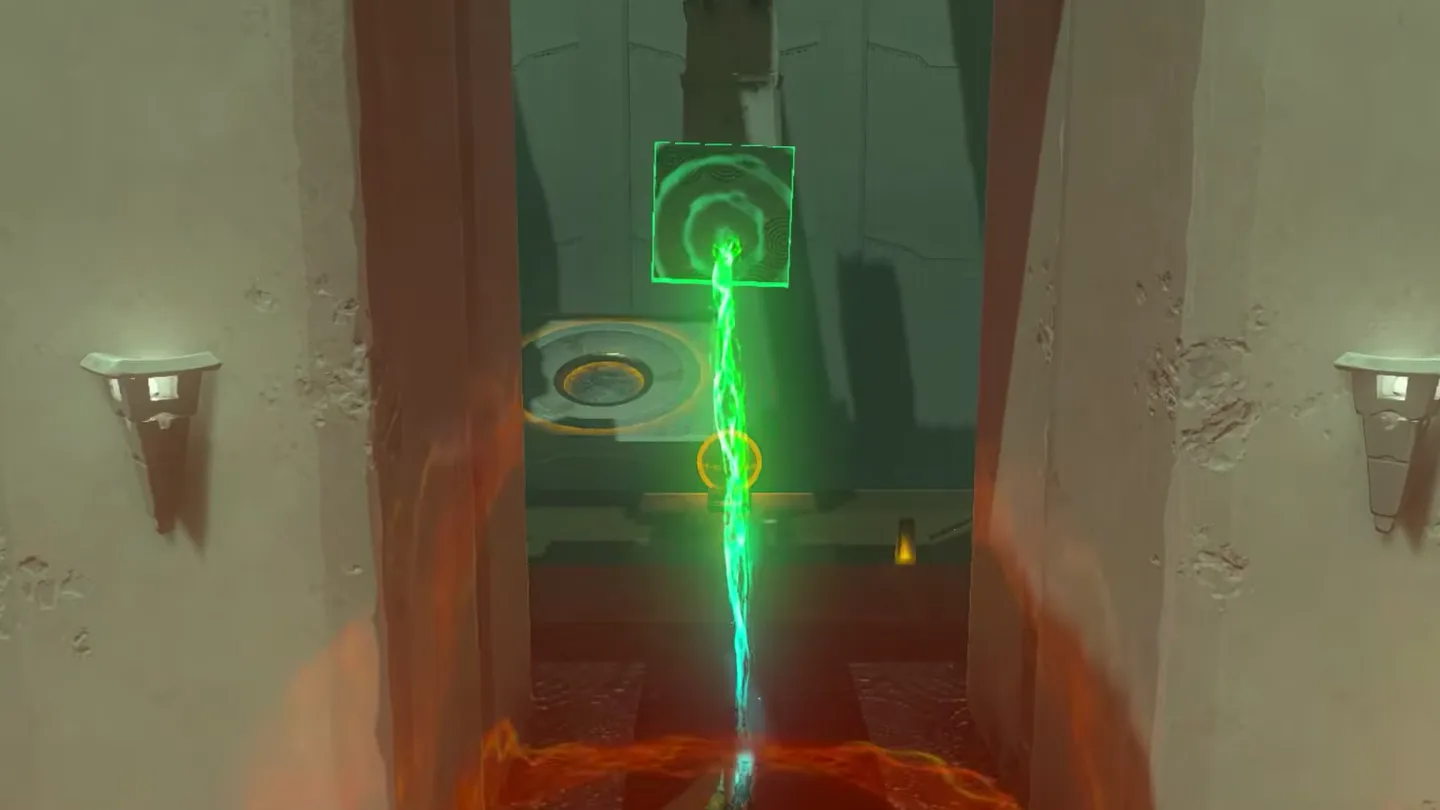
Line up the first shot. Pull the cube back, aim its arc through the stone ball toward the target mechanism, and release it.
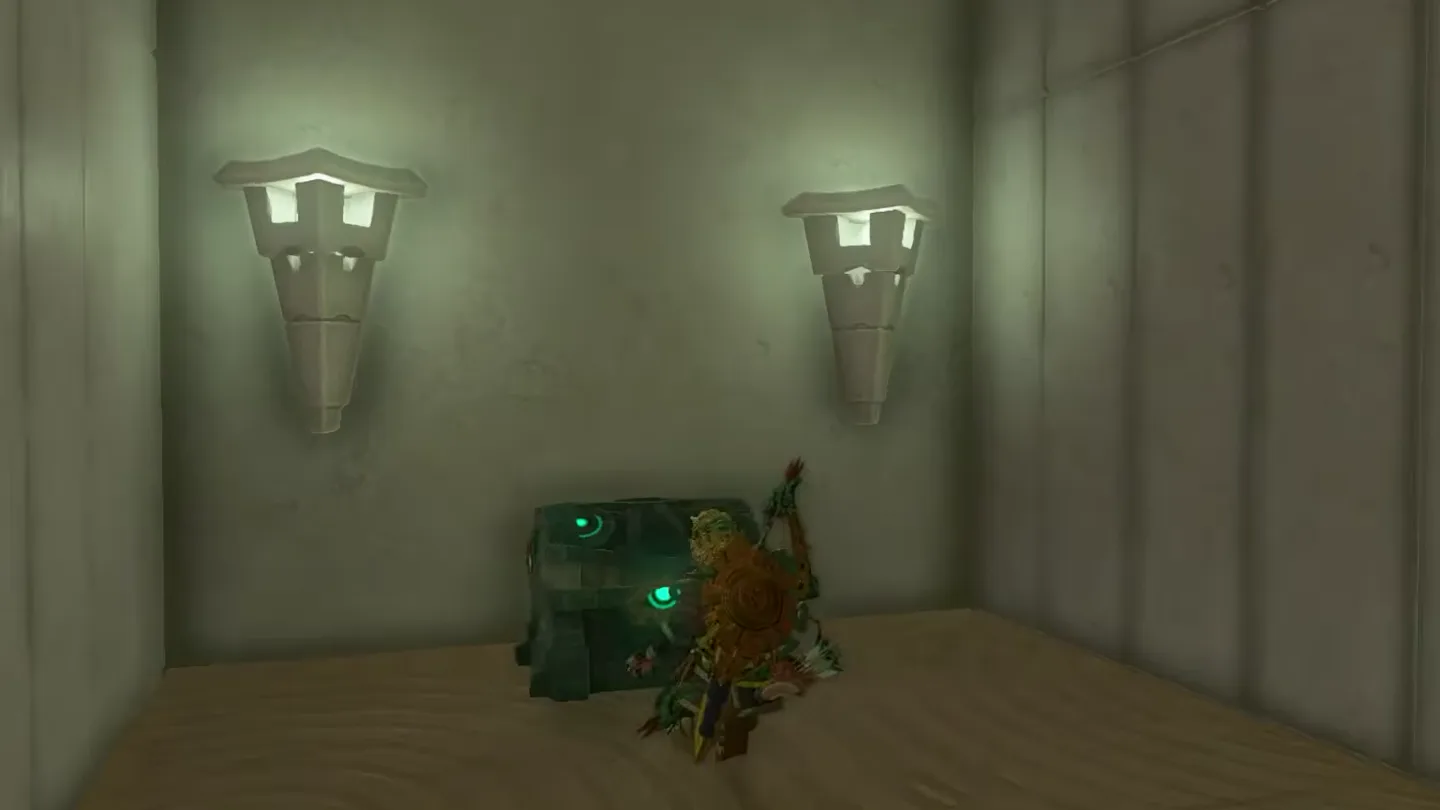
Collect the chest. When the ball hits the target, the gate on the left opens. Take the Mighty Zonaite Longsword .
1 2 In the left room, attach the metal cube ① to the hanging swing ② with Ultrahand. Screenshot (cropped) from Perfect Score
· used with permission
1 Pull the cube ① back so its arc passes through the stone ball toward the target, then let go. Screenshot (cropped) from Perfect Score
· used with permission
1 The gate on the left opens: the chest ① holds a Mighty Zonaite Longsword. Screenshot (cropped) from Perfect Score
· used with permission
2. Hitting the Distant Target
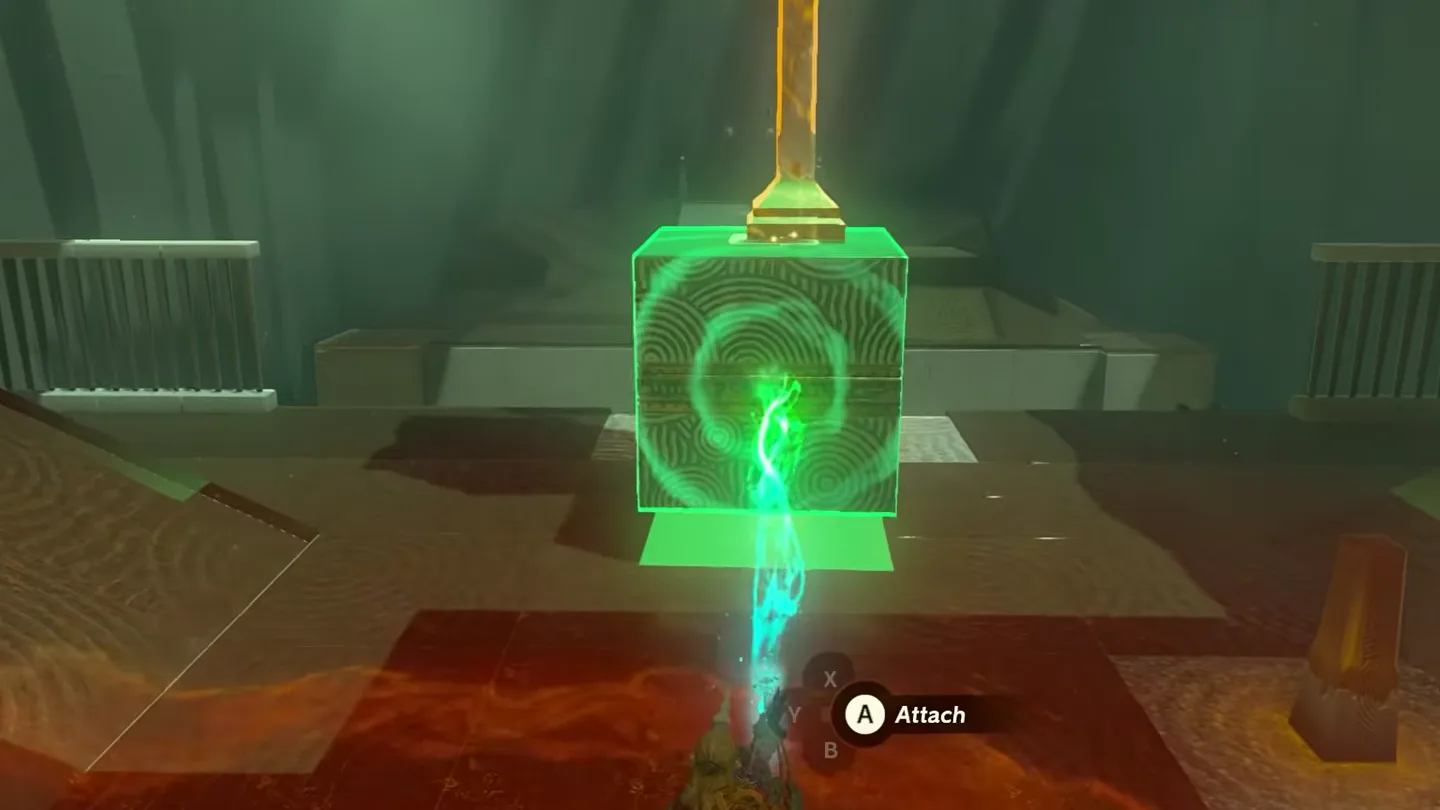
Return to the main room. Attach the second metal cube to its overhead swing.
Hit the distant target. Pull the cube back and release it into the next stone ball, this time sending the ball to the farther target mechanism.
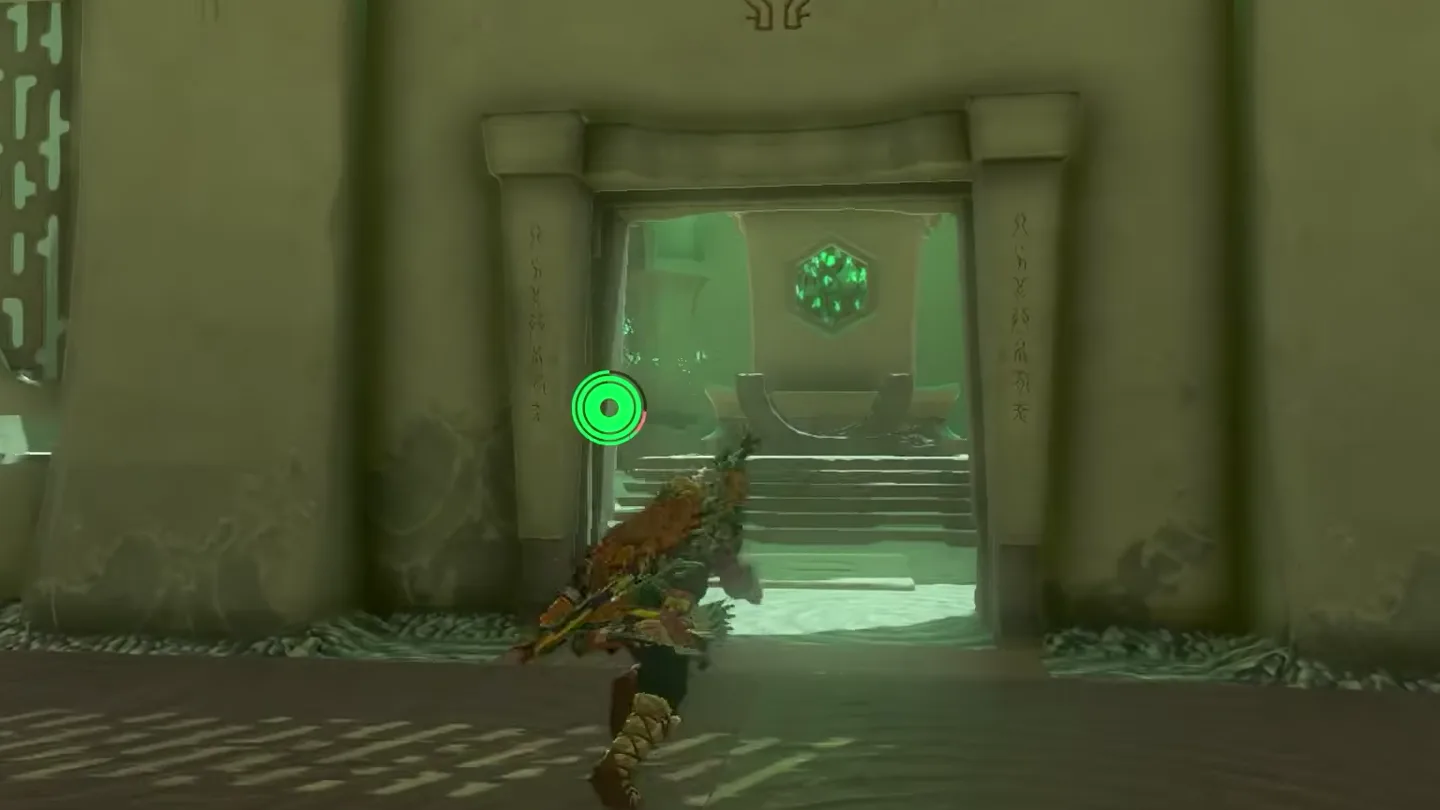
Altar. The final gate opens. Continue through and examine the altar for the Light of Blessing .
Reset a missed ball
If a stone ball falls into the chasm, strike the glowing pedestal to drop a replacement, then adjust the cube’s release angle.
1 2 Back in the main room, attach the second cube ① to the overhead swing ②. Screenshot (cropped) from Perfect Score
· used with permission
1 2 Pull the cube ① back and release it into the ball ②, this time sending it to the farther target. Screenshot (cropped) from Perfect Score
· used with permission
The final gate opens; go through and examine the altar for the Light of Blessing. Screenshot (cropped) from Perfect Score
· used with permission
Chests
Chest Contents How 1 Mighty Zonaite Longsword In the left room, strike the stone ball into the nearer target mechanism