

Katosa Aug Shrine Guide: Motion Golf Puzzle & Great Frostblade
Step-by-step guide to Katosa Aug Shrine by East Akkala Stable: swing the hammer, sink the orb, and claim the Great Frostblade chest.
Where is Katosa Aug Shrine?
Katosa Aug Shrine is a puzzle shrine in the Akkala region, sitting right next to — directly across from — East Akkala Stable in Deep Akkala. It also lies on the pathway leading to the Akkala Ancient Tech Lab, so anyone heading to the lab passes it along the way. Region-wise, it is one of Akkala’s shrines alongside Dah Hesho, Tutsuwa Nima, Ze Kasho, Ritaag Zumo, Zuna Kai, Tu Ka’loh, and Ke’nai Shakah.
| Item | Detail |
|---|---|
| Trial | Katosa Aug Apparatus |
| Tower region | Akkala |
| Map-marker coordinates | 4295, 2730, 0250 |
| Shrine quest | None |
| Chests | 1 |
| Names | Katosa Aug Shrine · 卡茨‧托薩神廟 · 卡茨·托萨神庙 |
What should you bring?
No shrine quest gates this one — you can walk straight in. The entire trial is a motion-control puzzle, so no runes, weapons, armor, or resistances come into play and nothing here has to be fought. What matters is a steady grip on your controller or console, since you’ll be tilting and shifting it repeatedly to swing the hammer mechanism.
Video walkthrough
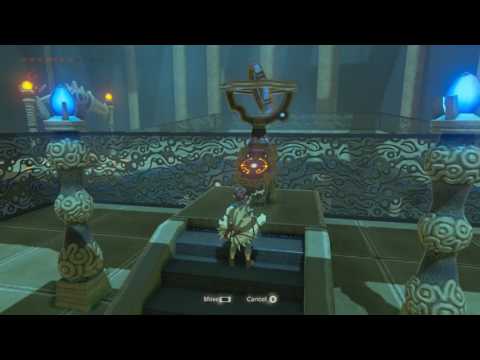
How do you solve Katosa Aug Shrine?
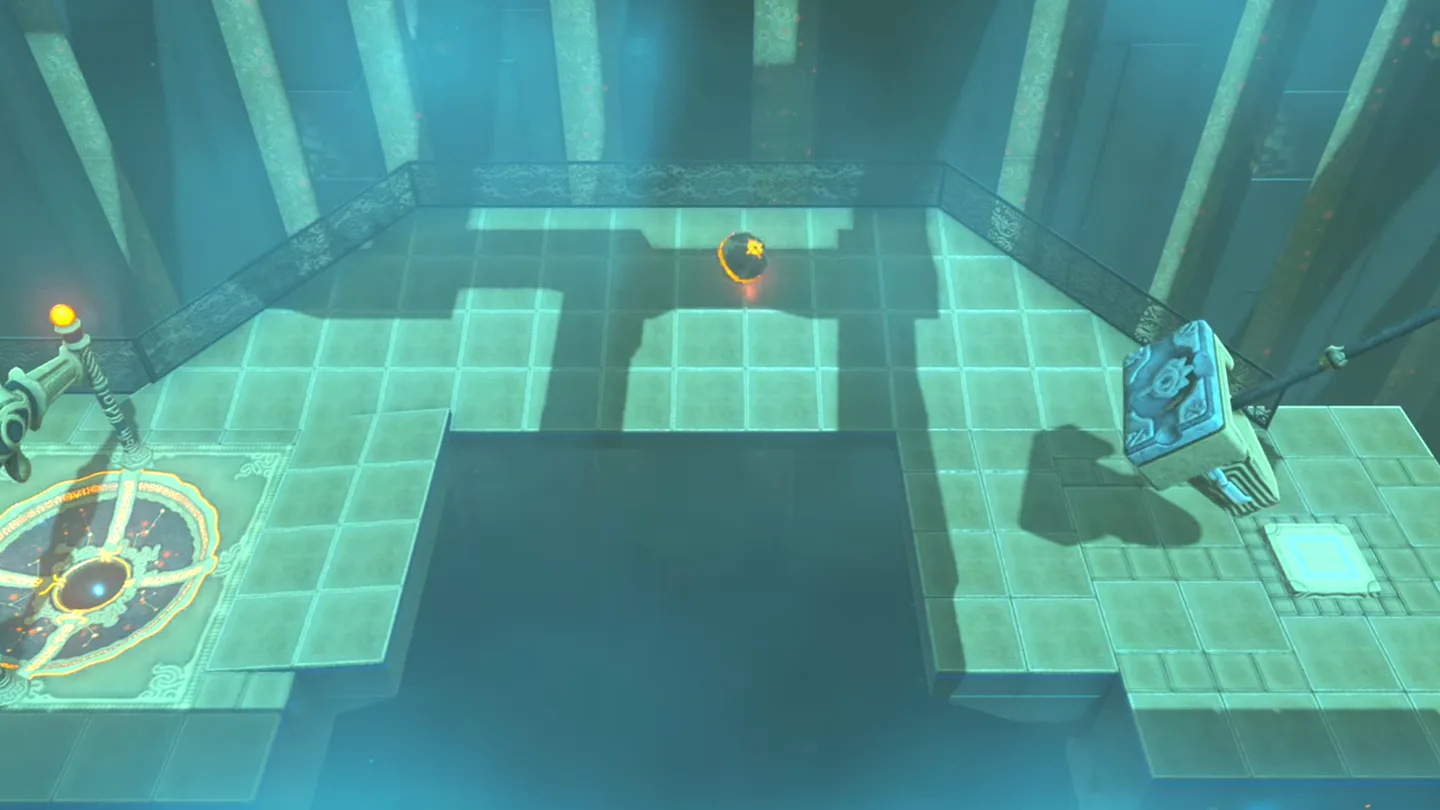
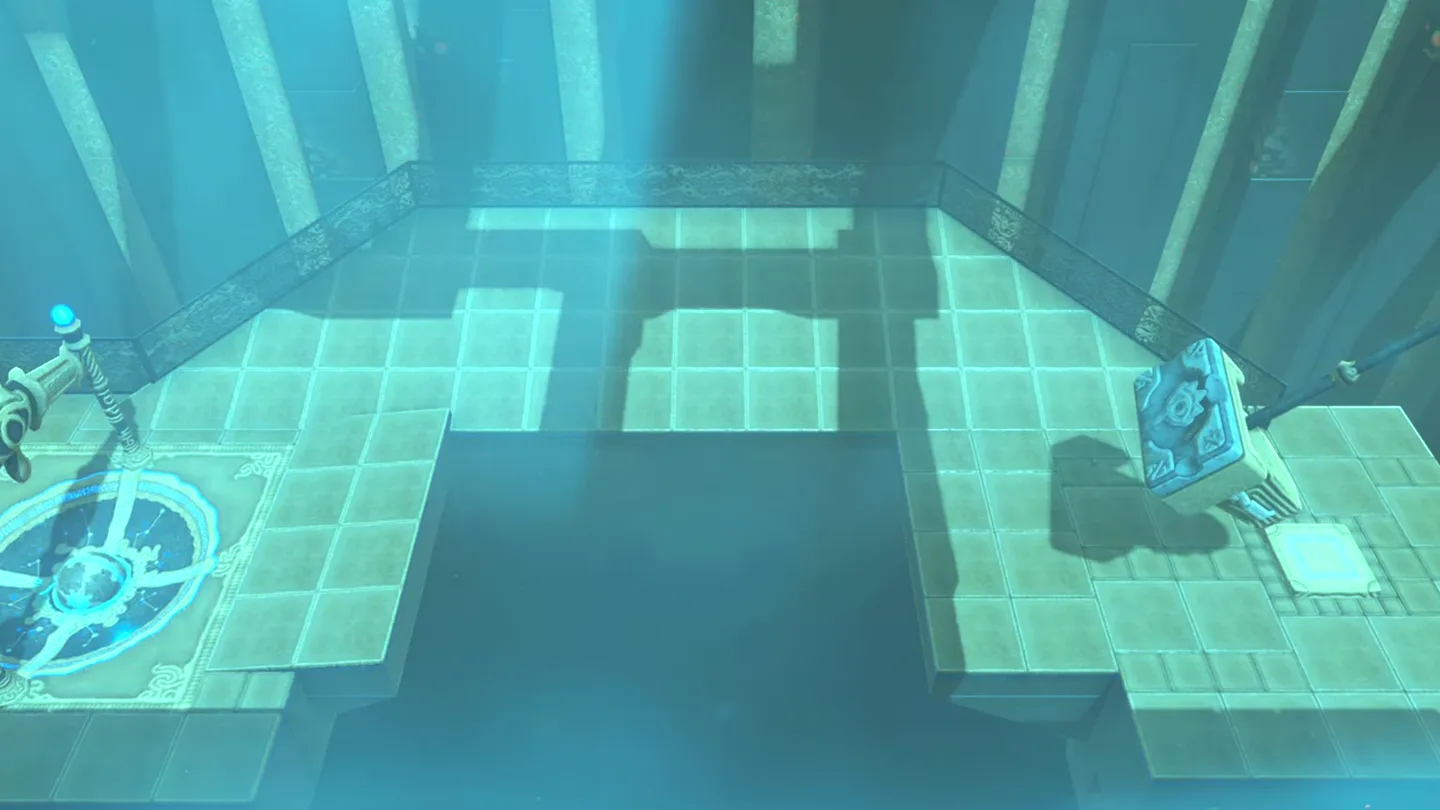
This trial, Katosa Aug Apparatus, is miniature golf played with a giant hammer: tilt your controller to angle the club and shift it with just the right force to drive an Ancient Orb across the platform into a concave slot.
1. First Motion-Control Hammer Puzzle
Enter the shrine and you’ll hear Monk Katosa Aug greet you (‘I am Katosa Aug. In the name of the Goddess Hylia, I offer this trial.’). Ahead, the Monk’s Pedestal sits on its own platform, separated from yours by two disconnected platforms — the moving platform that could carry you across sits inactive. A motion-control apparatus waits nearby.
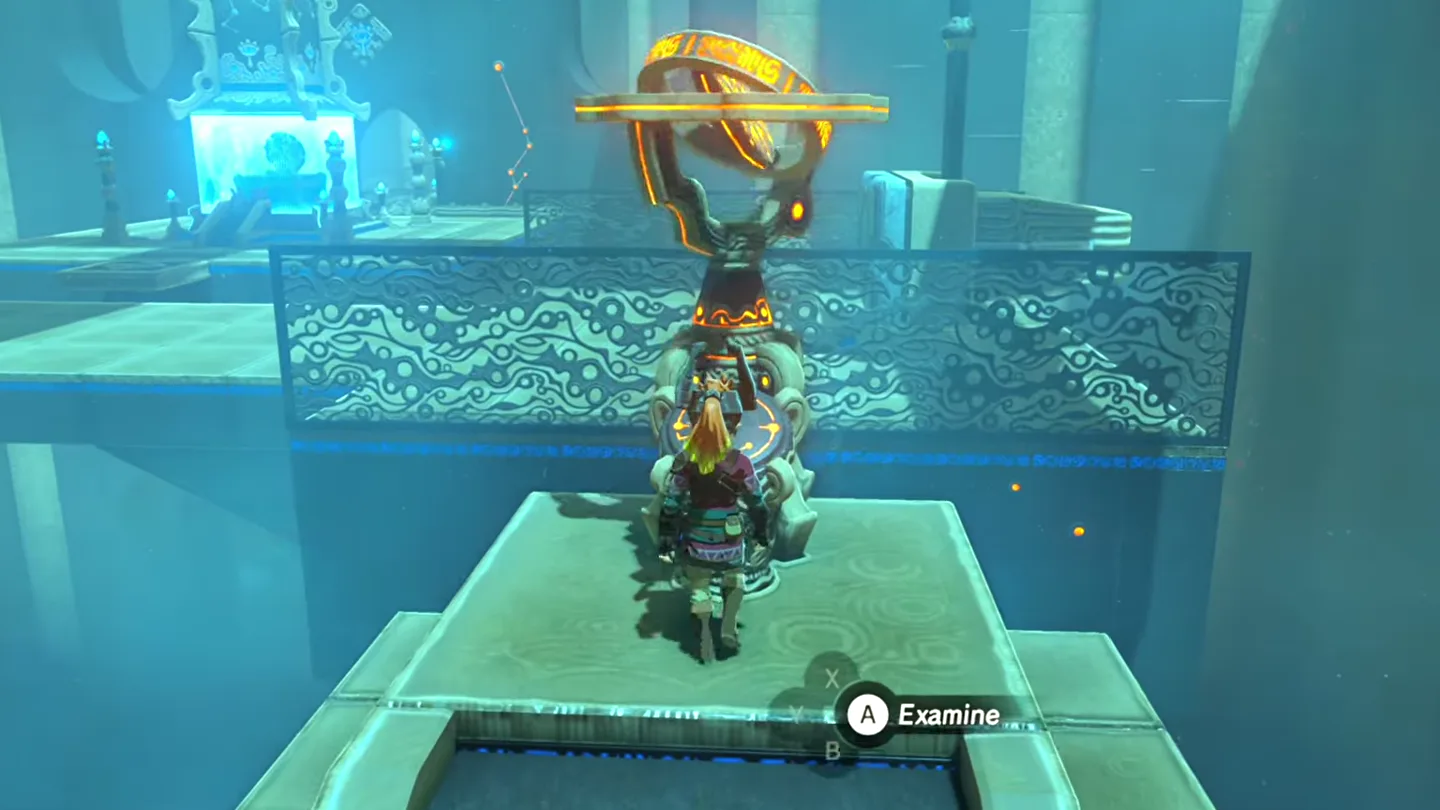
Interact with the apparatus to take control of the giant hammer mechanism on the puzzle platform.
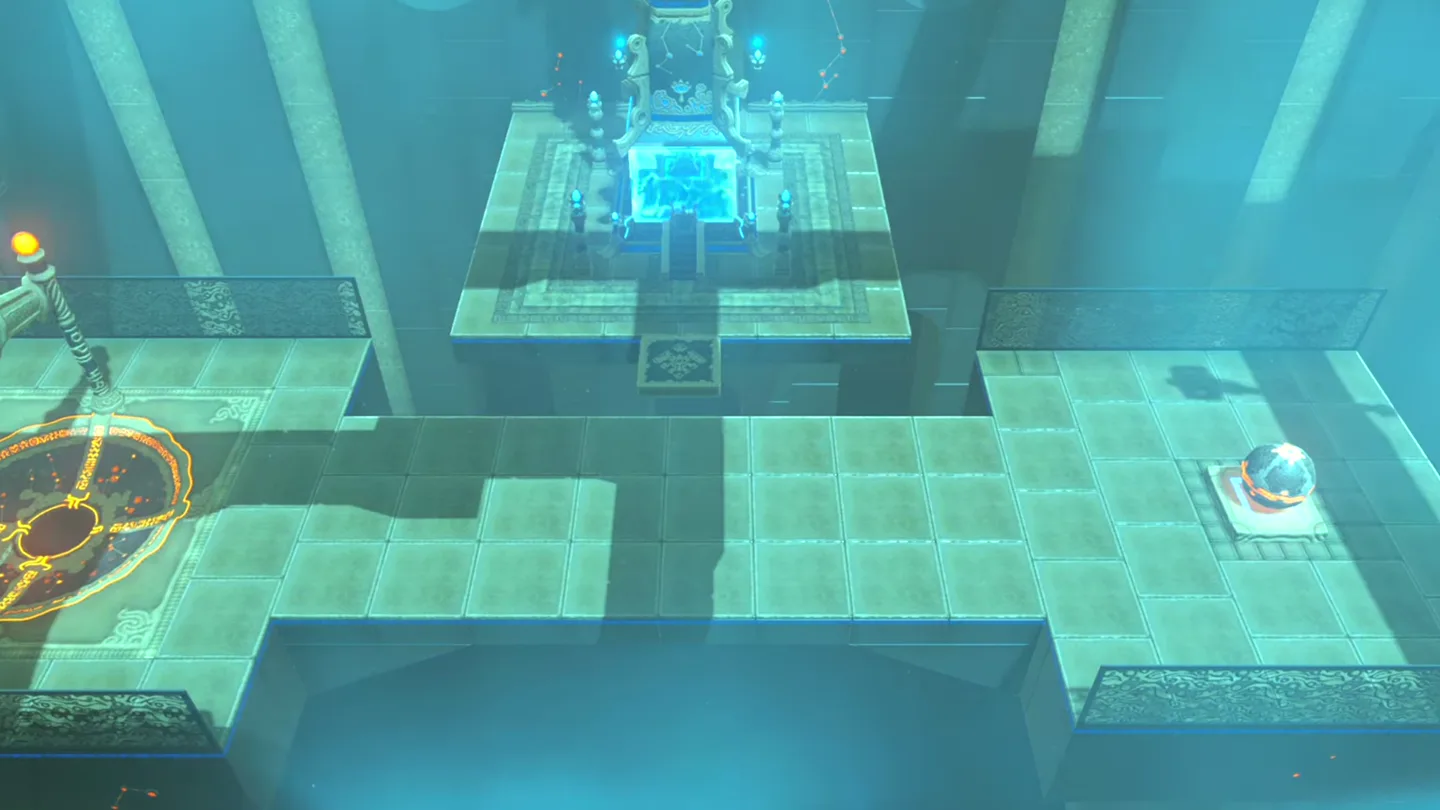
A tilted platform raises an Ancient Orb into position in front of the hammer.
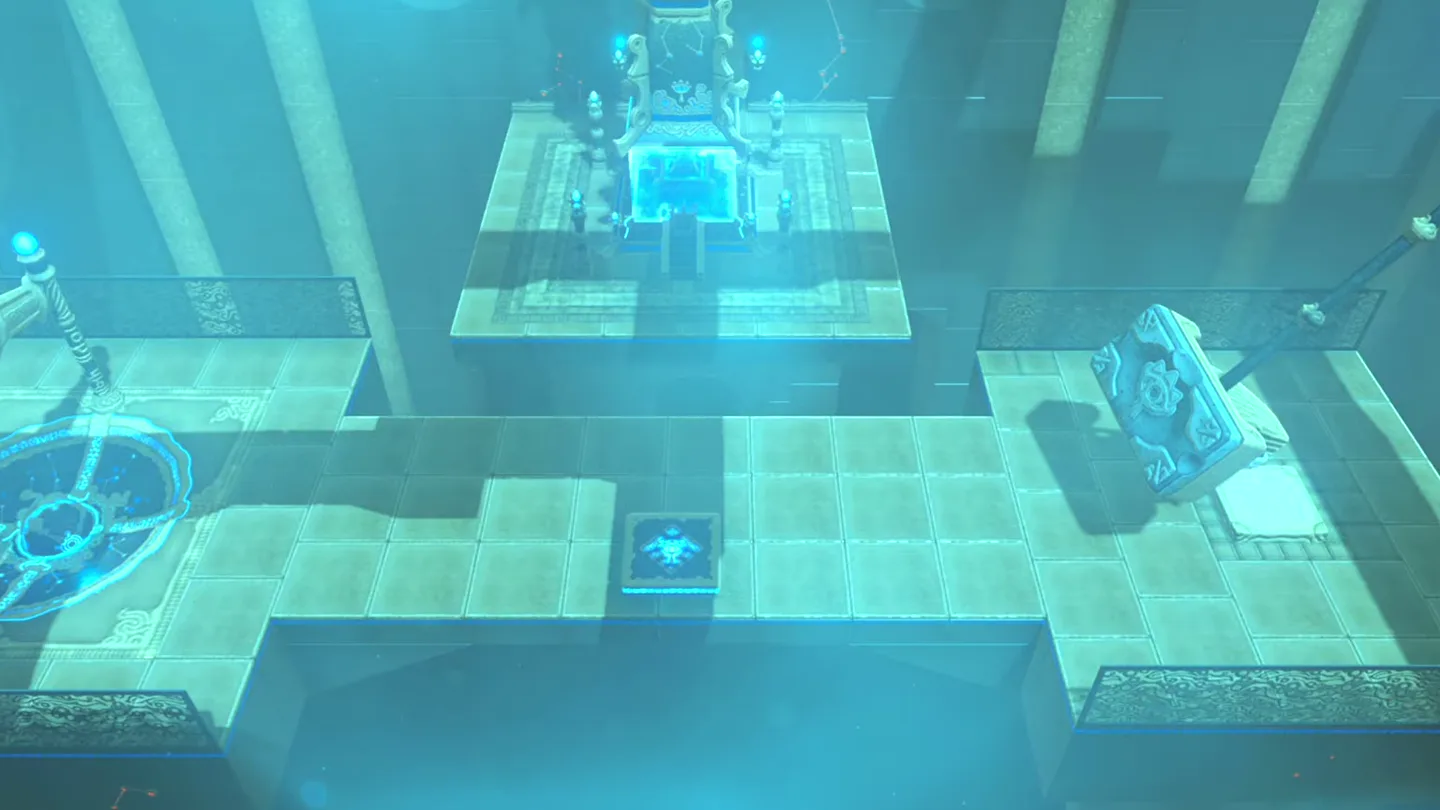
Tilt your controller or console to angle the hammer, then shift it with just the right force to knock the orb across the platform toward the hole at the far end — think miniature golf with a giant club.
Gauge the hammer’s power before committing: a swing that’s too weak leaves the orb short of the hole, while an overstrong one sends it off the edge of the platform.
If the orb stalls or falls off the edge, exit the apparatus controls and click back onto them — the orb respawns at its starting point so you can retry.
Sink the orb into the concave slot on the opposite side of the platform. The moving platform activates and begins floating between your platform and the Monk’s Pedestal.
Step out of the apparatus, ride the moving platform across, and speak with Katosa Aug. He commends your resourcefulness, grants you a Spirit Orb, wishes that the Goddess smile upon you, and fades away.
2. Second Angled Puzzle and Treasure Chest
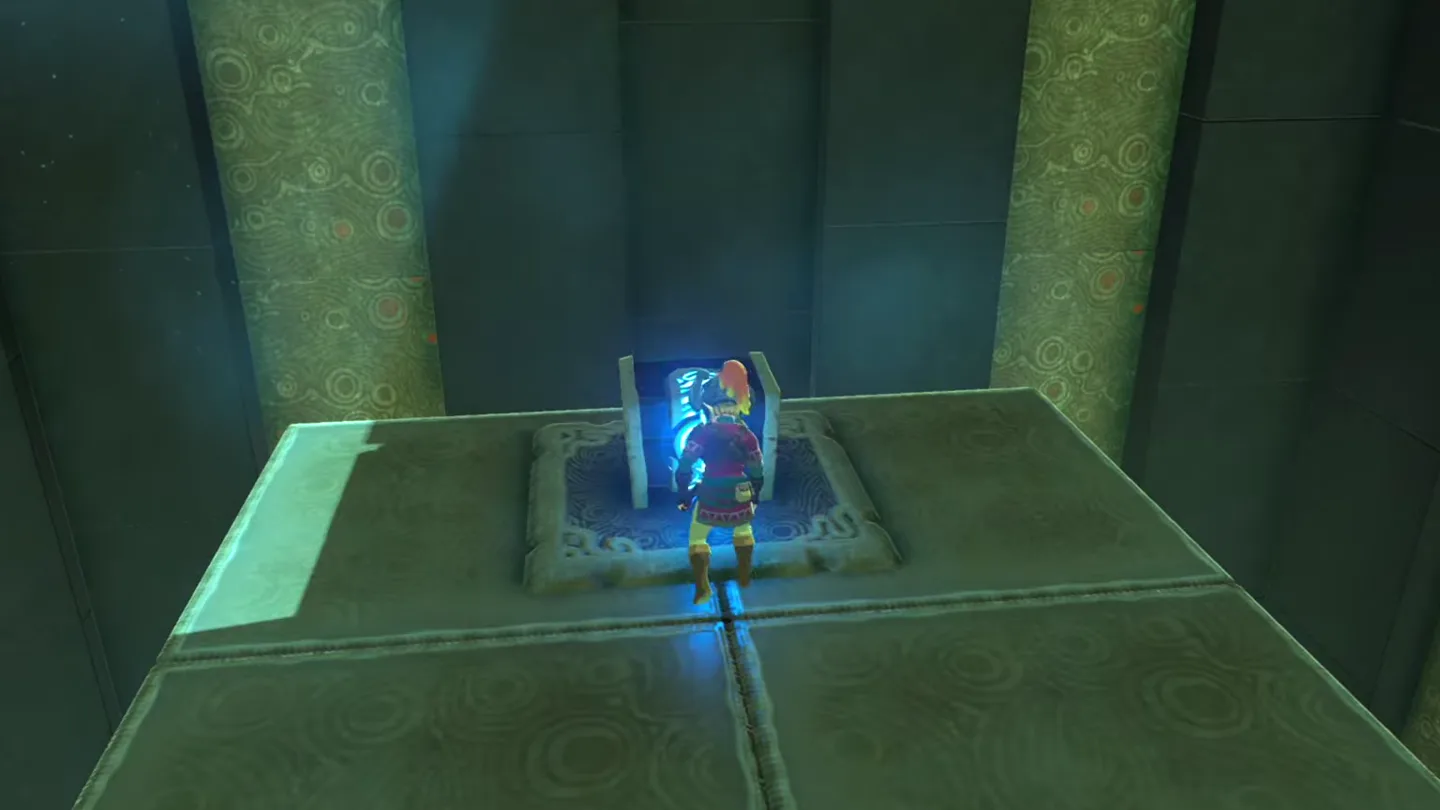
You could finish the shrine here — but behind the Monk’s Pedestal is another room holding a second motion-control puzzle that rewards some treasure.
The setup mirrors the first puzzle, except a gap now sits between the orb and the target, so you must hit the Ancient Orb at an angle to reach the concave slot.
Pick either route: hit the orb super hard so it flings over the gap and lands on the other side, or angle the shot along the side path so the orb rolls down onto the far side. The side route takes real precision, and trial and error is normal with finicky motion controls.
Once the orb lands, a moving platform between the main floor and the treasure platform activates. Ride it across and open the chest to get the Great Frostblade.
What is in the chest?
| Chest | Contents | How to get it |
|---|---|---|
| 1 | Great Frostblade | Solve the second, angled mini-golf puzzle in the room behind the Monk’s Pedestal. This activates a moving platform between the main floor and the treasure platform, which carries you to the chest. |
What do people miss here?
- The bonus chest is behind the Monk’s Pedestal. It’s tempting to pocket the Spirit Orb and leave, but the room behind offers a bonus puzzle and treasure — the shrine can be completed without it, so make yourself walk around the pedestal.
- The second puzzle has two valid solutions: brute-force the orb over the gap, or angle it along the side path so it rolls down onto the target side. If powerful swings keep failing, switch to the precise side route — you’ll need a bit of precision either way.
- If the orb falls off the edge or stops short, you do NOT need to restart anything — exit the apparatus and interact with it again to respawn the orb at its starting point.
- Gauge how hard the hammer actually hits before your first real swing; you may need a few reads of its power, and overshooting in the first puzzle sends the orb clean off the platform.
- For a full Akkala sweep, the region’s other shrines are Dah Hesho, Tutsuwa Nima, Ze Kasho, Ritaag Zumo, Zuna Kai, Tu Ka’loh, and Ke’nai Shakah, with Katosa Aug the one sitting beside East Akkala Stable.
What else is nearby?
| Shrine | Direction | Straight-line distance | Region |
|---|---|---|---|
| Tutsuwa Nima Shrine | west | 518 | Akkala |
| Ritaag Zumo Shrine | south | 644 | Akkala |
| Tu Ka’loh Shrine | north | 1043 | Akkala |
Which guides help next?
FAQ
Where is Katosa Aug Shrine?
How do I reset the ball if it falls off the edge?
What's in the Katosa Aug Shrine chest?
How do I beat the second golf puzzle?
Do I need a shrine quest or special gear to enter?
Related Articles
guides
Breath of the Wild Captured Memories: All 13 Locations and Rewards
All 12 photo locations from Zelda's album plus the 13th memory in Impa's painting, with coordinates, nearby shrines, the Champion's Tunic and the extra ending scene.
guides
Breath of the Wild Great Fairy Fountains: Locations, Costs and Horse God
Where the four Great Fairy Fountains and the Horse God Malanya are in Breath of the Wild, what each fairy costs to release, and how many you need per armor upgrade.
guides
Hyrule Castle Walkthrough: Entry Routes, Hylian Shield and Final Prep
How to get into Hyrule Castle in Breath of the Wild: five entry routes, the Hylian Shield and other loot by room, and what to prepare before the final battle.
Was this helpful?
Thanks for the feedback!