Some terrain tiles could not load. Switch to the coordinate grid or retry.
Dah Hesho Shrine is just east of Akkala Tower, in the Akkala Highlands — it sits on a cliff south of Tarrey Town overlooking Lake Akkala. Other Ancient Shrines in the Akkala Highlands include Kah Mael, Ke’nai Shakah, Ritaag Zumo, Tutsuwa Nima, and Ze Kasho, but Dah Hesho is the one right by the tower.
Item
Detail
Trial
A Minor Test of Strength
Tower region
Akkala
Map-marker coordinates
3900, 1304, 0368
Shrine quest
None
Chests
1
Names
Dah Hesho Shrine · 達席‧希諾神廟 · 达席·希诺神庙
What should you bring?
No shrine quest gates this trial — none of Akkala’s shrine quests (Into the Vortex, The Skull’s Eye, The Spring of Power, The Trial of the Labyrinth) involve Dah Hesho, so you can walk straight in. Because this is a Minor Test of Strength, the enemy is relatively weak: you can complete the shrine relatively easily at an earlier level, or come back when you’re big and strong and defeat it quickly. Bombs are optional — they’re only useful for smashing the arena’s stone pillars.
This is a straight duel: one Guardian Scout II wielding an Ancient Battle Axe in an arena lined with destructible stone pillars — parry or side-hop its swings, and survive the spinning laser it unleashes at low health.
1. Enter the Arena
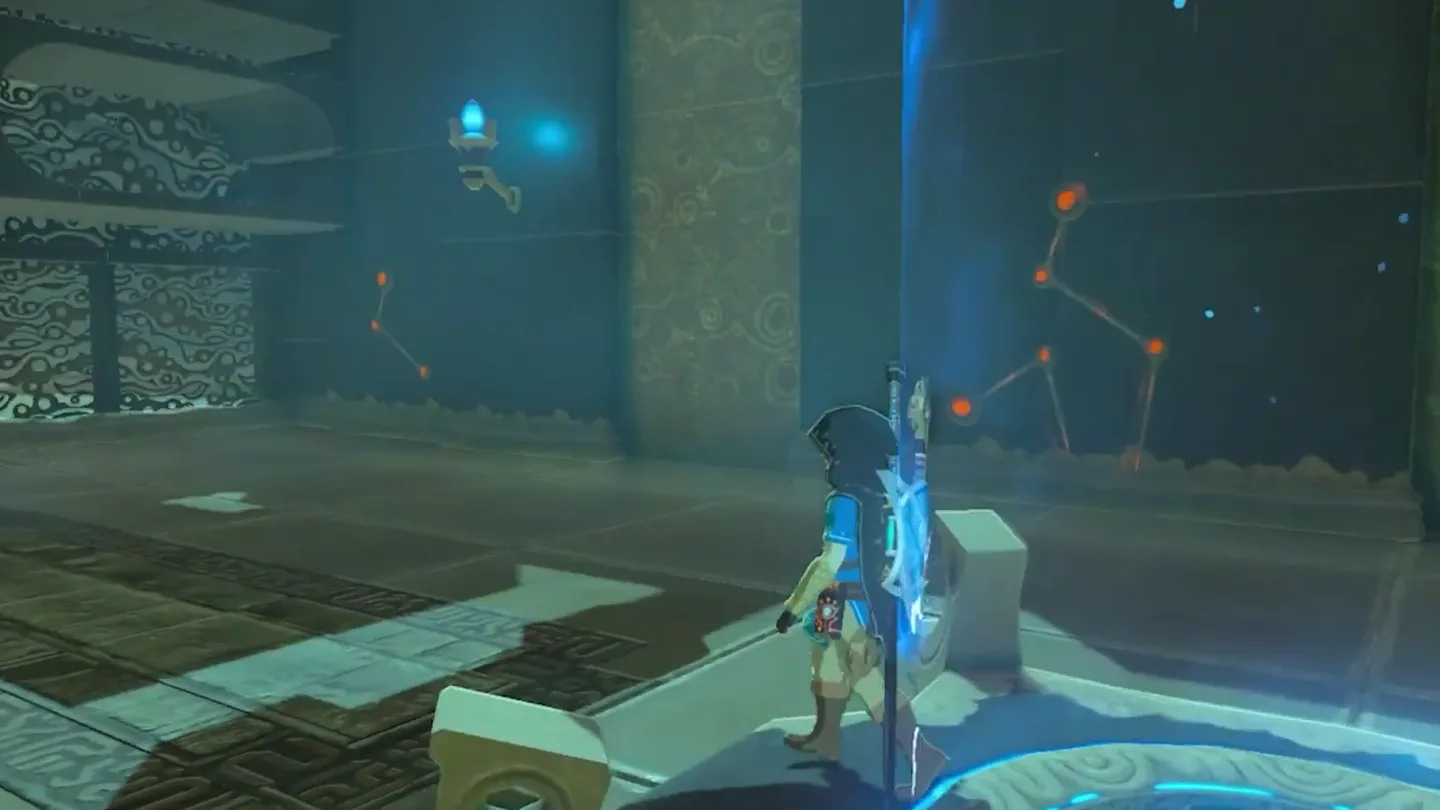
From Akkala Tower, head a short distance east into the Akkala Highlands — the shrine sits on a cliff south of Tarrey Town, overlooking Lake Akkala. Walk up and touch the gate’s terminal to open it.
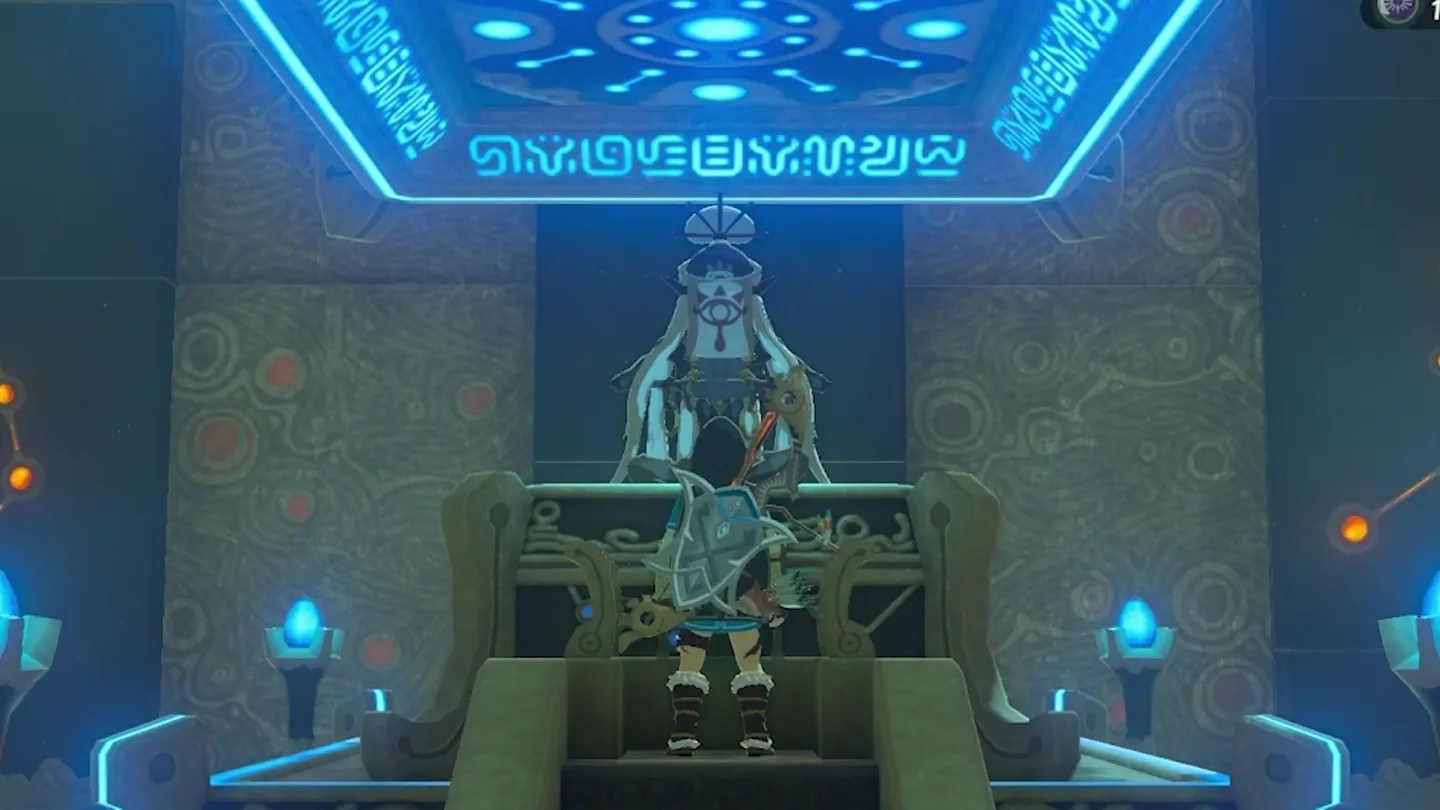
Step inside, where Monk Dah Hesho greets you: ‘I am Dah Hesho. In the name of the Goddess Hylia, I offer this combat trial.’
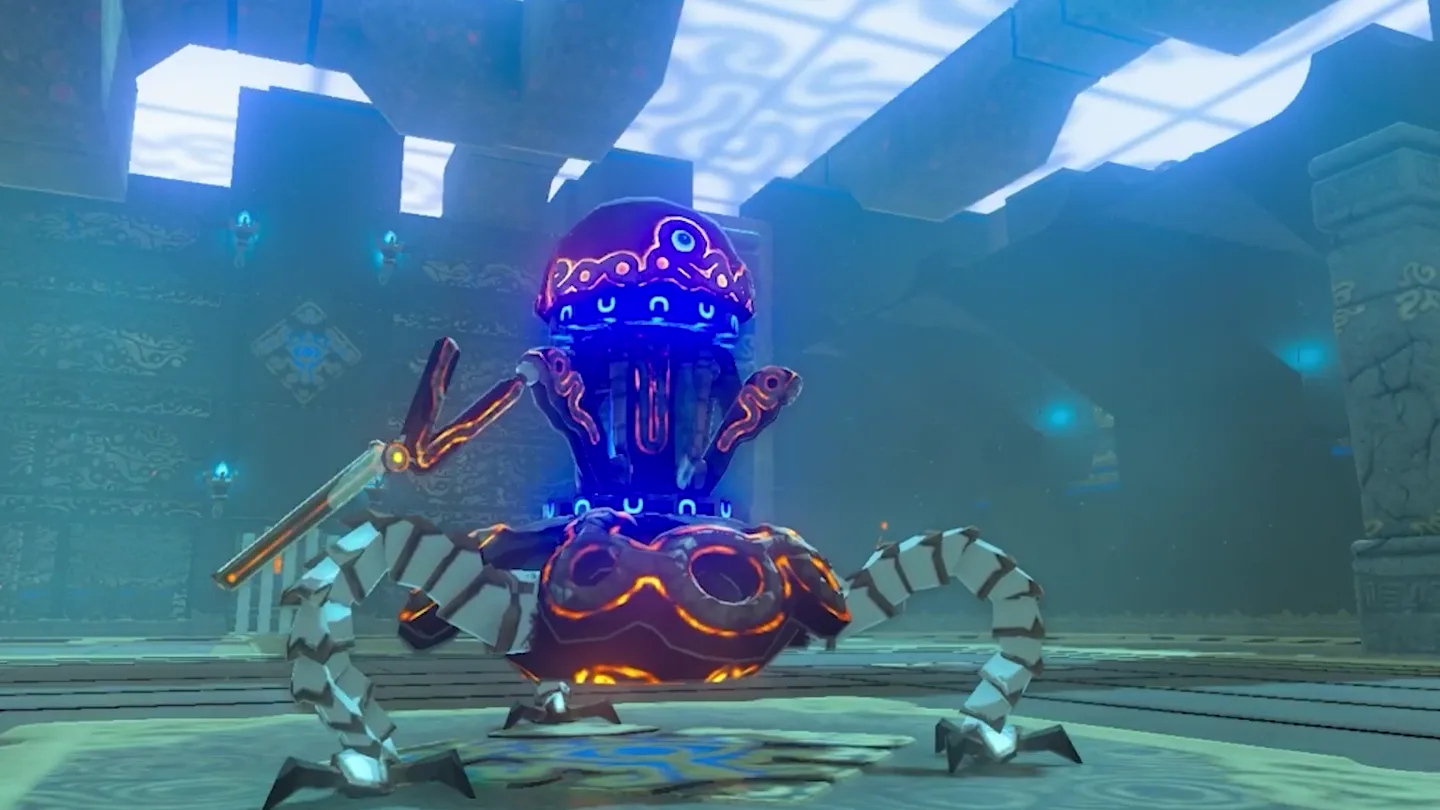
Drop into the arena below. A Guardian Scout II armed with an Ancient Battle Axe powers up and comes at you — as this is a Minor Test of Strength, the enemy is relatively weak.
Take stock of the arena: it has several stone pillars that can be destroyed — by your Bombs, or by the Guardian Scout II spinning into them during one of its attacks — so the battlefield opens up as the duel goes on.
Open the gate at the terminal and ride down into the shrine. Screenshot (cropped) from Jlatzss14
· CC BY In the arena, Guardian Scout II ① powers up with an Ancient Battle Axe. Screenshot (cropped) from Jlatzss14
· CC BY
2. Defeat the Guardian Scout II
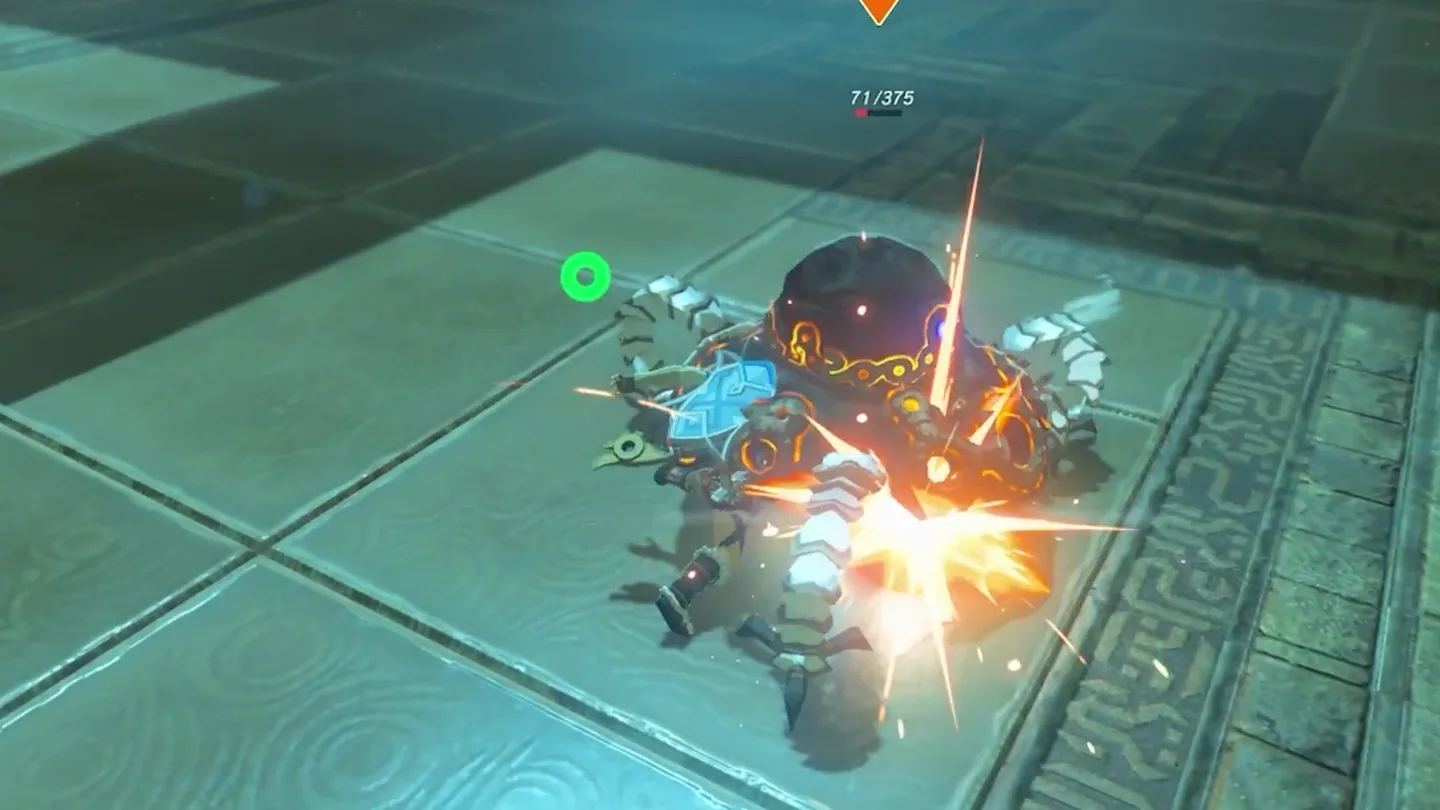
When the Scout closes to axe range, parry the swing or side-hop out of the way, then step in and land some counter-hits of your own.
Repeat that rhythm — parry or side-hop each melee attack, then punish before it recovers.
If you’re struggling, remember the tuning: this shrine can be completed relatively easily even at an earlier level, or you can come back when you’re big and strong and defeat the Scout quickly.
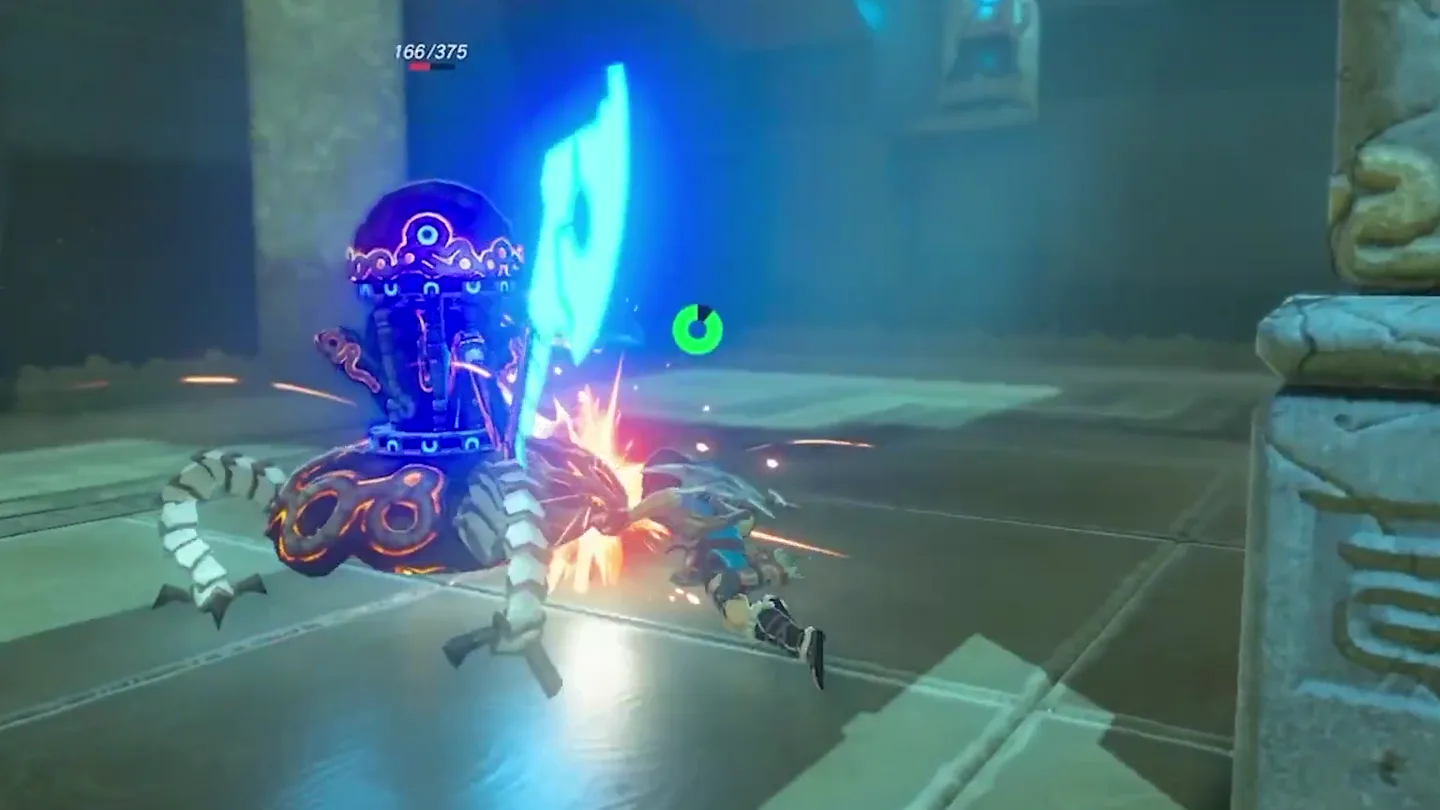
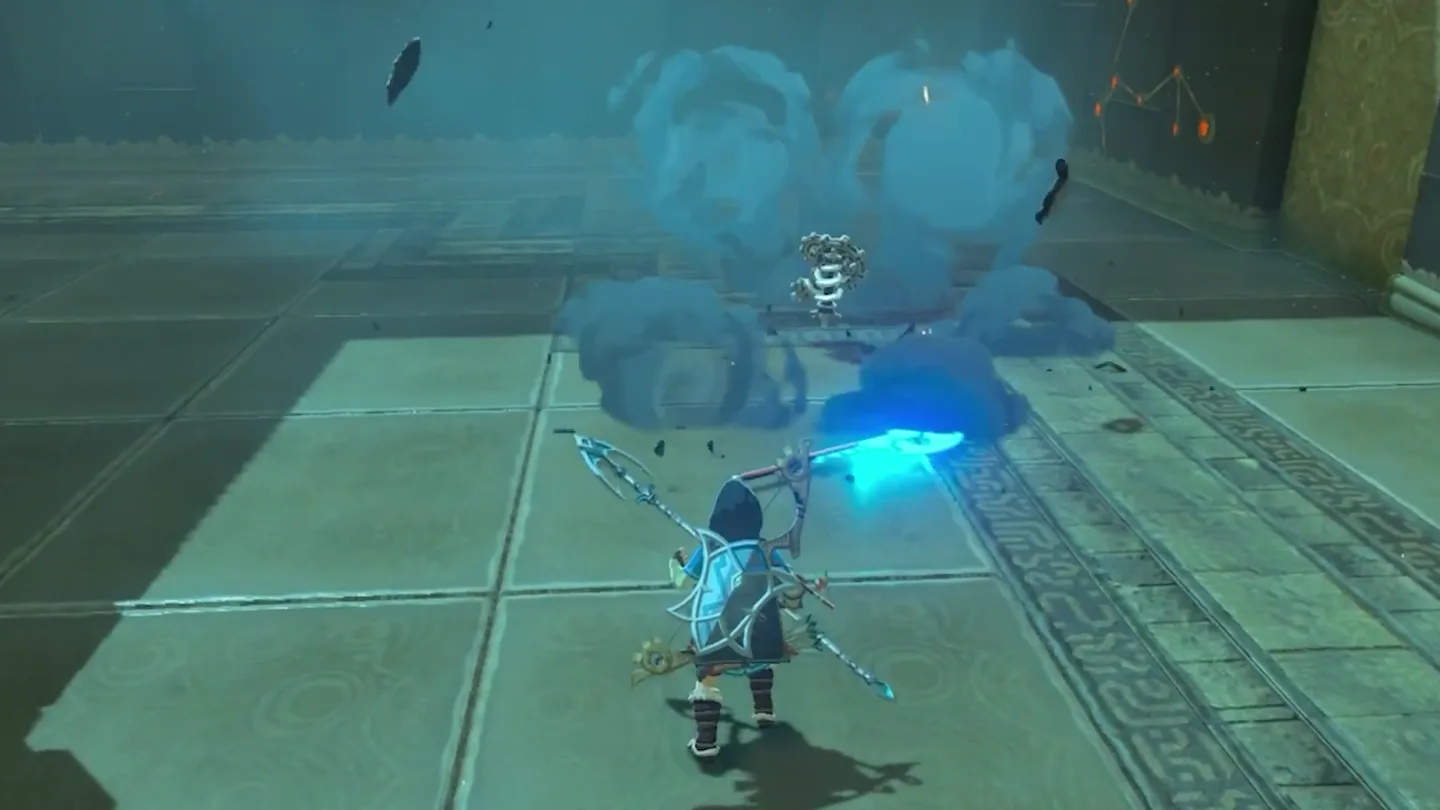
Watch for the tell: when the Scout’s health starts getting a bit low, it activates a spinning laser beam. Back away and avoid it until the spin ends.
Move back in and finish it off. The defeated Guardian leaves its Ancient Battle Axe behind along with some Ancient Springs — pick them up.
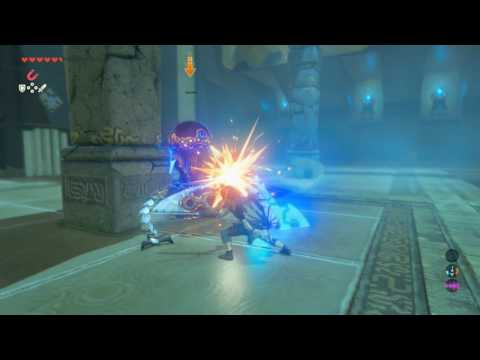
Parry or side-hop the Scout’s swing, then step in and counter-hit ①. Screenshot (cropped) from Jlatzss14
· CC BY Keep punishing ① after each attack until its health is gone; back away if it spins its laser. Screenshot (cropped) from Jlatzss14
· CC BY The Scout breaks apart; pick up its Ancient Battle Axe and Ancient Springs. Screenshot (cropped) from Jlatzss14
· CC BY
3. Claim the Reward
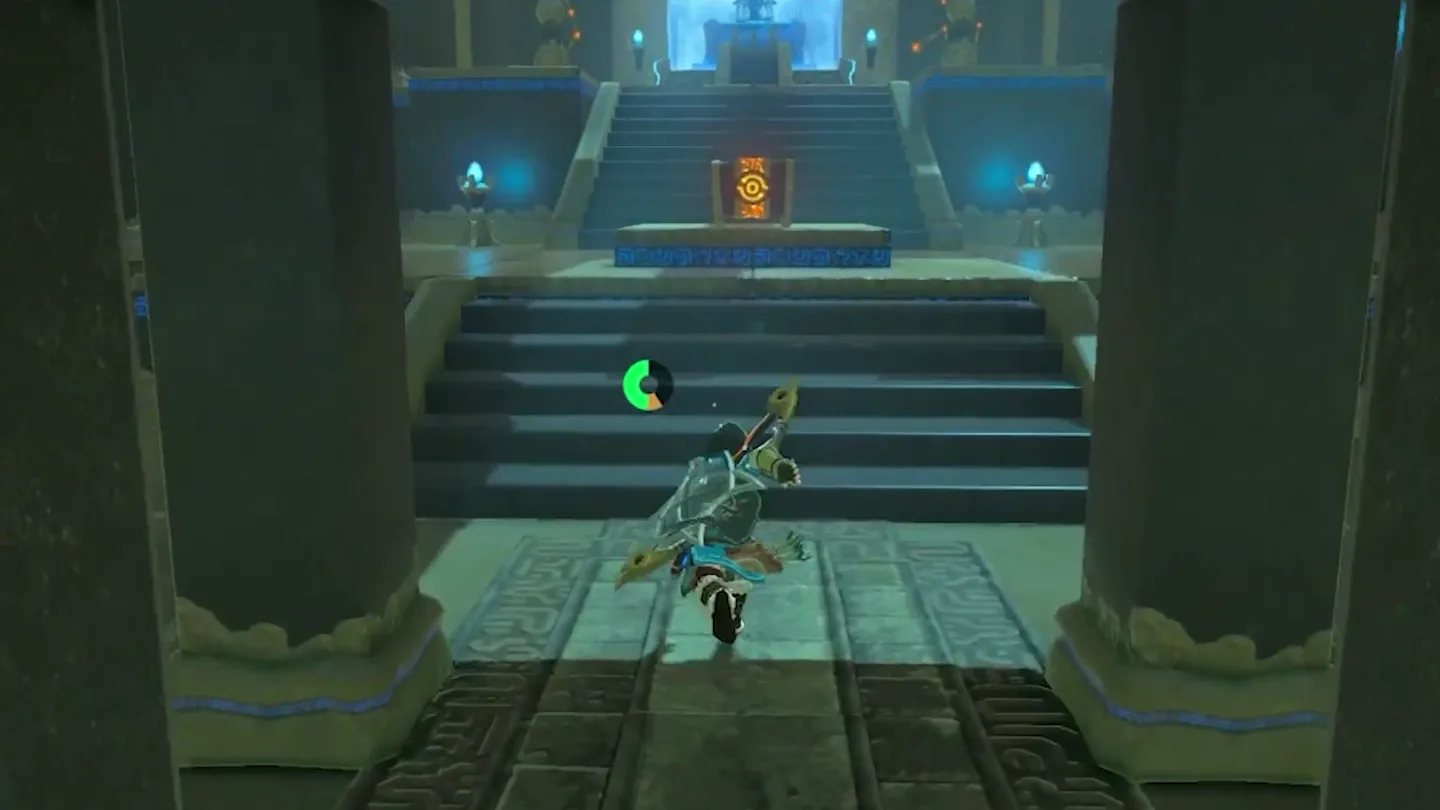
With the Guardian Scout II defeated, the portcullis at the back of the arena opens; pass through toward the Monk’s Pedestal.
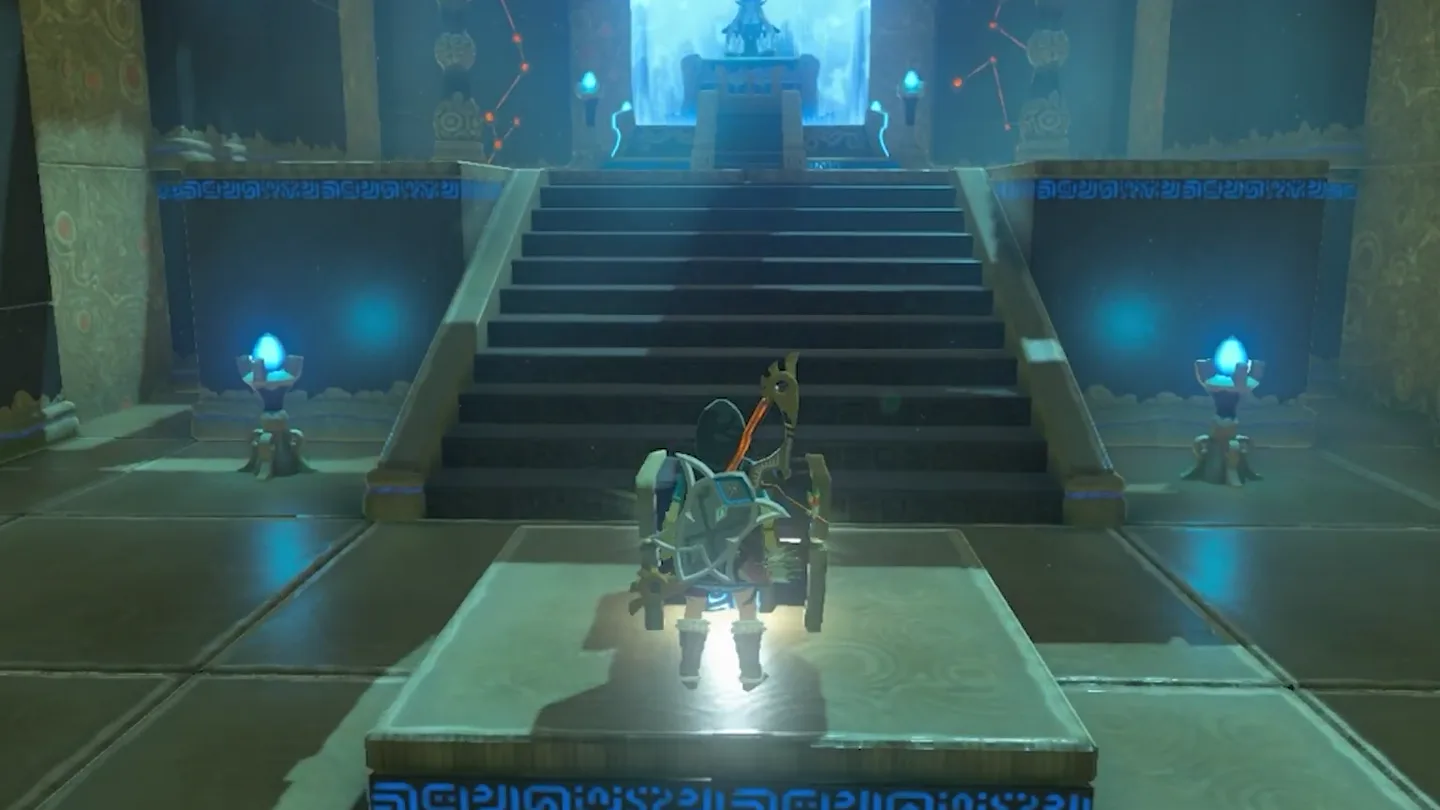
Before speaking to the monk, open the Treasure Chest sitting by the pedestal to claim the Giant Ancient Core.
Speak to Dah Hesho: ‘Your triumph over the test of strength subverts a prophecy of ruin… I bestow upon you this Spirit Orb.’ He wishes you well, and the shrine is complete.
The portcullis opens; chest ① waits in front of the Monk’s Pedestal. Screenshot (cropped) from Jlatzss14
· CC BY Open the chest for a Giant Ancient Core before talking to the monk. Screenshot (cropped) from Jlatzss14
· CC BY Speak to Dah Hesho to receive the Spirit Orb. Screenshot (cropped) from Jlatzss14
· CC BY
What is in the chest?
Chest
Contents
How to get it
1
Giant Ancient Core
Found behind the portcullis that opens once the Guardian Scout II is defeated; the chest sits beside the Monk’s Pedestal. Open it before you take the Spirit Orb and leave.
What do people miss here?
The Giant Ancient Core chest sits right beside the Monk’s Pedestal — it’s easy to walk straight to the monk for the Spirit Orb and leave without ever opening it.
Don’t leave without the Guardian’s drops: you can pick up its Ancient Battle Axe as well as some Ancient Springs scattered in the arena.
This guardian is a relatively easy fight at any stage since it is a Minor Test of Strength — you can clear it early, or come back when you’re big and strong and defeat it quickly.
You can’t rush past the fight: the portcullis to the Monk’s Pedestal only opens once the Guardian Scout II is defeated.
Trivia: Dah Hesho Shrine is referenced in Age of Calamity through the ‘Trial of Dah Hesho’ quest.
A Guardian Scout II armed with an Ancient Battle Axe. This is a relatively easy fight at any stage since it's a Minor Test of Strength — parry its melee attacks or side-hop out of the way.
What's in the Dah Hesho Shrine chest?
There is one chest, beside the Monk's Pedestal behind the portcullis that opens after the fight, and it contains a Giant Ancient Core. Open it before you take the Spirit Orb and leave.
Where is Dah Hesho Shrine?
In the Akkala Highlands, just east of Akkala Tower — on a cliff south of Tarrey Town overlooking Lake Akkala.
Can I beat Dah Hesho Shrine at an early level?
Yes. Because it's a Minor Test of Strength, the enemy is relatively weak and the shrine can be completed relatively easily at an earlier level — or you can come back when you're stronger and defeat it quickly.
What does the Guardian Scout drop?
After the fight you can pick up its Ancient Battle Axe, along with some Ancient Springs left in the arena.