

Ocarina of Time Remake: Dodongo Cavern Walkthrough
Reach Goron City, learn Saria's Song, solve Dodongo Cavern's bomb puzzles, get the Bomb Bag, defeat King Dodongo and visit the summit Great Fairy.
After meeting Zelda, your next goal is the Spiritual Stone of Fire. This chapter covers the journey through Kakariko Village, Goron City and the forest, the second dungeon (Dodongo Cavern, spelled Dodongo’s Cavern in the N64 original), and the summit visit. The walkthrough index shows where it fits in the main story.
What should you bring?
Keep Zelda’s Letter, the Ocarina, the Slingshot and seeds, Deku Sticks, a sword and a shield ready. A Hylian Shield is useful around fire. You do not need to buy bombs before entering: the bracelet lets you carry Bomb Flowers, and the dungeon contains the Bomb Bag. Keep at least 25 rupees for the Great Fairy at the summit.
How do you reach Darunia and learn Saria’s Song?
- Show the letter at Kakariko’s mountain gate. Optional stops in the village are in the Kakariko Village guide. From Hyrule Field, enter Kakariko and climb the village stairs to the guarded gate. Equip Zelda’s Letter and show it to the soldier. Continue onto Death Mountain Trail after he opens the gate.
- Climb to Goron City. See the Goron City guide for the shop and side errands. Follow the rocky trail uphill. Pass the blocked cavern entrance and continue uphill toward the city sign. The Bomb Flower beside the fence is for later.
- Open Darunia’s chamber. Descend to the lowest level of Goron City. Stand on the Triforce carpet in front of the red door and play Zelda’s Lullaby. Go inside and speak to Darunia.
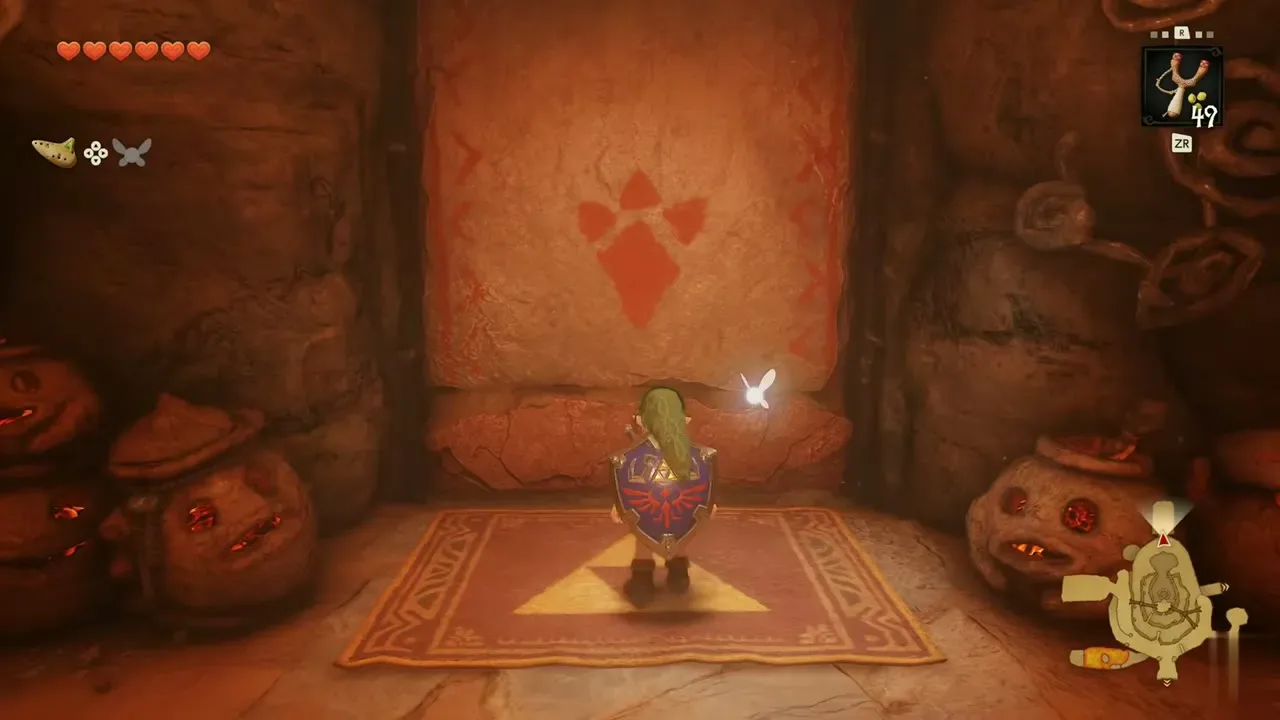
- Open the forest shortcut with fire. Light a Deku Stick in Darunia’s room and carry the flame out through the city. Use the torches along the route to keep a flame available. At the blocked tunnel with Bomb Flowers beside the rocks, ignite a flower with the stick and stand clear. This works before you can pick the flowers up.
- Follow the music through the Lost Woods. Enter the newly opened tunnel. At the forest junctions, choose the passage carrying Saria’s melody; glowing musical notes appear in the correct passages. Avoid taking an unmarked dark exit back to Kokiri Forest. Follow the musical route to the Sacred Grove.
- Cross the grove and meet Saria. Defeat the Wolfos at the entrance to remove the barrier. Work through the stone-walled passages, blocking the Mad Scrubs’ shots (they spit three nuts in quick succession) and returning fire or striking once they are exposed. Climb the final stairs to Saria and accept her lesson. Finish the song practice so it is recorded in your song list.
- Return and play the new song for Darunia. Retrace the forest route to the Goron City shortcut. Play Saria’s Song in front of Darunia, then finish the conversation after his dance. The Goron Bracelet lets you lift Bomb Flowers.
- Blast open the cavern. Leave the city for the fenced Bomb Flower above the blocked entrance. Pick it up and throw it down at the large boulder. Descend to the opened cave; another Bomb Flower breaks the cracked wall inside and reveals the lava hall.
How do you get the map and compass?
- Take the map on the left side of the lava hall. Follow the wooden walkways and stone rim rather than jumping into the lava. Bomb the cracked walls along the left side. The larger chest in the side chamber contains the Dungeon Map; a nearby small chest holds rupees.
- Enter the opposite passage. Use Bomb Flowers on the cracked wall and the laser-shooting Beamos if it blocks your crossing. In the Baby Dodongo tunnel, sidestep their charges and move away after striking: they explode before disappearing.
- Weight the switch with a statue. At the barred door, pull one of the horned statues away from its place beside the raised doorway. Push it onto the floor switch in front of the door, then climb onto the ledge and go through.
- Defeat the Lizalfos pair. Fight on the broad stone platforms, keep your shield ready and counter after their attacks. Defeat both to remove the purple barrier. Take the red rupee chest that appears and leave through the far door.
- Pass the Dodongos and light the torches. The side Business Scrub offers supplies if needed. In the larger blue-lit chamber, use Bomb Flowers against the Dodongos and stay out of their fire breath. Light a Deku Stick at a burning torch and ignite the unlit torches before the flame expires. Go through the opened door.
- Open the far side of the main hall. Step on the floor switch on the ledge where you emerge. Cross the lava hall to the newly accessible door. Bomb the cracked side wall, deal with the active Armos using Bomb Flowers, and take the Compass from the chest.
How do you reach the Bomb Bag?
- Lower the staircase with a chain explosion. In the tall pillar room, pick up the separate Bomb Flower and place it in the gap between the two rows at the pillar’s base. Retreat while both rows explode. Climb the lowered steps, bomb the cracked obstruction above them, then continue up the ladder. Shoot the spiders on the net before climbing; a Gold Skulltula token is on this route.
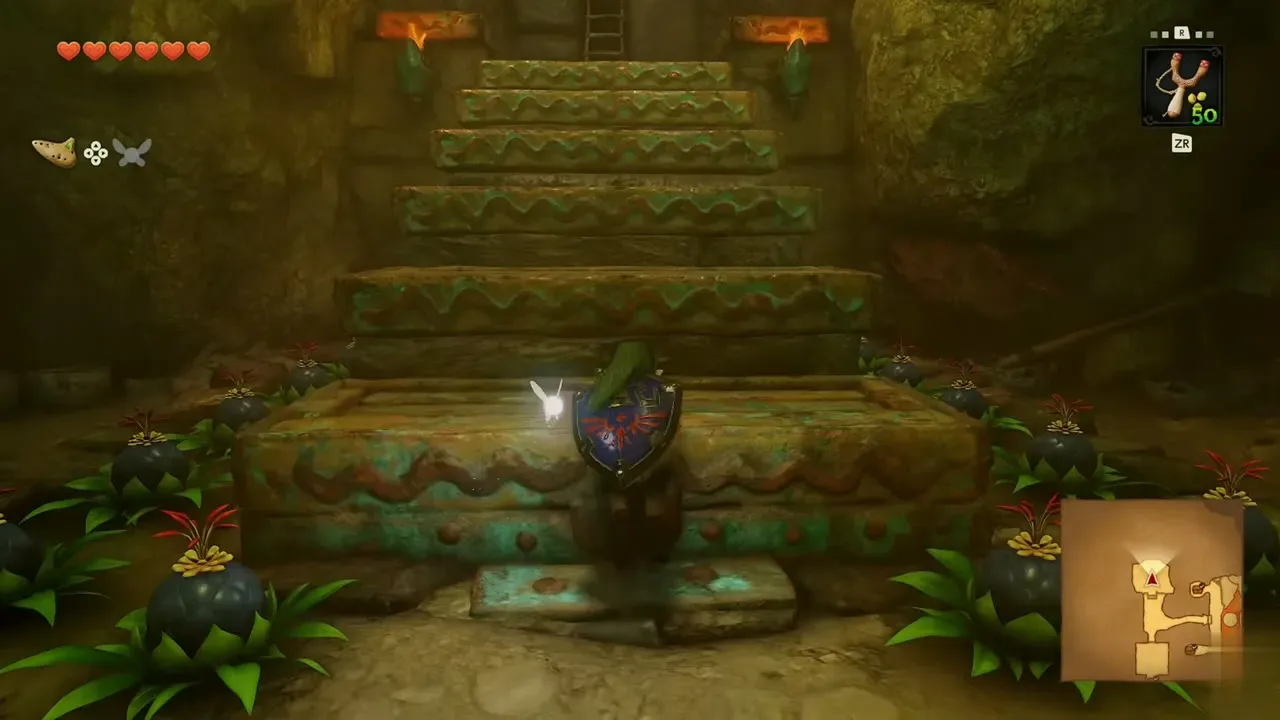
- Move the statue blocking the tower ladder. In the next room, shoot the Fire Keese and keep clear of the moving Armos. Pull the stationary statue away from the ladder, climb the central tower and press its switch. Exit onto the stone slabs suspended by chains and cross to the far door.
- Climb the stacked platforms and break the high wall. Follow the ladders through the room of tall green-sided platforms. A small chest supplies seeds. The exit is behind a cracked wall on a high ledge. From the nearby platform, throw a Bomb Flower toward that wall after its fuse has burned briefly, so it explodes near the obstruction. Reposition and try again if it falls short.
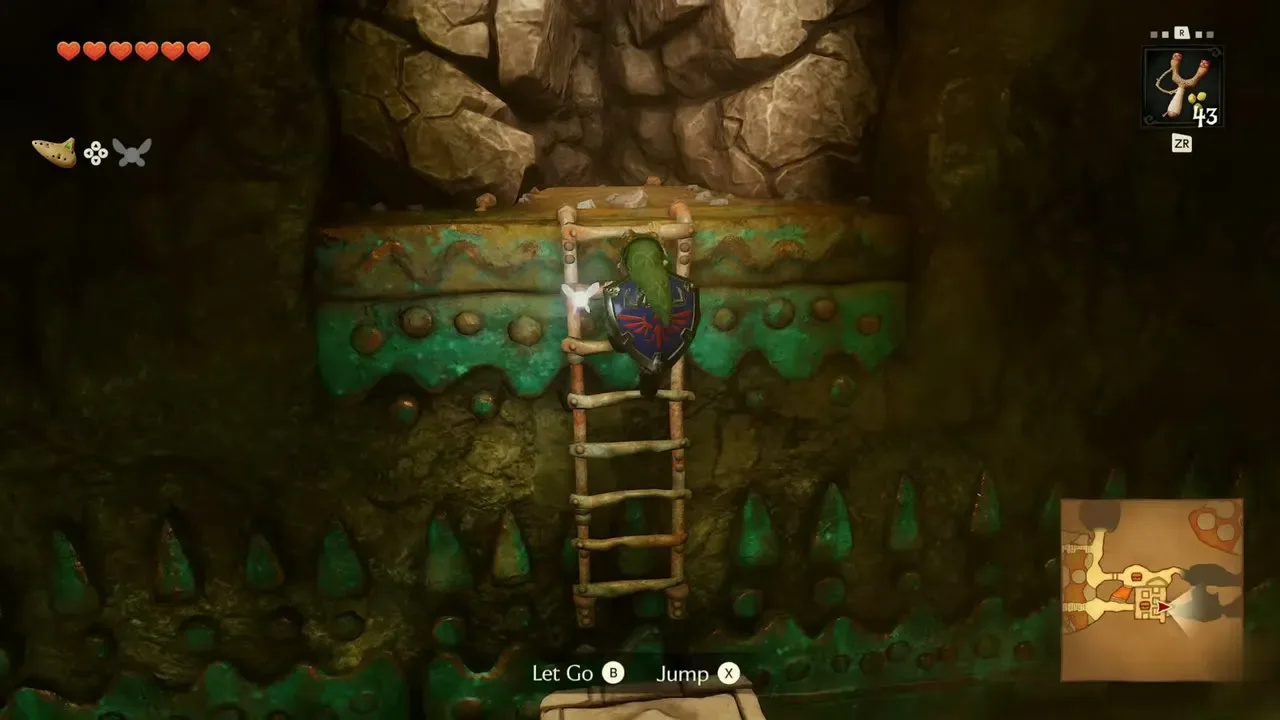
- Shoot the eye above the fire. Use the Slingshot to extinguish the flame blocking the route, then cross while the way is clear. Follow the lava-side passage to the second Lizalfos battle. Defeat the pair without chasing them off the platforms. The chest that appears contains a Business Scrub Seed.
- Solve the next fire passage and take the bag. Shoot the visible eye switch, move past the first extinguished flame and look around the rock corner for the next eye. Clear the remaining flame and climb out to the large chest. The Bomb Bag holds 20 bombs and arrives stocked. Bomb the wall behind the chest to return to the upper lava hall.
How do you open the skull and reach the boss?
- Activate the upper-hall shortcut. Step on the switch near the exit to make the central lift reach the upper level. This saves climbing through the whole dungeon if you return for side rooms.
- Put a bomb in each eye socket. Walk onto the chain-supported path over the giant skull. Stop over each opening and drop a bomb into the eye below. If an eye stays dark, realign above the opening and try again. When both eyes glow red, the jaw opens. Drop to the lower hall and enter through the mouth.
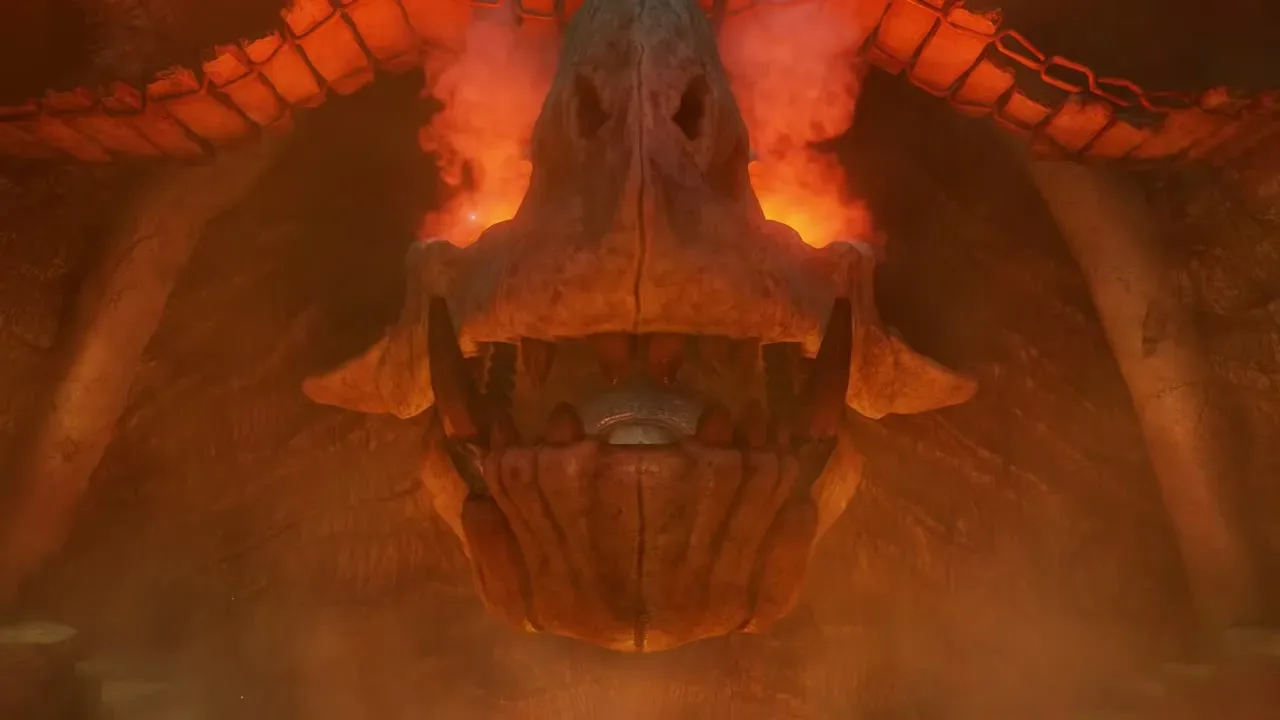
- Bring the stone block back to the floor switch. The first room inside has a recessed switch. Take the side passage and clear the Fire Keese. There are two carved blocks in the fenced passage: pull the lower one out and push it beside the raised walkway so you can climb onto it. Cross the walkway and return to the first room, where the second block is now reachable from behind. Push that block off the ledge and into the switch recess to hold the boss-side door open.
- Break the final obstruction. Follow the opened passage into the dark cave, collect spare bombs and blow up the cracked rocks at the end. Continue down to the lava-side arena. Bomb Flowers also grow in the boss arena if your carried supply runs out.
How do you defeat King Dodongo?
- Keep room to retreat. The remake fight takes place along a narrow rocky strip beside lava. Move away from the boss’s advance, watch for falling rocks after its heavy attacks, and keep your route clear. Avoid committing to attacks while it is upright.
- Bomb its open mouth, then attack. When King Dodongo stops and opens its mouth to inhale, throw a bomb or Bomb Flower inside. Approach after the explosion knocks it down and slash its head. Back away as it gets up; repeat the opening rather than trying to damage its armored body.
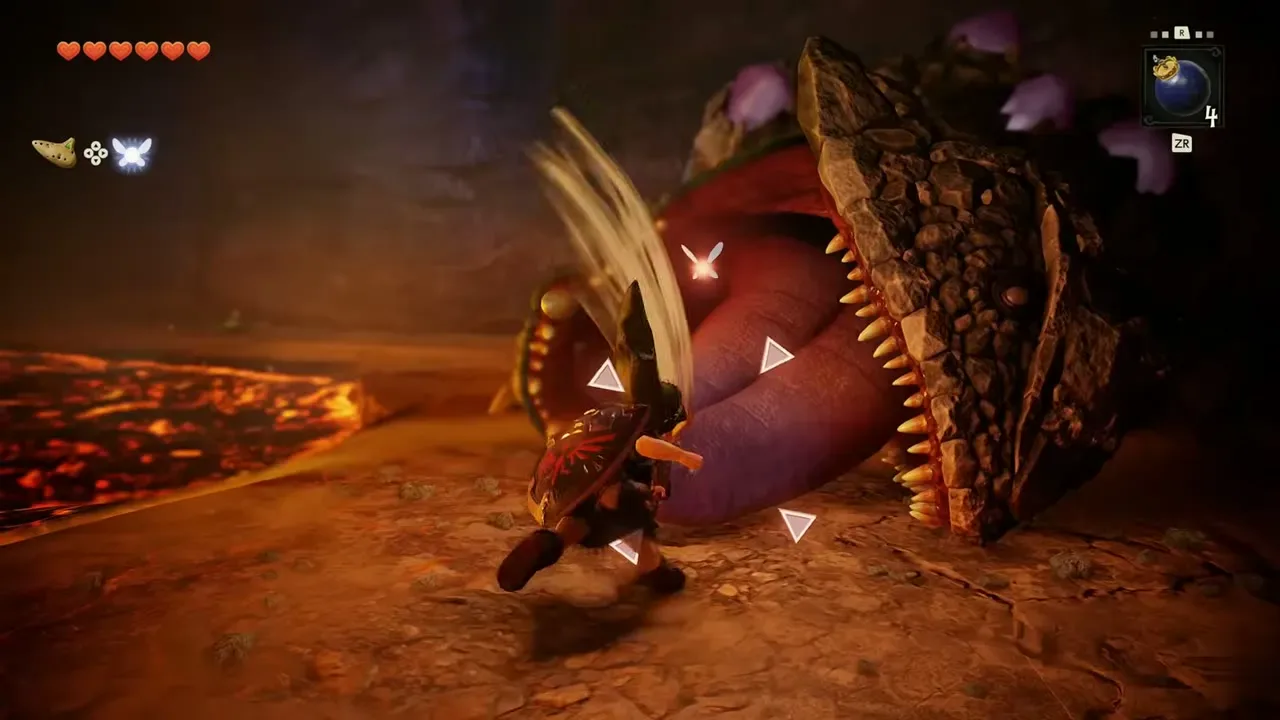
- Collect both rewards. Take the Heart Container before stepping into the blue exit light. Outside, finish Darunia’s conversation to receive the Goron Ruby, your second Spiritual Stone.
Which side rooms are worth checking?
These are useful detours while the dungeon layout is fresh in your mind; they are separate from the main route above.
| Reward | Where to look |
|---|---|
| Gold Skulltula token | Net above the lowered staircase; shoot it, then climb to the token |
| Gold Skulltula token | Bomb the cracked side wall in the first-floor Baby Dodongo passage and inspect the wall inside |
| Gold Skulltula token | Bomb the large rock in the Dodongo side chamber reached after obtaining the Bomb Bag |
| Gold Skulltula token | Bomb the cracked wall beside the block puzzle inside the skull; defeat the enemies and check the back wall |
| Business Scrub Seed | Chest created after the second Lizalfos battle |
| Business Scrub Seed | Chest in the side alcove above the staircase room, accessible after bombing its obstruction |
The token numbers shown in a video are that player’s running total, so your number may differ. The site’s older collectible checklists have their own version notices; use the room descriptions here for this remake route.
What should you do at the summit before leaving?
- Climb above Goron City. Return to the mountain trail and take the rising path toward the summit. Bomb the boulders blocking the climb. Cross the falling-rock section carefully, pausing under shelter when needed, then clear the spiders on the climbing net with the Slingshot and climb it.
- Visit the Great Fairy. Near the owl at the summit, bomb the cracked entrance and enter the fountain. Stand on the Triforce mark and play Zelda’s Lullaby. In the remake the Great Fairy then asks for an offering of 25 rupees; choose to make it and finish the encounter. This visit unlocks the magic meter and gives Din’s Fire. Keep the spell for later dungeons; it is not the old guide’s spin-attack-only reward.
- Return to Kakariko and head for Zora River. Speak to the owl for the ride back down, or descend the trail. The next chapter covers Zora River, Zora Domain and Jabu-Jabu, including the bottle and fish needed to enter.
Video walkthrough

FAQ
How do I get the Goron Bracelet?
How do I lower the staircase?
How do I open the giant skull?
What does the summit Great Fairy give in the remake?
Related Articles
guides
Ocarina of Time Remake Bosses: Weak Points, Items and Rematches
Every boss in the Switch 2 Ocarina of Time remake from Gohma to Ganon, plus the mini-bosses: weak point, item, how the fight works, rewards and rematches.
guides
Ocarina of Time Remake Map: Heart Pieces, Gold Skulltulas and Area Maps
Ocarina of Time Switch 2 remake map: all 36 Pieces of Heart, 100 Gold Skulltulas, beans, songs, bottles, minigames and Great Fairies, with in-game maps of 21 areas.
guides
Ocarina of Time Remake Items and Capacity Upgrades
Find the remake’s main tools and upgrade your wallet, Bomb Bag, seed bag and quiver, with the new rupee limits and horseback archery score.
Was this helpful?
Thanks for the feedback!