

Ocarina of Time Remake: Forest Temple Walkthrough
Reach the Forest Temple, find the five small keys, solve both twisted corridors and the Poe puzzles, then defeat Phantom Ganon in the Switch 2 remake.
Start after the Temple of Time and Hookshot chapter. Bring the Hookshot, bombs, a shield and the songs learned from Saria and Zelda. This is the main completion route; optional spider tokens and collection rooms are not required to reach the boss. The walkthrough hub keeps the surrounding chapters in order.
How do you return to the Sacred Grove?
- Enter the Lost Woods from Kokiri Forest. Walk through the tunnel entrance into the woods. When Mido blocks the path, speak to him and play Saria’s Song. Finish his response before continuing deeper into the woods.
- Use the flower beyond the merchant’s cave. Follow the forest path to the cave with the small merchant and a yellow flower behind him. Stand on the flower to launch up into the Sacred Grove.
- Get past the Moblins. Moblins guard the Sacred Grove. Use the low channels and corners to avoid their frontal charges; their heads and backs are their weak spots, so strike from the side or behind. In the final narrow passage waits a Great Moblin with a huge club. Navi warns that it sends you flying if you are standing in front of it when the club lands, so stay out of the club’s path. See the enemy guide.
- Learn the Minuet of the Forest, then clear the blue barrier. Speak to Sheik in the Sacred Grove. After learning the tune, play Song of Time at the large blue crystalline doorway. Go through, use the yellow flower to return to the upper platform and aim the Hookshot at the round target across the gap. The tunnel beyond leads into the temple.
How do you get the first three small keys and the map?
- Take the entrance courtyard key before using the front door. Defeat the wolf, climb the wall vines and follow the upper ledge and passage to the small chest. Collect small key 1, return down and spend it on the chained doorway ahead.
- Watch the four flames leave the main hall. The four Poe Sisters take the colored flames away. The central lift will matter later. For now, take the staircase toward the green-windowed door at the far end of the hall.
- Defeat the Stalfos and open the new chest. Guard their sword attacks, then strike when they expose themselves. The battle rewards small key 2. Return to the main hall; you should have one unused key.
- Open the blue doorway to the courtyard. Find the blue crystalline barrier off the hall and play Song of Time. Outside, remove enemies from the vine wall, climb to the balcony, then use the Hookshot target across the gap. Step on the floor switch there to lower the well’s water level.
- Cross the well passage for small key 3. Return to ground level and drop into the round well. There is still water below: swim toward the passage, climb out onto its walkway and follow it to the chest beside the far ladder. Take the key and climb the ladder out. You now have two unused small keys.
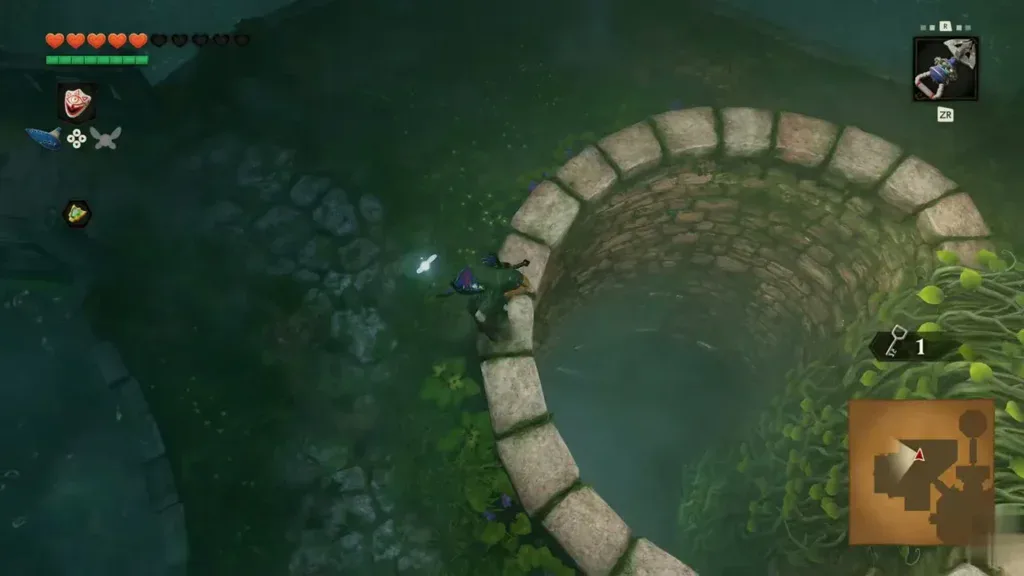
- Collect the Dungeon Map and return to the hall. In the courtyard reached from the ladder, open the large chest inside the low stone arch. Use the courtyard’s doorway and the switch in the connecting room to reopen the way to the main hall.
How do the carved blocks lead to the Fairy Bow?
- Spend a key on the red-carpeted side door. Follow that route into the tall stone room with ladders and carved blocks. Climb the first ladder to the block level.
- Move the lower block into its recess. Pull it out of its starting passage, walk around behind it and push it along the triangular floor markers until it settles into the recessed position. It becomes a step to the next level.
- Set up the second block before climbing onward. Reach the higher block and pull it out of its narrow passage. Drop back to the lower route, use the ladder to get behind the higher block, then push it forward into its recess. Climb onto it, reach the upper ledge and take the next ladder to the third floor.
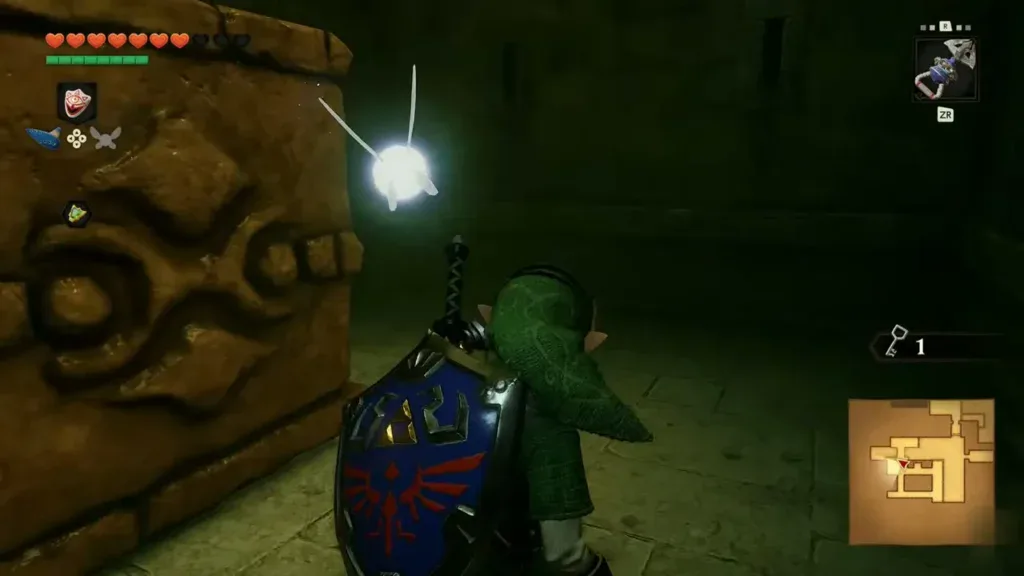
- Spend the remaining key and follow the twisted red corridor. Cross the tilted passage into the red room, keeping away from the growing shadow of the ceiling hand. Continue down the red staircase to the green arena.
- Win the arena fight and claim the Fairy Bow. Defeat all the Stalfos. When one falls, keep pressure on those still standing so the fight ends. Open the large chest that appears. Break pots when you need arrows, then shoot the diamond above the arena door to open the return route.
How do you get the Boss Key and light the red and blue flames?
- Return to the stone room and straighten the red corridor. Go back up the red staircase and through the twisted passage. From the stone room outside it, shoot the eye above the corridor entrance. Once the passage straightens, enter again; the ornate chest at the far end is now reachable. Open it for the Boss Key.
- Drop through the hole beside the Boss Key room. Land in the pool, climb out and clear the flying enemies. Follow the route through the ivy-covered room to the stone chamber containing a large hand enemy. Defeat the hand and its smaller pieces before they recombine. Open the chest for small key 4.
- Return through the block room and twist the corridor again. The exit brings you back to the ladder route. Climb to the upper stone room, shoot the same eye again and cross the tilted corridor to reach the red staircase.
- Shoot the red Poe’s portraits, then defeat her. Aim while her image is visible in a frame; if it vanishes, check the other frames along the stairs. After the portraits are cleared, follow her downstairs. Shoot to stun, move in with the sword and repeat until the red flame is restored. Open her chest for small key 5. You should again hold two unused keys.
- Cross the bow arena into the blue wing. Unlock the door on the opposite side, leaving one key. Shoot the blue portraits along the stairs and defeat the blue Poe in the same way. Open the chest here for the Compass.
- Climb to the blue corridor and unlock its far door. Take the upper staircase and ladder, watch for ceiling-hand shadows and spend your last small key at the end of the blue-carpeted hall.
- Melt the ice, then activate the eye. In the cold room, stand so the burning torch is between your bow and the frozen eye above the doorway. Shoot through the flame to thaw the eye. Shoot the exposed eye once more to twist the blue corridor, then return through that corridor.
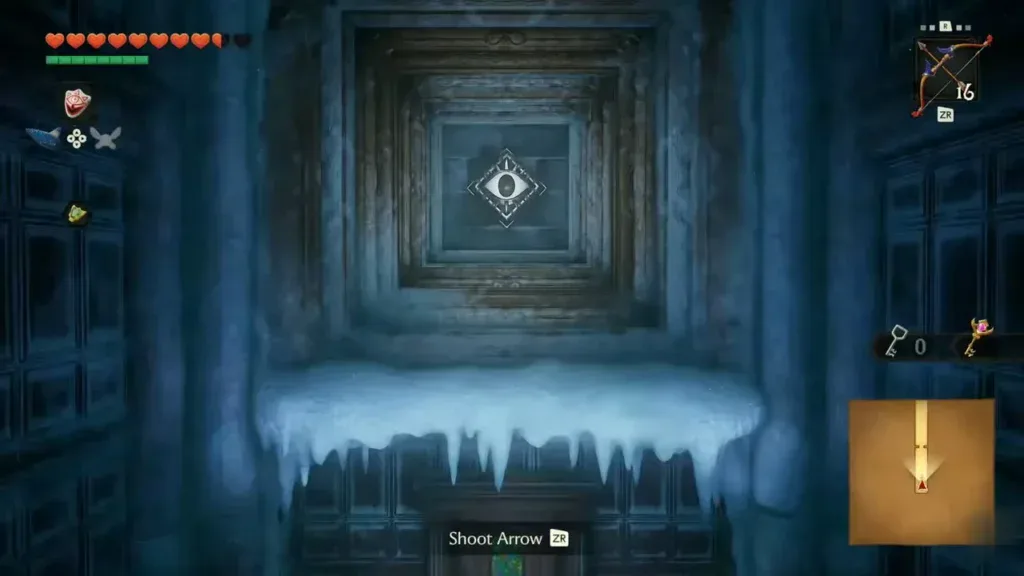
How do you restore the green and purple flames?
- Drop through the newly aligned room into the tiled hall. Beyond the twisted corridor, enter the door now accessible at floor level and drop through the opening. Swim out of the small pool to the black-and-white floor. The ceiling ahead repeatedly drops.
- Use the lit gaps as safe waiting places. Watch one ceiling cycle before crossing. The squares lit from above line up with holes in the descending ceiling. Move between those safe spots as the ceiling rises, and avoid stopping under solid sections. Step on the floor switch beside the right wall to open the far door. The small chest along the route contains arrows.
- Shoot the green portrait and assemble its four picture blocks. The next room contains the green Poe’s painting. Shoot it, then arrange the blocks so the four picture pieces make a complete square image. Push the extra block that does not belong to the image aside; it is not a fifth piece. Check the face and lantern edges to match neighboring pieces.
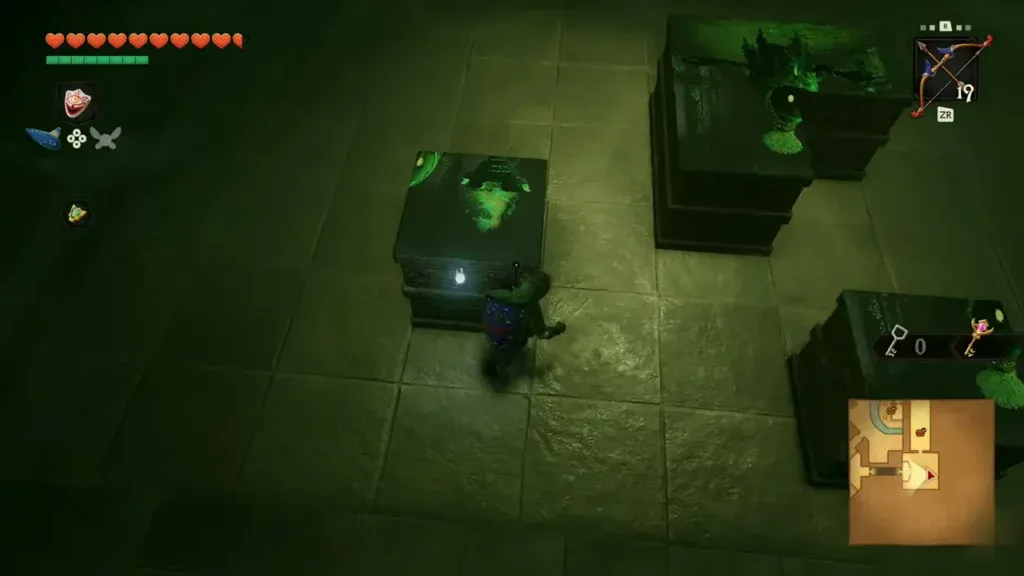
- Defeat the green Poe and follow the next passage. Once the picture joins, she emerges. Avoid her attacks, shoot to stagger her and strike with the sword. With the green torch lit, go through the exit and shoot the purple portrait in the short blue passage.
- Fight the purple Poe in the main hall. Follow her into the hall and guard against the copies’ projectiles. Look for the lantern-carrying figure among the copies, shoot to stun her and follow with sword attacks. When the copies close around you, a spin attack can break their surrounding formation. Continue until the purple flame returns and all four torches burn.
How do you open the basement route to the boss?
- Ride the central lift to the circular basement. Stand on the main hall’s center platform. At the bottom, approach one of the horizontal stone handles projecting from the wall, grab it and push to rotate the surrounding room.
- Rotate to the floor-switch room, then line up the frozen switch. Enter the red side room when its opening aligns and step on the floor switch. Return to the round hall and rotate again to reveal the window that lines up with a burning torch and the ice-covered switch beyond. The nearby red-room chest provides more arrows.
- Thaw the eye through the window, then shoot it again. Line up the bow through the small opening so the arrow passes through the torch flame and hits the frozen eye beyond it. After the ice melts, shoot the exposed eye once more to raise the bars. Follow the long passage and use the Boss Key at the door wrapped in golden chains. Refill hearts before entering the painting gallery.
How do you defeat Phantom Ganon?
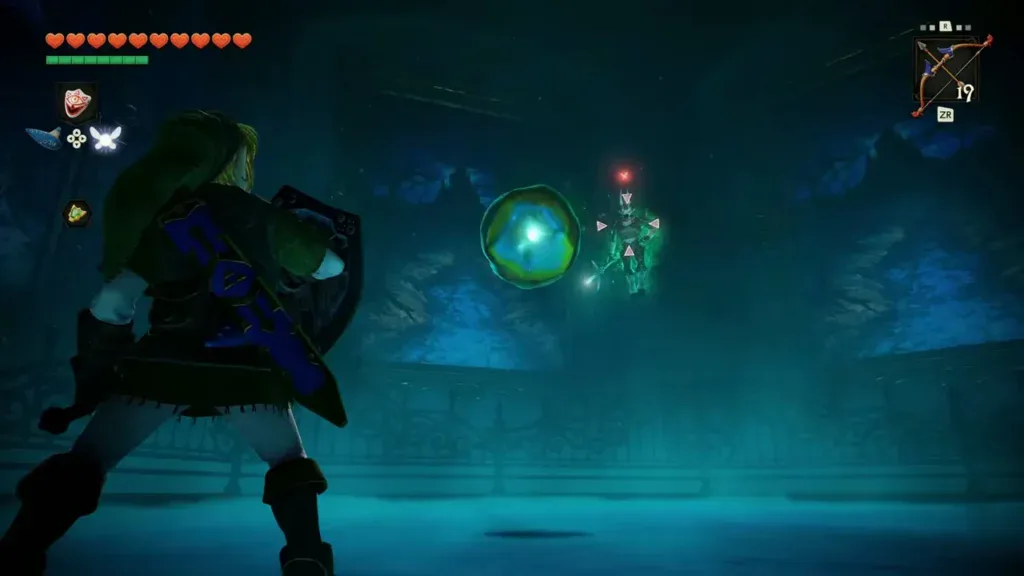
- Shoot the rider as he approaches a painting’s edge. Keep the bow ready and watch the frames around the gallery. Aim at the painting he rides toward you through and release as he nears the front. Move away from incoming attacks and keep tracking the paintings until the battle changes.
- Return the green magic with your sword. When Phantom Ganon floats in the arena and throws a green energy ball, swing as it reaches Link to send it back. Be ready to return it again if he bats it toward you. When the returned ball stuns him, run up and attack with the sword, then back away for the next exchange.
- Collect the rewards and leave through the light. Take the Heart Container before entering the blue exit. Finish the sage scene to receive the Forest Medallion, then hear the Deku Tree Sprout’s explanation outside.
You have the Fairy Bow and the first temple medallion earned as adult Link. Continue with the Fire Temple chapter for the return to Death Mountain and the next dungeon. Optional spider tokens, the scarecrow ledge and the collection rooms can wait until a later visit.
Video walkthrough

FAQ
Where are the five small keys used on this route?
How do I get the Boss Key from the red room?
How do I open the frozen eye in the blue wing?
Related Articles
guides
Ocarina of Time Remake Bosses: Weak Points, Items and Rematches
Every boss in the Switch 2 Ocarina of Time remake from Gohma to Ganon, plus the mini-bosses: weak point, item, how the fight works, rewards and rematches.
guides
Ocarina of Time Remake Map: Heart Pieces, Gold Skulltulas and Area Maps
Ocarina of Time Switch 2 remake map: all 36 Pieces of Heart, 100 Gold Skulltulas, beans, songs, bottles, minigames and Great Fairies, with in-game maps of 21 areas.
guides
Ocarina of Time Remake Items and Capacity Upgrades
Find the remake’s main tools and upgrade your wallet, Bomb Bag, seed bag and quiver, with the new rupee limits and horseback archery score.
Was this helpful?
Thanks for the feedback!