

Ocarina of Time Remake: Zora River and Jabu-Jabu Walkthrough
Reach Zora Domain, win the Silver Scale, deliver Ruto's letter and clear Lord Jabu-Jabu's Belly with the Boomerang in the Switch 2 remake.
This chapter starts after Dodongo Cavern and ends with the third Spiritual Stone. It covers the journey to Zora Domain as well as the dungeon, Lord Jabu-Jabu’s Belly (Inside Jabu-Jabu’s Belly in the N64 original), so you can follow it directly from the previous chapter. The walkthrough hub lists the complete route.
Before leaving Death Mountain
Bring your Bomb Bag, Fairy Slingshot, sword, shield and the royal lullaby learned at Hyrule Castle. Deku Nuts are useful for stopping jellyfish. You do not need to arrive with a spare bottle: the main quest supplies one before you enter Jabu-Jabu.
Magic Beans, the frogs and the river’s Heart Pieces are optional. The Great Fairy near Jabu-Jabu is also a detour; carry 100 rupees if you want her spell.
Zora River and the Silver Scale
- Return to Hyrule Field and follow its river upstream into Zora River. At the stone gateposts where the owl perches, bomb the large cracked boulders beside the gate to open the route upstream.
- Follow the upstream ledges to the great waterfall. Pass the Bean Seller, cross the streams and bridges, then climb the vine-covered ledges and stone stairs. You do not need the frogs’ rewards to continue. At the royal crest overlooking the waterfall, play the royal lullaby. The water parts and reveals the way into Zora Domain.
- Win the diving challenge. Inside the domain, climb the stairs to the Zora instructor beside the high diving ledge. Accept the challenge, jump and collect five scales within 40 seconds. Use the dive control to reach each scale instead of swimming over it. Return to the instructor for the Silver Scale, which lets you dive deeper.
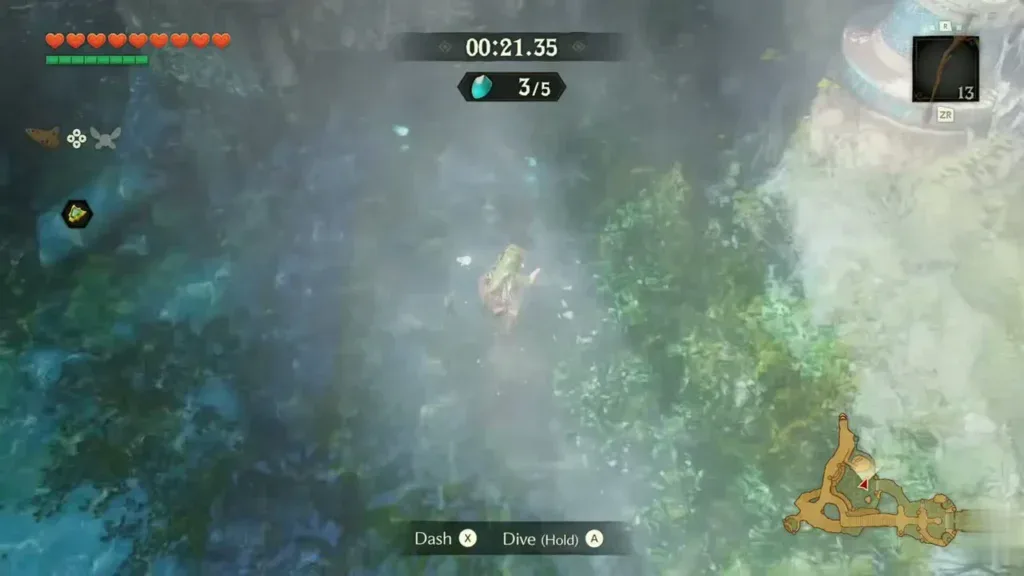
- Retrieve the letter bottle from Lake Hylia. Speak to King Zora from the platform in front of his throne, then return to the domain’s pool. Dive through the submerged passage leading to Lake Hylia. On the lake side, dive for the bottle on the bottom near the passage. Swim back through the same tunnel.
- Show the bottle to King Zora. Stand on the audience platform and present the letter. Agree to help his daughter. He opens the route behind the throne, keeps the letter and returns the now-empty bottle.
- Catch a fish before leaving the domain. Go to the shallow pool near the Zora who is trying to catch fish. Equip the empty bottle and scoop up a small fish. Check that the bottle contains a fish, then return upstairs and take the newly opened passage to Zora Fountain.
Entering Jabu-Jabu
The cracked wall along the outer path at Zora Fountain hides a Great Fairy. Bomb it, stand on the crest inside and play the royal lullaby. Her 100-rupee offering is optional; the reward is Farore’s Wind, a magic-consuming dungeon return-point spell. You can leave this detour for later.
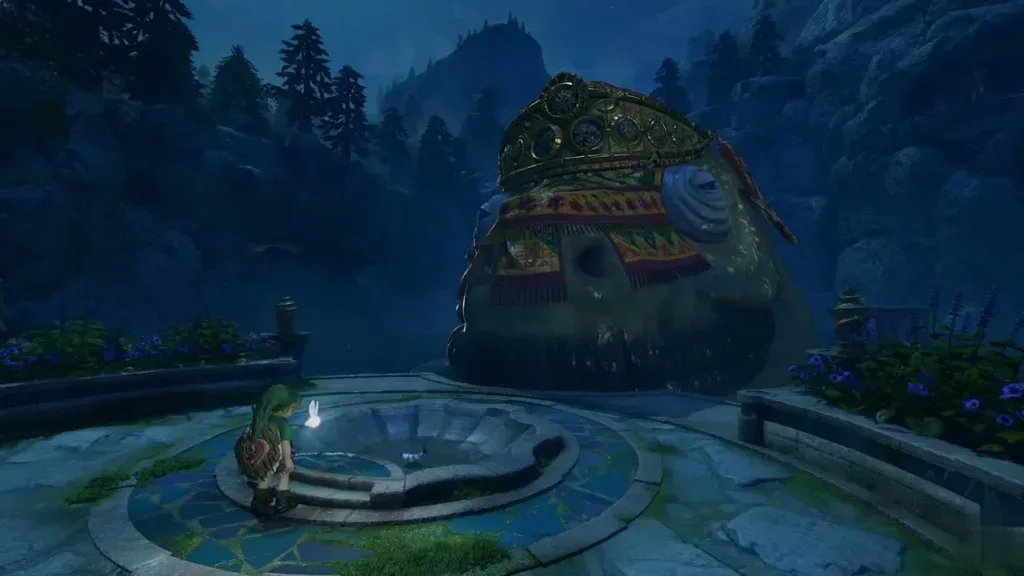
- Release the fish at the small circular pool in front of Jabu-Jabu. Stand at its rim and use the fish bottle. The fish swims toward him, and the following scene takes Link into the belly.
- Open the first barred door. Deal with the jellyfish from a safe distance, swim across the entrance pool and climb onto the central tongue-like ledge. Turn toward the blocked door and shoot the yellow hanging switch above it with the Slingshot. Once it turns green, approach the round membrane door to open it.
- Meet Ruto and follow her down. Cross the next chamber to the room with floor openings. After talking to Ruto, drop through the opening she uses. Speak to her again on B1 and offer to go together until the pickup prompt appears.
- Carry her through the B1 doorway. Put her down before fighting. Deku Nuts can stop the electric jellyfish; avoid touching them while they are charged. In the bubble corridor, set Ruto aside and clear the floating bubbles with your sword, then carry her to the water-switch room.
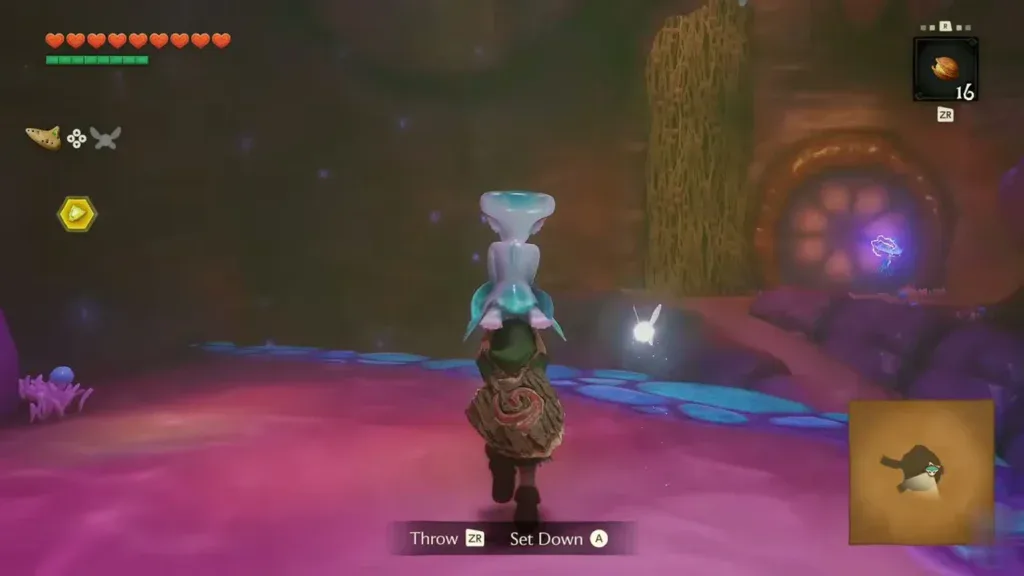
The B1 water room and return to 1F
- Raise the water to reach the Dungeon Map. Leave Ruto safely on the entrance ledge, drop into the drained pool and press its lower shell-shaped switch. Swim to the side ledge with the large chest and open it for the Dungeon Map. Clear the flying enemies before opening the chest if they interrupt you.
- Move Ruto to the exit ledge. Return to her. The upper switch lowers the water again. Carry her into the drained basin, stand near the far ledge and throw her onto it. Press the lower switch to refill the pool, swim over and pick her up. Do not throw her into the water.
- Open the next passage with the ceiling switch. Set Ruto down, stop the jellyfish in the rising tunnel and shoot the yellow hanging switch above the next door. Bring Ruto through once the bars retract.
- Ride the round lift back to 1F. In the next pool room, wait for the central platform to descend, then board it with Ruto. At the top, pass through the round door and continue through the large chamber toward the branching northern corridor. The underwater merchant’s room is optional.
Boomerang and the three colored parasites
Use the dungeon map to keep your bearings: the corridor branches resemble a tree. The directions below refer to north at the top of that map.
- Take the first western branch for the Boomerang. Carry Ruto onto the shell switch outside the barred door, then enter the room. Defeat the flying ray-like enemies with the Slingshot. Open the chest that appears for the Boomerang, and return to collect Ruto.
- Open the first eastern branch and defeat the red parasite. Leave Ruto on the shell switch to hold the door open. Inside, lock onto the bright patch in the hanging red tentacle and throw the Boomerang. Keep your distance from its sweeping attack and repeat until it disappears. There is no Dungeon Map to collect here in the remake; you already found it on B1.
- Clear the northwestern branch’s blue parasite. Bring Ruto back into the corridor and take the newly accessible route to the blue tentacle. Stop the jellyfish on the way. Target the tentacle’s bright patch and use the same Boomerang-and-retreat rhythm.
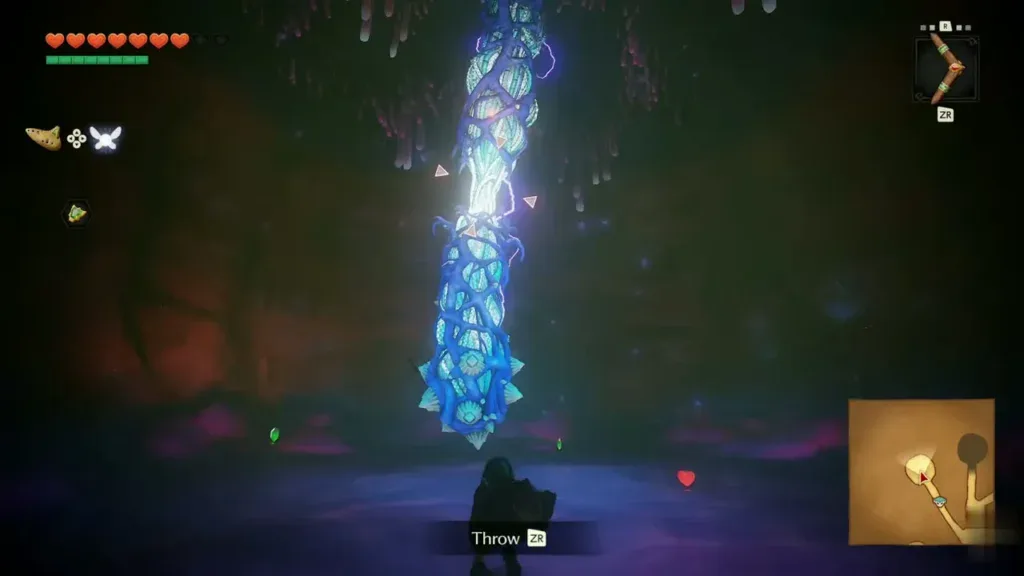
- Collect the Compass in the northeastern bubble room. Return to the branching corridor and enter the room full of floating bubbles. Pop all of them with the Boomerang or sword, then open the chest that appears for the Compass. Bring Ruto with you when you leave.
- Remove the green parasite at the northern end. Clear its surrounding jellyfish first, then hit the glowing patch with the Boomerang while dodging the swings. Its defeat clears the corresponding obstruction in the large room with floor openings.
- Return to that large room and drop through the newly cleared opening with Ruto. This reaches the raised B1 route that was inaccessible on your first visit. Keep her with you through the round door toward the stone chamber. If you take a detour for the nearby pots or chest, return to her before continuing.
Big Octo and the route to the boss
- Throw Ruto onto the raised stone platform. When she spots the blue stone and asks to be thrown up, stand close to the base and aim her onto the ledge. Finish the conversation; the following scene separates you from her.
- Get behind Big Octo. Circle the central pink platform through the shallow water. Use the Boomerang to stun the monster, move to the glowing green weak point on its rear and strike it with the sword. Clear drifting bubbles when they block your path, and repeat until it falls.
- Ride the central platform to 2F. Climb onto the platform after the fight and let it carry you up. Break the pots for supplies, then continue through the round door.
- Turn the two electric pillars into stepping stones. Hit each quivering pillar with the Boomerang so its electricity stops and its top becomes safe. Cross them promptly to reach the opposite door.
- Carry the patterned block to the shell switch. In the following room, drop to the lower ledge to pick up the block. Throw it onto the upper walkway, climb the vines yourself, pick it up again and set it on the switch beside the barred door. Leave it there while you pass through.
- Hit the switch beyond the hanging barrier. In the next chamber, clear the jellyfish and climb the tall vine-covered central pillar. From its top, aim the Boomerang toward the switch beyond the hanging membrane; its curved flight reaches around the obstruction. Check that the exit’s bars have withdrawn before climbing down.
- Restock and follow Ruto’s voice. The red room beyond contains pots. Refill before entering the blue boss chamber.
Barinade
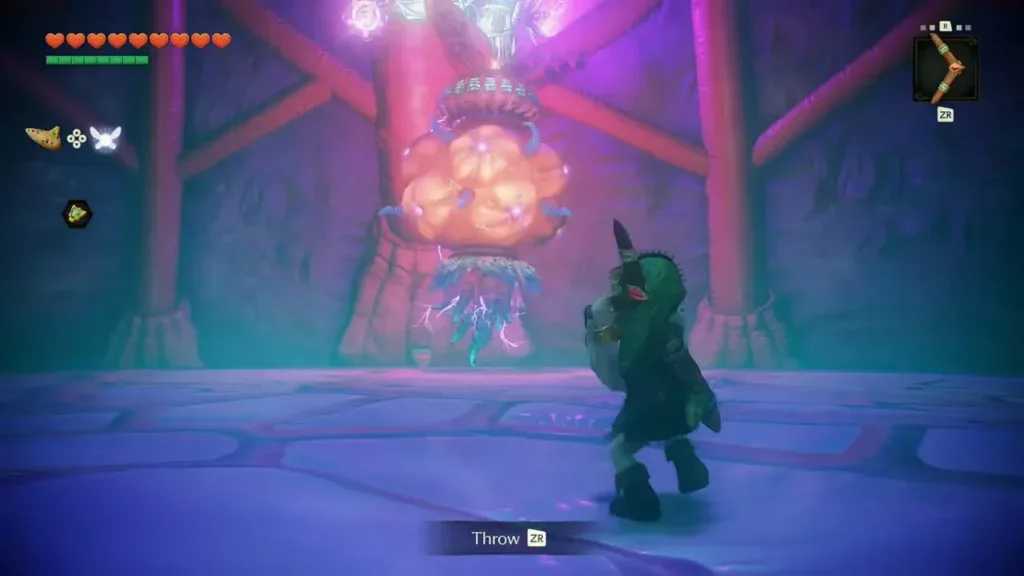
- Keep moving and attack the upper flower-like tips with the Boomerang. Circle away from the electric attacks. Once the bubble-covered jellyfish spread out, target and clear them with the Boomerang instead of charging into the electrified cluster.
- Expose and stun the orange core. Continue removing the jellyfish that shield the body. When the orange core is open, hit it with the Boomerang. Move away from the lightning and wait for it to drop within sword range.
- Slash during the opening, then retreat. Run in for sword hits while the core is lowered and vulnerable. When it pulls away and attacks again, resume dodging and use the Boomerang to create another opening. Repeat until the boss collapses.
- Take the Heart Container and speak to Ruto. Collect the heart before agreeing to leave with her. Finish the conversation outside to receive the Spiritual Stone of Water, also called the Zora Sapphire in the English remake.
Optional finds and the next chapter
The route above passes at least three dungeon Gold Skulltulas: one above the pots reached by the first water room’s vines, and two along the raised B1 route reached after the green parasite. Another is said to be on the tall vine pillar near the final switch. Use the Slingshot for the early one and the Boomerang for distant later targets and tokens. These are optional for the main story.
Before leaving, confirm that you have the Boomerang, the third Spiritual Stone and the boss’s Heart Container. Return toward Hyrule Castle for the next story event. The next chapter covers the castle approach, the Temple of Time and the equipment needed for the adult route; use the walkthrough hub to continue in order.
Continue with the Temple of Time and Hookshot.
Video walkthrough

FAQ
How do I get the bottle needed to enter Jabu-Jabu?
What does the diving challenge require?
How do I get Ruto across the water room?
Where is the Dungeon Map in the remake?
Related Articles
guides
Ocarina of Time Remake Bosses: Weak Points, Items and Rematches
Every boss in the Switch 2 Ocarina of Time remake from Gohma to Ganon, plus the mini-bosses: weak point, item, how the fight works, rewards and rematches.
guides
Ocarina of Time Remake Map: Heart Pieces, Gold Skulltulas and Area Maps
Ocarina of Time Switch 2 remake map: all 36 Pieces of Heart, 100 Gold Skulltulas, beans, songs, bottles, minigames and Great Fairies, with in-game maps of 21 areas.
guides
Ocarina of Time Remake Items and Capacity Upgrades
Find the remake’s main tools and upgrade your wallet, Bomb Bag, seed bag and quiver, with the new rupee limits and horseback archery score.
Was this helpful?
Thanks for the feedback!