

TotK Thyphlo Ruins: Six Dragons, Long Dragon, Monolith Answers
All five Thyphlo Ruins side adventures in Tears of the Kingdom: each monolith riddle, where to stand, which sage to use, the gem rewards and the Dusk Claymore.
The Thyphlo Ruins in the Great Hyrule Forest hold a set of puzzles in The Legend of Zelda: Tears of the Kingdom. Kazul of the Zonai Survey Team is studying four monoliths there. Each one is a riddle pointing to a spot in the ruins, and each needs the power of one of the four sages. That makes five side adventures: Investigate the Thyphlo Ruins, plus one per monolith.
| Side adventure | Sage | Answer | Reward |
|---|---|---|---|
| The Owl Protected by Dragons | Tulin | In front of the owl statue | Sapphire ×3 |
| The Corridor between Two Dragons | Yunobo | The path between two dragons on the west side | Ruby ×3 |
| The Six Dragons | Sidon | Among six dragon heads in the northwest corner | Opal ×5 |
| The Long Dragon | Riju | Tail end of the long dragon in the east | Topaz ×3 |
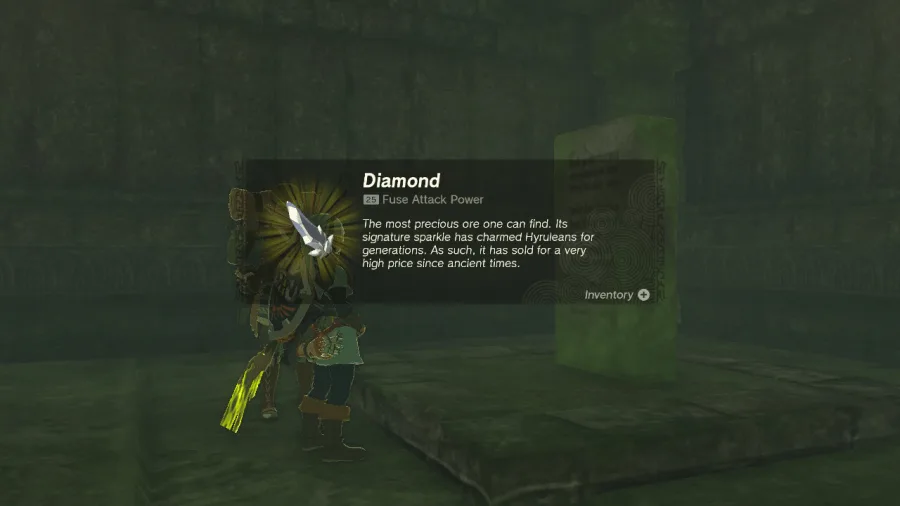
| Investigate the Thyphlo Ruins | — | The new basement room | Large Zonai Charge, Big Battery, Diamond; the room also holds the Dusk Claymore |
Where does it start, and what do you need?
Find Kazul’s tent near the Thyphlo Ruins Skyview Tower (Show on map) and talk to him to start Investigate the Thyphlo Ruins. The Adventure Log says: “Kazul of the Zonai Survey Team is looking into monoliths at the Thyphlo Ruins. You should see what is written there.”
The quest only appears after you finish at least one temple. The four monoliths call for Tulin, Yunobo, Sidon and Riju, so you need each sage’s vow before you can solve that monolith. Monoliths reportedly appear one by one as you clear temples; with all four done you see them all. How each power works is on the sages page.
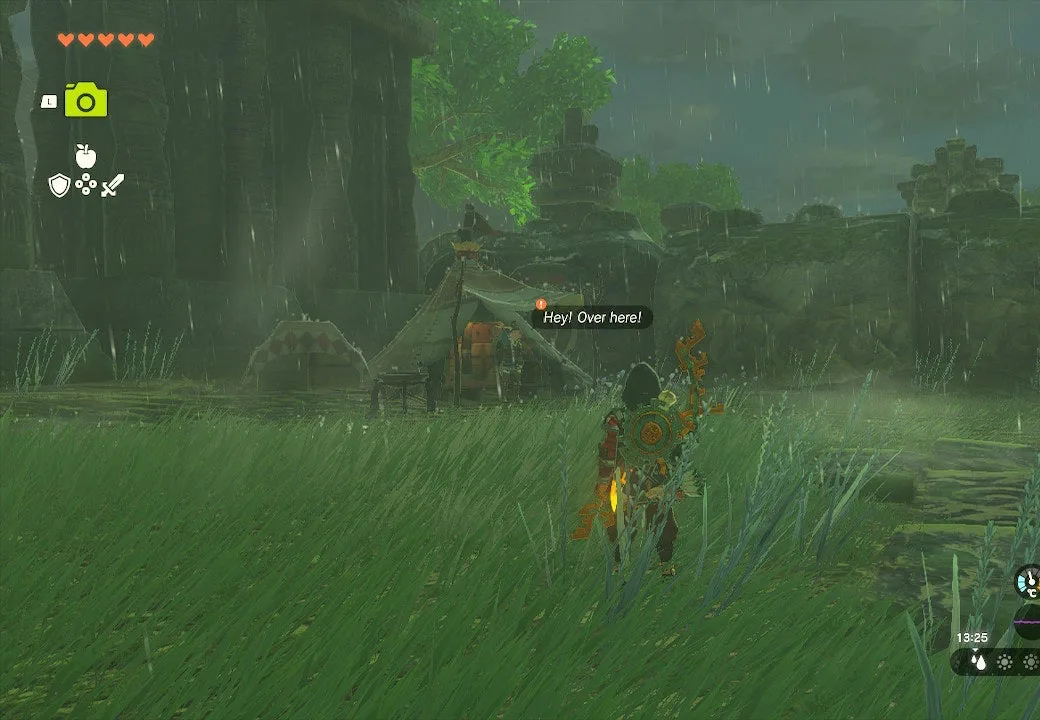
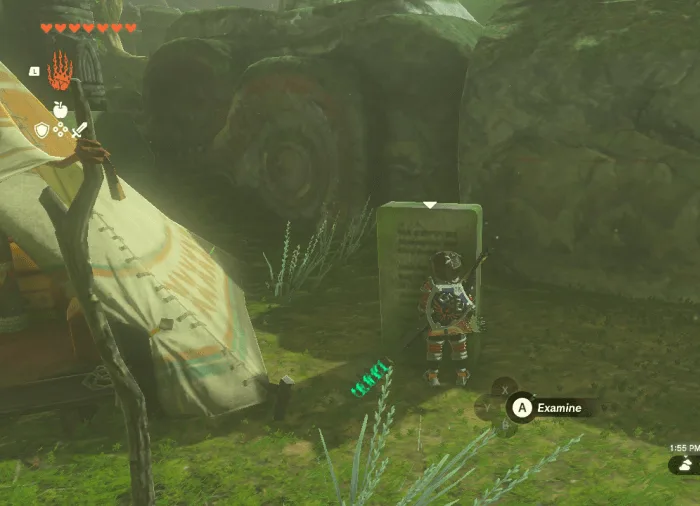
Each time you solve a monolith, a small stone hut rises from the ground with a chest inside.
What is the answer to The Owl Protected by Dragons?
The monolith: “Display the power of the Sage of Wind to the owl protected by many dragons.”
From the monoliths, climb over the wall to the south. Behind it is a huge owl statue (Show on map). Stand right in front of it and use Tulin’s wind when his aura is charged. The hut rises with three Sapphires.
What is the answer to The Corridor between Two Dragons?
The monolith: “Display the power of the Sage of Fire to blaze through the space between two dragons, from head to tail.”
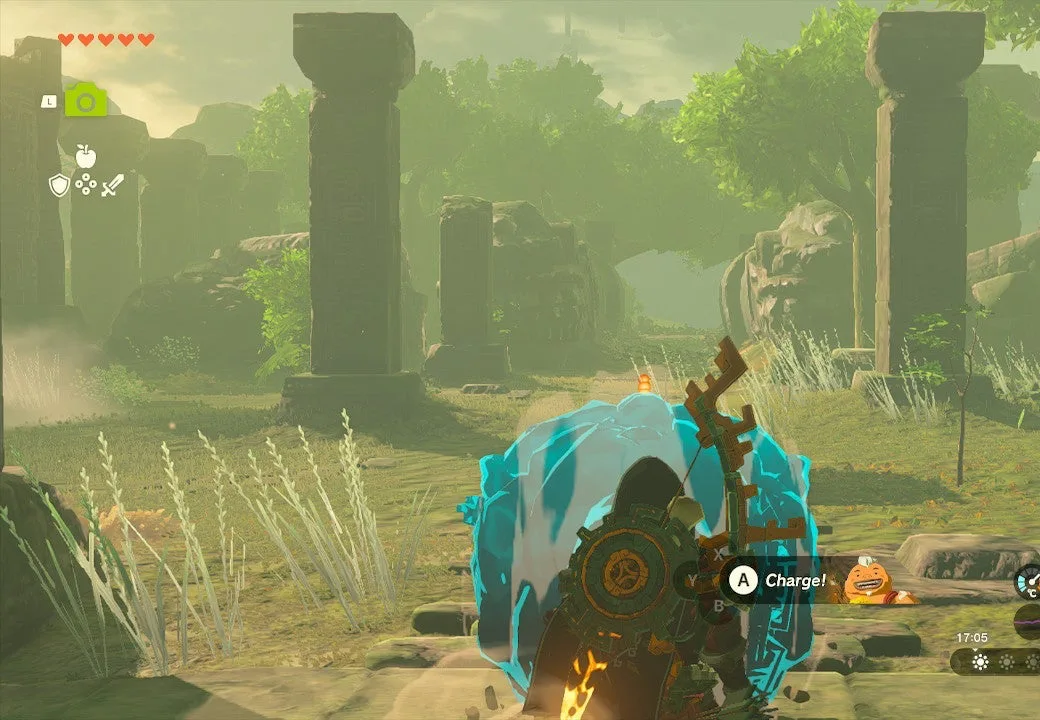
The answer is at the west entrance of the ruins: a path leading to a wooden bridge runs between two dragon statues lying on either side (Show on map). Stand at one end and fire Yunobo’s charge along the path so he rolls from one end to the other. Reportedly you should stand at the end nearer the ruins and charge toward the bridge. The hut rises with three Rubies.
What is the answer to The Six Dragons?
The monolith: “Display the power of the Sage of Water in the presence of the six dragons.”
Go to the northwest corner of the ruins, where six dragon heads ring a dark, muddy pool (Show on map). Stand among them, activate Sidon’s water wall, then hold the attack button for a charged attack to release the water. A normal swing does not count. The hut holds five Opals, the biggest reward in the set.
What is the answer to The Long Dragon?
The monolith: “Display the power of the Sage of Lightning at the end of the long dragon that protects the mountain of death.”
On the east side of the ruins near the water, a very long dragon statue lies on the ground. Go to its tail end (Show on map), use Riju’s lightning when her aura is charged, and shoot an arrow at the tail so the bolt lands there. The hut rises with three Topaz.
What happens after all four?
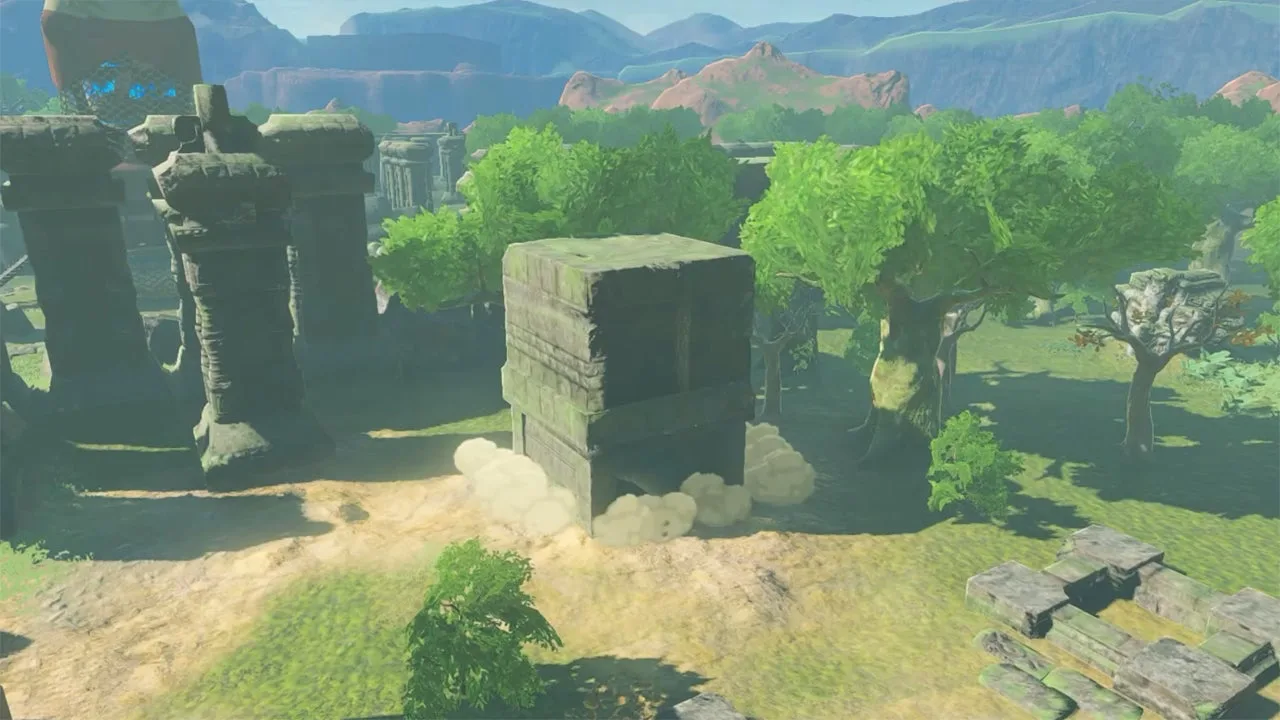
Once all four huts are found, the Adventure Log says you “heard a loud sound from somewhere.” A new stone building rises east of the Thyphlo Ruins Skyview Tower (Show on map). Go inside and down to the basement:
- The chest holds the Dusk Claymore.
- The monolith is A Monument to Loyalty. It begins: “Hyrule owes its peace today to the gift that King Rauru gave unto us in his noble feat of imprisoning the Demon King.” It goes on to honor four Hyrulean sages who came to King Rauru’s aid.
After you read it, Kazul comes to the building and gives you a Large Zonai Charge, a Big Battery and a Diamond, completing Investigate the Thyphlo Ruins. If your pouch is full, make room and come back.
Related guides
Video walkthrough

FAQ
How do you solve The Six Dragons?
Where is the tail of The Long Dragon?
Why are there only one or two monoliths?
Where is the Dusk Claymore?
Related Articles
guides
Ocarina of Time Remake Hyrule Field and Castle Town Guide
Hyrule Field in the Ocarina of Time remake: where every road leads, the skeletons at night, the Castle Town shops and minigames, the ruined town and Lon Lon Ranch.
guides
Ocarina of Time Remake Kokiri Forest: Sword, Shop and Mido
Kokiri Forest in the Ocarina of Time remake: find the Kokiri Sword, buy the Deku Shield, get past Mido, see what changes as an adult and what you can collect.
guides
Ocarina of Time Remake Lon Lon Ranch: Malon, Milk and Epona
Lon Lon Ranch in the Ocarina of Time remake: how to get there, Talon's Cucco game and Lon Lon Milk, Epona's Song, Ingo Ranch as an adult and everything to collect.
Was this helpful?
Thanks for the feedback!