

TotK Colgera: How to Beat It, HP, Weak Spots and Depths Rematches
How to beat Colgera, the Wind Temple boss in Tears of the Kingdom: its weak spots, both phases, Tulin's gust, rewards, and the three Depths rematches.
Colgera is the boss of the Wind Temple in The Legend of Zelda: Tears of the Kingdom and the last fight of the main quest Tulin of Rito Village. The whole battle takes place in the air, so you reach it by gliding, skydiving and riding Tulin’s gusts. This page covers its weak spots, both phases, what you get for winning, and the three Depths rematches. The temple itself is on the Wind Temple walkthrough, and all five bosses are compared on the temple bosses overview.
What kind of boss is Colgera?
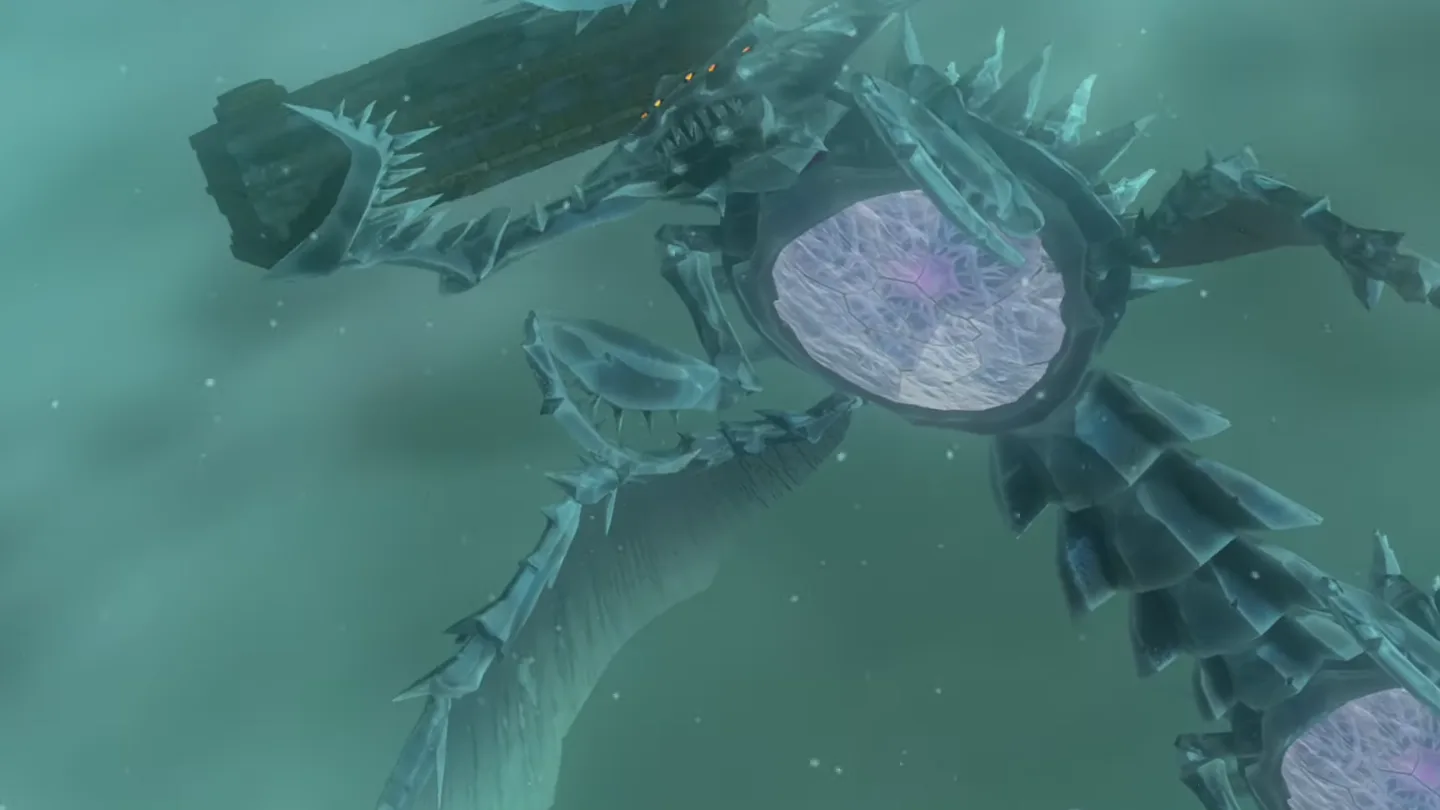
Its health bar calls it the “Scourge of the Wind Temple”. The Hyrule Compendium describes it like this: “The culprit behind the blizzard that plagued the Hebra region. This huge beast harnesses wind to produce strong updrafts and lift itself aloft. The jagged layer of ice covering its body serves as a protective shield and allows it to launch frozen spikes at its foes.”
How do you start the Colgera fight?
Inside the Wind Temple, spin the five turbines with Tulin’s gust. Once all five locks are open, examine the central terminal again: the hatch opens, an updraft carries you and Tulin into the sky, and Colgera appears. Where the turbines are and how to solve each one is on the Wind Temple walkthrough.
The fight is high in the air, so bring plenty of arrows. A strong weapon matters little here: reportedly every hit on Colgera does exactly 100 damage.
How much HP does Colgera have?
Colgera has 600 HP. The other temple bosses gain HP for every temple boss you have already beaten, but Colgera does not, so it is the same whenever you take it on. The other bosses’ numbers are on the temple bosses overview.
How do you beat phase 1?
- Find the weak spots. The three round segments are each covered by a shell of ice spikes. Drop below Colgera and look up to see them most easily. When it fires its spikes at you, the shell comes off and the weak spot is exposed, which makes it easy to hit from above too.
- Skydive or shoot. Dive straight into a weak spot or shoot it with an arrow. Each one takes two hits: the first breaks the membrane, the second hits the purple core inside.
- Dodge the charge. After a weak spot is hit, Colgera dives into a teleport bubble and charges up from directly below you. Use Tulin’s gust to blow yourself aside; as it flies past you, hit the next weak spot.
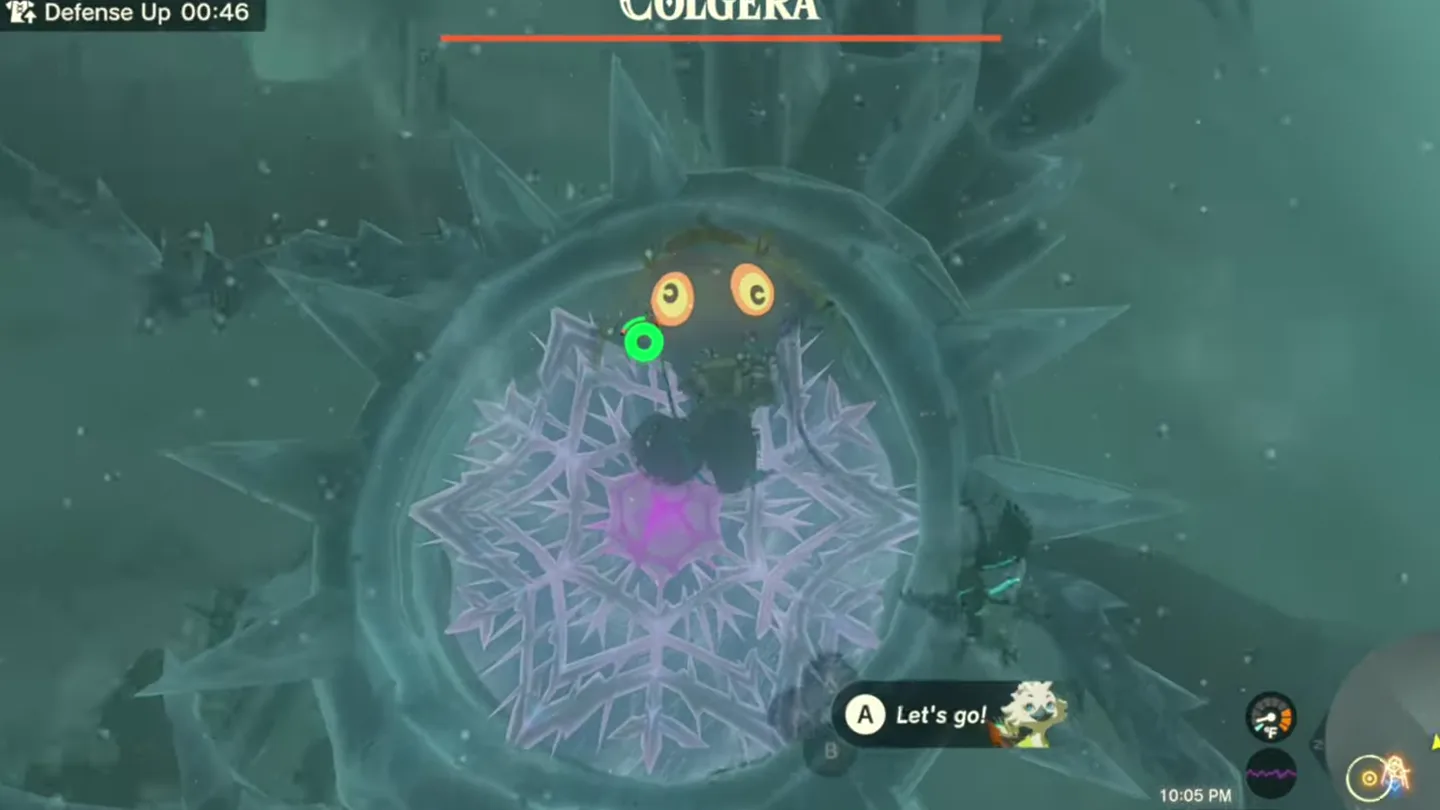
When all three segments are destroyed it is at half health, and phase 2 begins.
How do you beat phase 2?
The three weak spots grow back, and Colgera now summons tornadoes before it fires its spikes. The tornadoes hurt, so keep your distance and weave between them, or blow yourself clear with Tulin’s gust. Otherwise the fight is the same: destroy all three segments once more and you win. Reportedly each weak spot takes three hits in this phase.
How does Tulin’s ability help?
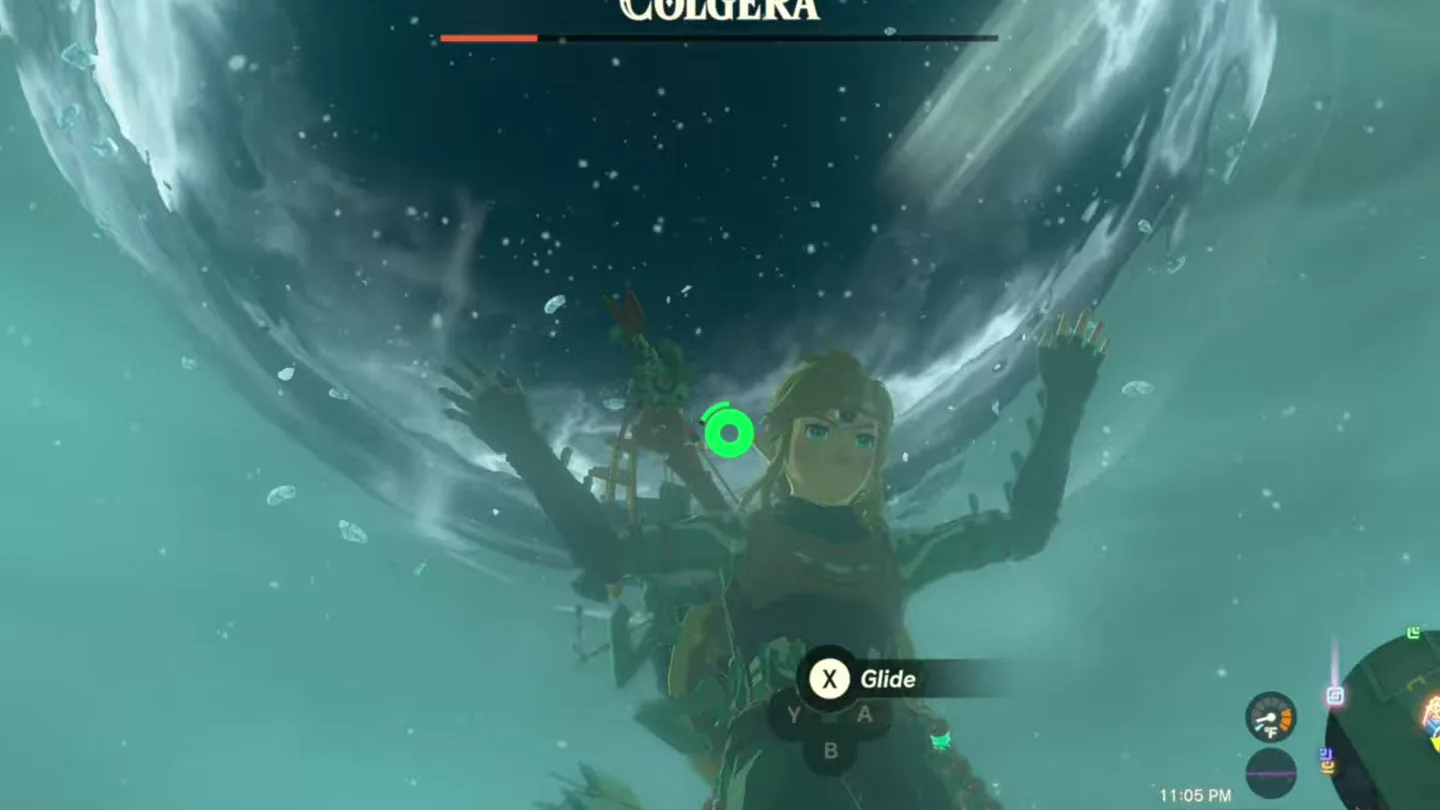
This fight runs on Tulin’s Power of Wind: Tulin fires a gust that pushes you forward. In the air you use it to reposition, to get out of the way of Colgera’s charge from below, and to close in on a weak spot. The other sages’ abilities are on the sages page.
What do you get for beating Colgera?
- Heart Container
- Vow of Tulin, Sage of Wind: from then on you can summon Tulin’s avatar and use his gust at any time.
Colgera drops no materials in the temple.
Where can you fight Colgera again in the Depths, and does it respawn?
After you beat Colgera in the Wind Temple, three more appear in the Depths with the title “Scourge of the Depths”: two below the Hebra region and one in the south. Reportedly their arenas have no floating platforms to land on or hide behind, which makes them harder than the temple fight.
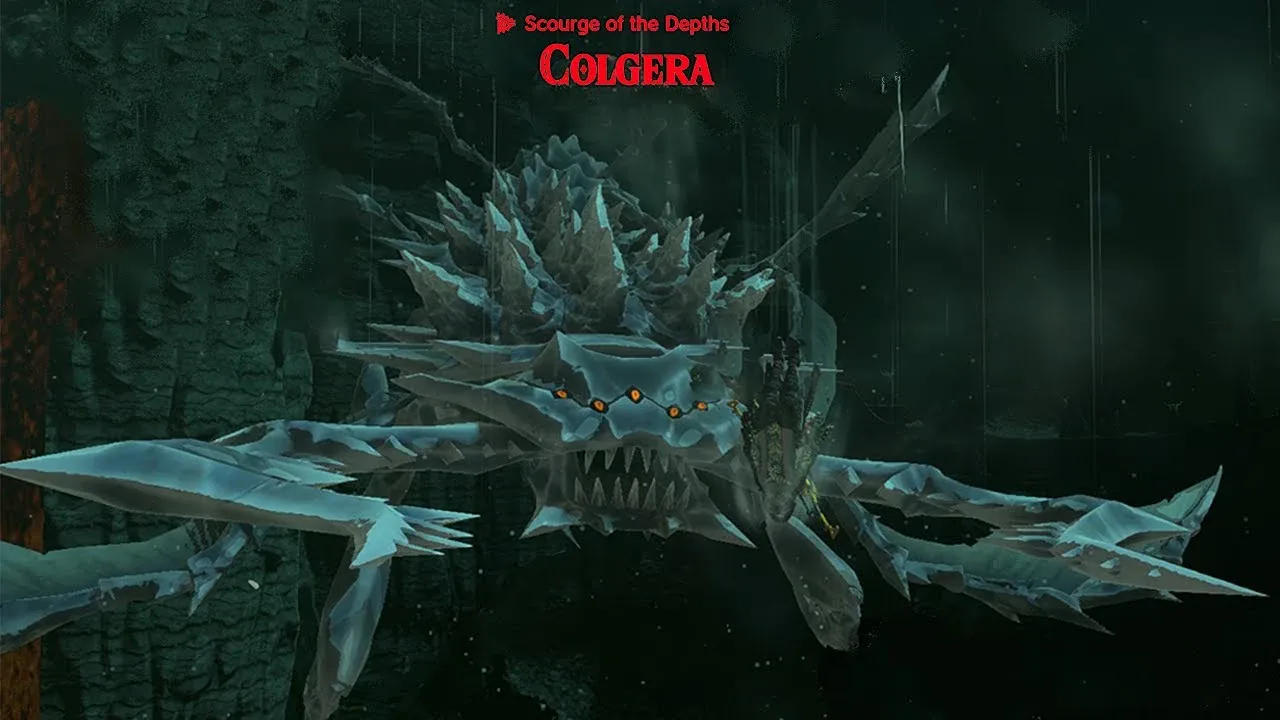
- Respawn: Colgera in the Depths comes back after a Blood Moon, so you can fight it again and again.
- Drop: every win drops a Colgera Jaw, which you can fuse to a weapon.
- Chest: a treasure chest wrapped in Gloom sits in the arena and opens once Colgera is beaten. It holds a Huge Crystallized Charge and can only be opened once; it does not refill when Colgera respawns.
The closest Lightroots: Nikohsi Lightroot below Daval Peak, Nupisoyuat Lightroot below Hebra West Summit, and Narusis Lightroot below Pikida Stonegrove. Lighting the Lightroot first makes the arena far easier to find; getting around down there is covered in the Depths guide.
Loading the terrain map… slow connections can take a few seconds.
Some terrain tiles failed to load.
Drag to move and zoom in to tell the points apart; on a computer, click the map first and the mouse wheel zooms it. Ticks are saved in this browser only; no account is needed.
Progress cannot be saved in this browser session.
| # | Monster | Landmark on the surface above | Region | Location |
|---|---|---|---|---|
| 1 | Colgera | Daval Peak | Faron | Show on map |
| 2 | Colgera | Hebra West Summit | Hebra | Show on map |
| 3 | Colgera | Pikida Stonegrove | Hebra | Show on map |
Colgera video guide
Video walkthrough

See also
The other temple bosses: Marbled Gohma, Mucktorok, Queen Gibdo and the Seized Construct. What to do with the charges is on battery upgrades.
FAQ
Where is Colgera's weak spot?
How much HP does Colgera have?
Where is Colgera in the Depths?
Does Colgera respawn in the Depths?
Related Articles
bosses
TotK Marbled Gohma: How to Beat It, HP, Weak Spot, Rematches
How to beat Marbled Gohma, the Fire Temple boss in Tears of the Kingdom: breaking its legs, the eye, the ceiling phase, exploding rocks and three Depths rematches.
bosses
TotK Mucktorok: How to Beat It, HP, Weak Spot, Rematches
How to beat Mucktorok, the Water Temple boss in Tears of the Kingdom: water attacks, Sidon's Water Wall, the sludge phase, and the three Depths rematches and drops.
bosses
TotK Queen Gibdo: How to Beat Her, HP, Weak Spot, Rematches
How to beat Queen Gibdo, the Lightning Temple boss in Tears of the Kingdom: turning her white with Riju's lightning, the hives, and three Depths rematches.
Was this helpful?
Thanks for the feedback!