

Ocarina of Time Remake Ganondorf’s Castle and Final Battles
Clear the six remake trials, obtain the Golden Gauntlets, climb the tower and escort Zelda out before defeating Ganondorf and Ganon.
The final chapter starts after the Spirit Temple and ends with the last battle. Follow the full route if a required item is missing. The remake names the castle Ganondorf’s Castle (Ganon’s Castle in the N64 original). This page includes late-story events and boss mechanics.
What should you prepare before entering?
| Need | Why it matters |
|---|---|
| Adult Link and the completed medallion route | Triggers the Temple of Time scene and the castle approach |
| Bow, arrows, magic, Fire Arrows and Light Arrows | Torches, barrier orbs and the final bosses |
| Longshot, Hover Boots, Lenses of Truth and Goron Tunic | Gaps, hidden routes and the lava trial |
| Mirror Shield, Megaton Hammer, Bombs and Bombchus | Spirit trial, ice enemies and escape rubble |
| Din’s Fire, Song of Time and an empty bottle | Forest torches and blocks; bottled Blue Fire |
| Master Sword and recovery supplies | Tower battles and the finale; replenish before starting |
If you missed the Fire Arrows after the Water Temple, return to Lake Hylia once the lake is full, go to the small island with the warp pad and the large tree, read the stone tablet there, then wait for dawn and shoot an arrow at the rising sun. The Fire Arrow comes down on the small island across the water; swim over and pick it up. The Water Temple exit section covers this stop. Keep a bottle empty for Blue Fire even if the others hold recovery items.
- Return to the Temple of Time as an adult. Finish the scene after the medallion route and receive the Light Arrows. Continue through the following story event before leaving for the castle grounds.
- Cross the new bridge into Ganondorf’s Castle. Walk from Castle Town toward the former castle approach. At the chasm, finish the sages’ scene and cross the bridge. Descend to the circular hall around the sealed central tower.
- Use the six outer doors to remove the barriers. This route takes Spirit → Forest → Water → Shadow → Fire → Light. Each trial ends with an orb: shoot it with a Light Arrow, finish the sage scene and return to the hall. Save arrows and magic for these orbs.
How do you clear the Spirit trial?
If you have no Bombchus left, visit the Water trial’s first room before this section: use its Blue Fire on the pink ice around the optional chest to obtain a refill, then return to the Spirit door.
- Collect the silver rupees in the blade-and-statue room. Watch the sliding floor blades as you pick them up. For the rupee near the ceiling, hook the Longshot target overhead. When the set is complete, the bars on the far door lift; continue through the green door.
- Defeat the fire enemies and reach the barred crystal. Clear them with the Hammer, then approach the mesh separating you from the yellow switch. The chest that appears afterwards is optional.
- Send a Bombchu up the mesh toward the yellow crystal. Line up its path before releasing it. The switch turns green and opens the onward door.
- Burn the ceiling web and reflect sunlight above the exit. Use a Fire Arrow on the web to uncover the shaft of light. Stand in the beam with the Mirror Shield and hold the reflection on the sun emblem above the barred door. Enter and destroy the orb with a Light Arrow to finish Nabooru’s trial.
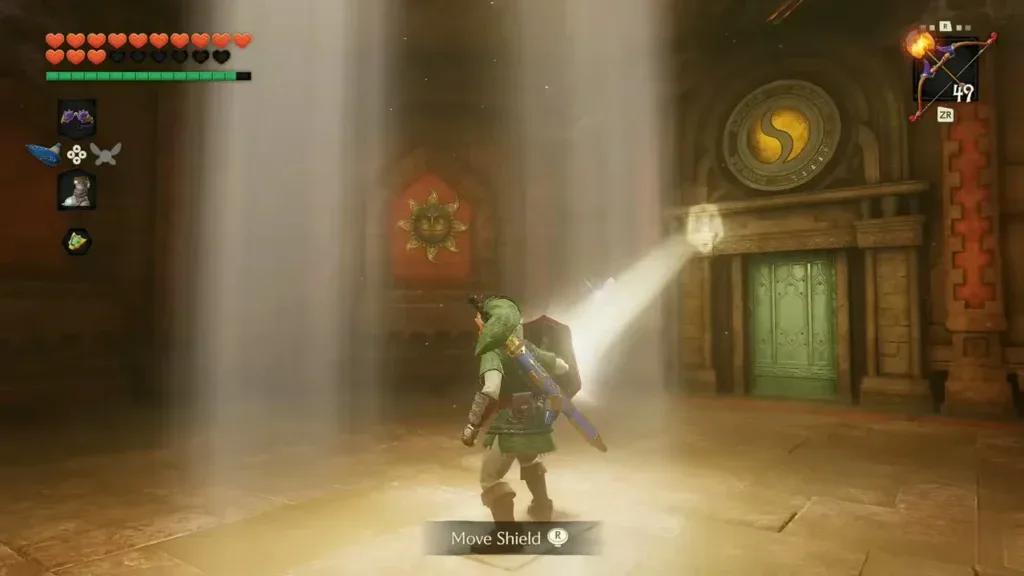
How do you clear the Forest trial?
- Defeat the Wolfos and light both levels of torches. Din’s Fire lights the low torches around the room. Add a Fire Arrow to the high torch above the exit; lighting only the low ring leaves the door closed.
- Cross the fan platforms and collect the visible silver rupees. Equip Hover Boots for the gaps. Use a Bomb on the eye-beam sentry occupying the central platform, then work along the side platforms and wall ledges for their rupees. Let a fan’s gust pass before committing to a jump.
- Play the Song of Time below the high rupee. From the ledge beneath the floating rupee, summon the blue block, climb it and collect the rupee above.
- Step on the separate small floor plate. It raises a pillar bearing a Longshot target and another silver rupee. Hook the target to collect that rupee, then pick up any silver rupees still left. When the exit opens, enter and shoot the orb for Saria.
How do you clear the Water trial?
- Clear the ice enemies and bottle Blue Fire. The Hammer works on the freezing enemies in the first room. Scoop the blue flame into an empty bottle. If you spend it melting an optional chest’s pink ice, refill before going through the exit.
- Slide the ice blocks around the low ice posts. In the next room the posts act as stops. A block that slides into a square hole in the floor settles level with it and can be walked over.
- Make a step below the ledge with pink ice. Push a block until it stops below that high ledge, climb it and pour the bottled Blue Fire on the ice. The exit is still barred at this point.
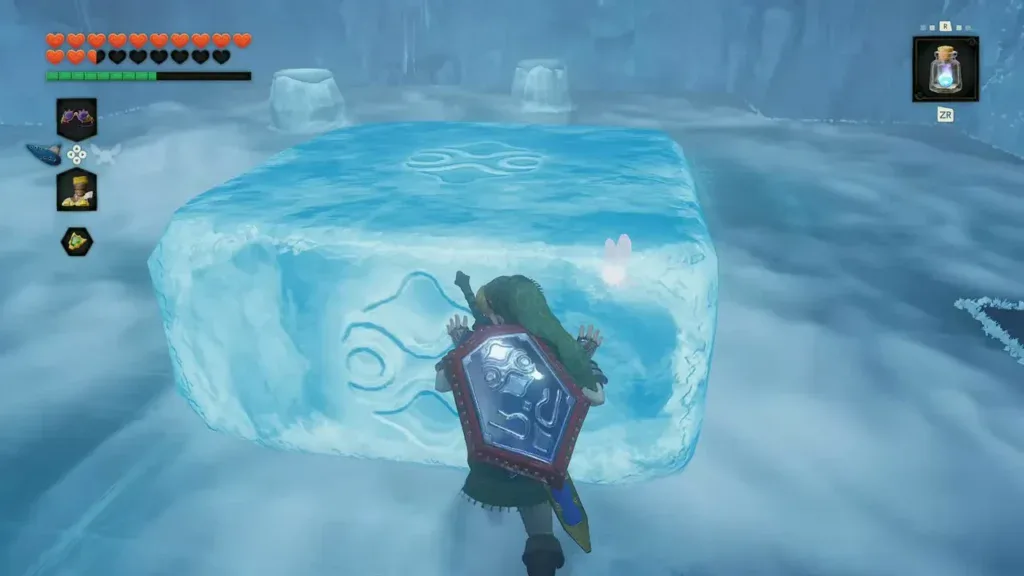
- Hammer the switch behind the ice. In the alcove you just thawed, strike the floor switch with the Megaton Hammer; the bars on the exit lift. Go back down, climb to the exit using the ice below it as a step, then enter and destroy the orb for Ruto.
How do you obtain the Golden Gauntlets in the Shadow trial?
- Light the far torch through the burning brazier. From the entrance, aim an ordinary arrow through the existing flame toward the unlit torch beyond. The raised blocks provide the first crossing; move over them to the central platform.
- Defeat the swallowing enemy and cross the broken walkway. Keep out of its mouth and recover any swallowed equipment. Use Hover Boots to reach the far side, then jump to the small isolated platform with the floor plate.
- Step on the plate and return to the new large chest. The chest appears on the previous platform. Longshot back to the chest-side target and open it for the Golden Gauntlets.
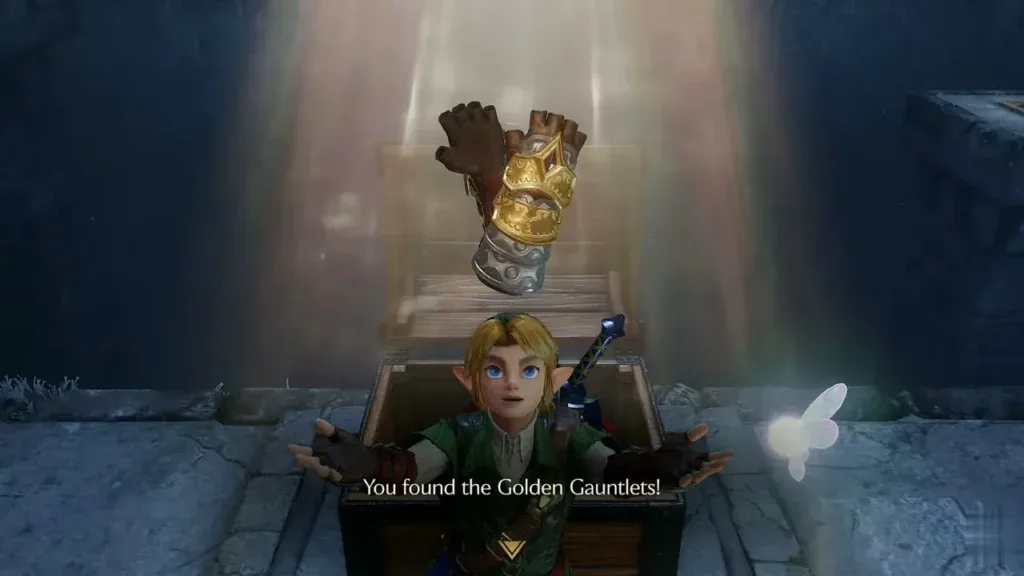
- Lift and throw the large pillar beside the chest route. Walk into the space it occupied and step on the floor plate to open the exit grate. Return toward the chest platform rather than searching for a Hammer switch.
- Reveal the hidden platforms beside the broken fence. Use the Lenses of Truth to see the route extending from the side of the platform, then cross carefully with Hover Boots. Go through the open door and shoot the orb for Impa.
The Golden Gauntlets also open the optional fairy cave outside the castle grounds. If you want extra defense before the tower, lift its blocking pillar, enter and play Zelda’s Lullaby on the marked floor. The Great Fairy asks for an offering of 500 rupees and in return halves the damage Link takes. This is a preparation detour, not a seventh barrier.
How do you clear the Fire trial?
- Wear the Goron Tunic and Hover Boots. Move between the small stone islands over lava, collecting their silver rupees. Watch for the column of flame on the islands.
- Lift the huge pillar with the Golden Gauntlets. Throw it across the lava to form a new crossing. Collect the silver rupee at the base it uncovered, then use the thrown pillar’s route to reach the far islands.
- Finish the silver-rupee set and hook to the exit. Once the grate opens, use the target beside the exit door to cross safely and shoot the orb for Darunia. A green rupee on a side platform is not part of the silver-rupee lock.
How do you clear the Light trial?
- Lift the pillar blocking the yellow trial entrance. Inside, activate the Lenses and defeat the invisible enemies. Their defeat creates a chest in the middle of the room and opens the next door. That chest and the wall chests only hold rupees.
- Take the Small Key from the side alcove of the Triforce room. In the next room, the small chest in the alcove between two wall torches holds the Small Key. Playing Zelda’s Lullaby on the Triforce floor creates another chest with a single rupee. Spend the key on the chained door.
- Collect the silver rupees while avoiding rolling boulders. Use the wall recesses as shelter and check their pickups. For the rupee high above the middle, Longshot to the ceiling target and drop through it. Finish the set to open the far door.
- Defeat the large hand and its smaller pieces. Continue into the orb room after the enemy is cleared. Shoot the orb with a Light Arrow for Rauru. With all six trials complete, the barrier around the central tower disappears.
How do you reach Ganondorf’s chamber?
- Restock in the tower entrance and clear the stairway. Break the pots for supplies, then climb. Fire Keese fly along the stairway; shoot them down with arrows before they reach you.
- Clear the paired enemies on each floor. Defeat the two armored lizards, climb to the two Stalfos, then continue to the pair of Iron Knuckles. Against the axe knights, bait a swing, dodge and counter during recovery; avoid standing between both attackers.
- Take the Boss Key after the Iron Knuckles. Open the large chest after the knight fight, then climb onward. Refill from the pots before opening the Boss Key door and triggering Ganondorf’s scene.
How do you defeat Ganondorf?
- Return the energy ball with your sword. Face him from a secure section of floor and swing as the projectile reaches you. Keep returning it until it hits him; the exchange speeds up, so focus on the ball rather than running toward him early.
- Shoot a Light Arrow and follow with sword attacks. While he is stunned, hit him with the Light Arrow, cross to his landing platform and strike. Retreat before he recovers and damages the floor around him.
- Use a spin attack against the spread of red projectiles. Prepare the attack as the cluster approaches and release it to return the projectiles. Keep away from broken floor edges; after a successful stun, use the same Light Arrow and sword follow-up. Repeat until the fight ends.
How do you escort Zelda out of the collapsing castle?
- Stay with Zelda along the descending route. She opens sealed gates, so wait beside her when the path is blocked. Follow her across the broken stairs and through the indoor corridors instead of trying to retrace every tower battle room.
- Defeat the two Stalfos in the closed room. Keep both in view, punish their sword swings and finish them before moving on with Zelda. Use the nearby pots for recovery if needed.
- Use the Longshot at the collapsed crossing. When the path falls away and Zelda stops, aim at the target across the gap. Triggering the hook carries both characters over during the scene.
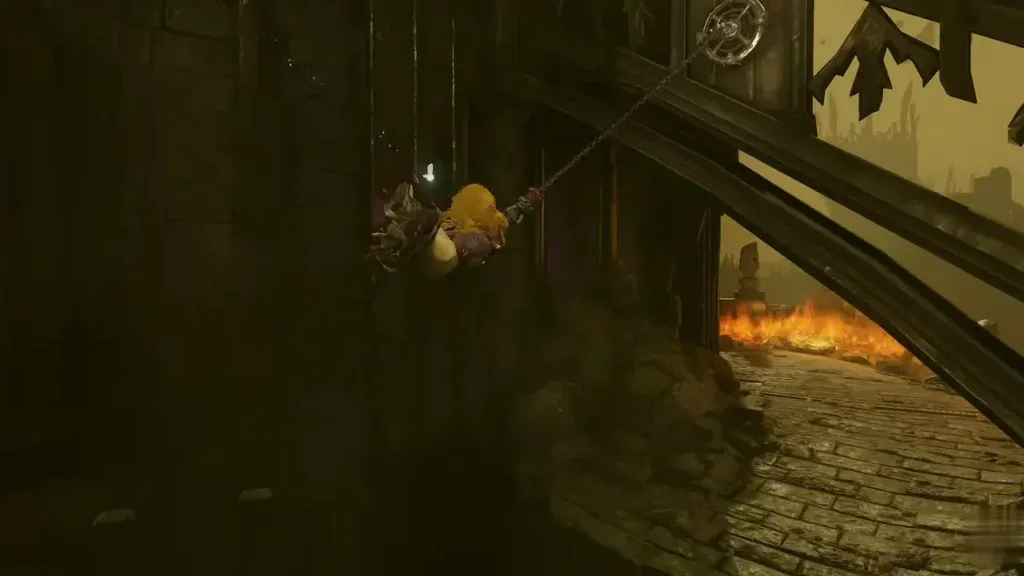
- Hammer the rubble while Zelda holds back the collapse. When the passage caves in, Zelda uses her magic to hold the falling debris and tells you to find a way out. Break the stones blocking the exit with the Megaton Hammer and run through so she can follow.
- Clear the frozen enemies on the final walkway. Zelda restrains the group ahead; strike them while they are held, then continue beside her to the last sealed door. Let her open it and leave the castle together.
How do you defeat Ganon’s changing forms?
- Approach the rubble after the collapse. After the scene outside, walk toward the wreckage to begin the final encounter. Ganon knocks the Master Sword beyond the fire, so keep the Hammer and Light Arrows ready.
- Stun Ganon and break the tail crystals. Shoot his face with a Light Arrow, circle behind during the opening and hit the crystal-covered tail with the Hammer. Avoid his blades while changing sides. Repeat until the tail crystals break and the sword-recovery scene begins.
- Retrieve the Master Sword beside Zelda. When the fire clears for the recovery sequence, return to the sword. Finish the scene and prepare for the new weak points that appear on Ganon’s body.
- Shoot the pink glowing weak points with Light Arrows. Move around him to expose the lit patches on his limbs and body. Fire when the line of sight is clear, then reposition before the next sword swing or ground attack. Broken patches can drop supplies; collect them when it is safe.
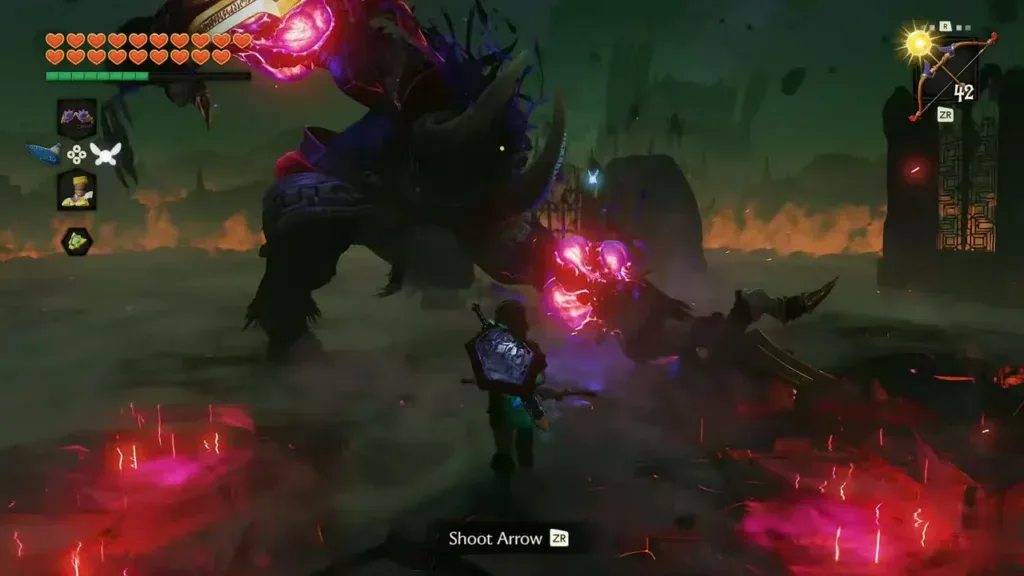
- Leave the red danger areas before the attacks land. Watch the ground as well as Ganon: red circles and cracks warn of incoming strikes. Keep moving through safe ground until the body weak points are cleared and Zelda intervenes.
- Aim at the exposed eye on his forehead. After Zelda’s light reveals it, shoot the eye with Light Arrows while dodging the ground attacks. When Ganon drops to his knees, close in and strike the eye with the Master Sword. Repeat the opening until the final sequence begins, then follow the on-screen prompt to complete the ending.
What happens after the final blow is told in the ending section of the story summary.
What does finishing this chapter cover?
You have completed the main-story route through the final battle. Optional equipment, minigames and full collectible lists are separate goals; finishing the story does not prove that every collectible is obtained. Return to the walkthrough hub to revisit a chapter, the Spirit Temple for its two-age route or the Water Temple for the Longshot and Fire Arrow preparation.
Video walkthrough

FAQ
Which trial order does this guide use?
Why is the Water trial exit still barred?
Where is the Light trial key?
How does the remake’s final Ganon fight work?
Related Articles
guides
Ocarina of Time Remake Bosses: Weak Points, Items and Rematches
Every boss in the Switch 2 Ocarina of Time remake from Gohma to Ganon, plus the mini-bosses: weak point, item, how the fight works, rewards and rematches.
guides
Ocarina of Time Remake Map: Heart Pieces, Gold Skulltulas and Area Maps
Ocarina of Time Switch 2 remake map: all 36 Pieces of Heart, 100 Gold Skulltulas, beans, songs, bottles, minigames and Great Fairies, with in-game maps of 21 areas.
guides
Ocarina of Time Remake Items and Capacity Upgrades
Find the remake’s main tools and upgrade your wallet, Bomb Bag, seed bag and quiver, with the new rupee limits and horseback archery score.
Was this helpful?
Thanks for the feedback!