

Ocarina of Time Remake Gerudo Valley, Fortress, Carpenters
Cross Gerudo Valley, escape the fortress cell, rescue four carpenters and earn the Gerudo Pass before opening the route to the desert in the remake.
After the Shadow Temple, remain an adult and head west across Hyrule Field. This chapter takes you through the four rescues and ends at the gate to the Mirage Desert. Keep the Longshot, Bow, sword and shield ready. The Lenses of Truth and magic are needed for the next chapter.
How do you reach the fortress and escape captivity?
- Enter Gerudo Valley from western Hyrule Field. Follow the canyon to the broken bridge. Stand on solid ground and aim the Longshot at the circular target suspended between the far-side posts. Alternatively, ride Epona straight toward the gap at speed if you have already obtained her; the ranch side quests are not required for this route.
- Continue past the camp toward the fortress. The path beyond the bridge runs between the cliffs. Use the Megaton Hammer if cracked rocks block your way. Speak with the carpenter boss beside the tent near the fortress approach, then go up through the passage and the long stairs under the red banner.
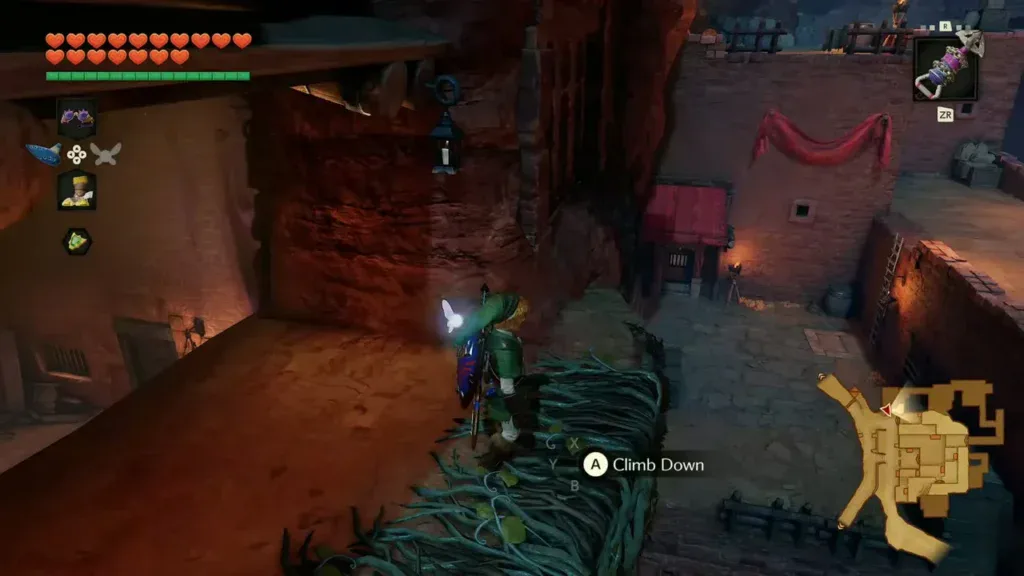
- Use the first cell as your starting point. A guard catches Link as he enters. Once inside the cell, look up toward the opening and Longshot to the overhead grating. You emerge on a narrow outside ledge above the first cell hall.
- Climb down the vines and enter the door below. Use the climb-down prompt on the vine-covered edge. The decorated wooden door immediately below leads to a hall with a carpenter behind bars. This is also the recovery route after a later arrest.
How do you rescue the first carpenter?
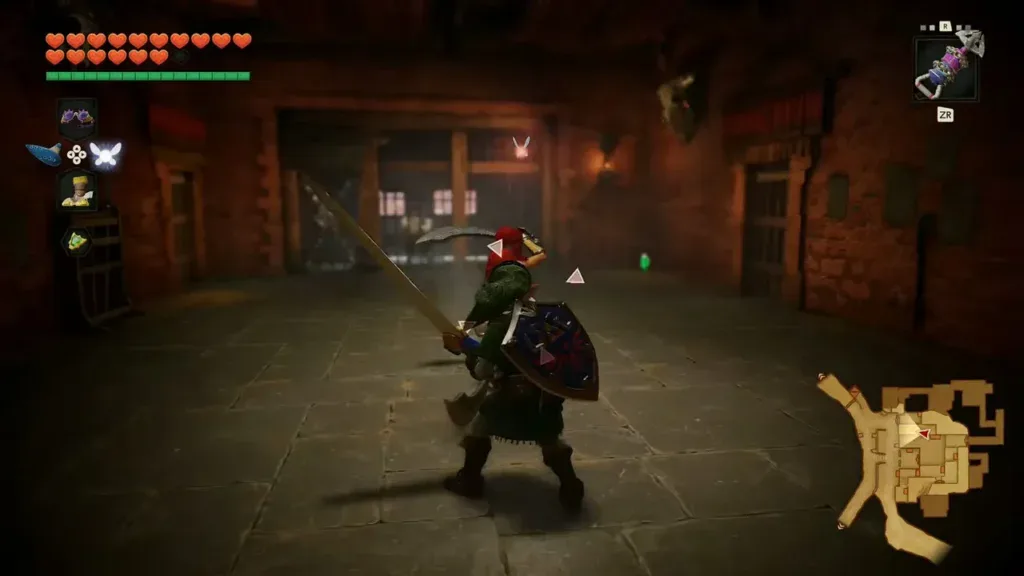
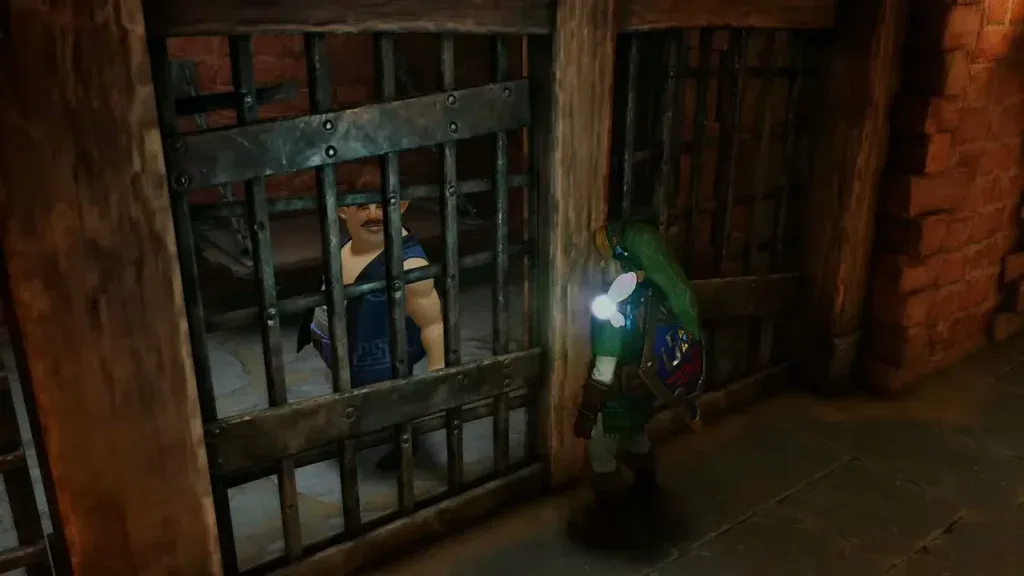
- Speak through the bars. Approach the carpenter at the end of the hall. Finish his warning; a red-clad Gerudo swordswoman enters and the fight begins.
- Defend, evade and counter after her attack. Keep her targeted. Use your shield against ordinary blade swings, step clear of the spinning or jumping approach and answer an opening with a short sword combo. Avoid repeatedly attacking her raised guard. The jars around the hall can provide supplies.
- Take small key 1 and unlock this cell. After winning, pick up the key from the floor, open the chained cell gate and finish the carpenter’s conversation. Wait until he leaves. Winning the fight alone does not complete the rescue.
Which route reaches the second and third cells?
- Leave the first hall through its other exit. Cross the small outdoor yard to the door beneath a broad red cloth. Inside, take the stairs up. A patrolling guard watches the corner ahead, beside stacked crates.
- Stop behind the corner before passing the guard. Wait for her to turn away, or use the Longshot to stun her and move past while she is down. Follow the passage up the next stairs to the outside. The floor hole in the side alcove only leads to optional rupees; it is not the next cell.
- Climb the outdoor stairs to the next decorated door. From the terrace exit, take the stone stairs immediately beside the building and enter the door at the top. Follow the short hall to the second carpenter’s bars.
- Finish rescue 2. Talk to the carpenter, win the sword fight, take small key 2, then unlock his cell and finish the conversation. Check that the cell is open before leaving.
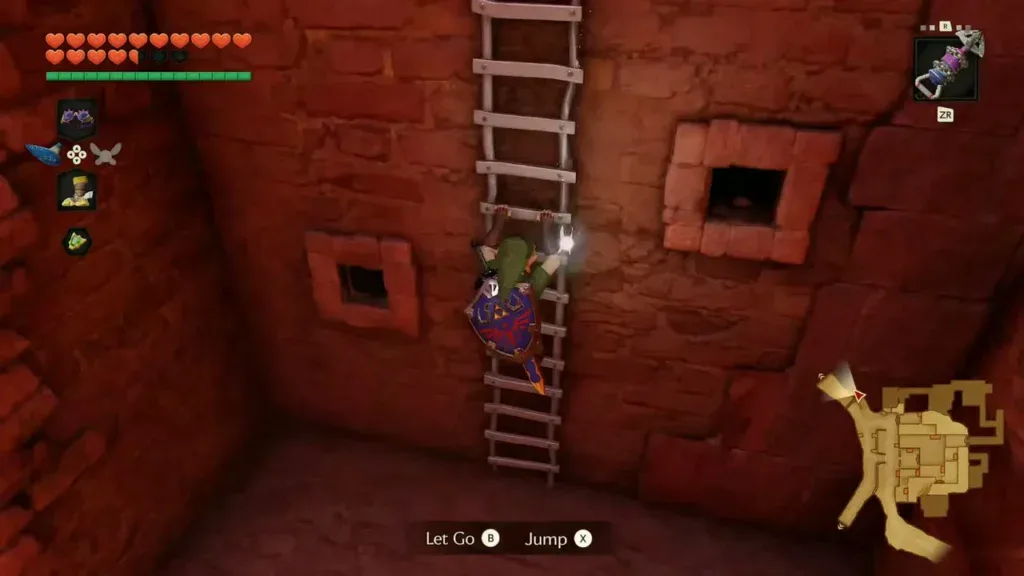
- Exit by the stairs at the far end of the second hall. Outside, climb the short ladder by the wall. Follow the terrace around the building past the barrels and sacks. Look for the decorated door on the lower terrace beside the tall outside ladder.
- Enter that lower door and descend to cell 3. Follow the interior steps down to the hall. Speak to the carpenter, win the next fight and take small key 3. Unlock the cell and wait for the carpenter to leave; Navi then notes that one remains.
How do you find the last carpenter?
- Return to the terrace with the tall outside ladder. Backtrack up the stairs used to enter the third hall. Climb the tall ladder and enter the upper door. Inside, go down the steps into the room with a wall-mounted Longshot target, then take the opposite stairs up to the outside door.
- Descend to the lower courtyard. From that balcony, make your way down to the courtyard. Pass the sacks and stacked crates to the decorated doorway beneath a red cloth. Inside, pause before the torch-lit bend: a guard patrols the corridor.
- Stun or avoid the patrol, then enter the fourth hall. Use the Bow or Longshot from cover and continue through the doorway beyond her. Talk to the final carpenter, win the last sword fight and collect small key 4. Open the cell and complete his dialogue.
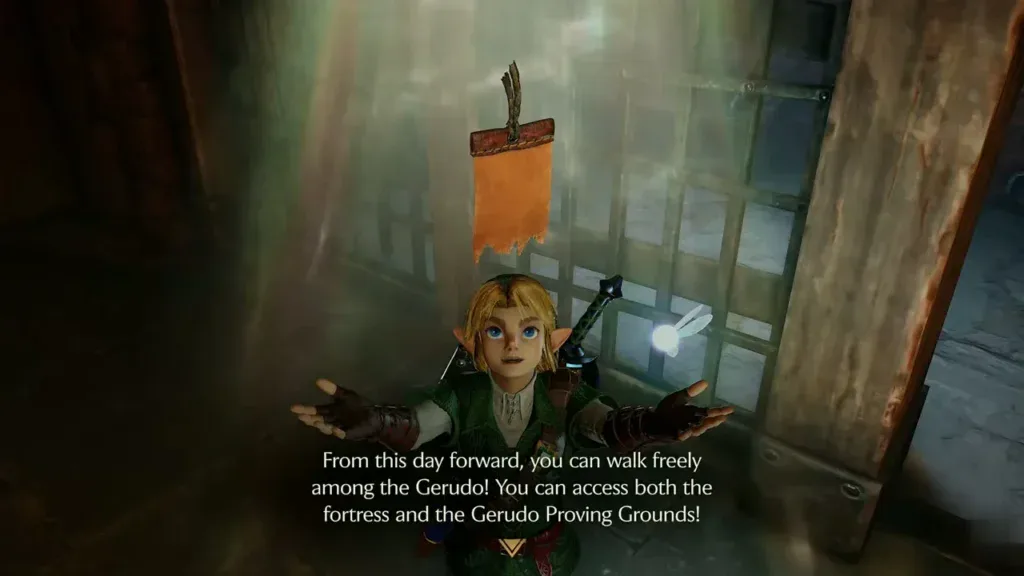
- Accept the captain’s request. After the fourth carpenter leaves, the Gerudo captain appears in the hall and speaks to you. Agree to look into Nabooru’s situation at the Spirit Temple. Finish the reward dialogue to receive the Gerudo Pass; the fortress guards now let you move freely.
Where is the desert gate?
- Continue through the barracks to the rear courtyard. Follow the passage beside the last cell into the furnished room, then take the stairs and outside walkways toward the open courtyard. The captain is there with another guard; the large rear gate leads toward the desert.
- Cross the gatehouse and speak to its keeper. Climb the outside ladder beside the gate, cross the upper platform and climb down into the gate room. Speak with the keeper beside the barred opening. With the pass, she raises the gate and explains the flags and the guide who can be seen with the eyes of truth.
- Refill magic before entering the sandstorm. Keep the Longshot and Lenses ready, then continue with the desert crossing. You do not need to clear the training ground or play archery to proceed.
What if you are caught or lose track of a rescue?
An arrest returns you to the high cell. Longshot out and use the vine ledge again. Already freed carpenters stay freed, so inspect the open cells and continue to the next unopened one. Each required fight supplies one key for one cell; this route spends all four keys on the four rescues.
| Rescue | Route landmark | Completion check |
|---|---|---|
| 1 | Door below the prison’s vine ledge | First cell open and carpenter gone |
| 2 | Red-cloth doorway, guarded stair corridor, outside stone stairs | Second cell open and carpenter gone |
| 3 | Lower terrace door beside the tall ladder | Third cell open; one carpenter remains |
| 4 | Upper ladder route, then the red-cloth doorway in the lower courtyard | Final cell open and the captain appears |
Gold Skulltulas, Horseback Archery and the Gerudo Proving Grounds are optional detours. The chapter is complete when you have the pass and the desert gate is open. For the full order, return to the main walkthrough.
Video walkthrough

FAQ
Do I need Epona to cross Gerudo Valley?
How do I escape the fortress cell?
How do I obtain the Gerudo Pass in the remake?
Must I finish the ranch race or Horseback Archery first?
Related Articles
guides
Ocarina of Time Remake Bosses: Weak Points, Items and Rematches
Every boss in the Switch 2 Ocarina of Time remake from Gohma to Ganon, plus the mini-bosses: weak point, item, how the fight works, rewards and rematches.
guides
Ocarina of Time Remake Map: Heart Pieces, Gold Skulltulas and Area Maps
Ocarina of Time Switch 2 remake map: all 36 Pieces of Heart, 100 Gold Skulltulas, beans, songs, bottles, minigames and Great Fairies, with in-game maps of 21 areas.
guides
Ocarina of Time Remake Items and Capacity Upgrades
Find the remake’s main tools and upgrade your wallet, Bomb Bag, seed bag and quiver, with the new rupee limits and horseback archery score.
Was this helpful?
Thanks for the feedback!