

TotK Speedrun Tips: A Faster, Practical Route to the Ending
Finish Tears of the Kingdom with less backtracking: route choices, useful gear, safe movement, optional tasks to skip and final-battle preparation.
In Tears of the Kingdom, the shortest route to the ending is Great Sky Island, essential supplies, then the route below Hyrule Castle. For an ordinary player, clearing temples and collecting useful gear can save more time than repeatedly failing a poorly supplied final attempt. This guide focuses on a quicker normal playthrough; it includes main-story route spoilers.
Which route should you choose?
| Goal | Route outline | Main trade-off |
|---|---|---|
| Reach the final fights as early as possible | Finish Great Sky Island → gather equipment and food → enter Hyrule Castle Chasm | Skipped temple bosses remain in the final sequence; unawakened sages cannot help |
| Finish reliably with less wandering | Get the paraglider → complete the regional temples → resolve the castle investigation → find the fifth sage → prepare for the finale | More story steps, but more support and fewer bosses to fight alone at the end |
The first route is a description of what the game allows, not a beginner recommendation. If you are still learning combat, use the second route and cut optional travel first. The main quest order explains the story stages.
What should you collect before leaving the opening area?
Finish the Great Sky Island sequence for Ultrahand, Fuse, Ascend and Recall. Take the Archaic Warm Greaves from the hollow tree near Gutanbac Shrine while you are nearby, and cook food before crossing the snowy area.
After landing on the surface, go straight to Lookout Landing and complete the opening Crisis at Hyrule Castle steps for the paraglider. Treat it as essential equipment for this ordinary-player route: it makes tower travel and safe descents practical.
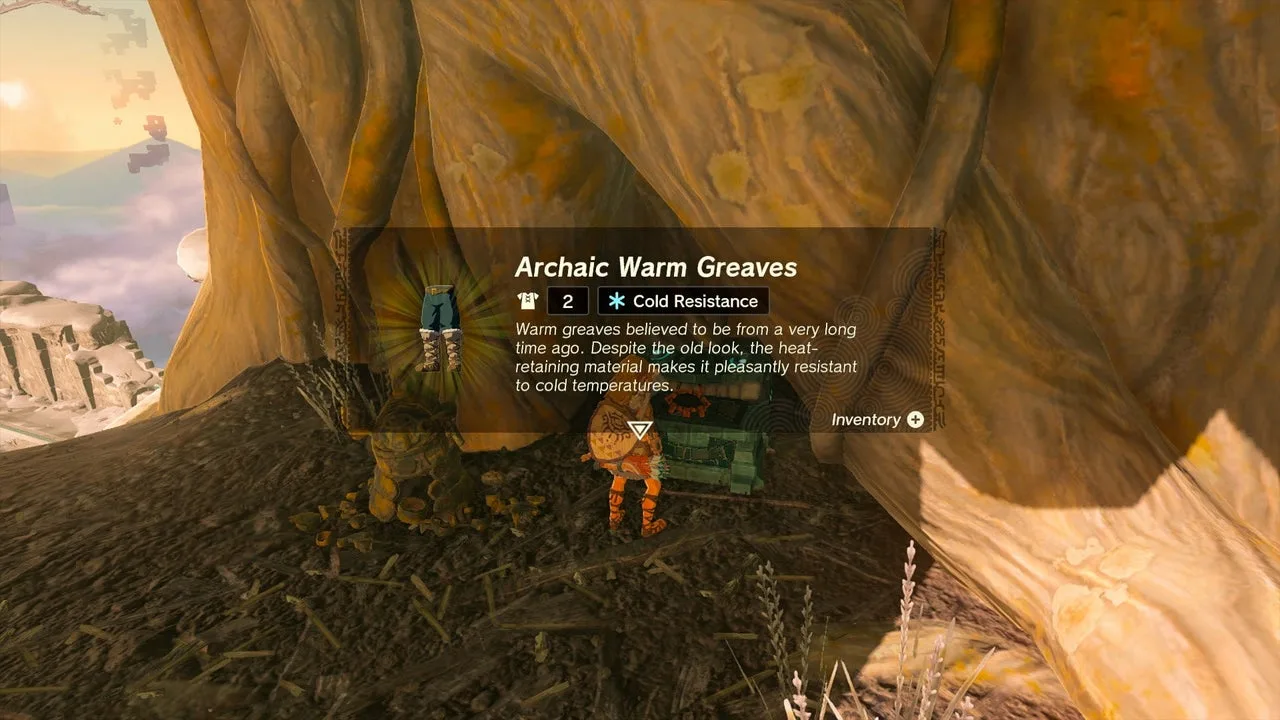
Keep a working bow, arrows, a shield and several fused melee weapons. Those are useful preparation rather than a fixed shopping list: replace weak gear with what you find along the route, instead of traveling across the map for one supposedly perfect weapon.
How should you plan the regional quests?
Start with the Wind Temple if you want Tulin’s gust for the rest of the journey. After that, choose Fire, Water and Lightning according to your supplies; the game does not force their order. Follow the story through the castle investigation and fifth sage if you want the supported final route.
Group nearby objectives together. Activate a shrine when passing it, solve convenient shrines for upgrades, and spend those upgrades before the next difficult region. Make a separate long trip only when it solves a concrete problem, such as missing cold protection.
| Stage | Useful equipment | When to stop preparing |
|---|---|---|
| Opening and first region | Cold resistance, a fused weapon, shield, bow, arrows and cooked meals | You can travel safely and handle ordinary enemies |
| Regional temples | Region-appropriate protection, spare fused weapons and a practical everyday armor set | You have what the next region needs; no need to finish every set |
| Final descent | Sunny meals, ordinary healing, strong spare weapons, bows, arrows and shields | You can restore gloom-locked hearts and survive several fights without shopping |
If repeated deaths are slowing you down, invest in armor upgrades rather than continuing the same attempt. The Master Sword is useful preparation, but obtaining it early requires two permanent stamina wheels and reaching the Light Dragon; do not confuse that side trip with the first step of the main route.
Which movement habits save time?
Use height you already have. Launch from a convenient Skyview Tower and glide toward your next objective; use Tulin’s gust when available. Avoid descending to the bottom of a valley only to climb the next cliff.
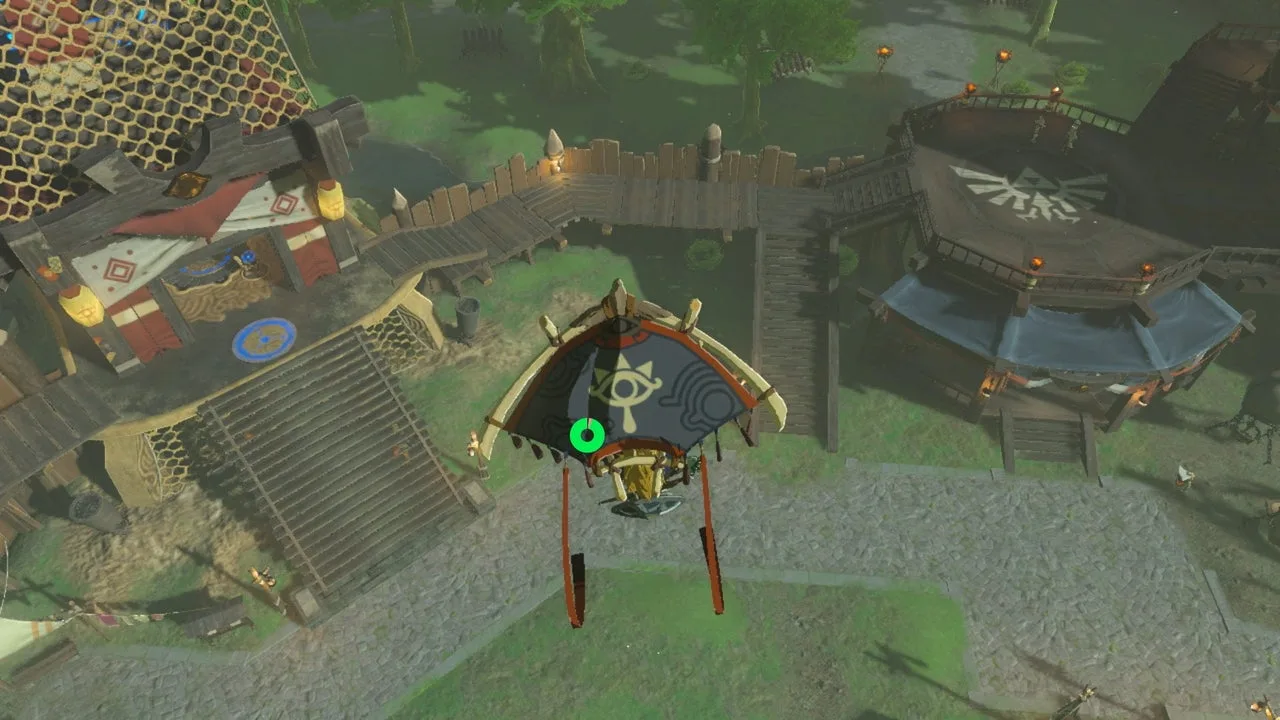
Check above you before climbing. Ascend can bypass a climb when the ceiling is suitable. Recall can return a fallen object along its path, giving you another way to gain height where the terrain allows it.
Build only when it pays off. A simple vehicle can help on a long, open stretch, but assembling and recovering it also takes time. If you repeatedly use the same design, get Autobuild and favorite it; you do not need to collect every schematic or maximize the battery for this route.
What can you leave until after the ending?
| Optional activity | What to do on a quick clear |
|---|---|
| Every cave, well and Korok | Take nearby rewards you need; leave the full checklist |
| Every shrine and Lightroot | Unlock useful travel points and enough upgrades for your next fight |
| House building, town projects and unrelated side quests | Return later unless a reward is part of your chosen plan |
| Full armor upgrades and battery capacity | Improve only the equipment or vehicle capacity you are actually using |
| Dragon’s Tears and other story cleanup | Keep them if you want the full story and extra ending scene; postpone them only if your goal is reaching the credits |
This is an ending route, not a 100% completion route. Do not remove useful healing, equipment or travel stops just because their quests are optional.
What must be ready before Hyrule Castle Chasm?
The finale is below the castle, not simply inside the floating building. Use the final battle walkthrough for the descent, rock barriers and point where the battle sequence begins.
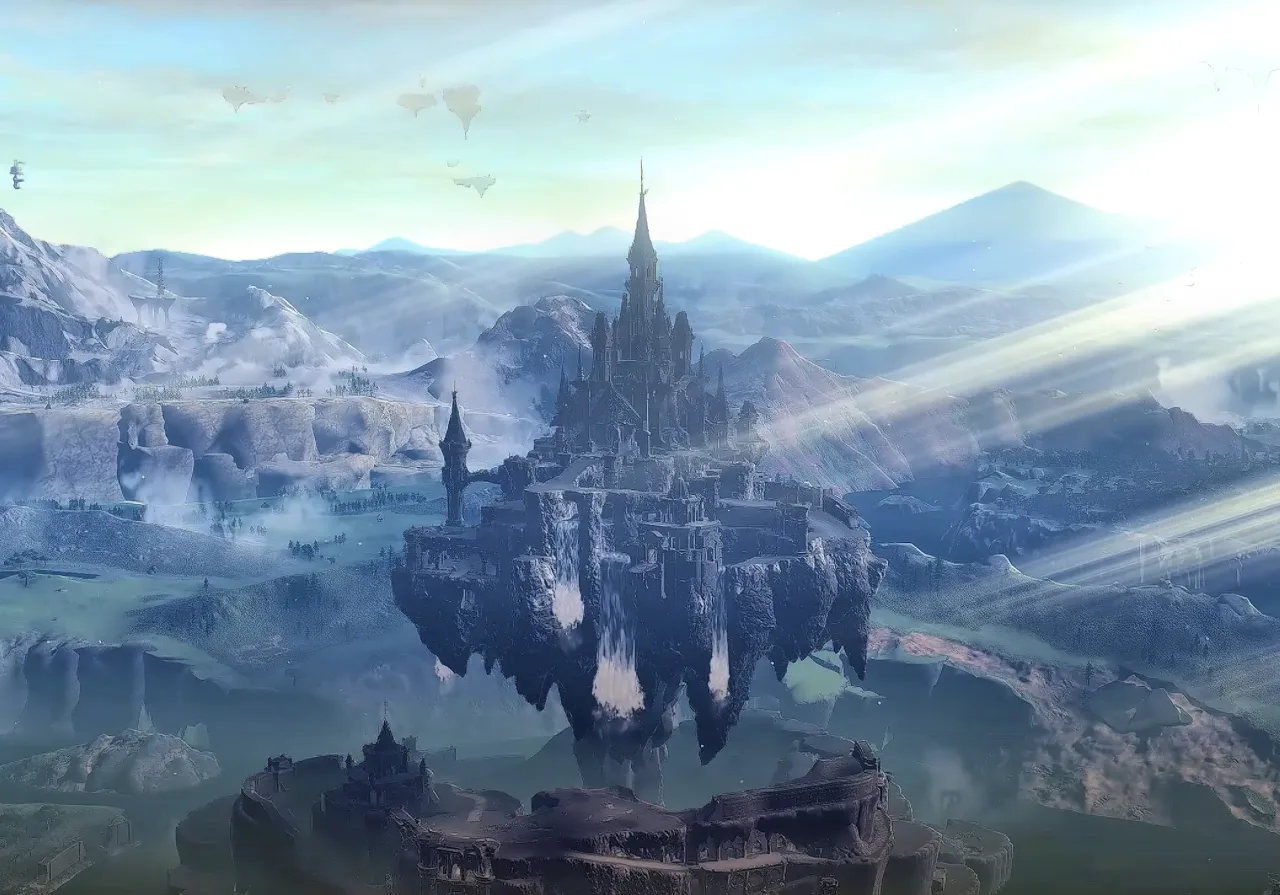
Cook gloom-recovery food with Sundelions and carry separate ordinary healing meals. Sunny meals restore gloom-locked hearts during the approach, but cannot undo the permanently lost hearts caused by certain Ganondorf attacks. Keep a rock-breaking weapon for the blocked passages and save before dropping into the final battle.
Skipping a temple does not delete its boss: it changes where you must fight it. Review that consequence before choosing the direct route, especially if a difficult boss is why you skipped the region.
Do you need duplication or advanced movement glitches?
No. This route uses normal abilities, travel points and preparation, so it does not require duplication or a particular glitch setup. The glitches guide is a separate option for players who want to check version-specific techniques.
After the credits, load the starred save to continue from before the finale. You can return for the collections and quests you postponed; see post-game saves and the extra ending scene.
FAQ
Do I need glitches for a faster TotK playthrough?
Does skipping a temple remove its boss?
What should I prepare before the final descent?
Related Articles
guides
Ocarina of Time Remake Characters: Sheik, Sages and More
Who is who in the Ocarina of Time remake: Link, Navi, Zelda, Sheik, Ganondorf, the seven sages, the owl, Malon and more, with where you meet them and what they give.
guides
Ocarina of Time Remake FAQ: Length, Link’s Age, Dungeons
Quick answers about the Switch 2 Ocarina of Time remake: how long it takes, what OoT means, how old Link is, dungeon order, jumping, Saria and Master Quest.
guides
BotW FAQ: 31 Beginner Questions Answered
Thirty-one quick answers for Breath of the Wild: the Great Plateau, Divine Beasts, combat, equipment, collectibles, ending saves, DLC and Switch 2 Edition.
Was this helpful?
Thanks for the feedback!