

Tears of the Kingdom Temple Bosses: All Five, HP, Strategy, Rematches
How to beat Colgera, Marbled Gohma, Mucktorok, Queen Gibdo and the Seized Construct in Tears of the Kingdom, with HP by order, screenshots and Depths rematches.
Each of the five temples in Tears of the Kingdom ends with a boss that you fight next to that temple’s sage, and the sage’s ability is the key to the fight. This page covers all five in screenshots, gives their HP (which grows with the order you take them in), and lists where four of them come back in the Depths.
Which boss is in which temple?
| Temple | Boss | Sage who helps | Reward |
|---|---|---|---|
| Wind Temple | Colgera | Tulin | Heart Container, Vow of Tulin, Sage of Wind |
| Fire Temple | Marbled Gohma | Yunobo | Heart Container, Vow of Yunobo, Sage of Fire |
| Water Temple | Mucktorok | Sidon | Heart Container, Vow of Sidon, Sage of Water |
| Lightning Temple | Queen Gibdo | Riju | Heart Container, Vow of Riju, Sage of Lightning |
| Spirit Temple | Seized Construct | Mineru | Heart Container, Vow of Mineru, Sage of Spirit |
The Heart Container is listed for each boss by Zelda Dungeon (and by Game8 for the Seized Construct); the vows are the key items each sage gives.
How much HP does each temple boss have?
HP depends on how many temple bosses you have beaten before, like the Blights in Breath of the Wild. Colgera and the Seized Construct are the exceptions.
| Boss | 1st | 2nd | 3rd | 4th | 5th | In the Depths |
|---|---|---|---|---|---|---|
| Colgera | 600 | 600 | 600 | 600 | 600 | — |
| Marbled Gohma | 800 | 1,200 | 1,600 | 2,000 | 2,400 | 2,000 |
| Mucktorok | 1,300 | 1,300 | 1,625 | 1,925 | 2,275 | 2,850 |
| Queen Gibdo | 2,270 | 2,270 | 2,724 | 3,178 | 3,632 | 2,838 |
| Seized Construct | 20,000 | 20,000 | 20,000 | 20,000 | 20,000 | — |
All HP values are from Zelda Dungeon; Game8’s boss pages give none, so these are single-source. Zelda Dungeon adds that every hit on Colgera does exactly 100 damage, that Mucktorok resists arrows by 40% and Beam Emitters by 80%, and that Queen Gibdo resists headshots by 25% and Beam Emitters by 80%. You are not meant to wear down the Seized Construct’s 20,000 with weapons; the fence does the work.
How do you beat Colgera?
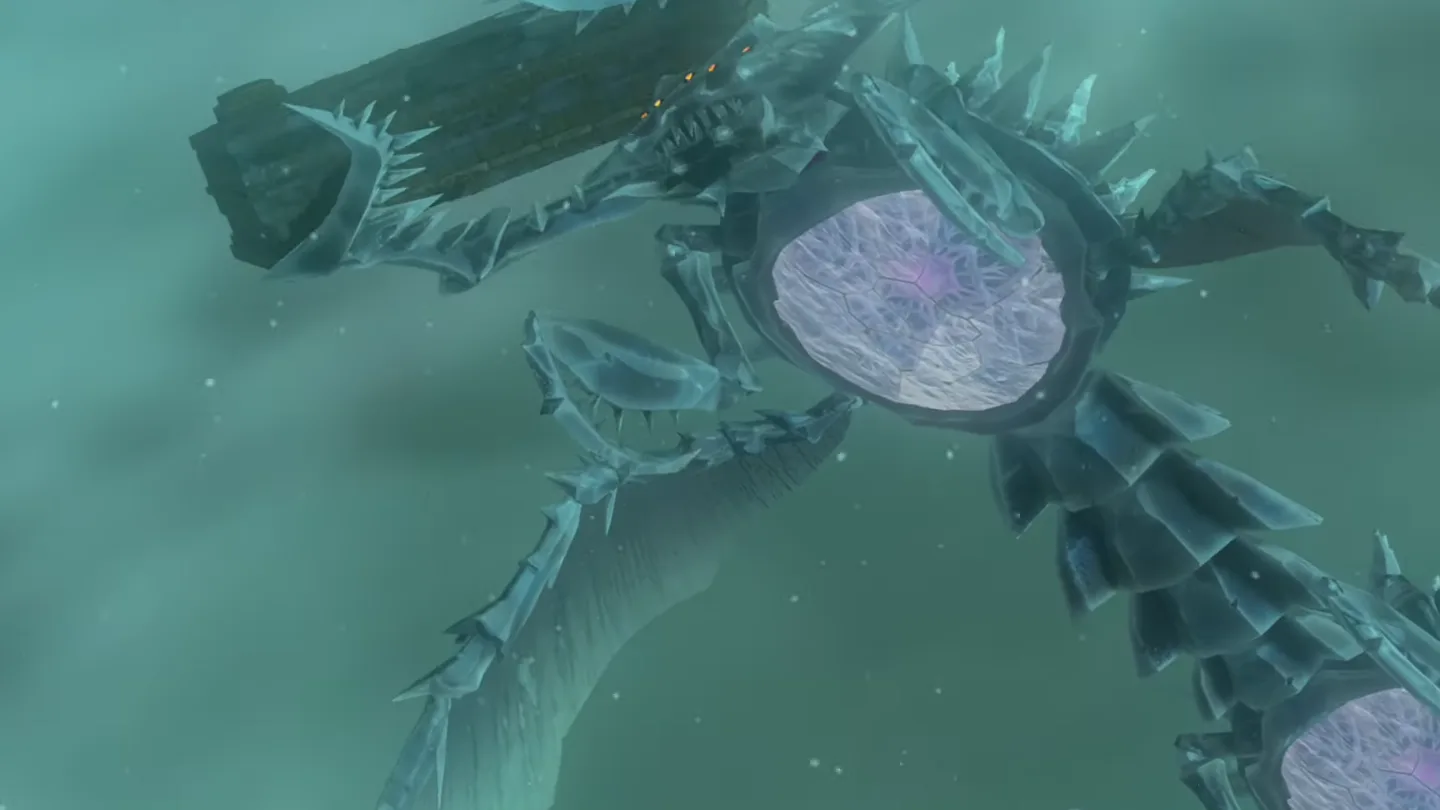
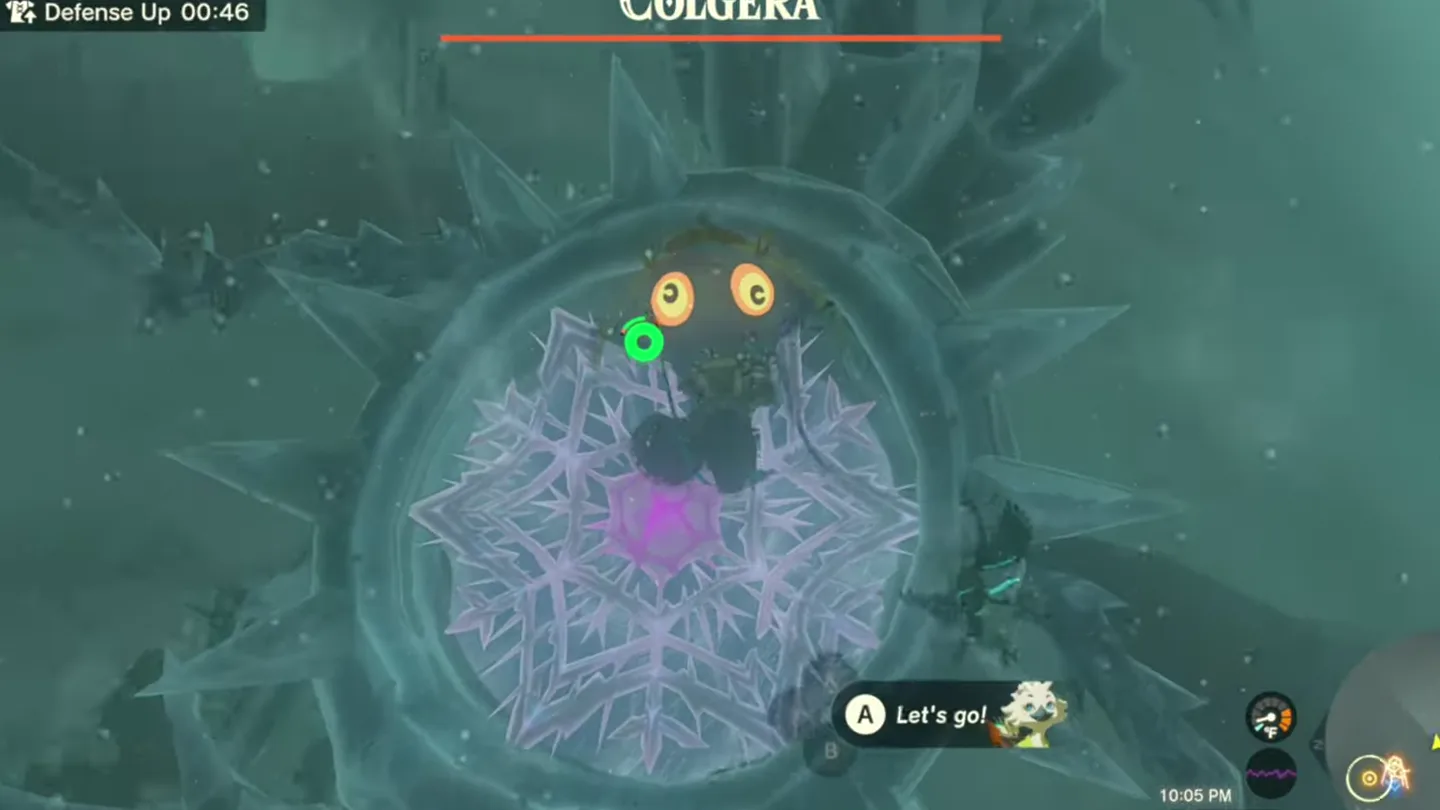
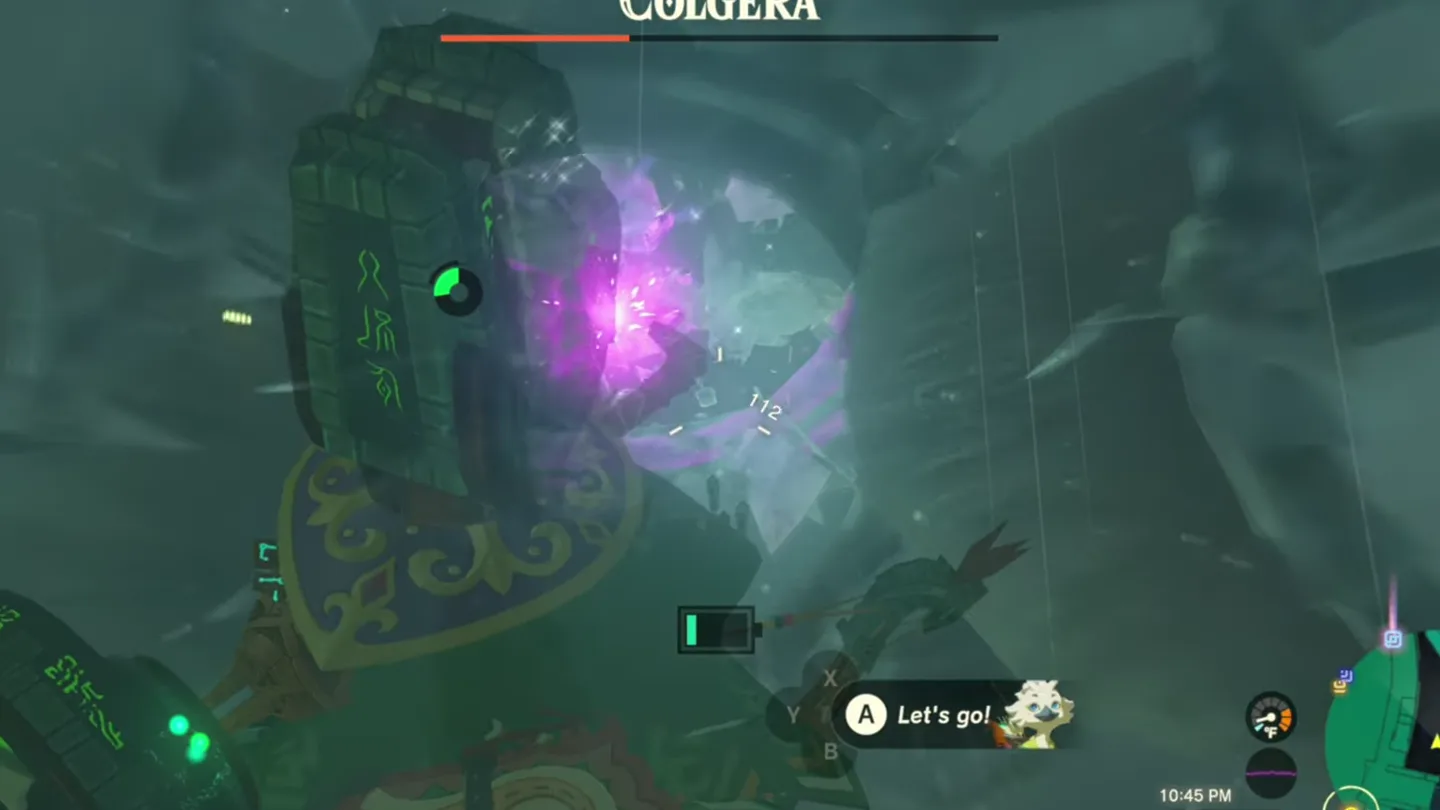
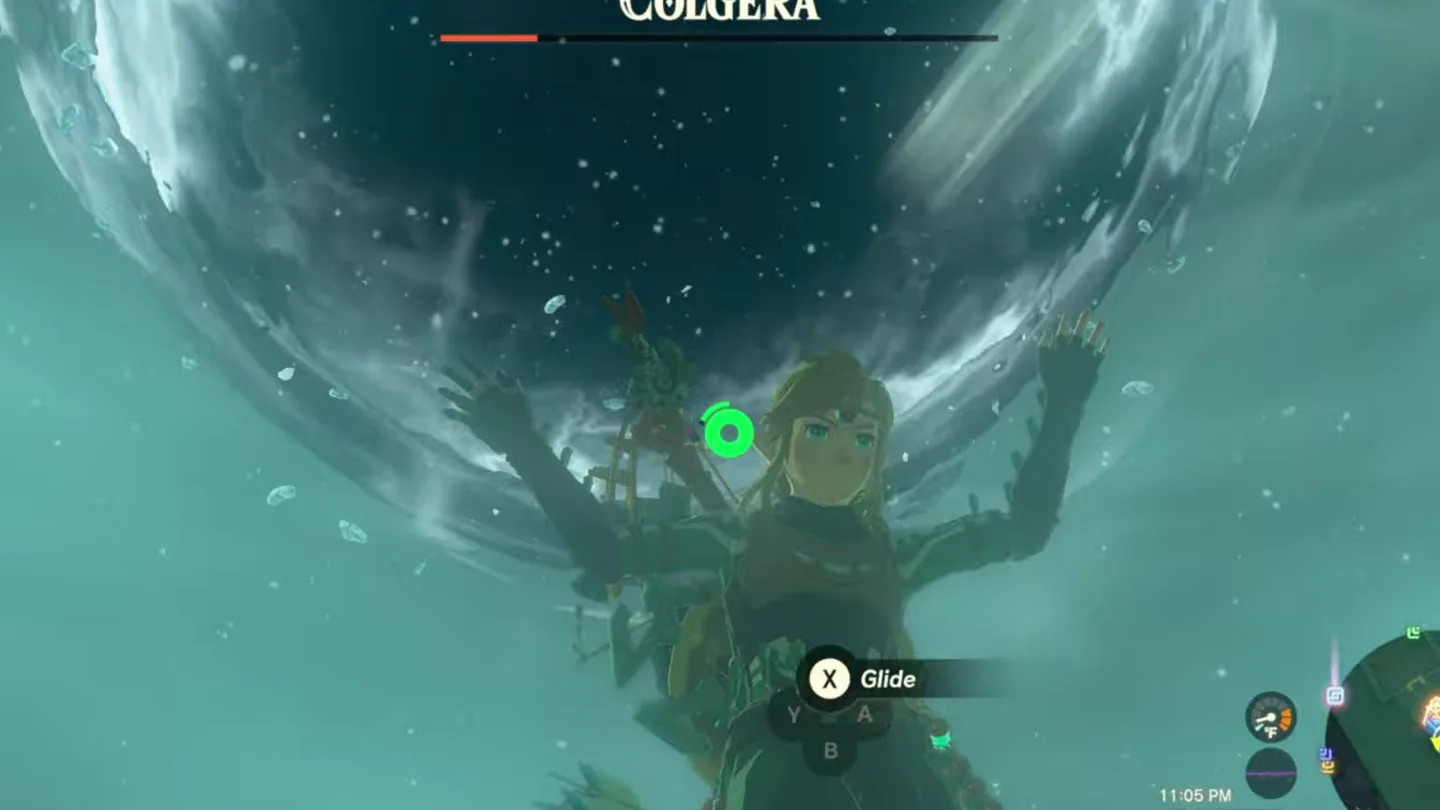
Strategy from Game8’s Colgera guide.

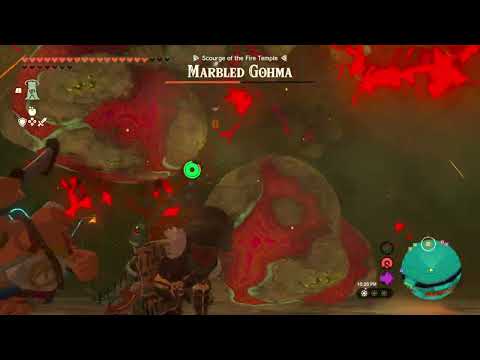
How do you beat Marbled Gohma?
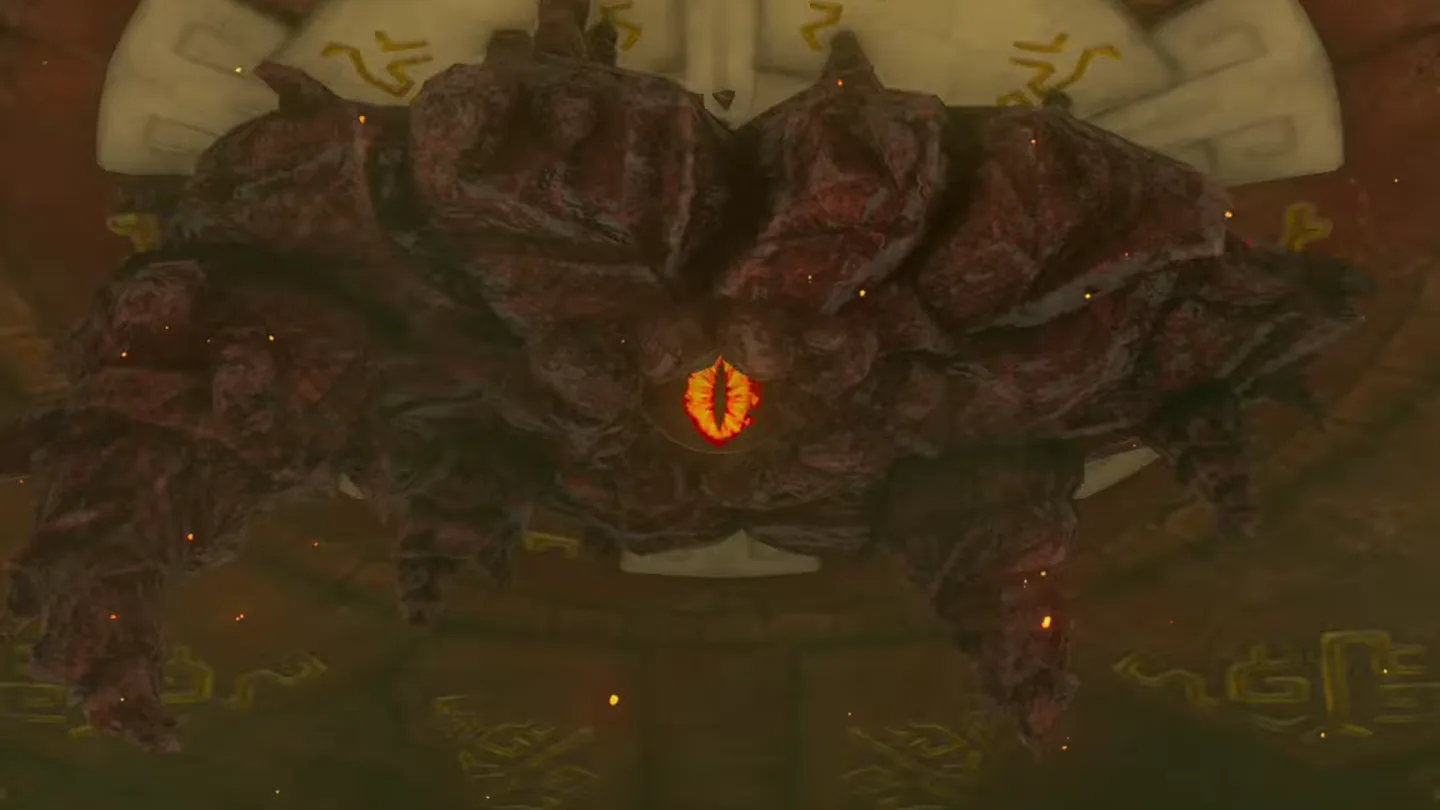
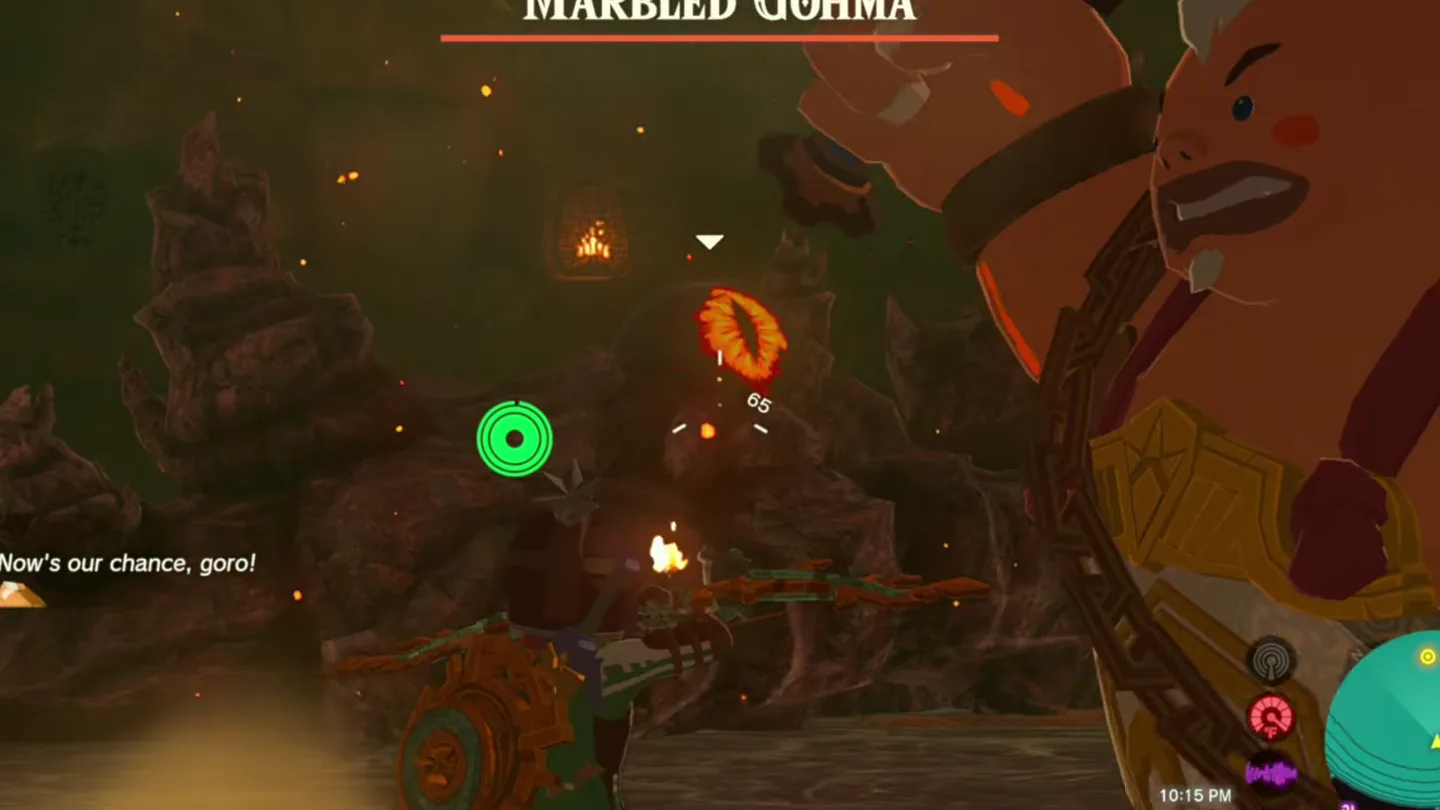
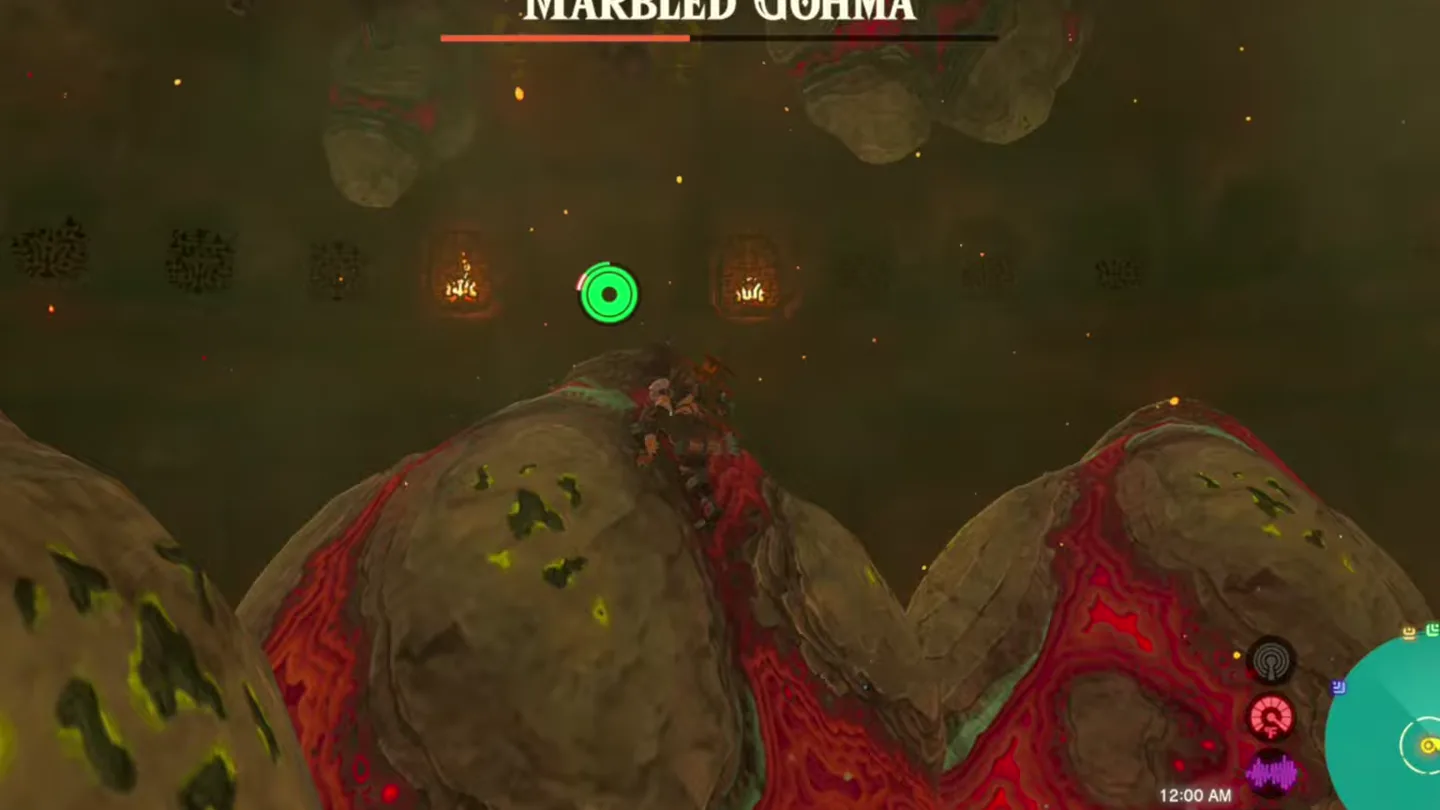
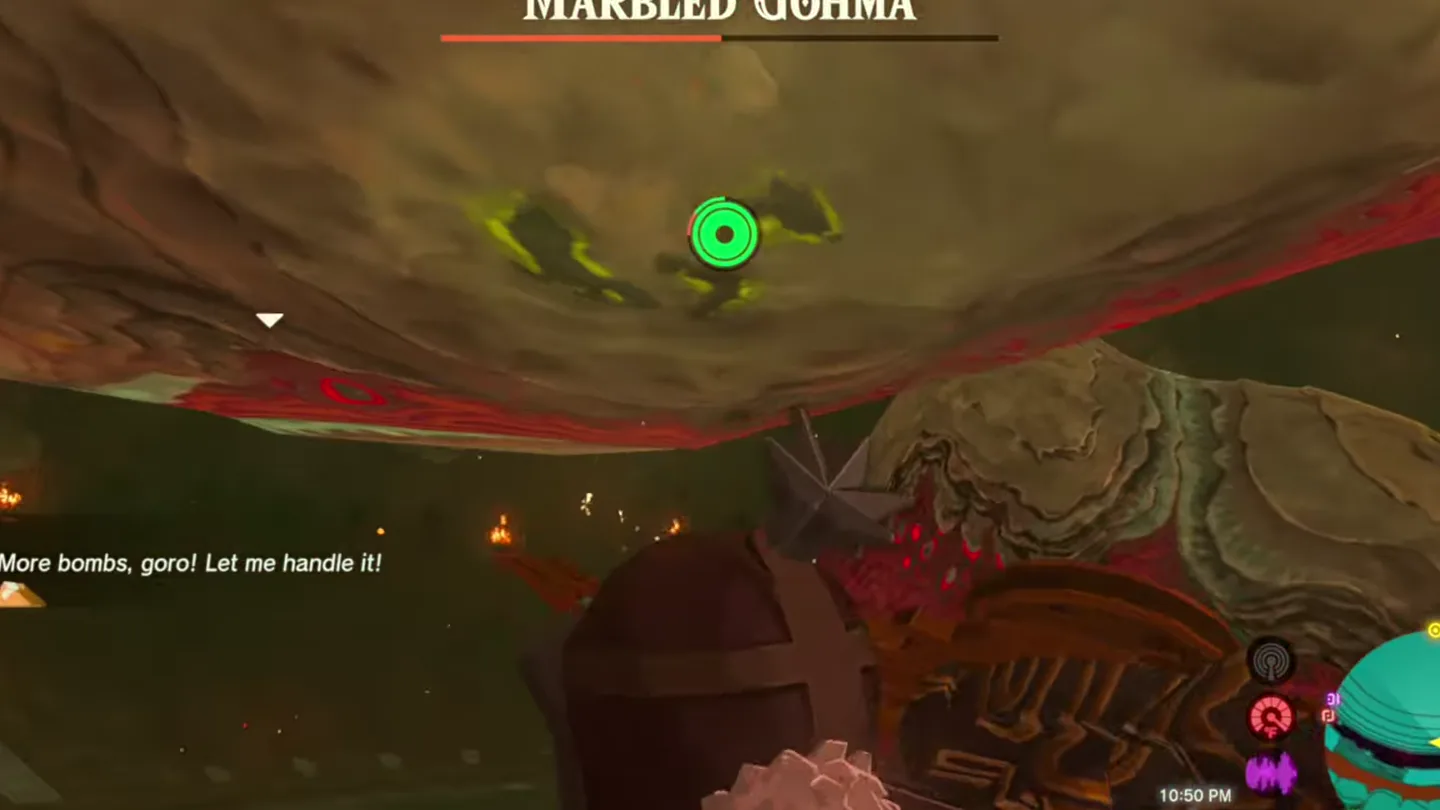
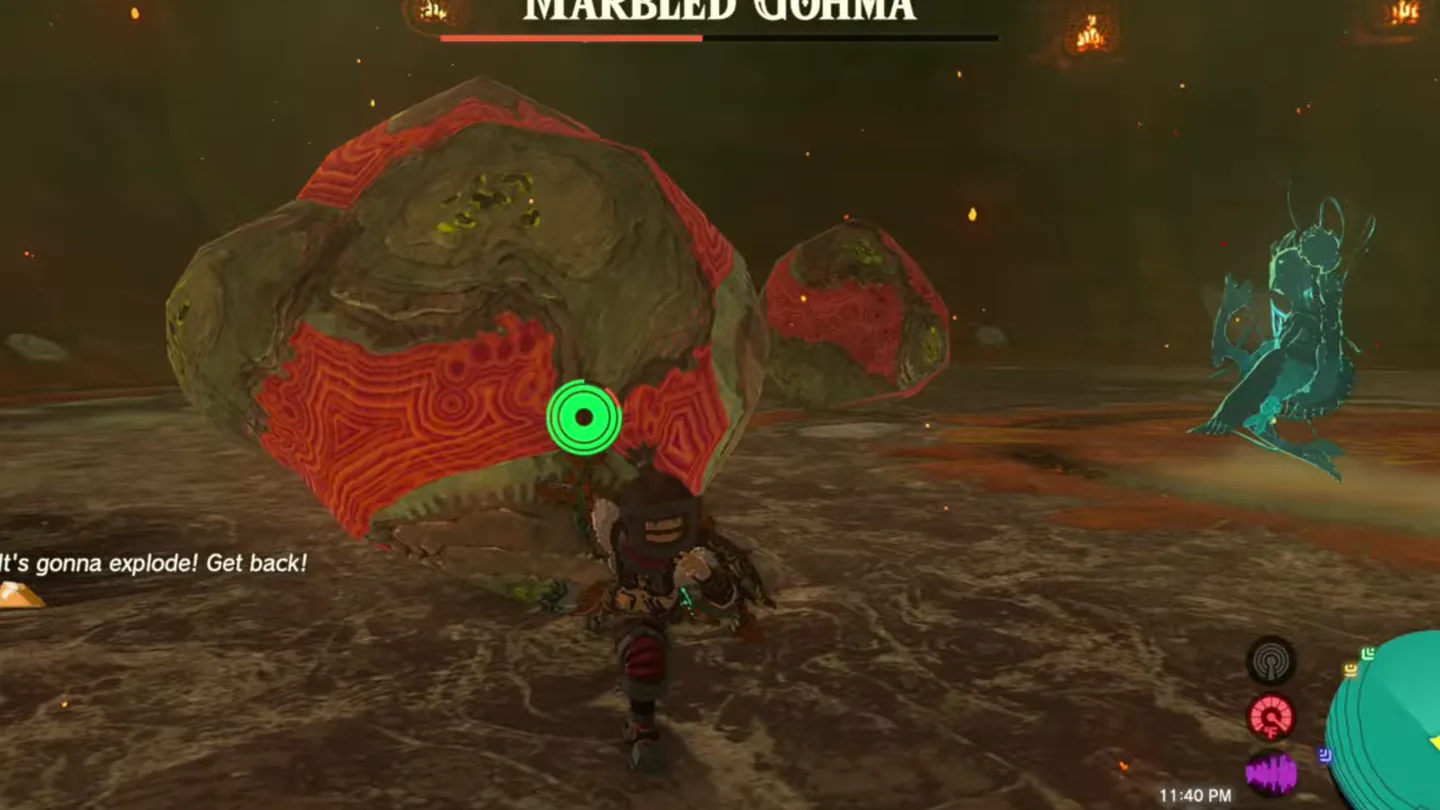
Strategy from Game8’s Marbled Gohma guide.
How do you beat Mucktorok?
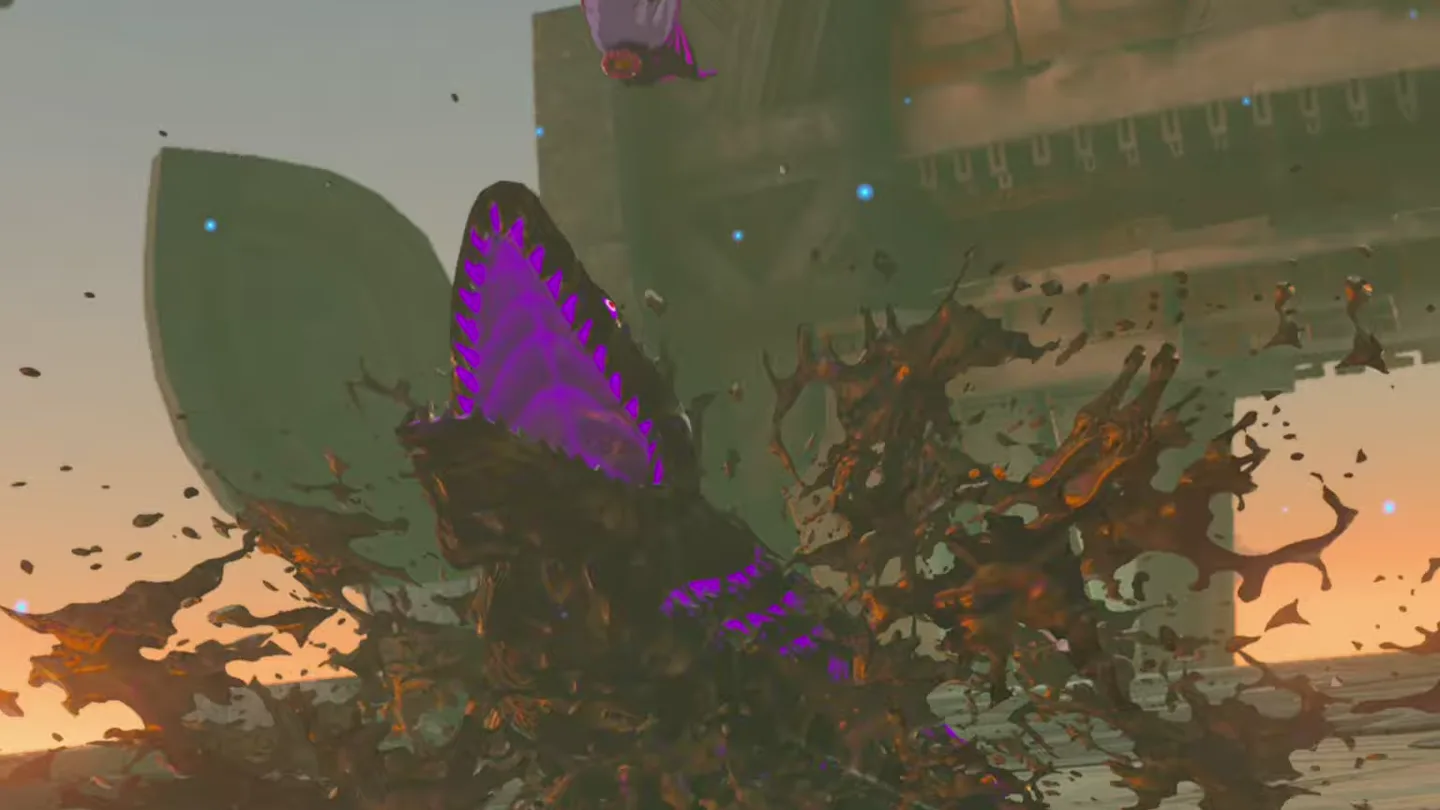
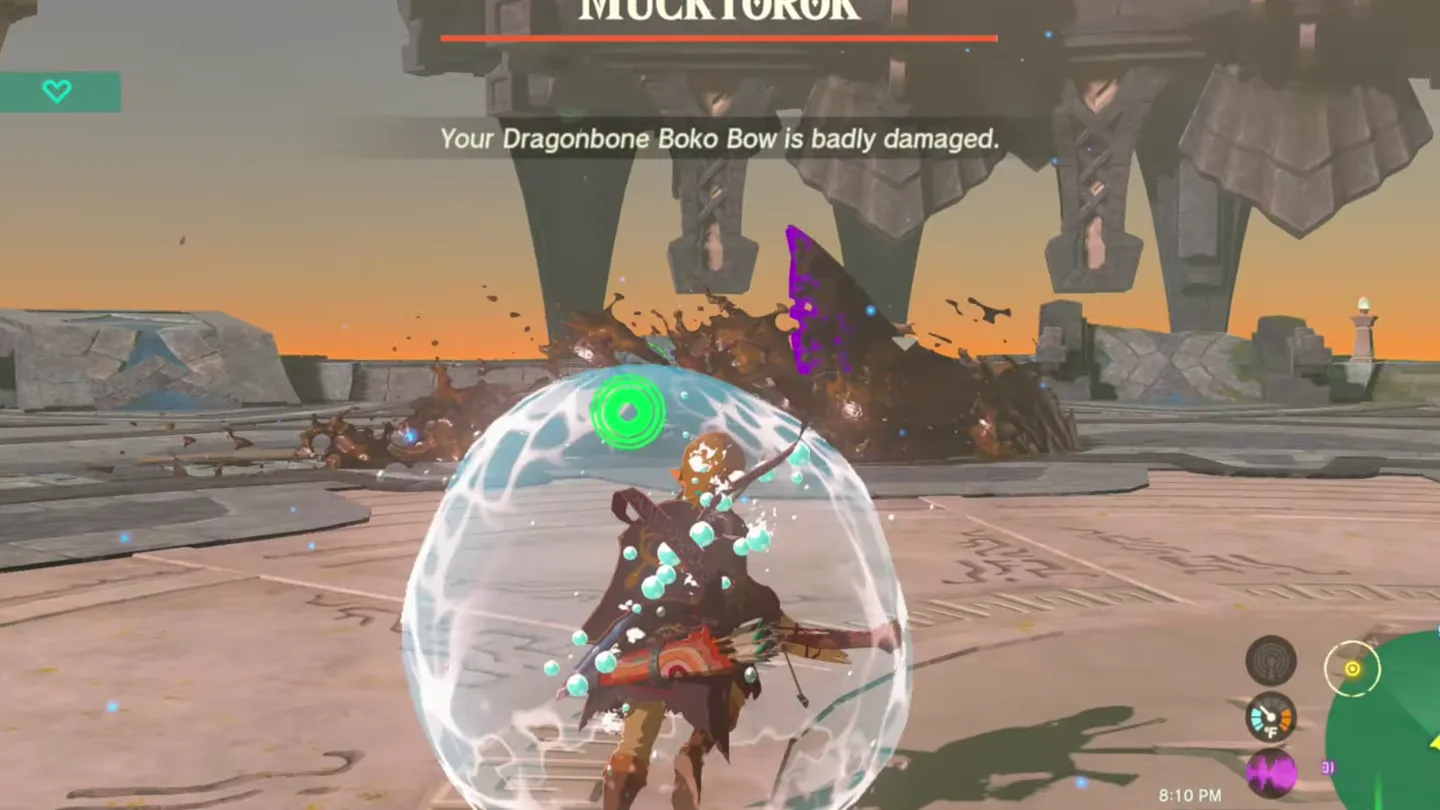
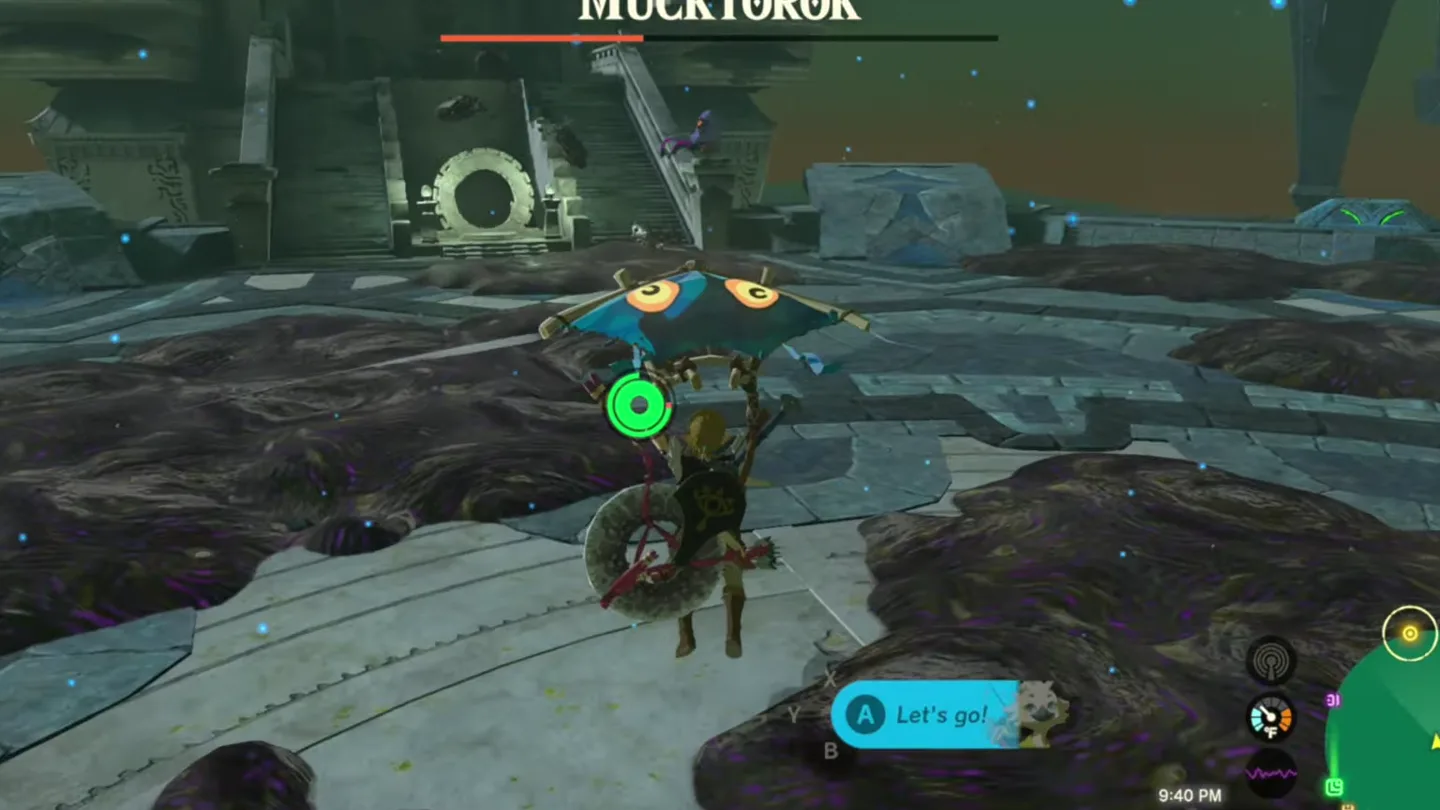
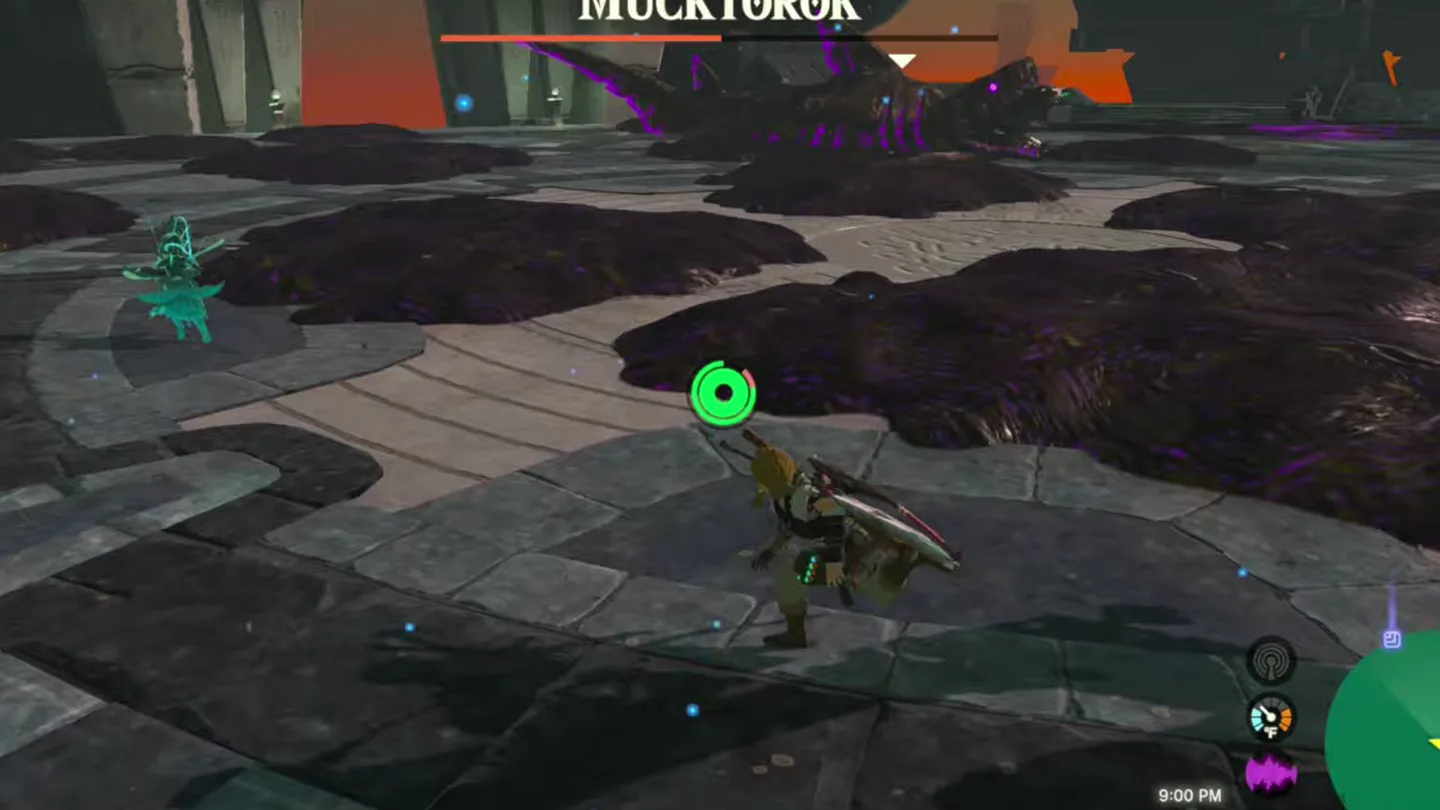
Strategy from Game8’s Mucktorok guide.

How do you beat Queen Gibdo?
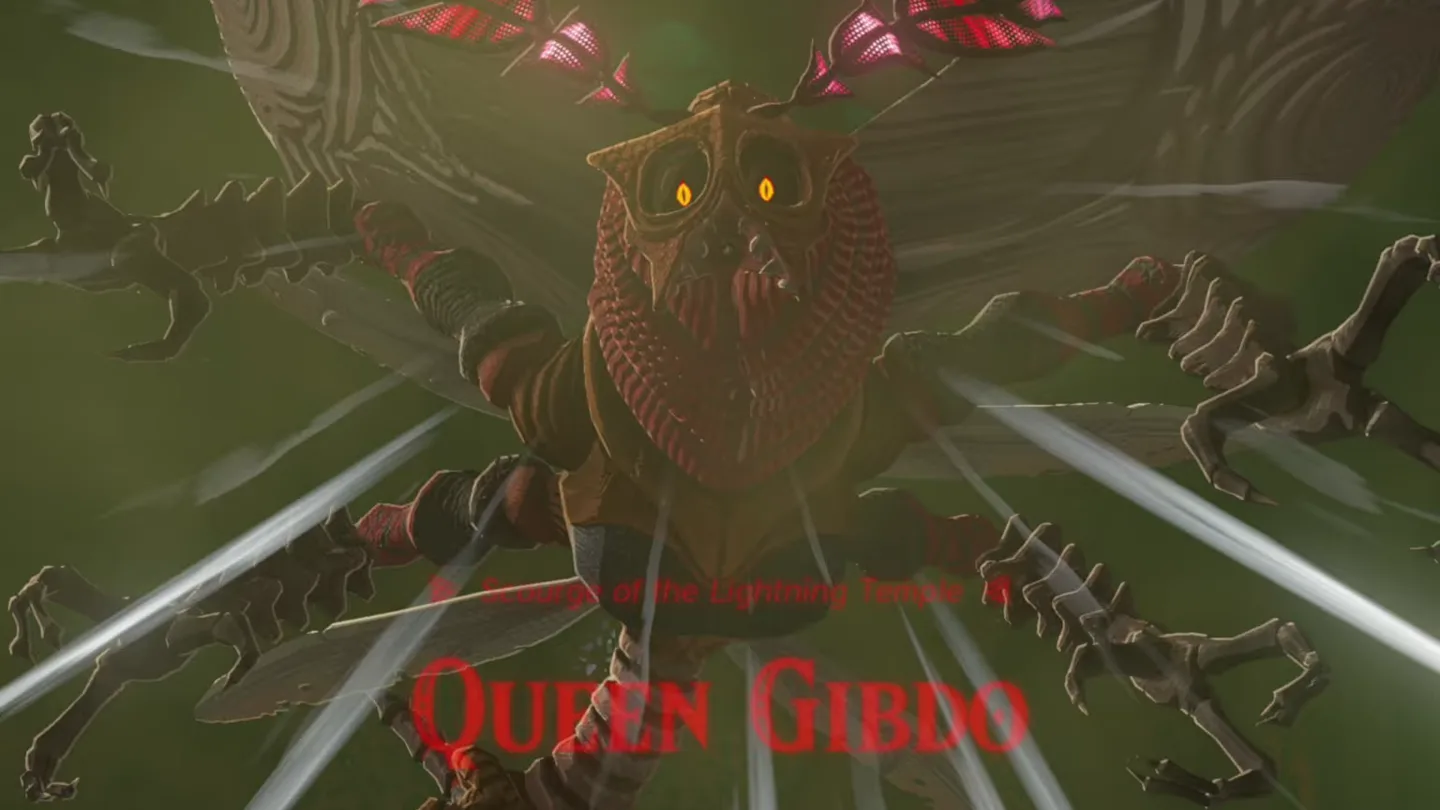
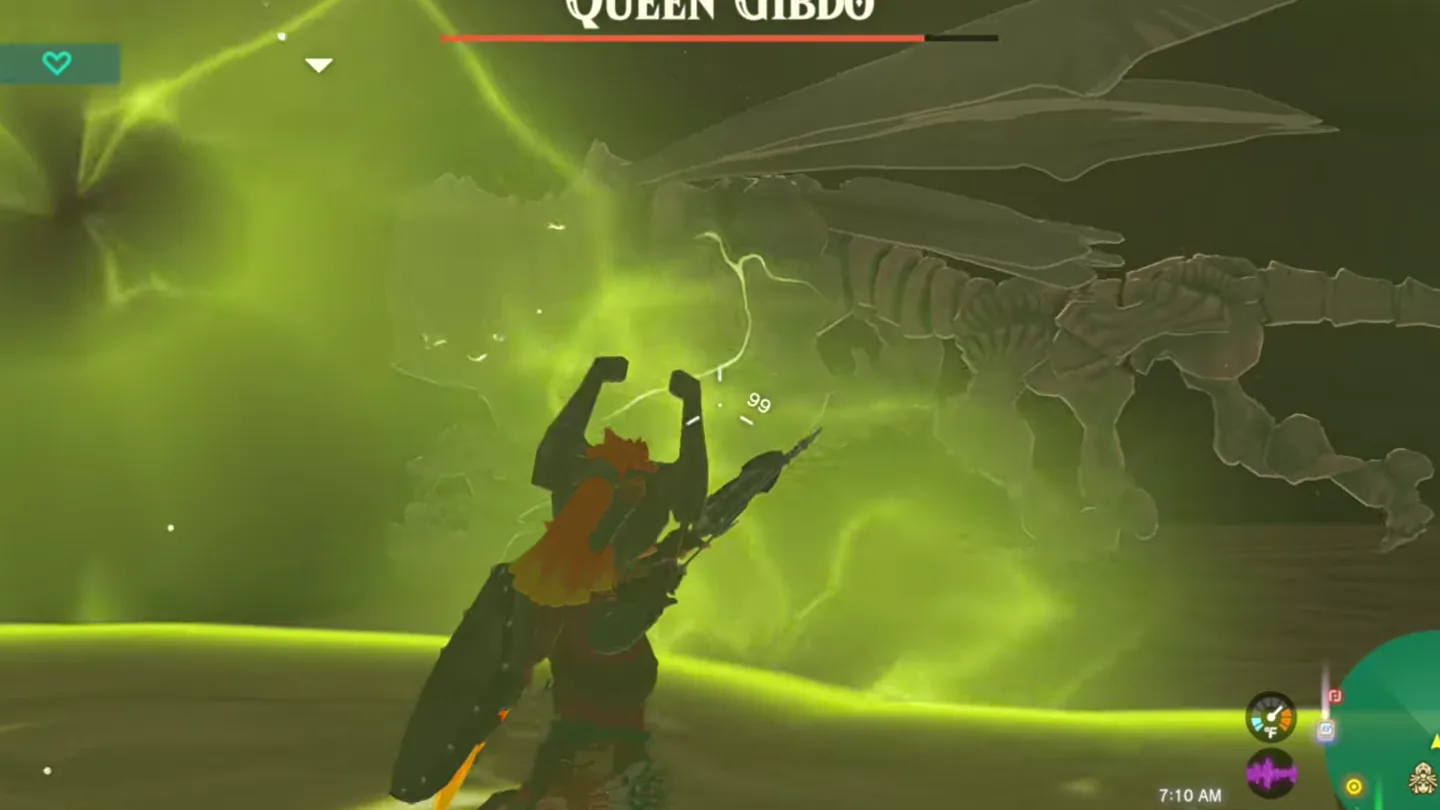
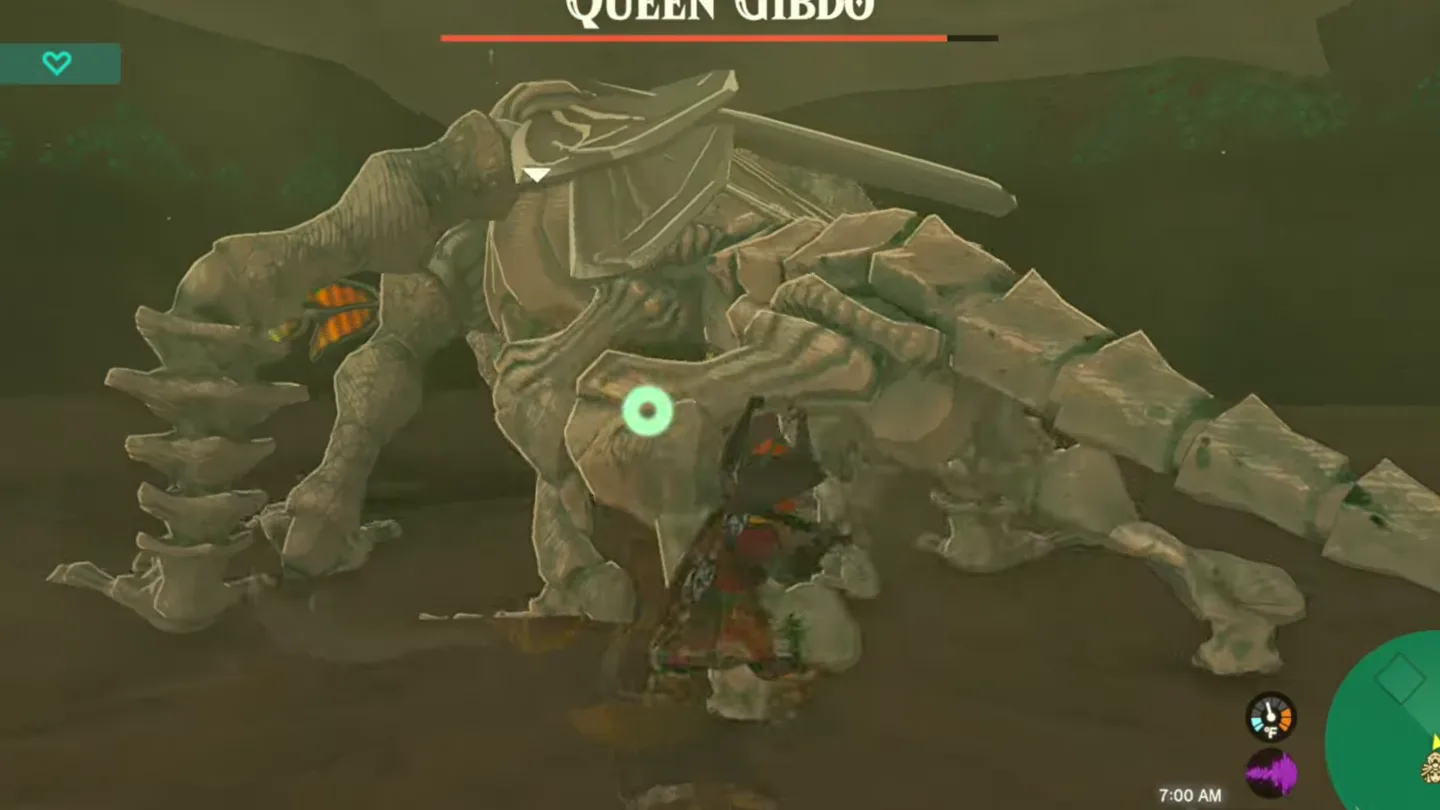
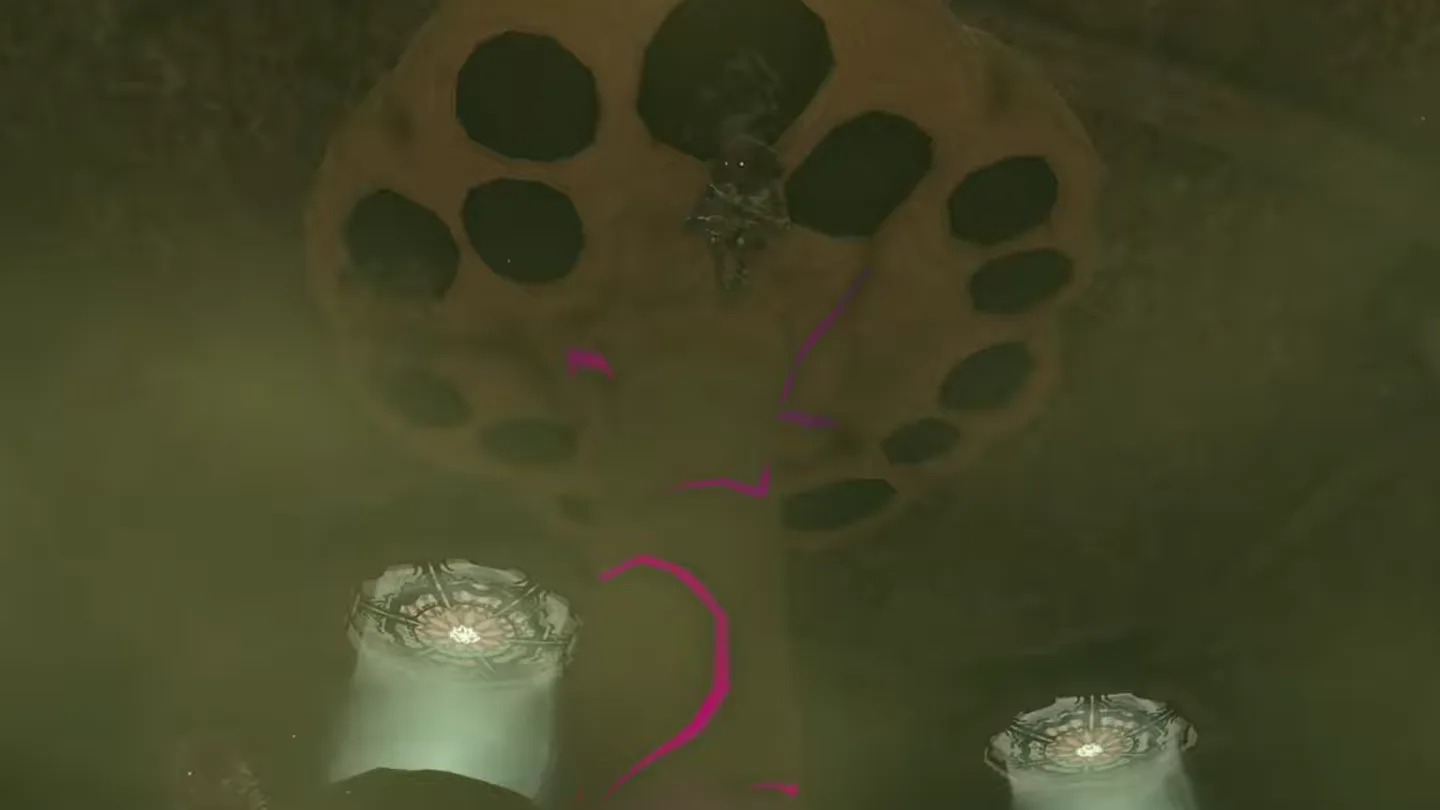
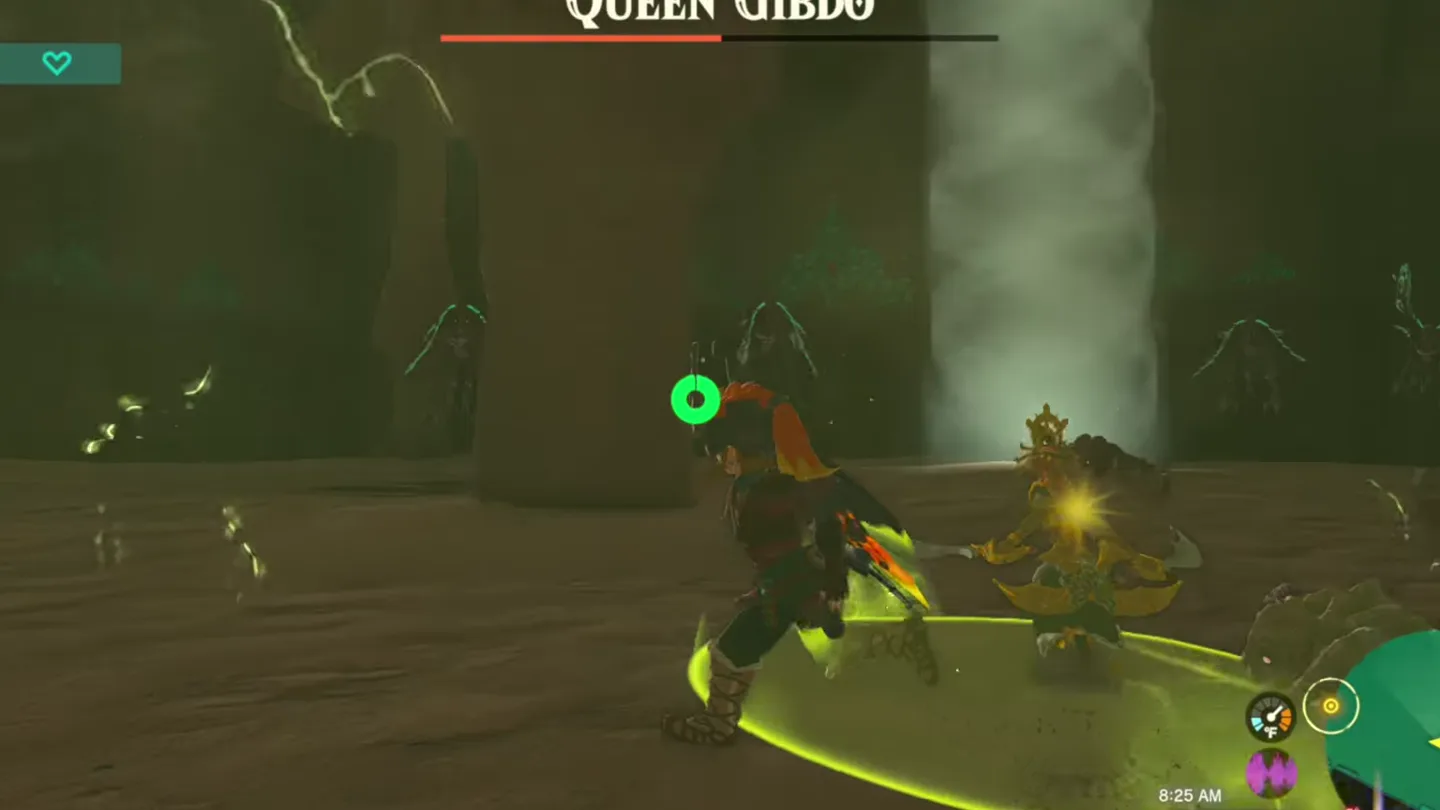
Strategy from Game8’s Queen Gibdo guide.

How do you beat the Seized Construct?
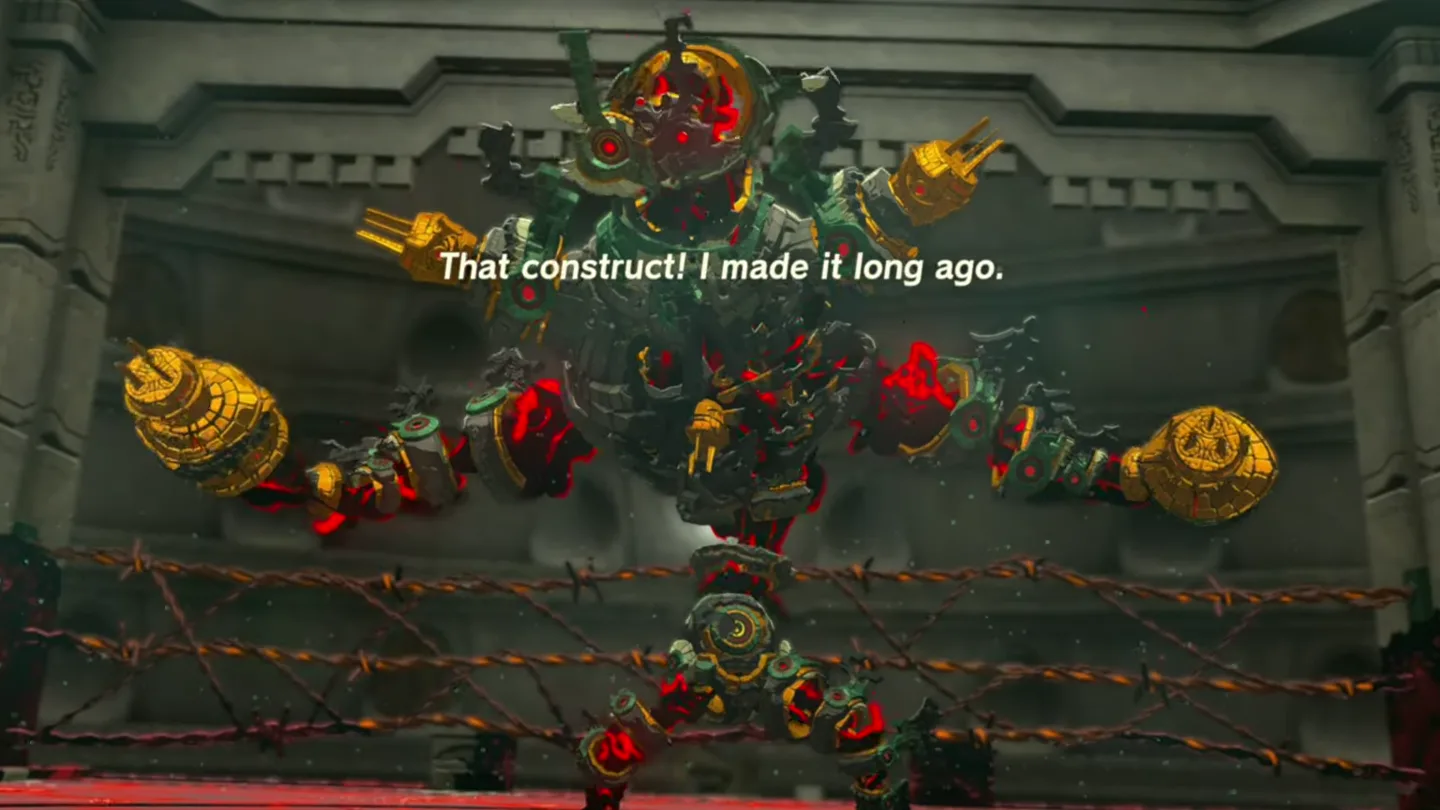
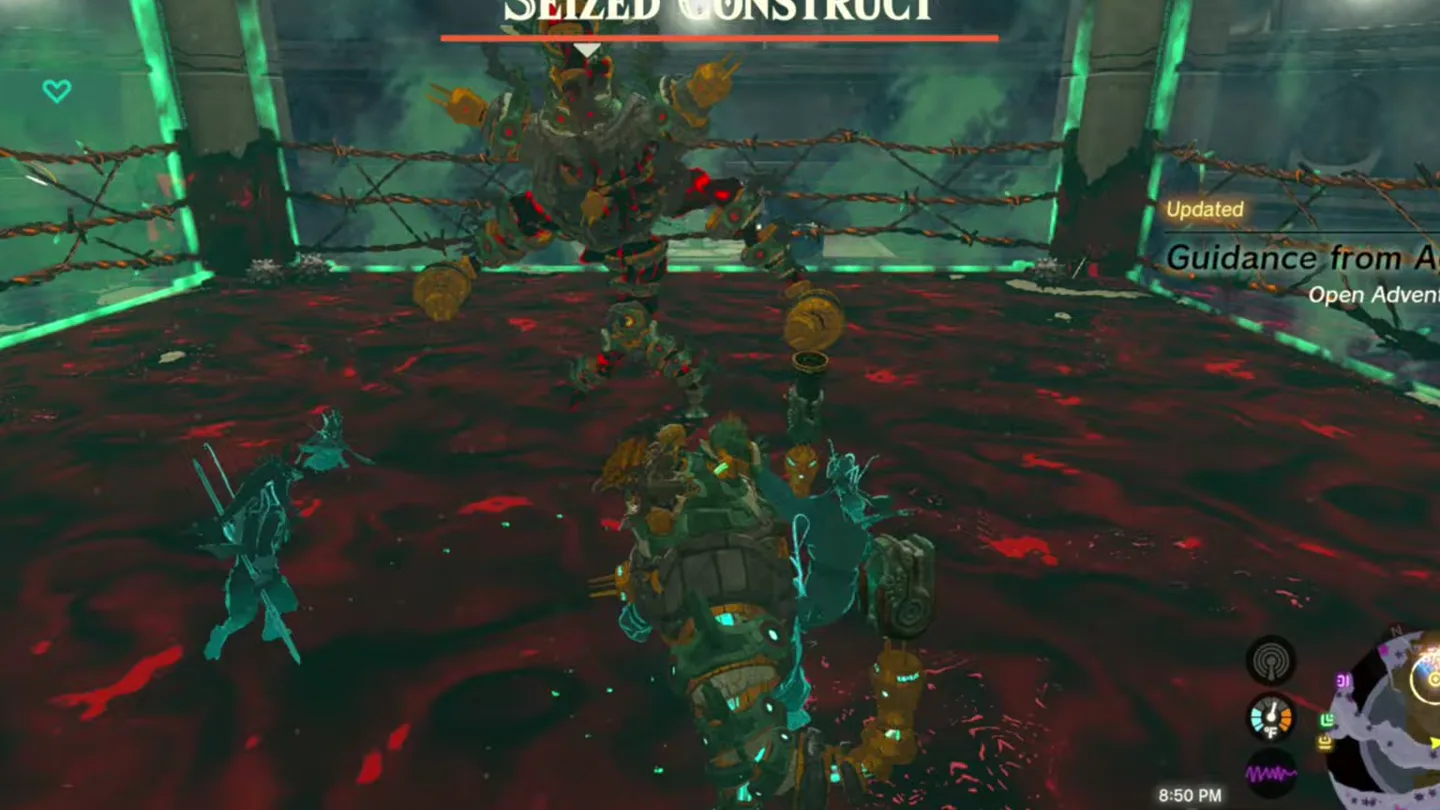
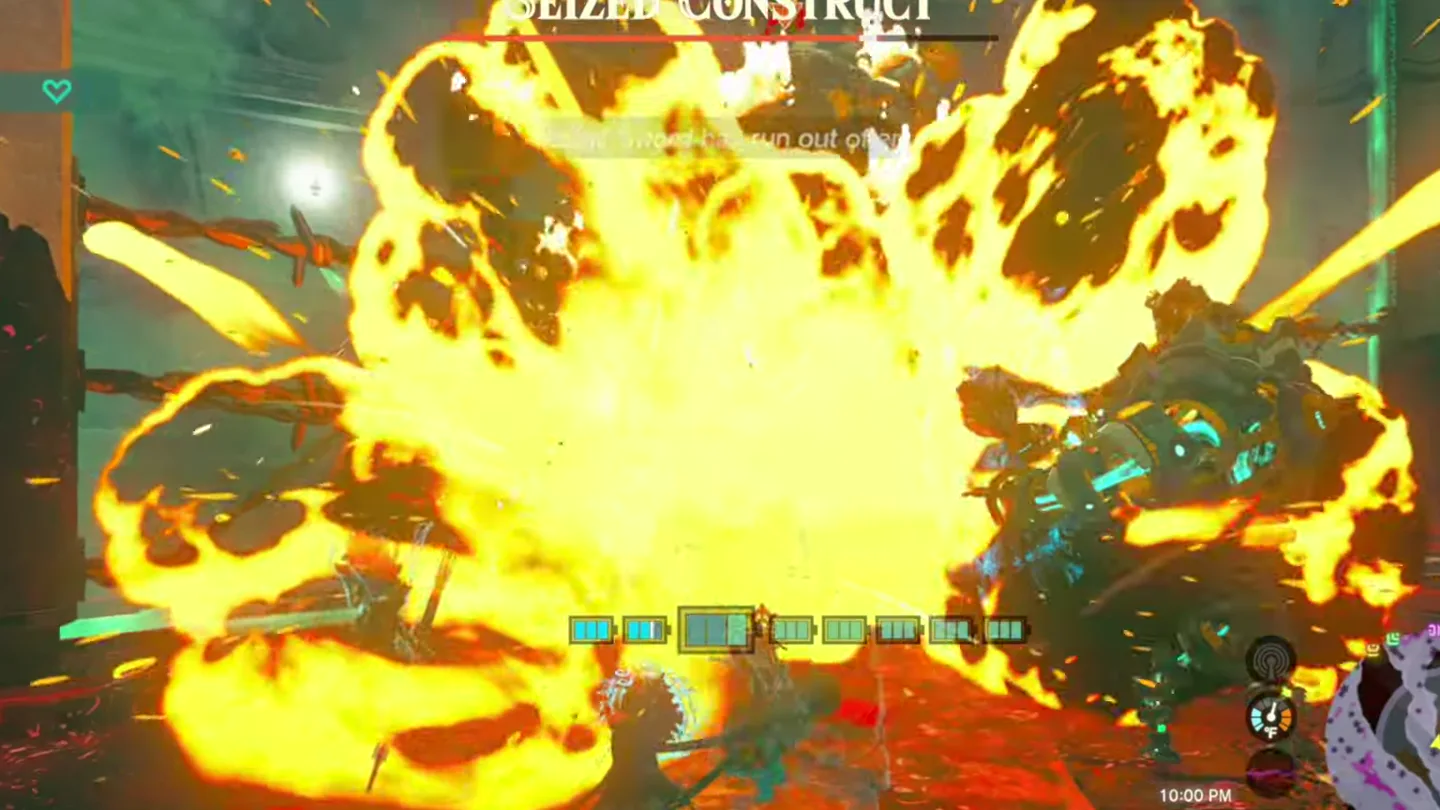
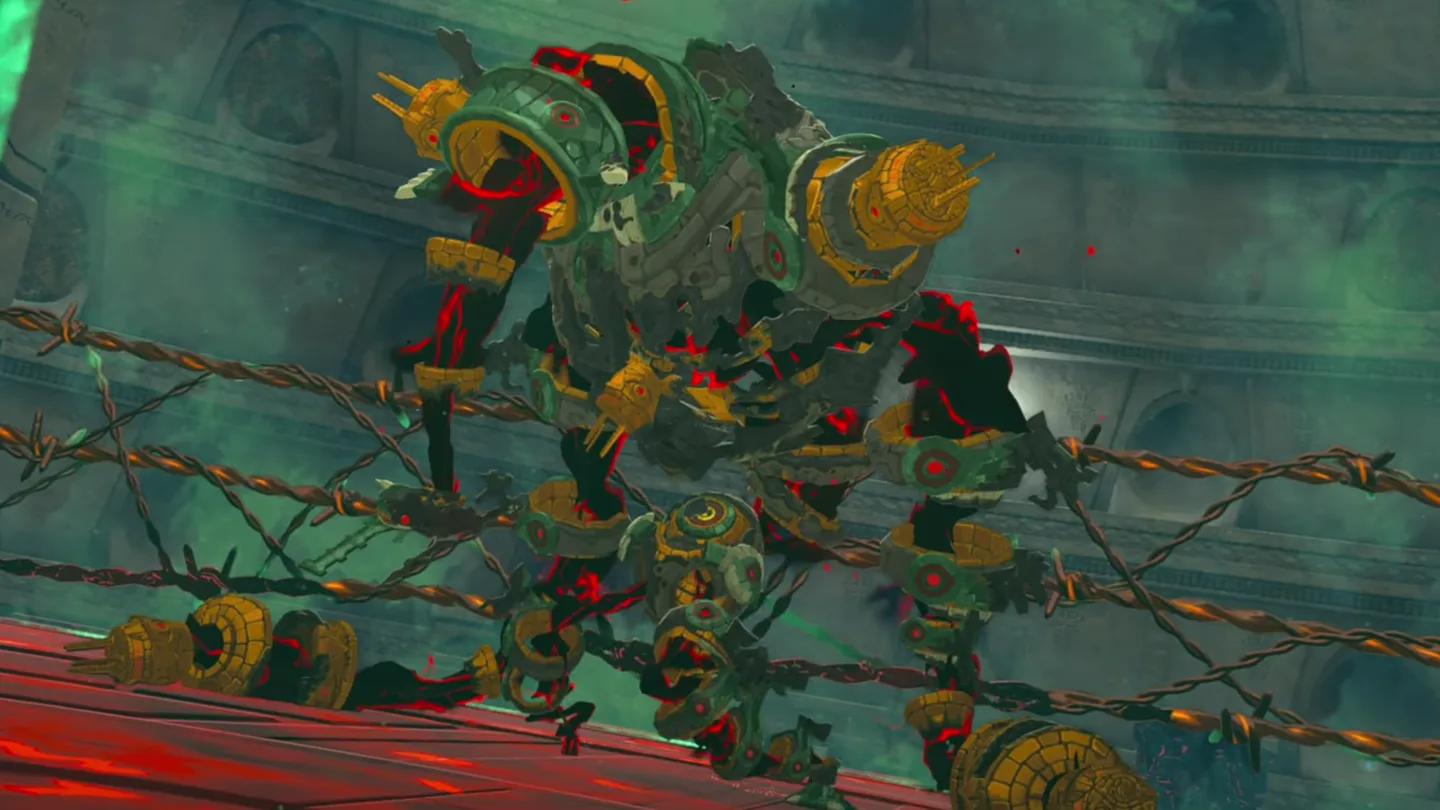
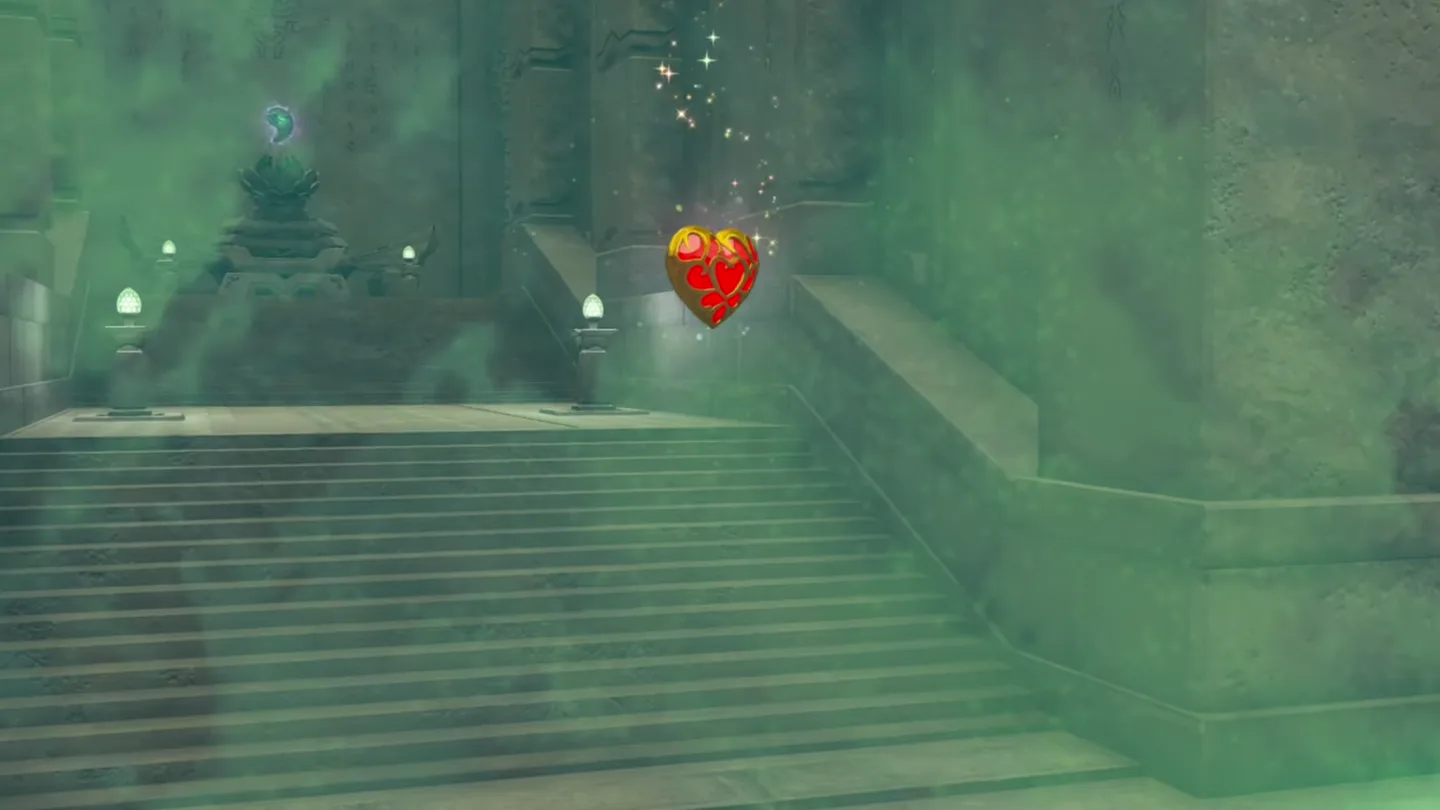
Strategy from Game8’s Seized Construct guide; Zelda Dungeon notes the fence is how the fight is meant to be won.

Where are the temple boss rematches?
Colgera, Marbled Gohma, Mucktorok and Queen Gibdo each return three times in the Depths. There, Zelda Dungeon lists their drops as a boss material (Colgera Jaw, Marbled Gohma Leg, Octorok materials, Queen Gibdo Wing) plus a Huge Crystallized Charge. Game8 notes the rematches are harder: no platforms against Colgera, no curved walls (so no ceiling phase) for Marbled Gohma, normal gravity against Mucktorok, and no pillar of light from Queen Gibdo’s hives.
Some terrain tiles failed to load.
- Colgera (3)
- Marbled Gohma (3)
- Mucktorok (3)
- Queen Gibdo (3)
Drag to move and zoom in to tell the points apart; on a computer, click the map first and the mouse wheel zooms it. Ticks are saved in this browser only; no account is needed.
Progress cannot be saved in this browser session.
| # | Monster | Landmark on the surface above | Region | X, Y |
|---|---|---|---|---|
| 1 | Colgera | Daval Peak | Faron | -1154, -3626 |
| 2 | Colgera | Hebra West Summit | Hebra | -4371, 3046 |
| 3 | Colgera | Pikida Stonegrove | Hebra | -2267, 3266 |
| 4 | Marbled Gohma | Tamio River | Hyrule Field | -2793, -0759 |
| 5 | Marbled Gohma | Linebeck Island | Lanayru | 1607, -0062 |
| 6 | Marbled Gohma | Quatta's Shelf | Lanayru | 2145, -0628 |
| 7 | Mucktorok | Tarrey Town Race | Akkala | 3671, 1680 |
| 8 | Mucktorok | Rowan Plain | Great Hyrule Forest | -1244, 2014 |
| 9 | Mucktorok | Ternio Trail | Lanayru | 2837, 0610 |
| 10 | Queen Gibdo | Vatorsa Snowfield | Gerudo | -3636, -0838 |
| 11 | Queen Gibdo | Washa's Bluff | Hyrule Field | -2721, -0077 |
| 12 | Queen Gibdo | Hylia River | Lanayru | 0949, -0461 |
Where does this data come from?
- HP and resistances: Zelda Dungeon’s pages for each boss (single source; Game8 lists no HP).
- Strategy: Game8’s boss guides for each of the five, cross-checked with the screenshots.
- Rematch locations: the game’s placement data as served by zeldamods’ radar for objmap-totk.
- Names: the game’s own text (TotkText, game version 1.2.1).
- Screenshots: Jlatzss14 (CC BY), one video per boss.
More big fights: the final battle, the Gleeoks, all 34 Lynels and all 35 Flux Constructs.
FAQ
What order should I do the temples in?
What do you get for beating a temple boss?
Can you fight the temple bosses again?
How do you beat the Seized Construct?
Related Articles
guides
Hyrule Castle Walkthrough: Entry Routes, Hylian Shield and Final Prep
How to get into Hyrule Castle in Breath of the Wild: five entry routes, the Hylian Shield and other loot by room, and what to prepare before the final battle.
guides
Vah Medoh Walkthrough: All 5 Terminals, 8 Chests and Rewards
Step-by-step Vah Medoh walkthrough for Breath of the Wild: the Flight Range test, the four cannons, wing tilting, all five terminals and eight chests.
guides
Vah Naboris Walkthrough: All 5 Terminals, 9 Chests and Rewards
Vah Naboris walkthrough for Breath of the Wild: Gerudo Town entry, the Thunder Helm, the Sand Seal fight, rotating sections, all five terminals and nine chests.
Was this helpful?
Thanks for the feedback!