

BotW Trial of the Sword: Floor-by-Floor Guide and Tips
Save the Ancient Arrows from floors 6, 10 and 14 for the Lynels and last Guardian rooms. Floor-by-floor routes for all three trials, with rest rooms.
What should you prepare before entering the Trial of the Sword?
Install the Expansion Pass, obtain the Master Sword and return it to the pedestal in Korok Forest. The sword must have energy remaining. The usual 13-heart requirement belongs to obtaining the sword; the trial does not perform another heart check.
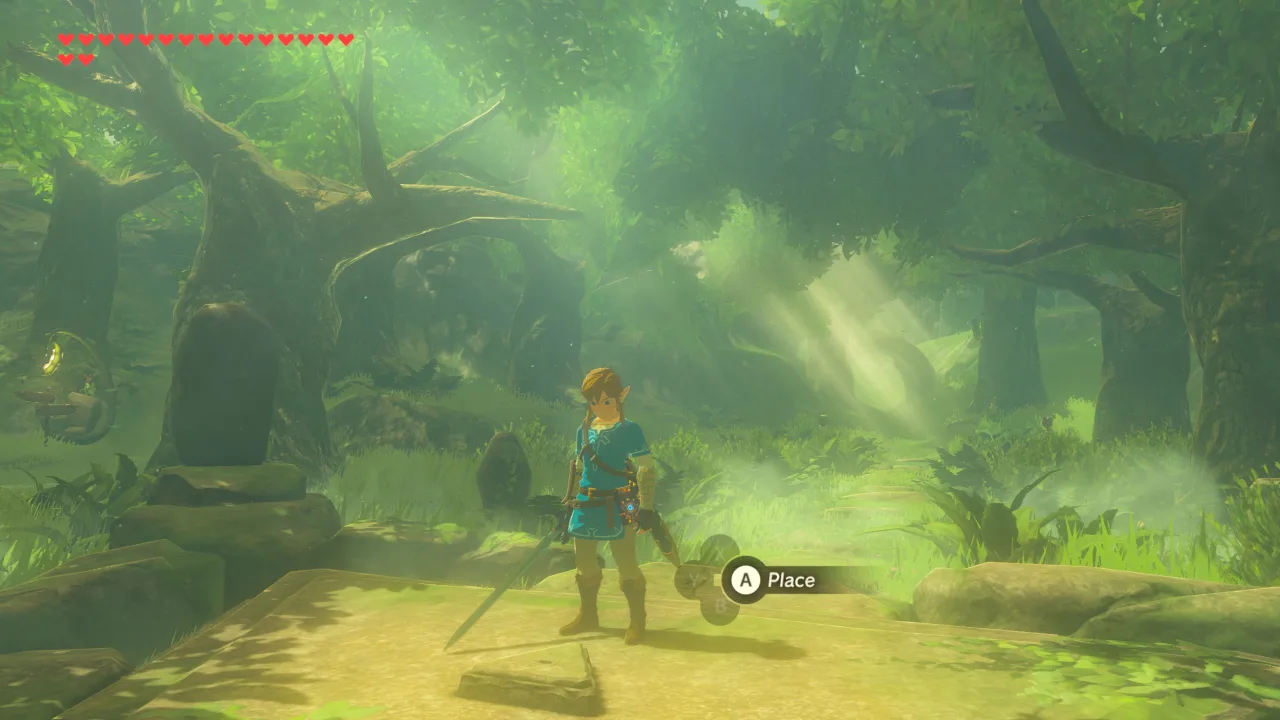
Heal before entering and eat a useful long-duration meal: your current hearts and active food effect carry in, while your inventory does not. Upgrade your runes first, particularly Stasis+, if you want to use the enemy-freezing openings described below. Champion abilities are unavailable inside the trial.
Every table below is for normal mode. Master Mode changes enemy ranks and adds health regeneration, making drawn-out fights much more costly. Floor numbers include rest rooms; each section ends with a separate sword reward room.
| Section | Combat and rest floors | Rest rooms | Reward room | Master Sword base power afterward |
|---|---|---|---|---|
| Beginning | 1–12 | 7 | 13 | 40 |
| Middle | 1–16 | 5, 11 | 17 | 50 |
| Final | 1–23 | 6, 12, 18 | 24 | 60 |
You must defeat every enemy to open the next gate. Before stepping into it, collect weapons, arrows, food and any useful chest: you cannot return to the previous floor. Death restarts the current section, while a completed section stays cleared.
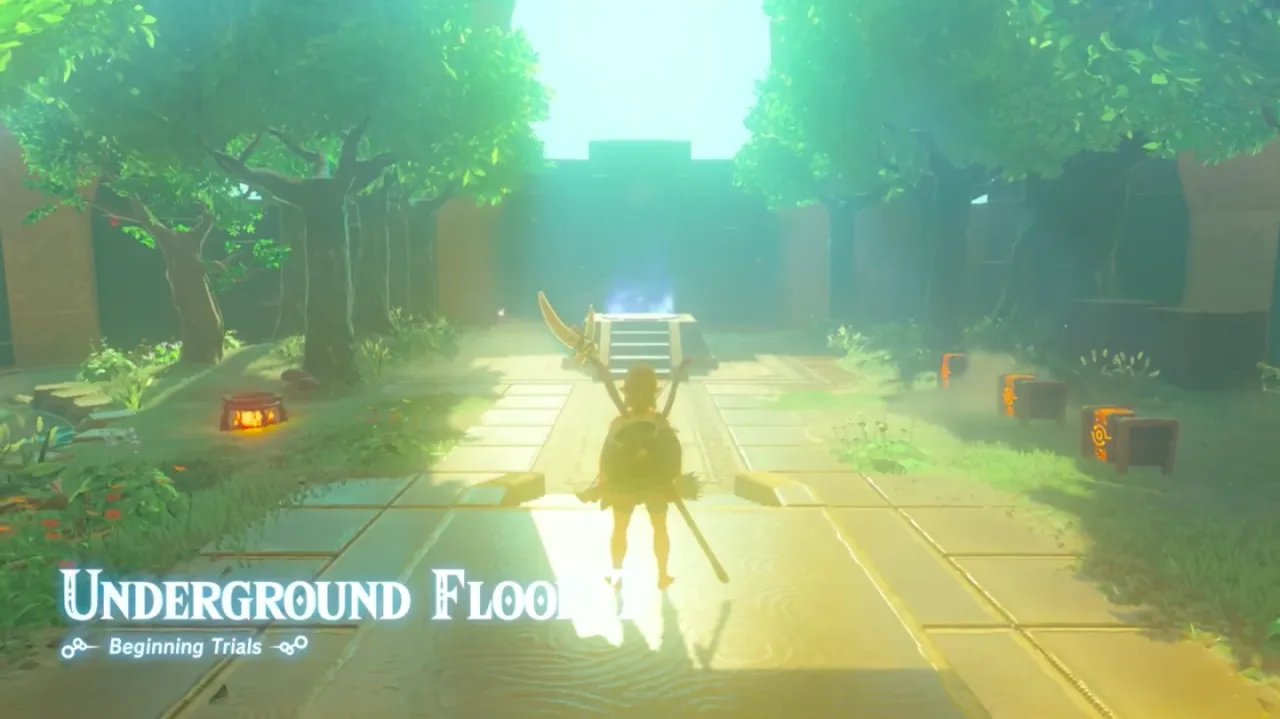
How do you clear the Beginning Trials floor by floor?
The early floors are your equipment supply. Use bombs for weak groups and breakable boxes; keep arrows and your strongest bow for the Lizalfos dock. The only rest room is floor 7.
| Floor | Enemies or room | Route and priority |
|---|---|---|
| 1 | Bokoblins | Use bombs to break up the camp before collecting its weapons. Search the tree for eggs and the camp for food. |
| 2 | Bokoblin archers, Fire Chuchu | Use the tall tree as cover and approach the wooden platforms from above. Remove archers before looting. |
| 3 | Chuchus and Fire Chuchus | Stay clear of the explosions. Burning grass makes updrafts that help reach the elevated chests before the grass burns out. |
| 4 | Bokoblin camp and watchtowers | Scout the towers first. Pick off the lookout and separate the enemies around the raised camp instead of rushing into the group. |
| 5 | Moblins and a skull camp | Deal with the wandering Moblins outside before entering the skull. Detonate the explosive barrels from a safe distance. |
| 6 | Stone Talus | Bomb an arm to bring it down, climb onto its body and hit the ore deposit. Use the hammer or another suitable heavy weapon. |
| 7 | Rest room | Crouch for the fairy before opening chests. Catch the fish and cook the supplies; prepare your best bow for floor 10. |
| 8 | Lizalfos and an Electric Chuchu | Keep away from the electric burst and isolate the Lizalfos along the rocks. Check the chests and roasted fish after combat. |
| 9 | Water Octoroks and Electric Wizzrobe | Remove the Octoroks before chasing the Wizzrobe. Shoot the Wizzrobe to interrupt it and keep its Lightning Rod. |
| 10 | Lizalfos on a narrow dock | Stop the front lookout with Stasis+ and focused arrows, then approach each remaining Lizalfos separately. Avoid knocking a surviving one into the water. |
| 11 | Bokoblin platforms and a Moblin | Use Cryonis for stable stepping stones between platforms. Clear the archers before committing to the central camp. |
| 12 | Blue Hinox | Shoot its eye, attack during the stun and retreat before it gets up. Spend your remaining useful food and weapons here. |
How do you avoid getting surrounded on floor 10?
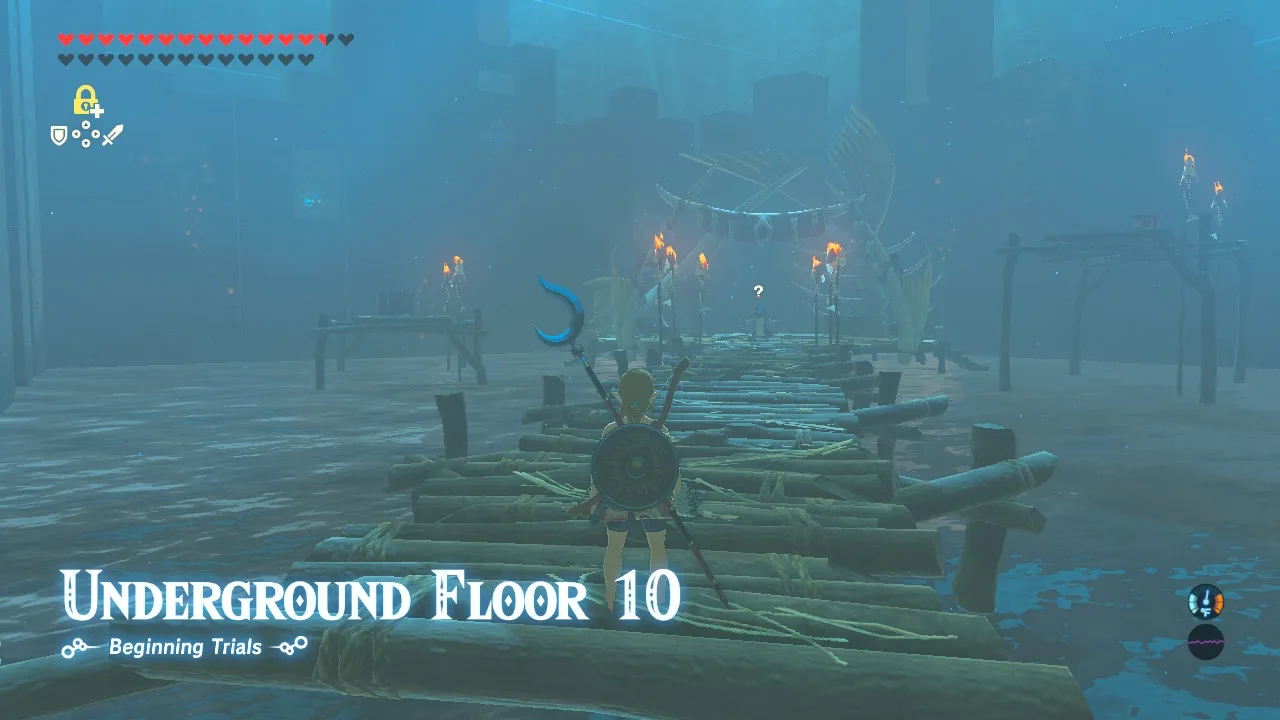
- Have your bow ready when you enter. Use Stasis+ on the front lookout, then concentrate your arrows on it before it calls the others.
- Once the lookout is gone, crouch and approach one of the remaining enemies from behind. Use your strongest suitable weapon for the sneakstrike.
- Keep the fight on the platform. An enemy knocked into the water may survive and return to attack while you are watching another direction.
- If the stealth approach breaks down, use the Lightning Rod from floor 9 to stun the group, then retreat and isolate a target. Do not trade blows with several spears at once.
After floor 12, enter the sword room and take the permanent upgrade to 40 attack. Trial equipment does not come back with you.
How do you clear the Middle Trials floor by floor?
Floors 1–4 use updrafts, floors 6–10 are dark, and the final section focuses on Guardian Scouts. Preserve a torch or useful fire weapon at the first rest room, and do not spend your best melee weapons on the weakest Scouts.
| Floor | Enemies or room | Route and priority |
|---|---|---|
| 1 | Bokoblins in an updraft chamber | Open the paraglider to stay above the void. Use airborne aim to remove archers and land on their platforms for equipment. |
| 2 | Fire Wizzrobes and Bokoblins | Take the bow users first, then fight the Wizzrobes while keeping a safe platform below you. Recover their fire rods. |
| 3 | Bokoblins and explosive barrels | Keep your distance from the barrels. Use their explosions to clear platforms and gather arrows before leaving. |
| 4 | Decayed Guardian | Break its line of sight with the central cover. Stun the eye with an arrow, or reflect its beam if you can time the shield parry. |
| 5 | Rest room | Collect fairies first, then armor and food. Keep a wooden weapon or torch for the dark rooms ahead. |
| 6 | Fire Keese and Electric Chuchu in darkness | Let the glowing enemies reveal their positions. Do not rush into the Chuchu’s shock radius while pursuing the bats. |
| 7 | Lizalfos in darkness | Lure one enemy toward the lit area. Keep the fight close to visible cover and use the fire-breathing enemies to locate the group. |
| 8 | Meteo Wizzrobe and Bokoblin camp | Shoot the visible camp enemies from cover, then deal with the Wizzrobe. Its Meteor Rod is useful for lighting the next rooms. |
| 9 | Decayed Guardian in darkness | Locate the Guardian by its targeting beam. Approach using cover and keep enough room to evade if you miss a parry. |
| 10 | Black Hinox in darkness | Light the area if needed, then shoot the eye. Attack during the stun and move before the Hinox can sit on you. |
| 11 | Rest room | Cook and equip the armor you found. Keep your strongest weapons for the last two Guardian Scout rooms. |
| 12 | Small Guardian Scouts | Use walls to prevent several Scouts firing together. Collect their weapons and use Cryonis to reach the arrow chest. |
| 13 | Guardian Scouts with melee weapons | Keep one Scout in front of you at a time. Search behind the tall barrier for the chest before leaving. |
| 14 | Mixed Guardian Scouts | Remove the weaker ranged Scouts first so they do not interrupt your duel with the armed ones. |
| 15 | Two Guardian Scout III enemies | Back away until you can fight one without the other reaching you. Use Stasis+ to create an opening if both close in. |
| 16 | Guardian Scout IV | Use the pillars to interrupt its spinning charge. Ride the laser-spin updraft and finish the fight before its charged beam sequence overwhelms you. |
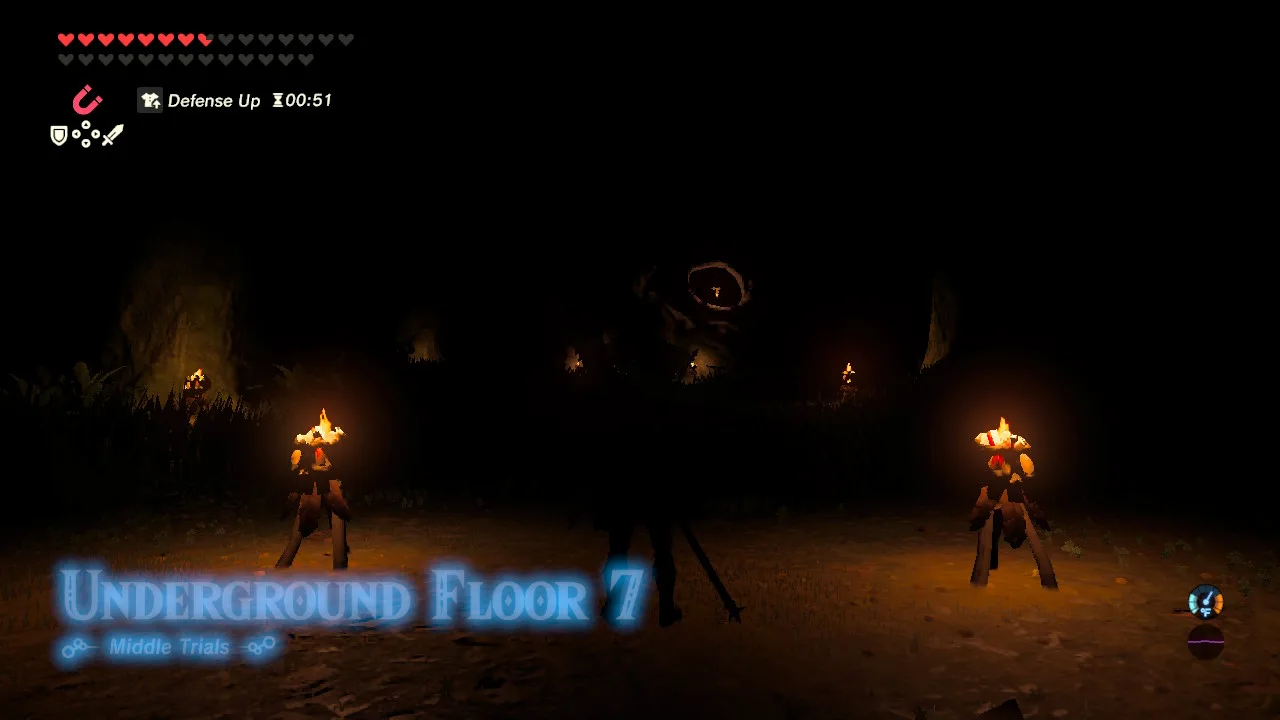
Use the light and targeting cues to keep track of your opponent. On floor 10, the Hinox’s eye is still the stun target; avoid fighting directly under its body once it recovers. Floors 15 and 16 need more weapon durability than the small Scouts before them, so arrive with your stronger equipment intact. The sword room after floor 16 raises its base attack to 50.
How do you clear the Final Trials floor by floor?
The sequence is thunderstorm, volcanic heat, snow, then Guardians. Prepare for the next environment in the rest room, rather than after stepping into it. Ancient Arrows are the most valuable shortcut here: use them deliberately instead of spending them on the early camps.
| Floor | Enemies or room | Route and priority |
|---|---|---|
| 1 | Stalkoblins in a thunderstorm | Remove archers and break exposed skulls. Carry metal weapons if useful, but do not keep them equipped while lightning builds. |
| 2 | Electric Keese and Stalizalfos | Shoot the Keese before entering the skull camp. Detonate barrels safely and finish the skulls before bodies rebuild. |
| 3 | Electric Chuchus and Stalmoblins | Trigger the Chuchus from a distance. Break the larger skeletons and immediately finish their detached skulls. |
| 4 | Mounted Stalkoblins | Use arrows to separate riders from their mounts. Keep moving and check for surviving skulls before searching for loot. |
| 5 | Stalnox | Shoot the eye and attack when it falls. When the eye detaches, finish it directly; collect the elemental weapons before leaving. |
| 6 | Rest room: Ancient Arrows | Open every chest: this room supplies the first three Ancient Arrows. Save them, cook and prepare fire protection for the hot section. |
| 7 | Rock Octorok, Fire Chuchu and Igneo Pebblits | Avoid Bomb Arrows in the volcanic heat. Use safe ranged attacks; the Rock Octorok can clean a rusty weapon before you defeat it. |
| 8 | Fire-Breath Lizalfos | Use ice attacks if available and avoid letting the group surround you. Recover useful metal weapons for the next camp. |
| 9 | Meteo Wizzrobe, Moblin and Lizalfos | Remove the Wizzrobe before it controls the battlefield. Keep fire equipment for the snowy section later. |
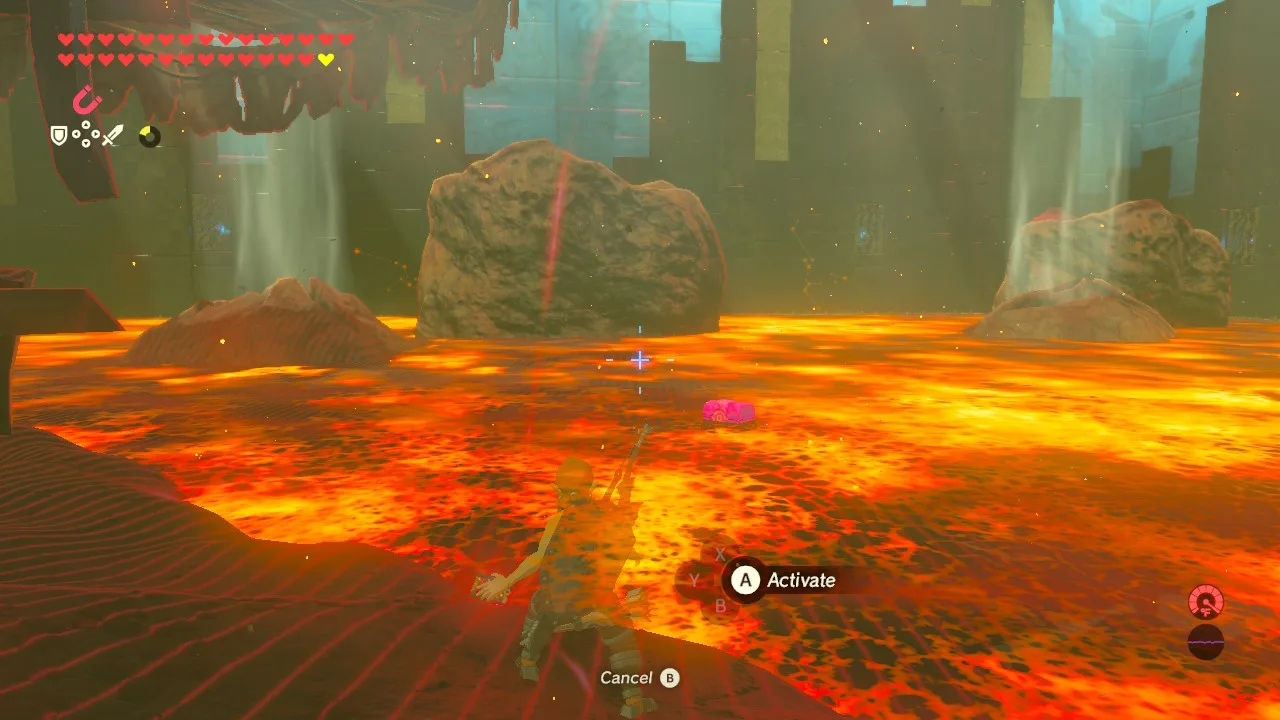
| 10 | Moblins on a metal structure | Fight the Moblins one at a time. Before leaving, use Magnesis to lift the lava chest containing three Ancient Arrows. |
| 11 | Igneo Talus | Cool its body with ice, then attack the ore deposit. Updrafts provide another way to get a clear shot at its weak point. |
| 12 | Rest room before the cold section | Cook cold-resistance meals. Keep a fire weapon ready and check the chests, pond and fairies before continuing. |
| 13 | Ice enemies and Bokoblins | Use fire against the small ice enemies. This floor has the last cooking pot before floor 18; cook anything you still need. |
| 14 | Ice-Breath Lizalfos and a large camp | Split the camp instead of taking every enemy together. Melt the ice covering the chest for three more Ancient Arrows. |
| 15 | Blizzrobe, Moblin and Bokoblins | Use a fire attack to remove the Blizzrobe, then fight the camp from cover rather than in open snow. |
| 16 | Frost Talus | Thaw it with fire before climbing. Strike the ore deposit with a suitable heavy weapon and retreat when it throws you off. |
| 17 | Blue-Maned Lynel | For the low-risk route, use one Ancient Arrow on the Lynel. A hit removes it immediately, but you forfeit its equipment. |
| 18 | Last rest room | Cook each hearty ingredient separately for more full-recovery meals. Collect the royal equipment and count your Ancient Arrows. |
| 19 | Several Decayed Guardians | Use trees and inactive Guardians to block sightlines. Wake and defeat them separately; preserve Ancient Arrows for the mixed final rooms. |
| 20 | Guardian Stalker | Shoot the eye to interrupt it and destroy its legs to keep it off balance. Use a beam parry only if you are comfortable with the timing. |
| 21 | Guardian Skywatcher | Climb the tower for a clear angle. If using an Ancient Arrow, aim at the eye; a body hit is not the same one-shot target. |
| 22 | Stalker, Skywatcher and Turret | Stay out of the three-way crossfire. Use cover to line up Ancient Arrow eye shots, tackling one Guardian at a time. |
| 23 | White-Maned Lynel, mounted Bokoblins and a Turret | Remove the Lynel with an Ancient Arrow before the riders surround you. Use the tower for cover, deal with its Guardian and finish the riders. |
Where are the nine Ancient Arrows, and where should you use them?
| Floor | How to collect the arrows | Amount |
|---|---|---|
| 6 | Open the chest in the rest room | 3 |
| 10 | Use Magnesis to lift the chest from the lava | 3 |
| 14 | Melt the ice around the chest | 3 |
A cautious plan reserves one arrow for each Lynel on floors 17 and 23. Keep more for the Skywatcher on floor 21 and the mixed Guardians on floor 22. Against Guardians, an eye hit is the one-shot target; a body hit can waste your limited supply. Ordinary enemies removed by Ancient Arrows leave no equipment, so avoid using them when you still need that enemy’s weapon.
If you miss a chest, count your remaining arrows before leaving floor 18 and adjust the plan. A lone Stalker on floor 20 can be fought conventionally; Guardian attack patterns explain the eye stun, legs and beam parry.
What should you do in every rest room?
- Crouch as soon as you arrive so you can approach the fairies without frightening them.
- Open the chests, collect the ingredients and catch the fish. Equip any armor you have received.
- Cook for the next section. A hearty ingredient cooked alone gives another full-recovery meal; combining several can leave you with fewer separate heals.
- Check arrows and weapon durability. Keep the strongest equipment for the next boss, but spend it when doing so prevents a failed run.
You cannot carry trial supplies back to Hyrule. Completing the Final Trials makes the sword’s usable state permanently 60 attack; it still runs out of energy and needs 10 minutes to recharge. For the separate story expansion and its rewards, continue to The Champions’ Ballad or the DLC overview.
The Perfect Guards, Sneakstrikes and Flurry Rushes these floors lean on are explained on combat tips.
Video walkthrough

FAQ
Does this route also apply to Master Mode?
Where are the Ancient Arrows?
Can I save during the trials?
Related Articles
guides
BotW EX Quests: All 4 EX Rumors and 8 EX Treasure Chest Locations
All 12 EX side quests in Breath of the Wild's Expansion Pass: where each EX Rumors and EX Treasure quest starts, where its chests are, and what you get, with a map.
armor
BotW DLC and amiibo Single Armor: Majora's Mask, Midna's Helmet
The eight Breath of the Wild DLC and amiibo armor pieces outside any set, from Majora's Mask and Midna's Helmet to Sheik's Mask, and where to find each.
armor
BotW Phantom Ganon Armor Set: EX Treasure Dark Armor Locations
Where to find the Phantom Ganon Skull, Armor and Greaves in Faron for EX Treasure: Dark Armor in Breath of the Wild, plus Stealth Up and the Stal disguise.
Was this helpful?
Thanks for the feedback!