

Keive Tala Shrine Guide: Big or Small (BotW)
Defeat the Molduking to reveal Keive Tala Shrine, connect its metal-and-water circuit, and solve the laser puzzle for a Radiant Shield in Breath of the Wild.
How do you reveal Keive Tala Shrine?
In The Legend of Zelda: Breath of the Wild, this shrine belongs to EX Champion Urbosa’s Song. Complete the four opening DLC shrines, then visit this Champion’s monument to start its trials. The Champions’ Ballad overview covers those prerequisites and the branch order.
Go to East Barrens and defeat the Molduking tied to this trial. From safe ground, throw a Remote Bomb onto the sand to attract it; detonate after it swallows the bomb, then attack while it is stunned. Retreat before it recovers and repeat. The shrine appears after the fight. Defeating a different desert monster will not substitute for this target.
| Detail | Answer |
|---|---|
| Trial | Big or Small |
| Main mechanic | Bridge electrical gaps with metal objects and ice |
| Treasure | 1 chest: Radiant Shield |
| Completion reward | Naboris’s Emblem |
This is an additional DLC shrine and does not count towards the 120 base-game shrines.
How do you solve Big or Small?
1. Power the first section through the water
Use Magnesis to take a small metal cube from an alcove on the right. Lower it into the water between the live generator and the next metal ball to bridge that gap. Watch the conductor light up before moving on. Do the work from the dry walkway rather than stepping into the powered water.
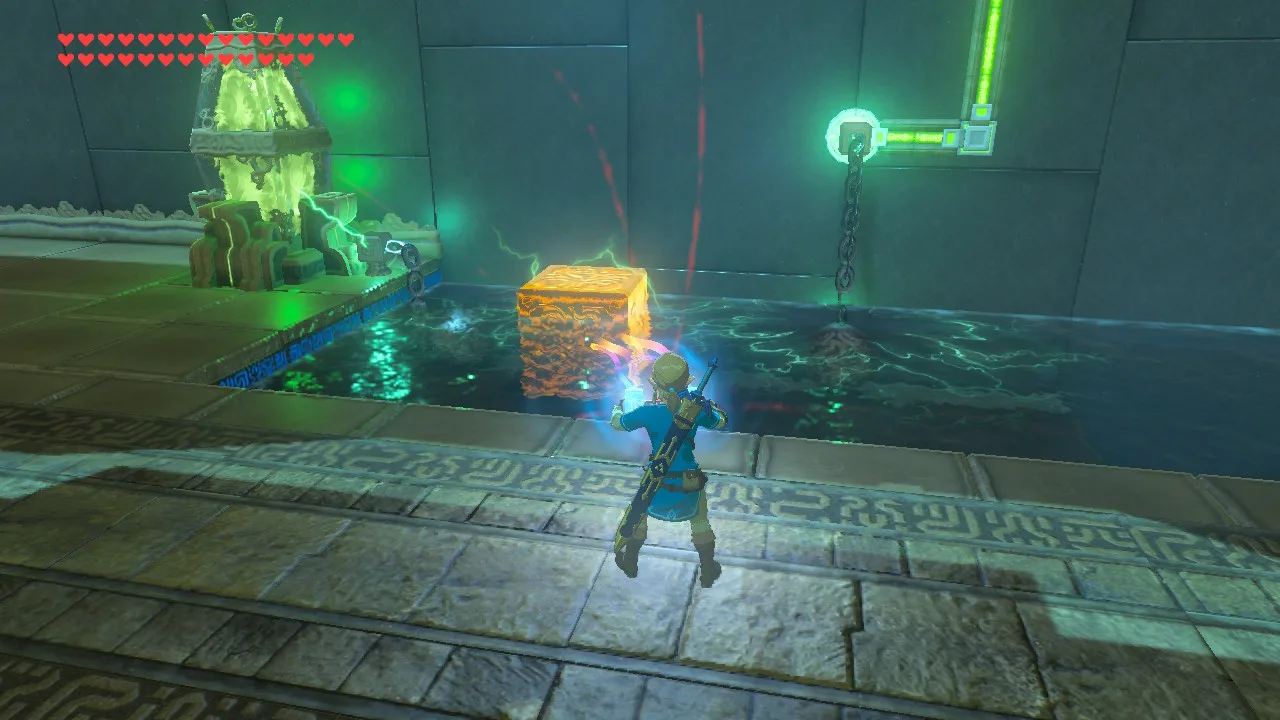
2. Raise the platform, then reuse its cube
Use the other small cube to join the live section to the nearby platform’s power switch. Wait until the platform rises. Then remove that cube from the lower connection and place it on the elevated platform so it bridges the higher gap. You are using the same cube first to raise the support, then to carry the current onward.
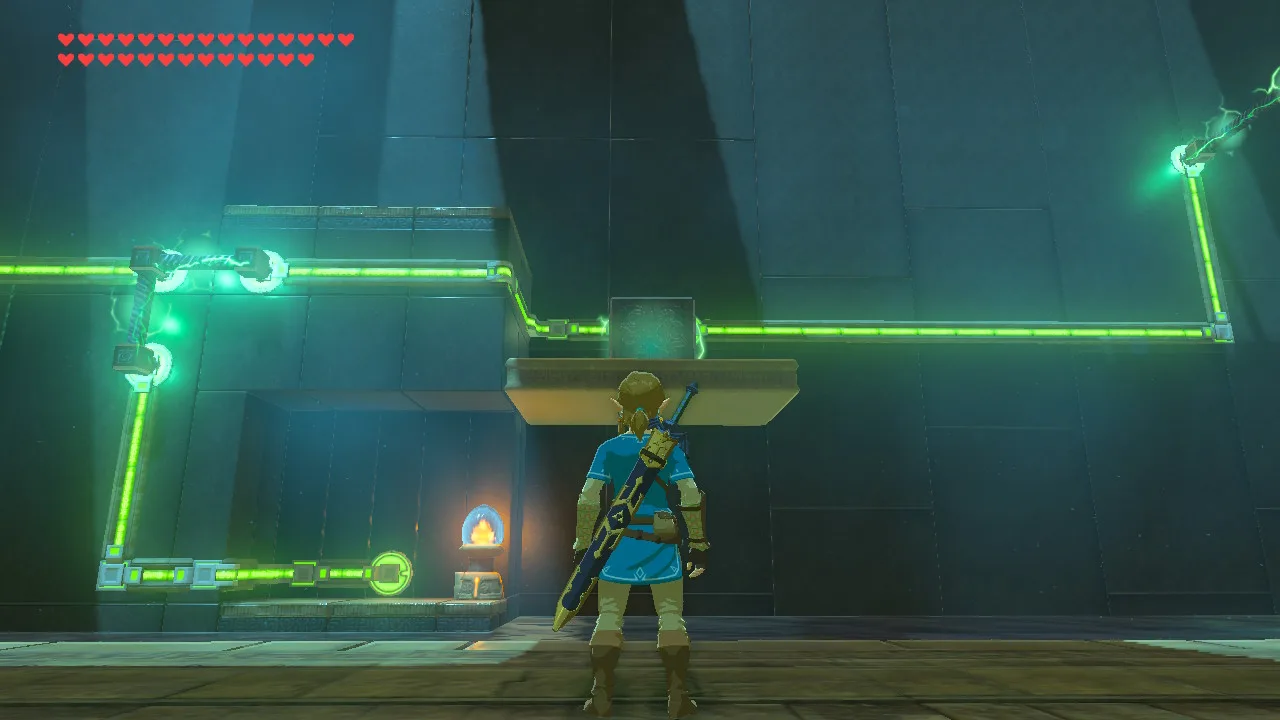
3. Hang the metal ball on the support
Grab the large suspended ball with Magnesis. Lift it across the nearby support so its chain catches on the pole and the ball rests between the next conductors. Release it only after the circuit lights up and the ball stays in place. This makes the connection hold while you solve the final gap.
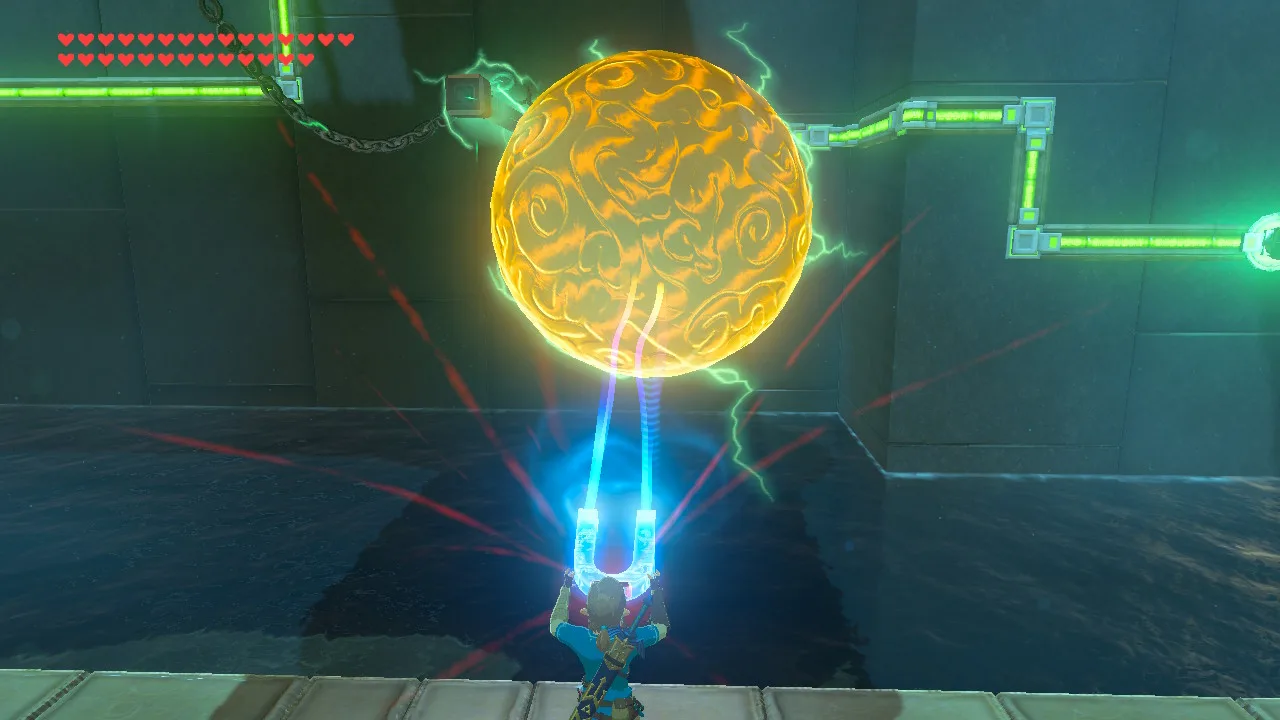
4. Lift the large cube with ice
At the last wall gap, create a Cryonis pillar in the water below. Take the large cube from the right-hand alcove and set it on that ice pillar. Adjust its position until it touches the circuit on both sides. The completed line opens the gate to the monk, but collect the side chest before finishing.
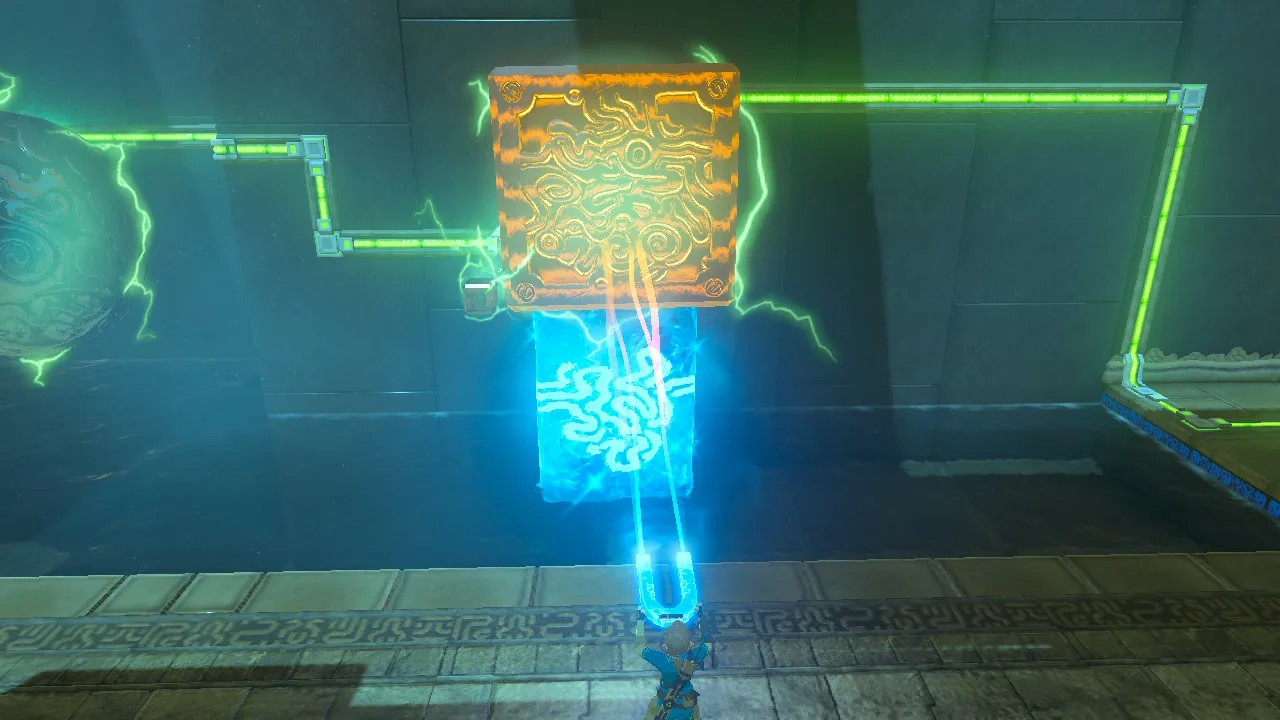
5. Stop the laser-controlled platforms in line
Use the motion-control apparatus beside the side gate to aim the laser at the switches. Each switch changes whether its platform moves: orange means moving, blue means stopped. Start a platform, then hit its switch again when its conductor lines up with the next section. Work along the row until the current reaches the far end and opens the chest gate.
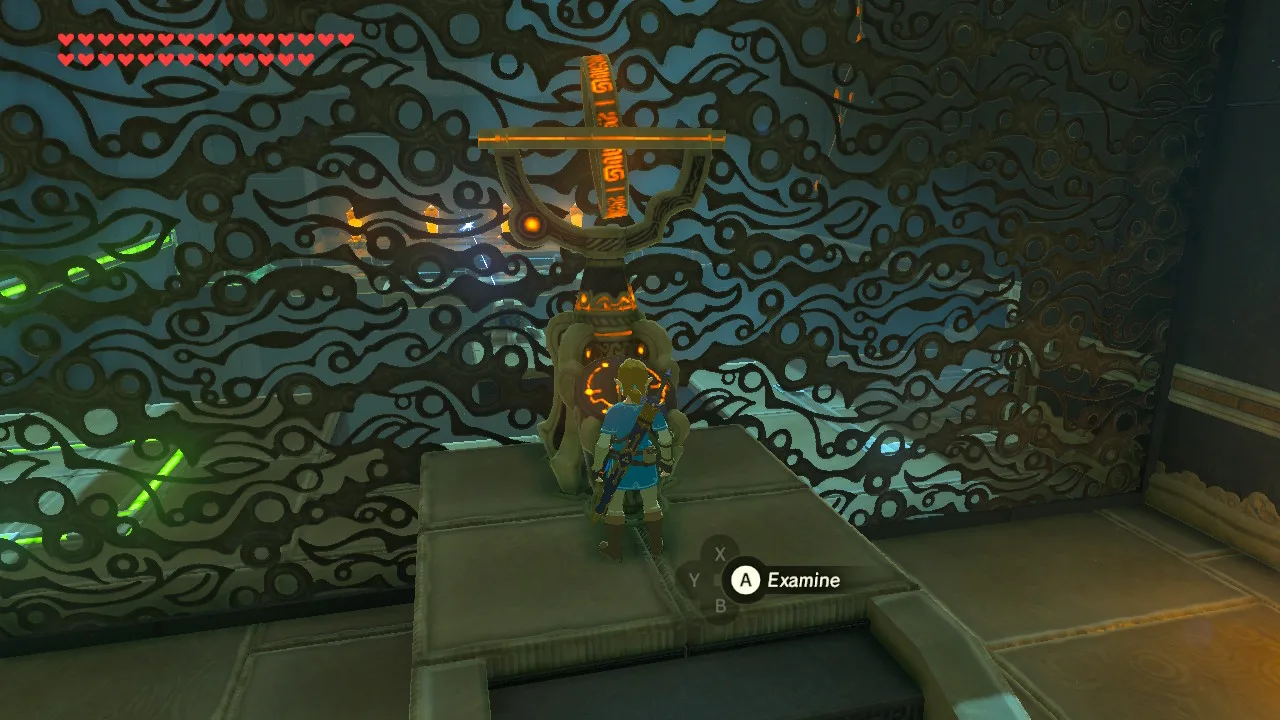
Where is the treasure chest?
The only chest contains a Radiant Shield. It is behind the side gate near the motion-control apparatus. Complete the main circuit first, then use the laser to start and stop the moving platforms until their conductors join into an unbroken line. The monk’s open gate does not mean this chest gate is already powered.
What can go wrong?
- The first section stays dark: the metal cube must actually bridge the powered water and the next conductor; follow the lit circuit to find the gap.
- The hanging ball swings away: hook its chain over the support instead of holding it in the air indefinitely.
- The last cube is too low: put it on a Cryonis pillar at the wall gap.
- The chest platforms keep overshooting: stop one at a time with the laser, then align the next. Stand on dry flooring while working around live water.
What do you receive, and where do you go next?
Speak to the monk for Naboris’s Emblem. The other shrines in this branch are Kihiro Moh Shrine and Takama Shiri Shrine. Collect all three emblems from this branch, then return to Divine Beast Vah Naboris for the memory rematch. This shrine awards an emblem rather than a Spirit Orb; the main walkthrough explains the next fight.
Related Articles
shrines
Kamia Omuna Shrine Guide: Moving Targets (BotW)
Defeat the Igneo Talus Titan at Lake Darman, time Kamia Omuna’s cannon shots, rotate the target cage, and recover its Diamond chest in Breath of the Wild.
shrines
Kee Dafunia Shrine Guide: The Melting Point (BotW)
Pass the sunrise ring, melt ice into stairs, reveal the Frostblade chest, and lift the final ice cube in Kee Dafunia Shrine in Breath of the Wild.
shrines
Kiah Toza Shrine Guide: Master the Orb (BotW)
Finish the snow-ring course, guide the orb across metal platforms and ice, time the launcher, and find Kiah Toza’s Falcon Bow in Breath of the Wild.
Was this helpful?
Thanks for the feedback!