

Kihiro Moh Shrine Guide: Inside the Box (BotW)
Recover the stolen orb, solve Kihiro Moh’s colour-count puzzle, and open the hidden Thunderspear chest using the three-light socket in Breath of the Wild.
How do you reveal Kihiro Moh Shrine?
In The Legend of Zelda: Breath of the Wild, this shrine belongs to EX Champion Urbosa’s Song. Complete the four opening DLC shrines, then visit this Champion’s monument to start its trials. The Champions’ Ballad overview covers those prerequisites and the branch order.
Return to the Yiga Clan Hideout and infiltrate the upper storage area to recover the orb. Carry it outside to the large pit where Master Kohga fell and throw it into that pit. The shrine rises nearby. Plan your exit while the orb is still on the floor: you need to carry it out, so avoid drawing guards into the route.
| Detail | Answer |
|---|---|
| Trial | Inside the Box |
| Main mechanic | Count colours, then select numbered sockets |
| Treasure | 1 chest: Thunderspear |
| Completion reward | Naboris’s Emblem |
This is an additional DLC shrine and does not count towards the 120 base-game shrines.
How do you solve Inside the Box?
1. Turn the box and count each colour
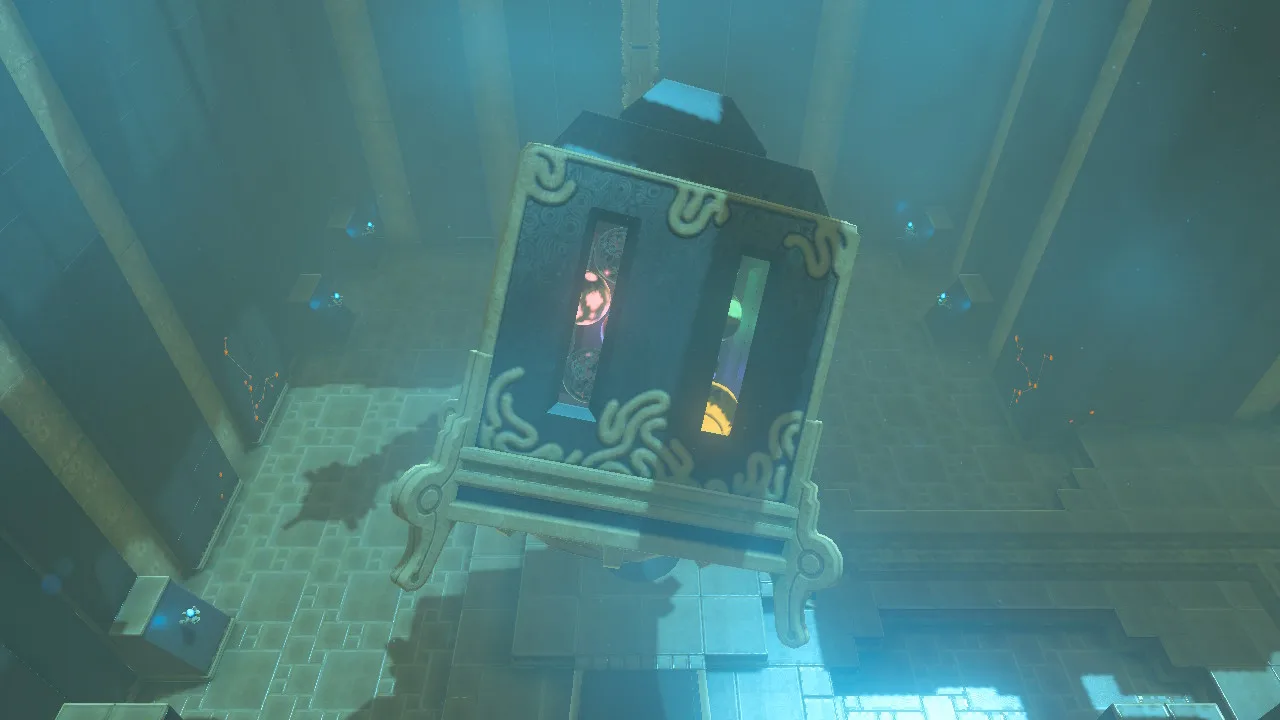
Inspect the motion-control apparatus at the top of the stairs. Rotate the suspended box so you can see the balls from several angles, letting them settle before counting again. The colour counts are red 1, green 2, yellow 2, purple 4. Before leaving the apparatus, turn the face with the eye symbol upwards; that exposes the metal hatch below for the optional chest later.
2. Enter the counts using socket positions
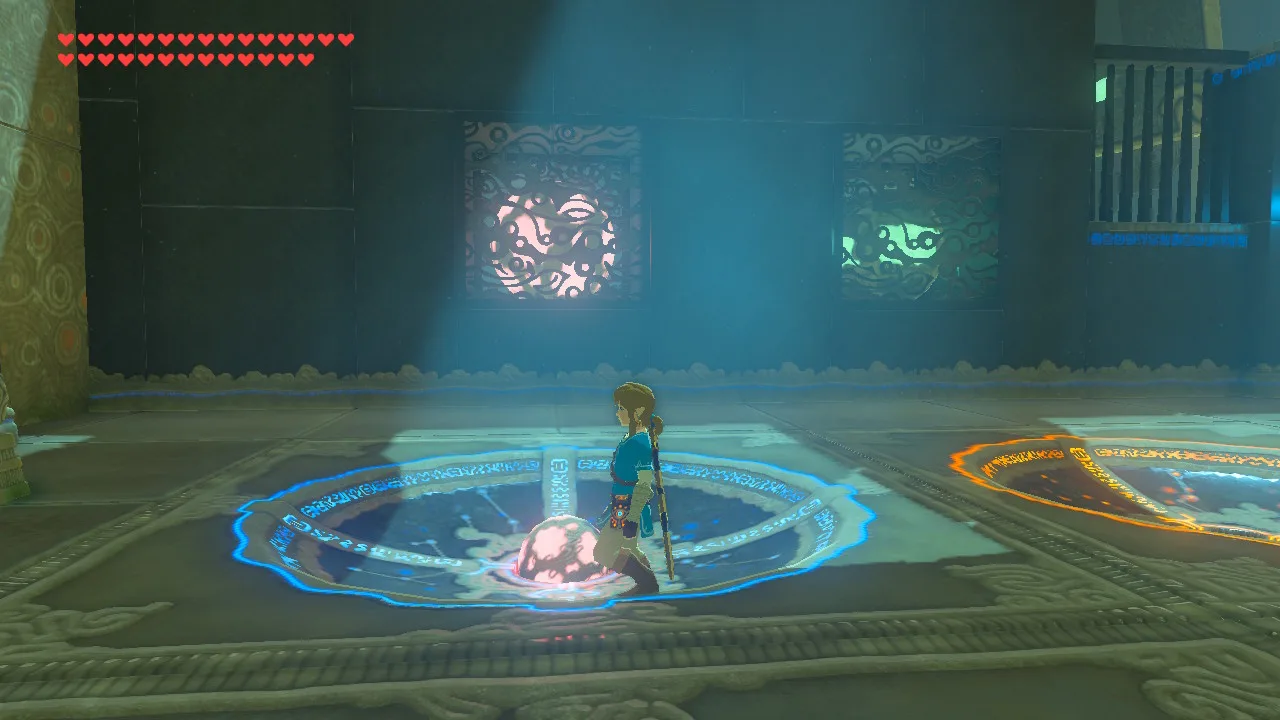
Look at the coloured markers on the wall to identify each row. The socket nearest the wall represents one; the positions farther away represent larger numbers. Put a puzzle orb in position one for red, two for green, two for yellow and four for purple. These are positions, not a request to collect that many answer orbs. The main gate opens when all rows are correct.
3. Open the metal hatch under the box
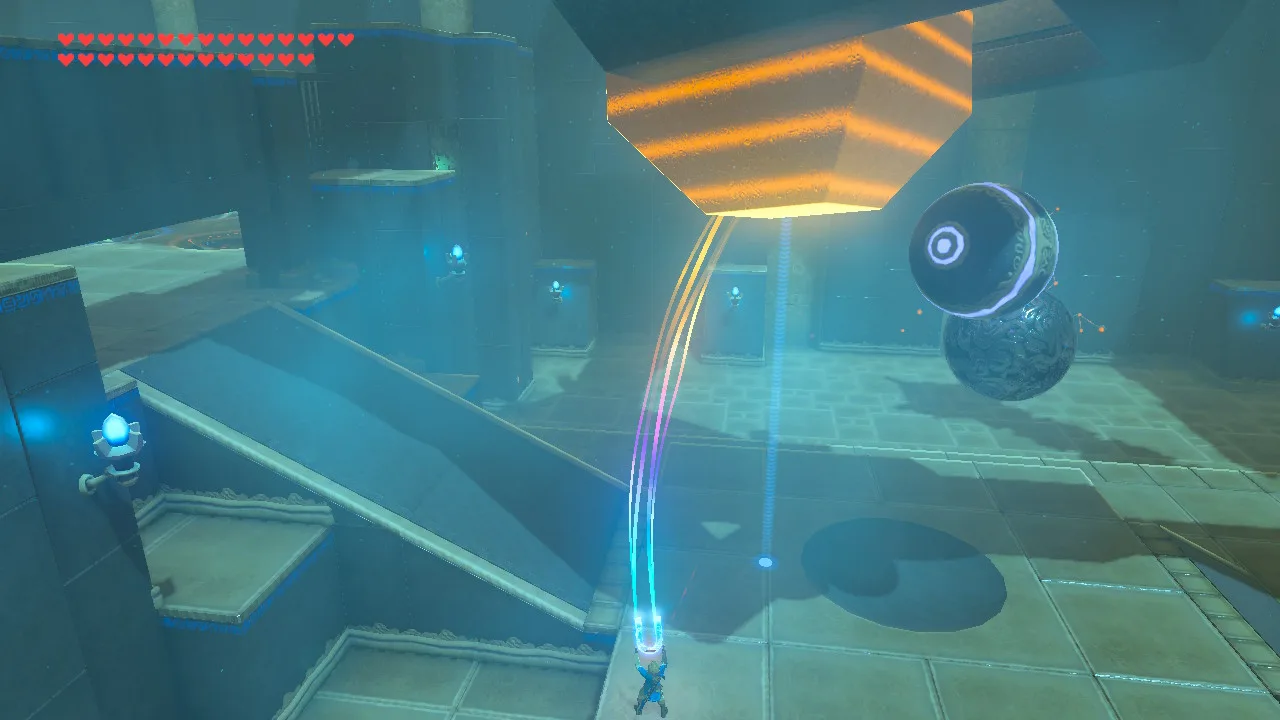
Go through the opened gate and stand beneath the box. Use Magnesis on its metal hatch and slide it away, allowing the balls to drop out. Look for a ball that Magnesis can grab for the side puzzle. Keep the eye-marked face on top so the hatch remains accessible from below.
4. Use the three-light socket for the chest
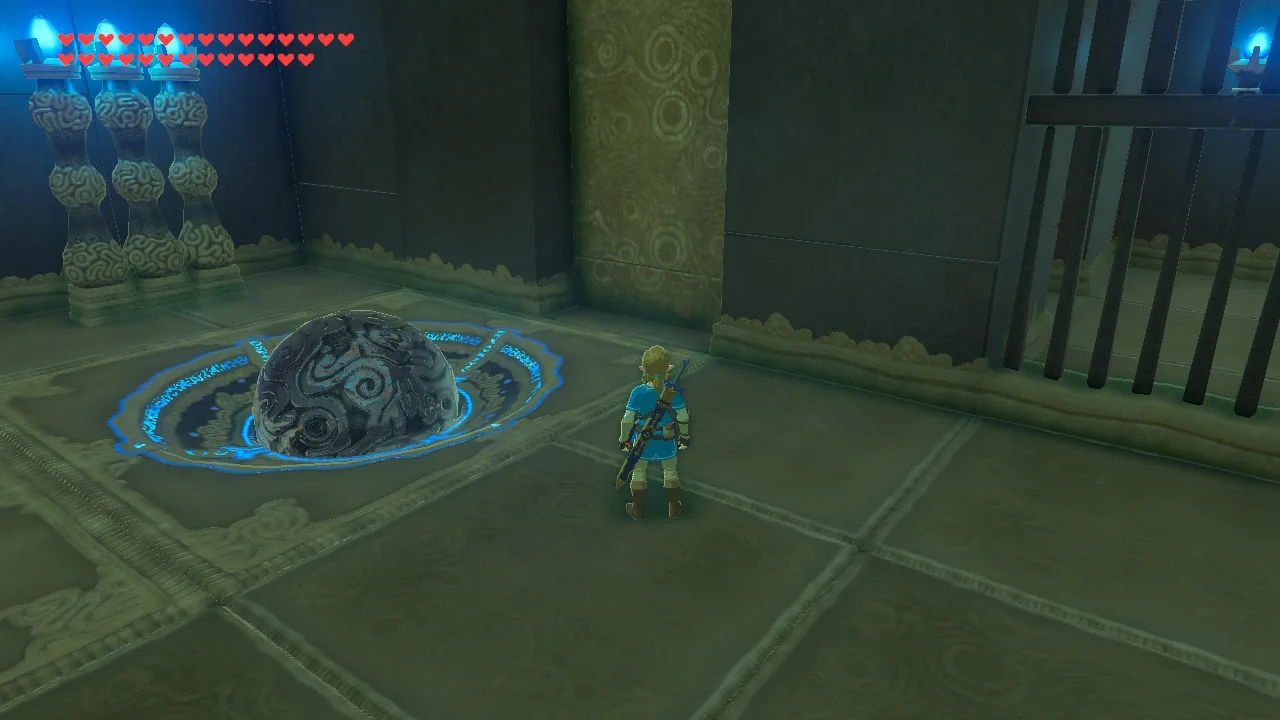
At the side puzzle, use Magnesis to place one metal ball into the socket marked by three lights. This follows the same number-by-position rule as the coloured rows. Once the chamber opens, collect the spear and return to the main path leading to the monk. Leave the other sockets empty.
Where is the treasure chest?
The single chest contains a Thunderspear in the side chamber beyond the main puzzle. Open the suspended box’s metal hatch, then use one metal ball in the socket marked by three lights. The answer is the third position, not three occupied sockets.
What can go wrong?
- The main door stays shut: check the coloured wall marker for each row and count positions from that wall. Green and yellow both use position two.
- You are trying to fill several sockets in a row: each row takes one answer orb; its position represents the number.
- The metal hatch is out of reach: use the apparatus to turn the eye-marked face upwards, exposing the hatch beneath the box.
- The side chamber stays closed: remove extra balls and leave one in the three-light socket.
What do you receive, and where do you go next?
Speak to the monk for Naboris’s Emblem. The other shrines in this branch are Keive Tala Shrine and Takama Shiri Shrine. Collect all three emblems from this branch, then return to Divine Beast Vah Naboris for the memory rematch. This shrine awards an emblem rather than a Spirit Orb; the main walkthrough explains the next fight.
Related Articles
shrines
Kamia Omuna Shrine Guide: Moving Targets (BotW)
Defeat the Igneo Talus Titan at Lake Darman, time Kamia Omuna’s cannon shots, rotate the target cage, and recover its Diamond chest in Breath of the Wild.
shrines
Kee Dafunia Shrine Guide: The Melting Point (BotW)
Pass the sunrise ring, melt ice into stairs, reveal the Frostblade chest, and lift the final ice cube in Kee Dafunia Shrine in Breath of the Wild.
shrines
Keive Tala Shrine Guide: Big or Small (BotW)
Defeat the Molduking to reveal Keive Tala Shrine, connect its metal-and-water circuit, and solve the laser puzzle for a Radiant Shield in Breath of the Wild.
Was this helpful?
Thanks for the feedback!