

BotW Champions’ Ballad Guide: All Trials and Final Dungeon
Complete The Champions’ Ballad with all 16 shrine unlock conditions, four memory rematches, the final dungeon terminals and Master Cycle Zero.
How do you start The Champions’ Ballad?
You need the Expansion Pass and all four Divine Beasts freed. Warp after finishing the last beast to hear Zelda’s message, then return to the Shrine of Resurrection and examine the Sheikah Slate pedestal. The DLC guide explains which content the pass unlocks; the Divine Beast order covers the prerequisite story.
The route is four Great Plateau shrines → three trials for each of four Champions → four memory rematches → the final dungeon and Maz Koshia. You can tackle the four Champion branches in any order. This guide covers all 16 shrine unlocks and the final dungeon’s main route. All 16 shrines now have individual guides linked below, covering full puzzle solutions, treasure chests and common mistakes.
How do you survive the One-Hit Obliterator trial?
Take the One-Hit Obliterator from the pedestal. Your health drops to a quarter-heart and Champion abilities are disabled. The weapon can defeat enemies in one hit while charged, but it needs time to recharge after two strikes. Back away when its glow fades. Bows remain usable, so remove lookouts and scattered enemies from a distance before entering a camp.
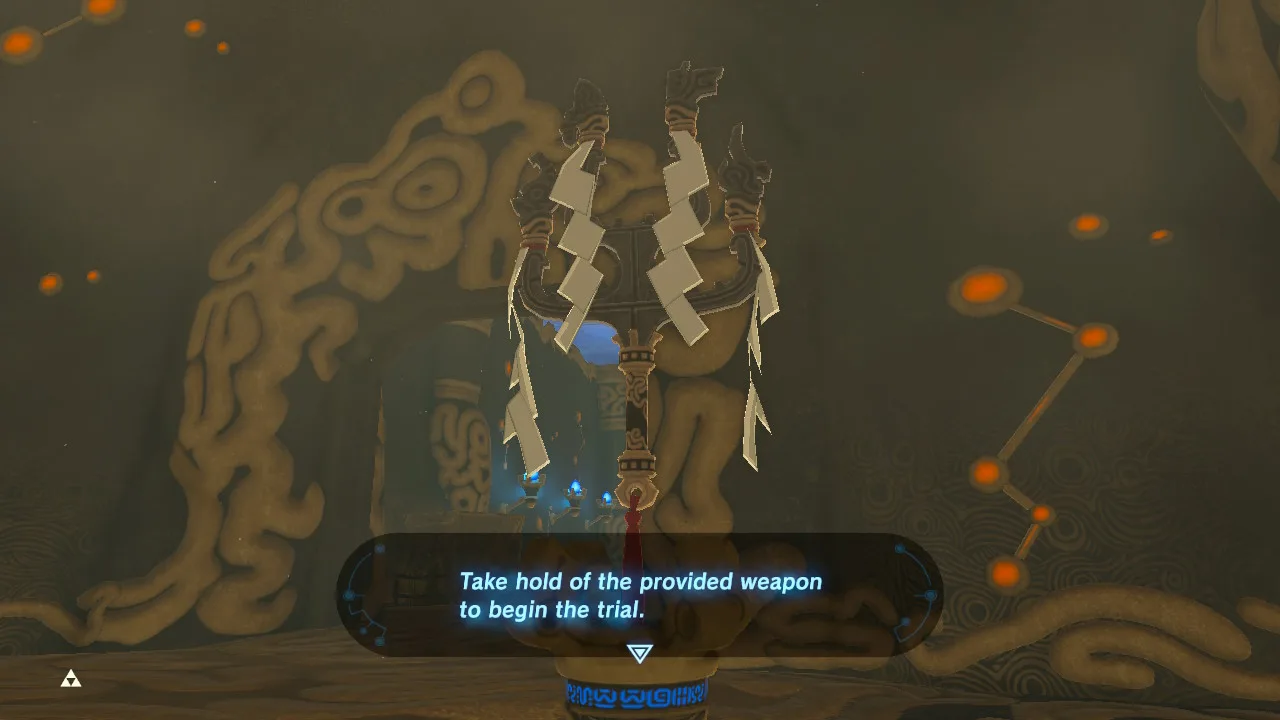
Keep cold protection equipped around Mount Hylia, avoid fire and explosive barrels, and watch for small enemies as carefully as large ones. Healing food cannot restore normal health during this stage. To leave the trial, leave the Great Plateau; the weapon returns to the shrine.
| Camp to clear | Detailed shrine guide | Main route |
|---|---|---|
| Forest of Spirits | Yowaka Ita Shrine | Catch the glowing orbs with a metal bowl: the large orb opens the bow chest, and the small orb opens the monk’s gate |
| North of Eastern Abbey | Rohta Chigah Shrine | Use Magnesis to cross the spike floor, then time the gears, hanging balls and final spike corridor |
| North of Mount Hylia’s peak | Etsu Korima Shrine | Follow the lights past lasers, rotating spikes and flame jets; burn down the raised chest before the final scouts |
| South of the Temple of Time | Ruvo Korbah Shrine | Defeat the first Guardian, use the rear switch to enter the basement, collect the key and clear the final room |
Each linked guide covers the camp approach, the shrine’s full route, treasure chests and hazards. These four DLC shrines are separate from the 120 base-game shrines.
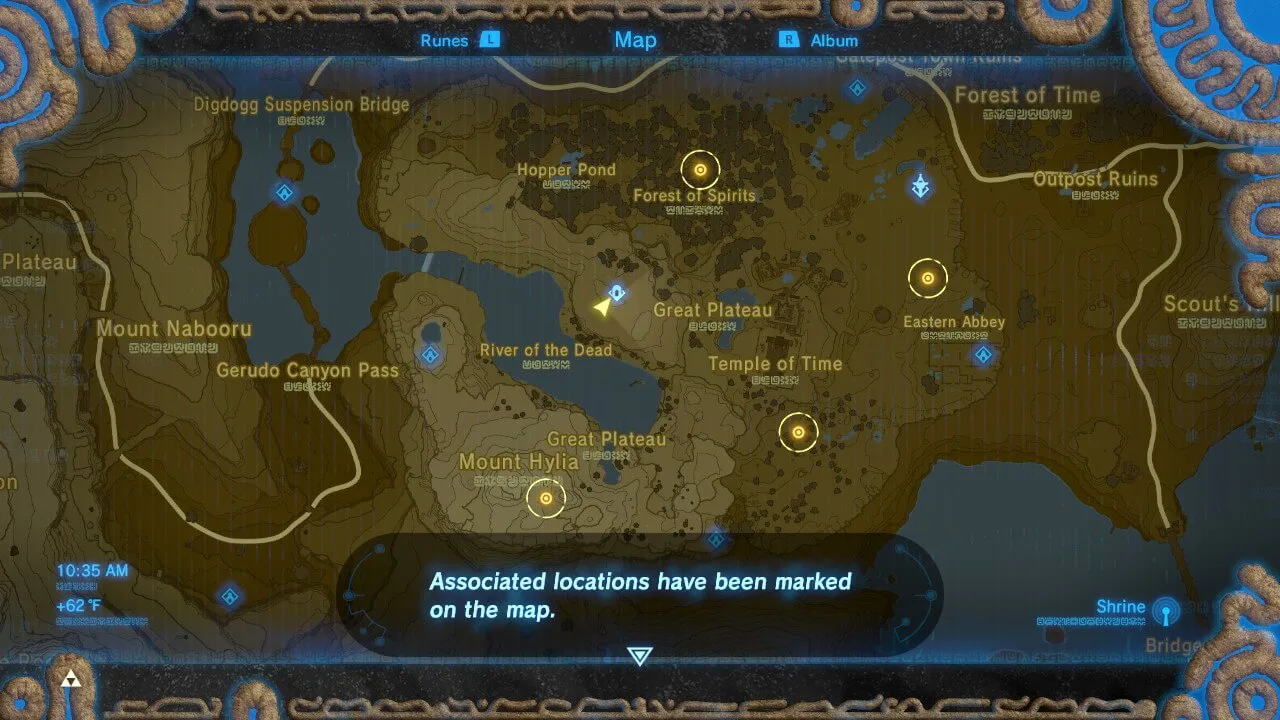
If a shrine does not appear, circle the marked area and look for a remaining enemy. Clearing a camp is only half the objective: complete its shrine too. After all four, the weapon breaks into lights, normal health returns and four monuments appear on the map.
What are the twelve Champion trials?
Visit a monument and listen to Kass before following its three map clues. Complete each revealed shrine for that Champion’s emblem. Three emblems unlock the memory rematch at the associated Divine Beast; three unrelated emblems do not count together.
Revali: dragon horn, snow rings and four targets
The monument is on Cuho Mountain, south of Rito Village.
| Trial | Route and trigger | Shrine unlocked |
|---|---|---|
| Dragon’s horn | Wait at night on the Tanagar Canyon ledge southwest of Hebra Tower for Dinraal. Use the updraft and shoot the glowing horn, rather than the body | Shira Gomar Shrine |
| Snow rings | Start at the ring near Hebra Peak and shield-surf through the marked downhill course in sequence | Kiah Toza Shrine |
| Four targets | At the Flight Range, use the updraft and hit four targets during one airborne bow slow-motion session | Noe Rajee Shrine |
Return to Vah Medoh for Windblight Ganon. The supplied bow and arrows are the core of this rematch: use the updrafts, interrupt the boss with headshots and keep enough stamina to land safely. Completing the branch upgrades Revali’s Gale.
Urbosa: Molduking, sand-seal rings and the stolen orb
The monument is on East Gerudo Mesa.
| Trial | Route and trigger | Shrine unlocked |
|---|---|---|
| Desert brute | Defeat the Molduking in the East Barrens. Lure it with a remote bomb, detonate when it swallows the bomb and attack during the opening | Keive Tala Shrine |
| Sand rings | Ride a sand seal through the desert ring course; start at the first ring and keep passing the next before time expires | Takama Shiri Shrine |
| Stolen orb | Infiltrate the Yiga Clan Hideout, retrieve the orb from the upper storage area and carry it to the large pit outside where Master Kohga fell. Throw it into the pit | Kihiro Moh Shrine |
Return to Vah Naboris for Thunderblight Ganon. Keep the supplied shield ready against the rush, attack when the boss is exposed, then use Magnesis on a falling metal pillar during the lightning stage. The reward upgrades Urbosa’s Fury.
Daruk: lava titan, mountain rings and standing in lava
The monument is on a cliff due west of Goron City, across the Golow River.
| Trial | Route and trigger | Shrine unlocked |
|---|---|---|
| Lava titan | Defeat the Igneo Talus Titan at Lake Darman. Cool its body with ice and use the resulting safe opening to reach and attack its ore deposit | Kamia Omuna Shrine |
| Mountain rings | Follow the ring course down Death Mountain, gliding between the marked points | Sharo Lun Shrine |
| Lava test | At Darb Pond, move a metal box into the glowing ring with Magnesis and stand on the box. Fireproof protection does not let Link stand directly in lava | Rinu Honika Shrine |
Return to Vah Rudania for Fireblight Ganon. In its shielded fireball phase, let it suck in a remote bomb and detonate to break the shield, then close in with the supplied weapon. The reward upgrades Daruk’s Protection.
Mipha: sunrise ring, Guardians and waterfall rings
The monument is on Ja’Abu Ridge, southeast of Zora’s Domain.
| Trial | Route and trigger | Shrine unlocked |
|---|---|---|
| Path of light | Go to the coast east of Ulria Grotto before dawn. Watch the sea toward the sunrise and swim through the glowing ring when it appears | Kee Dafunia Shrine |
| Ancient foes | Defeat the Guardians at Upland Zorana; check the whole marked area before leaving | Sato Koda Shrine |
| Waterfall rings | Equip the Zora Armor and follow the blue rings up the waterfalls at Mikau Lake and Lulu Lake | Mah Eliya Shrine |
Return to Vah Ruta for Waterblight Ganon. The rematch supplies only a small arrow stock. Use Cryonis to break incoming ice blocks; during the later volleys, Stasis can stop a block so you can hit it back. Save arrows for exposing the boss when you can follow up with spear attacks. The reward upgrades Mipha’s Grace.
The memory fights replace your carried equipment with a fixed loadout. Champion abilities are available here, unlike the Plateau’s quarter-heart stage. Completing one branch before another therefore gives you its faster-recharging ability for the remaining fights.
How do you activate the four final-dungeon terminals?
After all four memory rematches, return to the Shrine of Resurrection and use the pedestal again. Take the dungeon map first: its control reverses the machinery’s rotation. The directions below use the entrance looking toward the locked central door. Complete all four side-room terminals, then open that door. Prepare healing food, arrows and usable weapons before the final boss.
Lower left: rotating cylinder
- Use Magnesis to slide the metal coupling outside the room into its wall socket. Reverse rotation from the map if needed; the cylinder must actually start turning.
- Inside, ride the metal piece on the central rotating structure up to the raised ledge and stairs.
- Pull the loose metal piece down from the upper side mechanism and set it in the slot in the centre of the room.
- Last, use Magnesis to extend the metal arm on the rotating structure so it catches the piece you just placed and drives the next section. Follow the newly moving section into the terminal chamber and activate it.
Lower right: lava and the rolling orb
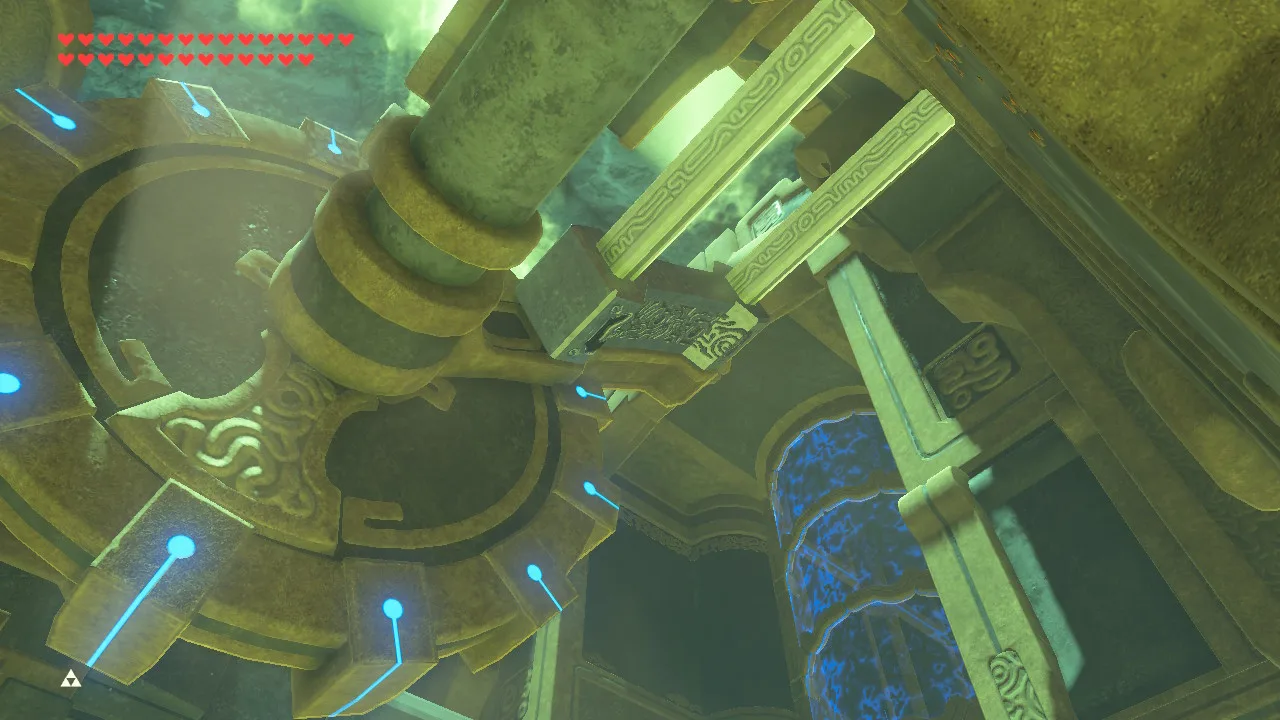
- Set the outer lava wheel to carry you upward, then enter the room. Reverse the spiked walkway so its safe surface lets you cross.
- At the orb dispenser, wait until a chute is underneath, then step on the switch to release the orb. Stasis on the rotating mechanism gives you more time to line it up.
- Reverse rotation as the orb travels through the chutes so it falls onto the receiving platform instead of into lava.
- Place the recovered orb in the sloping channel leading to its socket. Once the gate opens, activate the terminal.
Upper right: fan and moving platform
- Ride the central machinery upstairs. Use Magnesis to connect both sliding metal couplings by the wall of gears; enter through the opening once the gears move.
- Stop the large fan with Stasis to pass its blades. Clear the Guardian behind it, return across and climb the ladder.
- Reverse rotation until the fan blows away from itself. Glide with that wind to the opposite platform with stairs.
- Reverse again so the wind blows toward the fan. Stop the moving platform near the centre with Stasis and glide onto it.
- Ride toward the terminal side. When Stasis is ready again, stop the fan and glide through to activate the terminal.
Upper left: water, pin and metal ball
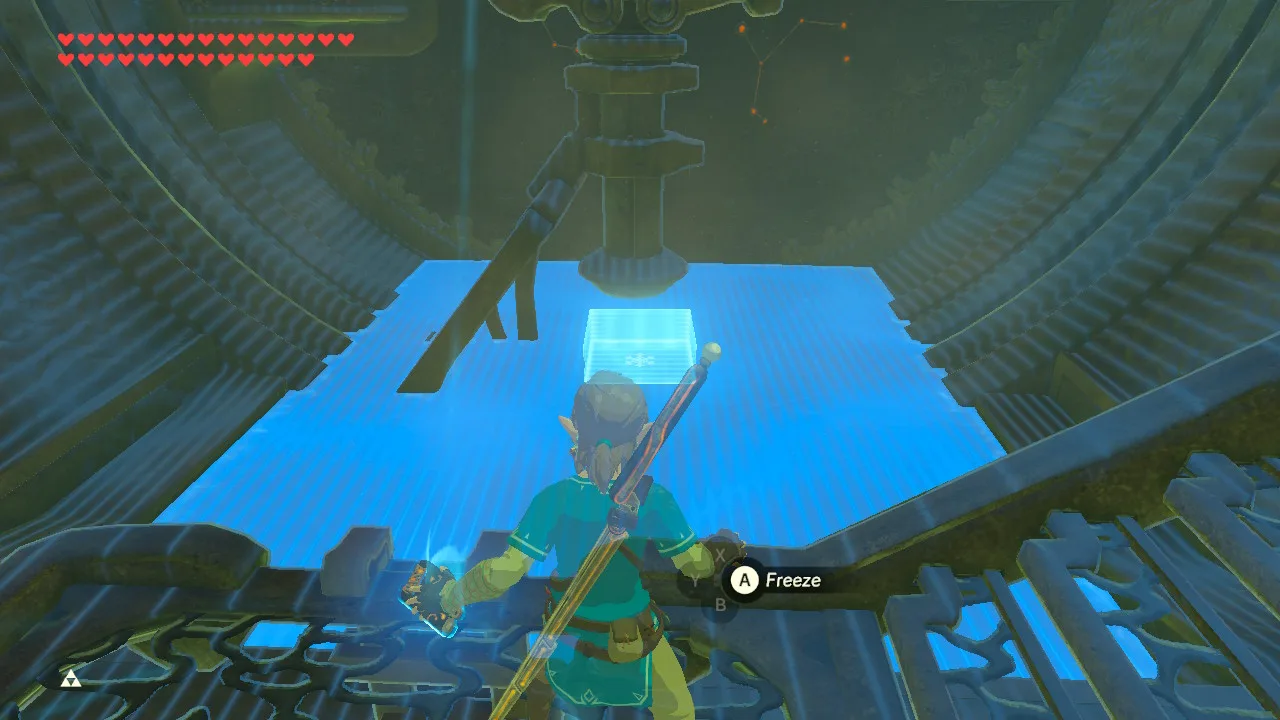
- Outside the room, freeze a small extending block with Stasis when it protrudes. Its collision with the mechanism raises the access bridge.
- Use Cryonis in the water under the vertical pin to push the pin upward and connect the drive. Ride the moving platform to the flooded back room.
- Use Stasis on the water-control handle and strike it to turn the valve until the basin drains. If the water rises instead, turn it the other way.
- Step on the floor switch to release the metal ball; use Magnesis to place it on the launching block. Step on the switch again to launch it across into the valve, raising the water.
- Make a Cryonis block in the raised water to reach the terminal ledge. Activate it and return to the central door; if it has not opened by itself, connect the gear beside it to the axle with Magnesis.
How do you beat Maz Koshia and claim the motorcycle?
Examine the altar beyond the central door to start the fight. In the opening stage, keep your shield up through his teleports and counter after his sword attack. When an updraft appears under Link, glide upward and use bow slow motion to interrupt him.
When he creates copies, use Urbosa’s Fury to clear the decoys and expose the real monk. If the ability is recharging, hit copies individually and save a strong weapon for the real target. During the giant stage, shoot his head, parry the laser if you can time it, and use Magnesis to hold one of his metal balls near him before his lightning strikes. Attack on the ground when he falls.
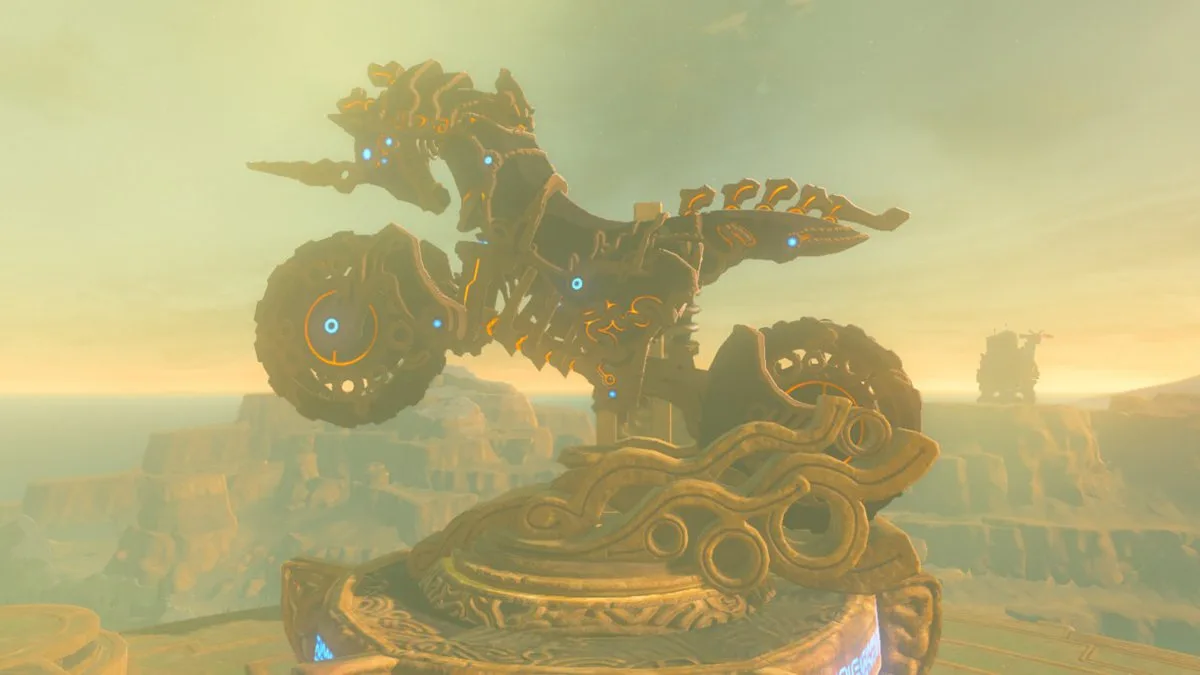
Victory unlocks Master Cycle Zero. After the ending conversation with Kass, you also receive the Picture of the Champions. The post-game guide suggests further goals, including the separate Trial of the Sword.
Related Articles
shrines
Kamia Omuna Shrine Guide: Moving Targets (BotW)
Defeat the Igneo Talus Titan at Lake Darman, time Kamia Omuna’s cannon shots, rotate the target cage, and recover its Diamond chest in Breath of the Wild.
shrines
Kee Dafunia Shrine Guide: The Melting Point (BotW)
Pass the sunrise ring, melt ice into stairs, reveal the Frostblade chest, and lift the final ice cube in Kee Dafunia Shrine in Breath of the Wild.
shrines
Keive Tala Shrine Guide: Big or Small (BotW)
Defeat the Molduking to reveal Keive Tala Shrine, connect its metal-and-water circuit, and solve the laser puzzle for a Radiant Shield in Breath of the Wild.
Was this helpful?
Thanks for the feedback!