

Noe Rajee Shrine Guide: The Four Winds (BotW)
Hit four Flight Range targets in quick succession, activate Noe Rajee’s tower fans, and reach its hidden shield chest in Breath of the Wild.
How do you reveal Noe Rajee Shrine?
In The Legend of Zelda: Breath of the Wild, this shrine belongs to EX Champion Revali’s Song. Complete the four opening DLC shrines, then visit this Champion’s monument to start its trials. The Champions’ Ballad overview covers those prerequisites and the branch order.
Go to the Flight Range and rise on its updraft. Once airborne, hit four targets in quick succession, ideally in a single pass; drawing your bow in mid-air slows time and makes this far easier. Start with plenty of stamina and choose targets you can sweep across without turning all the way around. The shrine appears at the bottom of the range after success.
| Detail | Answer |
|---|---|
| Trial | The Four Winds |
| Main mechanic | Activate four tower switches to build an updraft route |
| Treasure | 1 chest: Shield of the Mind’s Eye |
| Completion reward | Medoh’s Emblem |
This is an additional DLC shrine and does not count towards the 120 base-game shrines.
How do you solve The Four Winds?
1. Start the first fan and enter the open side
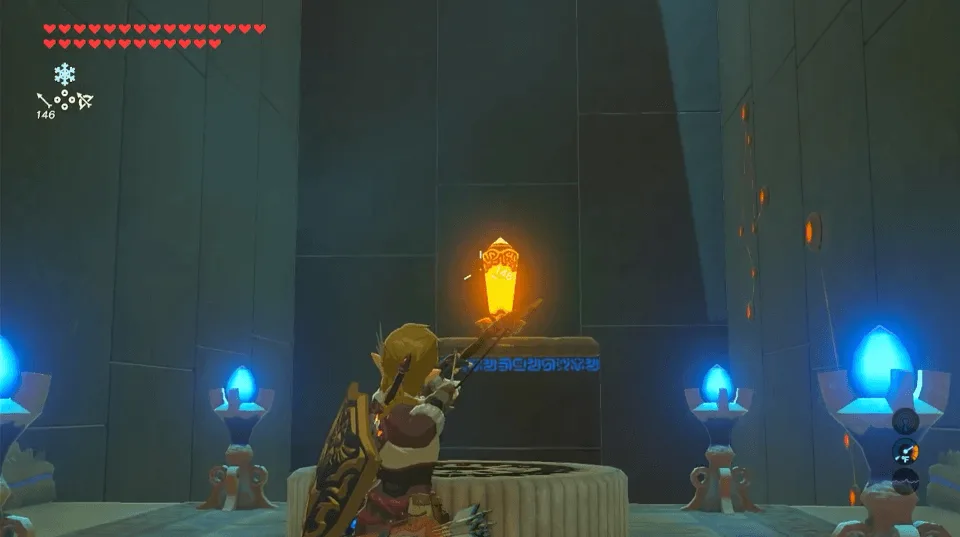
Shoot the entrance crystal switch to start the first fan. Ride it up to the ledge beside the rotating tower. Watch for the large open side near the tower’s base, glide inside and rise on the interior vents. Hit the switch within to activate one of the fans above, then return to a safe outside ledge.
2. Shoot through the wind-operated gate
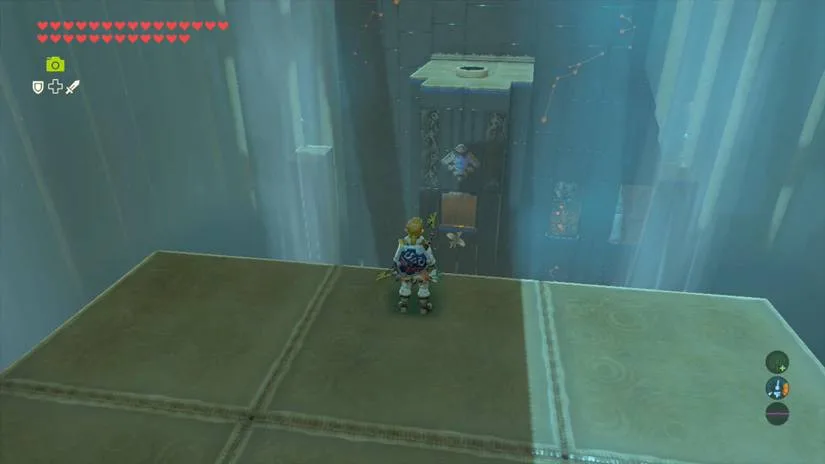
Find the tower face with a propeller and closed gate. Its gate opens when a vent blows onto the propeller. Hover on an outside current, wait for that opening and use airborne slow motion to shoot the crystal inside. You only need to hit the switch; there is no need to land in the doorway.
3. Break the stone wall and find the barred switch
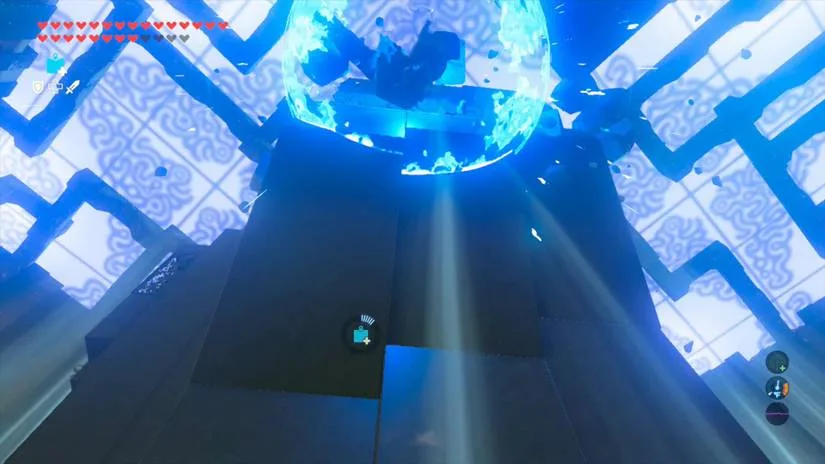
On another face, destroy the cracked stone patch with a Bomb Arrow or a Remote Bomb, then enter and activate the crystal behind it. Continue around the tower until you see the remaining crystal behind iron bars. Fire an ordinary arrow through the gaps to activate it. These are separate switches: clearing the stone wall does not finish the barred side.
4. Climb the activated wind route
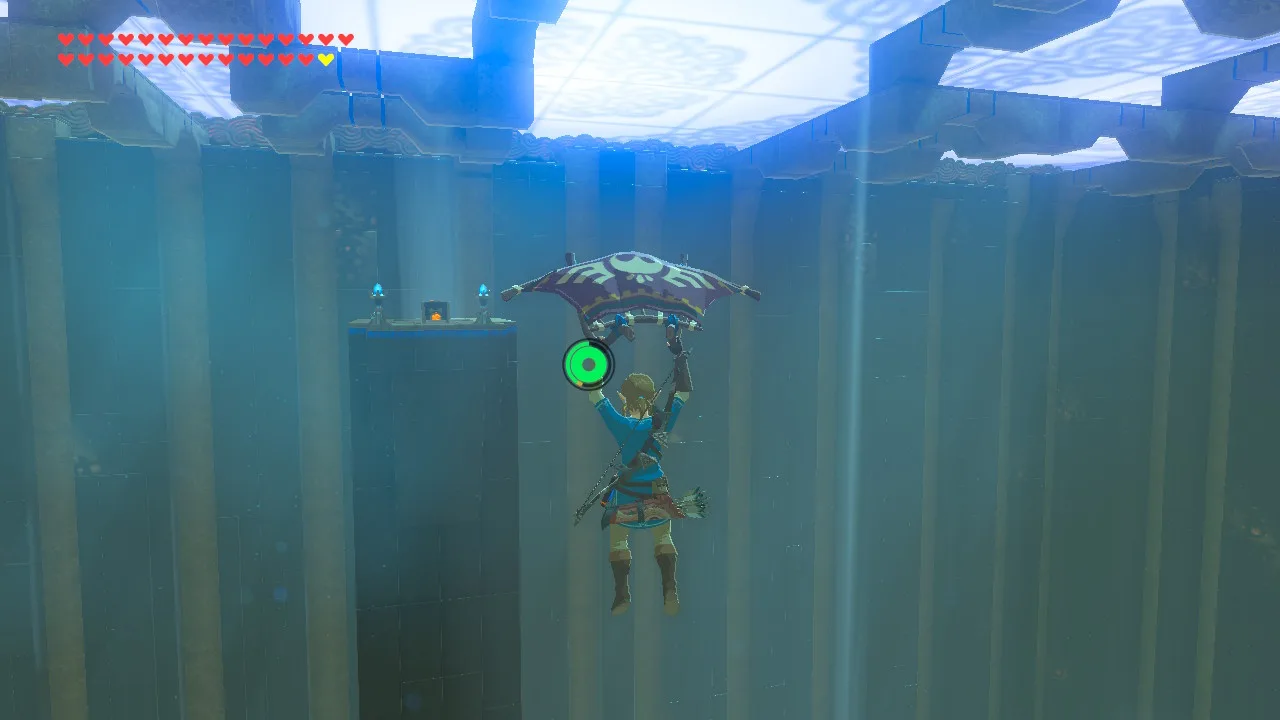
Return to the outside ledge and ride the newly powered fans upwards. Move between the currents, then use the central fan for the final height. Before flying to the monk, look around for the isolated platform holding the chest. Head towards it while you still have room to steer around its side.
5. Use the rear vent to reach the shield
Glide into the small opening behind the chest platform. The vent inside lifts you onto its top, where you can open the chest. Return to the tower’s upper currents and glide to the monk once the shield is collected. Land to recover stamina before the return flight if necessary.
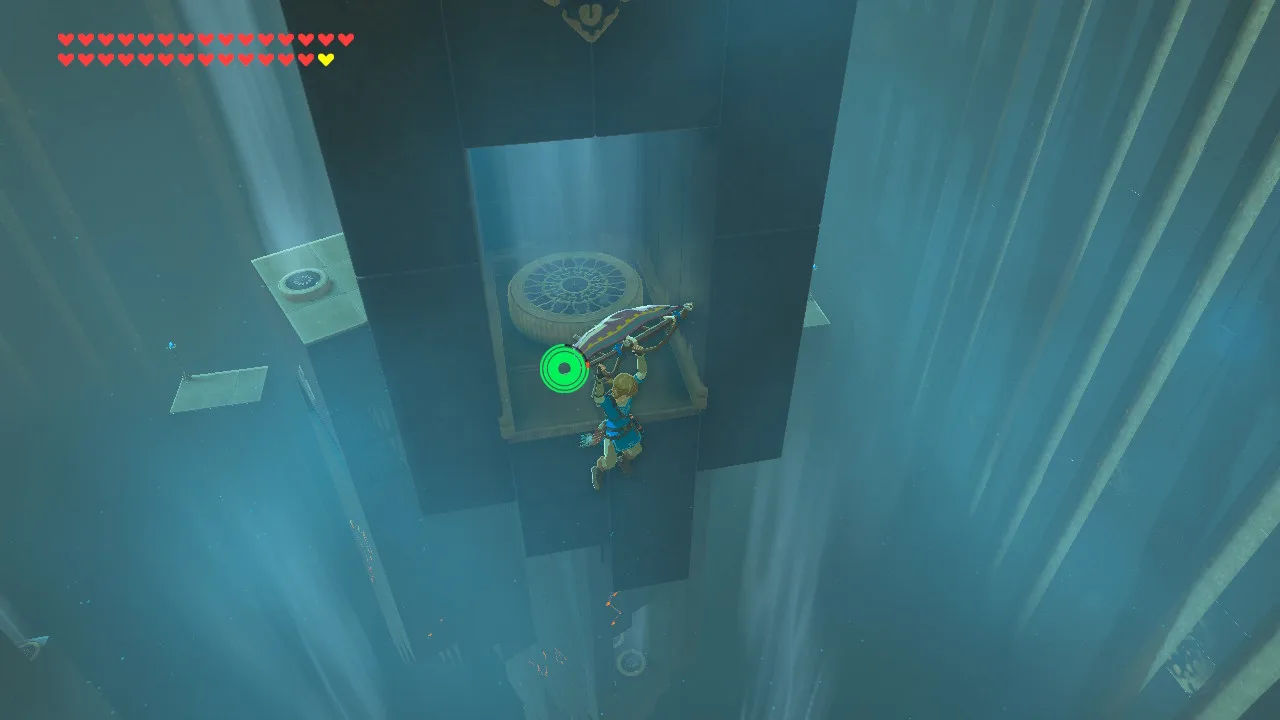
Where is the treasure chest?
There is one chest, containing a Shield of the Mind’s Eye, on the isolated platform near the upper route. Glide around to its rear opening and use the internal updraft to rise onto the top. Trying to approach only from the tall front wall leaves you below the chest.
What can go wrong?
- The outside trial will not finish: the four hits must come in quick succession, so targets hit too far apart do not count; bring stamina-restoring food if you run short.
- The propeller gate closes before your arrow arrives: wait for its next alignment while hovering over a vent or resting on a ledge.
- The upper route is still too low: circle the tower and check all four switches, including the one behind iron bars.
- The chest platform looks unclimbable: approach the rear opening instead of the front face.
What do you receive, and where do you go next?
Speak to the monk for Medoh’s Emblem. The other shrines in this branch are Shira Gomar Shrine and Kiah Toza Shrine. Collect all three emblems from this branch, then return to Divine Beast Vah Medoh for the memory rematch. This shrine awards an emblem rather than a Spirit Orb; the main walkthrough explains the next fight.
Related Articles
shrines
Kamia Omuna Shrine Guide: Moving Targets (BotW)
Defeat the Igneo Talus Titan at Lake Darman, time Kamia Omuna’s cannon shots, rotate the target cage, and recover its Diamond chest in Breath of the Wild.
shrines
Kee Dafunia Shrine Guide: The Melting Point (BotW)
Pass the sunrise ring, melt ice into stairs, reveal the Frostblade chest, and lift the final ice cube in Kee Dafunia Shrine in Breath of the Wild.
shrines
Keive Tala Shrine Guide: Big or Small (BotW)
Defeat the Molduking to reveal Keive Tala Shrine, connect its metal-and-water circuit, and solve the laser puzzle for a Radiant Shield in Breath of the Wild.
Was this helpful?
Thanks for the feedback!