

Rinu Honika Shrine Guide: Block the Blaze (BotW)
Stand safely in Darb Pond’s ring, block Rinu Honika’s flame jets with metal cubes, and reach the Stone Smasher chest in Breath of the Wild.
How do you reveal Rinu Honika Shrine?
In The Legend of Zelda: Breath of the Wild, this shrine belongs to EX Champion Daruk’s Song. Complete the four opening DLC shrines, then visit this Champion’s monument to start its trials. The Champions’ Ballad overview covers those prerequisites and the branch order.
At Darb Pond, use Magnesis to move a nearby metal crate into the glowing ring on the lava. Glide through the ring and land on the crate, keeping Link above the lava. The shrine rises after the trial is satisfied. Do not try to stand directly in the lava with fireproof equipment: the crate is your footing.
| Detail | Answer |
|---|---|
| Trial | Block the Blaze |
| Main mechanic | Remove flame supports and carry blocks as fire shields |
| Treasure | 1 chest: Stone Smasher |
| Completion reward | Rudania’s Emblem |
This is an additional DLC shrine and does not count towards the 120 base-game shrines.
How do you solve Block the Blaze?
1. Crouch beneath the first jets
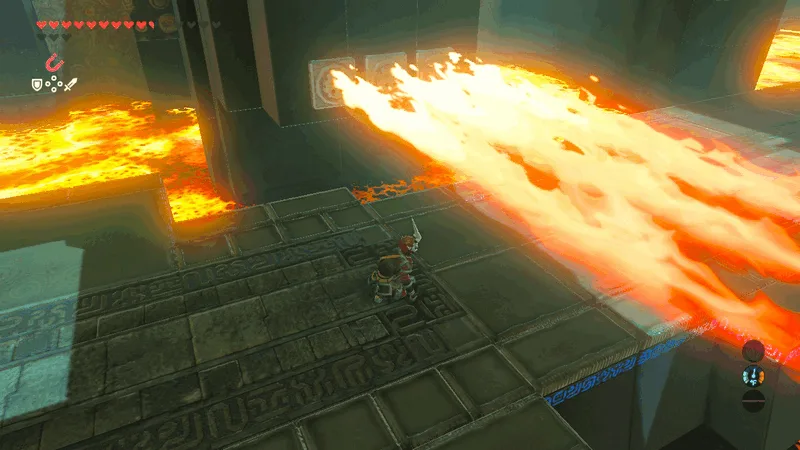
Follow the walkway to the first horizontal flame jets. Crouch and move through the clear space beneath them, staying away from the lava edges. Stand up only after passing the full stream, then climb the stairs to the next obstacle.
2. Remove the cracked base, then the metal support
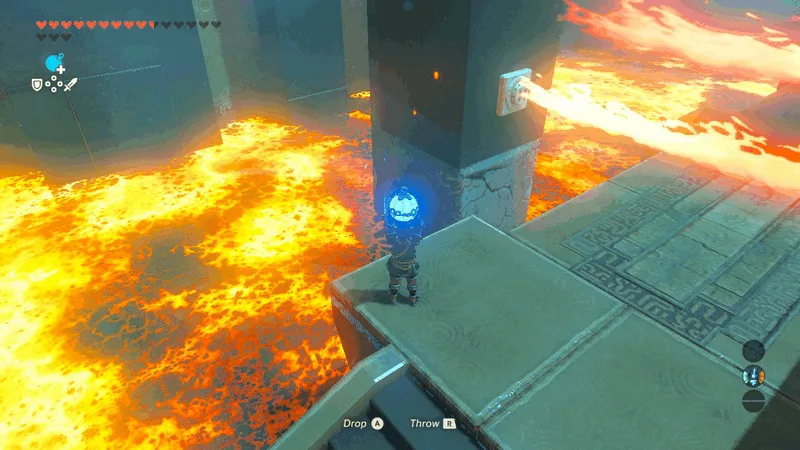
At the next obstruction, look below the left flame column for a cracked stone base. Destroy it with a Remote Bomb to remove that part of the obstacle. Farther on, a column rests on a metal cube. Pull out the cube with Magnesis and hold it between Link and the remaining flames as you move forward. Set it down on the next safe platform; you need it again.
3. Use both cubes to shelter the fire gate
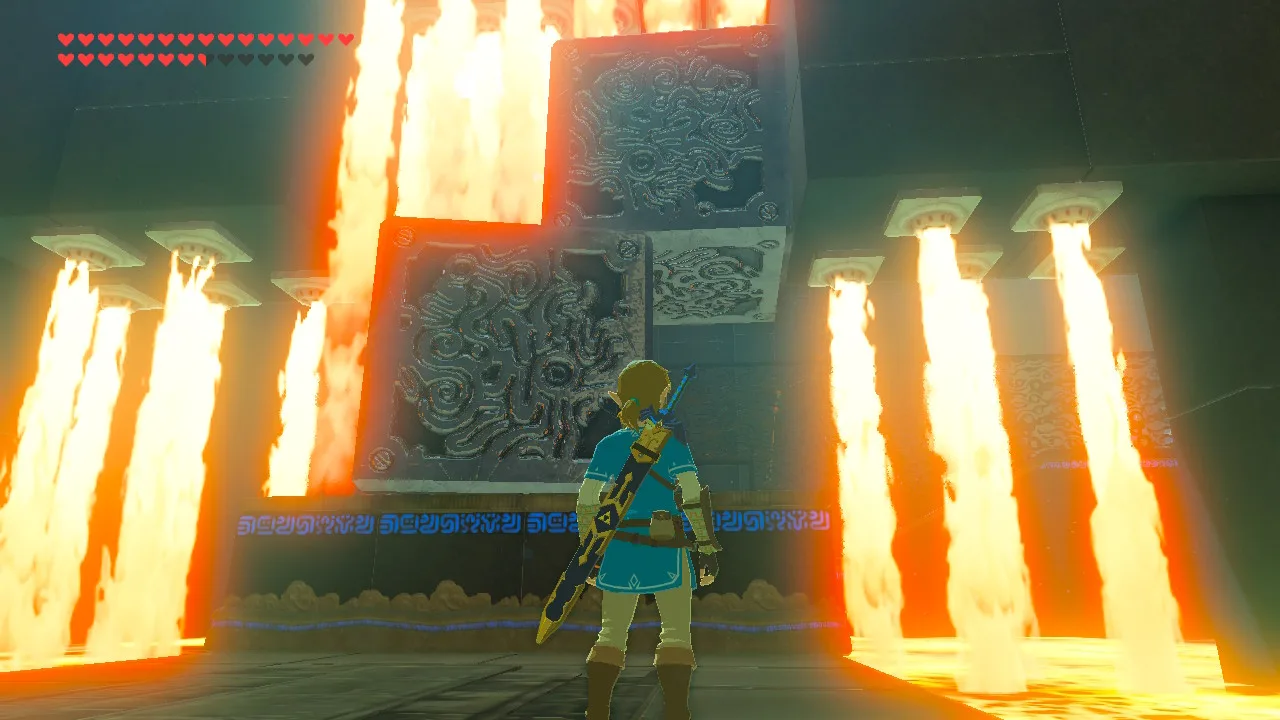
Retrieve the second metal cube from the lava near the next flame gate. Arrange the cubes at the opening: use one as the lower support and offset the other above it to block the descending fire, leaving a passage beneath. Adjust them with Magnesis from safe ground. Cross only when the cubes shield the whole space Link will occupy.
4. Reuse the cubes as steps to the chest
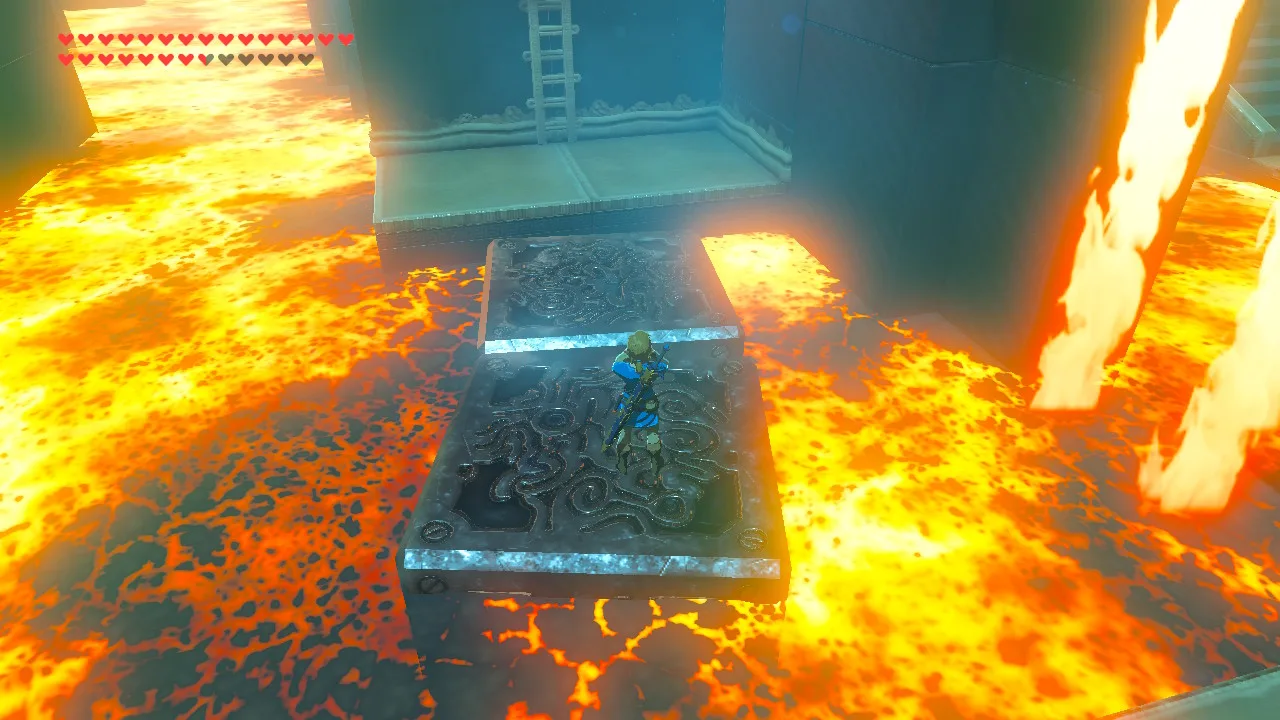
From the safe side of the fire gate, recover the cubes with Magnesis. Place them in the lava on the right as stepping stones leading to the ladder on the side wall. Keep their tops close enough to cross safely, then climb the ladder and open the chest. Return by the same stepping stones before heading onwards.
5. Rotate the final bridge’s fins into the flames
Use the motion-control apparatus at the final bridge. Tilt and rotate the bridge until its projecting side fins sit in the flame streams and protect a continuous path across. Leave the apparatus and check the route from the walkway before stepping out. Cross the sheltered bridge to reach the monk.
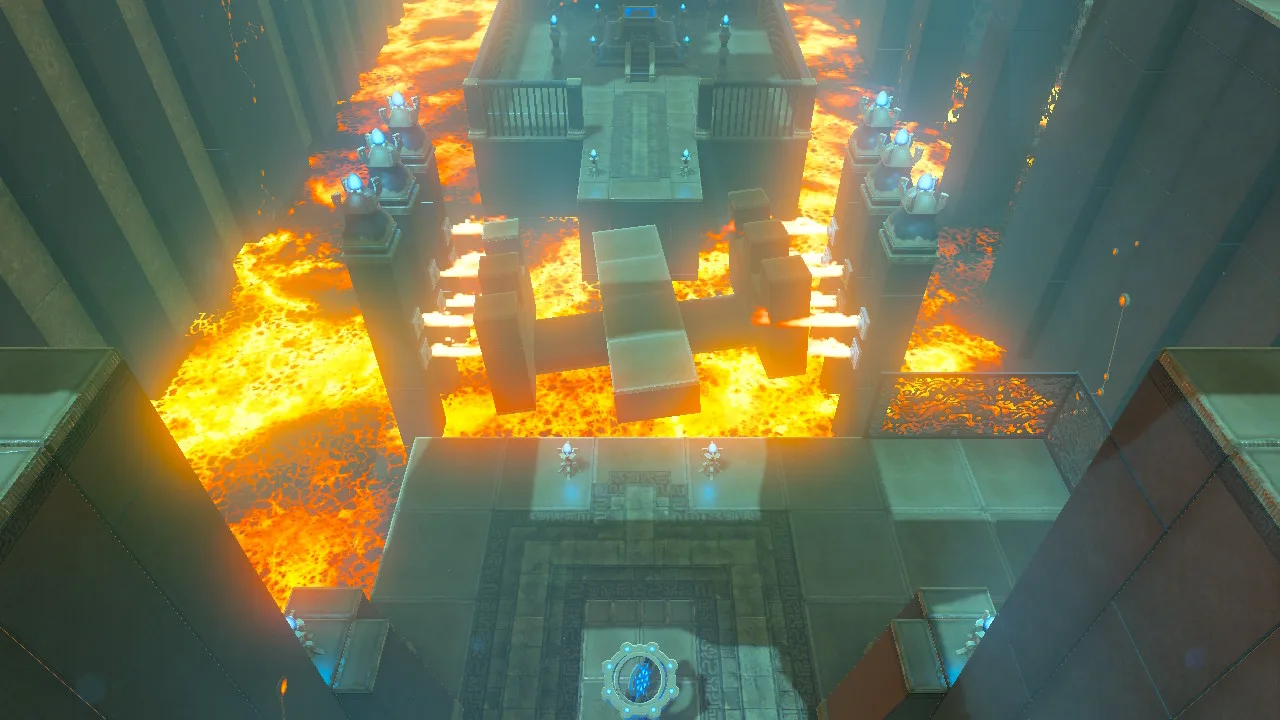
Where is the treasure chest?
The one chest holds a Stone Smasher on the side platform reached by a ladder. After clearing the flame gate, move the metal cubes into the lava on the right to create stepping stones to that ladder. Open the chest, then return across the cubes to continue towards the final rotating bridge.
What can go wrong?
- Crouching does not avoid a later flame: only the opening jets leave that low clearance; later sections require moving their supports or shielding the fire.
- You have no block for the fire gate: bring the metal support cube forward, then retrieve the other cube from the lava.
- A roof still leaves fire across your body: check the height and offset of both cubes before walking underneath.
- The last bridge burns you: rotate its fins into the streams, then inspect the whole walking route before crossing.
What do you receive, and where do you go next?
Speak to the monk for Rudania’s Emblem. The other shrines in this branch are Kamia Omuna Shrine and Sharo Lun Shrine. Collect all three emblems from this branch, then return to Divine Beast Vah Rudania for the memory rematch. This shrine awards an emblem rather than a Spirit Orb; the main walkthrough explains the next fight.
Related Articles
shrines
Kamia Omuna Shrine Guide: Moving Targets (BotW)
Defeat the Igneo Talus Titan at Lake Darman, time Kamia Omuna’s cannon shots, rotate the target cage, and recover its Diamond chest in Breath of the Wild.
shrines
Kee Dafunia Shrine Guide: The Melting Point (BotW)
Pass the sunrise ring, melt ice into stairs, reveal the Frostblade chest, and lift the final ice cube in Kee Dafunia Shrine in Breath of the Wild.
shrines
Keive Tala Shrine Guide: Big or Small (BotW)
Defeat the Molduking to reveal Keive Tala Shrine, connect its metal-and-water circuit, and solve the laser puzzle for a Radiant Shield in Breath of the Wild.
Was this helpful?
Thanks for the feedback!