

Kee Dafunia Shrine Guide: The Melting Point (BotW)
Pass the sunrise ring, melt ice into stairs, reveal the Frostblade chest, and lift the final ice cube in Kee Dafunia Shrine in Breath of the Wild.
How do you reveal Kee Dafunia Shrine?
In The Legend of Zelda: Breath of the Wild, this shrine belongs to EX Champion Mipha’s Song. Complete the four opening DLC shrines, then visit this Champion’s monument to start its trials. The Champions’ Ballad overview covers those prerequisites and the branch order.
Reach the coast east of Ulria Grotto before dawn. Look out towards the sunrise and the bright reflection stretching across the sea. When the glowing ring appears on that path, glide towards it and swim through while it is visible. The shrine rises from the water after success. If you arrive after the light has passed, return for another sunrise rather than searching the seabed.
| Detail | Answer |
|---|---|
| Trial | The Melting Point |
| Main mechanic | Melt ice to useful sizes, then lift it with Cryonis |
| Treasure | 1 chest: Frostblade |
| Completion reward | Ruta’s Emblem |
This is an additional DLC shrine and does not count towards the 120 base-game shrines.
How do you solve The Melting Point?
1. Shrink an ice block to hold down a switch
Take the Torch near the entrance and light it at the brazier. Cross the ice path and melt enough of the blocks ahead to enter the main room. Shrink a block until Link can carry it, then move it onto a floor switch. The weighted switch supplies ice for the route; the small block also gives you a first step up.
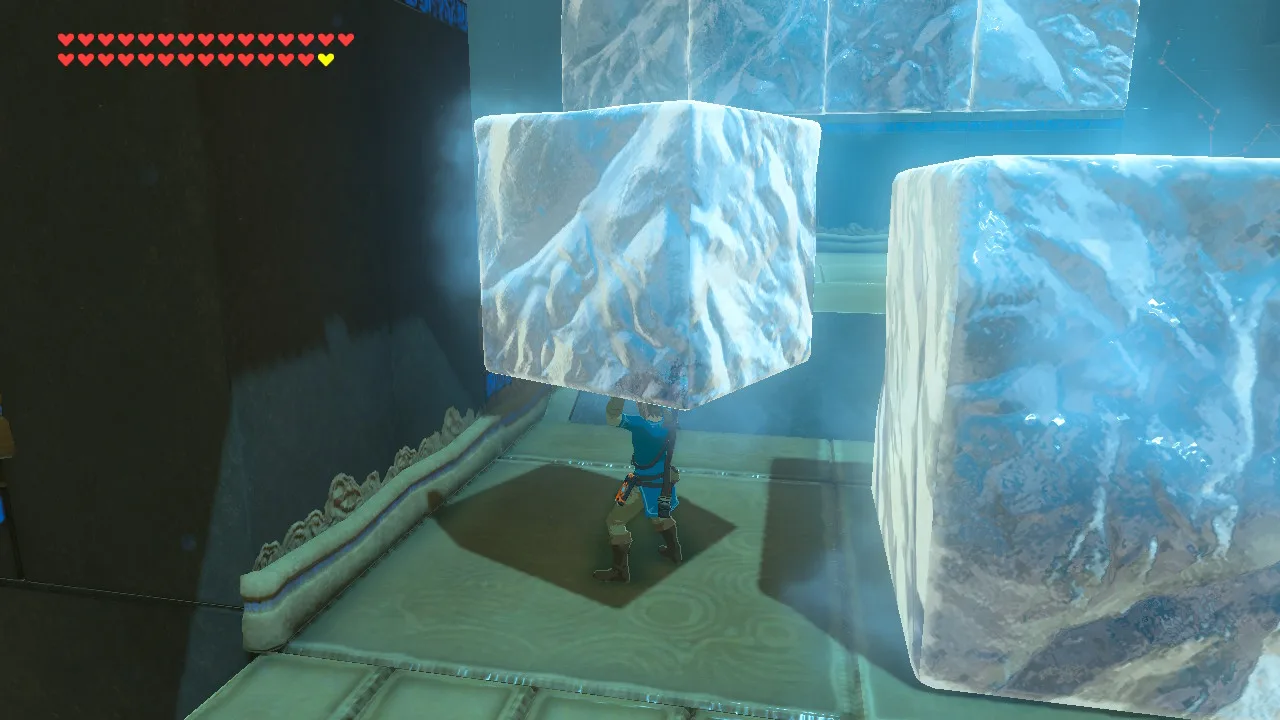
2. Shape the main ice stack into stairs
Work up the central stack gradually. Hold the flame near the lowest block until its top is reachable, then move it away before the whole block vanishes. Shape the neighbouring blocks into progressively taller steps. Use the floor switches if you need fresh ice. Climb the route to the raised central platform, keeping the last large cube intact for the final puzzle.
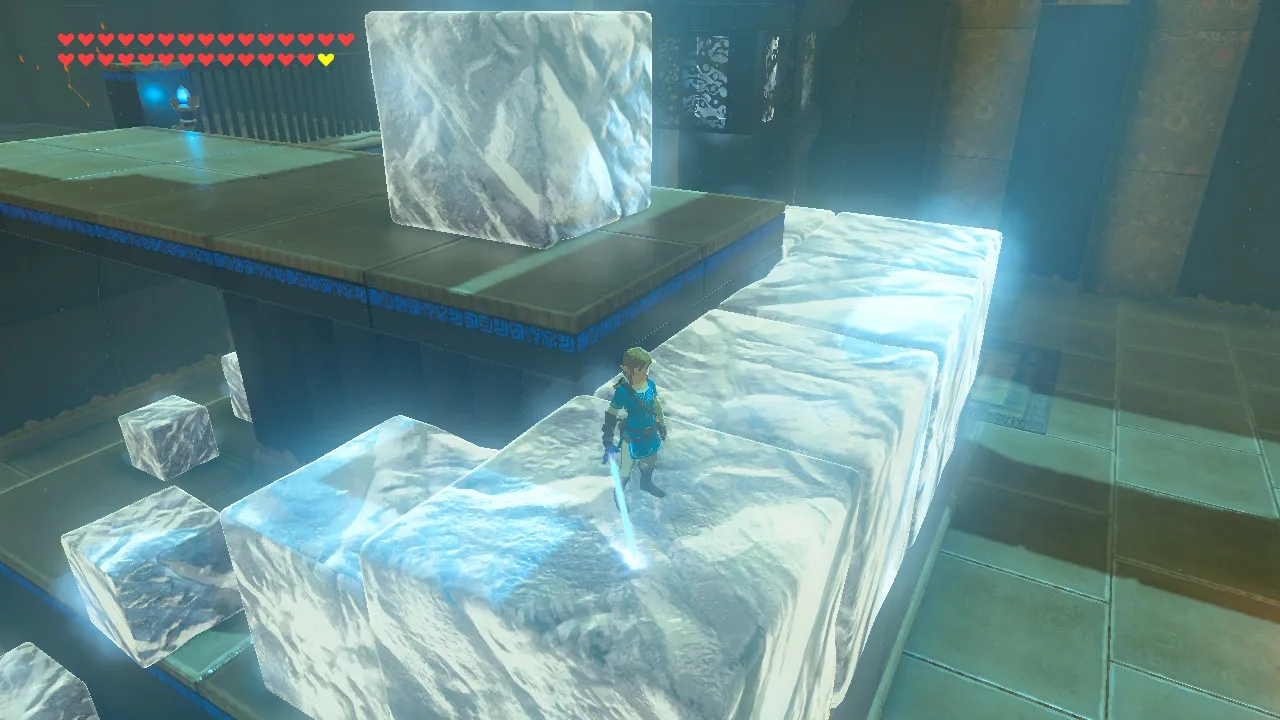
3. Check the recess under the platform
Before leaving the main room, circle to the back of the raised central platform and melt the ice against its base to reveal a recess underneath. Melt the block plugging the entrance, step in and open the chest. Return to the staircase after collecting the sword. Keep the torch away from the remaining steps while moving around them.
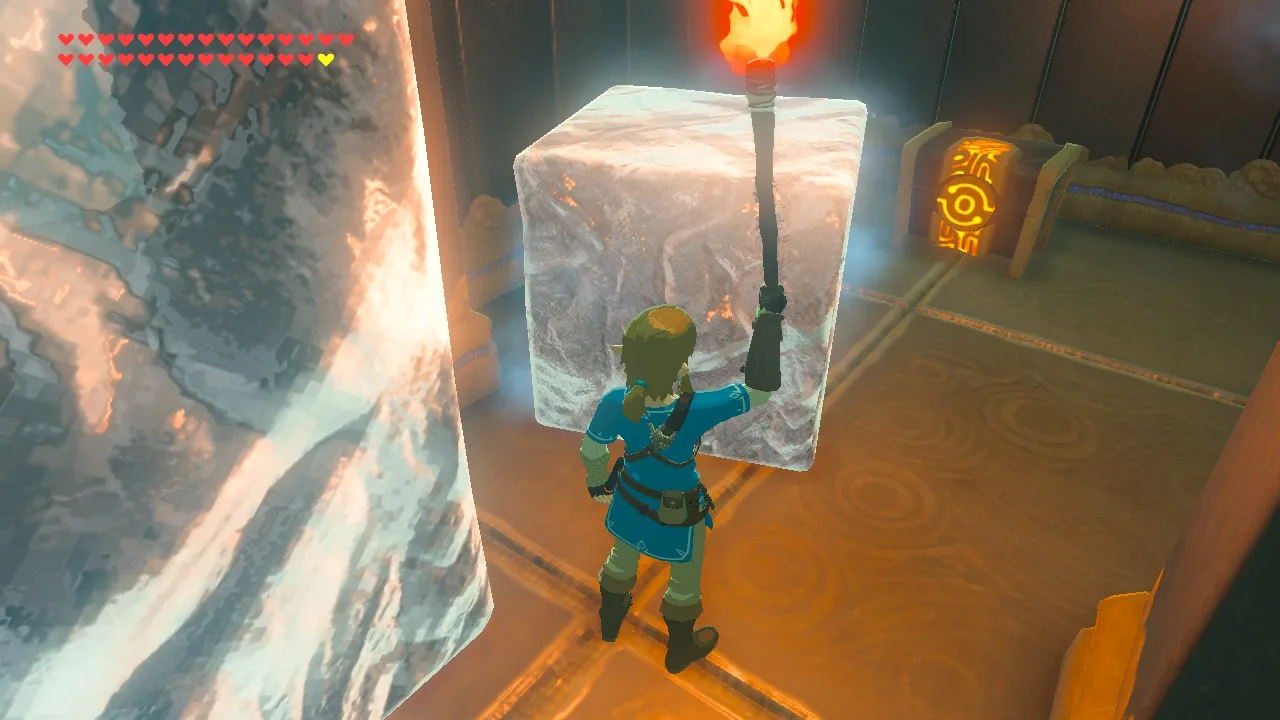
4. Carry the final cube under the low barrier
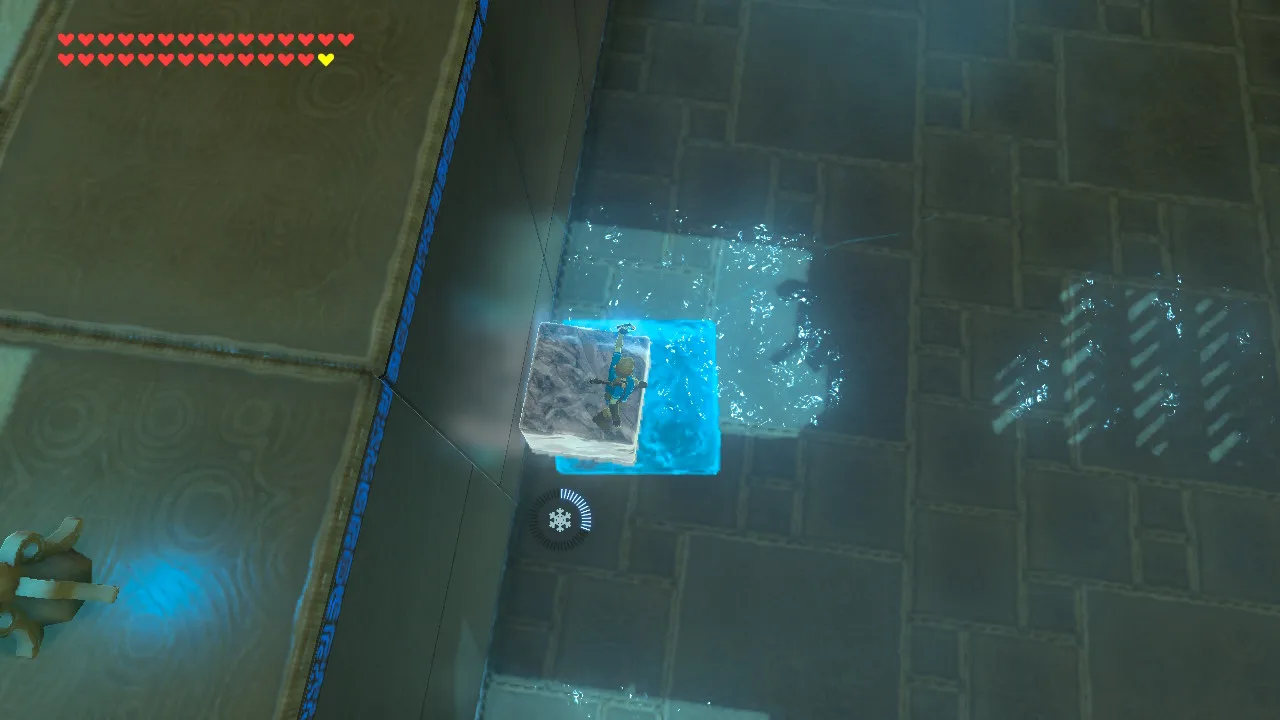
Relight the torch at a brazier if needed. Melt the large cube on the upper platform until it is small enough to pick up, then put the flame away. Carry the cube to the low barrier and toss or slide it through the opening into the shallow water beyond. Follow it and push it firmly against the wall beneath the monk’s ledge.
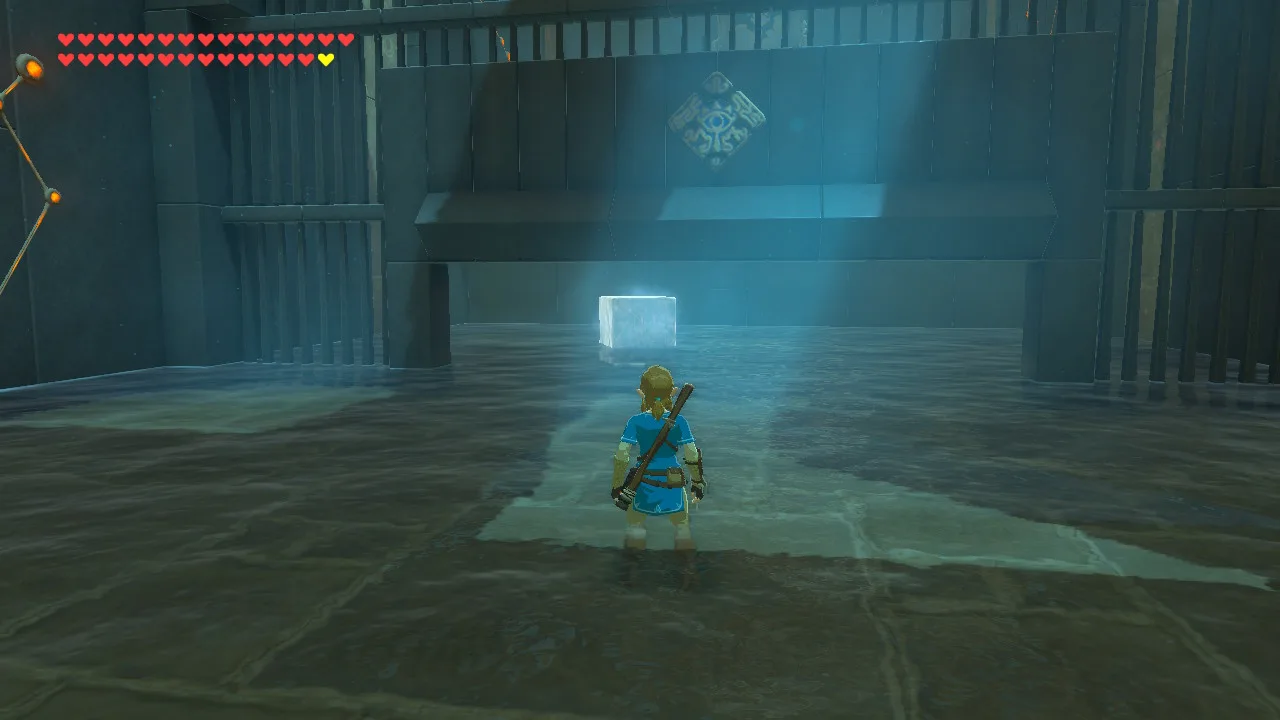
5. Raise the movable ice with Cryonis
Climb onto the movable ice cube by the wall. Aim Cryonis at the water directly underneath it and create a pillar, lifting both the cube and Link. The combined height lets you climb onto the monk’s platform. If the ledge is still too far away, move the cube closer to the wall before raising it again.
Where is the treasure chest?
The only chest contains a Frostblade. It sits in a recess beneath the raised central platform. Walk around to the back, melt the ice covering the recess and open the chest. This is separate from the large final cube you need to carry to the monk’s wall; do not melt that final cube away while searching.
What can go wrong?
- The ice disappears: move the lit torch away as soon as the block is small enough; continued heating removes the step you need.
- The staircase is incomplete: use the floor switches to bring out more ice and shape blocks into different heights.
- The final cube will not fit under the barrier: shrink it further, then put away the flame before moving it.
- Cryonis alone is too short at the end: retain the movable ice cube and raise it from underneath.
What do you receive, and where do you go next?
Speak to the monk for Ruta’s Emblem. The other shrines in this branch are Sato Koda Shrine and Mah Eliya Shrine. Collect all three emblems from this branch, then return to Divine Beast Vah Ruta for the memory rematch. This shrine awards an emblem rather than a Spirit Orb; the main walkthrough explains the next fight.
Related Articles
shrines
Kamia Omuna Shrine Guide: Moving Targets (BotW)
Defeat the Igneo Talus Titan at Lake Darman, time Kamia Omuna’s cannon shots, rotate the target cage, and recover its Diamond chest in Breath of the Wild.
shrines
Keive Tala Shrine Guide: Big or Small (BotW)
Defeat the Molduking to reveal Keive Tala Shrine, connect its metal-and-water circuit, and solve the laser puzzle for a Radiant Shield in Breath of the Wild.
shrines
Kiah Toza Shrine Guide: Master the Orb (BotW)
Finish the snow-ring course, guide the orb across metal platforms and ice, time the launcher, and find Kiah Toza’s Falcon Bow in Breath of the Wild.
Was this helpful?
Thanks for the feedback!