

Akh Va'quot Shrine Walkthrough: Windmills & 3 Chests (BotW)
Step-by-step Akh Va'quot Shrine guide: solve the Windmills fan puzzle in Rito Village and collect the Sapphire, Feathered Spear, and Ancient Core chests.
Where is Akh Va’quot Shrine?
The shrine is inside Rito Village in the Tabantha region, southwest of the Brazen Beak shop, perched above the cliff — once activated it doubles as the village’s fast-travel point. Other shrines in the Tabantha region include Bareeda Naag, Voo Lota, and Sha Warvo if you’re working through the area.
| Item | Detail |
|---|---|
| Trial | Windmills |
| Tower region | Tabantha |
| Map marker | Show on map |
| Shrine quest | None |
| Chests | 3 |
| Names | Akh Va’quot Shrine · 阿科‧瓦塔神廟 · 阿科·瓦塔神庙 |
What should you bring?
You need the Cryonis rune, because the side room holding all three chests is a long pool of water and ice pillars are how you get across. A bow with a few arrows lets you shoot the orange switch at the end of that hallway — it should be reachable from a distance, though you can go closer if you need. There’s no combat and no shrine quest required to enter.
Video walkthrough

How do you solve Akh Va’quot Shrine?
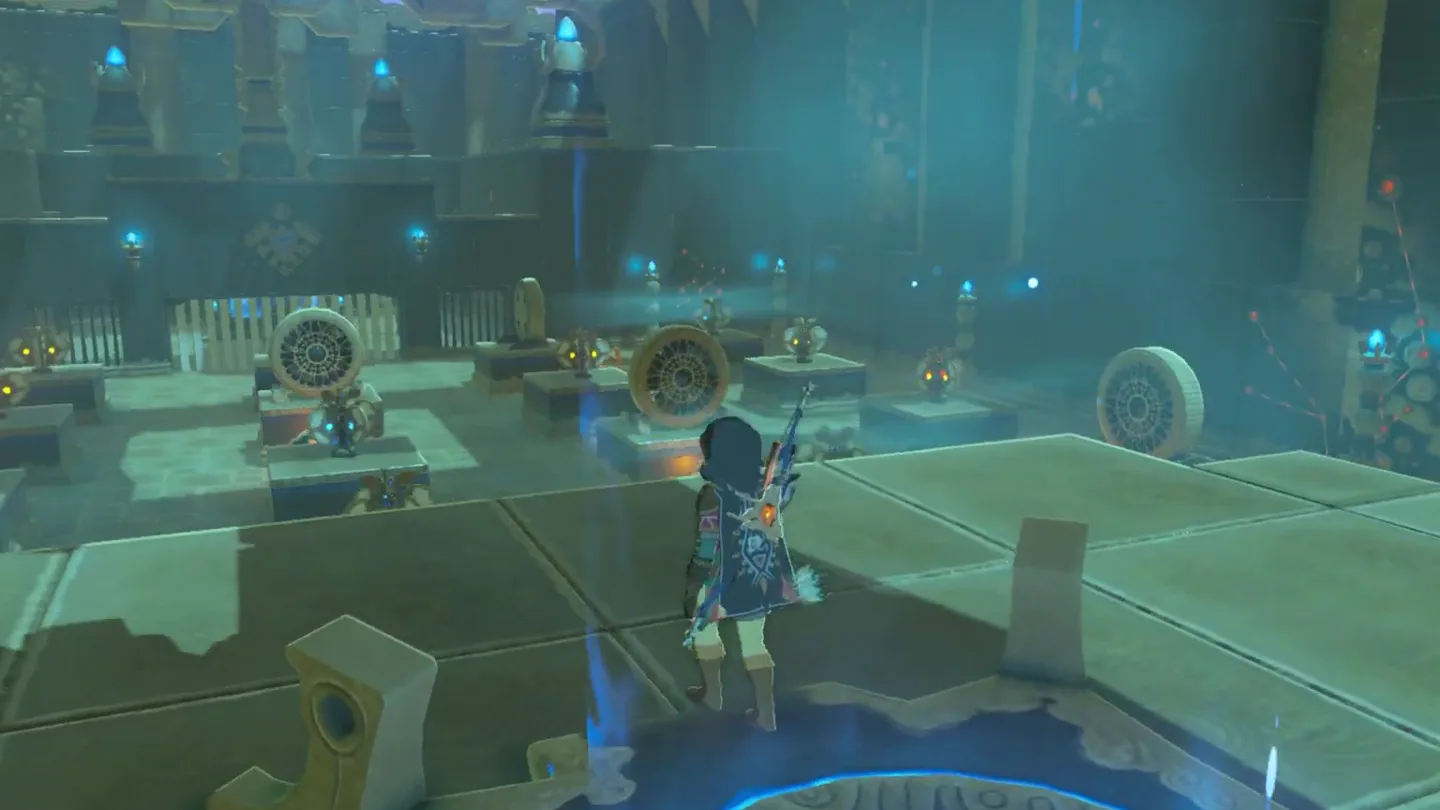
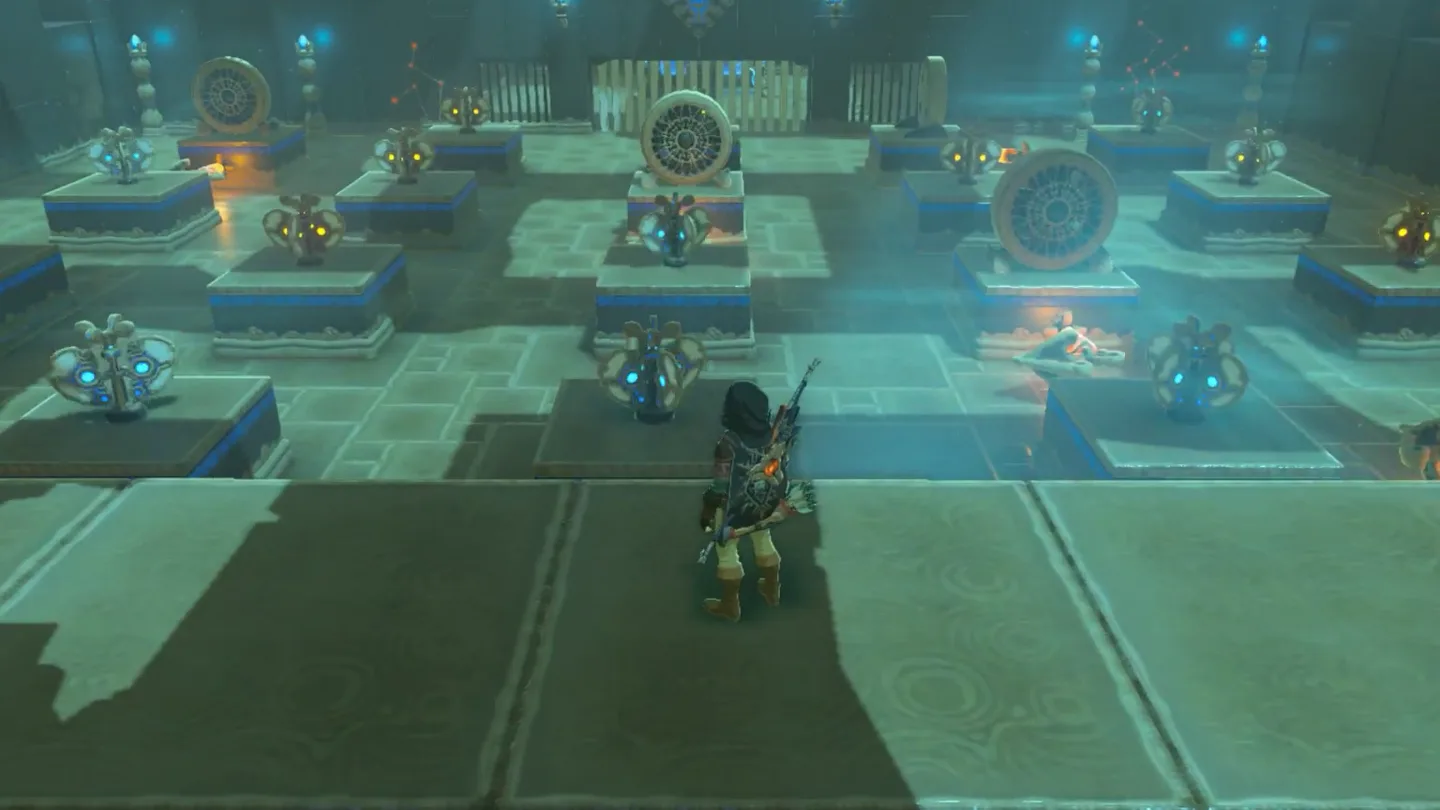
The trial is themed after windmills and wind: six fans feed fourteen wind switches in the central chamber, and every propeller must be spinning at the same moment before the portcullis to the monk’s pedestal rises.
1. Enter the shrine and find the water hallway
Enter the shrine and you’re greeted by the monk Akh Va’quot. The main puzzle is right in front of you — a central chamber with six fans, some propellers spinning and others idle. Ignore them for now and go right up the stairs.
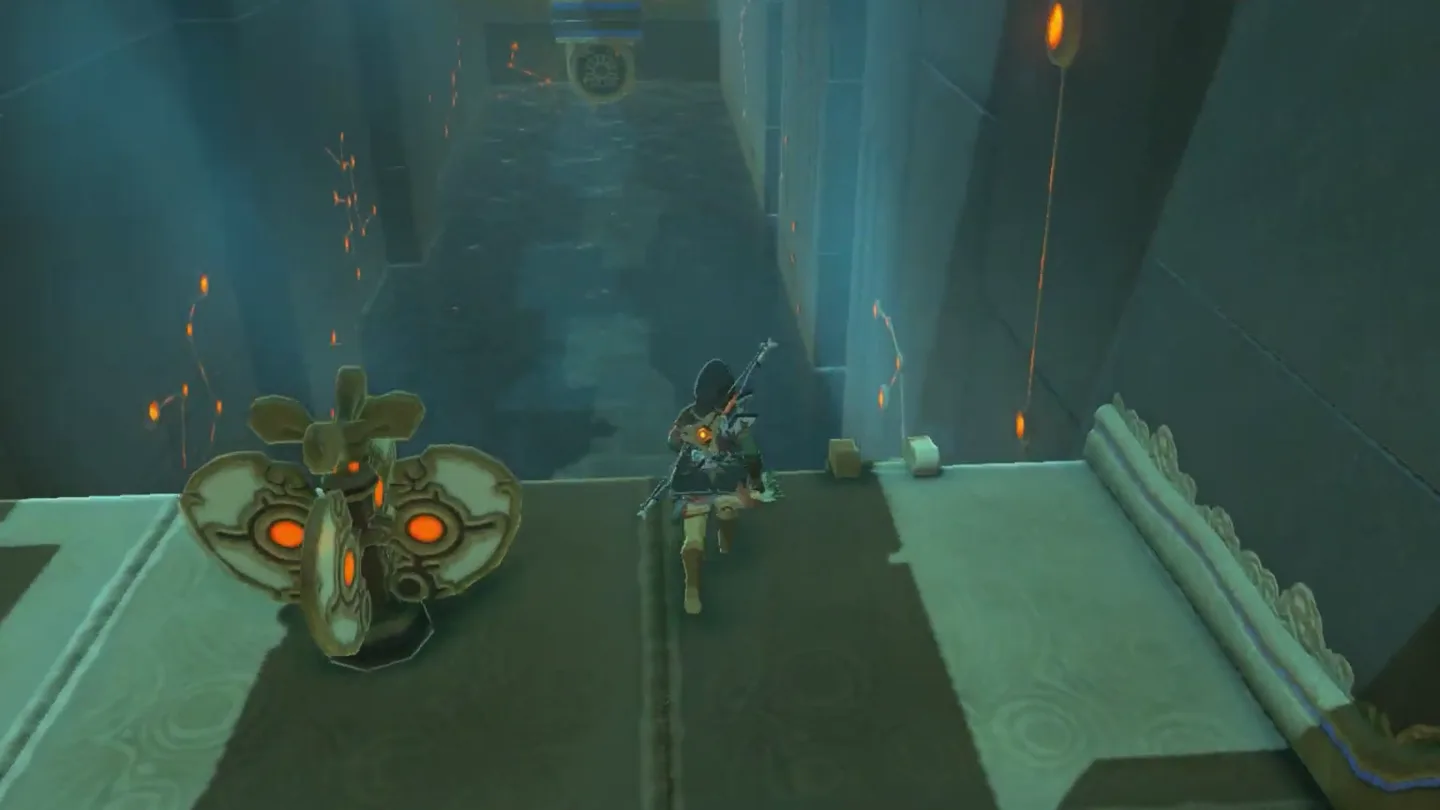
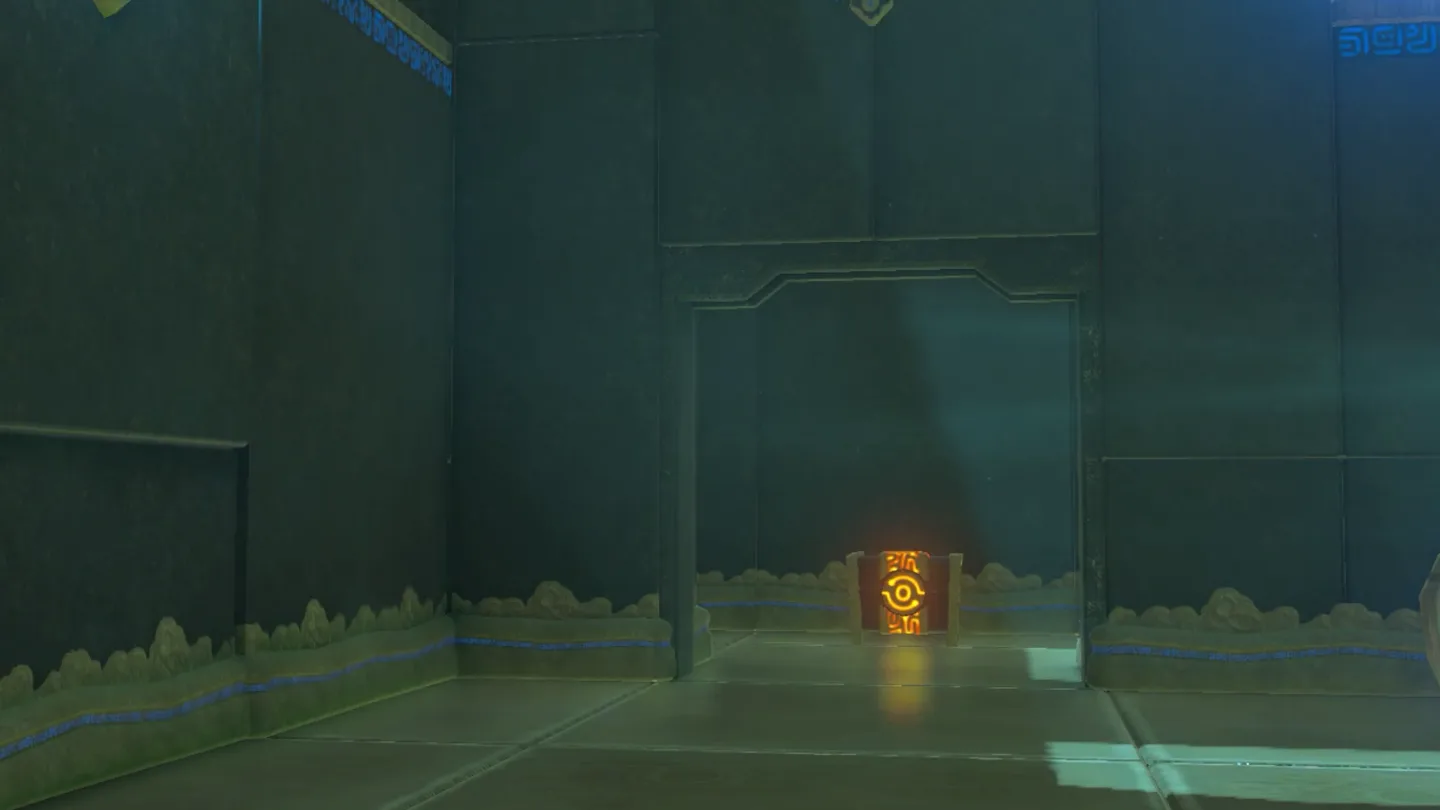
Walk past the strange orange contraption into the room behind the elevator — a long hallway flooded with water.
2. Collect chests and open the hidden gate
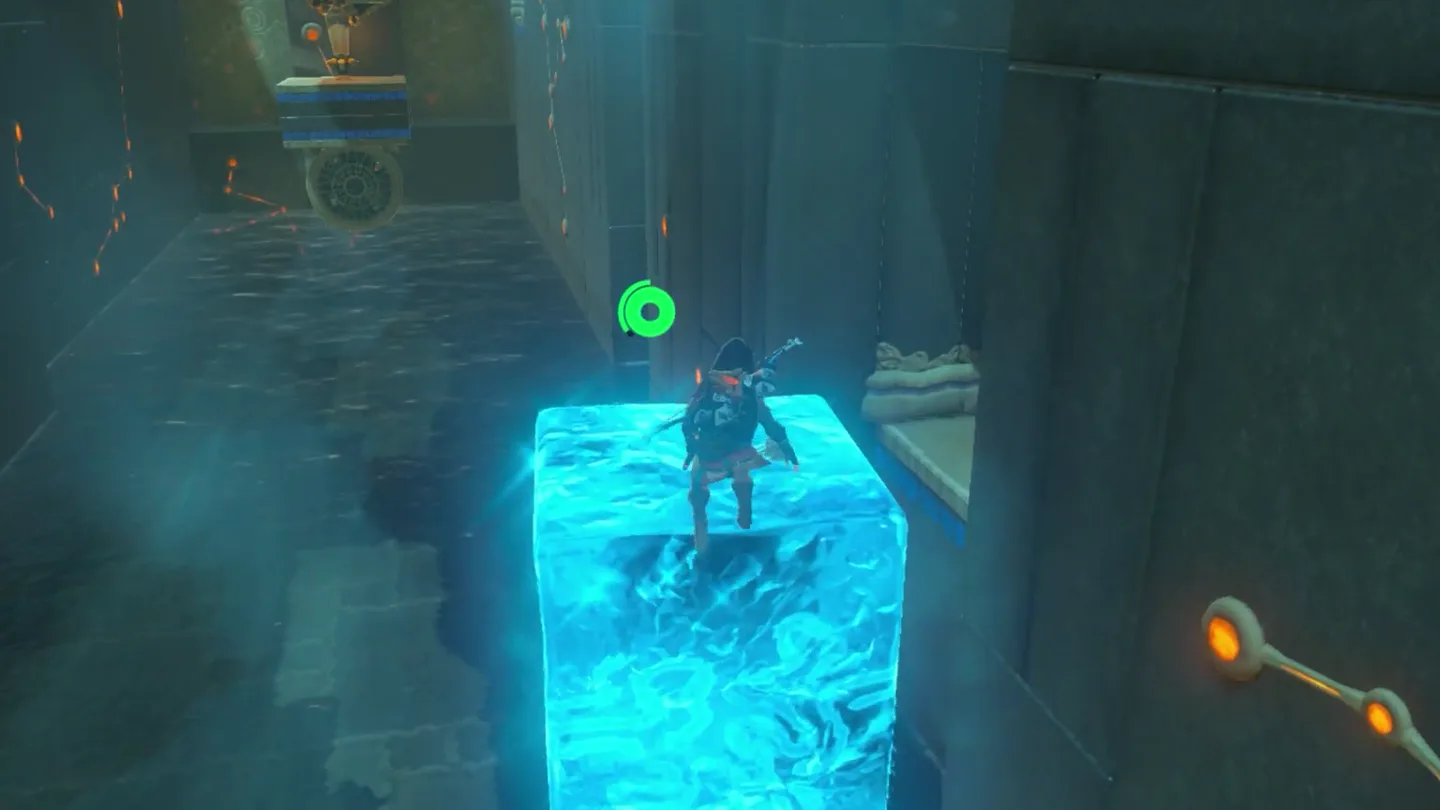
Use Cryonis to raise ice pillars across the water and hop your way along the hallway.
Watch the wall on your right: two alcoves hide chests tucked away there. Open the first for a Sapphire and the second for a Feathered Spear.
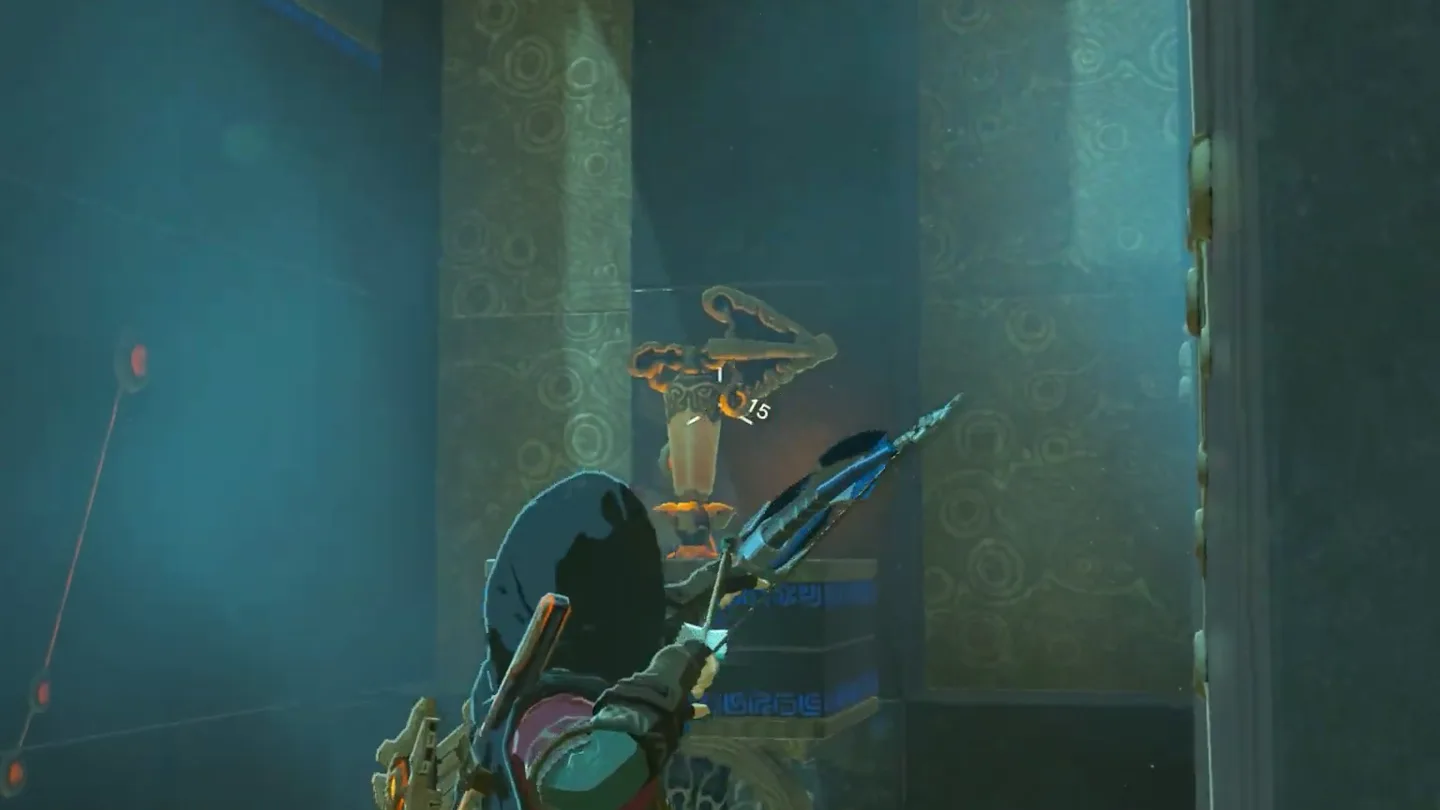
At the end of the hallway, a floating platform holds a fan and an orange switch. Shoot the switch with your bow — it should be reachable from here, but you can go closer if you need.
The gate behind you will open — backtrack down the hallway and open the revealed third chest for the highly valuable Ancient Core.
3. Orient all six fans to spin every propeller
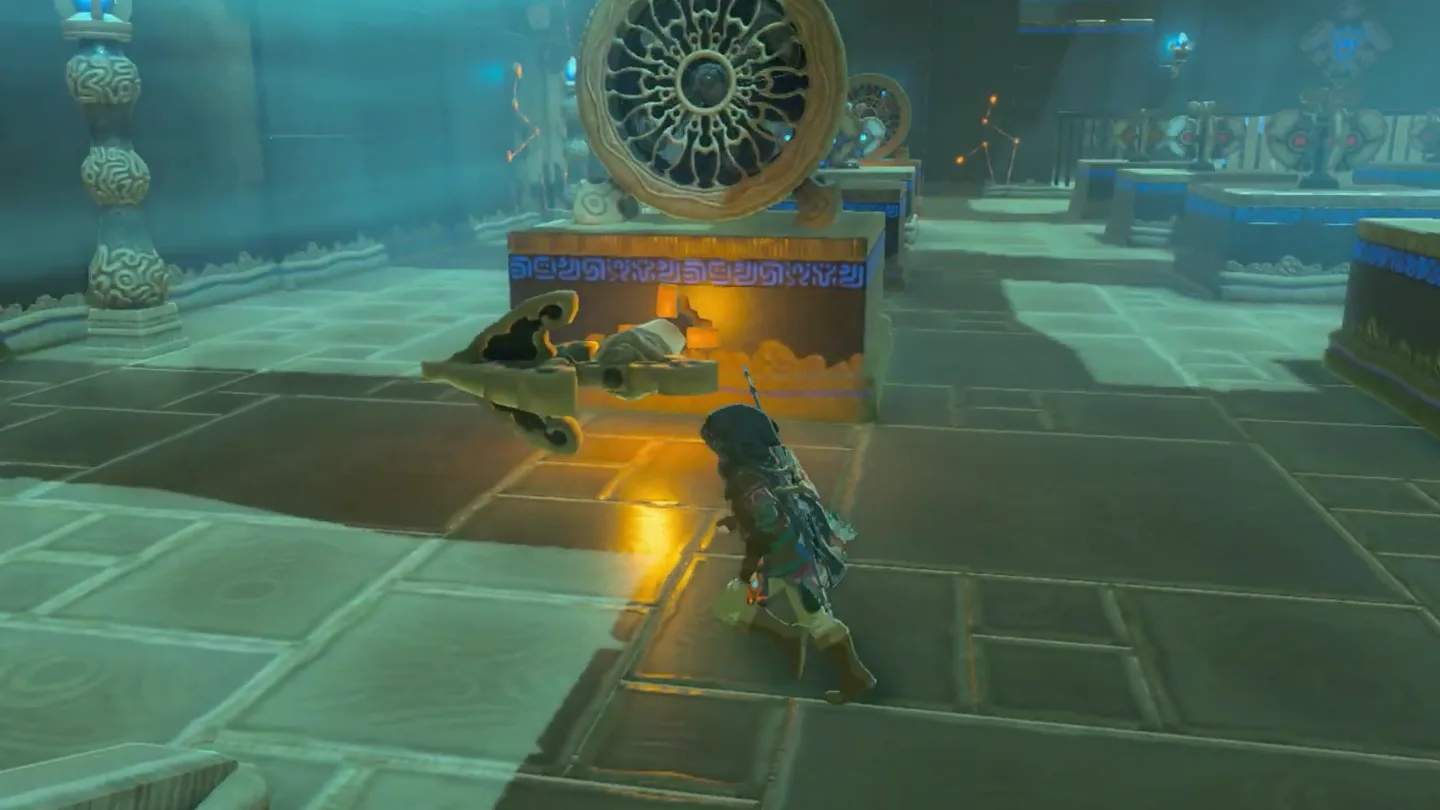
Return to the main chamber. The goal is to make all propellers spin at once; rotate the fans by hitting the orange switches on their sides.
Set the bottom-left fan to blow right.
Set the bottom-right corner fan to blow up.
Set the top-left corner fan to blow right.
Set both center fans to blow left.
Set the top-right fan to blow down.
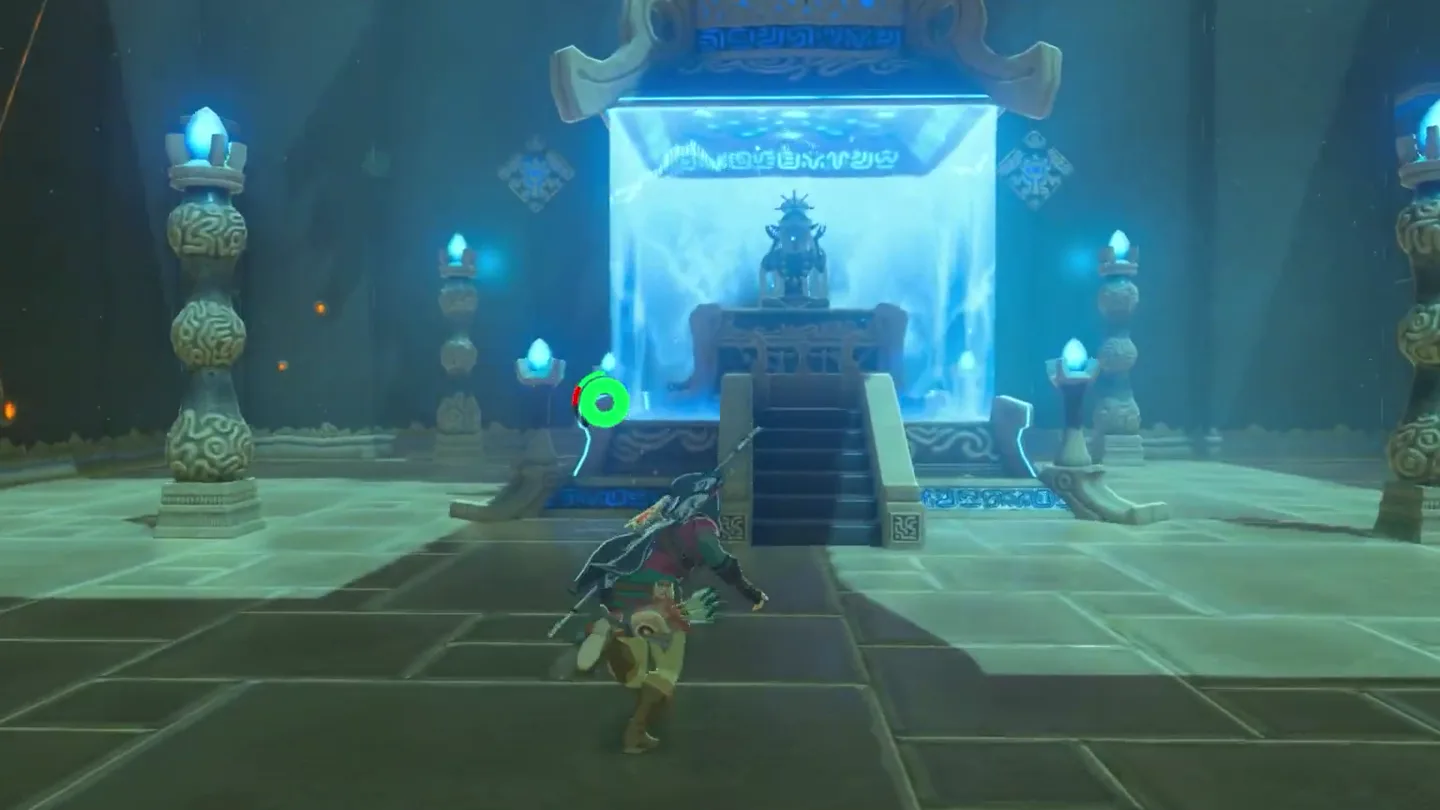
With every fan oriented correctly, all fourteen wind switches catch the wind simultaneously and the portcullis to the monk’s pedestal rises.
4. Receive the Spirit Orb from the monk
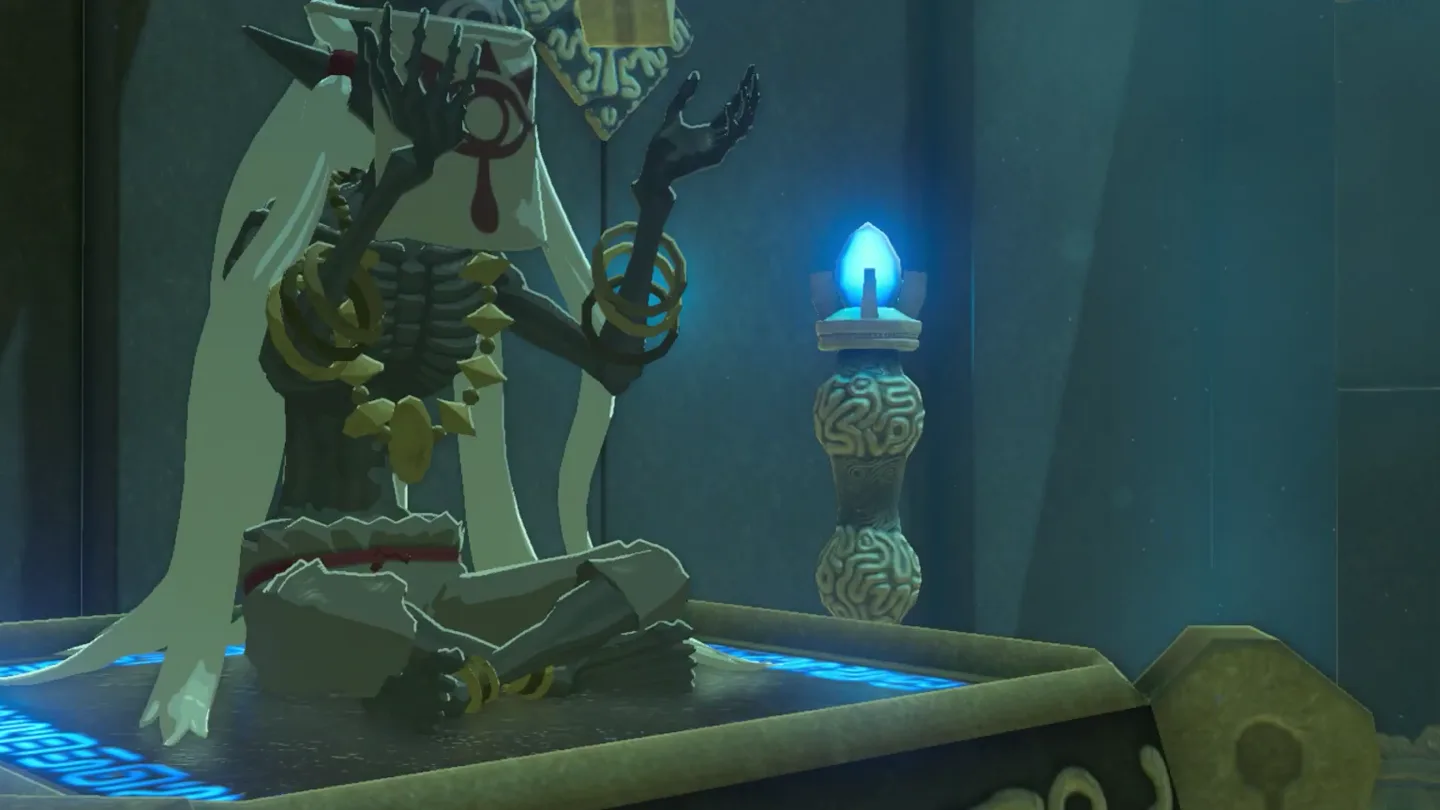
Approach Akh Va’quot to receive your Spirit Orb; the monk wishes you well and fades away.
What is in each chest?
| Chest | Contents | How to get it |
|---|---|---|
| 1 | Sapphire | In the first alcove along the right wall of the flooded side hallway, tucked away past the orange contraption — Cryonis across the water and open it. Keep this, it’s very precious. |
| 2 | Feathered Spear | In the second alcove, further along the same right wall of the side hallway. |
| 3 | Ancient Core | At the end of the hallway, shoot the orange switch on the floating platform; the gate behind you opens, so double back down the hallway to this revealed chest. |
What do people miss here?
- All three chests are up the stairs in the flooded side room behind the elevator — the fan puzzle doesn’t require it, so it’s easy to walk straight past and beeline to the monk.
- The Ancient Core chest appears behind you: shooting the switch at the end of the hallway opens a gate you already passed, so turn around and head back.
- Fan order doesn’t matter — only each fan’s final facing does. If you over-rotate one, keep hitting its switch to rotate it back around.
- Striking a wind switch after the monk’s gate is open can drop the portcullis and lock you in the pedestal section; warp out and re-enter if this happens.
- Nothing is permanently missable — you can warp back to the shrine any time — but it’s quicker to grab all three chests on your first pass.
What else is nearby?
| Shrine | Direction | Straight-line distance | Region |
|---|---|---|---|
| Bareeda Naag Shrine | south | 246 | Tabantha |
| Voo Lota Shrine | west | 360 | Tabantha |
| Sha Warvo Shrine | north | 478 | Tabantha |
Which guides help next?
FAQ
Where is Akh Va'quot Shrine?
Do I need Cryonis for the Windmills shrine?
Which way should each fan face in Akh Va'quot Shrine?
How do I get the Ancient Core chest?
Can I come back later for missed chests?
Related Articles
shrines
Bareeda Naag Shrine: Cannon & The Ancient Rito Song (BotW)
Bareeda Naag Shrine walkthrough: unlock it via The Ancient Rito Song, clear the Cannon trial, and get the bow and Diamond chests.
shrines
Kah Okeo Shrine Guide: Wind Guide & All 6 Chests (BotW)
Kah Okeo Shrine guide: find the cave under the stone slab, master every wind switch, and grab all 6 chests, Giant Ancient Core included.
shrines
Sha Warvo Shrine Walkthrough: Path of Hidden Winds – BotW
Step-by-step Sha Warvo Shrine guide (Path of Hidden Winds) on Dronoc's Pass: all updrafts, the moving platform, and both chests — Purple Rupee and Knight's Bow.
Was this helpful?
Thanks for the feedback!