

Kah Okeo Shrine Guide: Wind Guide Walkthrough & All 6 Chests
Kah Okeo Shrine guide: find the cave under the stone slab, master every wind switch, and grab all 6 chests, Giant Ancient Core included.
Where is Kah Okeo Shrine?
From Tabantha Tower, head to the western border of the Tabantha Region — the shrine lies southwest of the tower, in a hole in the Tabantha Frontier west of the Rayne Highlands. Nothing of the shrine shows above ground: the only surface clue is a large, suspicious-looking stone slab lying flat there, and the entrance is the secret cave beneath it.
| Item | Detail |
|---|---|
| Trial | Wind Guide |
| Tower region | Tabantha |
| Map-marker coordinates | -4121, 0414, 0197 |
| Shrine quest | None |
| Chests | 6 |
| Names | Kah Okeo Shrine · 卡‧奧裘神廟 · 卡·奥裘神庙 |
What should you bring?
Bring the Stasis rune and any melee weapon — Stasis the slab outside, hit it a few times, and it goes flying; Octo Balloons work as an alternative. Remote Bombs are used on cracked walls inside, and Bomb Arrows let you skip the trickiest puzzle entirely. Don’t pack a Korok Leaf — one waits in a chest at the entrance. The Guardian Scouts don’t need to be fought unless you fall to the lower level, though you may want to take them out for the loot.
Video walkthrough

How do you solve Kah Okeo Shrine?
This trial runs entirely on moving air. A Korok Leaf flips wind switches that spawn balloon platforms, launchers and a bomb barrel, and every explosion you trigger opens a new updraft to ride.
1. Open the First Gate
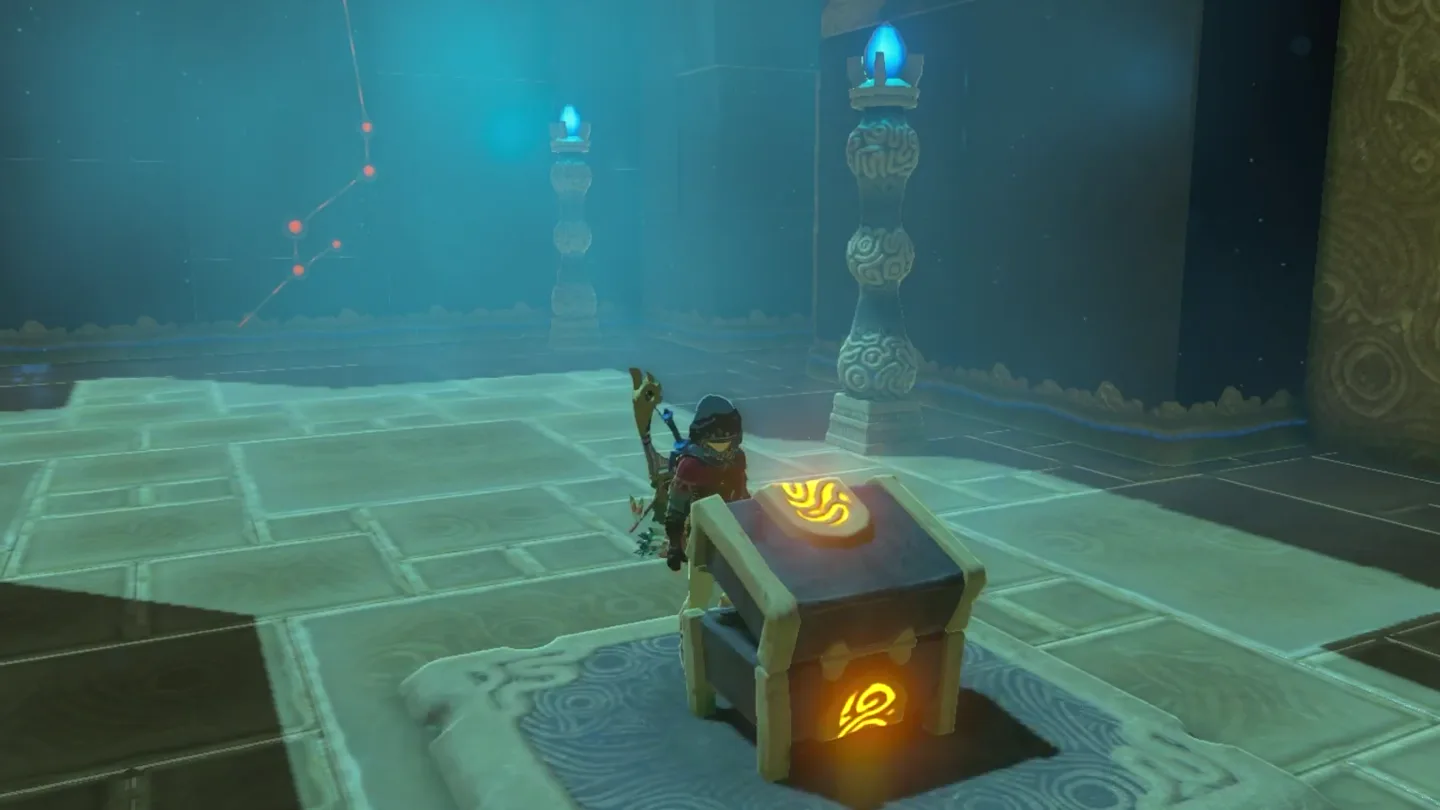
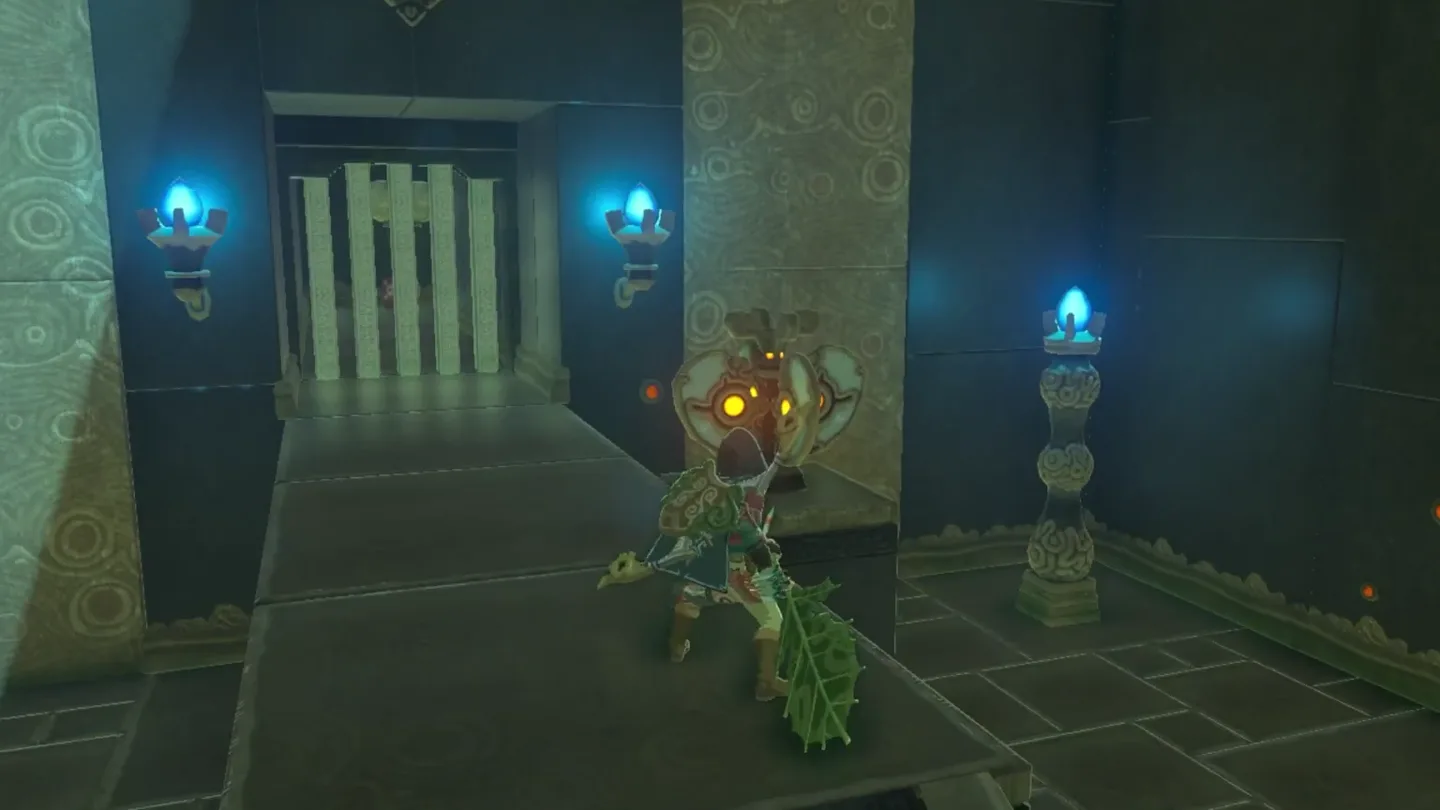
Inside, a closed portcullis blocks the way, with a fan-like Wind Switch beside it. Open the chest next to it for a Korok Leaf — every puzzle in this shrine depends on that leaf.
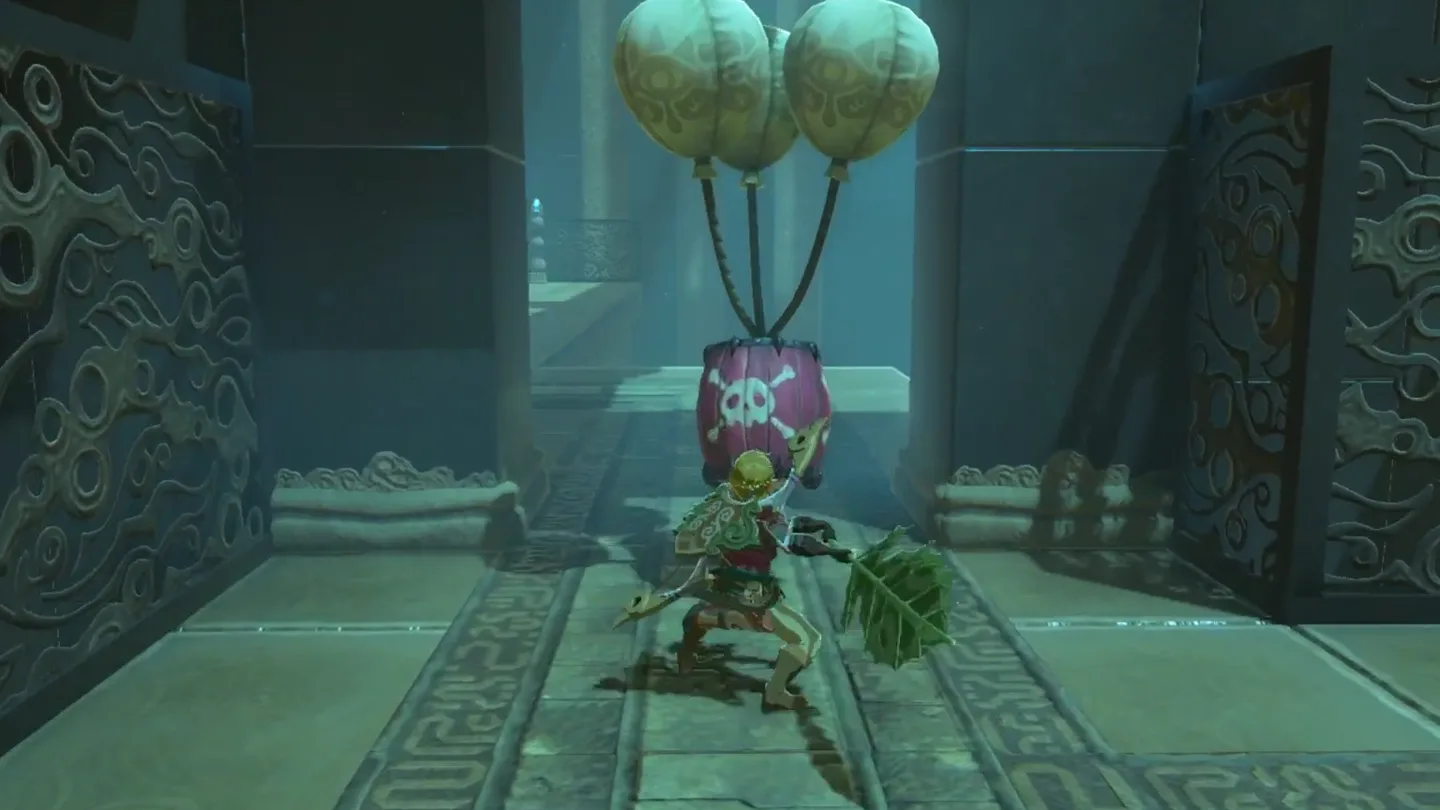
Swing the Korok Leaf to blow wind at the Wind Switch — it spins, the portcullis opens, and you pass into a hallway where a Bomb Barrel dangles from three balloons.
2. Cross the Tall Room by Balloon Platform
The hallway opens into a tall room with two Guardian Scout IIs (carrying Guardian Swords) at the bottom. You don’t need to fight them unless you fall to the lower level — climb to the top of the room.
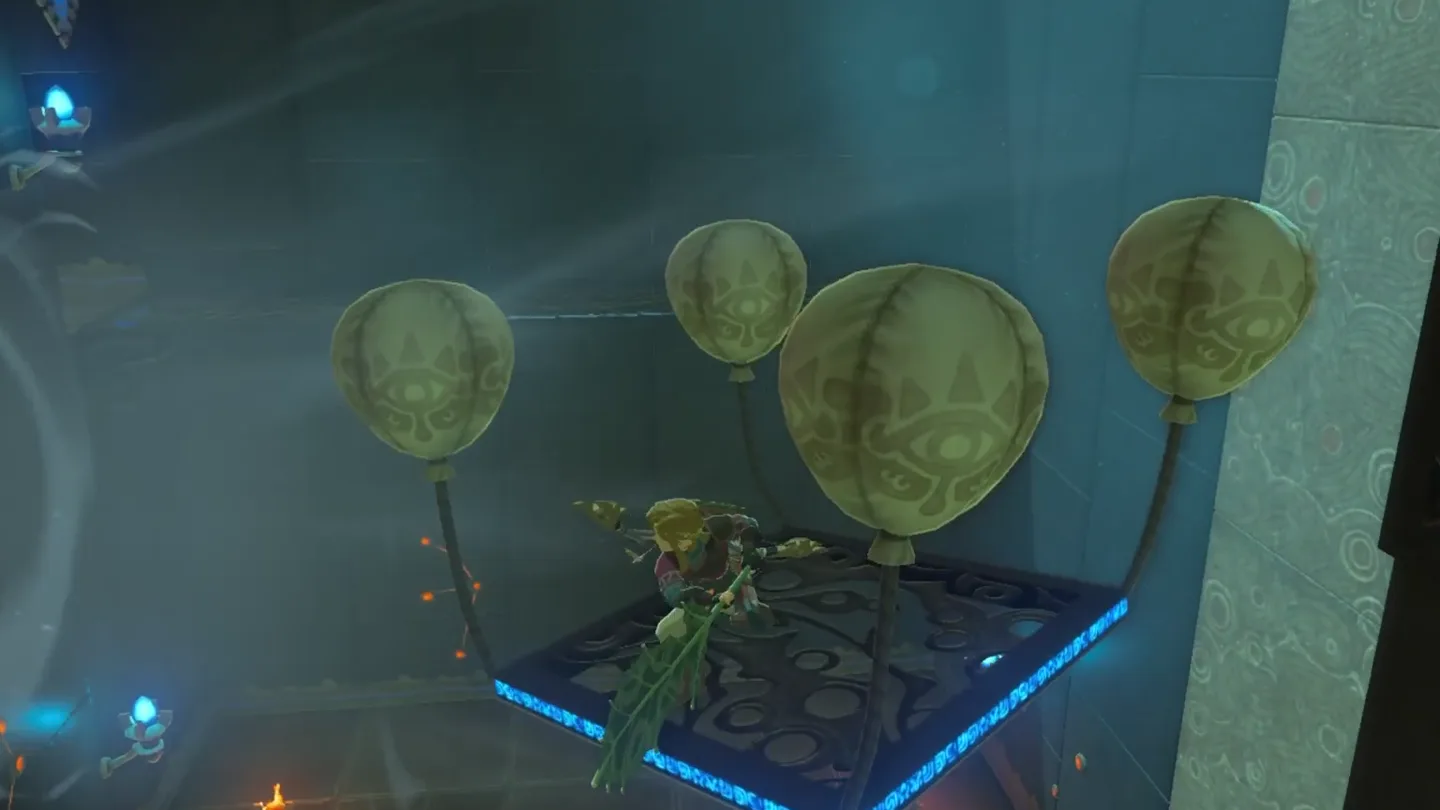
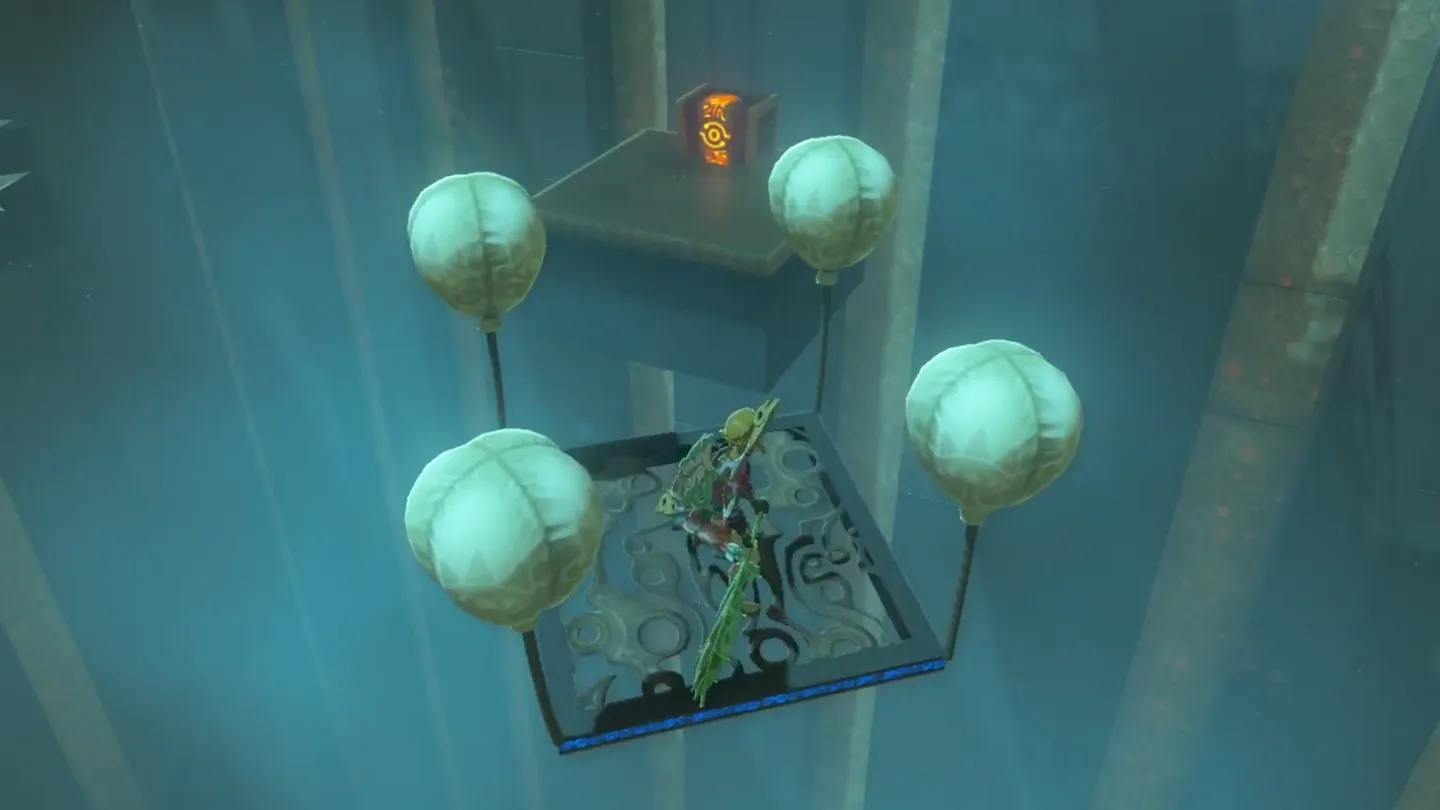
Activate the Wind Switch up top to spawn a platform floating on four balloons. Swing the Korok Leaf at it in the direction you want it to travel; if the platform flies too far away or a balloon pops, hit the switch again to respawn it.
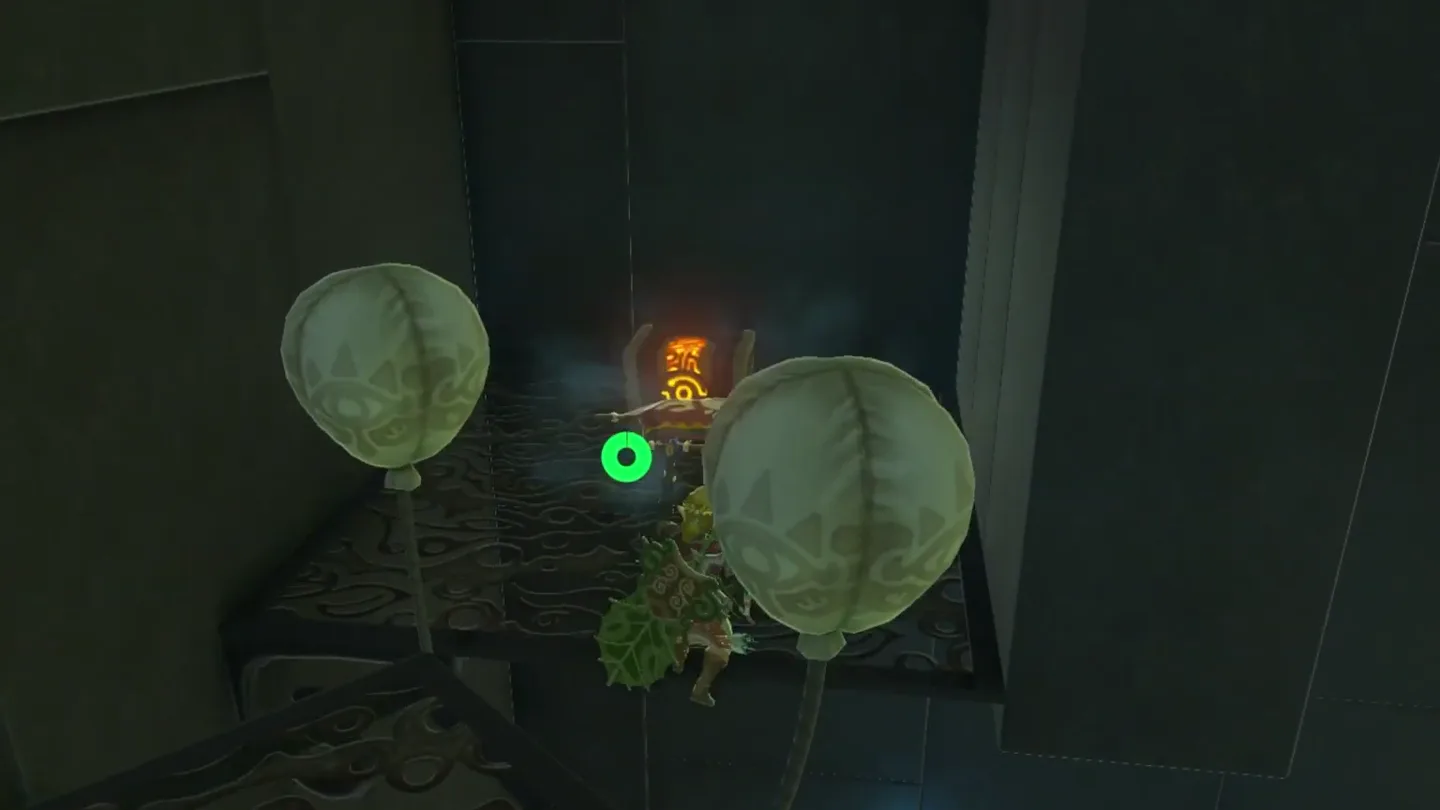
Before crossing, ride the platform into the corner by the back wall and open the chest there for a Gold Rupee (300 Rupees).
Ride or respawn a platform and cross to the far side, then follow the corridor past a locked portcullis — you can see the Monk’s Pedestal through it; that’s where the trial ends.
3. Break Through the Cracked Wall
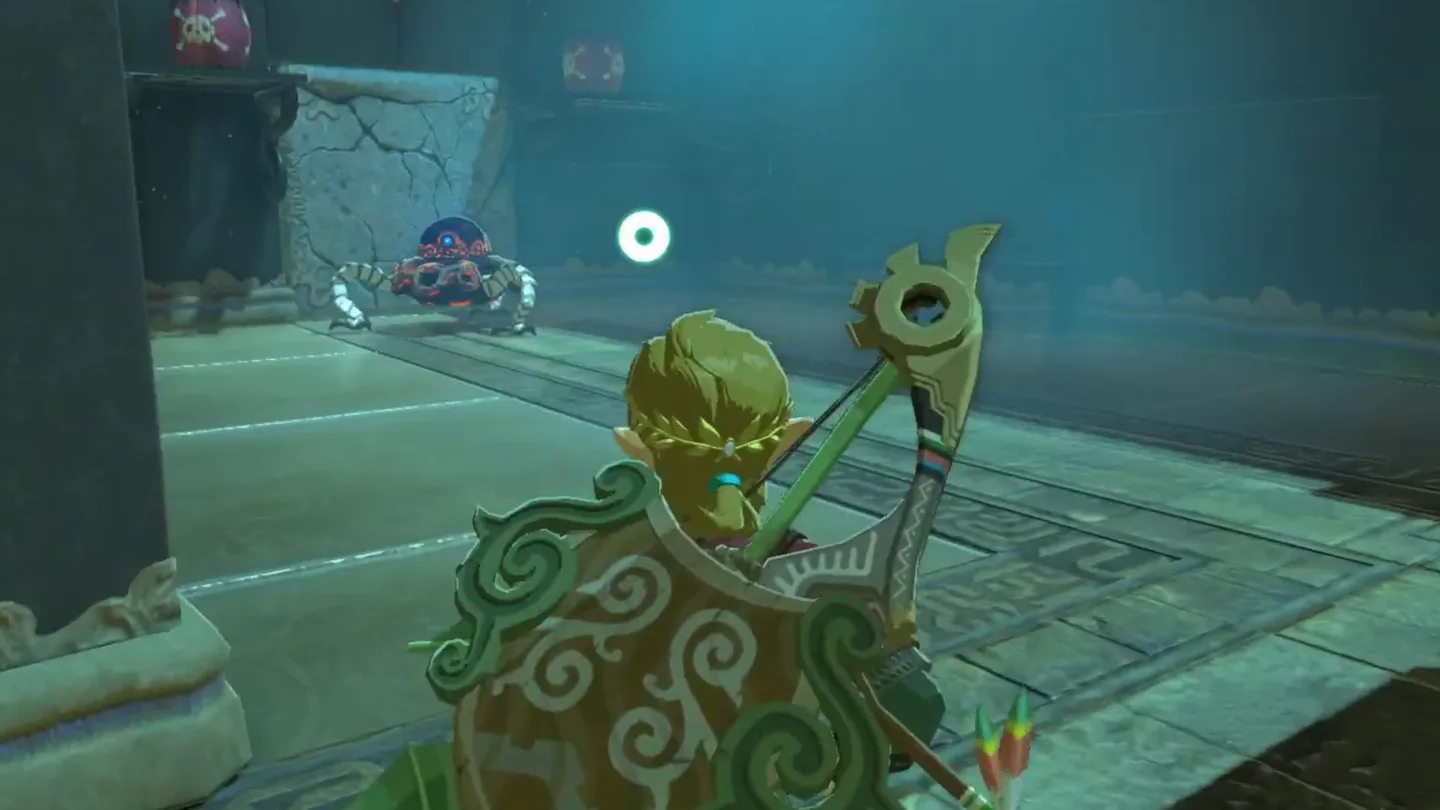
Next, a Guardian Scout stands in front of a cracked wall. Destroy it with a Remote Bomb (or the nearby Bomb Barrels), deal with the scout if you want the loot, and continue into the large, complicated-looking central room.
4. Navigate the Central Room and Spike Maze
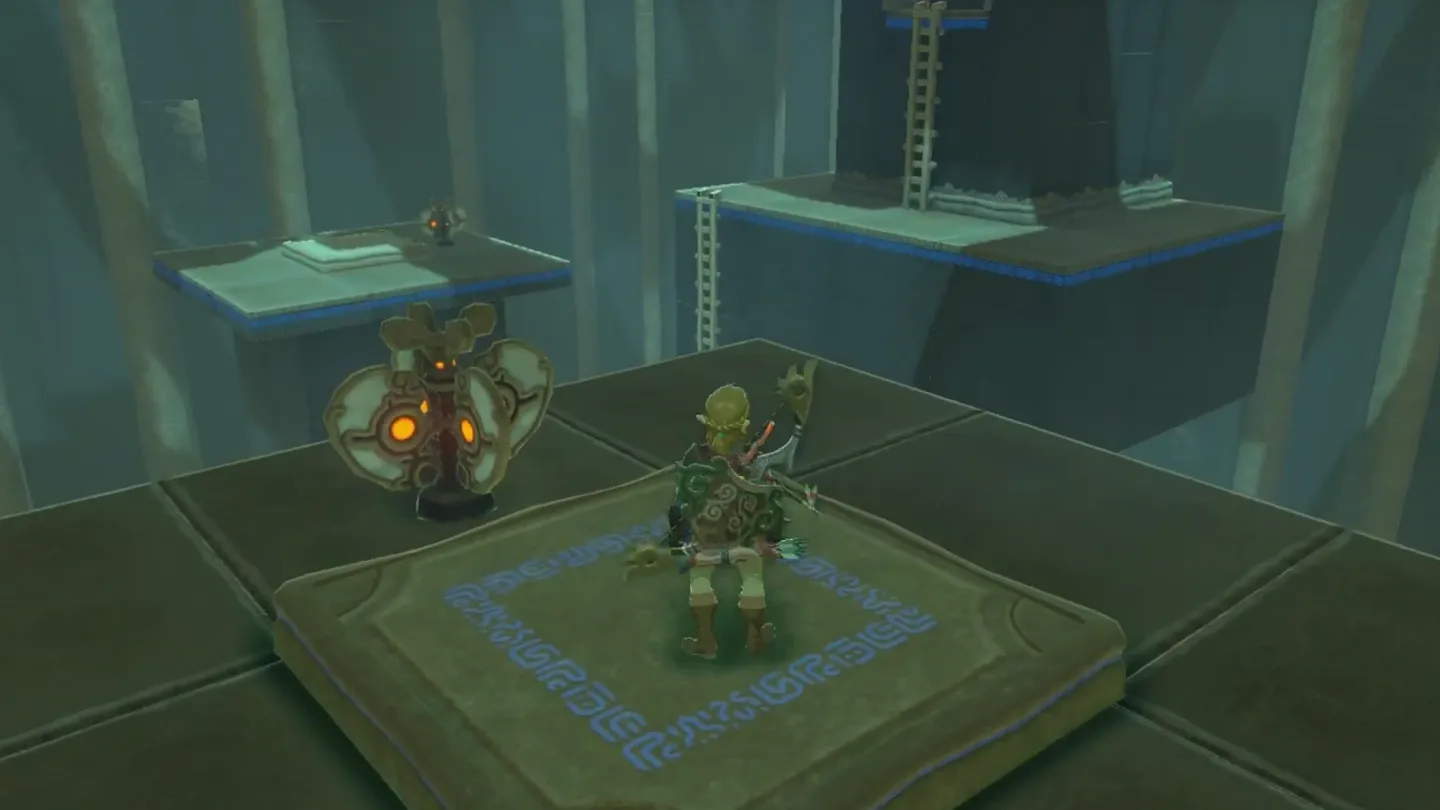
Step onto the Tilted Platform embedded in the floor and activate the Wind Switch to launch yourself into the air. Glide slightly left to land on a platform bearing a chest with a Forest Dweller’s Sword — that platform carries its own Wind Switch and Tilted Platform.
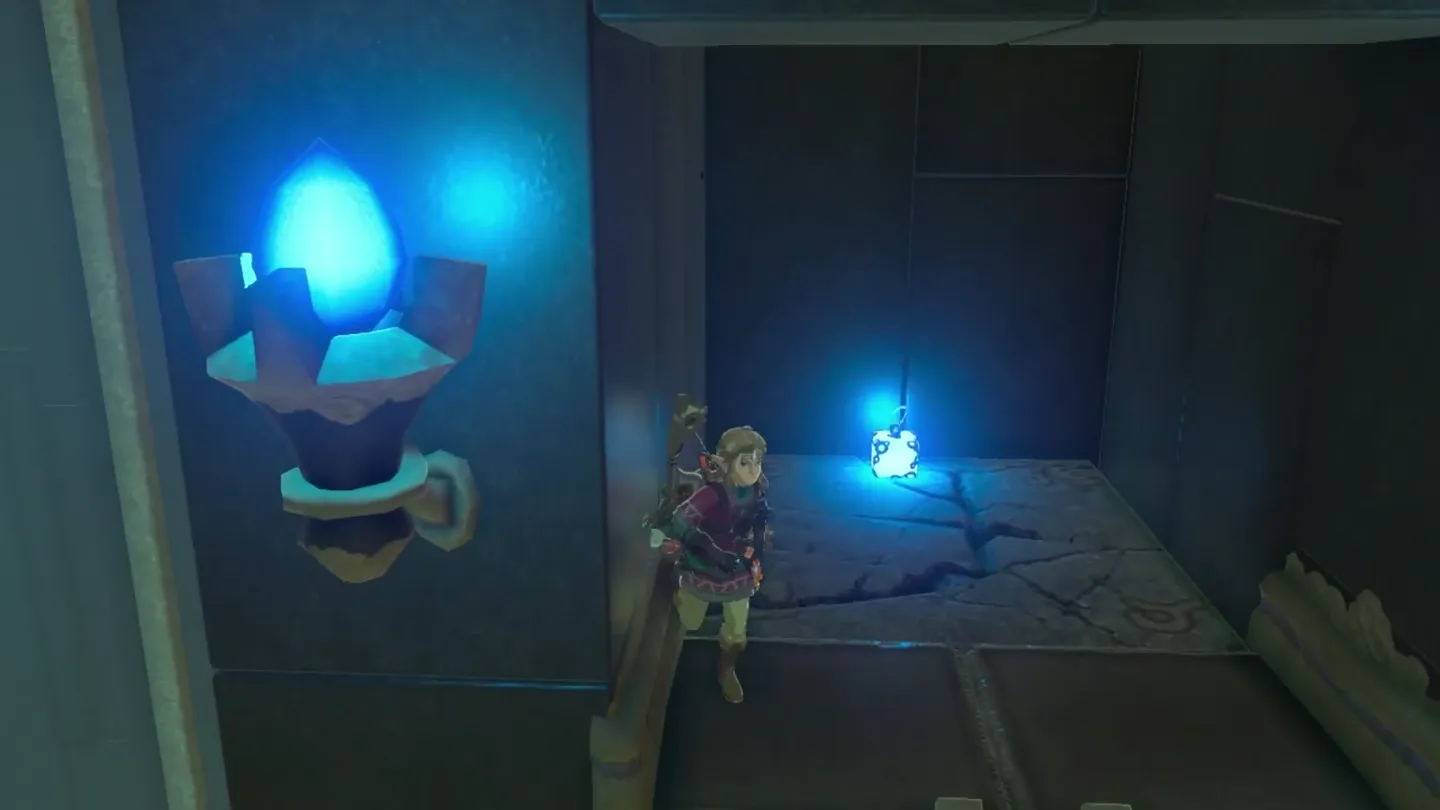
From there, paraglide to the right, toward the tower with the ladder (you can also reach it through the series of platforms and ladders). Lob a Remote Bomb into the tower’s hollow middle to destroy the stone block at the bottom of its ladder-accessed indentation. An updraft now flows up through the tower — ride it with your paraglider.
At the top, follow the path to the next Wind Switch and spin it with Korok Leaf wind to spawn a second balloon platform. Detour right first to open the chest there for a Giant Ancient Core, then get back on the platform — if it’s gone, glide back down to the tower and ride the updraft up again.
Steer the platform carefully through the maze of Floor Spikes mounted as walls, aiming for the platform on the opposite side from the tower. If your balloons touch the spikes they’ll pop — reactivate the switch and take a fresh platform.
5. Destroy the Stone Column with a Bomb Barrel
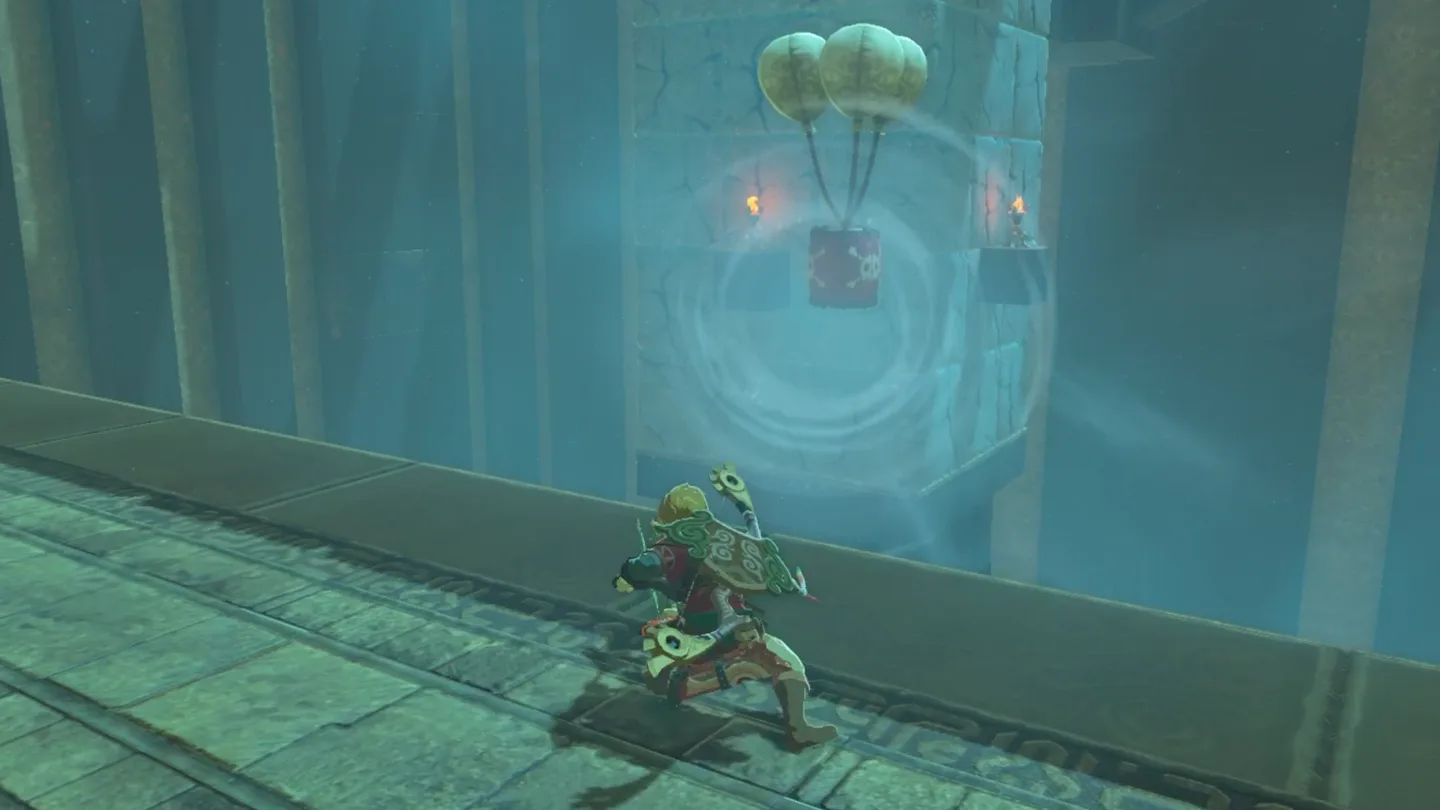
On the far side, head up the path and use the next fan to launch the platform into the air, bringing you to the third level. Turn into the side room on the back wall and activate its Wind Switch to spawn a Bomb Barrel attached to balloons.
Blow the Bomb Barrel out of the room with Korok Leaf gusts and shepherd it into the tall column of stone blocks. Expect a few misses — respawn the barrel at the switch between attempts. If you have Bomb Arrows, one shot at the stone blocks does the job instantly.
6. Claim the Spirit Orb
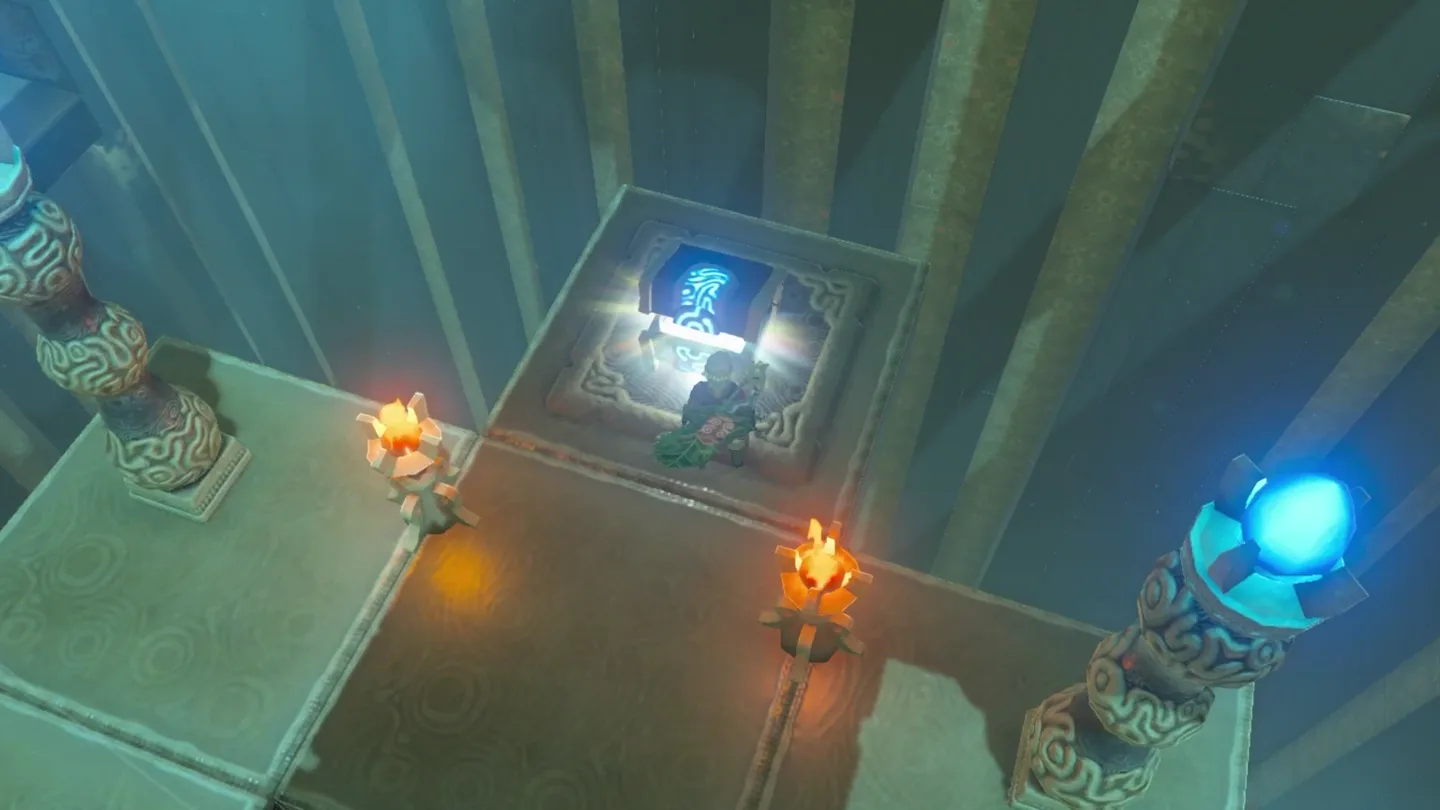
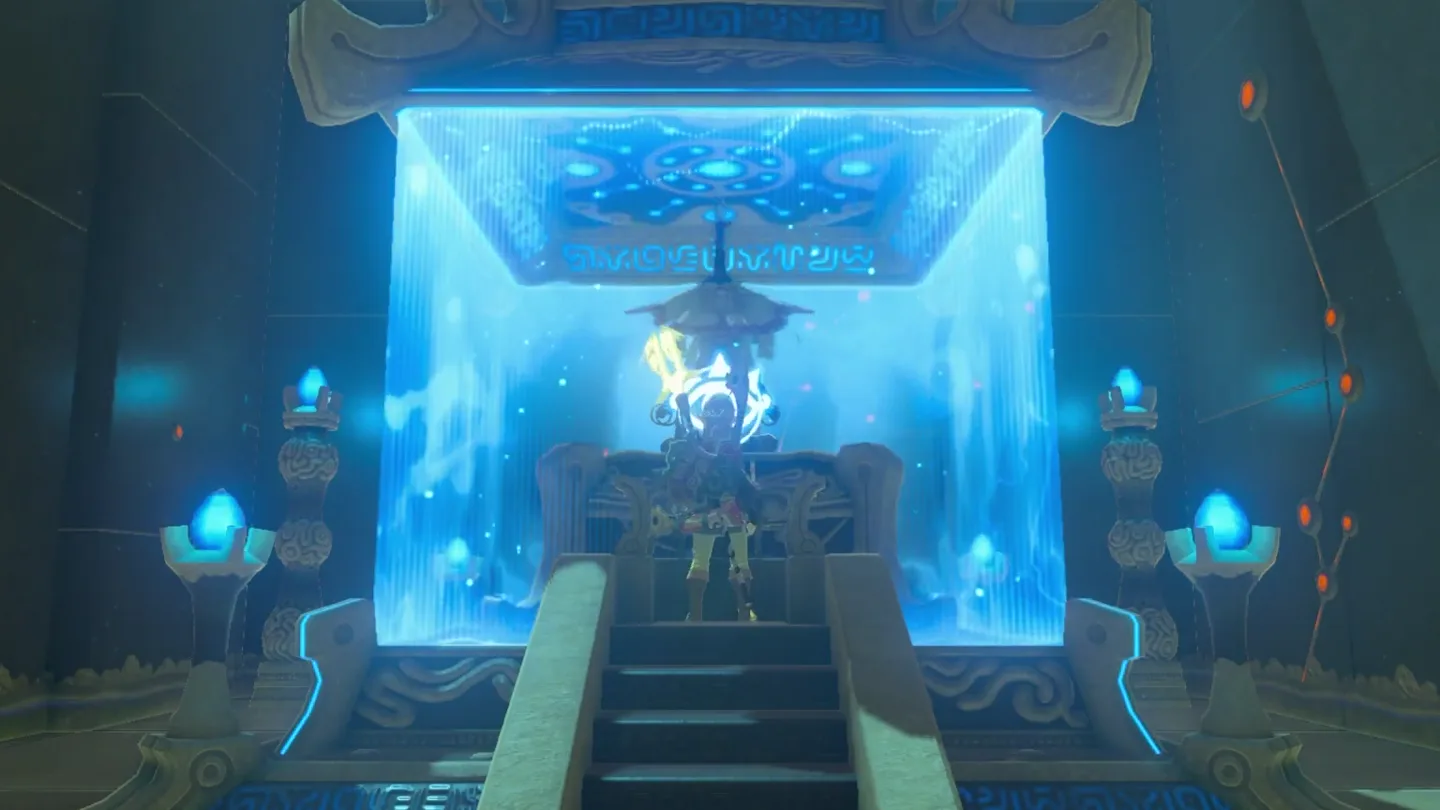
Once the blocks explode, the tower’s updraft extends all the way to the top — use the Tilted Platform’s Wind Switch here to gain the height to reach it, and ride the wind up to a chest containing the Small Key. On the way back, drift down onto the platform directly above the locked gate for the final chest (Thunderspear), then drop to the gate, unlock it with the Small Key, and claim your Spirit Orb from Kah Okeo.
What is in each chest?
| Chest | Contents | How to get it |
|---|---|---|
| 1 | Korok Leaf | In the first room, in the chest beside the sealed portcullis. Open it immediately — the entire shrine is built around this leaf. |
| 2 | Gold Rupee (300 Rupees) | In the tall second room, steer the balloon platform into the corner by the back wall before crossing to the far side. |
| 3 | Forest Dweller’s Sword | After the first Tilted Platform launches you into the air, paraglide slightly left and land on the platform holding this chest. |
| 4 | Giant Ancient Core | A short detour to the right after riding the tower updraft, just before steering the balloon platform into the spike maze. |
| 5 | Small Key | In a chest at the top of the updraft revealed by destroying the column of stone blocks. It opens the locked gate to the Monk. |
| 6 | Thunderspear | On a platform directly above the locked gate. Drift onto it while paragliding back down with the Small Key, before opening the gate. |
What do people miss here?
- Sweeping the border and finding nothing? The shrine is fully hidden — look for a suspicious flat stone slab. Stasis plus a few weapon hits (or Octo Balloons) reveals the cave underneath.
- The 300-Rupee Gold Rupee chest in the second room is off the main line: steer the balloon platform to the corner by the back wall before crossing, or you’ll sail right past it.
- The Giant Ancient Core chest is a brief detour to the right just after the tower updraft — beeline for the spikes and you’ll miss it.
- The Thunderspear chest sits on a platform directly above the locked gate; grab it while gliding back down with the Small Key, before opening the gate.
- Balloons pop on the spike maze and bomb barrels drift wide — nothing is permanently lost. Reactivate the relevant Wind Switch to respawn a fresh platform or barrel and take another run at it.
What else is nearby?
| Shrine | Direction | Straight-line distance | Region |
|---|---|---|---|
| Tena Ko’sah Shrine | east | 655 | Tabantha |
| Keeha Yoog Shrine | south | 1161 | Gerudo |
| Shae Loya Shrine | east | 1190 | Ridgeland |
Which guides help next?
FAQ
How do I uncover Kah Okeo Shrine's entrance?
Do I need to bring a Korok Leaf into this shrine?
How do I move the balloon platforms?
Do I have to fight the Guardian Scouts?
How do I get the Small Key for the locked gate?
Related Articles
guides
Breath of the Wild Captured Memories: All 13 Locations and Rewards
All 12 photo locations from Zelda's album plus the 13th memory in Impa's painting, with coordinates, nearby shrines, the Champion's Tunic and the extra ending scene.
guides
Breath of the Wild Great Fairy Fountains: Locations, Costs and Horse God
Where the four Great Fairy Fountains and the Horse God Malanya are in Breath of the Wild, what each fairy costs to release, and how many you need per armor upgrade.
guides
Hyrule Castle Walkthrough: Entry Routes, Hylian Shield and Final Prep
How to get into Hyrule Castle in Breath of the Wild: five entry routes, the Hylian Shield and other loot by room, and what to prepare before the final battle.
Was this helpful?
Thanks for the feedback!