

Tena Ko'sah Shrine Walkthrough: Major Test of Strength (Guardian Scout IV)
Beat the Guardian Scout IV in Tena Ko'sah Shrine: dodge its combos, bait the spin into a pillar, parry the final laser, and claim the Knight's Halberd chest.
Where is Tena Ko’sah Shrine?
The shrine stands among the Ancient Columns on the Tabantha Frontier, in Tabantha Tower territory — look for the Sheikah structure sitting beside rows of weathered stone pillars. On the map it sits east of Kah Okeo Shrine and west of Shae Loya Shrine, with Mijah Rokee Shrine farther to the southeast. If it looks familiar, it’s the shrine Zelda fails to activate in the ‘Zelda’s Resentment’ recovered memory.
| Item | Detail |
|---|---|
| Trial | A Major Test of Strength |
| Tower region | Tabantha |
| Map-marker coordinates | -3466, 0447, 0397 |
| Shrine quest | None |
| Chests | 1 |
| Names | Tena Ko’sah Shrine · 提納‧裘扎神廟 · 提纳·裘扎神庙 |
What should you bring?
No rune, ability or key item is required — this shrine gates you on gear, not gimmicks. Bring two or three strong melee weapons with plenty of durability (the Scout IV duel is long and chews through weapons), a shield so you can parry the final laser (a pillar works if you’d rather not parry), and a bow with arrows for the phase-two eye shots (skippable — you can wait that attack out from range instead).
Video walkthrough

How do you solve Tena Ko’sah Shrine?
This is a pure combat trial: the whole shrine is one scripted boss fight, and reading the Scout’s attack order matters more than anything else.
1. Enter the Shrine
Walk in and the monk Tena Ko’sah greets you at the entrance. Head down into the large rectangular chamber ahead — rows of destructible pillars line the floor, and there is no puzzle: this trial is a single duel.
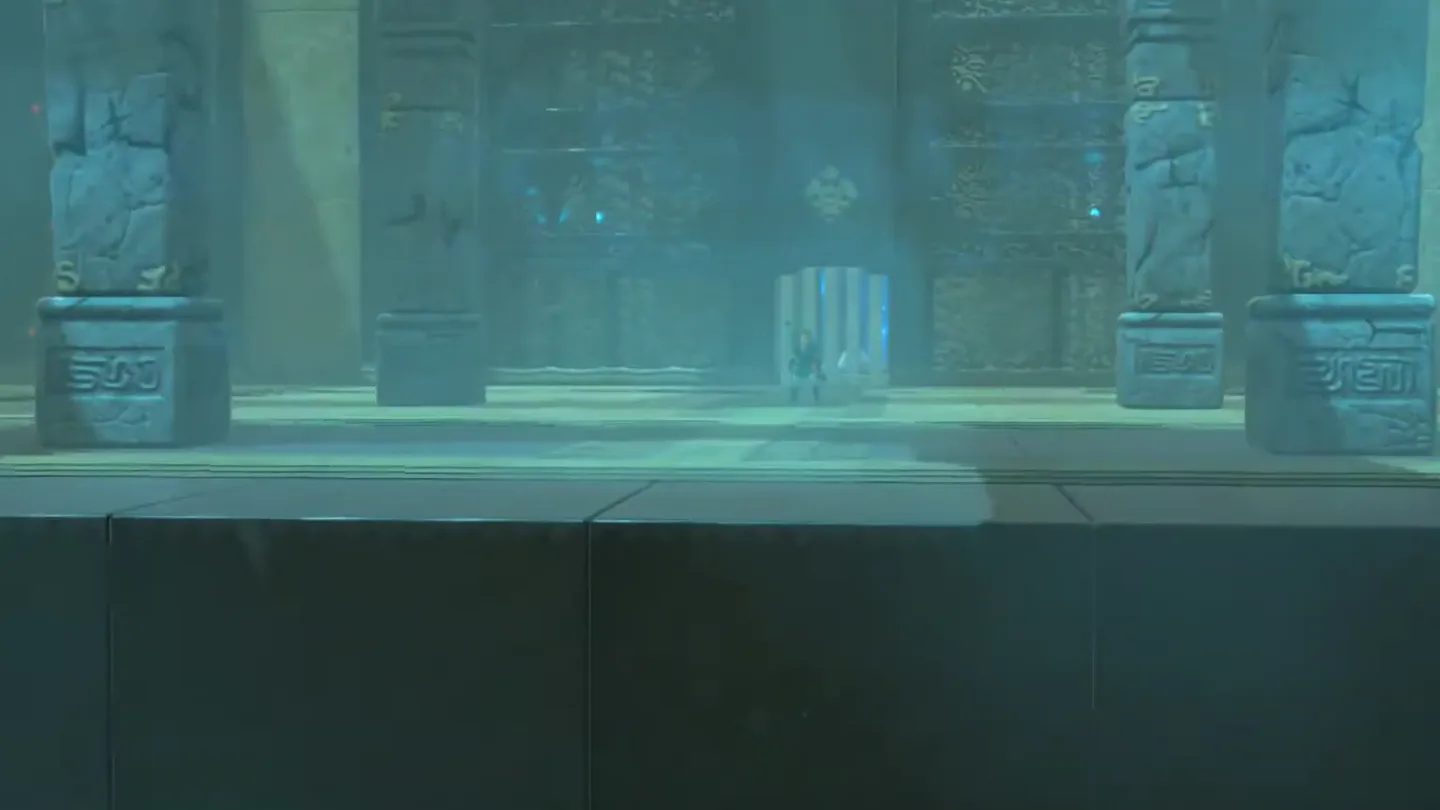
2. Phase One: Sword Attacks and Spin Dash
A Guardian Scout IV rises from the floor as you enter the chamber. It is the highest Scout tier, armed with a short sword, a broadsword and a large shield, and every hit lands hard.
Learn its script. When it leads with the short sword, it does short vertical thrusts: jump to the side past them — a well-timed side-hop triggers a Flurry Rush.
When it swings the broadsword, it does long side sweeps: backflip out of those for another Flurry Rush window.
After either string it jumps back and spins rapidly toward you. You cannot block this attack and it hits like a truck — instead, sprint behind one of the many pillars. The Scout smashes through it and stuns itself, leaving it open to your strongest attacks.
Repeat that rhythm — Flurry Rush the sword attacks, pillar-bait the spin — until half its health is gone, which triggers phase two.
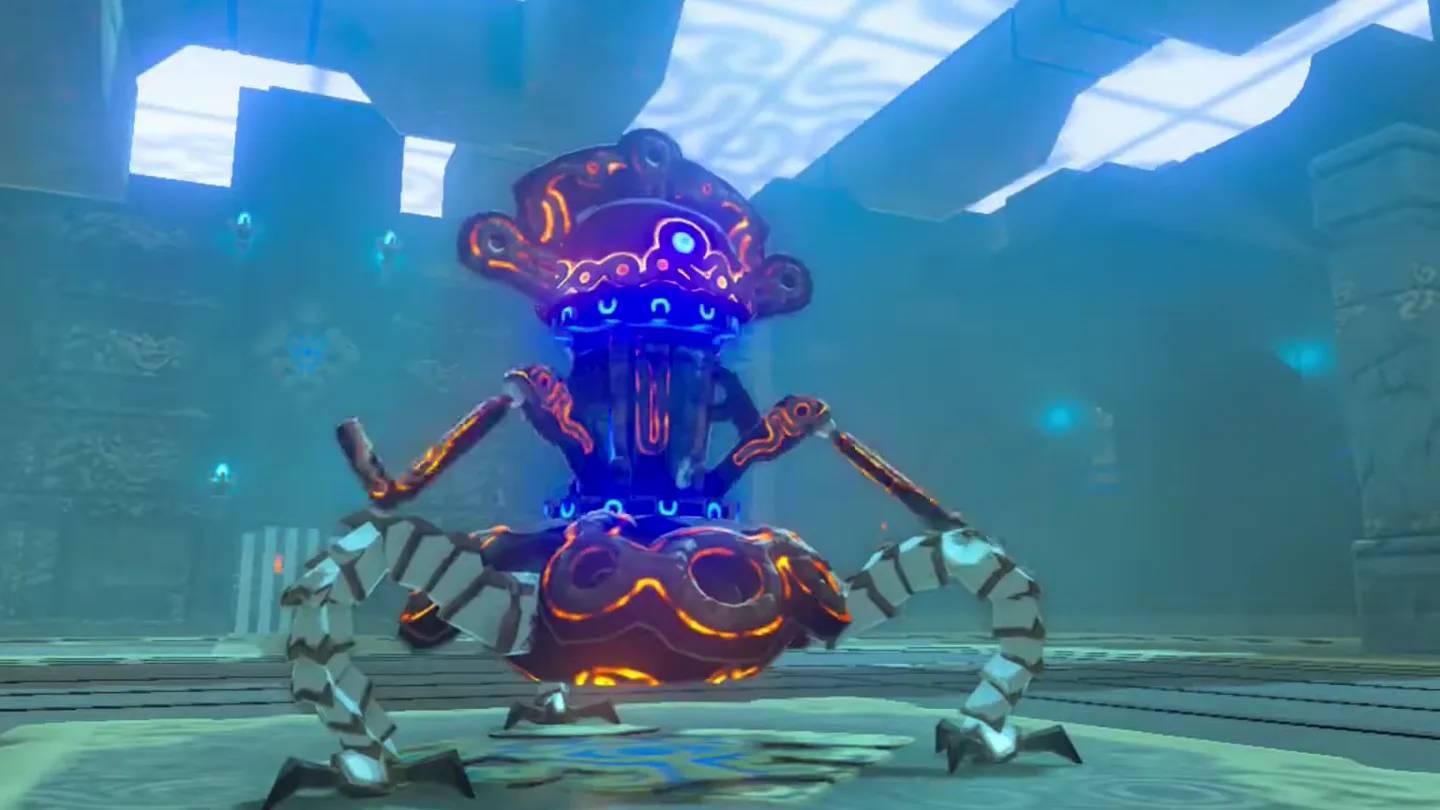
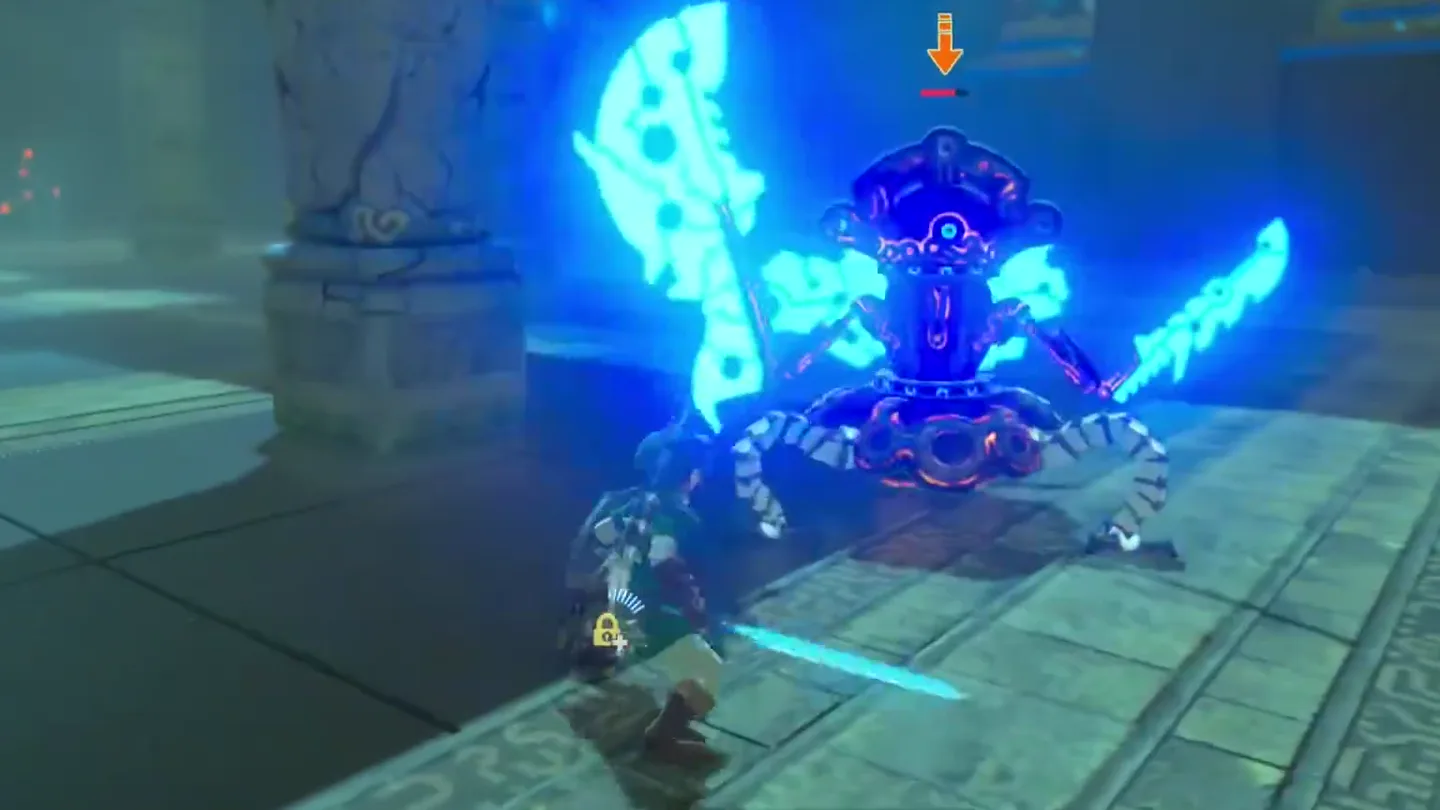
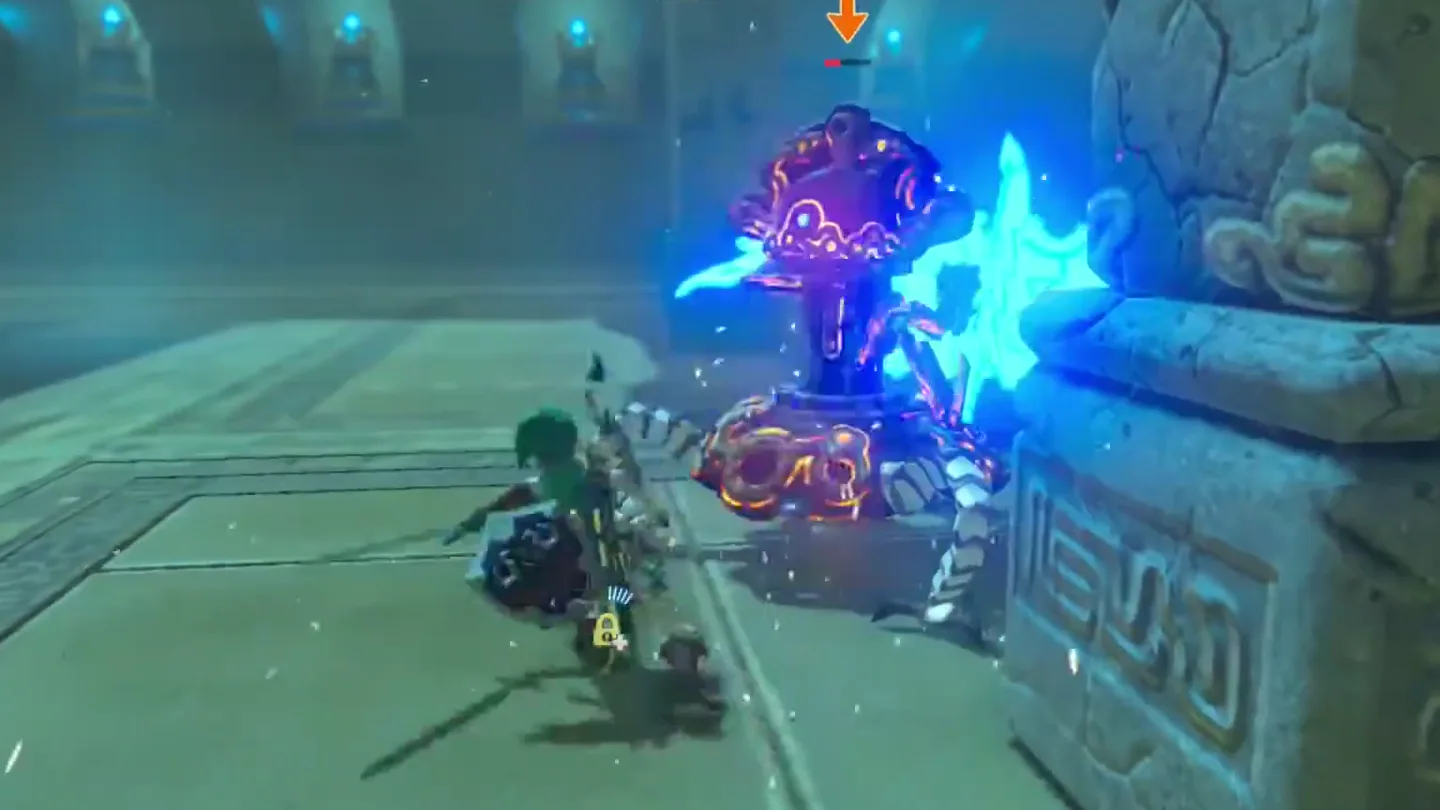
3. Phase Two: Laser and Finishing Blow
In phase two, after its sword attacks it moves back and circles its head while emitting a laser. The attack creates an updraft: ride it with your paraglider and shoot arrows at its weakpoint, or simply keep your distance and wait the attack out.
At critical health it stands still and prepares a standard laser strike. Pick one: parry the beam with your shield for the finishing blow, hit it as hard as you can while it charges, or hide behind one of the remaining pillars.
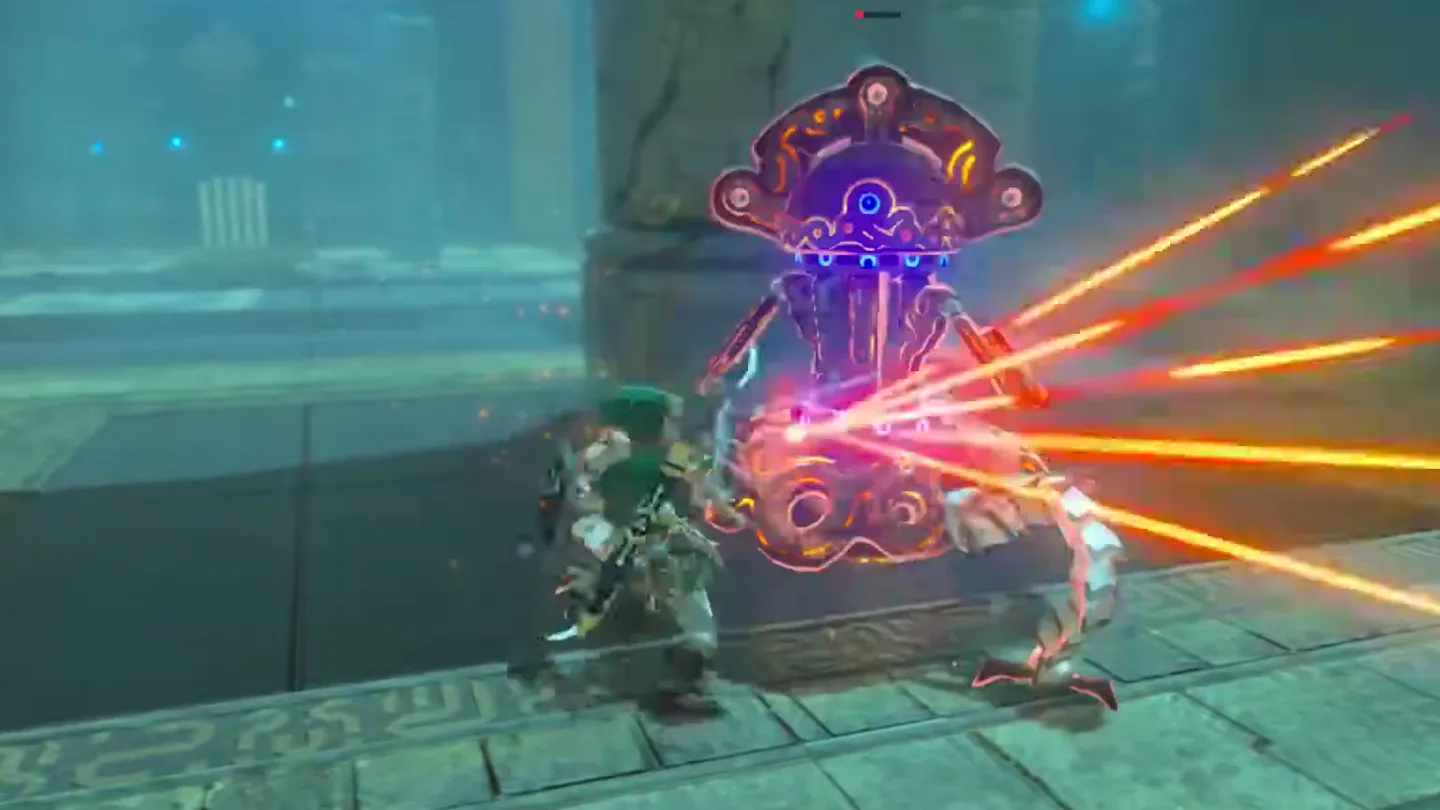
4. Collect Rewards and Complete the Shrine
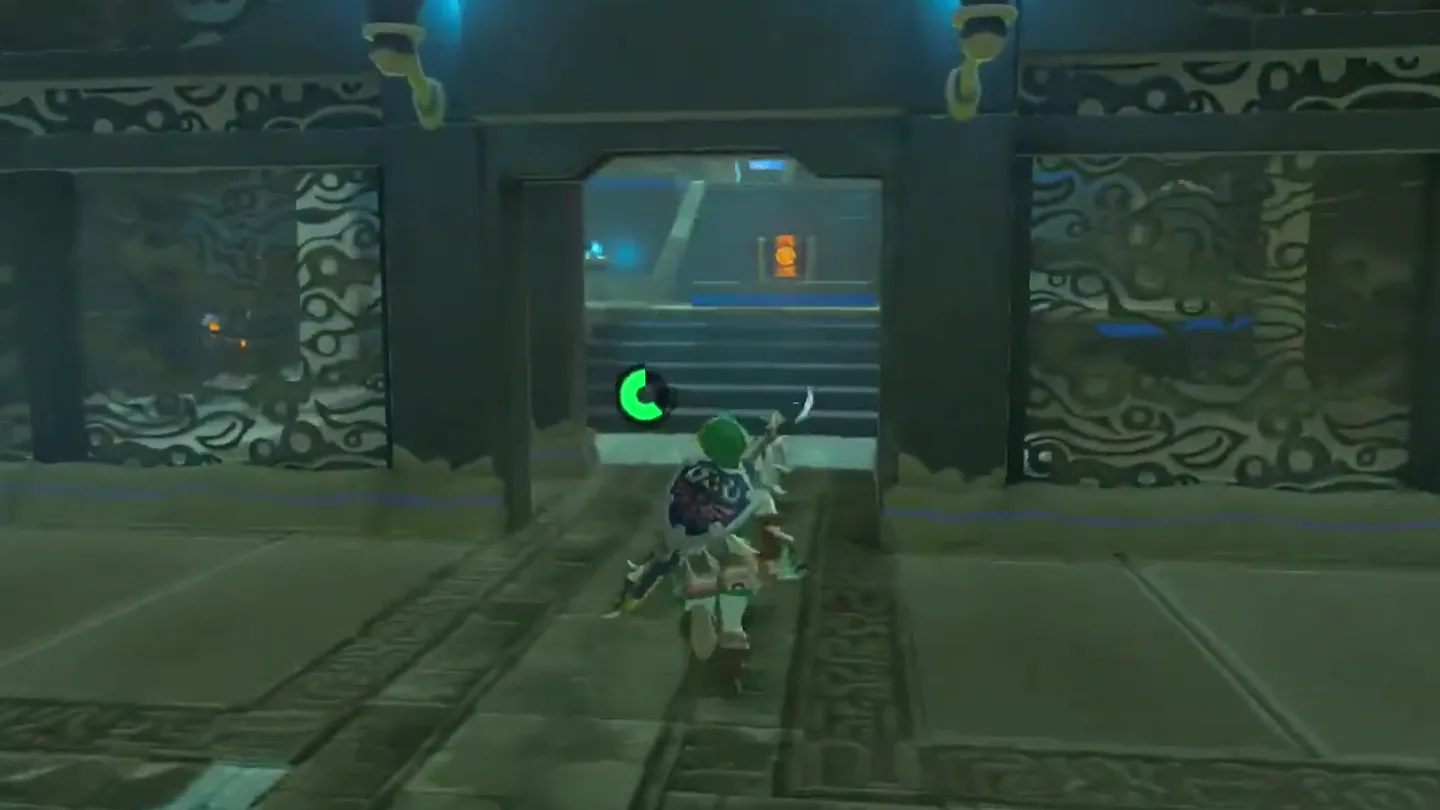
When it is destroyed, the portcullis at the back of the chamber rises. Before moving on, pick up the Scout’s dropped weapons — typically a Guardian Sword++, Ancient Battle Axe++ and Guardian Shield++ (randomized each rematch), among the best gear in the game.
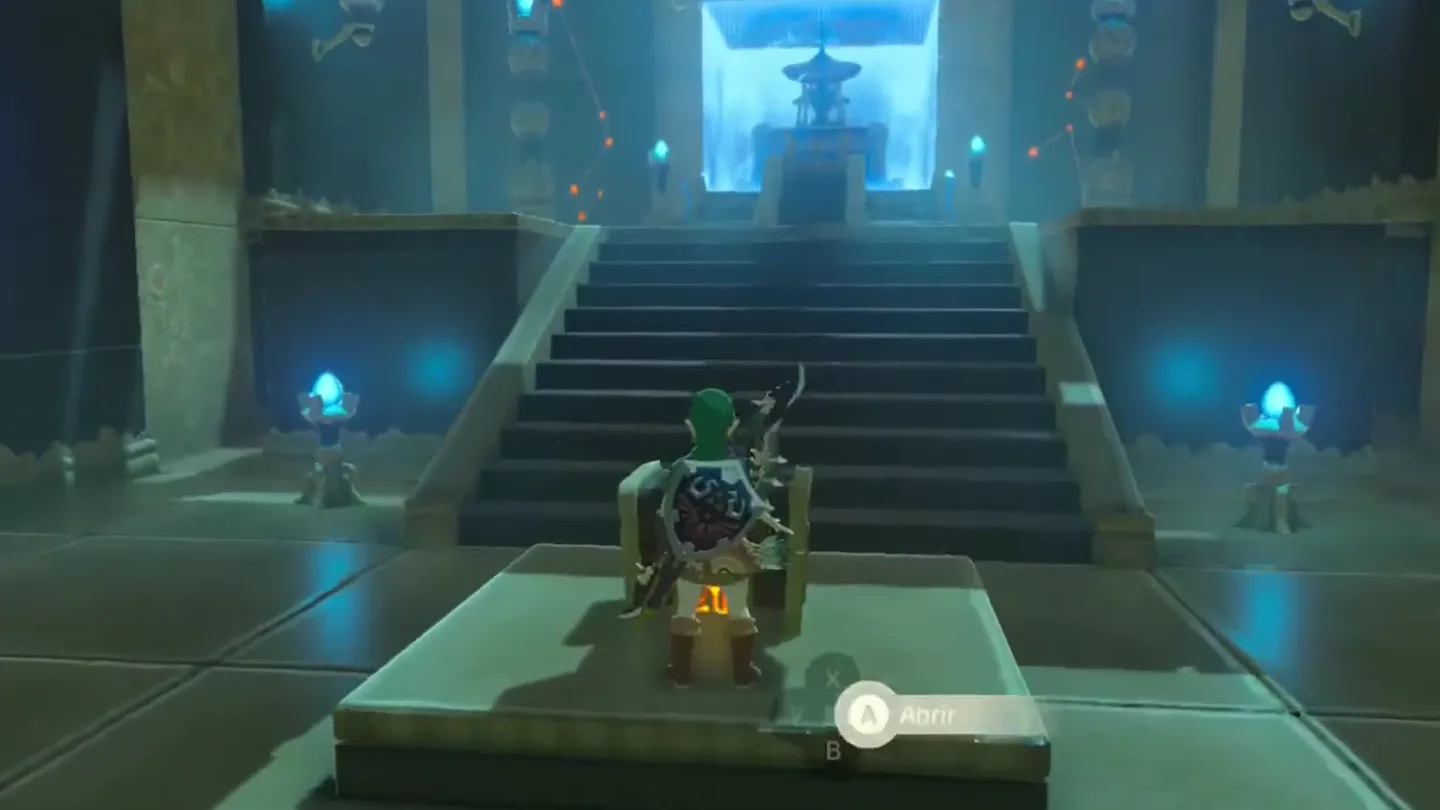
Head through the raised gate and open the stone treasure chest sitting before the monk’s chambers for a Knight’s Halberd.
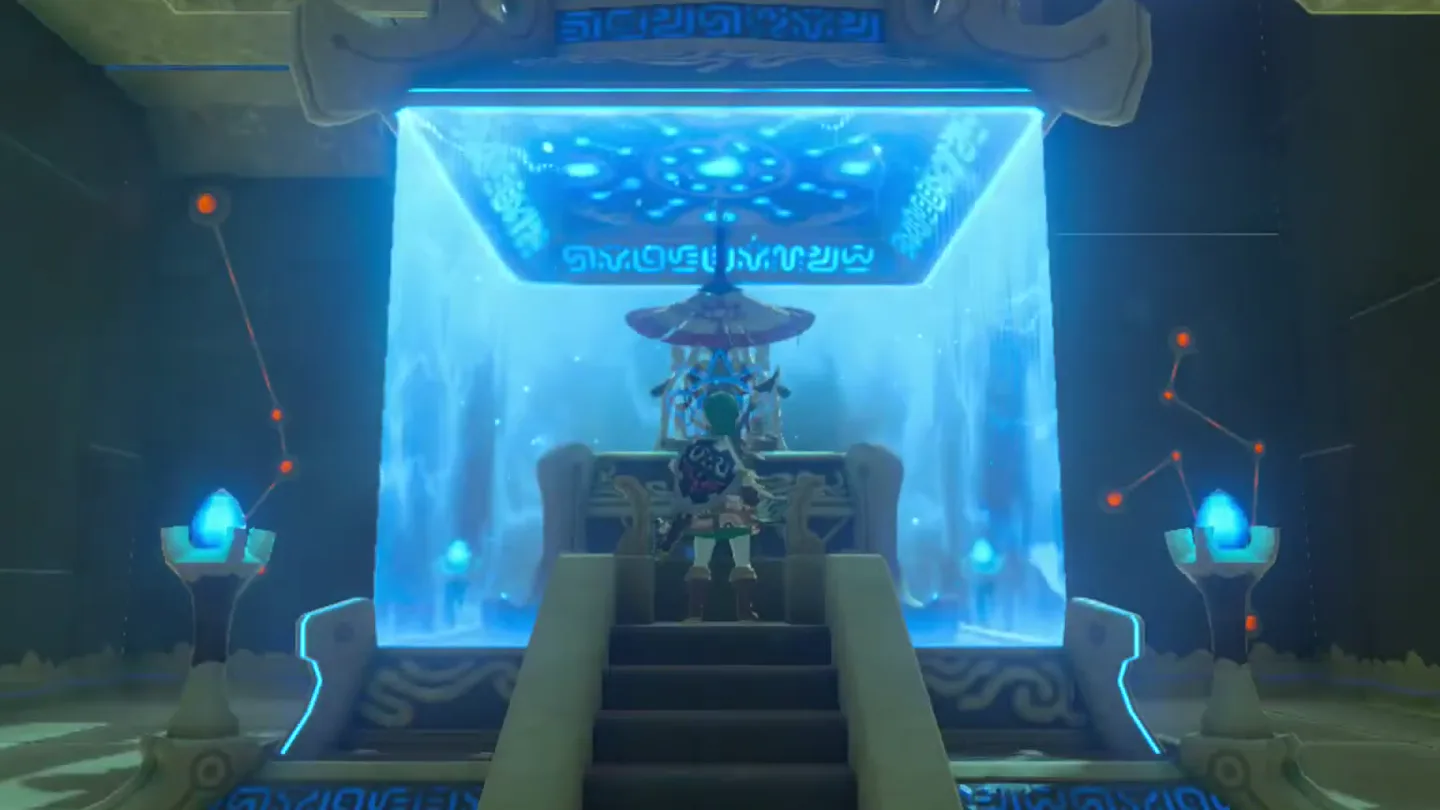
Approach the monk’s pedestal and speak with Tena Ko’sah to receive a Spirit Orb; he wishes you well and fades away.
Optional farming: every Blood Moon resets this fight. Re-enter to beat the Scout again and claim a fresh set of ++ weapons — the treasure chest will not respawn.
What is in the chest?
| Chest | Contents | How to get it |
|---|---|---|
| 1 | Knight’s Halberd | Stone chest just behind the portcullis, on the way to the monk’s pedestal — it becomes reachable once the Guardian Scout IV is destroyed and the gate rises. Open it before you talk to the monk. |
What do people miss here?
- The chest sits between the raised portcullis and the monk’s pedestal — it’s easy to beeline to Tena Ko’sah and miss it. Unlike the fight, the chest never resets after a Blood Moon, so grab it before you leave.
- Trying to shield-block the spinning charge. It’s unblockable and deals massive damage — the pillars are the answer, and remember each pillar the Scout smashes is destroyed for the rest of the fight.
- Walking in with one worn weapon. A Major Test against a Scout IV is a long fight that eats durability, so bring backups — and you’ll walk out with its ++ drops anyway.
- Leaving the Scout’s weapons on the floor. The Guardian Sword++, Ancient Battle Axe++ and Guardian Shield++ it uses against you can be picked up, and they’re among the best gear in the game.
- Thinking a loss locks you out. If you die you simply reload from your last save and can re-enter immediately; even after you win, every Blood Moon resets the duel for another round of farming.
What else is nearby?
| Shrine | Direction | Straight-line distance | Region |
|---|---|---|---|
| Shae Loya Shrine | east | 535 | Ridgeland |
| Kah Okeo Shrine | west | 655 | Tabantha |
| Mijah Rokee Shrine | southeast | 987 | Ridgeland |
Which guides help next?
FAQ
How hard is Tena Ko'sah Shrine?
What's in the Tena Ko'sah Shrine chest?
Can I refight the Guardian Scout for its weapons?
What do I do about the Guardian Scout's spinning attack?
What happens if I die in Tena Ko'sah Shrine?
Related Articles
guides
Breath of the Wild Captured Memories: All 13 Locations and Rewards
All 12 photo locations from Zelda's album plus the 13th memory in Impa's painting, with coordinates, nearby shrines, the Champion's Tunic and the extra ending scene.
guides
Breath of the Wild Great Fairy Fountains: Locations, Costs and Horse God
Where the four Great Fairy Fountains and the Horse God Malanya are in Breath of the Wild, what each fairy costs to release, and how many you need per armor upgrade.
guides
Hyrule Castle Walkthrough: Entry Routes, Hylian Shield and Final Prep
How to get into Hyrule Castle in Breath of the Wild: five entry routes, the Hylian Shield and other loot by room, and what to prepare before the final battle.
Was this helpful?
Thanks for the feedback!