

Bareeda Naag Shrine Guide: Cannon Trial & The Ancient Rito Song
Bareeda Naag Shrine walkthrough: unlock it via The Ancient Rito Song, clear the Cannon trial, and get the Falcon Bow and Diamond chests.
Where is Bareeda Naag Shrine?
The shrine rises on Lake Totori South, just south of Rito Village on the Tabantha Frontier. The easiest approach is from the Akh Va’quot Shrine near the village: look south, spot the lone orange pedestal in the distance, and paraglide down to it. The only real obstacle is the clock — fire must be on the pedestal around 12:30–12:35 PM, or the shrine never appears.
| Item | Detail |
|---|---|
| Trial | Cannon |
| Tower region | Tabantha |
| Map-marker coordinates | -3609, 1516, 0256 |
| Shrine quest | The Ancient Rito Song |
| Chests | 2 |
| Names | Bareeda Naag Shrine · 沃力達‧諾神廟 · 沃力达·诺神庙 |
What should you bring?
The trial itself needs only the Remote Bomb rune. For the unlock quest you need a way to create fire: the easiest setup is a Torch plus wood with a Fire weapon or Flint to light it, or simply Fire Arrows. If you arrive before the window, chill out until noon — nothing happens outside the right time.
Video walkthrough

How do you solve Bareeda Naag Shrine?
The trial runs entirely on cannons fed with spherical Remote Bombs — drop one in the tube, detonate, and the cannon fires an orb at a target. Both rooms are pure timing: the first against moving barricades, the second against barricades plus a target that slides back and forth.
1. Learn the Rito song
Complete the Divine Beast Vah Medoh main quest first — the song quest only becomes available after it. In Rito Village, speak to Bedoli and ask her to teach you the song she’s singing: she shares the first half, then sends you to her sister Laissa for the rest.
Head to the village’s general store and talk to Laissa. When she asks you to recite the first half, choose: ‘The pride of the Rito, pillar in the sky. Its heart lights up, when the sun is high.’ Get every word right and she keeps her promise, teaching you the second half — ‘The heart shines upon a path not whole, but a warming flame can stir its soul.’
2. Activate the Pedestal at Noon
From the Akh Va’quot Shrine near Rito Village, look south across the lake — you’ll spot a lone orange pedestal in the distance. Paraglide down to it.
You need fire on top of that pedestal at around 12:30–12:35 PM. Stand on the platform holding a lit Torch, or shoot a Fire Arrow onto it — standing there with a lit torch is the simplest option. If you arrive at the wrong time, chill out until noon before lighting anything.
When the window hits, sunlight passing through the hole in the pillar Divine Beast Vah Medoh stands upon casts a heart shape onto the pedestal, making it glow. With your flame burning on it, the platform changes from orange to blue and the Bareeda Naag Shrine rises out of the ground nearby — the Shrine Quest is now complete.
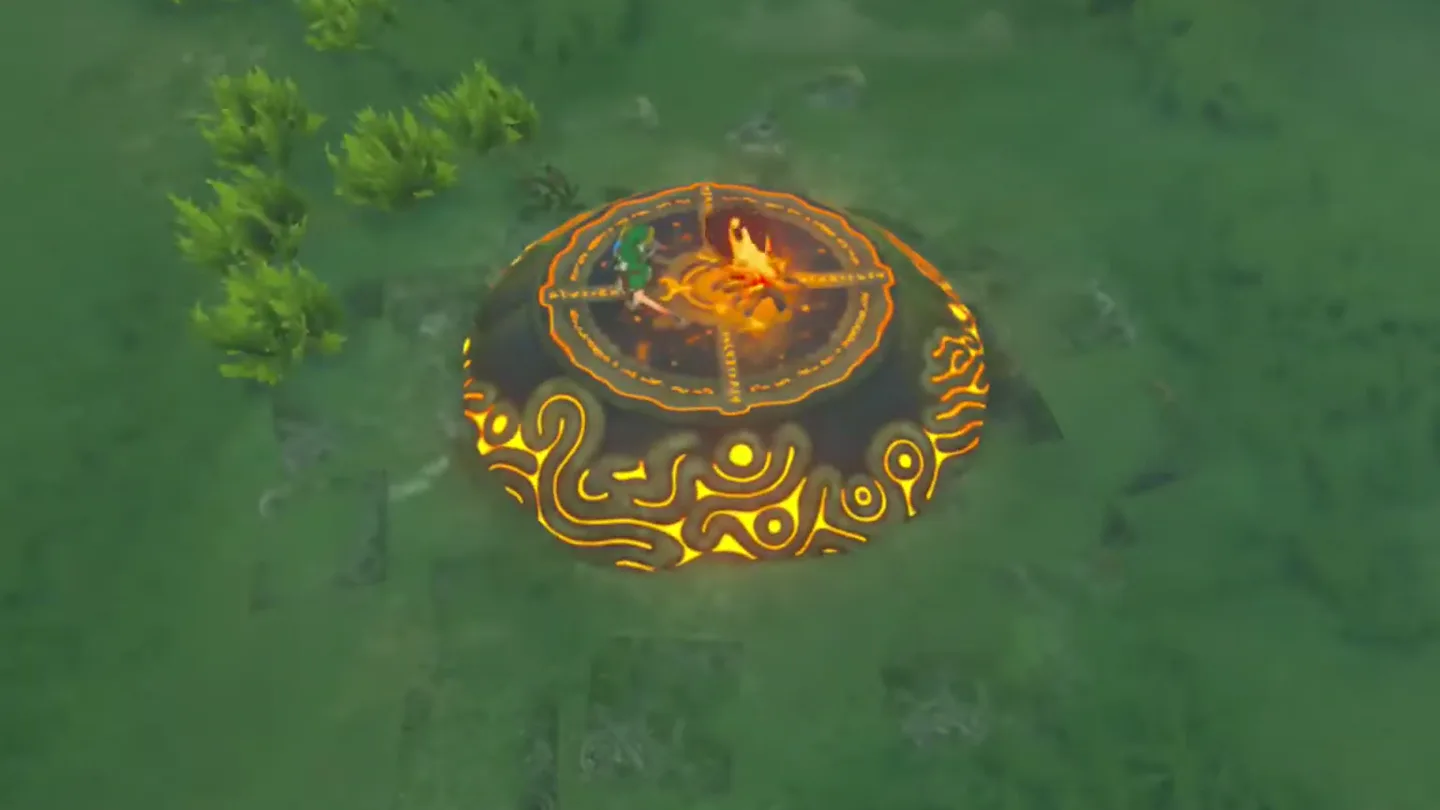
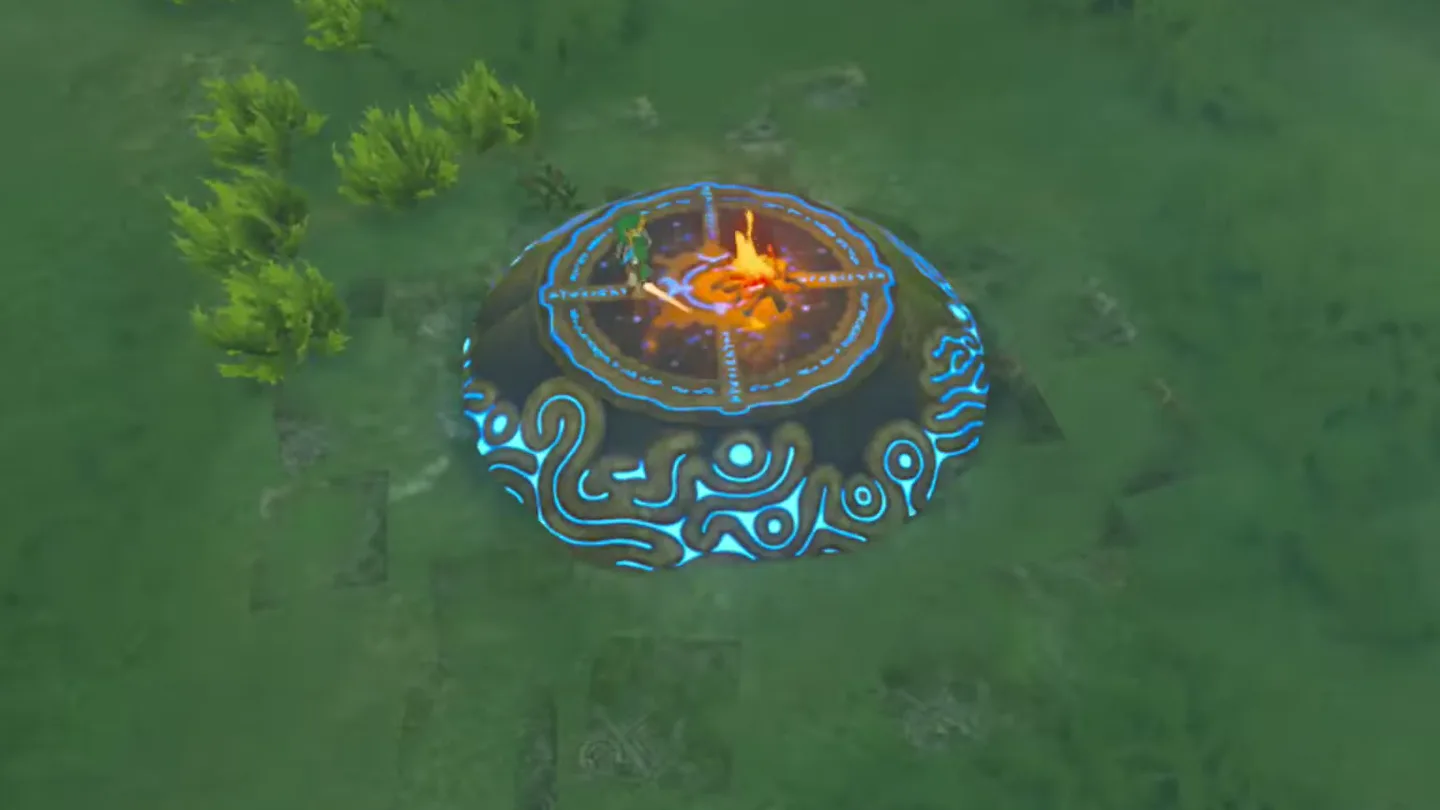
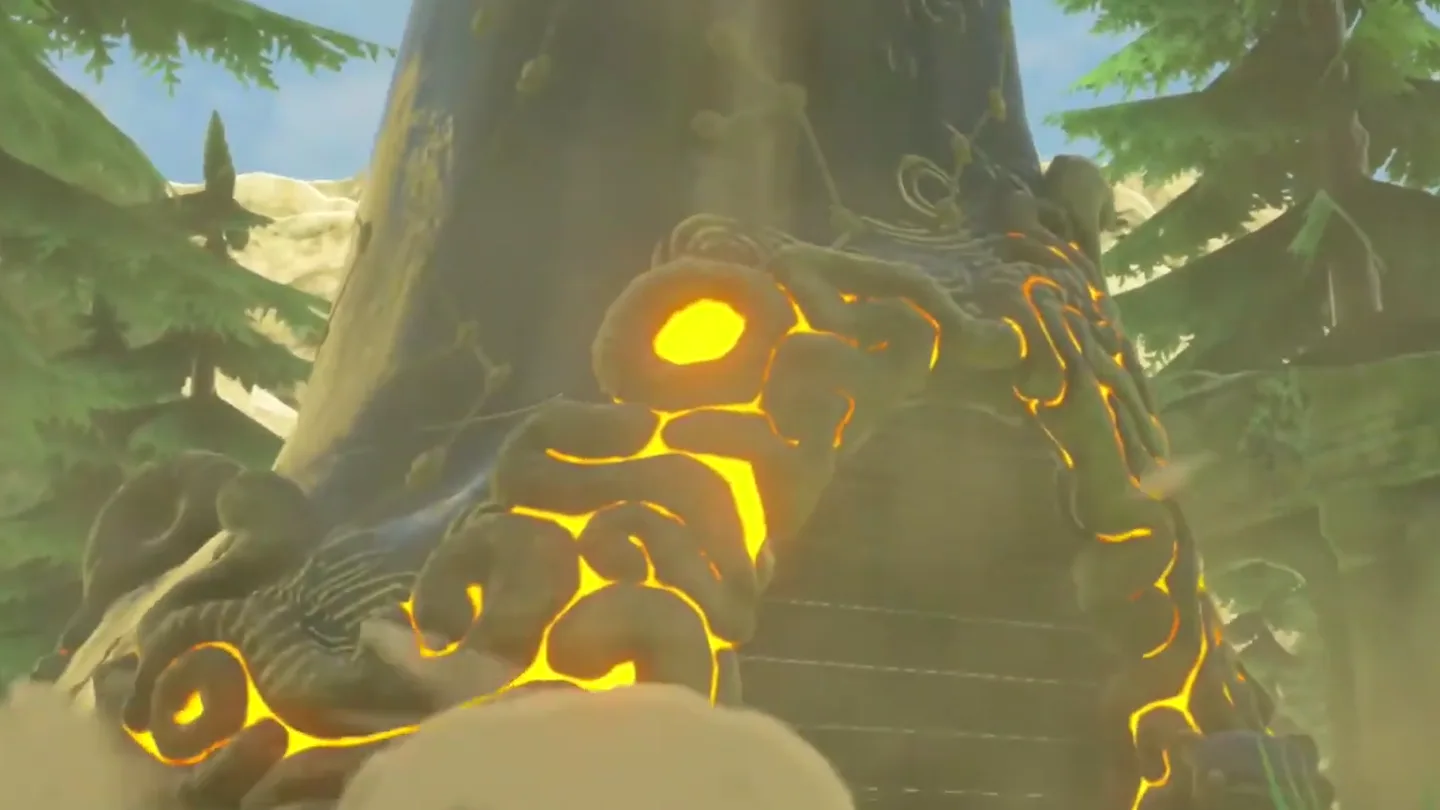
3. Fire the First Cannon Past Barricades
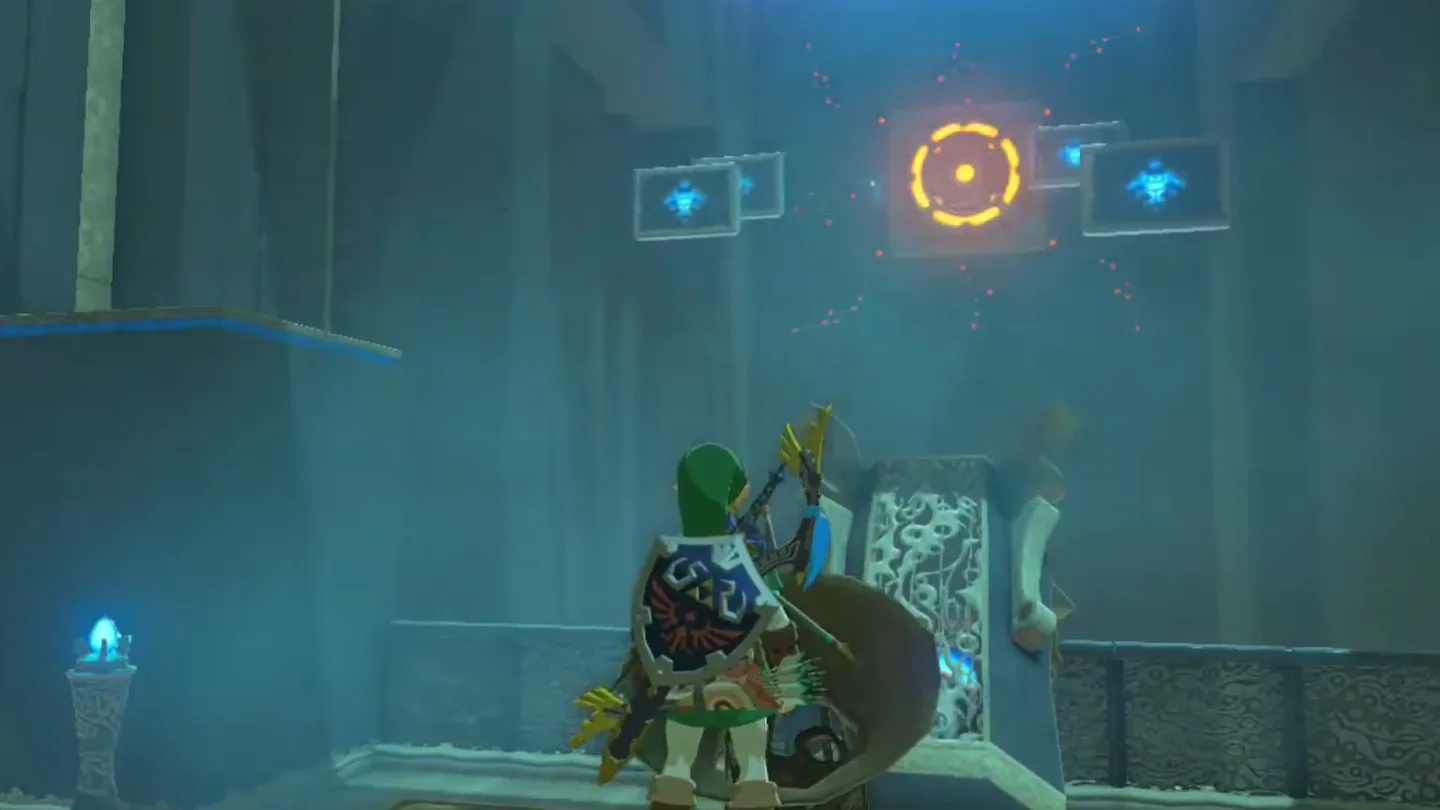
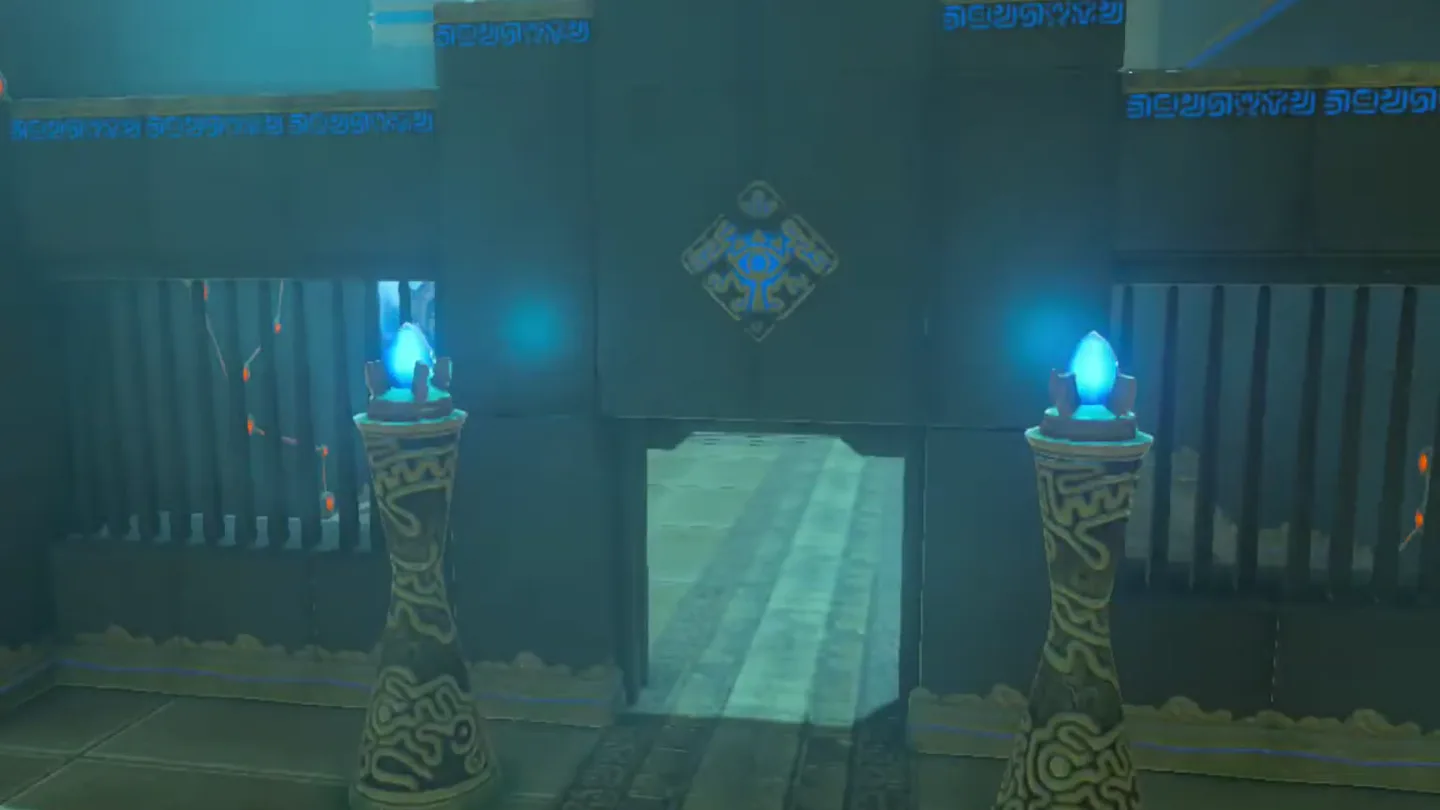
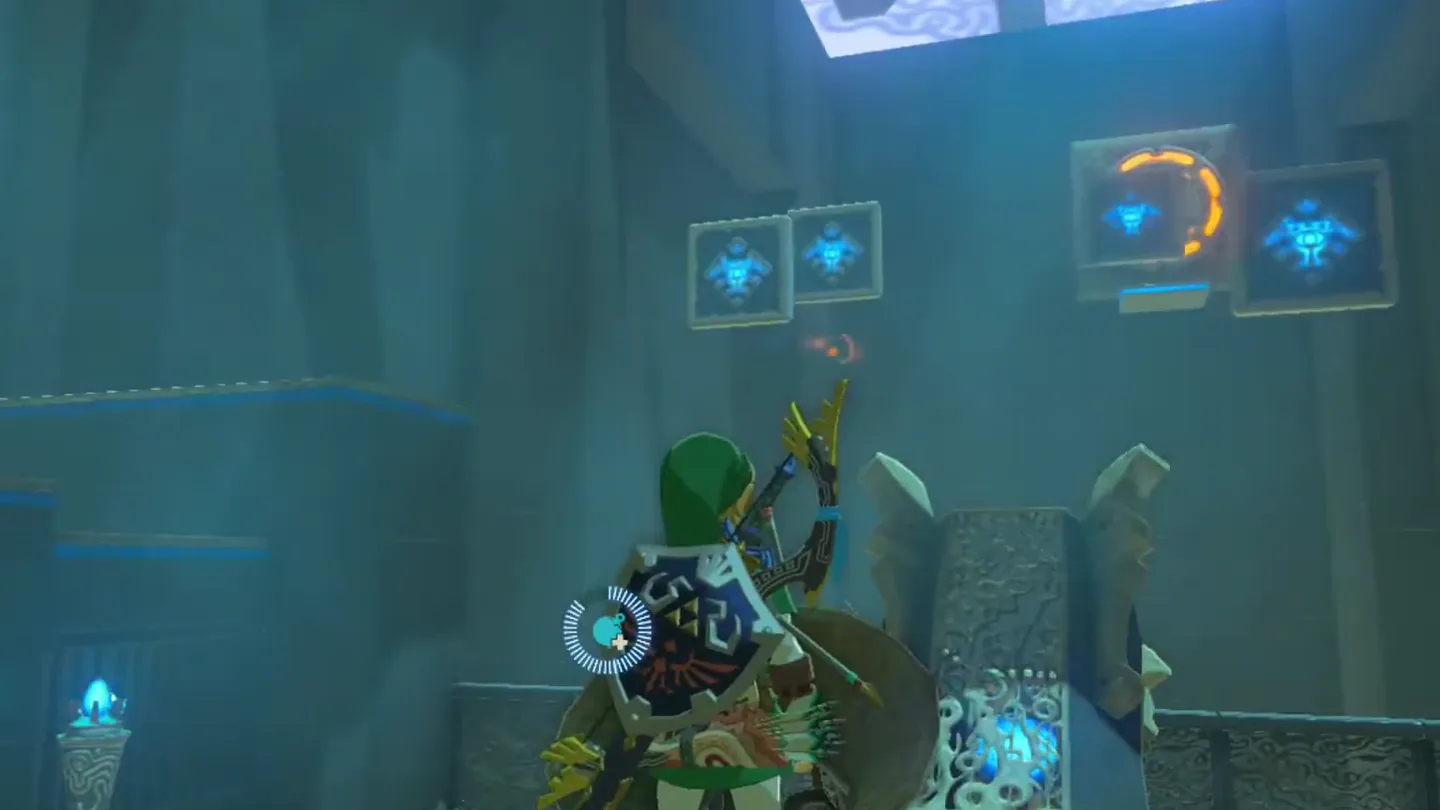
Enter the shrine — the monk Bareeda Naag introduces the trial as you step in. In the first room you’ll see a large cannon with a ladder beside it. Equip the Remote Bomb rune, climb the ladder, and drop a spherical bomb into the tube.
Detonate the bomb to fire the cannon’s orb at the target across the room — the shot also activates the moving barricades. Keep loading and detonating bombs, timing each shot so the orb slips past the sweeping barricades; when one connects, the target turns blue and the gate to your right opens.
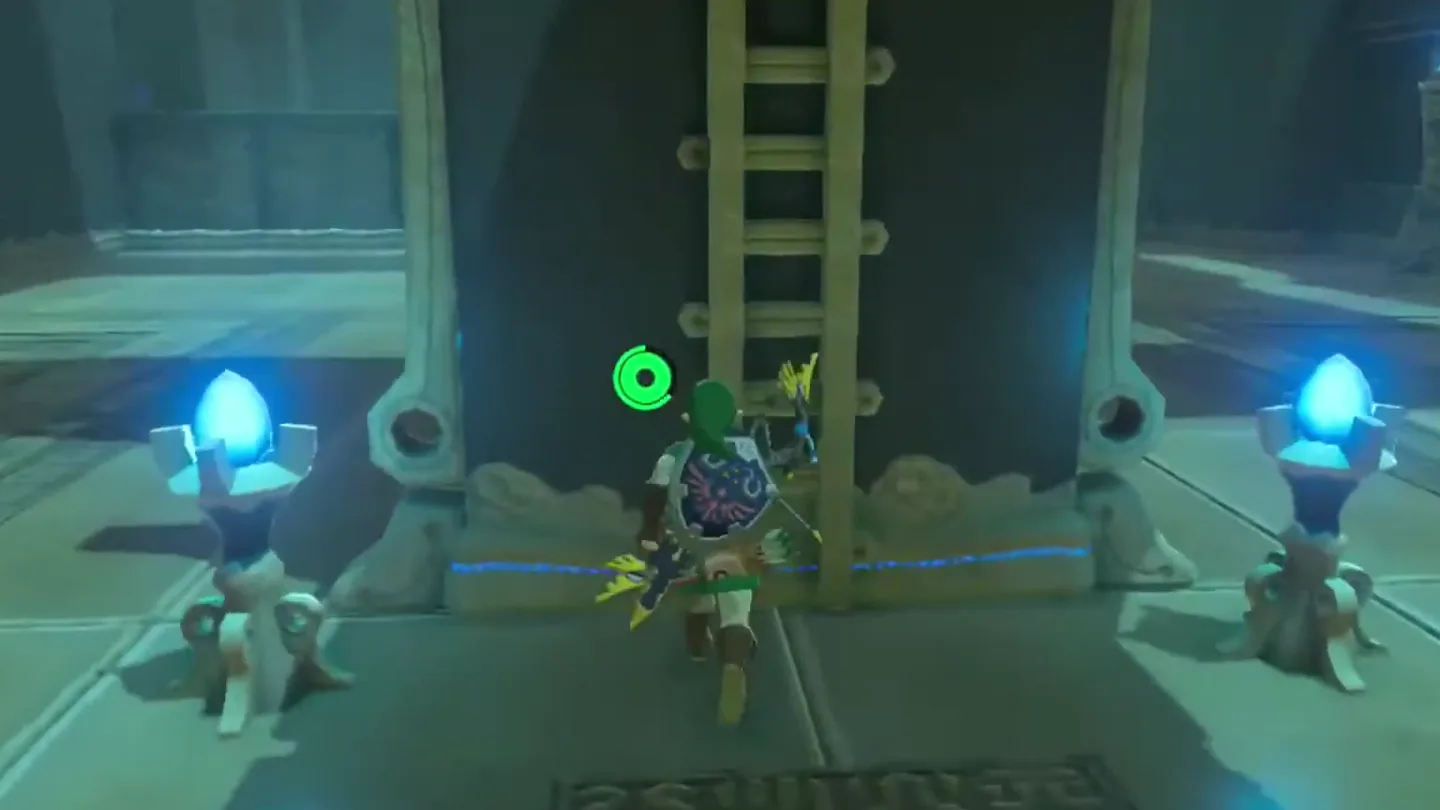
4. Find the Secret Chest in the Cracked Wall
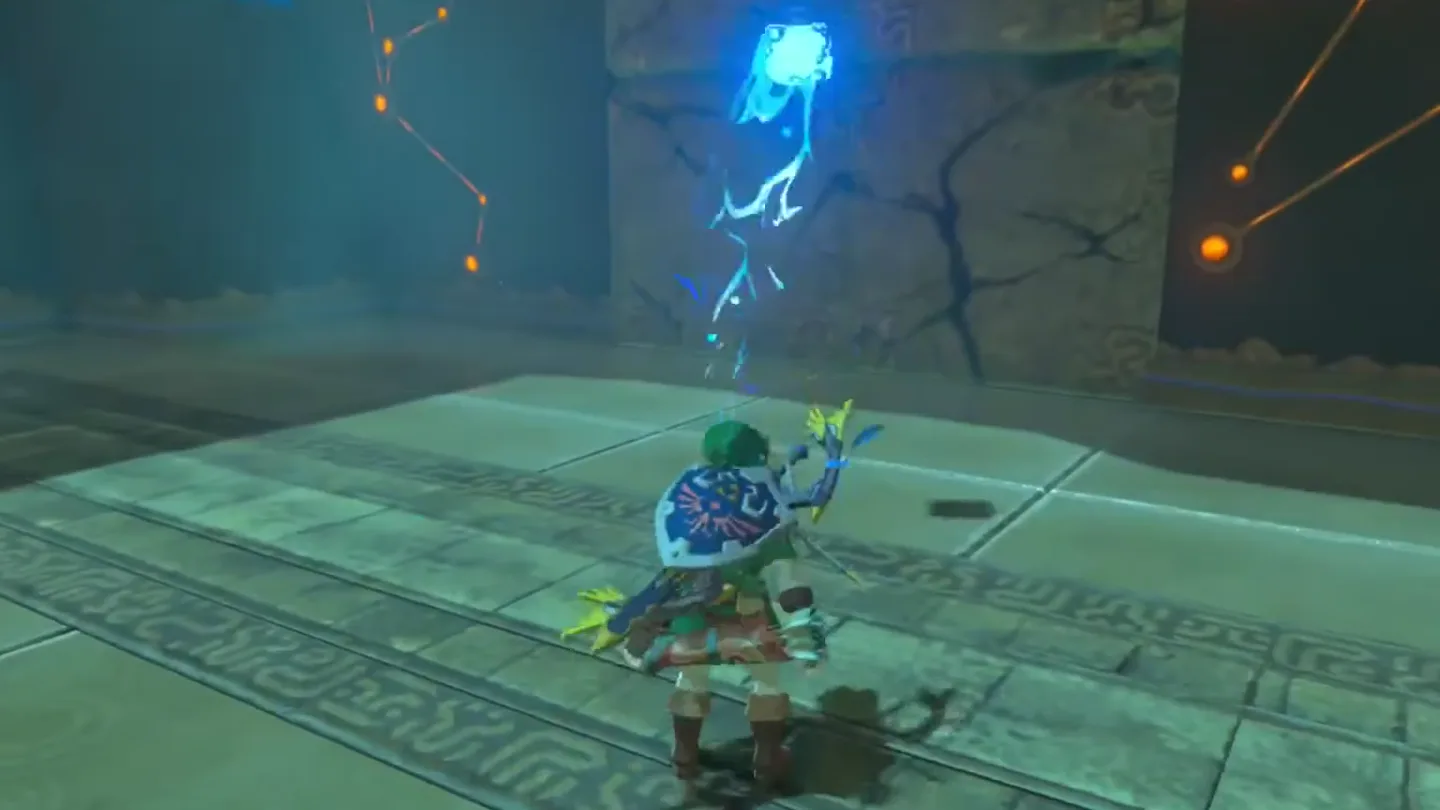
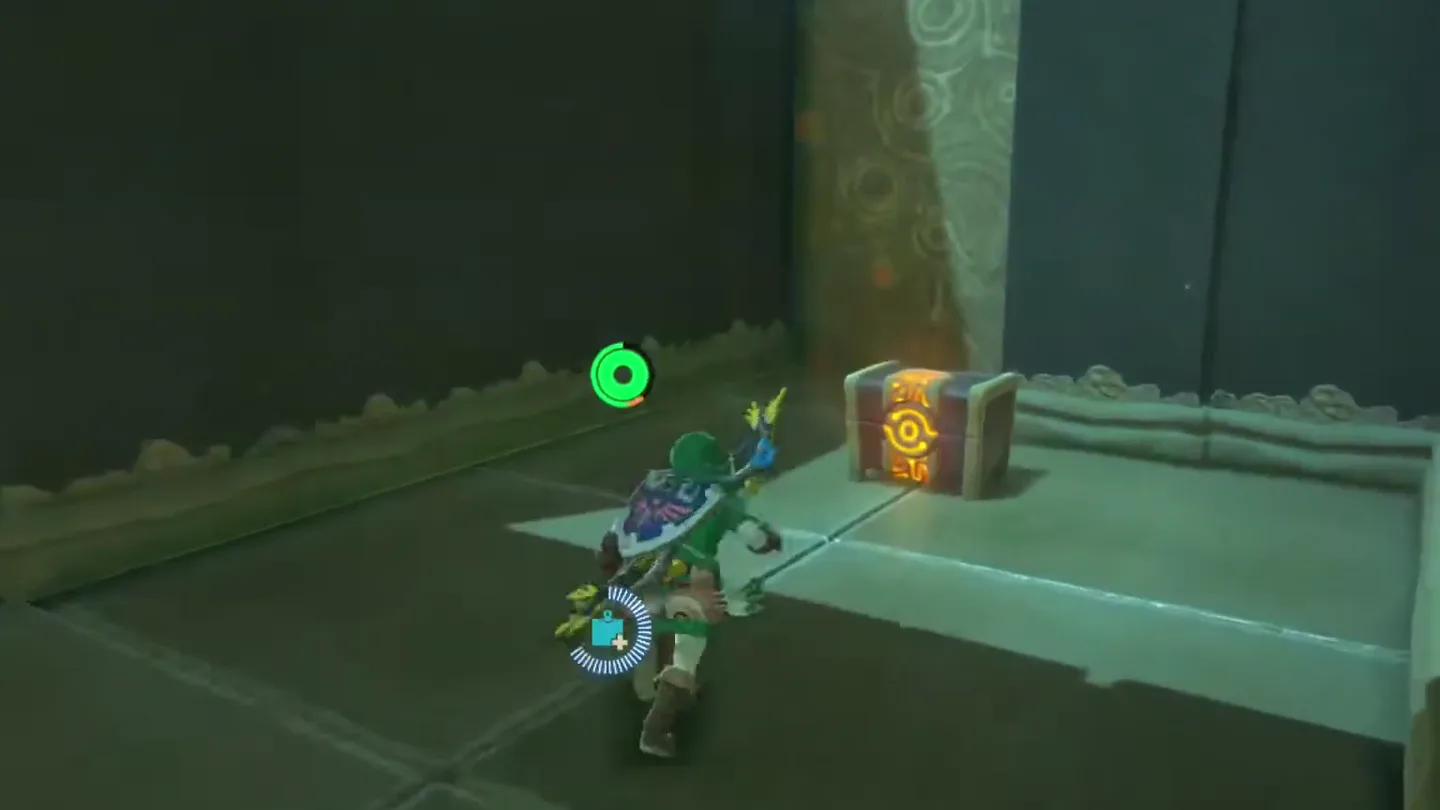
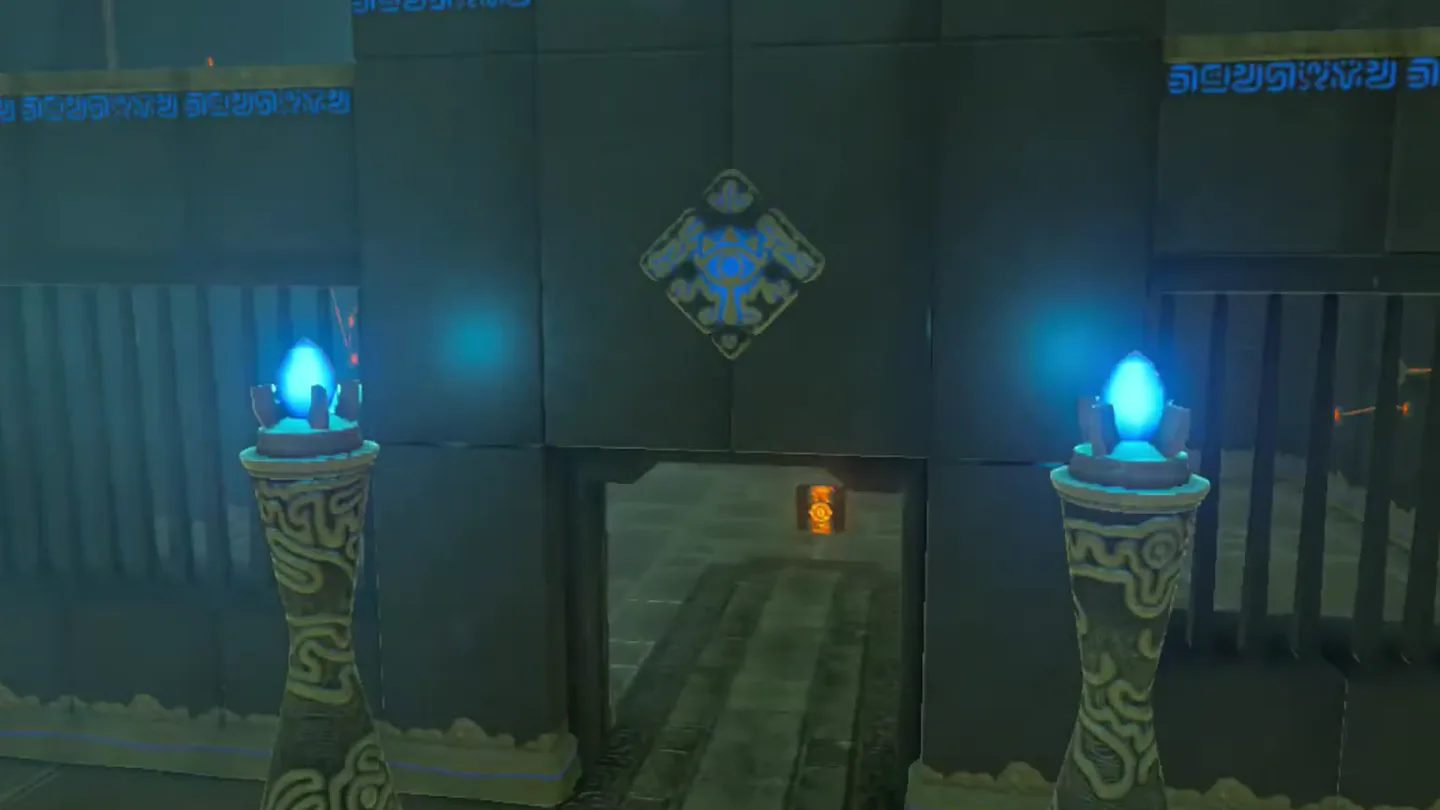
Before heading through that gate, turn to your left and throw a bomb at the suspicious stone wall — four cracked blocks near the entrance. It breaks open, revealing a stone chest containing a Falcon Bow with Attack Up +11.
5. Solve the Second Moving-Target Cannon
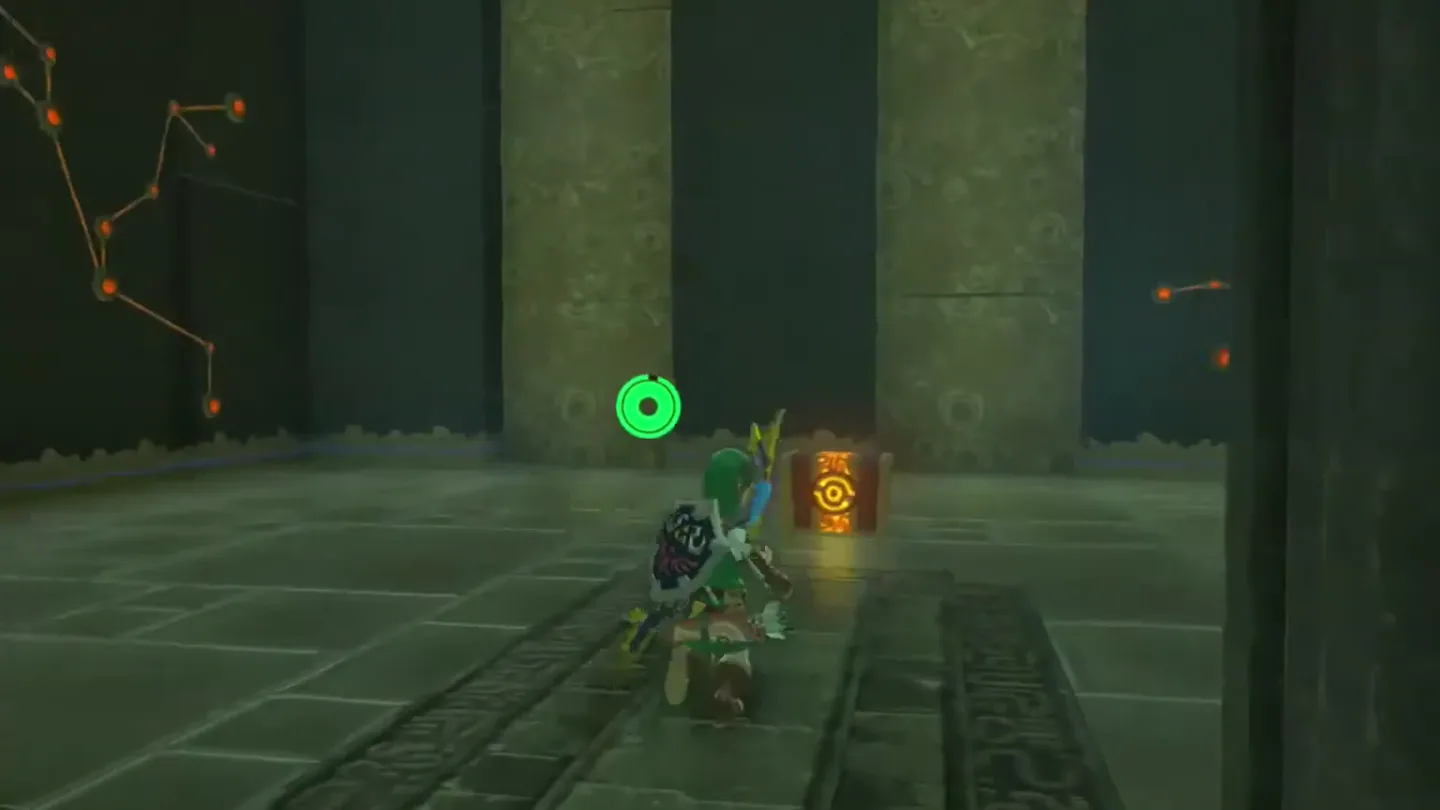
Pass through the gate: you can either finish up the shrine and claim your Spirit Orb at the Monk’s Pedestal, or head on into the next area for more treasure — the second cannon room lies past the Monk’s Pedestal.
At the second cannon, drop a bomb into the tube as before — but this time the target itself moves back and forth behind the barricades. Expect a few tries: figure out the movement patterns of both the barricades and the target, then detonate when the lane is clear and the target is in line.
A clean hit turns the target blue and opens the second gate. Open the stone chest behind it for a Diamond. With that done, head to the end of the shrine to finish up.
6. Claim the Spirit Orb
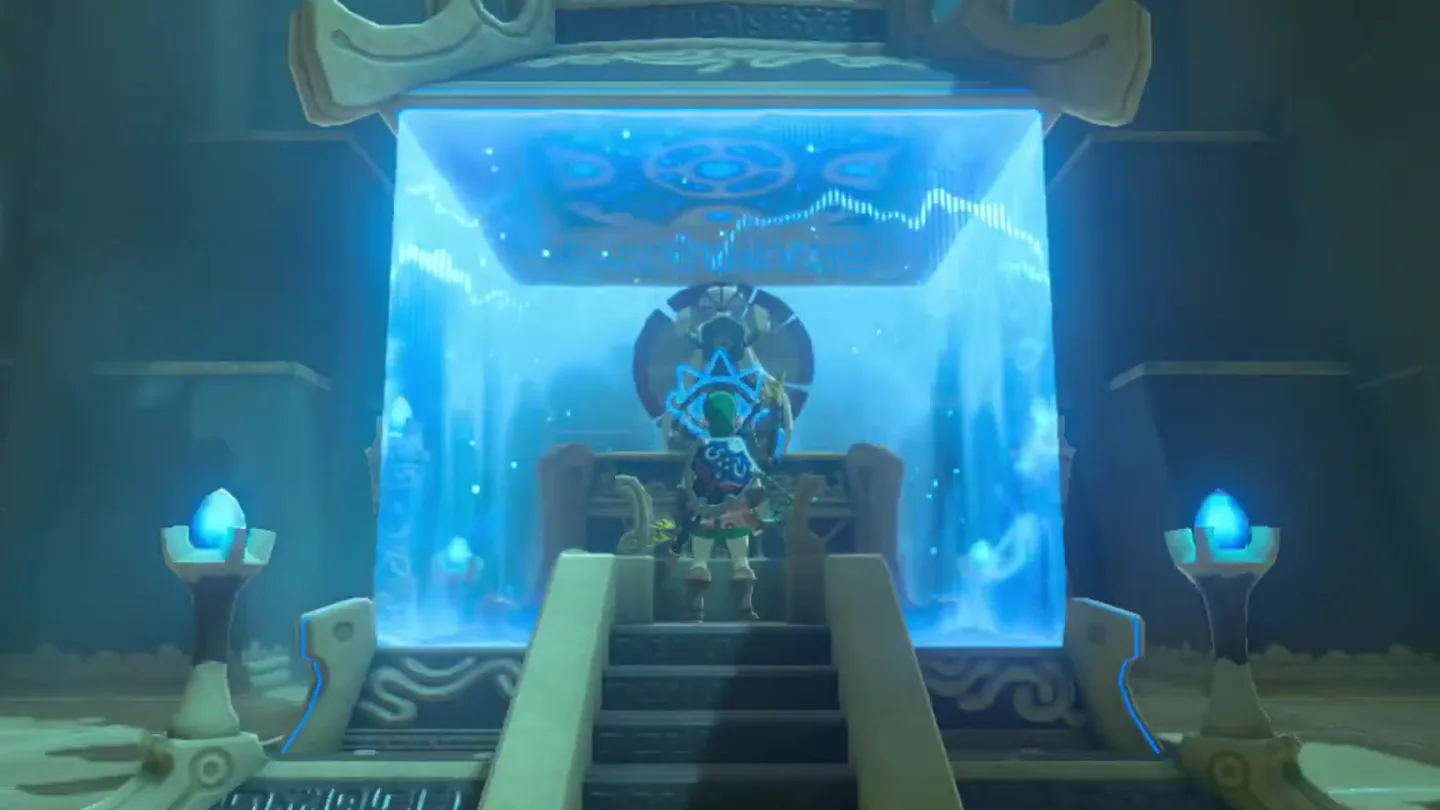
At the Monk’s Pedestal, speak to Bareeda Naag: the monk commends your resourcefulness, bestows your Spirit Orb in the name of Goddess Hylia, wishes you well, and fades away. The trial is complete.
What is in each chest?
| Chest | Contents | How to get it |
|---|---|---|
| 1 | Falcon Bow (Attack Up +11) | In the first cannon room, before passing through the gate on your right, turn left and throw a Remote Bomb at the suspicious stone wall — four cracked blocks near the entrance. The stone chest behind it holds the bow. |
| 2 | Diamond | In the second cannon room past the Monk’s Pedestal, hit the moving target — timing your shot around both the barricades and its back-and-forth sliding — to open the second gate. The stone chest behind it contains the Diamond. |
What do people miss here?
- The shrine simply doesn’t exist until the quest is done: if all you see south of the village is an orange platform, you either haven’t finished Divine Beast Vah Medoh, haven’t talked to Bedoli and Laissa, or you’re outside the roughly 12:30–12:35 PM window.
- Fire lit at the wrong time does nothing. The flame has to be on the pedestal in that narrow midday window — if you’re early, chill out until noon instead of burning your torch hours in advance and assuming it’s broken.
- The Falcon Bow chest is the easy one to walk past: it hides behind cracked blocks to your left just before the first gate, and most players beeline through the gate without looking. Bomb the wall before you move on.
- In the second room, clearing the barricades isn’t enough — the target slides back and forth, so a shot can pass the blocks and still miss. Expect a few tries, and watch a full cycle of both movement patterns before you detonate.
- Claiming the Spirit Orb doesn’t lock you out of anything: the second cannon and its Diamond sit past the Monk’s Pedestal, so you can take the orb first and head deeper for the chest before leaving.
What else is nearby?
| Shrine | Direction | Straight-line distance | Region |
|---|---|---|---|
| Akh Va’quot Shrine | north | 246 | Tabantha |
| Voo Lota Shrine | northwest | 455 | Tabantha |
| Sha Warvo Shrine | north | 723 | Tabantha |
Which guides help next?
FAQ
How do I make the Bareeda Naag Shrine appear?
What do I say to Laissa in Rito Village?
What time do I need to light the pedestal for the shrine?
How do I hit the moving target in the second cannon room?
Can I still get the chests after claiming the Spirit Orb?
Related Articles
guides
Breath of the Wild Captured Memories: All 13 Locations and Rewards
All 12 photo locations from Zelda's album plus the 13th memory in Impa's painting, with coordinates, nearby shrines, the Champion's Tunic and the extra ending scene.
guides
Breath of the Wild Great Fairy Fountains: Locations, Costs and Horse God
Where the four Great Fairy Fountains and the Horse God Malanya are in Breath of the Wild, what each fairy costs to release, and how many you need per armor upgrade.
guides
Hyrule Castle Walkthrough: Entry Routes, Hylian Shield and Final Prep
How to get into Hyrule Castle in Breath of the Wild: five entry routes, the Hylian Shield and other loot by room, and what to prepare before the final battle.
Was this helpful?
Thanks for the feedback!