

Sha Warvo Shrine Walkthrough: Path of Hidden Winds – Breath of the Wild
Step-by-step Sha Warvo Shrine guide (Path of Hidden Winds) on Dronoc's Pass: all updrafts, the moving platform, and both chests — Purple Rupee and Knight's Bow.
Where is Sha Warvo Shrine?
The shrine sits on Dronoc’s Pass in the Hebra Mountains, just south of the Flight Range, and it doubles as a handy fast-travel point for anyone heading to the Flight Range. Coming from the Flight Range, it’s a short trip south down the pass. For orientation, Akh Va’quot and Voo Lota shrines lie to the south, while Maka Rah Shrine is off to the northwest.
| Item | Detail |
|---|---|
| Trial | Path of Hidden Winds |
| Tower region | Tabantha |
| Map-marker coordinates | -3822, 2207, 0278 |
| Shrine quest | None |
| Chests | 2 |
| Names | Sha Warvo Shrine · 夏‧塔瓦神廟 · 夏·塔瓦神庙 |
What should you bring?
Nothing special is required — no runes or gear beyond the Paraglider you already have; the whole trial is solved with wind. Bring any weapon you like for the single Guardian Scout I inside. A boosted stamina wheel isn’t needed either: going left (clockwise) around the final column keeps that last glide short enough even on base stamina.
Video walkthrough
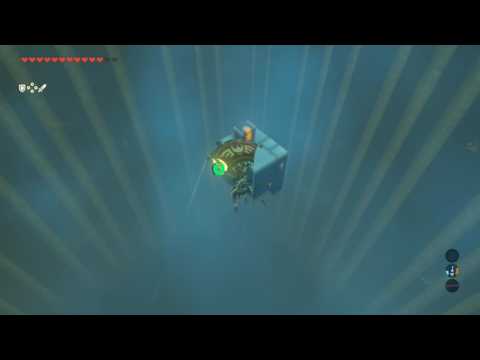
How do you solve Sha Warvo Shrine?
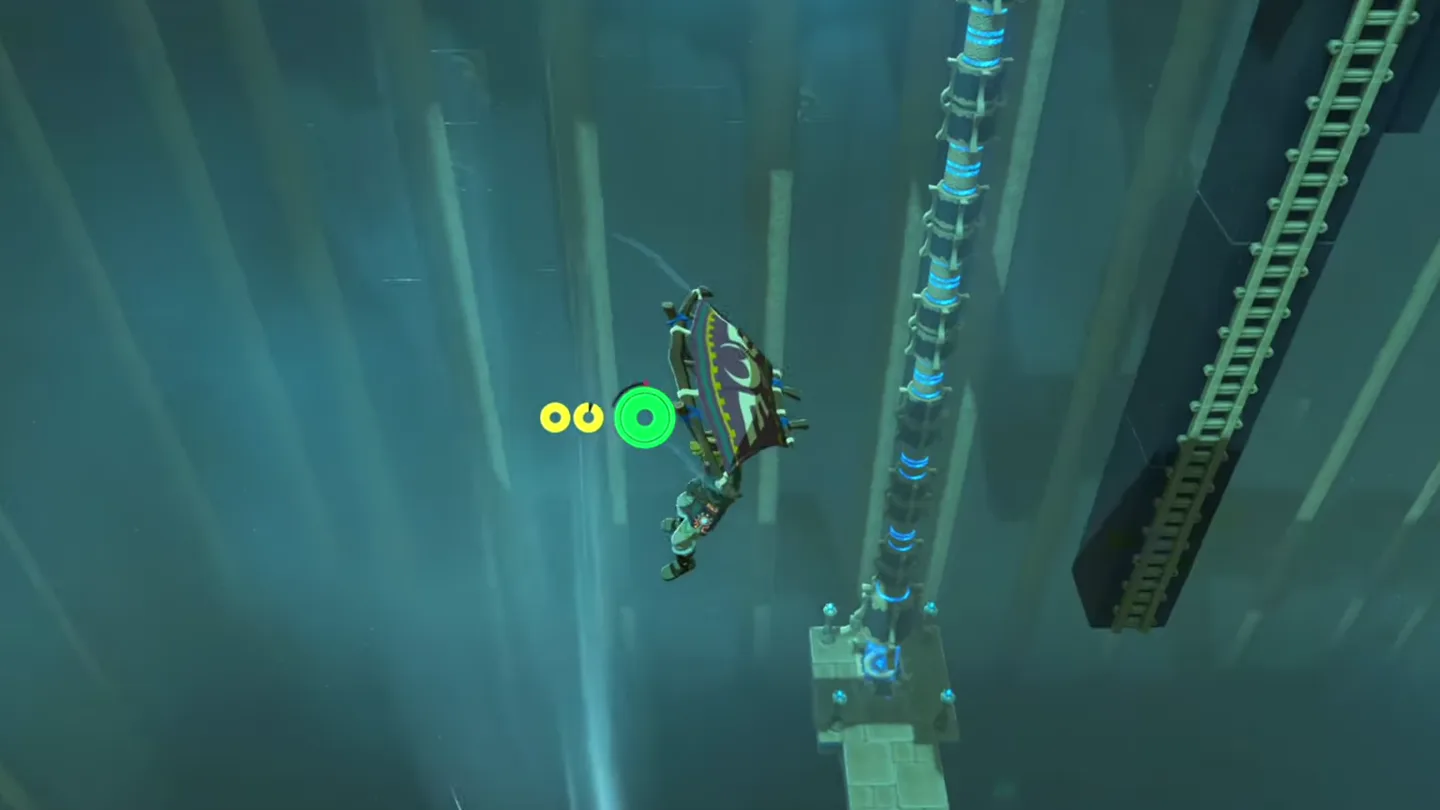
Every fan in this shrine blows a permanent updraft, and the circular disc on the ground beneath each one marks where the wind rises. The trial is one long Paraglider ride from platform to platform over a bottomless chasm.
1. Ride the first two updrafts and defeat the Guardian Scout
Walk in and you’ll be greeted by the monk, Sha Warvo. Ahead of you is a chasm with a series of floating platforms — every circular disc on the ground marks an updraft you can ride.
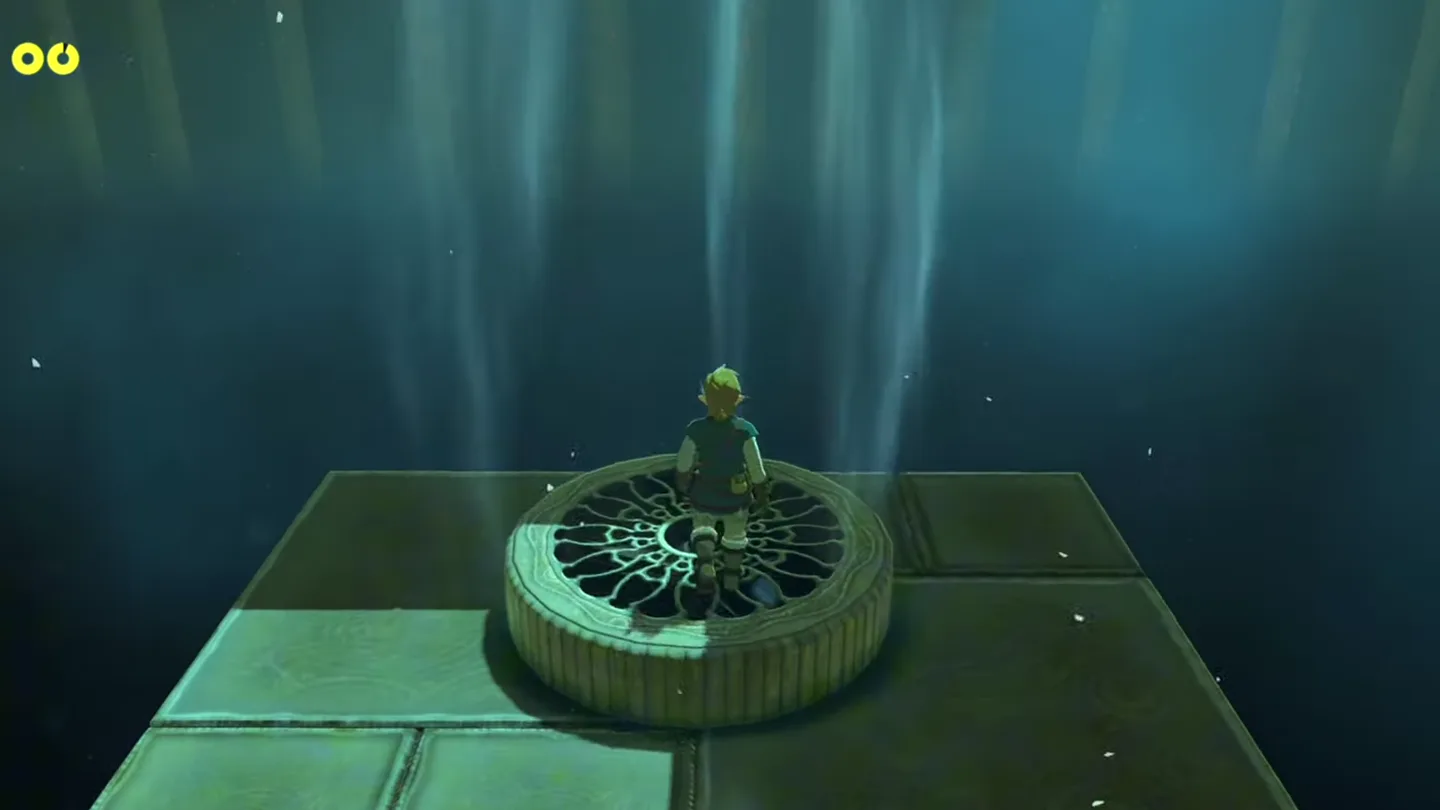
Stand over the first disc and open your Paraglider — the wind lifts you up to the first platform.
Cross to the next disc and ride the second updraft up to the platform above that.
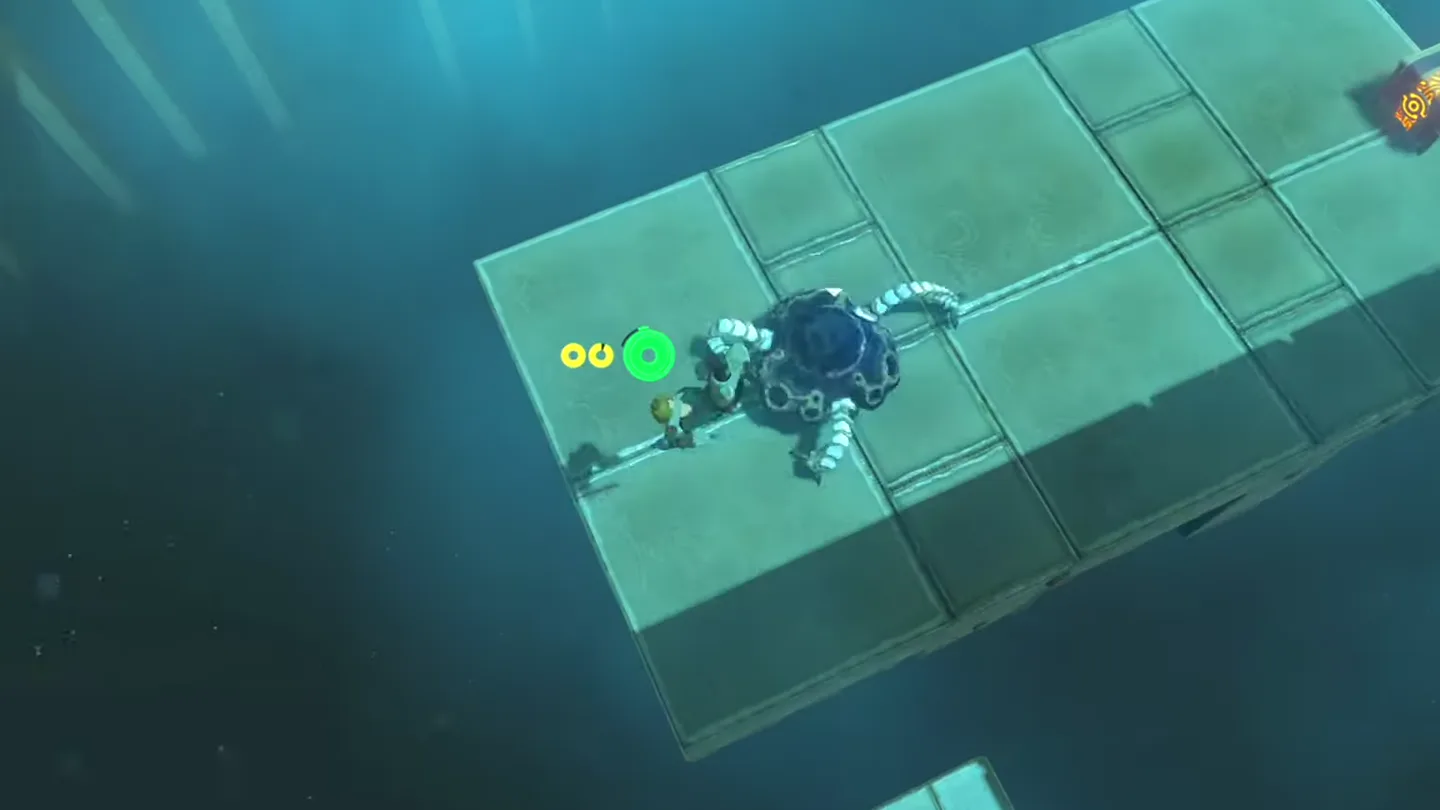
A Guardian Scout I is waiting on this platform — kill it; it’s the only enemy in the shrine.
Open the treasure chest to the left of the second fan to collect a Purple Rupee.
2. Land on the moving platform and climb the ladder
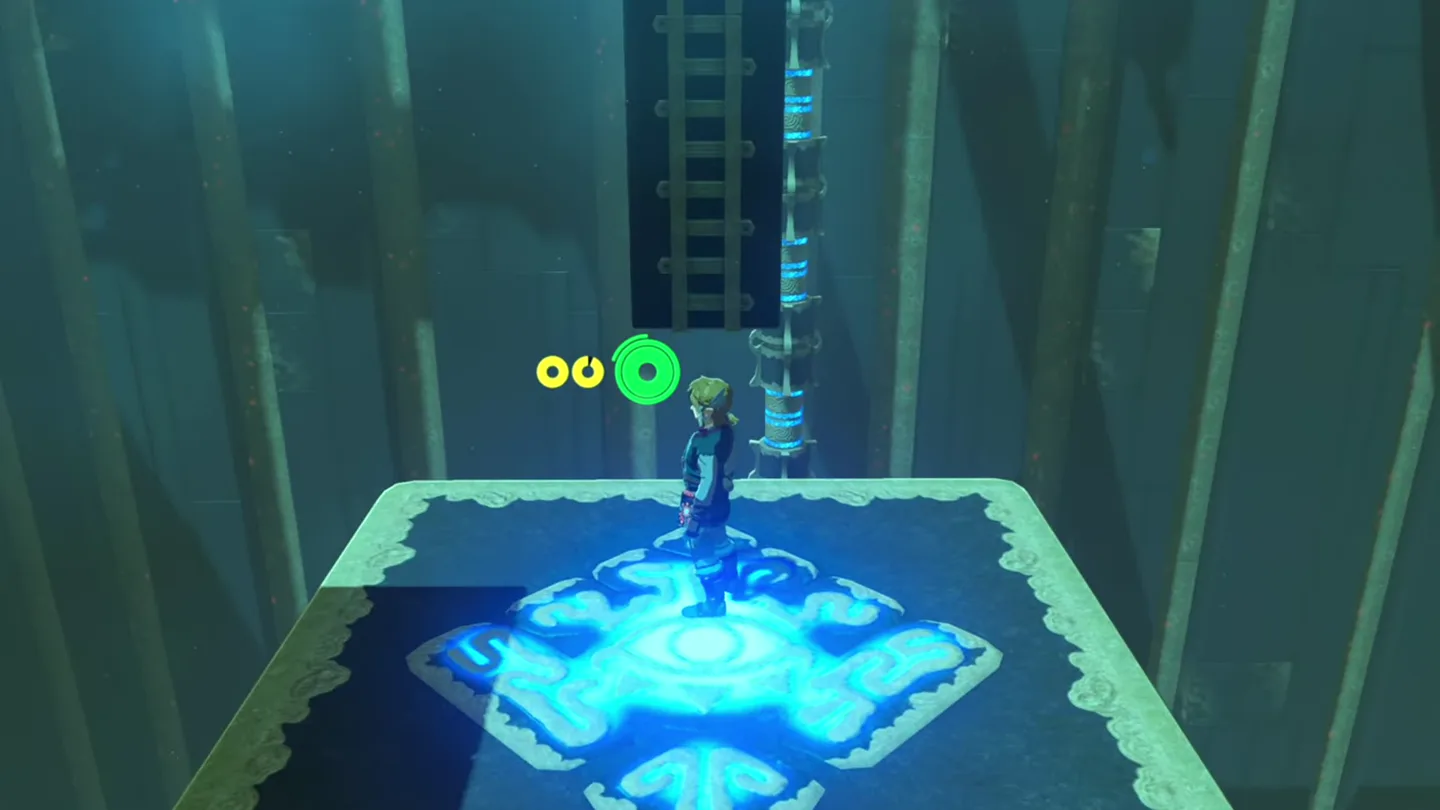
Ride the third updraft toward the blue platform that slides back and forth between a ladder and the next platform with a fan.
Time your descent so you land on the moving platform — it never stops moving, so a mistimed drop sends you into the chasm. If you fall and die, just retry; even clean runs miss this landing.
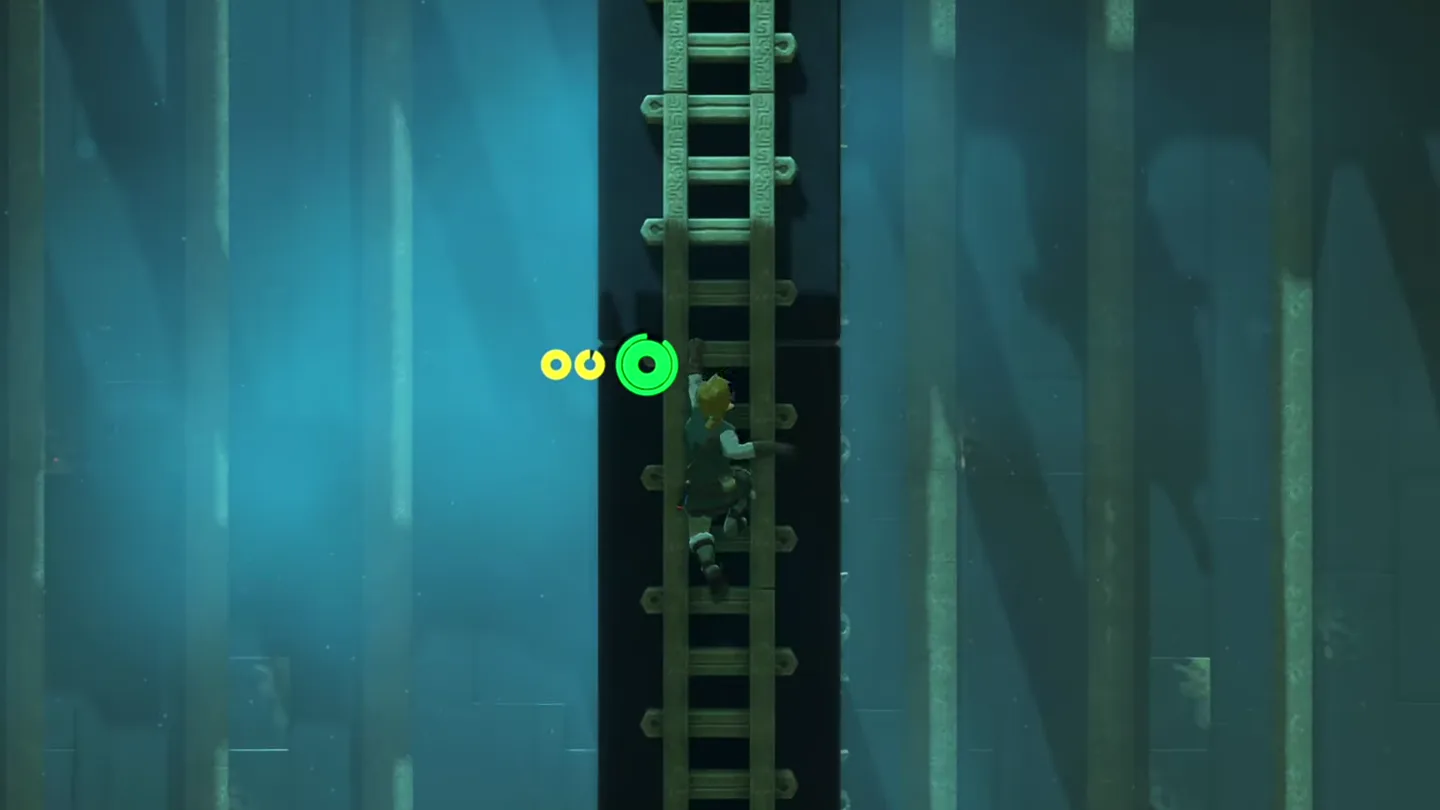
Ride the moving platform to its far end and climb the ladder.
At the top of the ladder, ride the next updraft you see.
3. Open the Knight’s Bow chest on the isolated platform
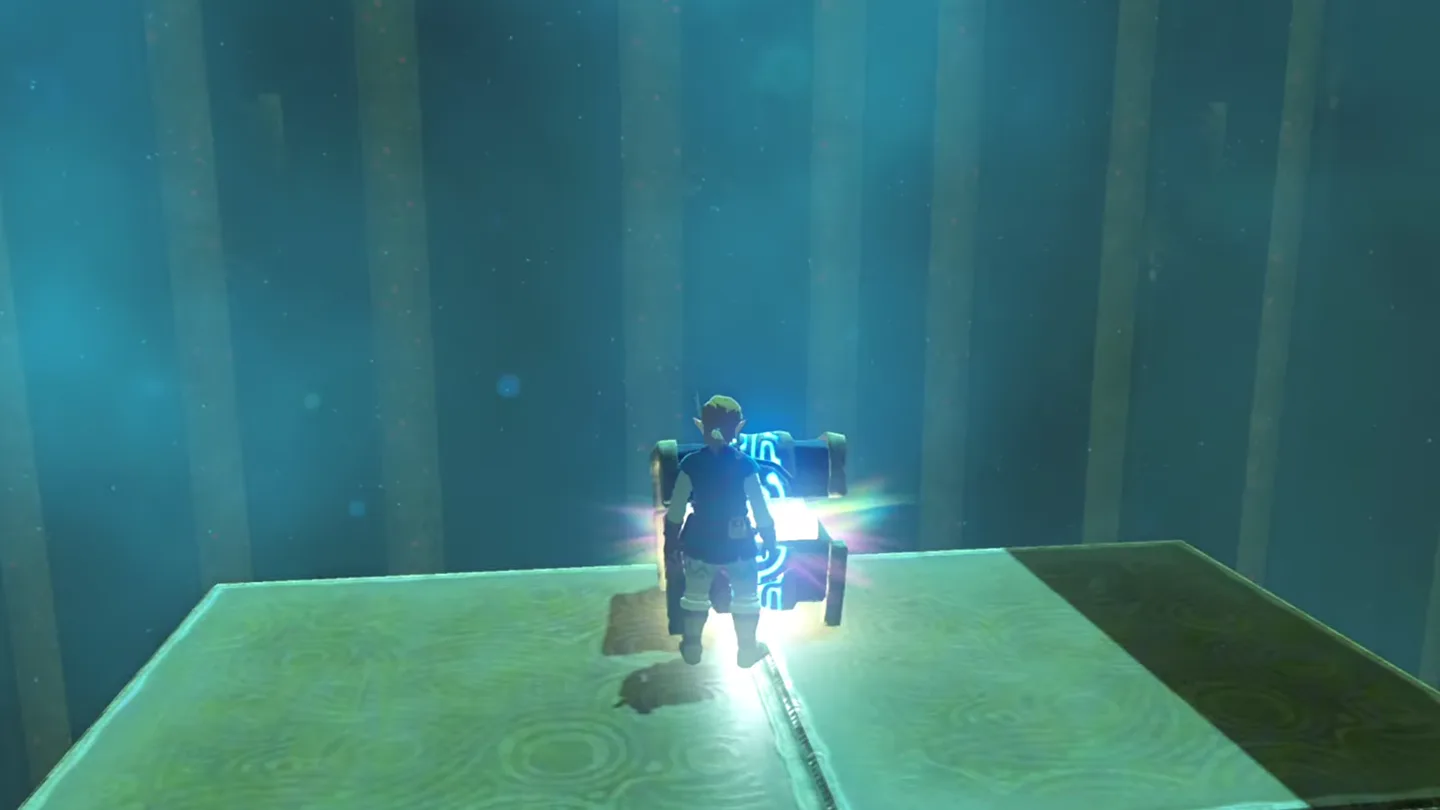
Near the top of the shrine, look for a small platform set apart from all the others — paraglide out to it and open the chest for a Knight’s Bow.
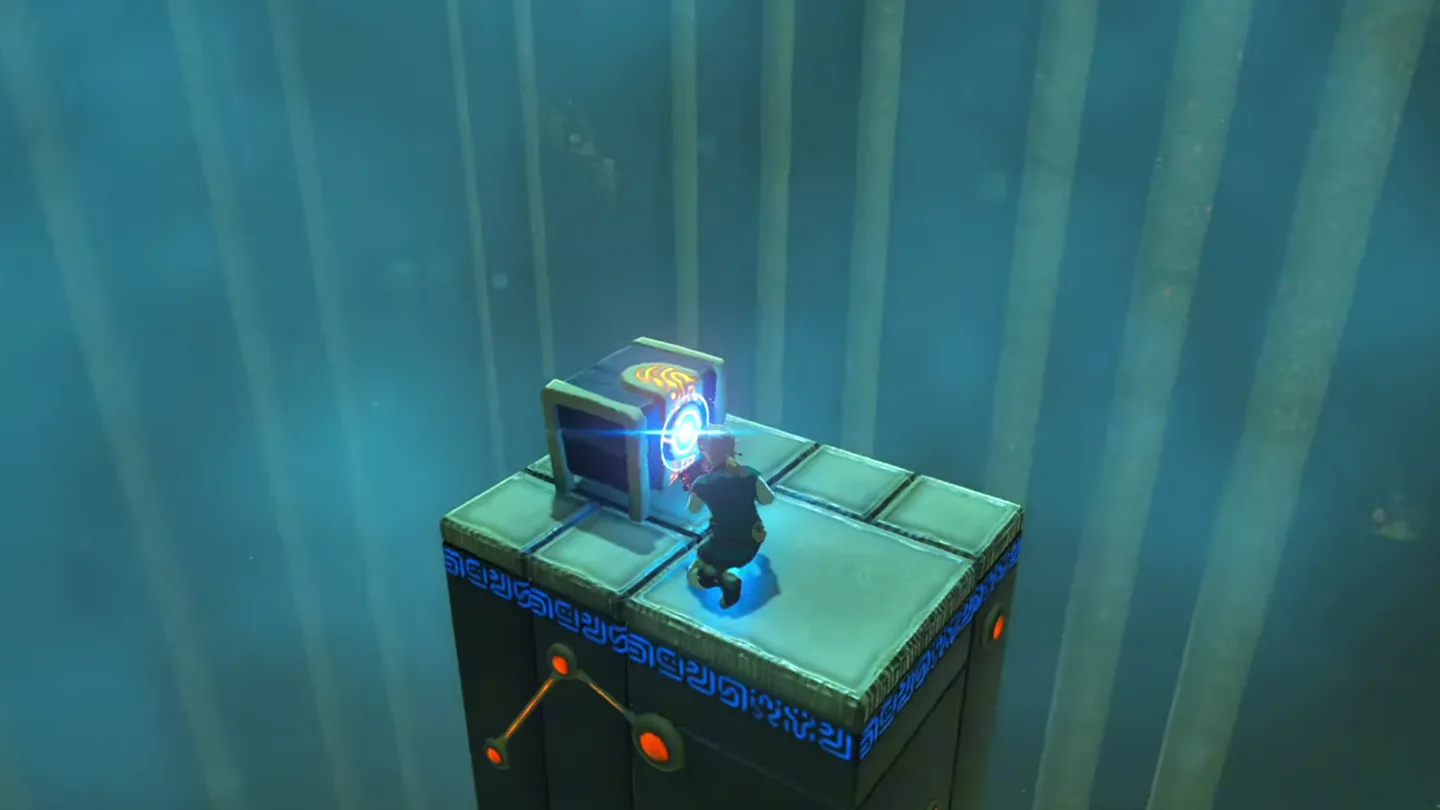
4. Glide around the pillar, find the hole, and reach Sha Warvo
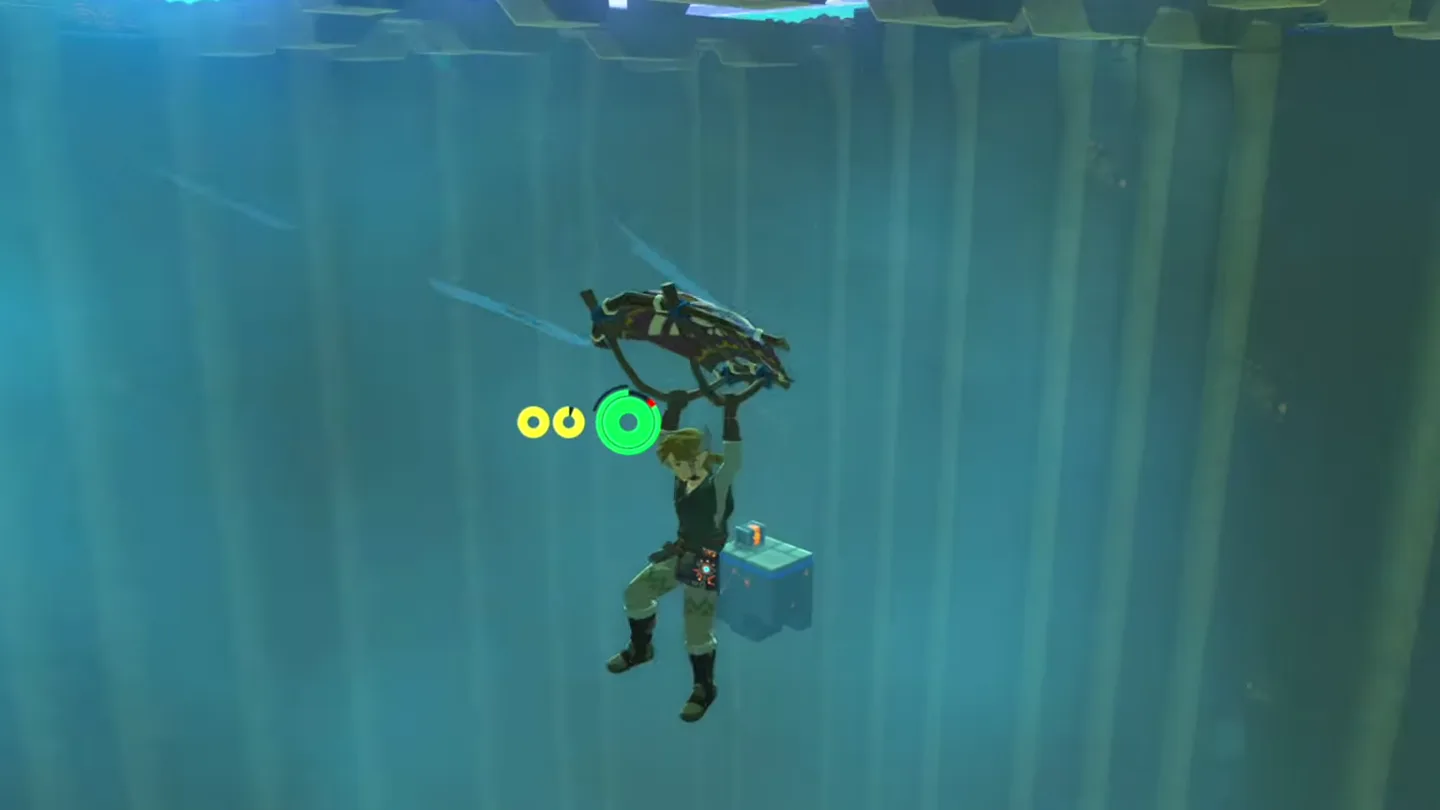
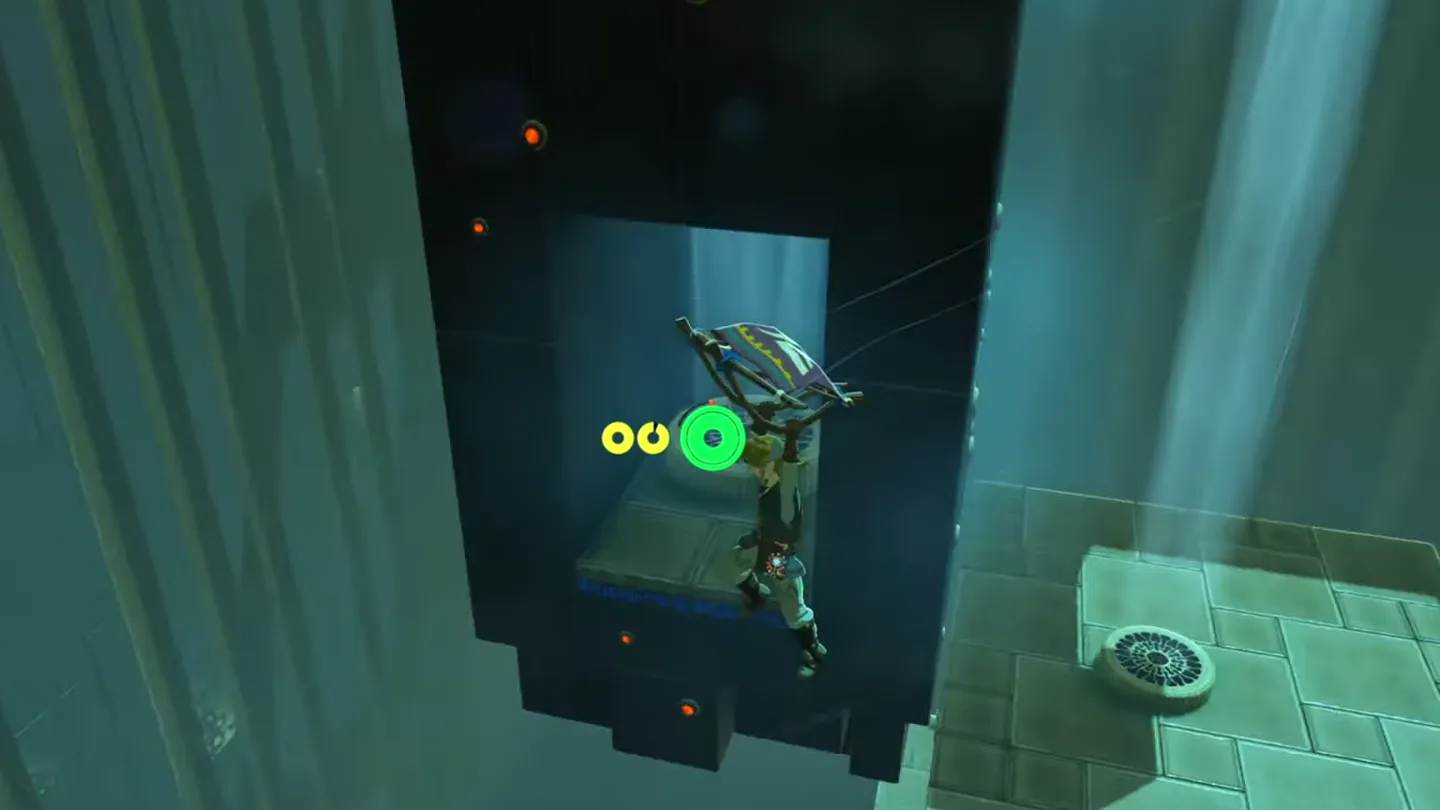
You’ll now be facing a long, narrow column: the platform with the fifth fan is boxed in by a tall wall, and its updraft sits on a side you cannot see from the closest platform.
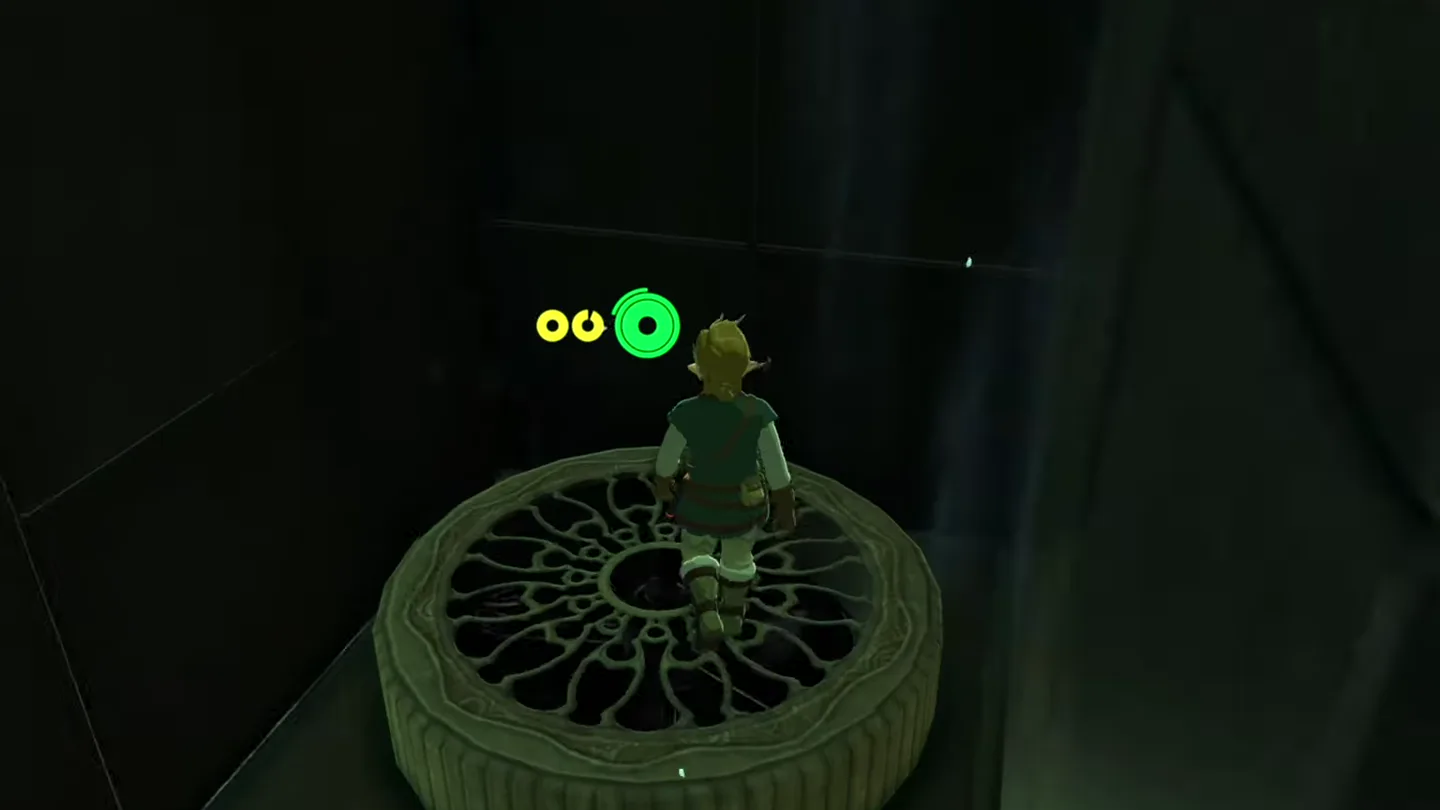
Glide left (clockwise) around the column — the fastest, stamina-safe route — until you spot a small hole in the wall on the side farthest from the Monk’s Pedestal, then slip through it.
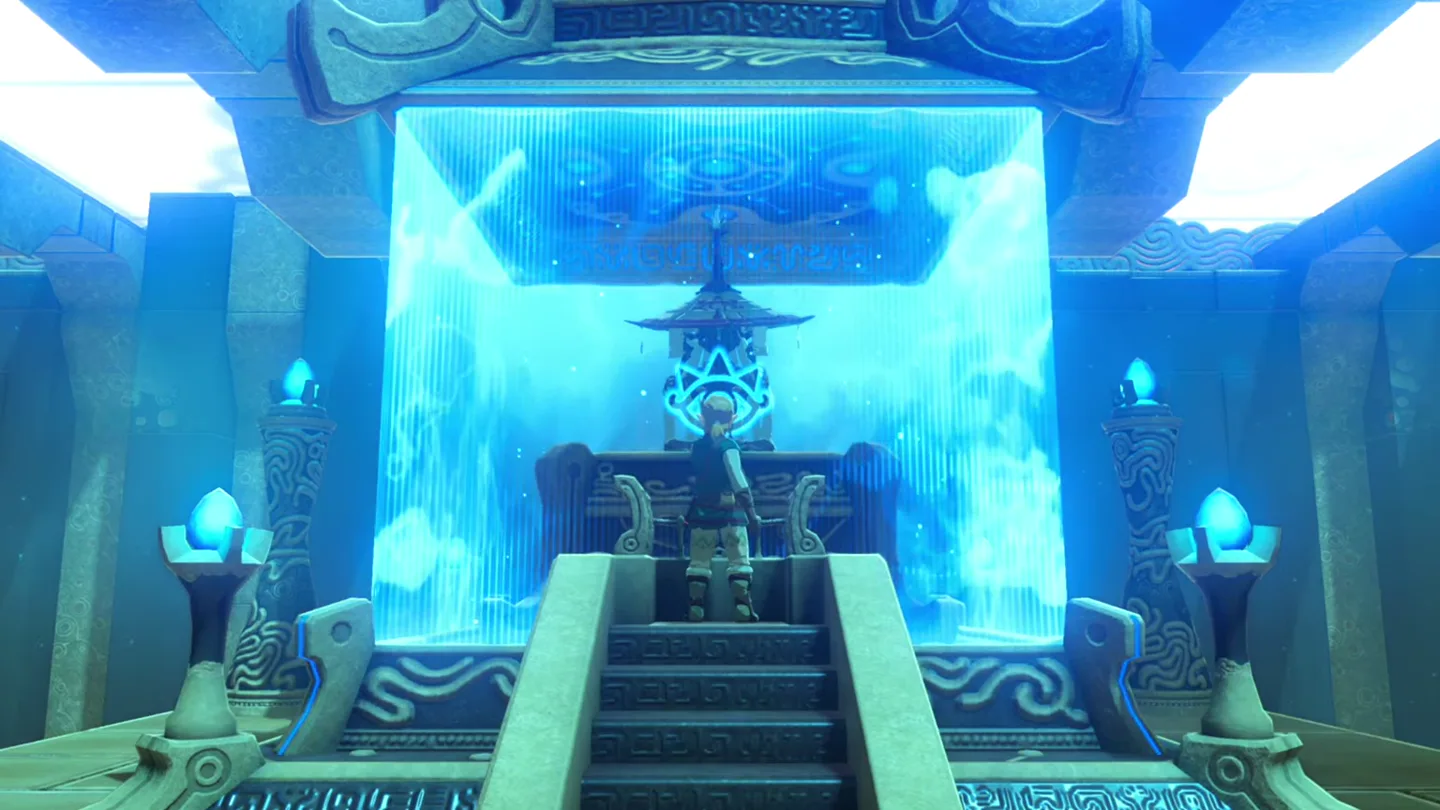
Ride the updraft in front of you inside the hole — it carries you straight up to the monk’s chamber. Talk to Sha Warvo to receive your Spirit Orb; he wishes you well and fades away.
What is in each chest?
| Chest | Contents | How to get it |
|---|---|---|
| 1 | Purple Rupee | On the small platform to the left of the second fan, patrolled by the Guardian Scout I. Kill the scout first, then open the chest. |
| 2 | Knight’s Bow | On a small platform near the top of the shrine that’s set apart from all the other platforms. Glide out to it from the upper platforms before heading for the monk. |
What do people miss here?
- The Purple Rupee chest sits to the left of the second fan, off the main climb line, with a Guardian Scout I on the platform — clear the scout first, then loot.
- The Knight’s Bow chest is on a small platform deliberately set apart from every other platform near the top; if you beeline for the monk, you’ll glide right past it.
- The final updraft is invisible from the last platform — it’s tucked behind the tall wall of the column, and the opening is on the side farthest from the Monk’s Pedestal. Glide clockwise (left) to reach it without running out of stamina.
- Missing the blue moving platform drops you into the chasm and kills you, sending you back to the shrine entrance — it’s the hardest landing here, so expect a few attempts.
- You can re-enter the shrine after completing it, so a missed chest can still be picked up later — but it’s far easier to grab both on your first pass.
What else is nearby?
| Shrine | Direction | Straight-line distance | Region |
|---|---|---|---|
| Maka Rah Shrine | northwest | 383 | Hebra |
| Akh Va’quot Shrine | south | 478 | Tabantha |
| Voo Lota Shrine | south | 521 | Tabantha |
Which guides help next?
FAQ
Where is the Knight's Bow chest in Sha Warvo Shrine?
How do I land on the moving platform in Sha Warvo Shrine?
How do I reach the monk at the end of Sha Warvo Shrine?
Do I need any runes or special gear for Sha Warvo Shrine?
Where is the Purple Rupee chest in Sha Warvo Shrine?
Related Articles
guides
Breath of the Wild Captured Memories: All 13 Locations and Rewards
All 12 photo locations from Zelda's album plus the 13th memory in Impa's painting, with coordinates, nearby shrines, the Champion's Tunic and the extra ending scene.
guides
Breath of the Wild Great Fairy Fountains: Locations, Costs and Horse God
Where the four Great Fairy Fountains and the Horse God Malanya are in Breath of the Wild, what each fairy costs to release, and how many you need per armor upgrade.
guides
Hyrule Castle Walkthrough: Entry Routes, Hylian Shield and Final Prep
How to get into Hyrule Castle in Breath of the Wild: five entry routes, the Hylian Shield and other loot by room, and what to prepare before the final battle.
Was this helpful?
Thanks for the feedback!