

Kema Kosassa Shrine – A Major Test of Strength Walkthrough
Step-by-step guide to Kema Kosassa Shrine in BotW's Gerudo Highlands: beat the Guardian Scout IV in the Major Test of Strength and grab the Silver Rupee chest.
Where is Kema Kosassa Shrine?
The shrine sits on the Risoka Snowfield in the Gerudo Highlands, northwest of Gerudo Tower — unlock the tower, then climb up into the highlands toward the northwest. For orientation, Keeha Yoog Shrine lies east of here, Sho Dantu Shrine to the southeast, and Kema Zoos Shrine to the south. The approach is open highland snowfield with the shrine standing in plain view; just walk up and go inside.
| Item | Detail |
|---|---|
| Trial | A Major Test of Strength |
| Tower region | Gerudo |
| Map-marker coordinates | -4657, -0905, 0632 |
| Shrine quest | None |
| Chests | 1 |
| Names | Kema Kosassa Shrine · 基瑪‧科薩薩神廟 · 基玛·科萨萨神庙 |
What should you bring?
No runes and no shrine quest are needed — this is a pure combat trial, so all your prep is for the fight. Cook a stack of healing dishes before entering (the Guardian can pack quite the punch), wear your best armor, and bring a shield for parries plus two or three solid weapons, since a full duel can wear a single blade down. Ideally have a few extra heart containers; if you’re still early in the game with weak gear, it’s completely fine to come back later.
Video walkthrough

How do you solve Kema Kosassa Shrine?
This trial is a single duel: a Guardian Scout IV guards the flooded chamber, and the portcullis to the Monk only rises once it’s scrap. Everything hinges on reading its attacks — dodge into Flurry Rushes, parry what you can, and burst it down before its final laser barrage fires.
1. Enter and Summon the Boss
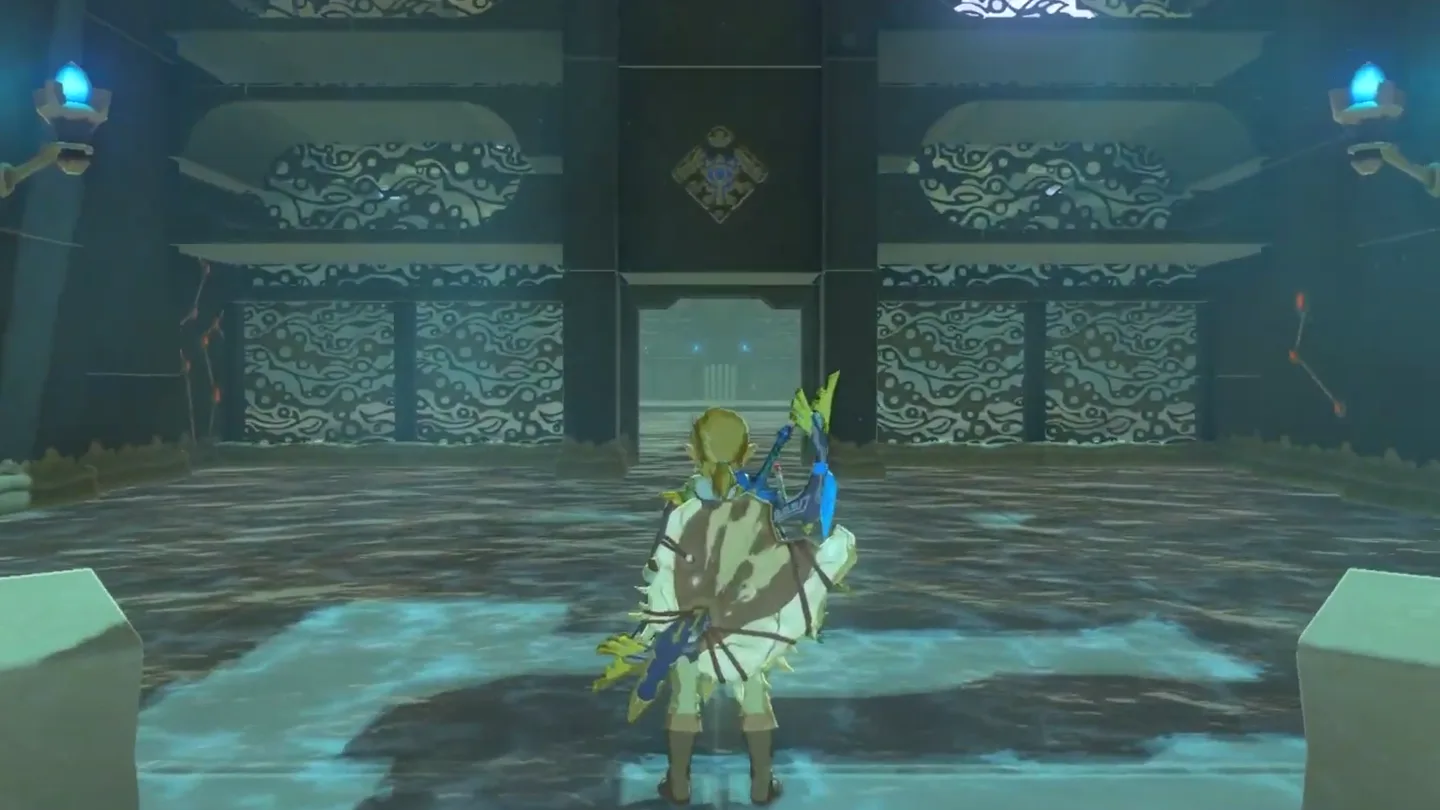
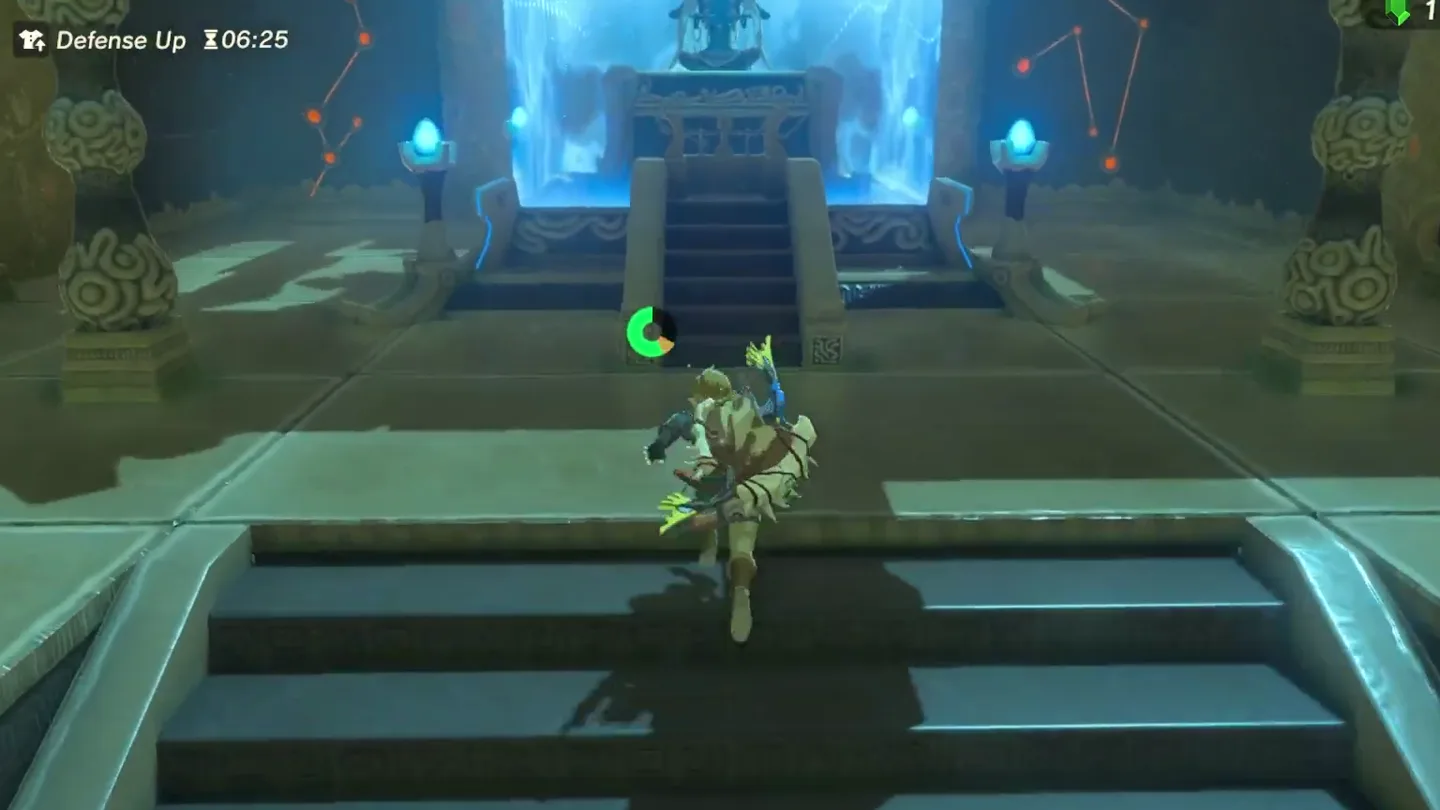
Enter the shrine and walk into the large main chamber. The floor is covered by a thin layer of water, with a pit in the center and a closed portcullis sealing off the far end.
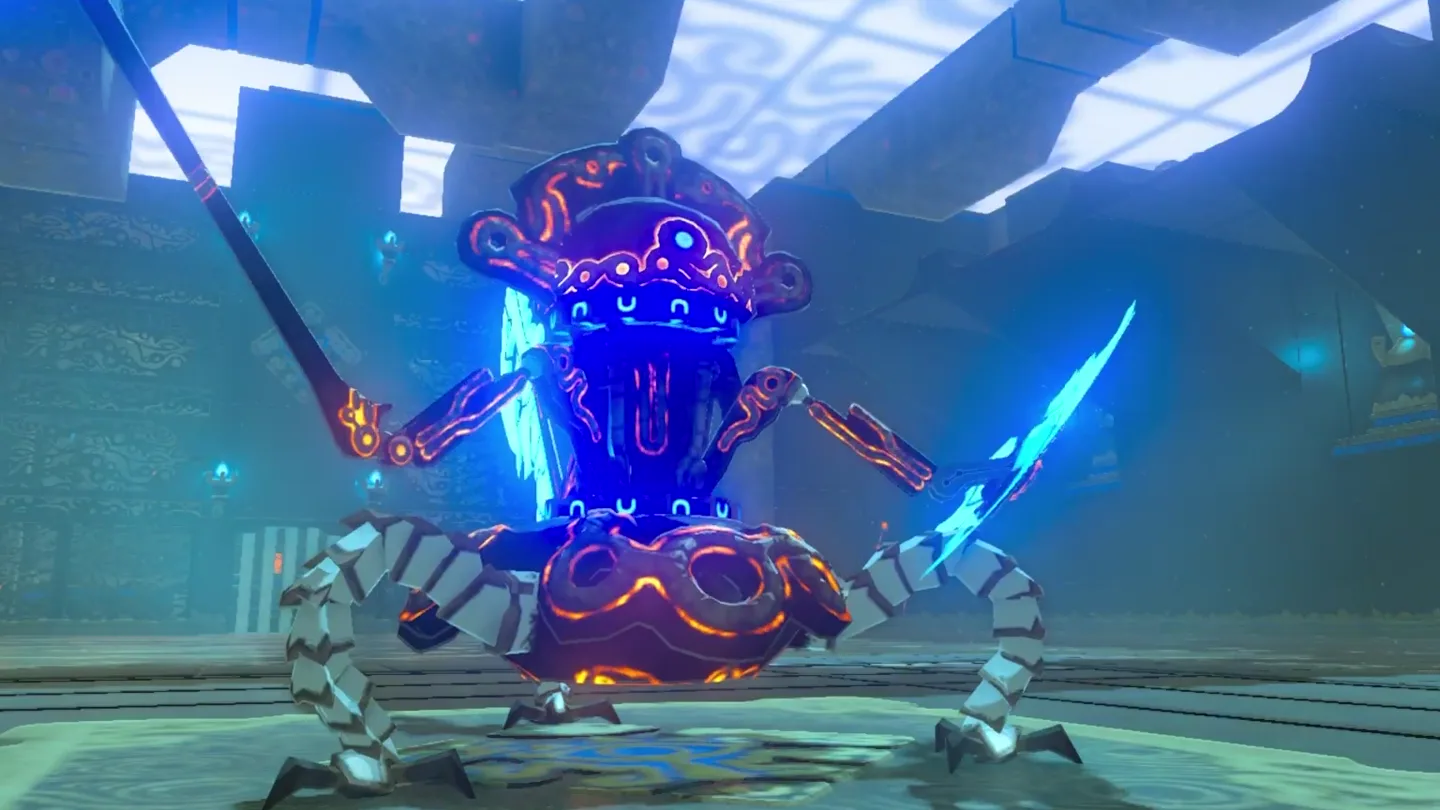
Step toward the center of the room — a Guardian Scout IV rises from the pit and attacks immediately. Destroying it is the entire trial.
2. Defeat the Guardian Scout IV
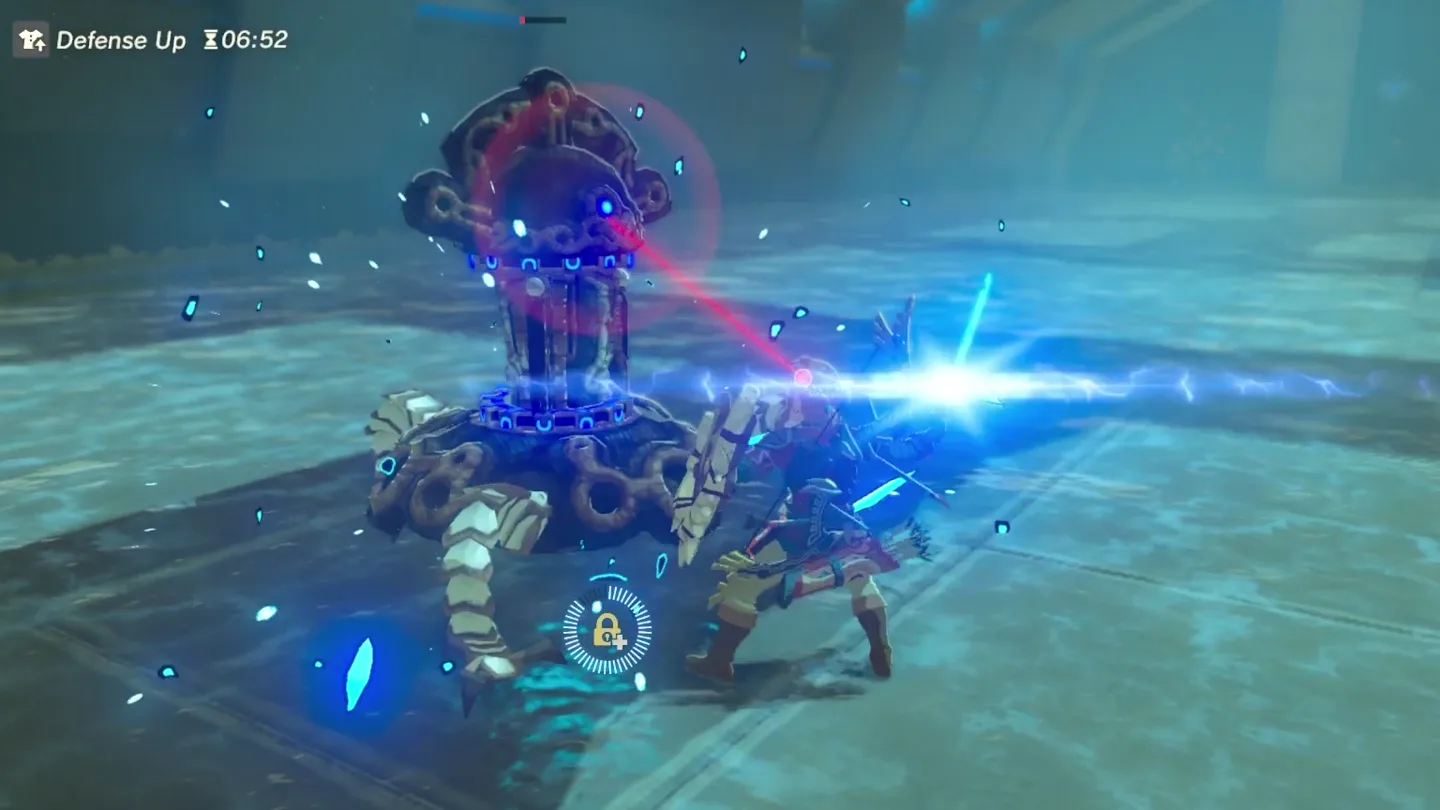
Lock on right away. This Scout is top-tier: it swings a Guardian Spear++ and a Guardian Sword++, and it blocks with a Guardian Shield++, so its attacks are fast, long-reaching, and hit hard.
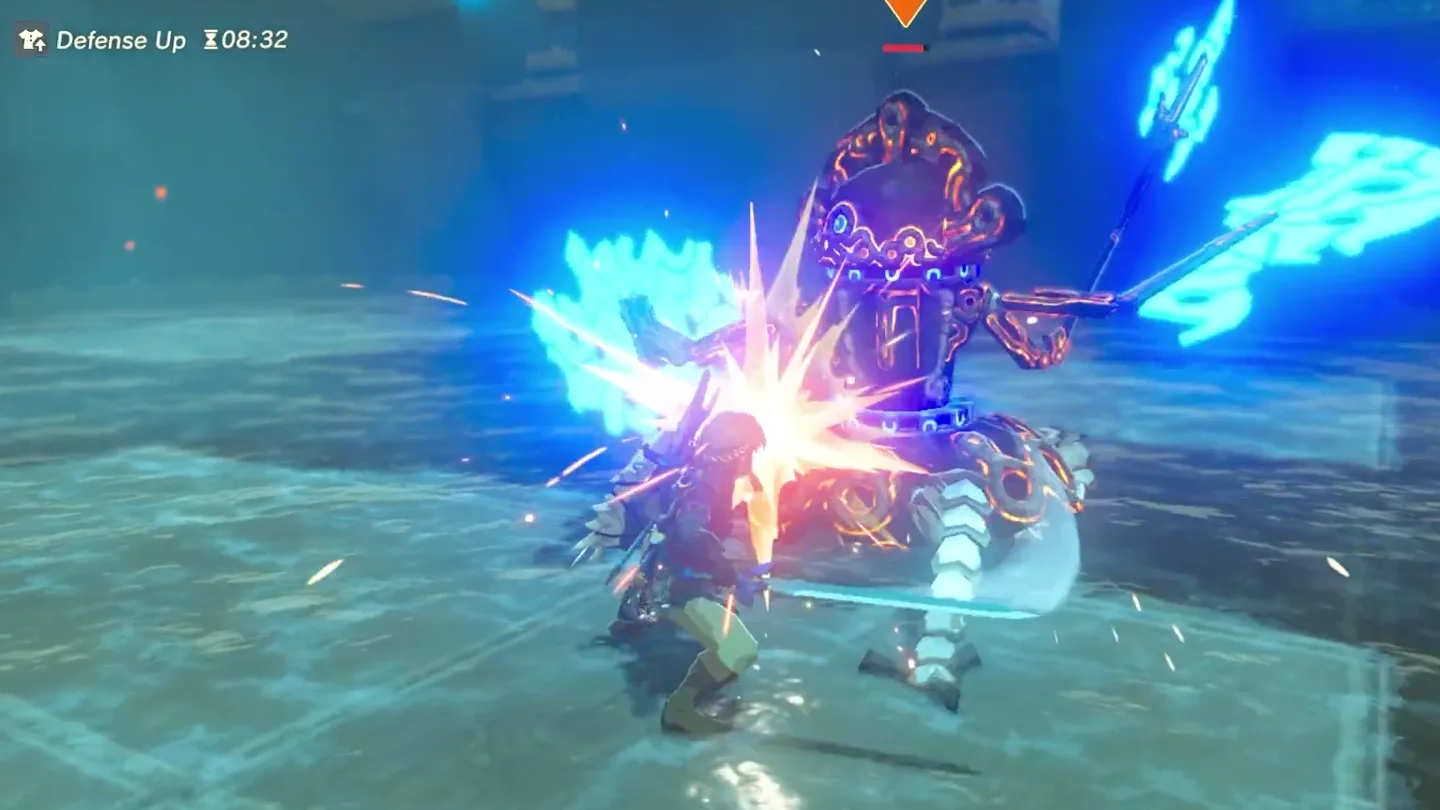
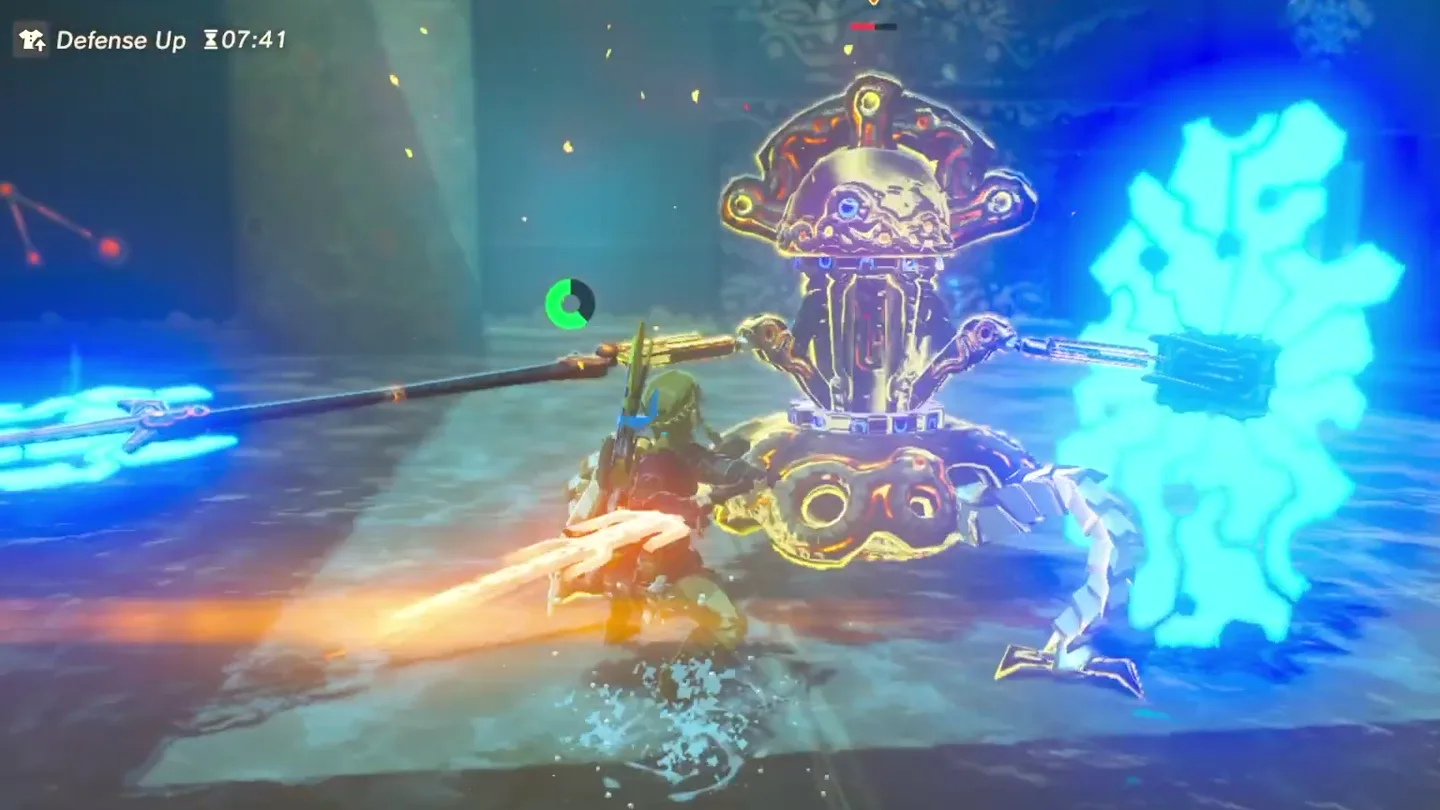
When it winds up a melee swing, backflip (lock on + pull the stick back + Jump) or sidehop (lock on + strafe left or right + Jump). Nail the timing and you’ll flash into a Flurry Rush — your biggest damage window.
You can also perfect guard: raise your shield, then press the parry at the exact instant the blow lands to deflect it without taking damage.
Play the rhythm: dodge or parry a combo, land one or two counters, then back out to neutral. Standing toe-to-toe and mashing attack is how you get shredded.
Watch its health. When it’s nearly dead it shifts to ranged attacks, including explosive laser blasts it begins charging.
The answer is aggression: sprint in while it’s still charging and try to finish it before it ever fires. If you can’t kill it in time, keep moving and be ready to dodge or parry the beams.
3. Open the Gate and Loot
If the Scout does defeat you, don’t panic — you’ll reload your last save at the shrine entrance. Walk back in and try again: the Guardian respawns at full health and the portcullis stays shut until you win, but nothing is permanently lost.
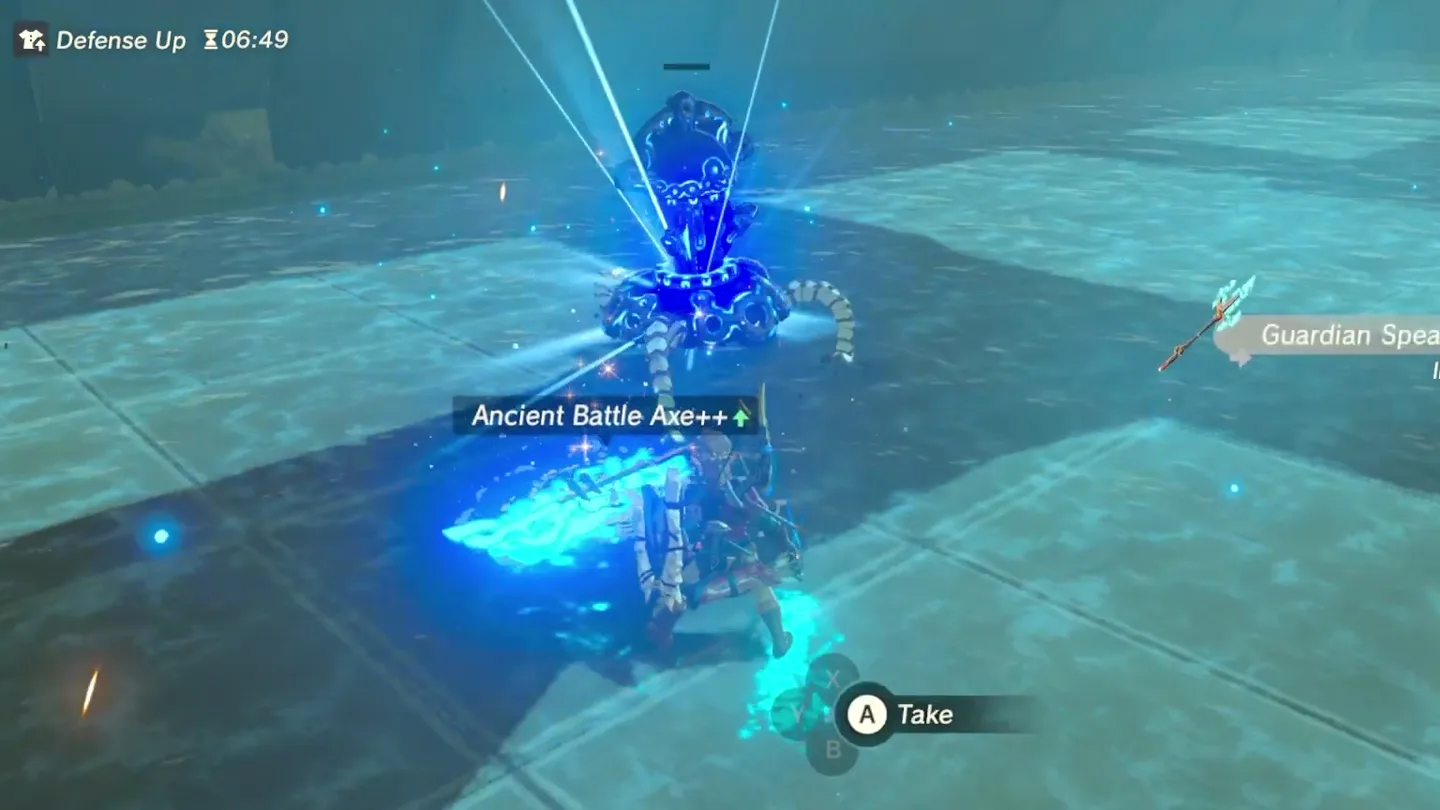
Once it’s destroyed, loot the remains for its Guardian weapons (Guardian Spear++, Guardian Sword++ / Ancient Battle Axe++, Guardian Shield++) and Ancient parts.
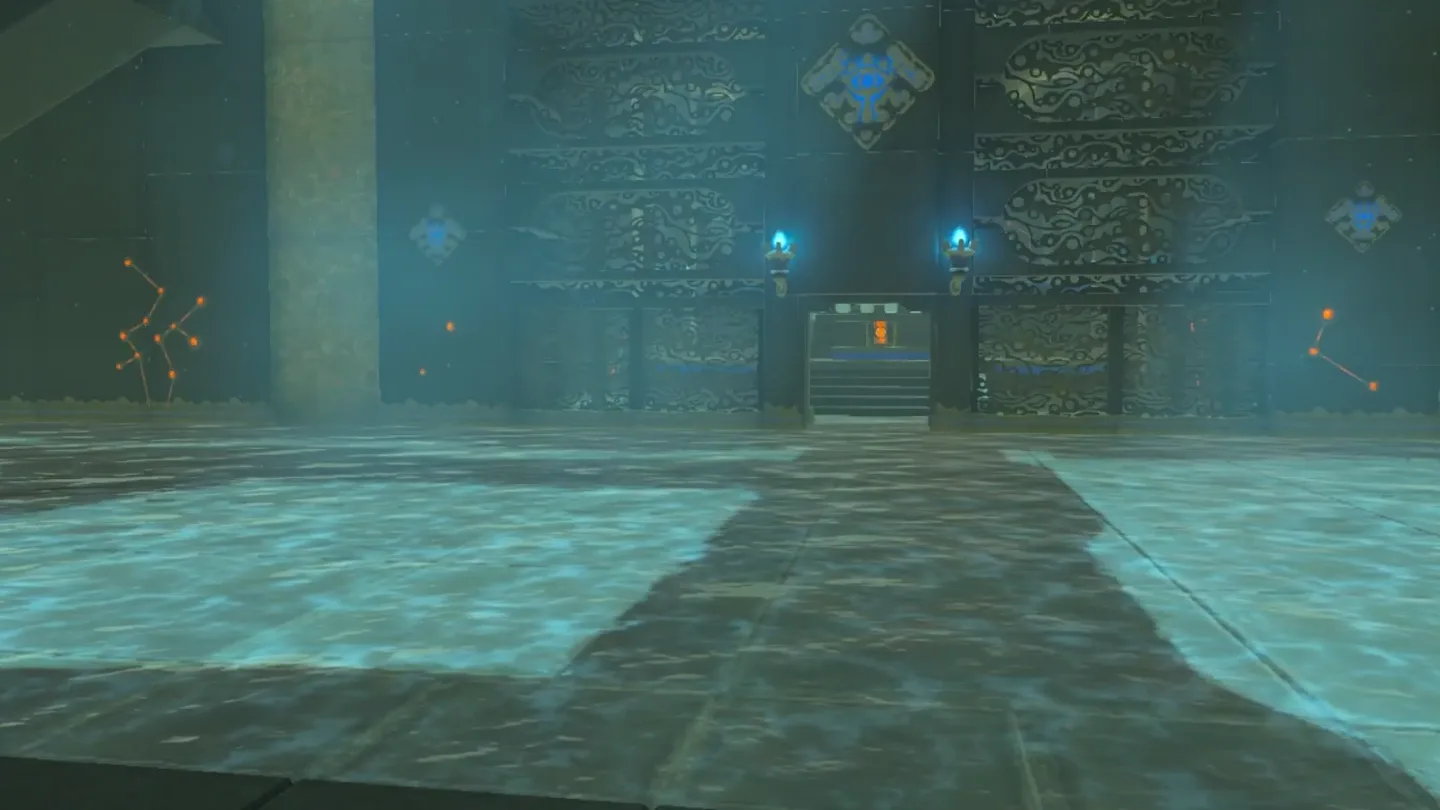
Head to the back of the room: the portcullis rises once the Scout is scrap, opening the path to the Monk’s pedestal.
4. Claim the Reward
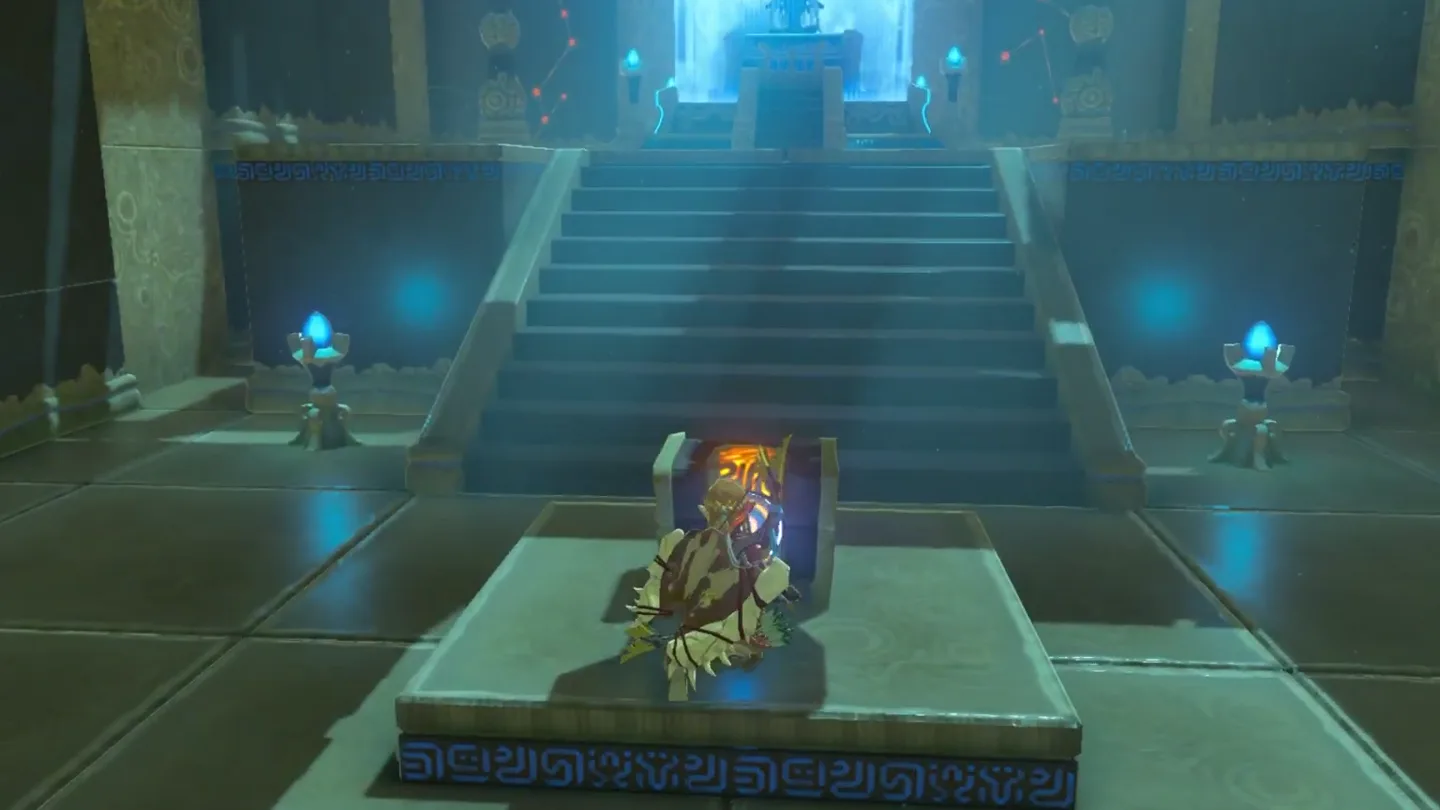
Before anything else, open the stone Treasure Chest beside the Monk for a Silver Rupee (100 Rupees).
Speak with Kema Kosassa to receive your Spirit Orb. The Monk wishes you well and fades away — shrine complete.
What is in the chest?
| Chest | Contents | How to get it |
|---|---|---|
| 1 | Silver Rupee (100 Rupees) | A stone chest sitting behind the portcullis, right by the Monk’s pedestal. It only becomes reachable after the Guardian Scout IV is destroyed and the gate rises. |
What do people miss here?
- Walking out without the chest: it isn’t in the arena — it’s behind the portcullis next to the Monk, and that gate only opens after the fight. Open it before you leave; you can re-enter the shrine later if you forget, but expect to fight the Scout again to reach it.
- Fighting under-prepared: with weak armor and only a few hearts, the ++ Guardian weapons and lasers will delete you. If you’re dying over and over, leave, cook food, get better gear and hearts, and come back — nothing stops you from retrying.
- Backing off to heal when it starts charging its explosive lasers is the classic mistake. That’s exactly the moment to close the distance and finish it during the charge-up.
- Turtling behind your shield without parrying doesn’t work here — the Scout hits too hard and too often. Rely on sidehops and backflips for Flurry Rushes and on perfect guards instead of eating hits.
- The water on the chamber floor looks like a puzzle hook but isn’t — it’s a thin layer you simply walk and fight on. No runes are needed anywhere in this shrine.
What else is nearby?
| Shrine | Direction | Straight-line distance | Region |
|---|---|---|---|
| Keeha Yoog Shrine | east | 826 | Gerudo |
| Sho Dantu Shrine | southeast | 1056 | Gerudo |
| Kema Zoos Shrine | south | 1064 | Wasteland |
Which guides help next?
FAQ
How hard is the Kema Kosassa Shrine trial?
What's in the treasure chest in Kema Kosassa Shrine?
What happens if I die to the Guardian Scout?
Do I need a shrine quest or any runes to enter?
What should I bring for a Major Test of Strength?
Related Articles
guides
Breath of the Wild Captured Memories: All 13 Locations and Rewards
All 12 photo locations from Zelda's album plus the 13th memory in Impa's painting, with coordinates, nearby shrines, the Champion's Tunic and the extra ending scene.
guides
Breath of the Wild Great Fairy Fountains: Locations, Costs and Horse God
Where the four Great Fairy Fountains and the Horse God Malanya are in Breath of the Wild, what each fairy costs to release, and how many you need per armor upgrade.
guides
Hyrule Castle Walkthrough: Entry Routes, Hylian Shield and Final Prep
How to get into Hyrule Castle in Breath of the Wild: five entry routes, the Hylian Shield and other loot by room, and what to prepare before the final battle.
Was this helpful?
Thanks for the feedback!