Some terrain tiles could not load. Switch to the coordinate grid or retry.
Look for the shrine on snowy Mount Hylia. It becomes available after activating the Great Plateau Tower. For a bridge approach, start at the broken crossing beside the snowy area with a loose metal plate: use Magnesis to lay the plate between the bank and the supports in the water, then cross. Bear right and follow the snowy path uphill, watching for enemies and rolling snowballs. Activate the entrance terminal and take the lift inside.
Item
Detail
Trial
Cryonis Trial
Tower region
Great Plateau
Coordinates (X, Y, Z)
-1435, -1991, 0351
Type
Cryonis tutorial puzzle; not a Test of Strength
Shrine quest
None
Chests
1
English name
Keh Namut Shrine
Traditional Chinese name
圖米‧恩科神廟
Simplified Chinese name
图米·恩科神庙
Coordinates follow the shrine-marker convention used in our all-shrine table.
What should you bring?
Mount Hylia around the shrine is a freezing climate, so sort out cold protection before the climb: a Warm Doublet or cold-resistant (spicy) food, otherwise you’ll keep taking damage on the way up. If you take the broken-bridge route, you also need Magnesis to lay the loose metal plate between the bank and the supports in the water. Nothing is required for the interior in advance — Cryonis is granted at the terminal near the entrance — and while a weapon or bow makes the Guardian Scout easier, you can finish the trial without fighting it.
Cryonis is obtained inside. Magnesis is for the outdoor bridge route; the indoor mechanisms use ice pillars. A weapon or bow helps against the Guardian Scout, but defeating it is not required to complete the puzzle.
1. Obtain Cryonis
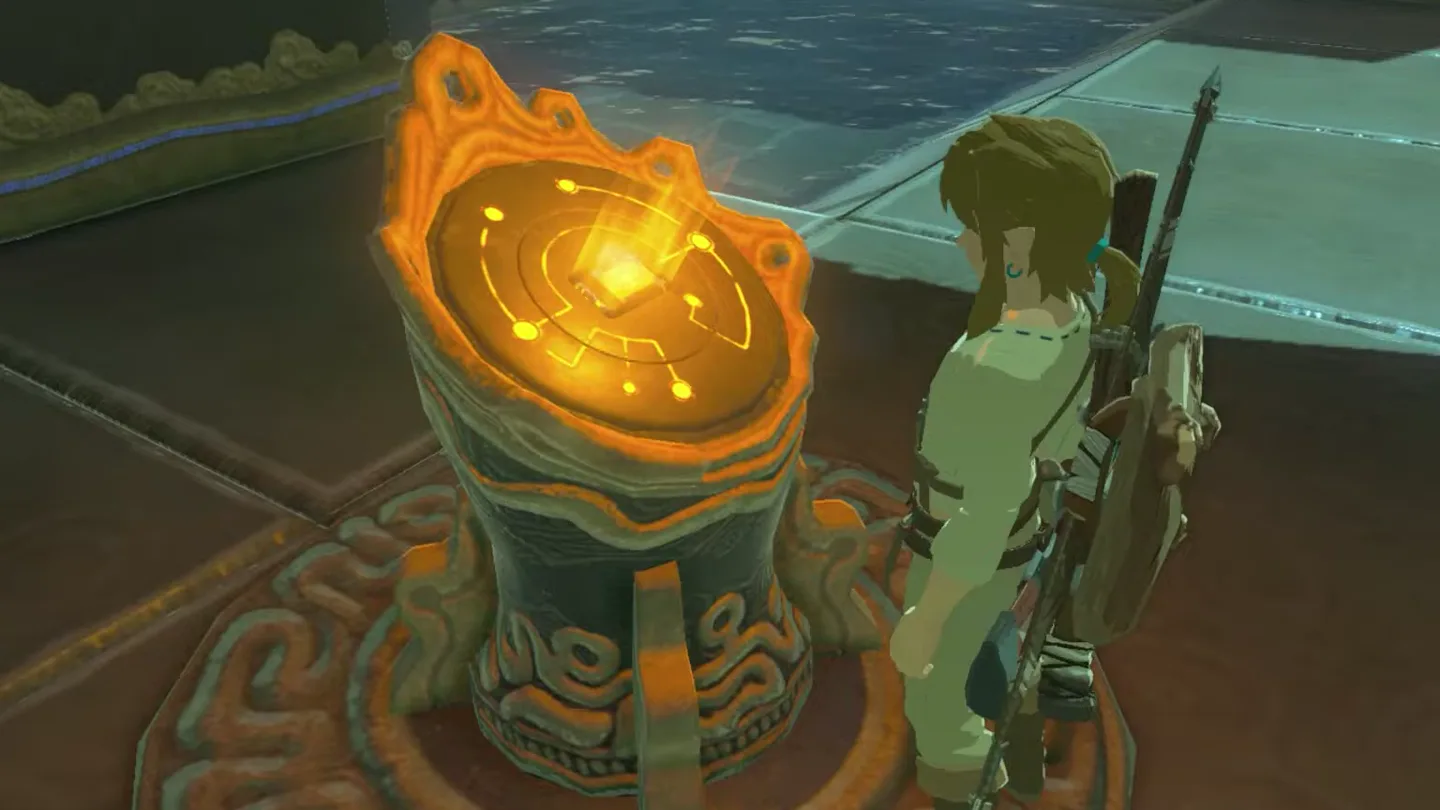
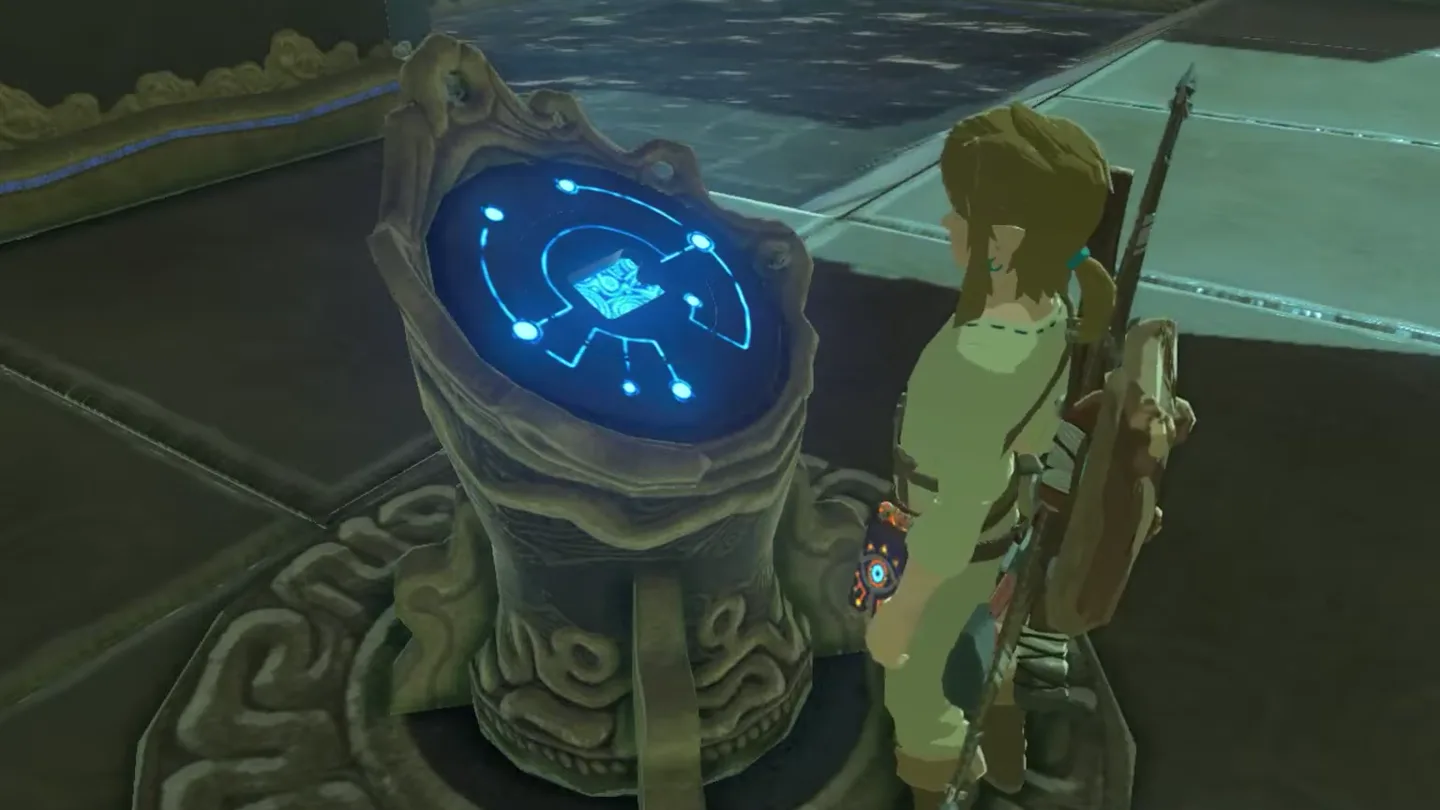
Obtain Cryonis. Interact with the terminal near the entrance to add the rune to the Sheikah Slate.
Use terminal ① by the entrance to add Cryonis to the Sheikah Slate. Screenshot (cropped) from Proximus Gaming
· CC BY Once the terminal turns blue, Cryonis is yours. Screenshot (cropped) from Proximus Gaming
· CC BY
2. Cross the water and lift the gate
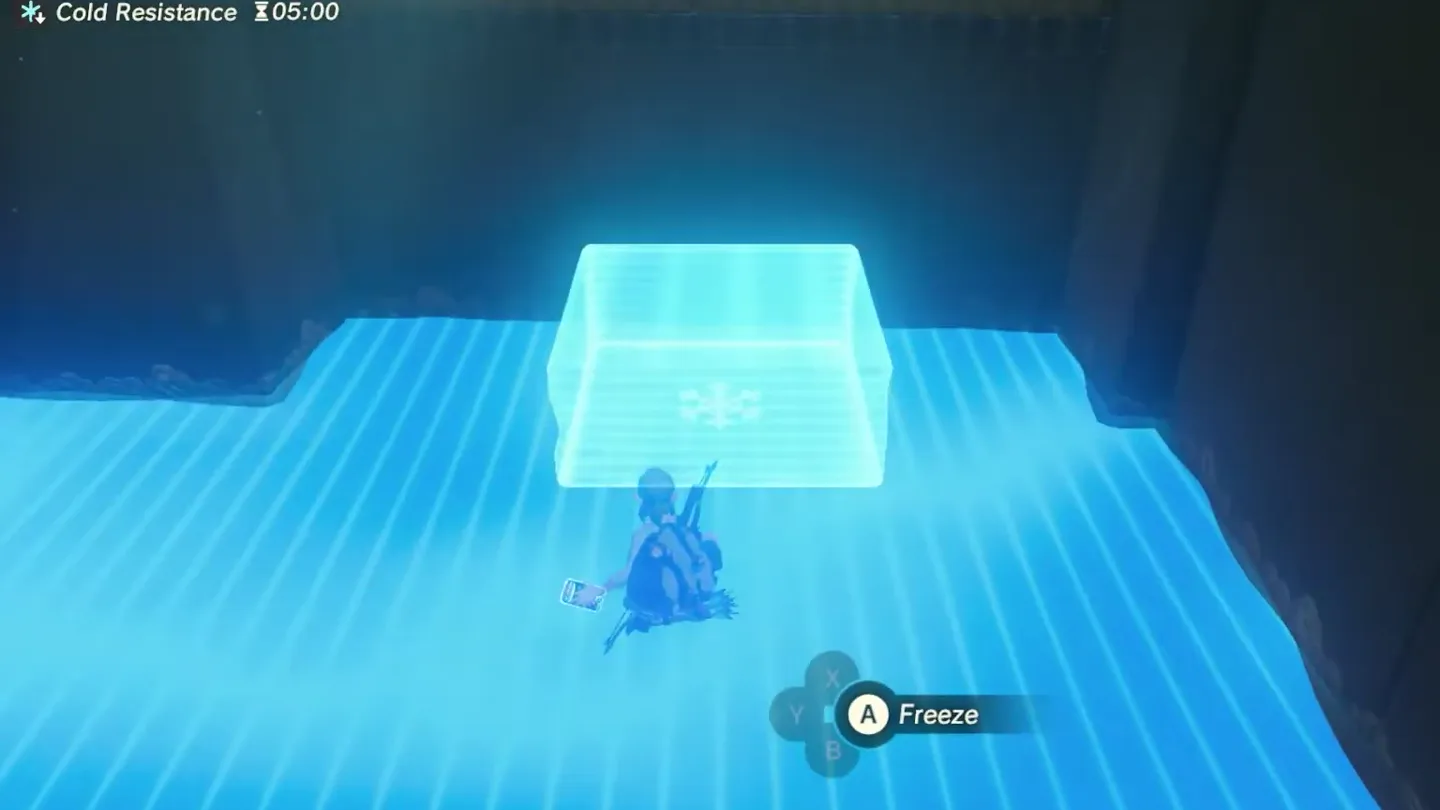
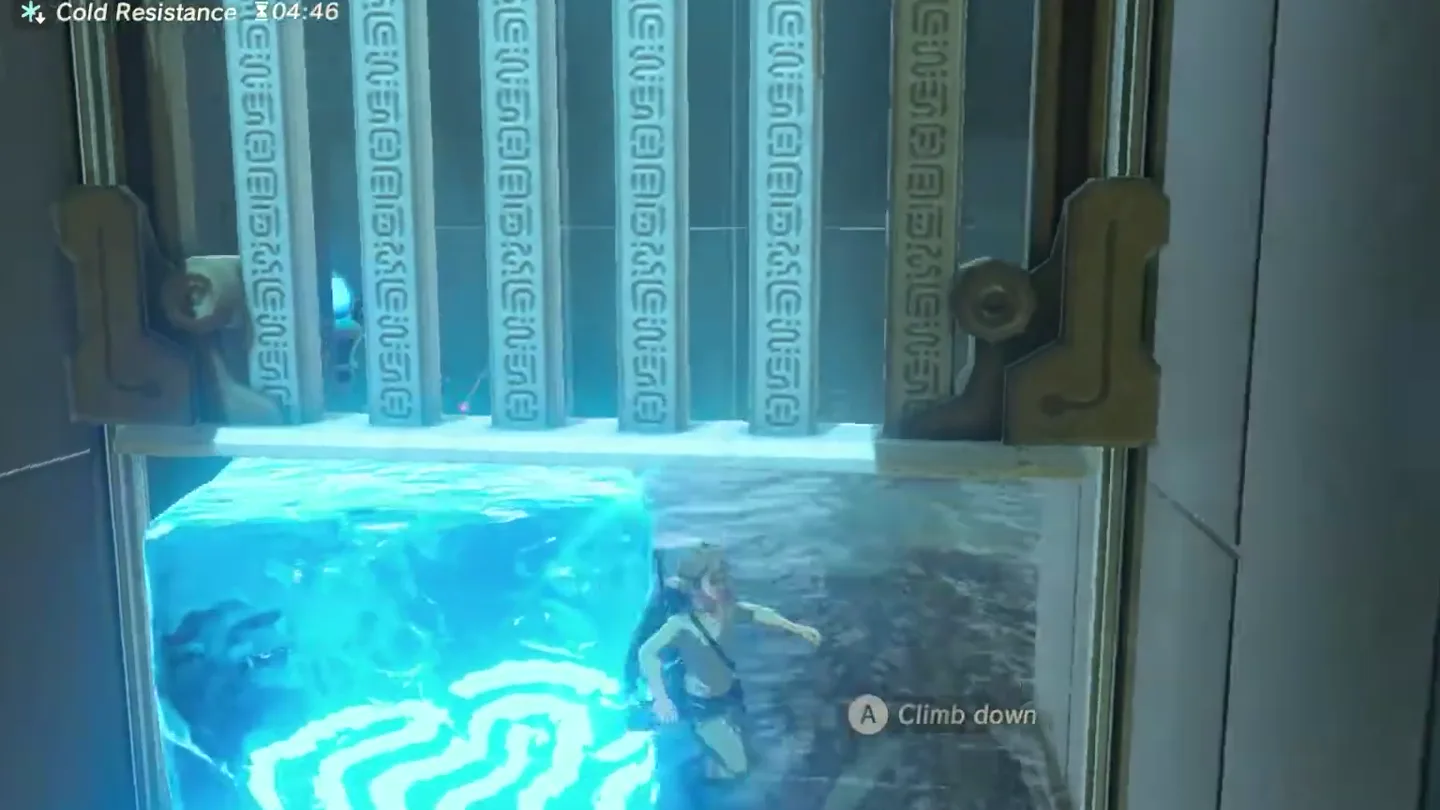
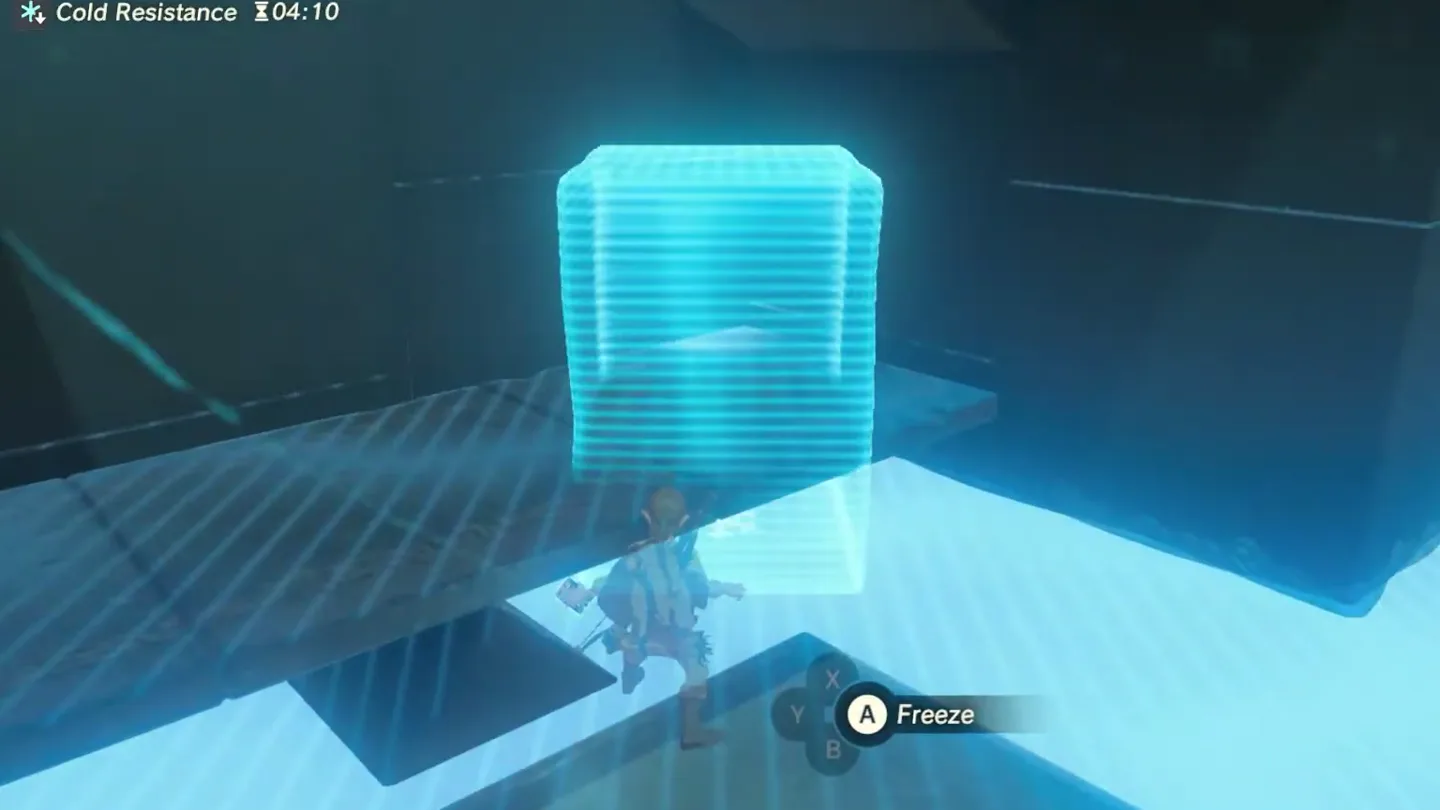
Climb an ice pillar. Target the water below the raised ledge, create a pillar, and climb it to reach the platform ahead.
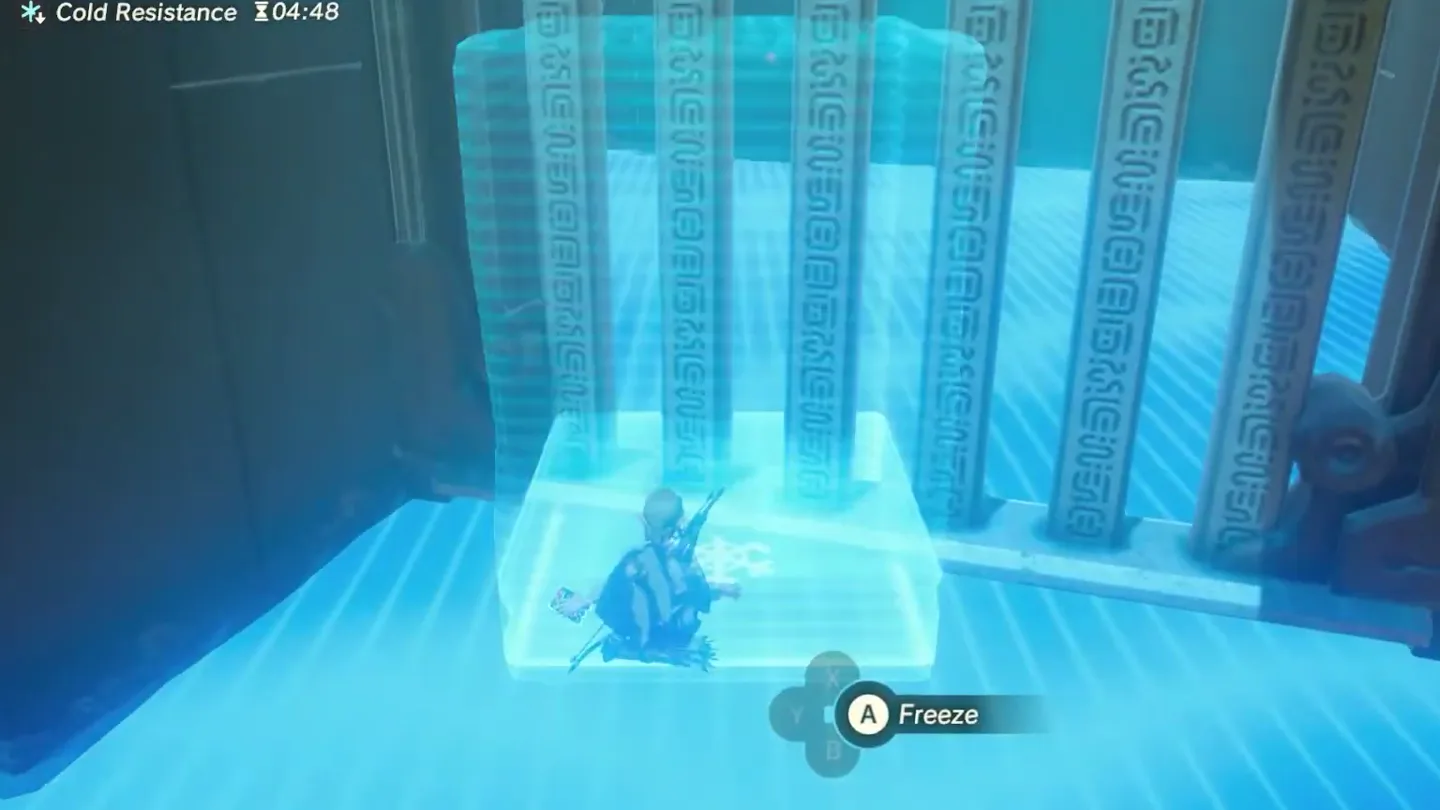
Lift the gate from underneath. Place an ice pillar directly beneath the gate, then walk through the opening it creates.
Aim Cryonis at the water under the ledge and raise ice pillar ①, then climb it. Screenshot (cropped) from Proximus Gaming
· CC BY Aim at the water right under the gate and make ice block ① there. Screenshot (cropped) from Proximus Gaming
· CC BY The ice lifts the gate; slip through underneath. Screenshot (cropped) from Proximus Gaming
· CC BY
3. Defeat the Guardian Scout and collect the chest
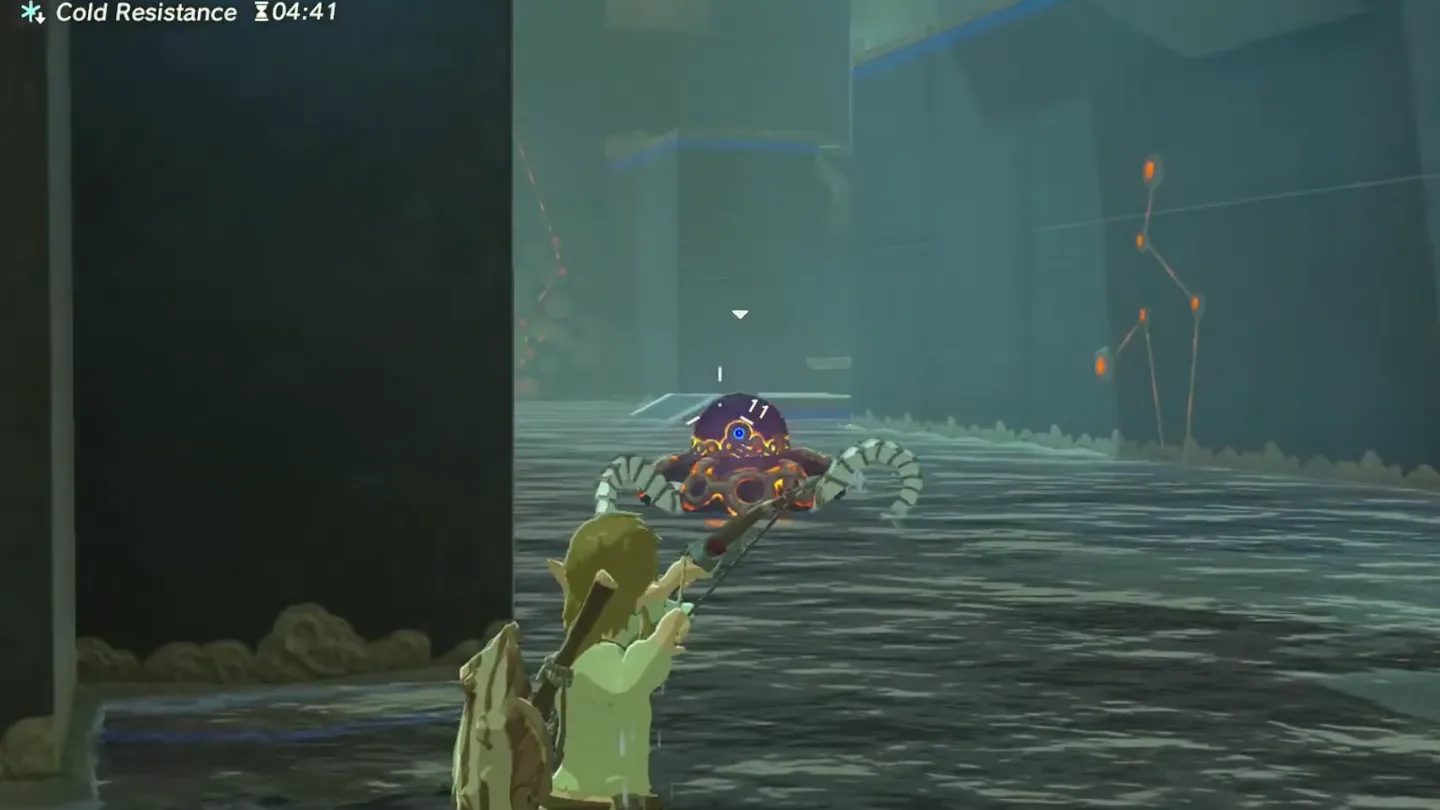
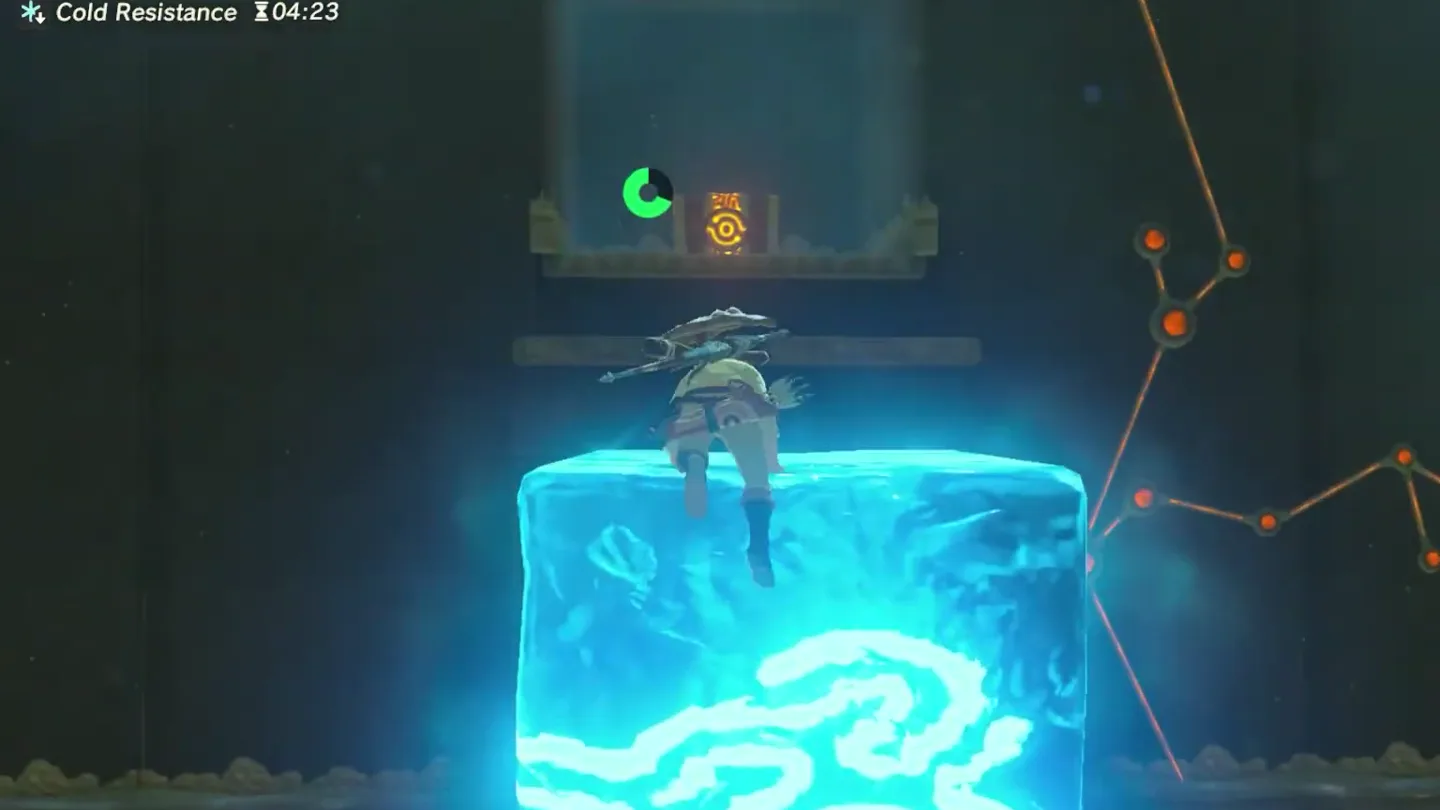
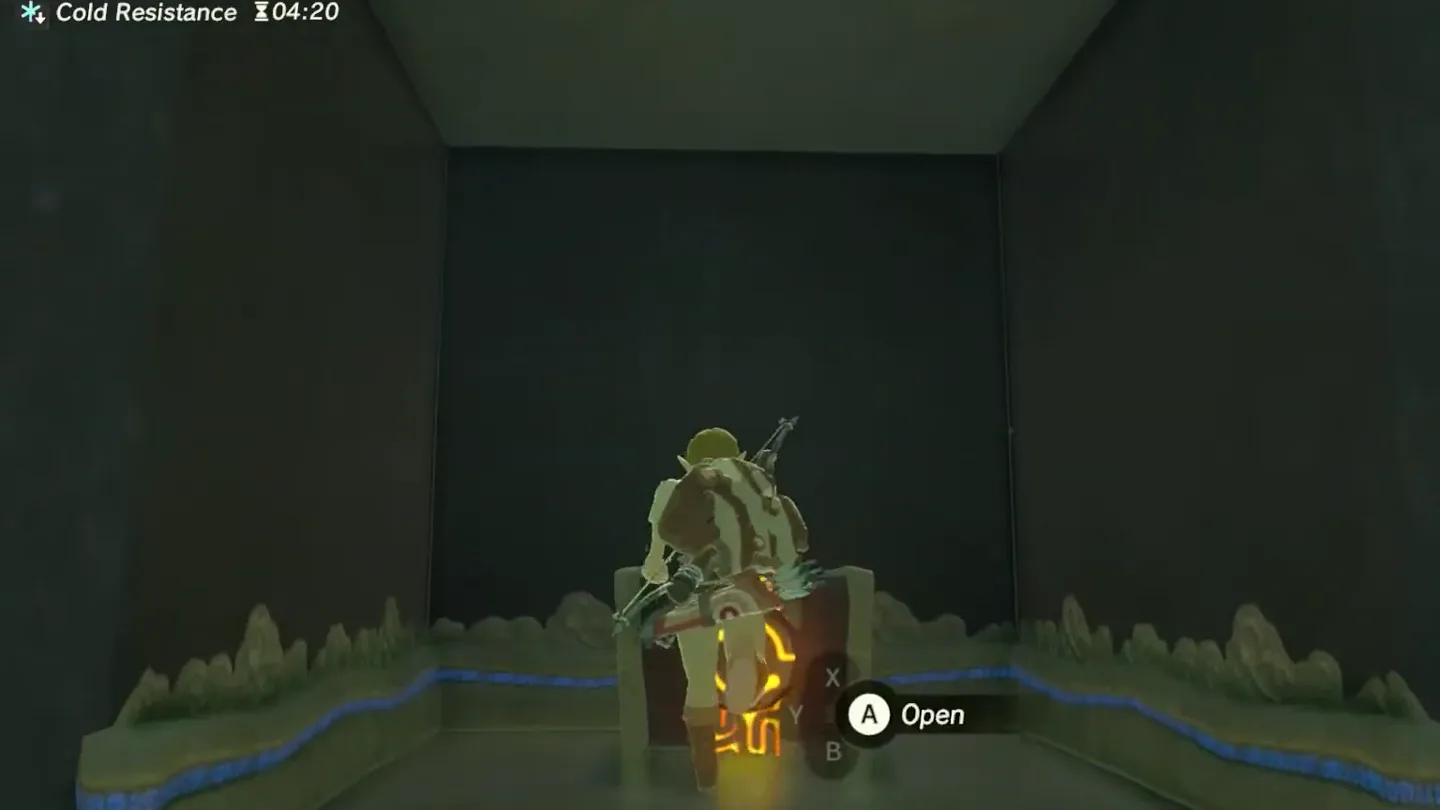
Pass the Guardian Scout and collect the chest. Defeat or avoid the enemy in the flooded room. Raise ice beside the nearby chest platform, climb up, and collect the Traveler’s Spear.
A Guardian Scout ① patrols the water: defeat it or go around it. Screenshot (cropped) from Proximus Gaming
· CC BY Raise ice pillar ① next to the chest ledge and climb up. Screenshot (cropped) from Proximus Gaming
· CC BY Open the chest for a Traveler’s Spear. Screenshot (cropped) from Proximus Gaming
· CC BY
4. Ramp the slab and finish at the altar
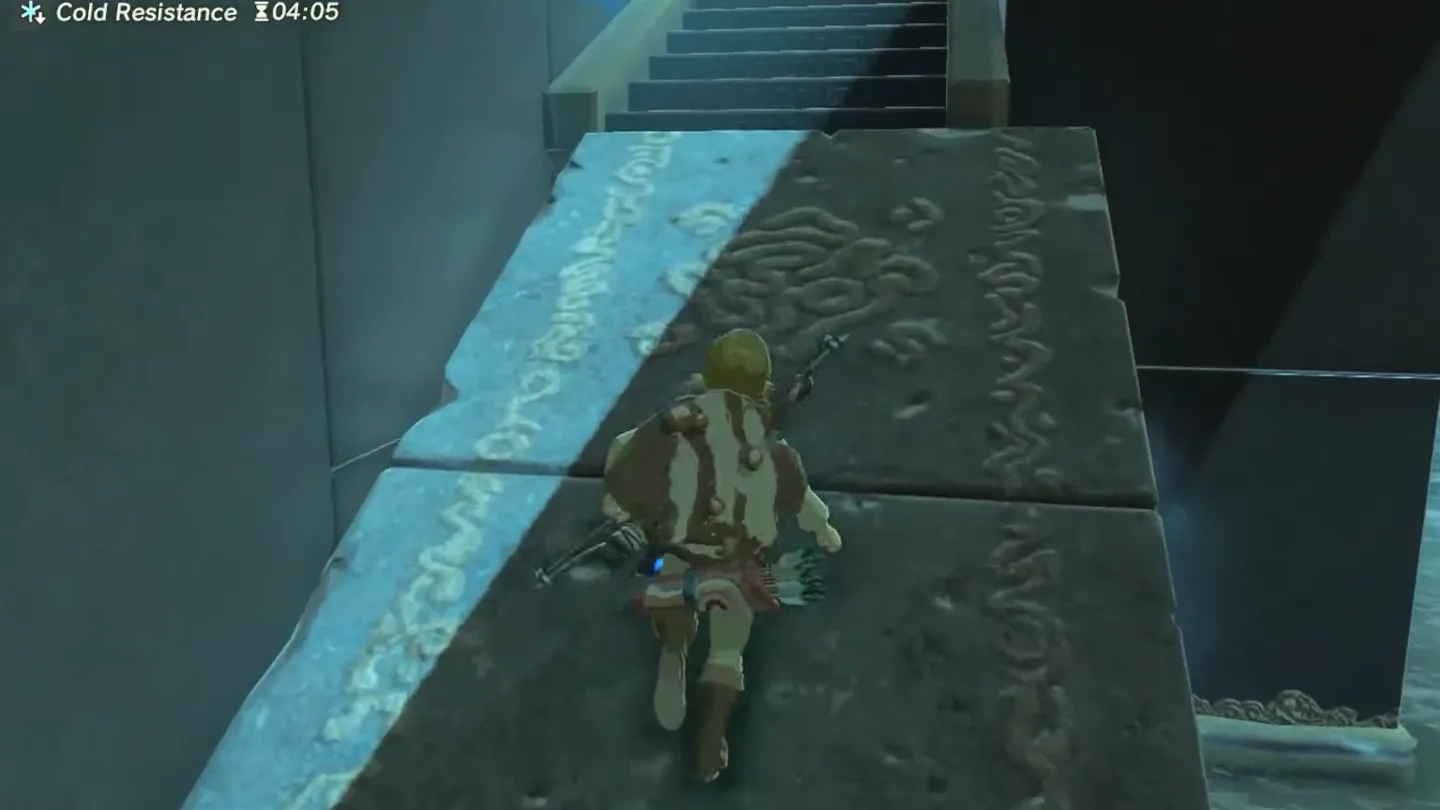
Turn the balanced slab into a ramp. Make an ice pillar under an end of the slab to lift that end, then walk up the tilted surface to the upper level.
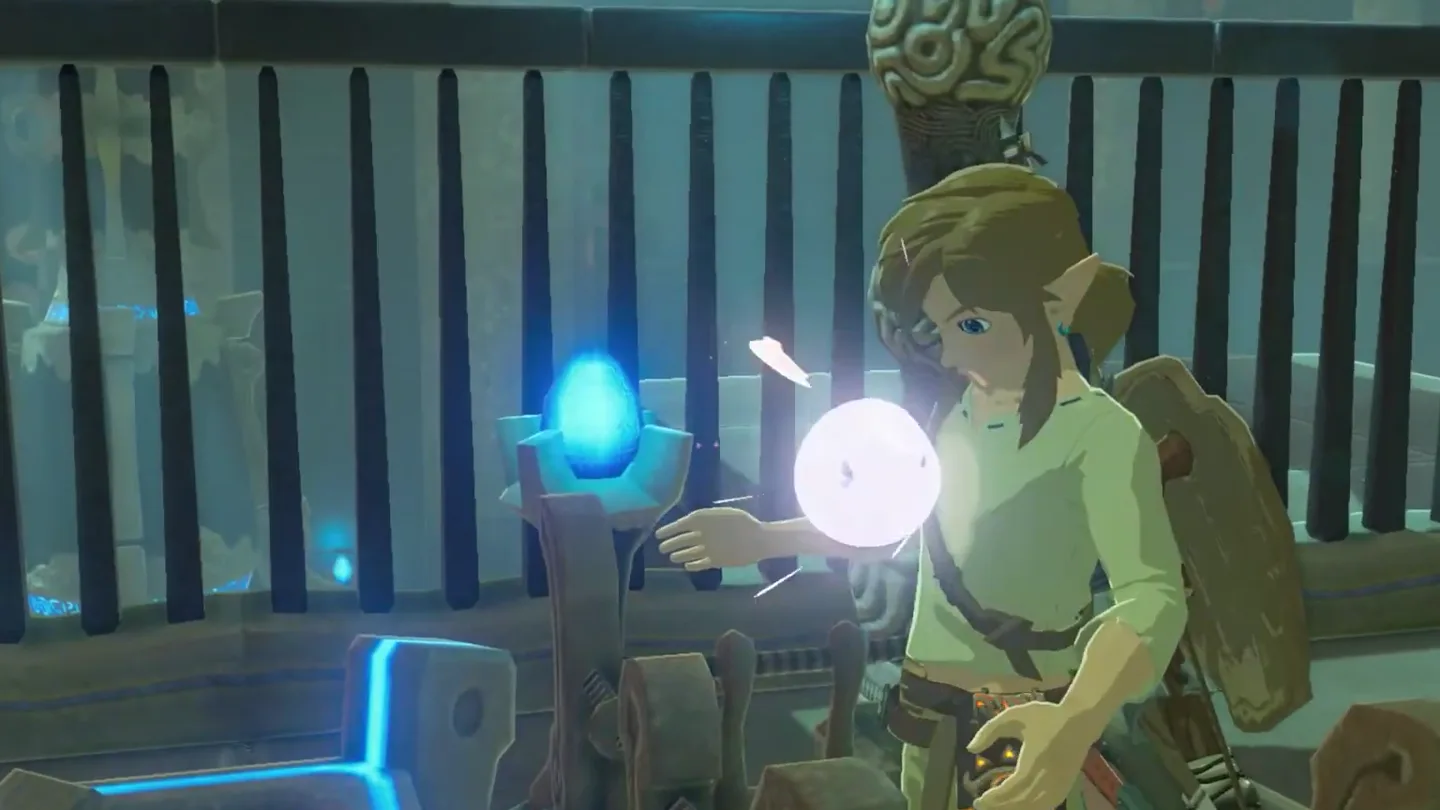
Finish at the altar. Follow the path and interact with the altar to receive the Spirit Orb.
Make ice block ① under the end of the slab so that end rises. Screenshot (cropped) from Proximus Gaming
· CC BY Walk up the tilted slab to the upper floor. Screenshot (cropped) from Proximus Gaming
· CC BY Reach the altar to receive the Spirit Orb. Screenshot (cropped) from Proximus Gaming
· CC BY
Chests
Chest
Contents
How to get it
1
Traveler’s Spear
In the Guardian Scout room, create an ice pillar beside the raised chest platform. Climb up and open it before taking the slab ramp to the altar.
What do people miss here?
The Guardian Scout drops parts when destroyed. Many players walk straight on — pick up the dropped parts before leaving the flooded room for the see-saw chamber.
When you aim Cryonis at water, a holographic ice cube shows where the block would appear; if the hologram displays its full height, the spot is valid. This is the easiest way to spot the gap between the gate and the water.
You are not limited to one block: multiple ice blocks can exist at once, so you can build your own stepping stones when a single pillar is badly placed or not enough.
In the flooded Guardian Scout room, look to your left after the hallway for the telltale glow of the chest (Traveler’s Spear). Its ledge looks like there is no way up at first glance, but it is reachable — and it is the only chest in this shrine, so don’t leave without it.
In Master Mode, the room’s single enemy is upgraded to a Guardian Scout II instead of the normal-mode Guardian Scout I, so expect a tougher fight — come armed or plan to dodge past it.
Wear a Warm Doublet or use cold-resistant food before entering the snowy area. At the broken bridge with a metal plate, use Magnesis to span the gap, then follow the snowy path uphill to the right after crossing.
How do I open the gate in Keh Namut Shrine?
Create a Cryonis pillar in the water directly underneath the gate. The rising ice lifts the gate so you can walk underneath it.
Where is the chest in Keh Namut Shrine?
Look for the raised platform near the Guardian Scout. Create an ice pillar beside it, climb up, and open the chest for a Traveler’s Spear.
Do I have to kill the Guardian in Keh Namut Shrine?
You can defeat the Guardian Scout or move past it. This is a Cryonis puzzle tutorial, not a Test of Strength; ice pillars can block its beams while you cross the room.