

Kema Zoos Shrine Walkthrough — A Delayed Puzzle | Breath of the Wild
Complete guide to Kema Zoos Shrine: use Stasis to drop the flying metal sphere, Magnesis it onto the electric switches, and claim the Moonlight Scimitar.
Where is Kema Zoos Shrine?
Head out of Gerudo Town’s west entrance into the West Barrens of the Wasteland Region — the shrine lies hidden amidst the desert sandstorms. Talk to Laine, the Gerudo soldier guarding that west entrance, to pick up the optional Shrine Quest ‘The Silent Swordswomen’: she points out a nearby swordswoman statue and hints it’s connected to the sandstorms that turn your Sheikah Slate to static. The statues’ secret: each time you find one, face the direction its sword points and keep walking that way. You don’t actually need to find all of them — the swordswoman near the skeletons, surrounded by four pillars, points straight at the shrine, so going ruler-straight from there runs you right into it. Two hazards: the sandstorm blanks your Sheikah Slate so you can’t track your map position, and getting caught up with enemies can leave you stuck not knowing which way is which — enough to force you to start over. Walk as straight as possible, never deviate, and ignore enemies. Activating the shrine concludes the Shrine Quest.
| Item | Detail |
|---|---|
| Trial | A Delayed Puzzle |
| Tower region | Wasteland |
| Map-marker coordinates | -4674, -1969, 0145 |
| Shrine quest | The Silent Swordswomen |
| Chests | 1 |
| Names | Kema Zoos Shrine · 基瑪‧茲斯神廟 · 基玛·兹斯神庙 |
What should you bring?
You need the Stasis and Magnesis runes — the trial runs on both — plus a bow and a single arrow if you prefer the shoot-the-ball method. The sandstorm zone deals damage even with heat-resistant armor on, but unlike other weather damage it comes very slowly and slightly, so it’s not terribly annoying — just watch out for it. Apart from that one optional arrow, no weapons or combat are required inside the shrine itself.
Video walkthrough
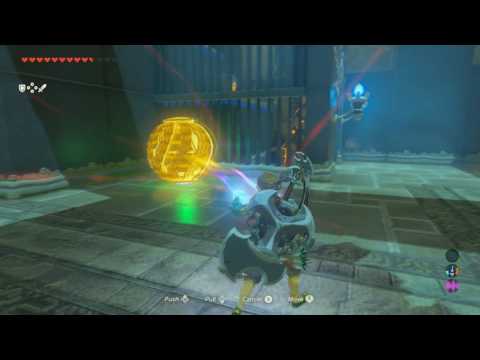
How do you solve Kema Zoos Shrine?
The whole trial hinges on breaking the sphere’s endless launch cycle: Stasis disrupts its arc so it falls, and once it’s grounded, Magnesis turns it into a portable battery for the room’s two switches.
1. Ground the metal sphere
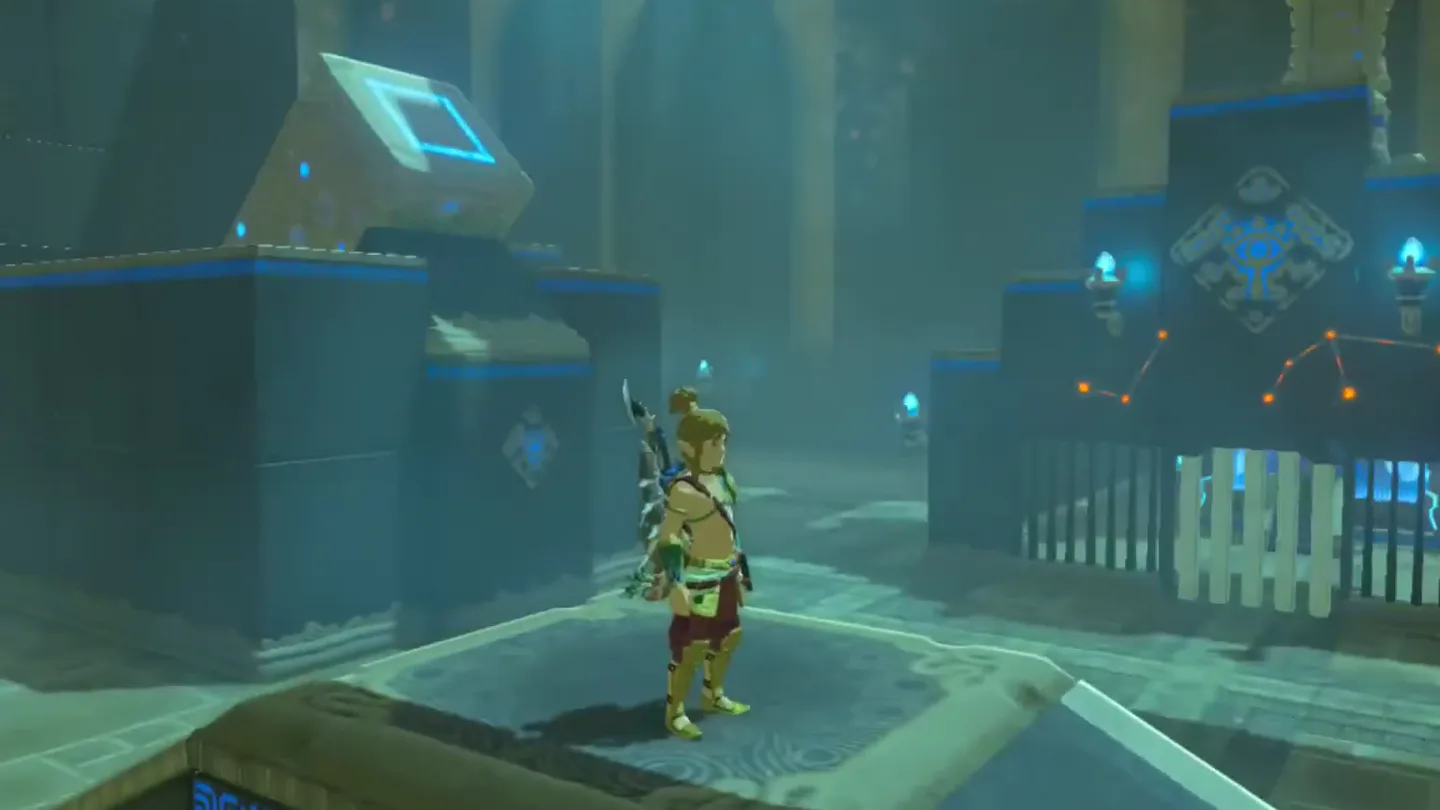
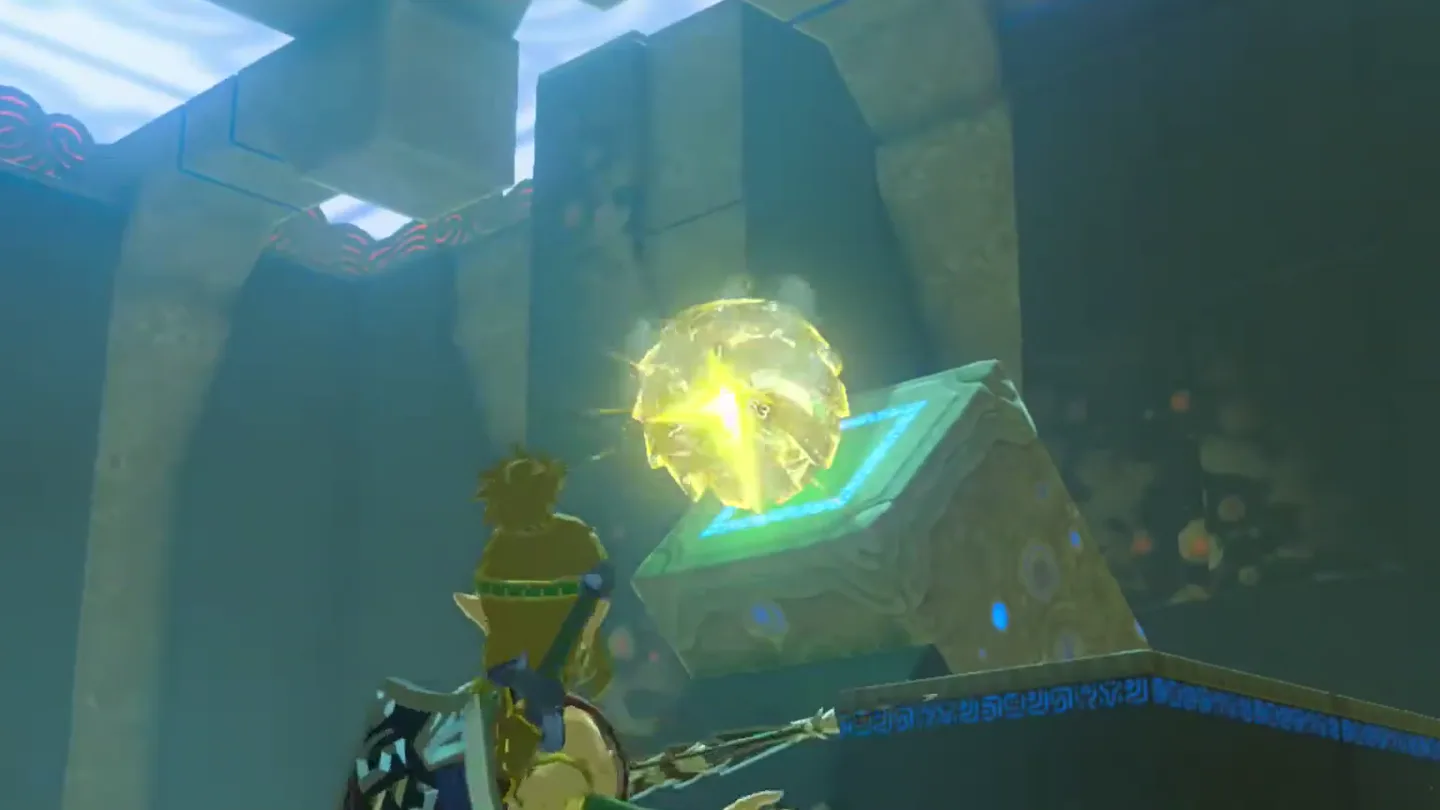
Walk in — you’ll hear Monk Kema Zoos offering the trial — and size up the single big room: an electrically charged metal sphere slowly bounces back and forth between two tilted platforms, one on each side.
Don’t bother aiming Magnesis at it yet — the ball flies too high to lock onto while airborne, so your first job is getting it onto the floor.
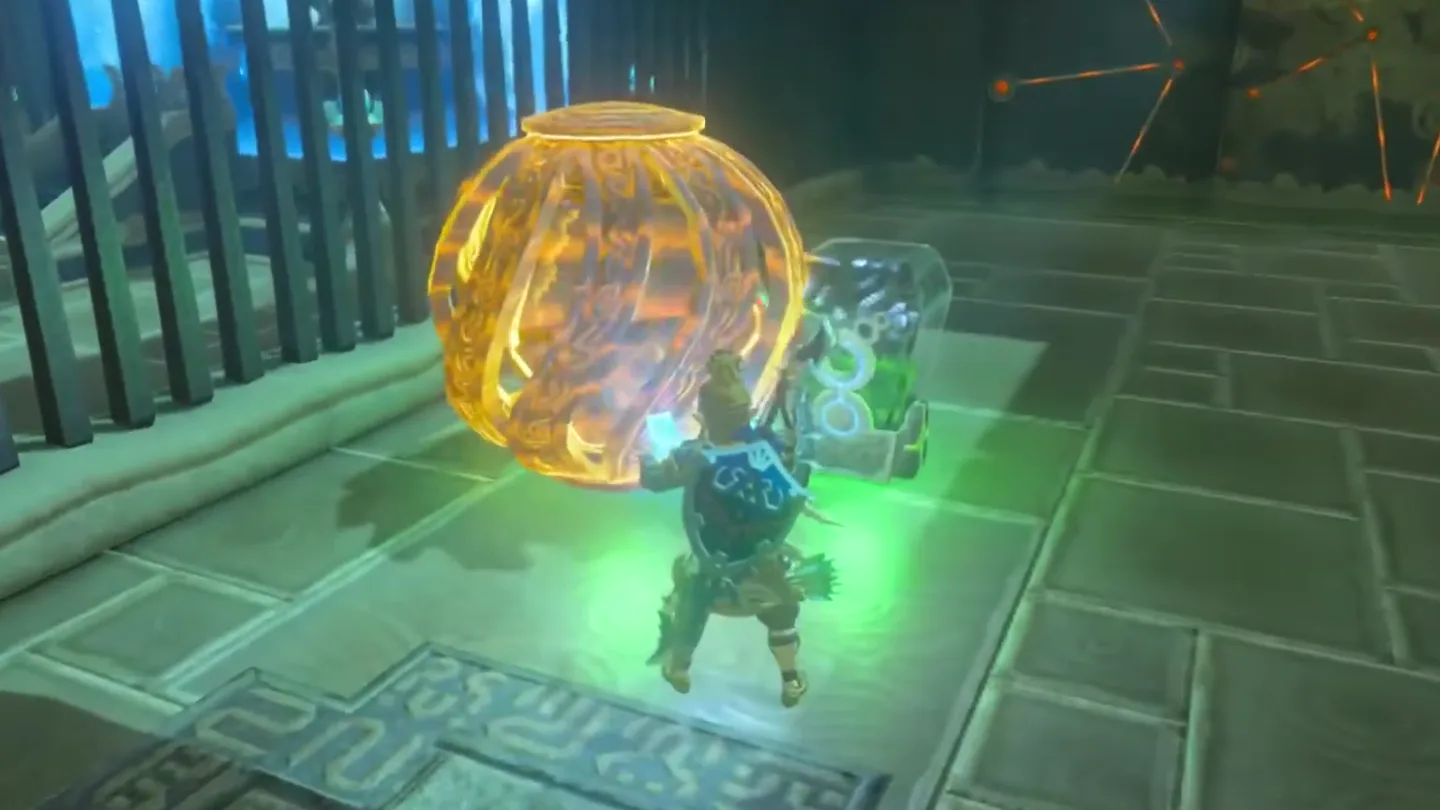
Freeze the sphere with Stasis while it’s sitting on a launcher. When the launcher hits the frozen ball, it pops into the air — then drops to the floor instead of arcing across to the other side.
Prefer a more active approach? Stasis it mid-flight and shoot it with an arrow — the hit throws off its trajectory and it lands on the ground just the same.
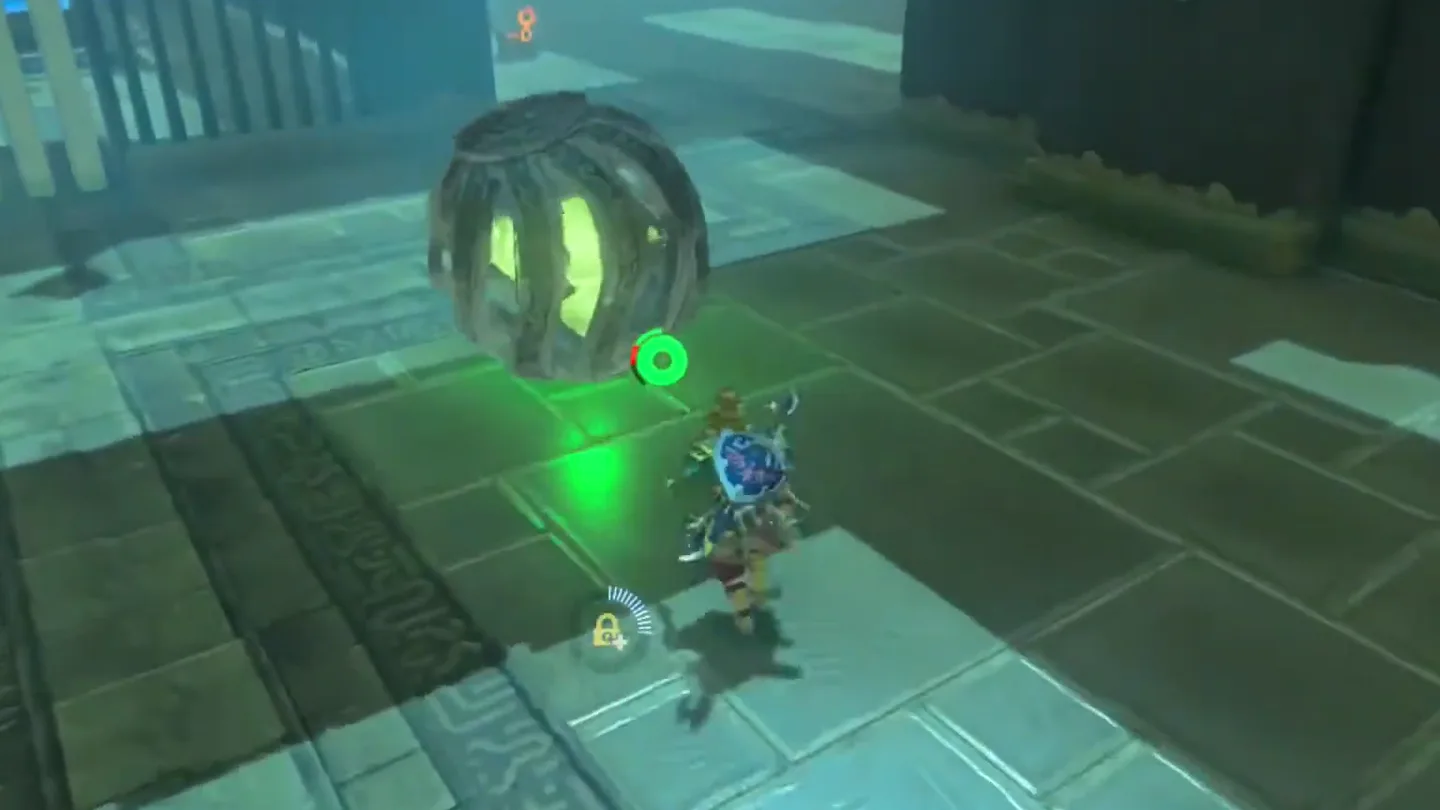
Run to where the sphere landed and lift it with Magnesis — it’s your portable power source for the switches.
2. Open the left gate and claim the chest
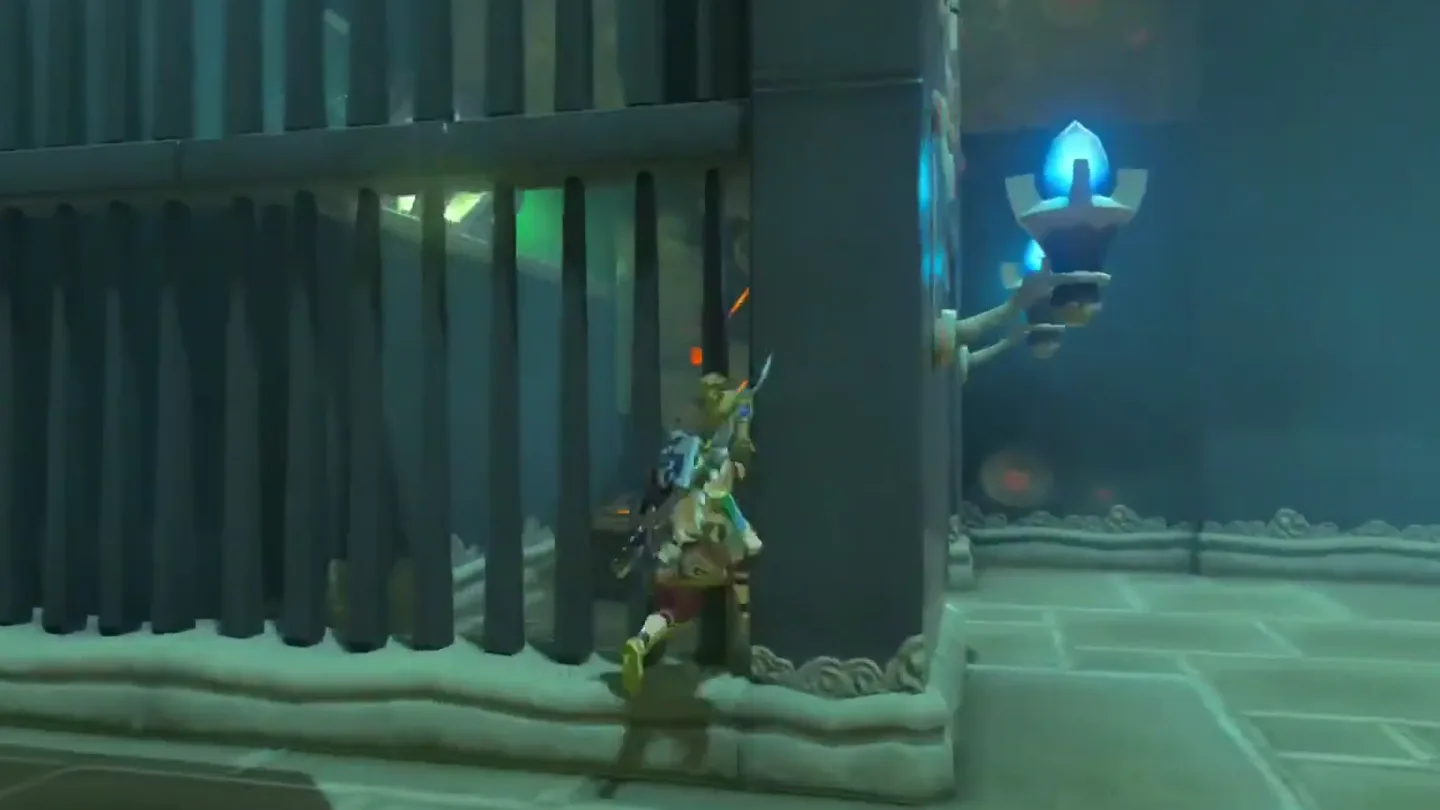
Look to the left side of the room, where a hidden lightbulb switch sits inside a caged alcove behind a closed gate.
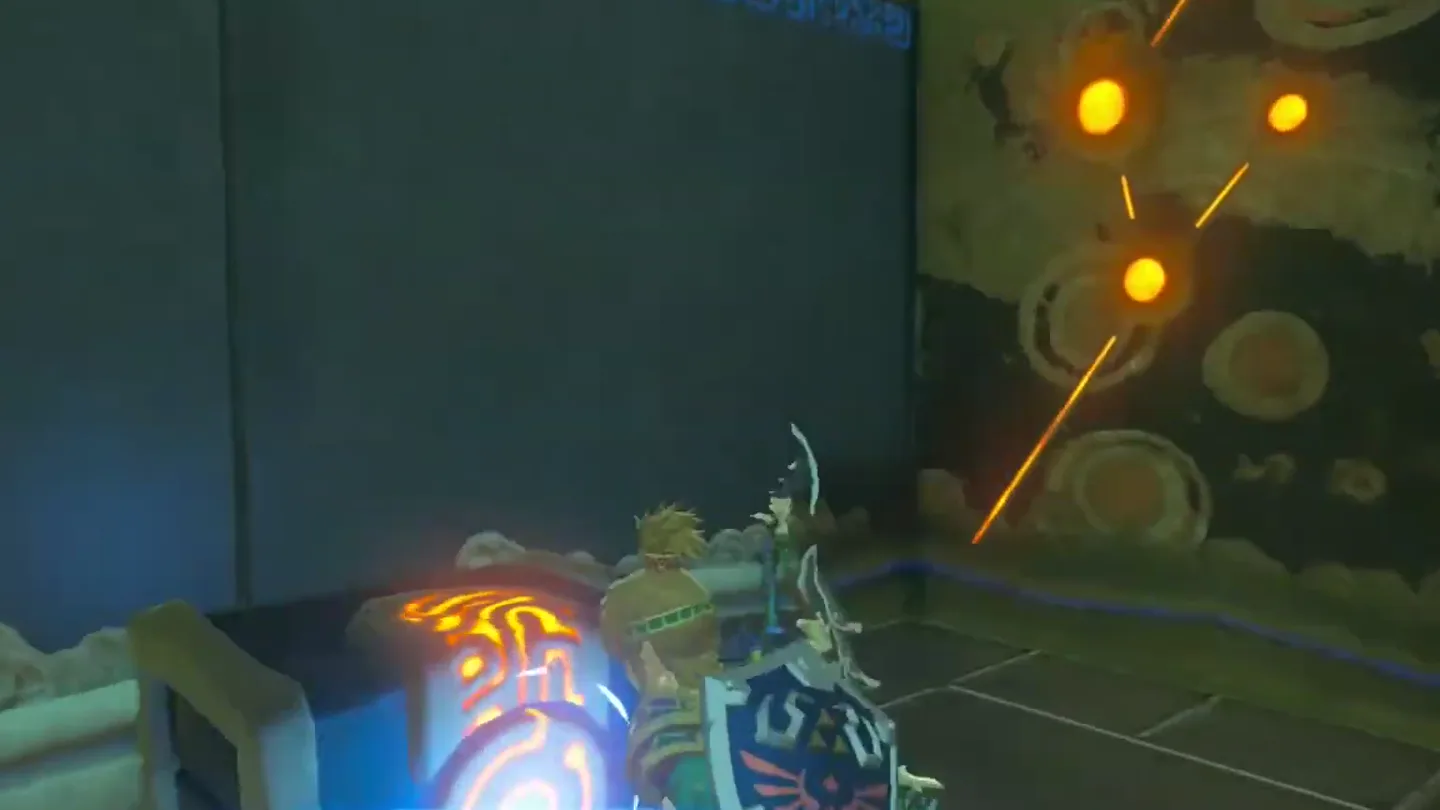
Carry the sphere into the cage and set it right next to the lightbulb. It generates electricity, the gate opens, and a treasure chest is revealed.
Open the chest to claim the Moonlight Scimitar.
3. Open the final gate and complete the shrine
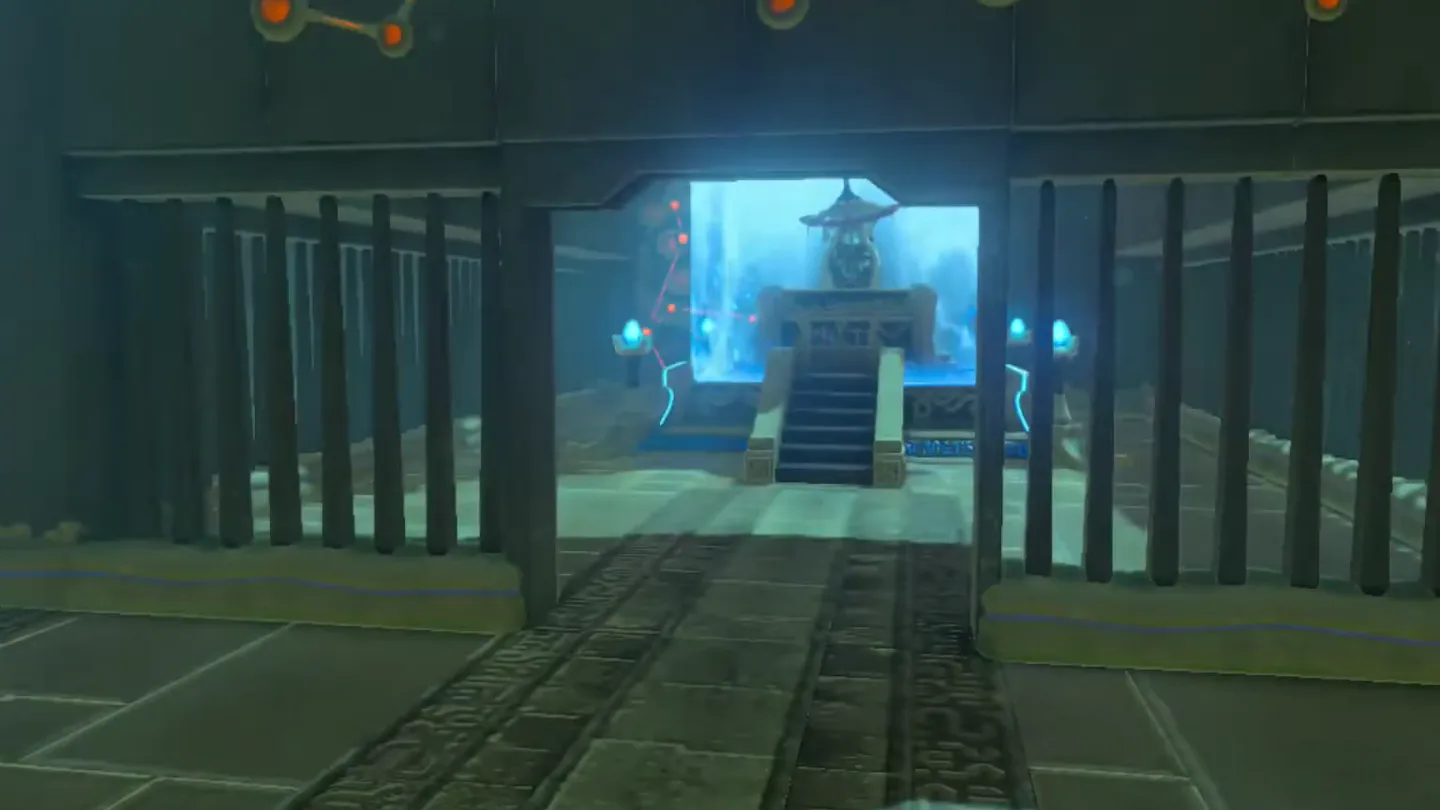
Pick the sphere back up with Magnesis and haul it across to the right side of the room, where a second lightbulb sits beside the portcullis holding the monk’s pedestal.
Set the sphere against that second lightbulb and the gate opens right through to the end of the shrine.
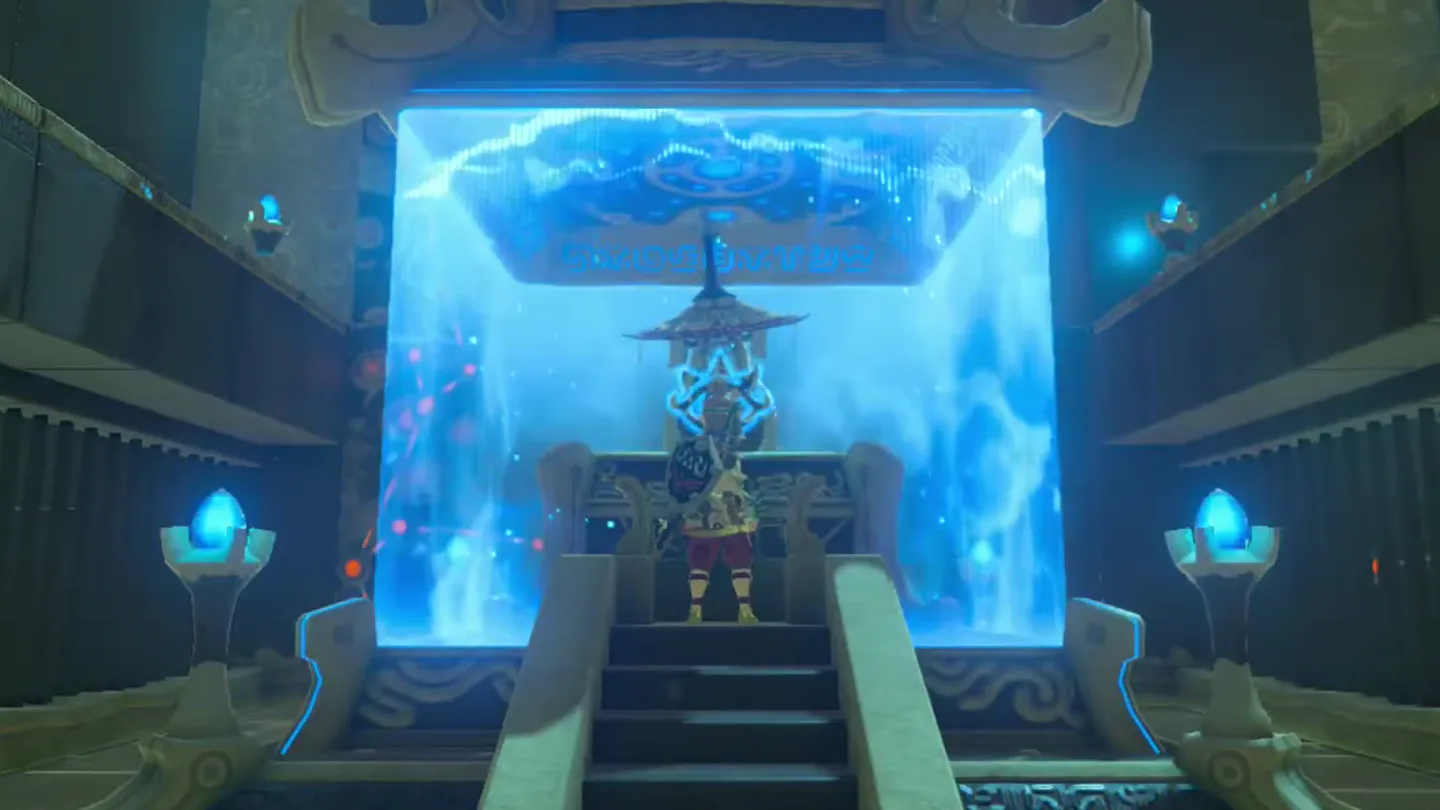
Walk through and meet Monk Kema Zoos — he commends your resourcefulness, bestows a Spirit Orb, wishes you well, and fades away.
What is in the chest?
| Chest | Contents | How to get it |
|---|---|---|
| 1 | Moonlight Scimitar | Magnesis the grounded sphere into the caged alcove on the left side of the room and set it against the lightbulb switch to generate electricity; the gate opens and the chest waits inside. |
What do people miss here?
- The chest gate is behind the HIDDEN switch on the LEFT — many players spot the monk’s switch first, open the exit, and leave without the Moonlight Scimitar. Loot the left alcove before you go.
- The Silent Swordswomen Shrine Quest concludes the moment you activate the shrine — you don’t need to clear the trial to finish the quest.
- In the sandstorm your Sheikah Slate goes to static — no map, no pins. If you get caught up with enemies you can end up stuck not knowing which way is which and be forced to start over, so walk ruler-straight and ignore them.
- Heat-resistant gear doesn’t make the storm zone harmless — it still ticks slight damage even while protected. It comes very slowly and only slightly, so don’t panic over it.
What else is nearby?
| Shrine | Direction | Straight-line distance | Region |
|---|---|---|---|
| Sho Dantu Shrine | east | 825 | Gerudo |
| Tho Kayu Shrine | south | 840 | Wasteland |
| Kema Kosassa Shrine | north | 1064 | Gerudo |
Which guides help next?
FAQ
How do I stop the metal ball in Kema Zoos Shrine?
Why won't Magnesis grab the ball?
What's in the Kema Zoos Shrine chest?
Do I need The Silent Swordswomen quest to enter the shrine?
Will heat-resistant armor protect me in the sandstorm?
Related Articles
guides
Breath of the Wild Captured Memories: All 13 Locations and Rewards
All 12 photo locations from Zelda's album plus the 13th memory in Impa's painting, with coordinates, nearby shrines, the Champion's Tunic and the extra ending scene.
guides
Breath of the Wild Great Fairy Fountains: Locations, Costs and Horse God
Where the four Great Fairy Fountains and the Horse God Malanya are in Breath of the Wild, what each fairy costs to release, and how many you need per armor upgrade.
guides
Hyrule Castle Walkthrough: Entry Routes, Hylian Shield and Final Prep
How to get into Hyrule Castle in Breath of the Wild: five entry routes, the Hylian Shield and other loot by room, and what to prepare before the final battle.
Was this helpful?
Thanks for the feedback!