

Sho Dantu Shrine Walkthrough: Two Bombs Trial, Chest & Spirit Orb
How to raise Sho Dantu Shrine with a Luminous Stone and solve the Two Bombs trial: every launcher puzzle, the Silver Rupee chest, and the Spirit Orb.
Where is Sho Dantu Shrine?
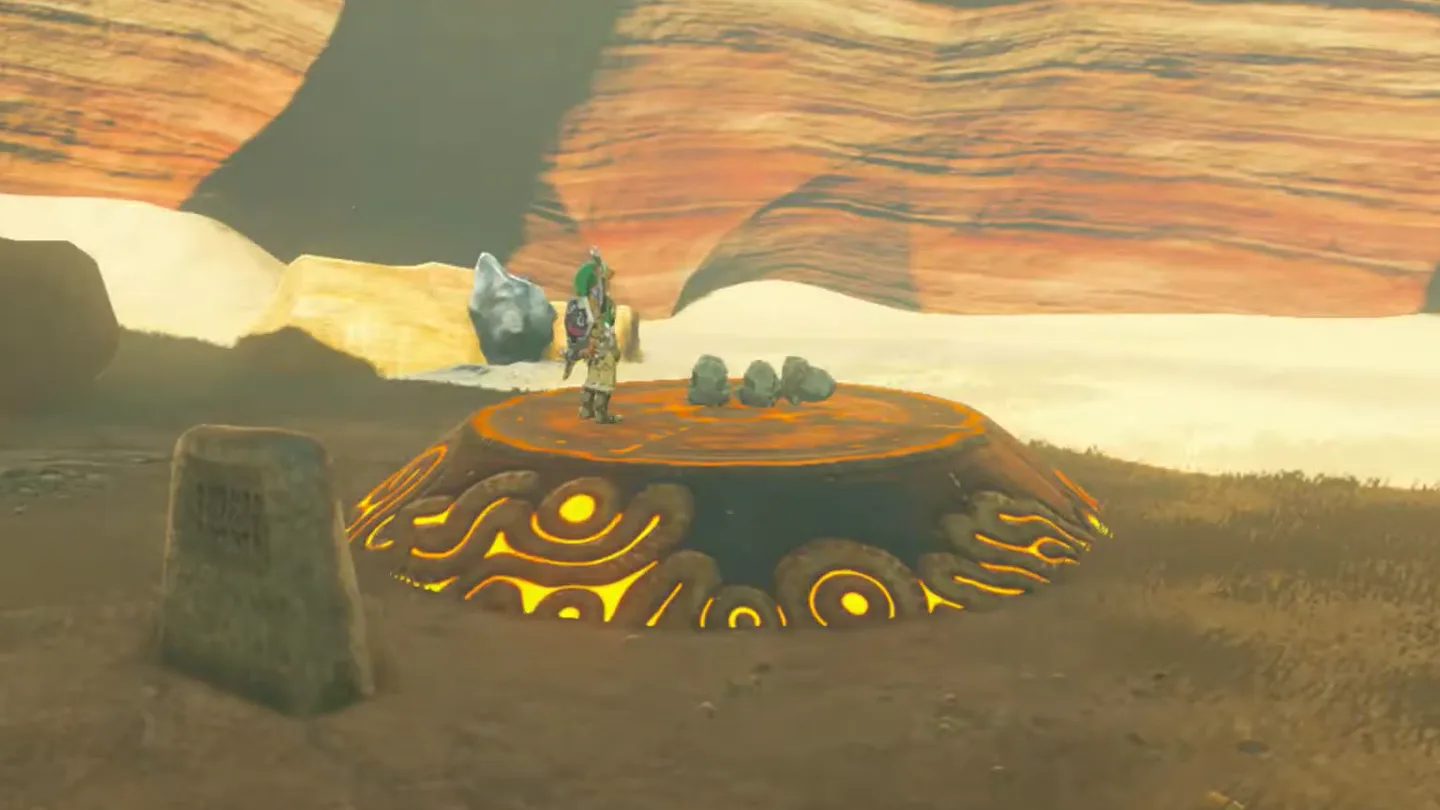
From Gerudo Tower, head northwest up into the Gerudo Highlands — Sho Dantu sits along the path of Karusa Valley, but it is initially buried beneath the ground. What you’ll find is only a pedestal with a stone tablet in front of it, surrounded by Luminous Stone Deposits, until you make the offering that raises the shrine. Inside, the Two Bombs trial runs through three chambers of nothing but Remote Bomb puzzles.
| Item | Detail |
|---|---|
| Trial | Two Bombs |
| Tower region | Gerudo |
| Map-marker coordinates | -3911, -1653, 0405 |
| Shrine quest | None |
| Chests | 1 |
| Names | Sho Dantu Shrine · 希‧基托神廟 · 希·基托神庙 |
What should you bring?
Nothing but the Remote Bomb rune is required. The whole trial is solved with its two shapes — the square cube bomb and the round bomb — and you’ll be switching between them constantly, especially from the second chamber onward. Outside, one broken Luminous Stone Deposit around the pedestal supplies the “shining blue stone” the tablet asks for.
Video walkthrough

How do you solve Sho Dantu Shrine?
Every orange crystal sits caged where you can’t strike it, so the tilted launcher platforms must do the throwing: lay a bomb on a launcher and set it off at the very top of its arc, with the cube and round shapes each doing the job they’re built for — the cube drops and stays put, the round one keeps moving.
1. Enter the Shrine
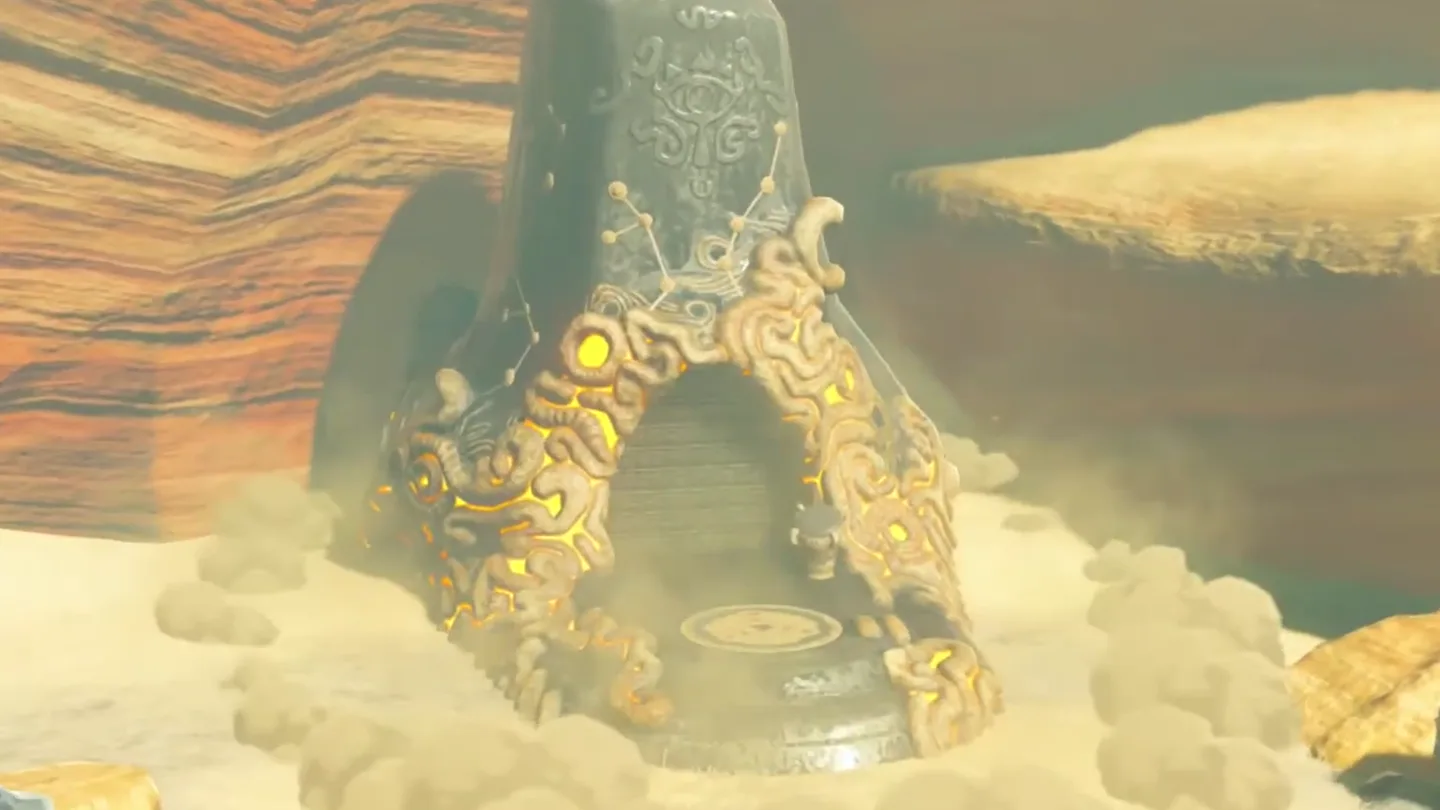
Outside, read the stone tablet in front of the pedestal: “If you seek power untold, offer a shining blue stone.” Break one of the Luminous Stone Deposits surrounding the pedestal, pick up the Luminous Stone it drops, and place it on the pedestal — Sho Dantu Shrine rises from the ground. Step inside, where the monk Sho Dantu greets you.
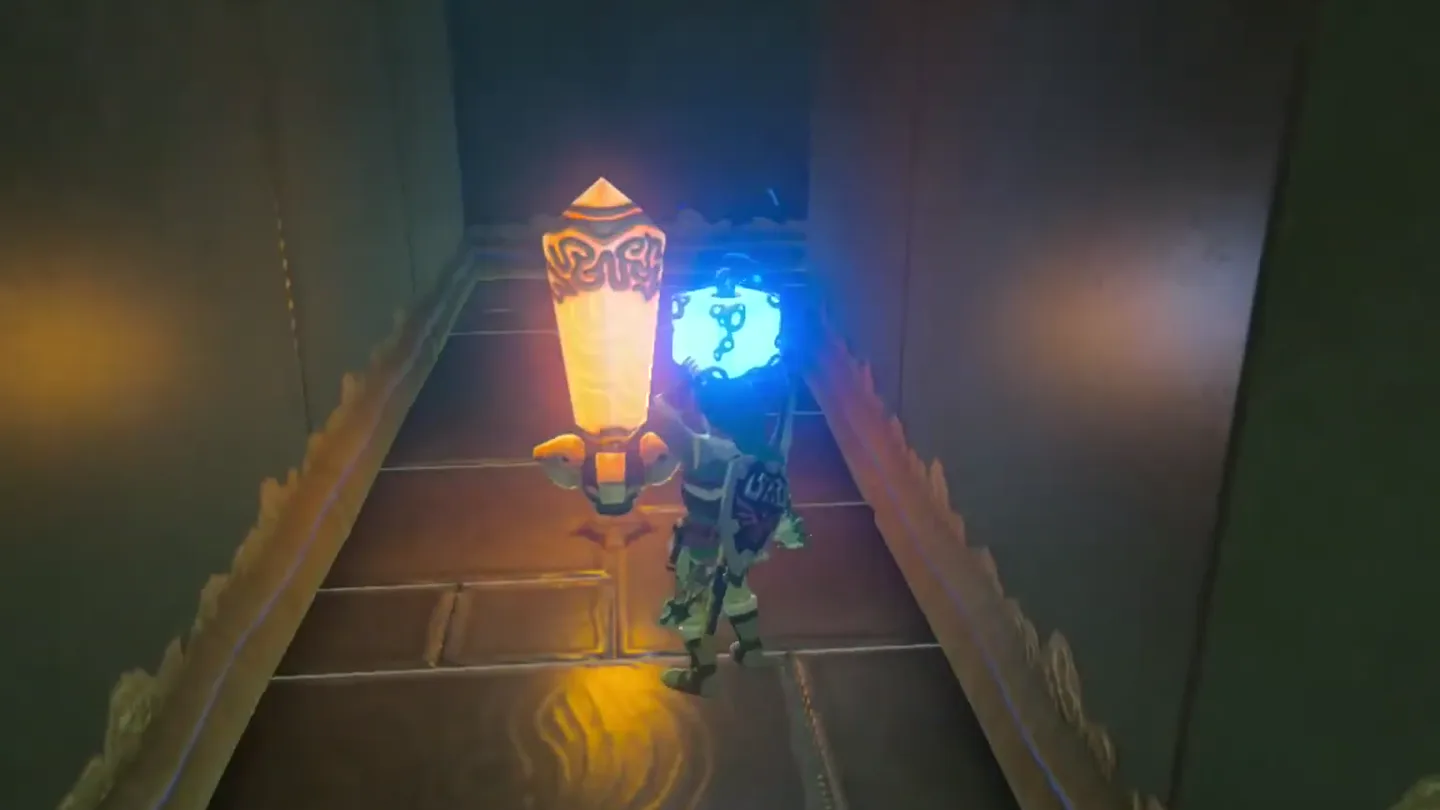
Just inside, wooden crates are packed into the wall on your left. Equip the Remote Bomb rune, throw a bomb at the crates, and detonate it — they shatter and clear the way into the first chamber.
2. First Crystal Chamber
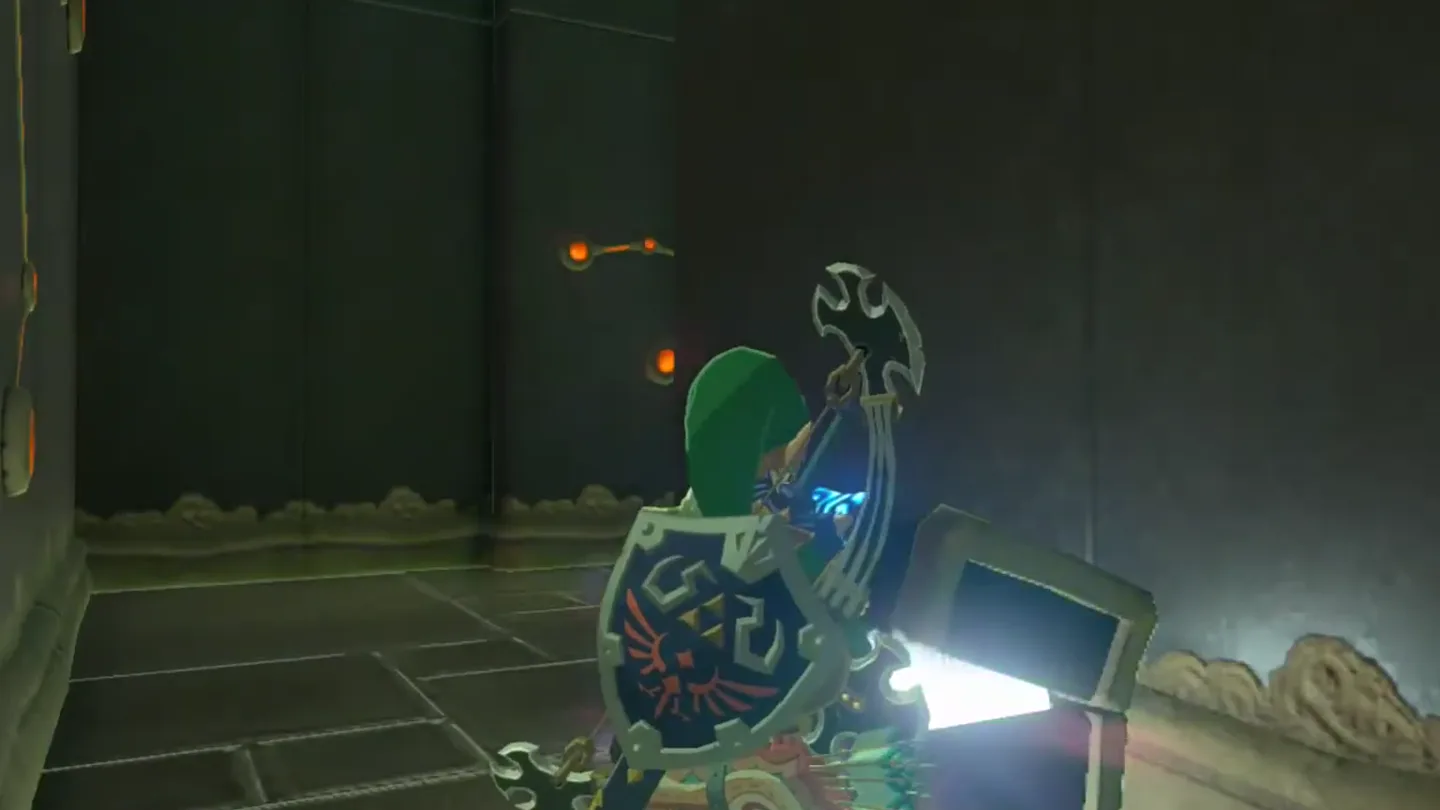
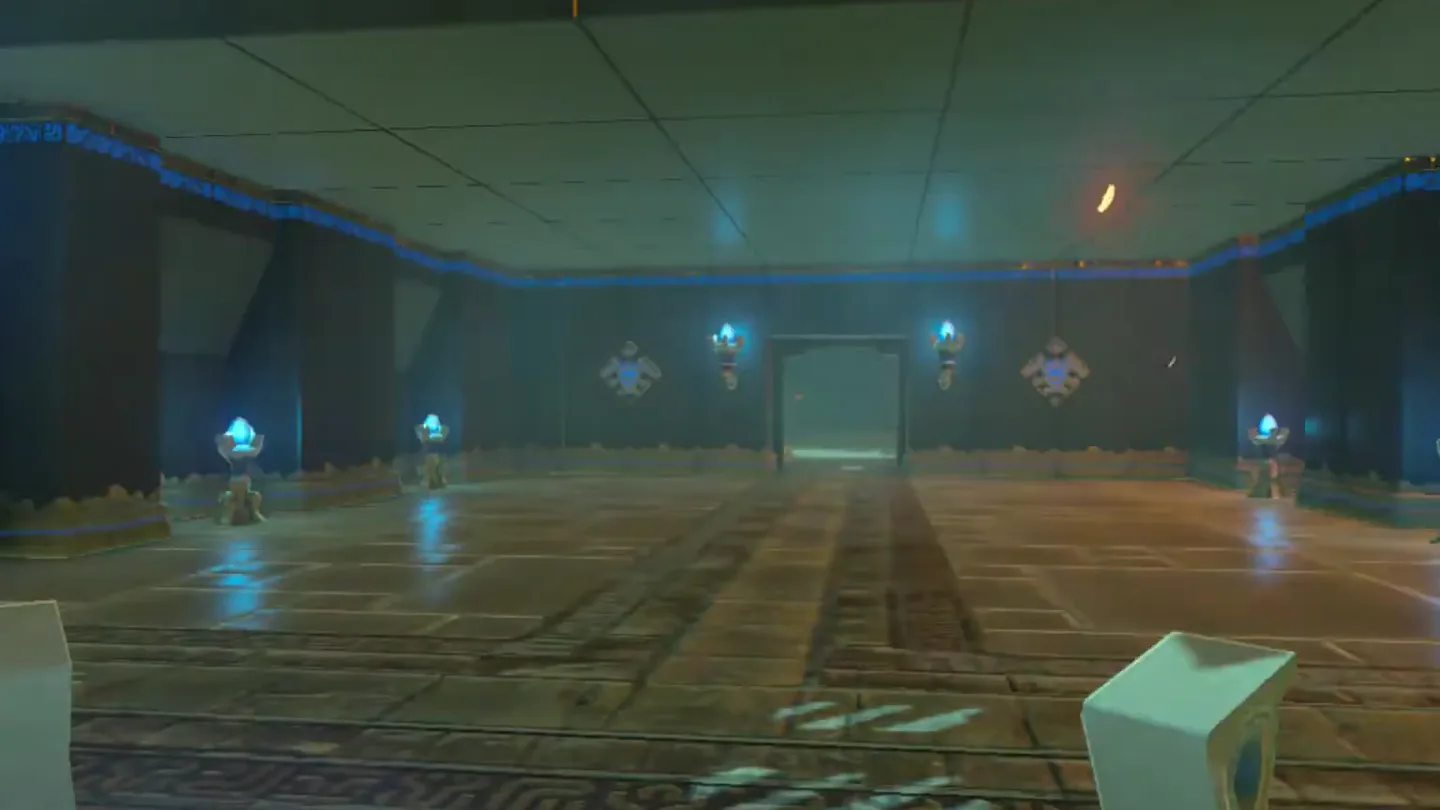
The first chamber holds a giant pillar with an orange crystal caged in a gated area at its top, plus a launcher platform that periodically springs upward. Before touching the puzzle, circle around the pillar and open the treasure chest hidden behind it — a Silver Rupee, worth 100 Rupees.
Place a cube bomb on that platform and step back — every so often it flings whatever sits on it high up toward the caged crystal.
Watch the arc and detonate the cube bomb at its highest point, when it is beside the orange crystal — the blast hits the crystal inside the gated area, and a gate to the right of the main room opens.
3. Second Crystal Chamber
Head through the gate into the second chamber, where the pillar, caged orange crystal, and launcher setup repeats. Place a cube bomb on the platform in front of the pillar, then circle around to the other side of the pillar and set a round bomb down right next to the orange crystal.
Keep your eye on the cube bomb from there: detonate the round bomb first, then quickly switch back to the cube bomb rune and detonate it at the peak of its jump. The second crystal activates and the door at the far end of the main room opens — head back around and through it.
4. Final Two-Bomb Puzzle
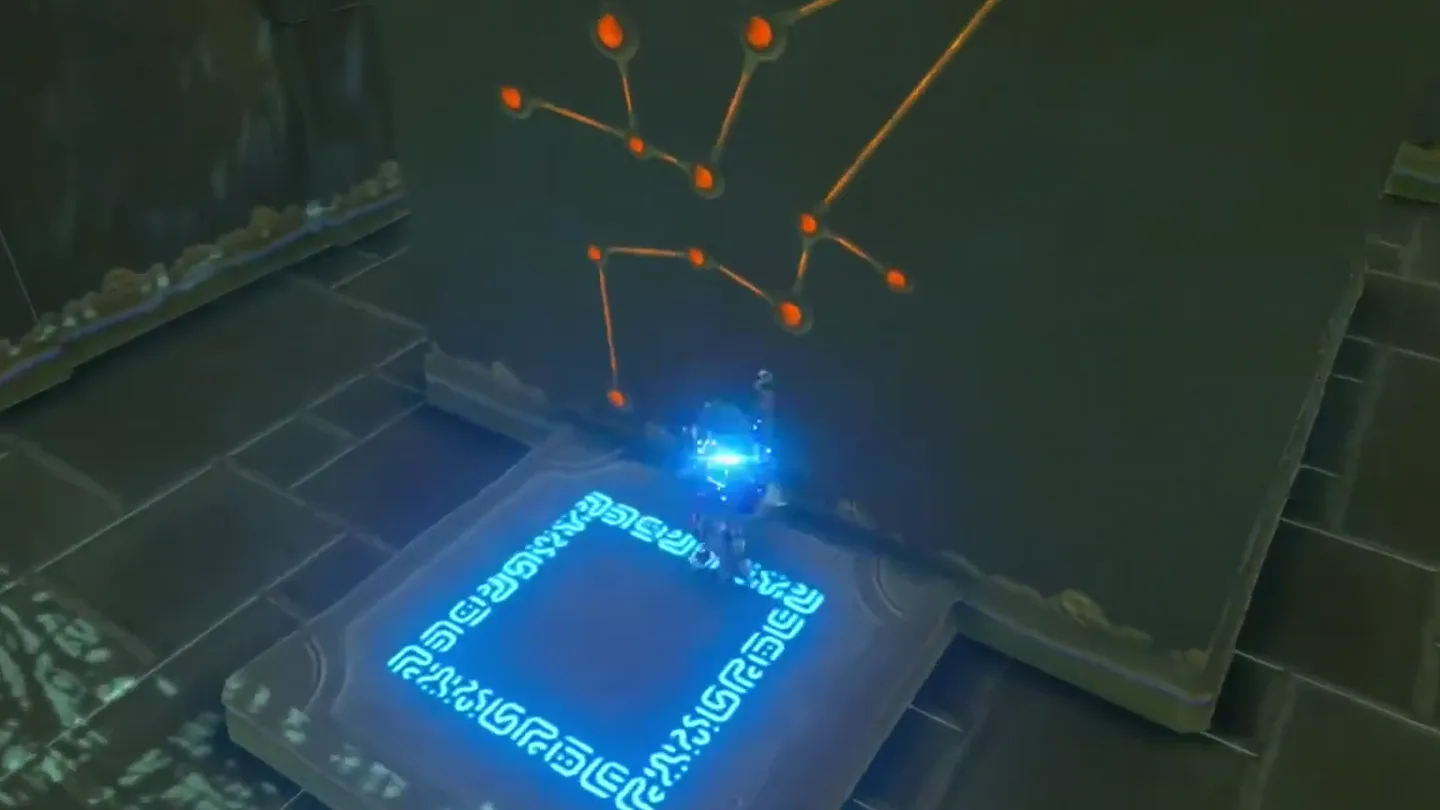
The final chamber has another caged crystal in the middle, two slanted launchers aimed at it, and two inactive platforms embedded in the floor on either side, one of them near the entrance; the doorway to the monk’s chamber sits above the entrance. Place a cube bomb on the left launcher — when flung, it drops into the center cage and settles beside the crystal. Leave it alone for now.
Only after the cube bomb has fallen into the cage, place a round bomb on the right launcher. The two launchers bat it back and forth, and it never stops bouncing between them.
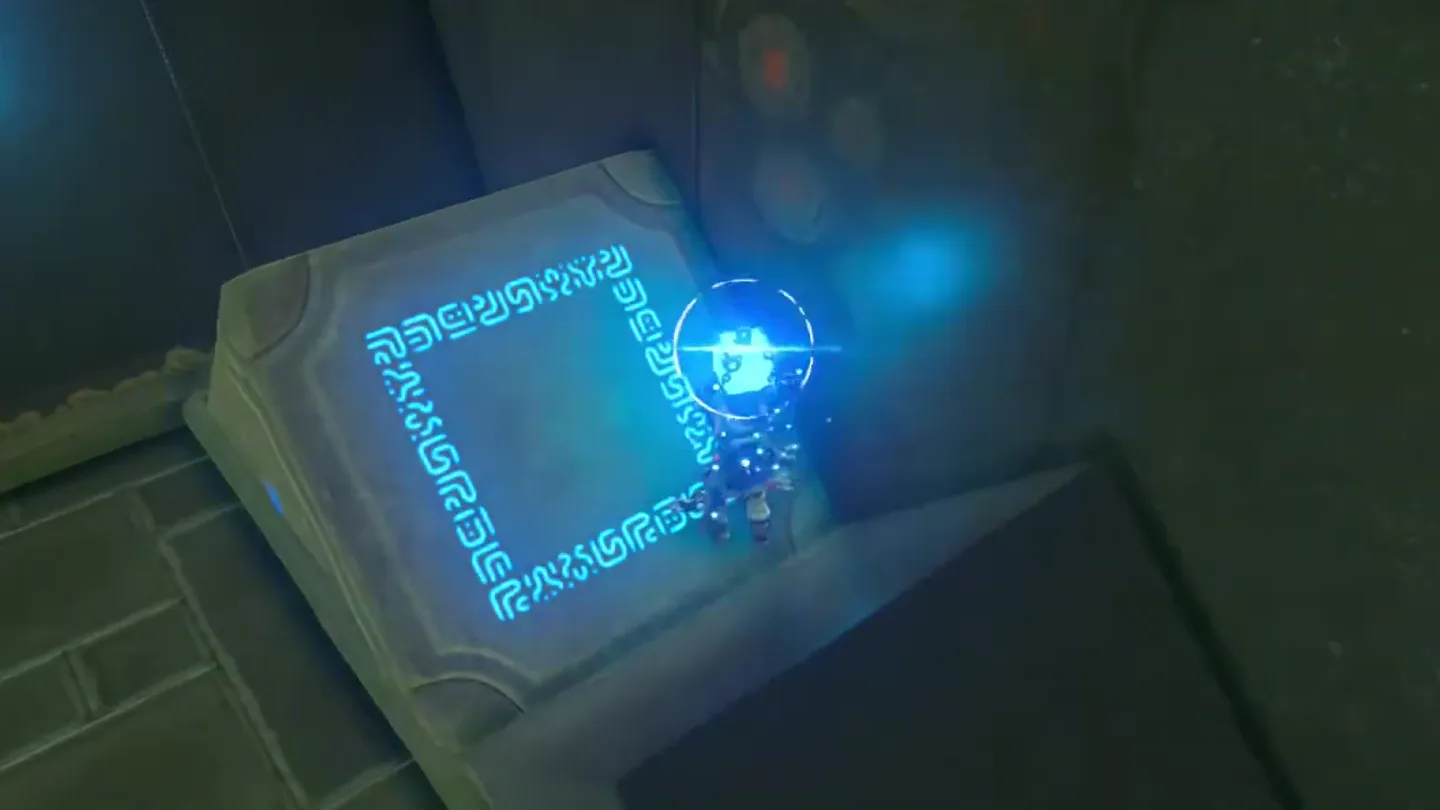
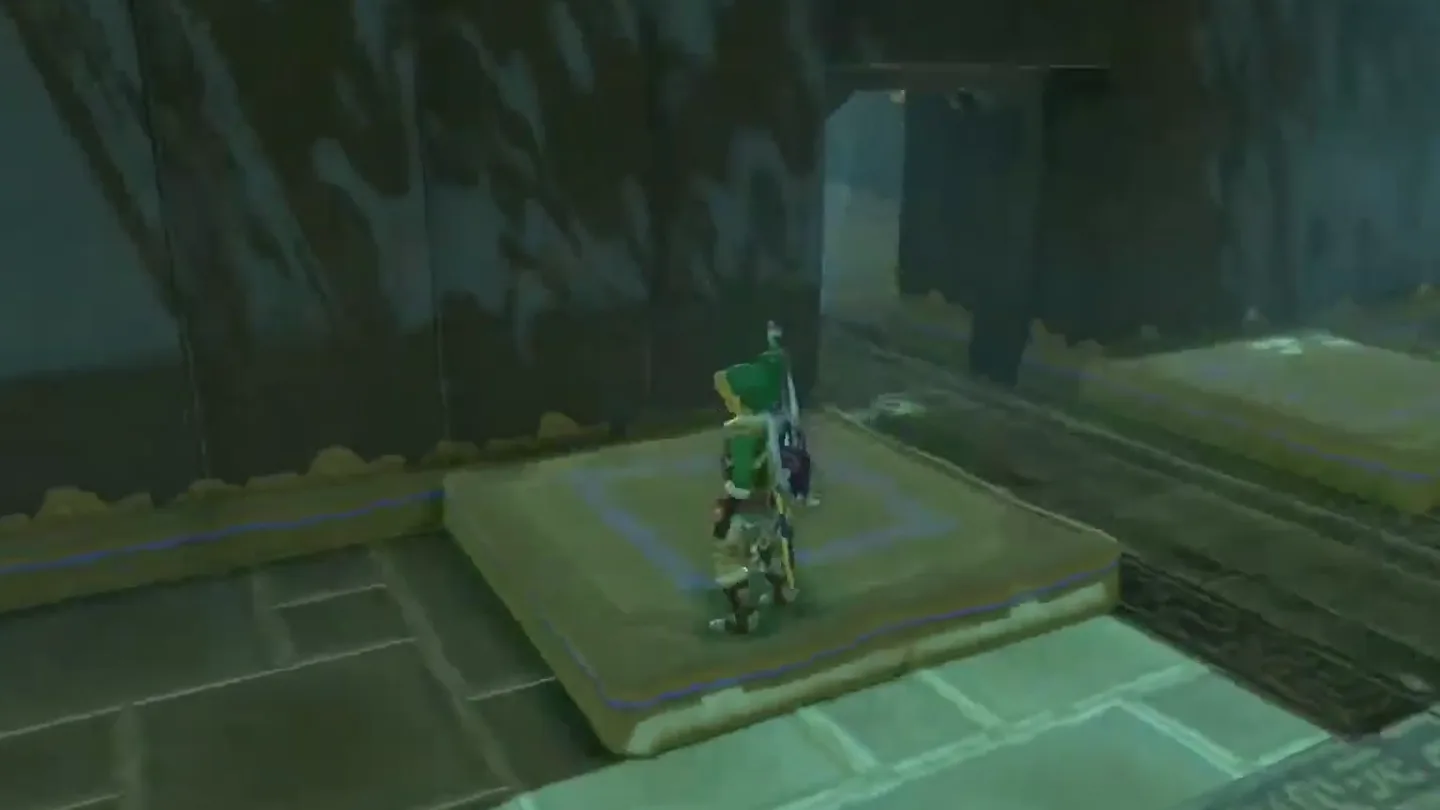
Before detonating anything, walk onto the dormant floor platform near the entrance and stand on it.
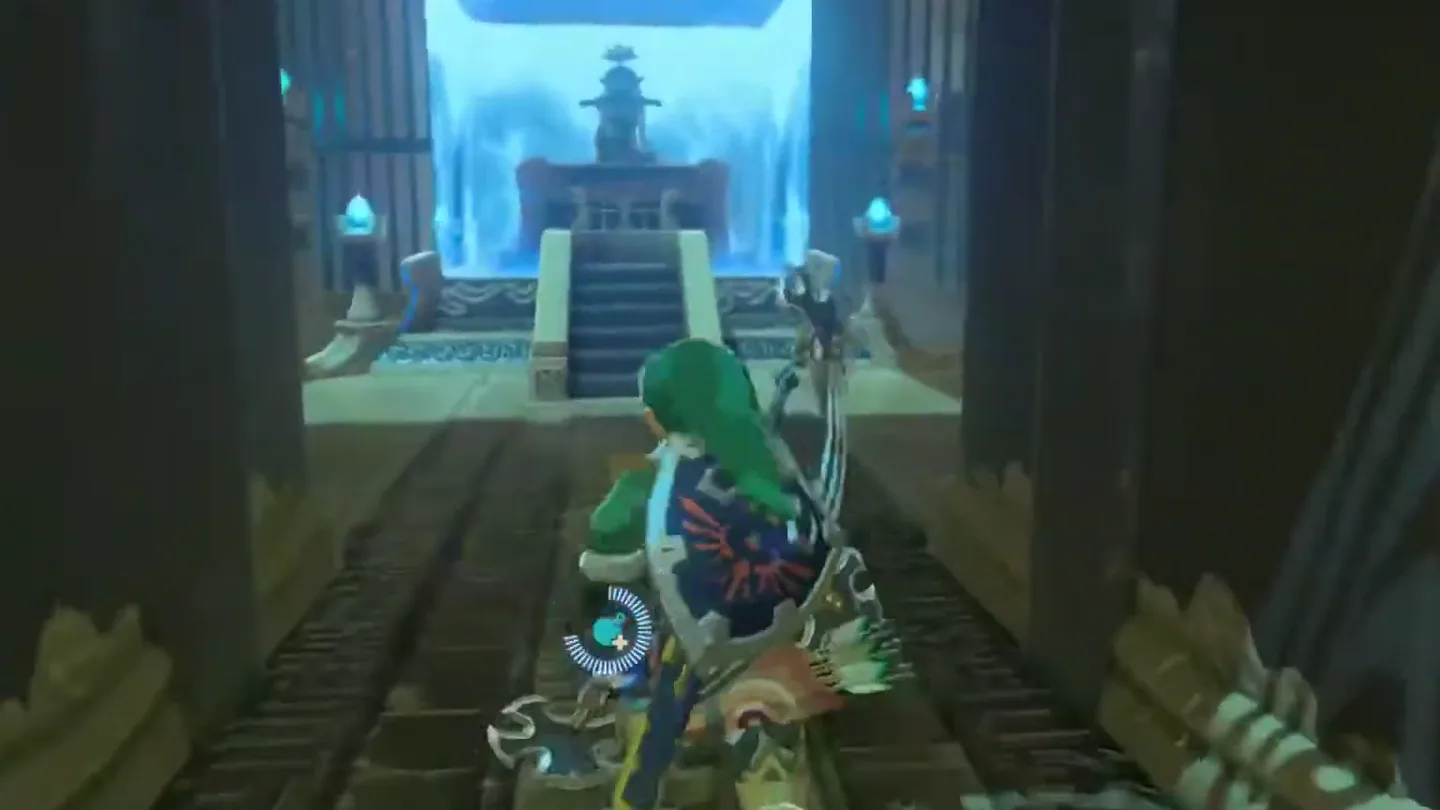
Detonate the cube bomb inside the cage. The crystal activates, the embedded platforms rise and carry you up to the monk’s level — and the portcullis to the monk’s chamber slams shut at the same moment.
From up top, look behind you: the locked gate to the end of the shrine. Track the round bomb still bouncing between the launchers and detonate it at the exact moment it passes right above the center cage — the crystal triggers again and the gate reopens.
Head through to Sho Dantu’s pedestal. The monk commends your resourcefulness, bestows a Spirit Orb, wishes you well, and fades away.
What is in the chest?
| Chest | Contents | How to get it |
|---|---|---|
| 1 | Silver Rupee (100 Rupees) | In the left chamber — the first big room with the giant pillar — walk around the pillar and the chest is tucked behind it. Grab it while you’re solving the room; it’s the only chest in the shrine. |
What do people miss here?
- The shrine won’t appear until you offer a Luminous Stone on the pedestal — that’s the tablet’s “shining blue stone” riddle. The Luminous Stone Deposits you need sit all around the pedestal; break one and it drops the offering.
- The Silver Rupee chest is easy to walk past: it’s tucked behind the giant pillar in the first chamber, not out in the open. Circle the pillar before you leave the room.
- You can ride the launcher platforms up toward the crystals, but the cages around them leave the crystals inaccessible up close. Don’t waste the trip — the explosion at the apex of a bomb’s arc is what activates each one.
- In the second chamber, the order matters: cube bomb on the launcher, round bomb placed beside the orange crystal on the other side of the pillar, then the round bomb detonated first and the cube bomb at the peak of its jump. Be ready for the quick rune switch.
- In the last room, detonating the cube bomb while standing on the ground is the classic mistake: the floor platforms rise without you and the monk’s gate stays shut. Be standing on the platform near the entrance before you set the cube bomb off.
- Don’t rush the final detonation. The round bomb bounces between the two launchers endlessly, so wait for the exact moment it’s right above the center cage — too early or too late and the blast won’t reach the crystal.
What else is nearby?
| Shrine | Direction | Straight-line distance | Region |
|---|---|---|---|
| Sasa Kai Shrine | southeast | 462 | Gerudo |
| Dako Tah Shrine | southeast | 782 | Wasteland |
| Kema Zoos Shrine | west | 825 | Wasteland |
Which guides help next?
FAQ
How do I make Sho Dantu Shrine appear?
Why can't I just ride the platform up and hit the crystal myself?
What's in the treasure chest in Sho Dantu Shrine?
The gate to the monk is shut after I detonated the bombs in the last room. What went wrong?
Which bomb goes on which launcher in the final room?
Related Articles
guides
Breath of the Wild Captured Memories: All 13 Locations and Rewards
All 12 photo locations from Zelda's album plus the 13th memory in Impa's painting, with coordinates, nearby shrines, the Champion's Tunic and the extra ending scene.
guides
Breath of the Wild Great Fairy Fountains: Locations, Costs and Horse God
Where the four Great Fairy Fountains and the Horse God Malanya are in Breath of the Wild, what each fairy costs to release, and how many you need per armor upgrade.
guides
Hyrule Castle Walkthrough: Entry Routes, Hylian Shield and Final Prep
How to get into Hyrule Castle in Breath of the Wild: five entry routes, the Hylian Shield and other loot by room, and what to prepare before the final battle.
Was this helpful?
Thanks for the feedback!