

Joloo Nah Shrine Guide: Test of Will Quest & Apparatus Puzzle Solutions
Trigger the shrine via the Test of Will contest, solve all three motion-control apparatus puzzles, and grab both chests.
Where is Joloo Nah Shrine?
The shrine sits on Mount Nabooru in the Gerudo Highlands, just north of Koukot Plateau — follow the path near Koukot Plateau and you’ll find the three Goron Blood Brothers at their ancestral training ground just above it, where they’ve come to train for the scorching climate of Goron City. The shrine itself is buried underground until you beat their contest, so no amount of searching will find it beforehand.
| Item | Detail |
|---|---|
| Trial | Joloo Nah Apparatus |
| Tower region | Gerudo |
| Map-marker coordinates | -2004, -1675, 0241 |
| Shrine quest | Test of Will |
| Chests | 2 |
| Names | Joloo Nah Shrine · 究尼‧希神廟 · 究尼·希神庙 |
What should you bring?
You’ll need the Magnesis and Stasis runes — both get heavy use across the shrine’s three apparatus chambers. For the Test of Will, top up your hearts and pack healing food: leaving the ring or passing out fails the contest instantly. The puzzles run entirely on motion controls, so hold your controller or console somewhere you can tilt it freely.
Video walkthrough

How do you solve Joloo Nah Shrine?
Every chamber turns on a motion-control apparatus: you tilt a suspended cube to spread ceiling electricity, wind, or lantern fire to every switch, while Magnesis and Stasis cover the switches the room’s mechanics keep undoing.
1. Goron Endurance Contest and Shrine Entry
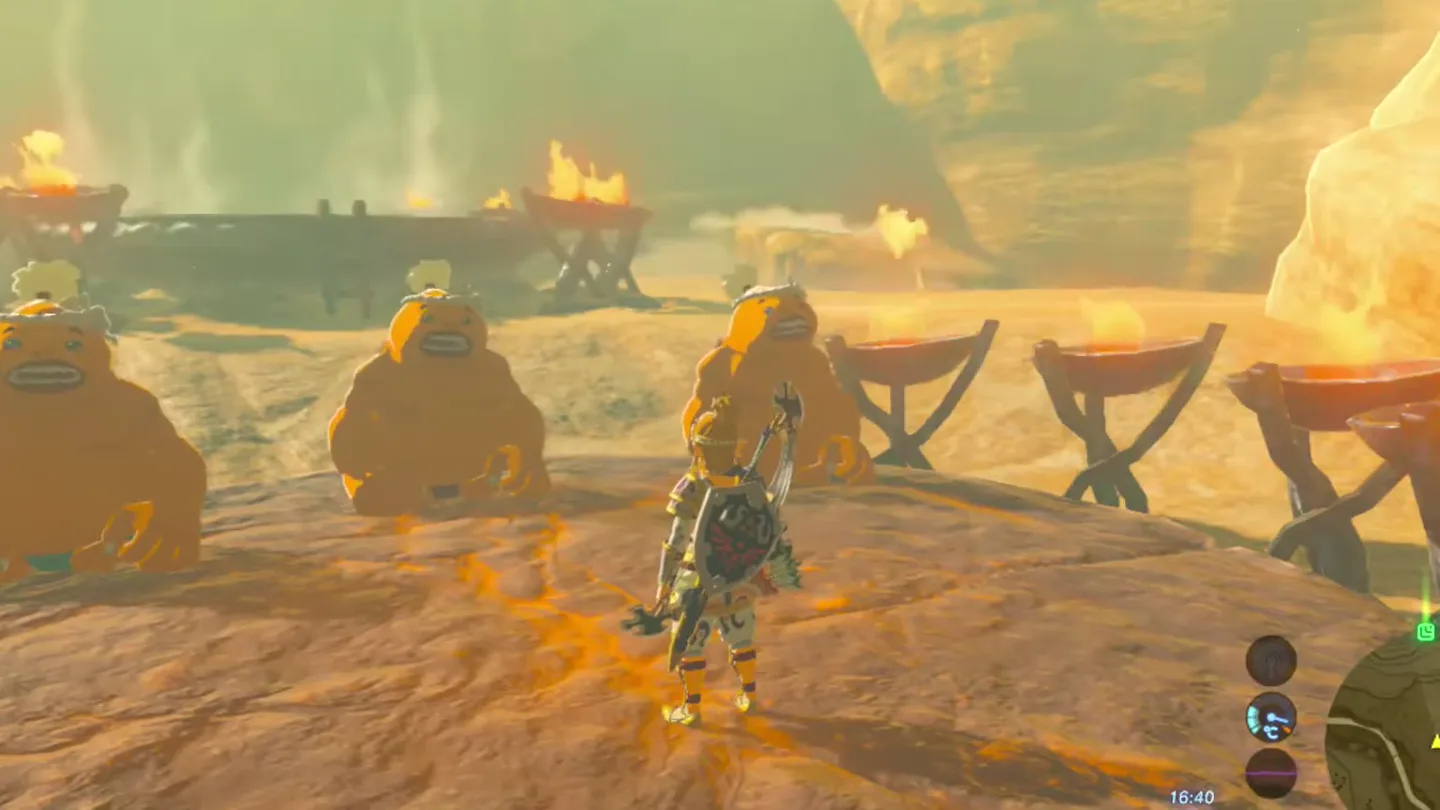
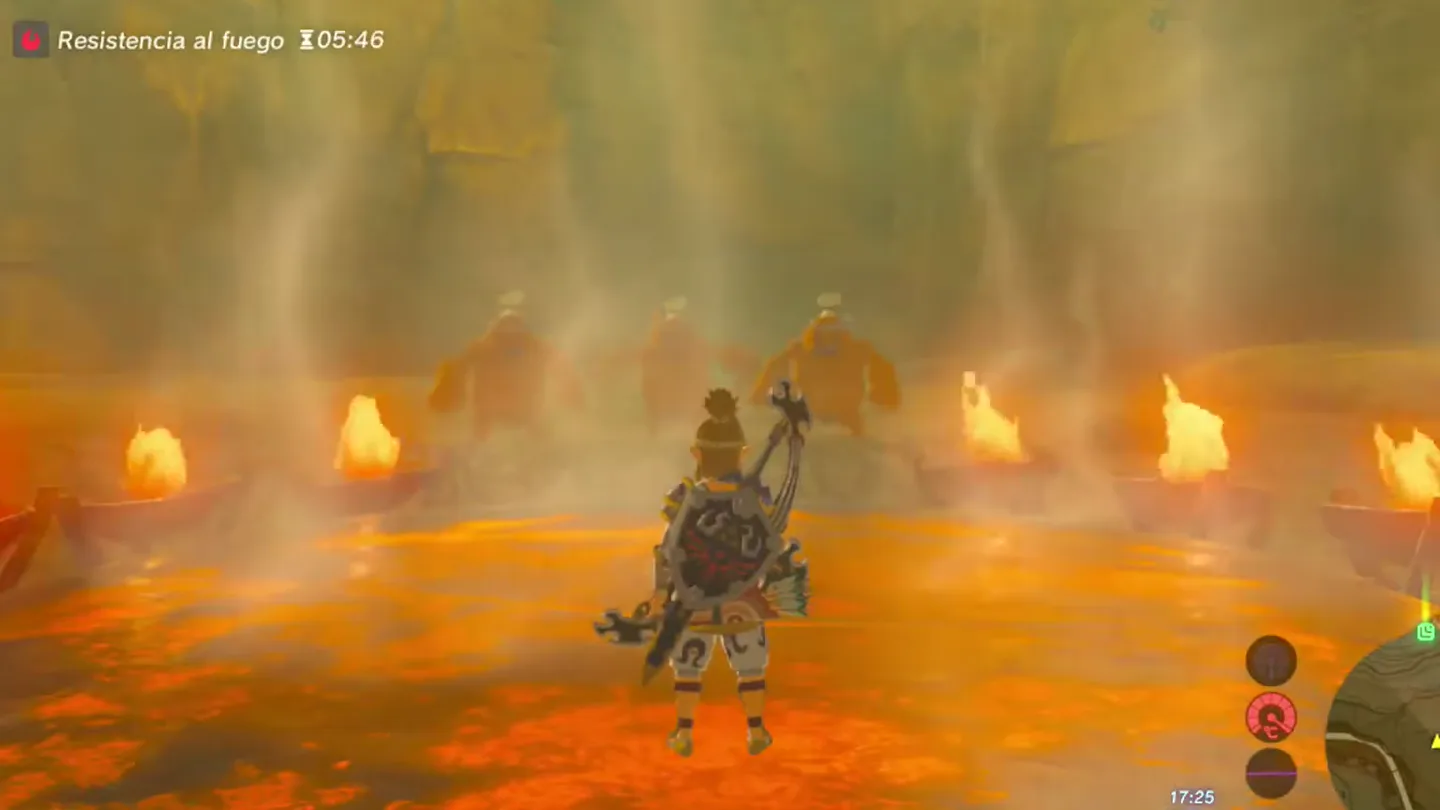
At the Gorons’ ancestral training ground just above the path near Koukot Plateau, talk to the three Goron Blood Brothers — they’ve come here to train for the scorching heat of Goron City — then step into the ring: the contest of endurance begins the moment you do.
Stay inside the ring through the first round without fainting; leaving the ring or passing out loses the contest. Win and the Gorons grant you entry to the ‘contest of ultimate endurance.’
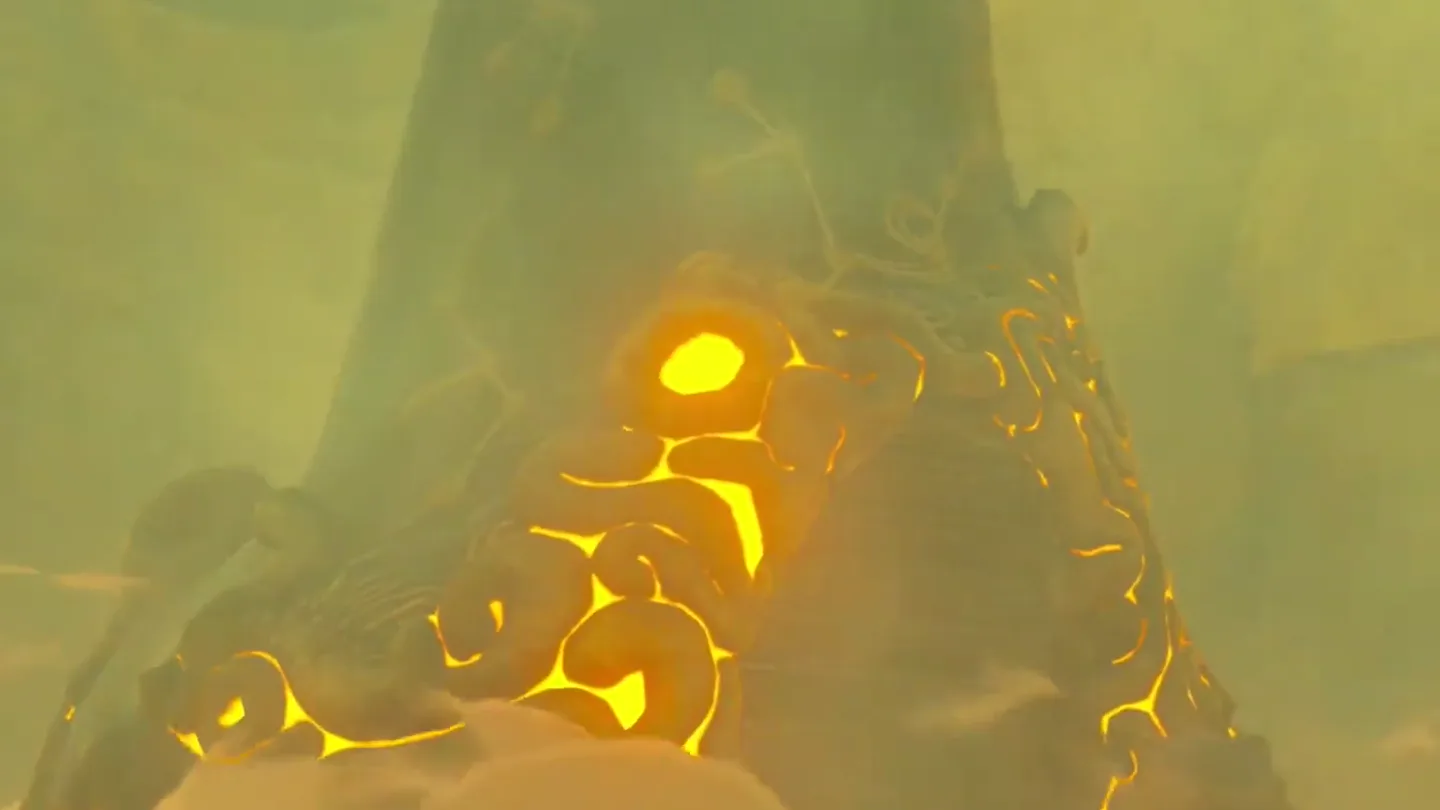
Climb back into the ring and survive the ultimate contest — when you pass, Joloo Nah Shrine rises from the ground nearby. Head inside, where the monk Joloo Nah greets you.
2. First Chamber: Power Connection Puzzle
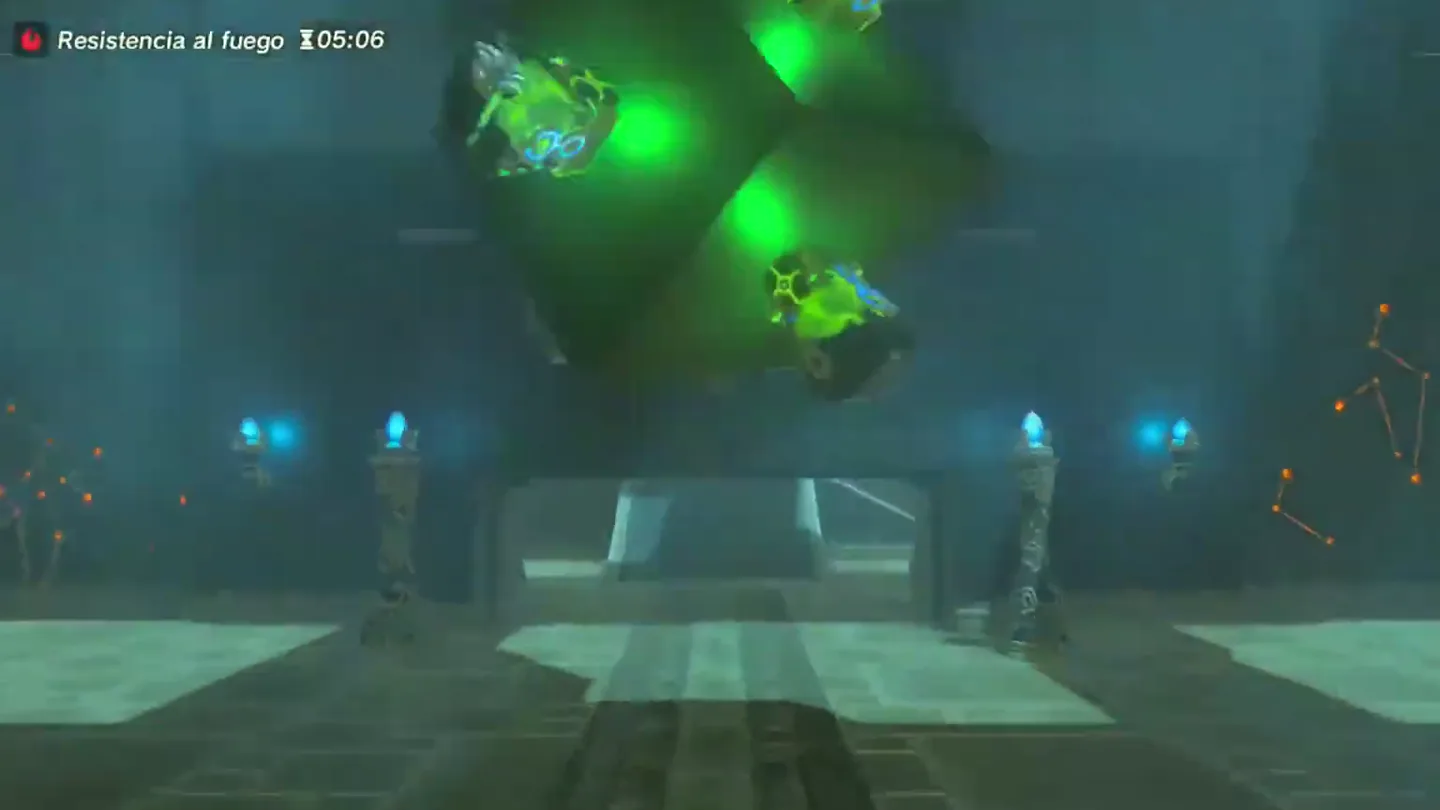
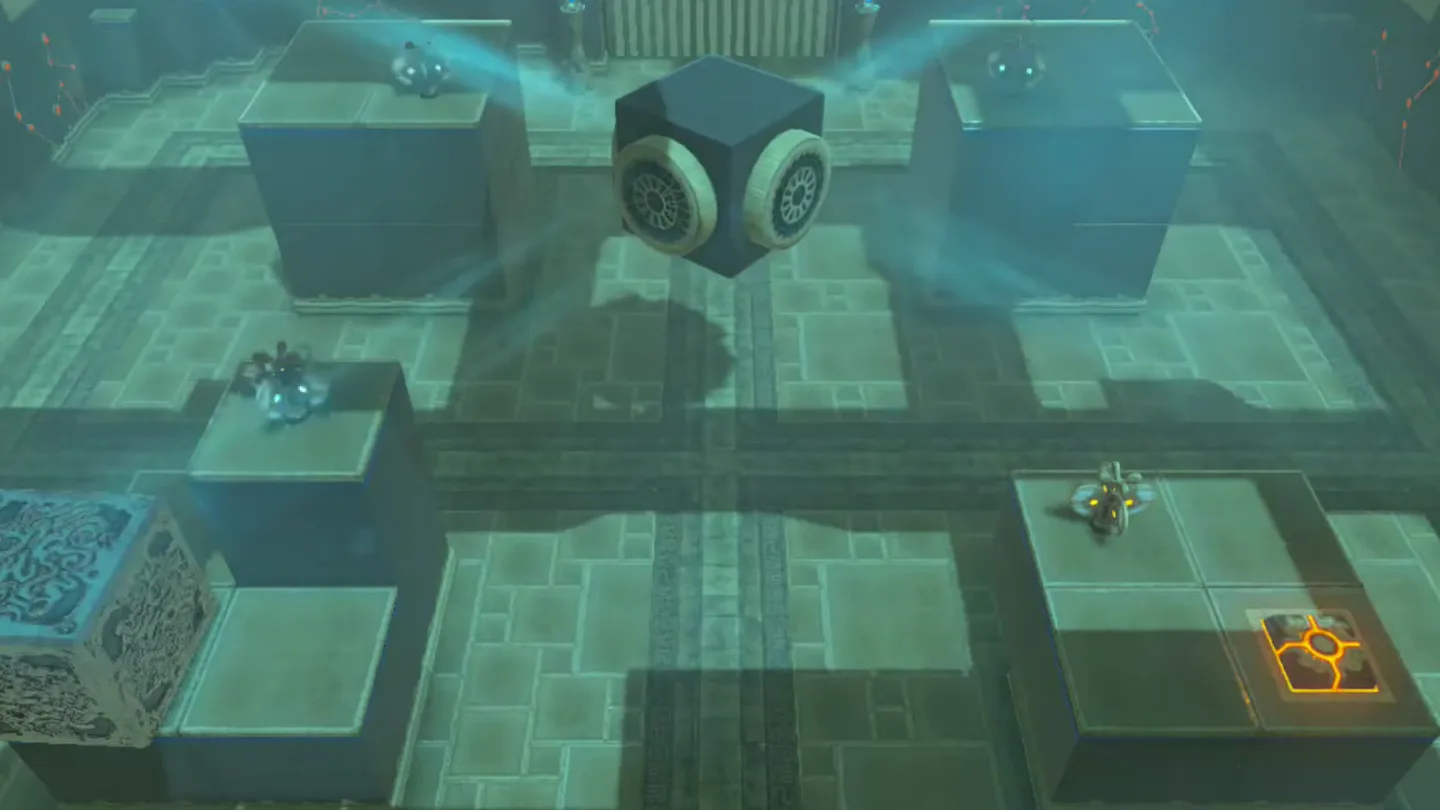
In the first chamber, grab the apparatus and tilt the cube suspended in the center of the room, bringing each non-green lamp up to the green electricity source on the ceiling so the charge spreads to every lamp. Once all lamps glow green, the gate at the back opens.
3. Second Chamber: Wind Machine and Fans
In the second chamber, detour for treasure before the puzzle: the chest sits on a platform in the bottom-left corner of the room. Use the apparatus to angle the wind machine so one gust blows toward that platform, then let go and paraglide onto the wind stream to ride it across and open the chest for a Golden Claymore.
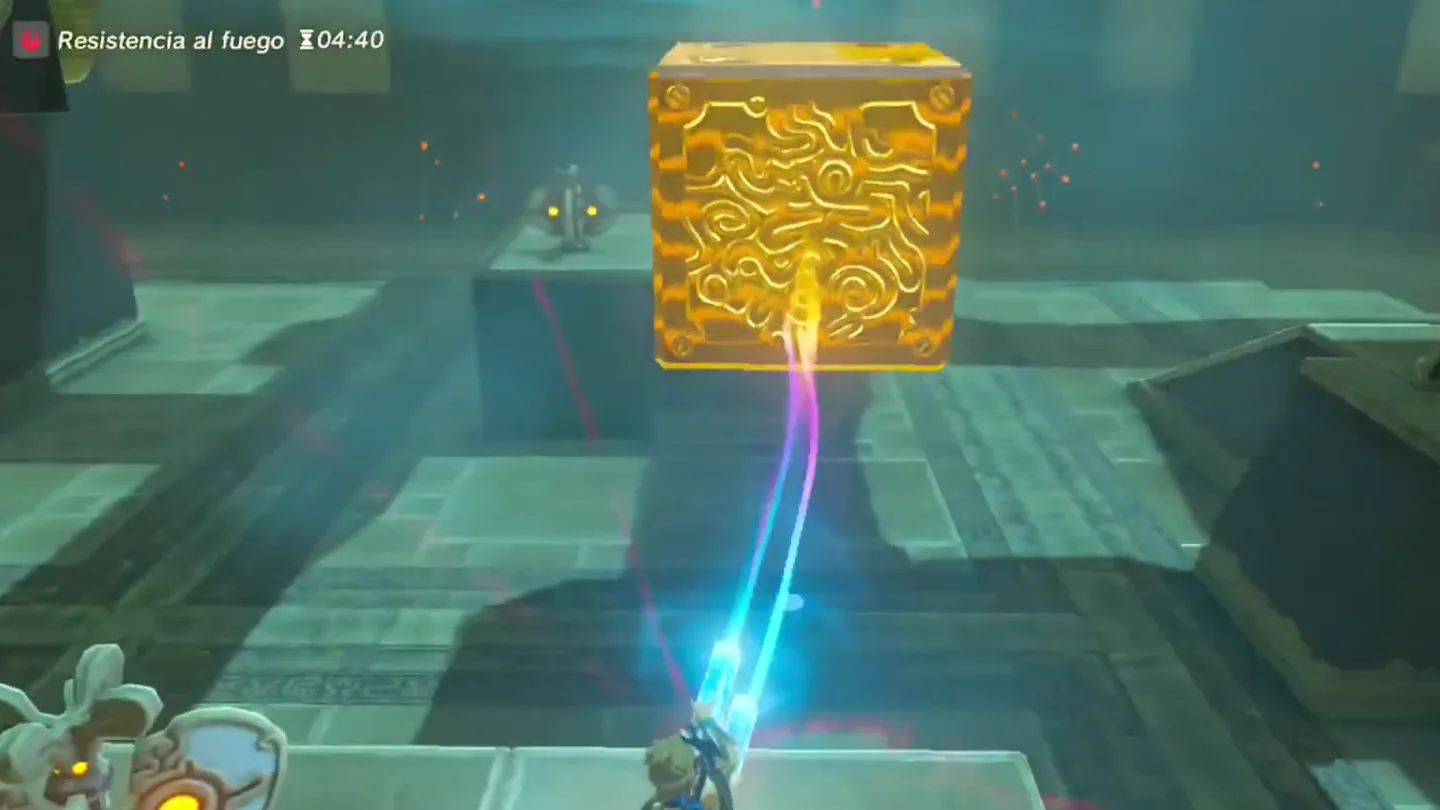
Now the puzzle: Magnesis the big metal cube onto the button on the right-hand platform — doing so raises the right fan and lowers the left one.
Return to the apparatus and aim the gusts so they line up with the fans; all of them will spin except the bottom-left one, which sits too low for the wind to reach.
Paraglide over to the left platform and stand on its floor button — the low fan rises, all four fans spin, and the gate to the final area opens.
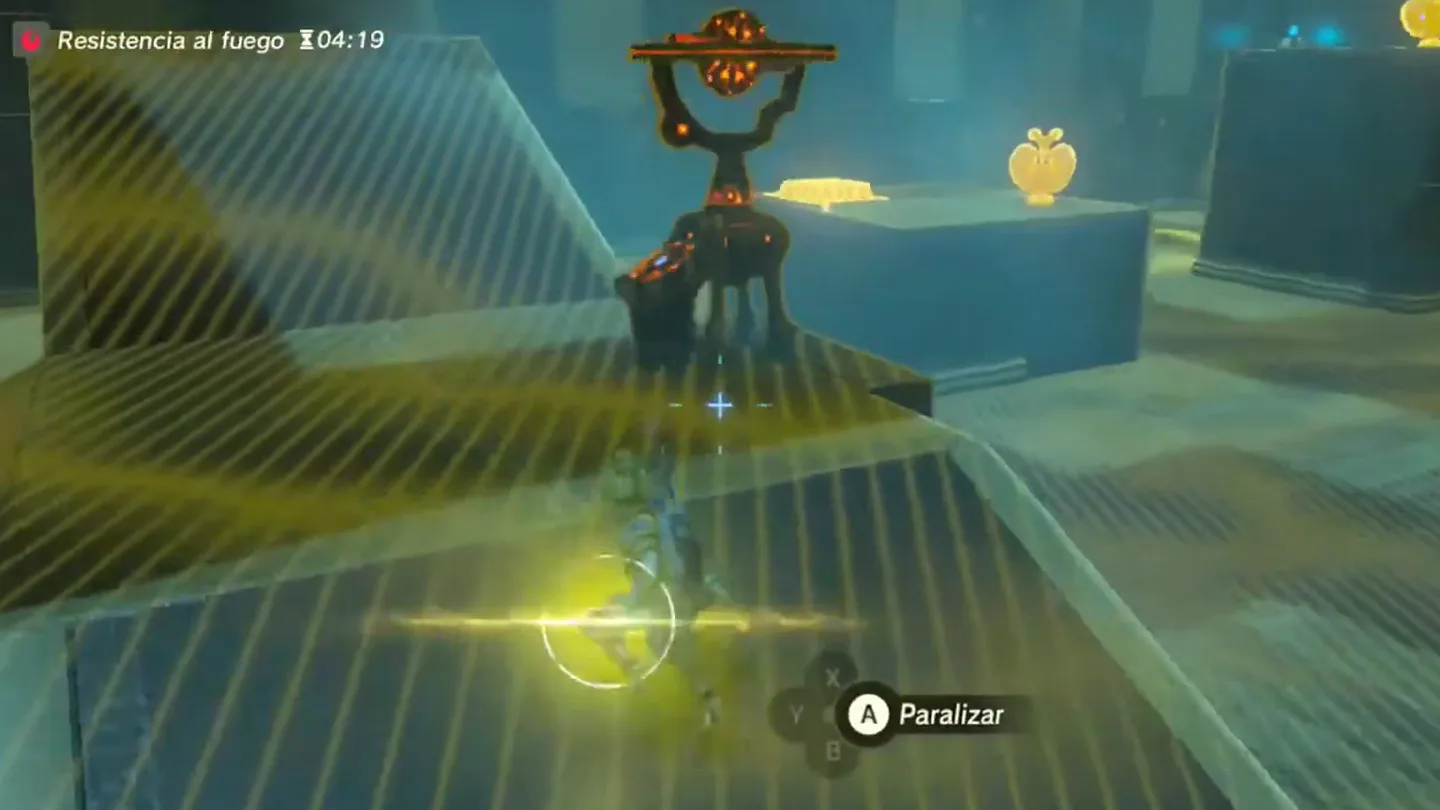
The gate closes again the instant you step off, so while still standing on the button, cast Stasis on it, then step off and hurry through the gate before Stasis runs out.
4. Final Chamber: Lanterns and Waterfalls
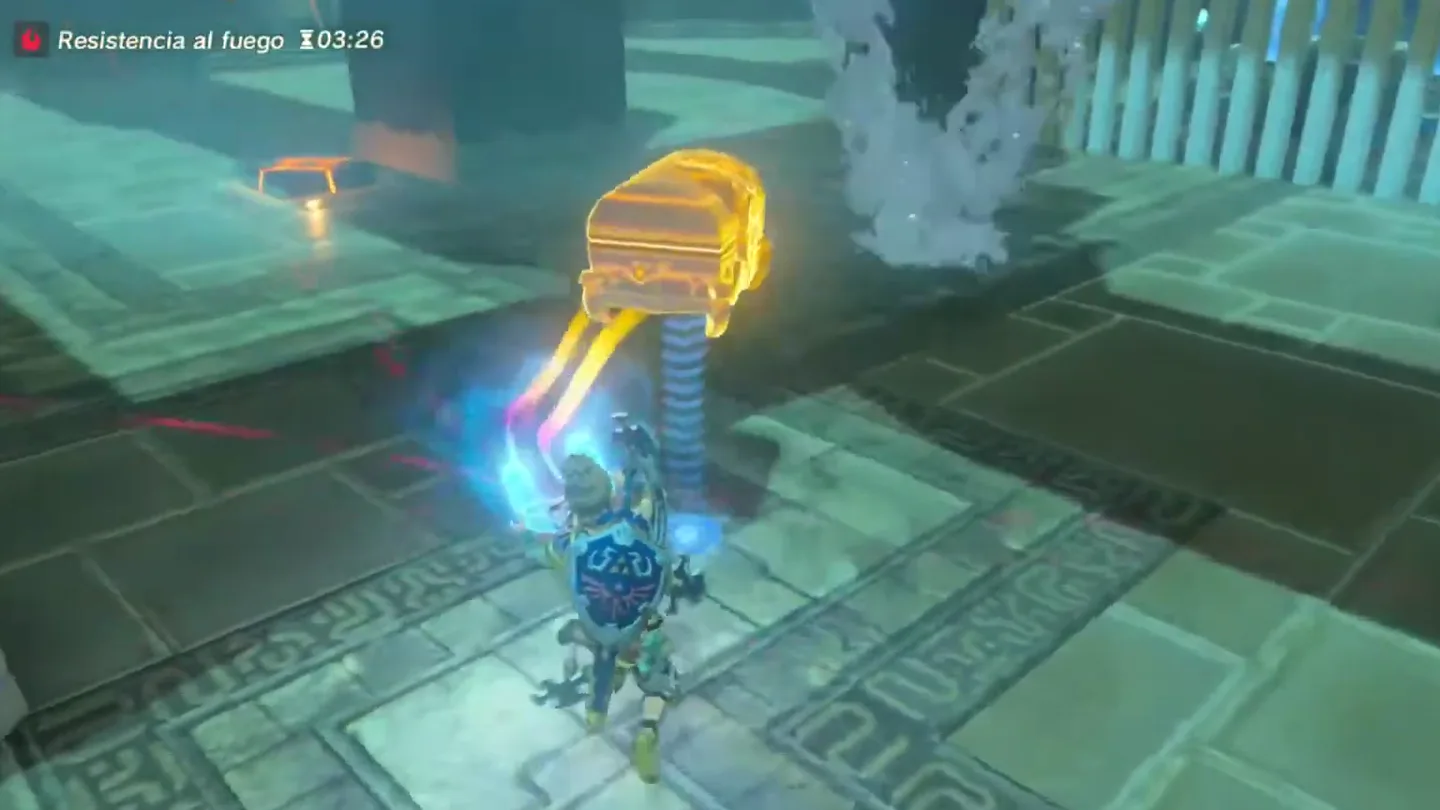
In the final chamber, Magnesis the lantern dangling from the ceiling up into the leaves on the wall above it — the fire spreads to the wooden platform there and knocks a chest down to the floor. Loot it for a Gerudo Spear; you actually need this chest to finish the room.
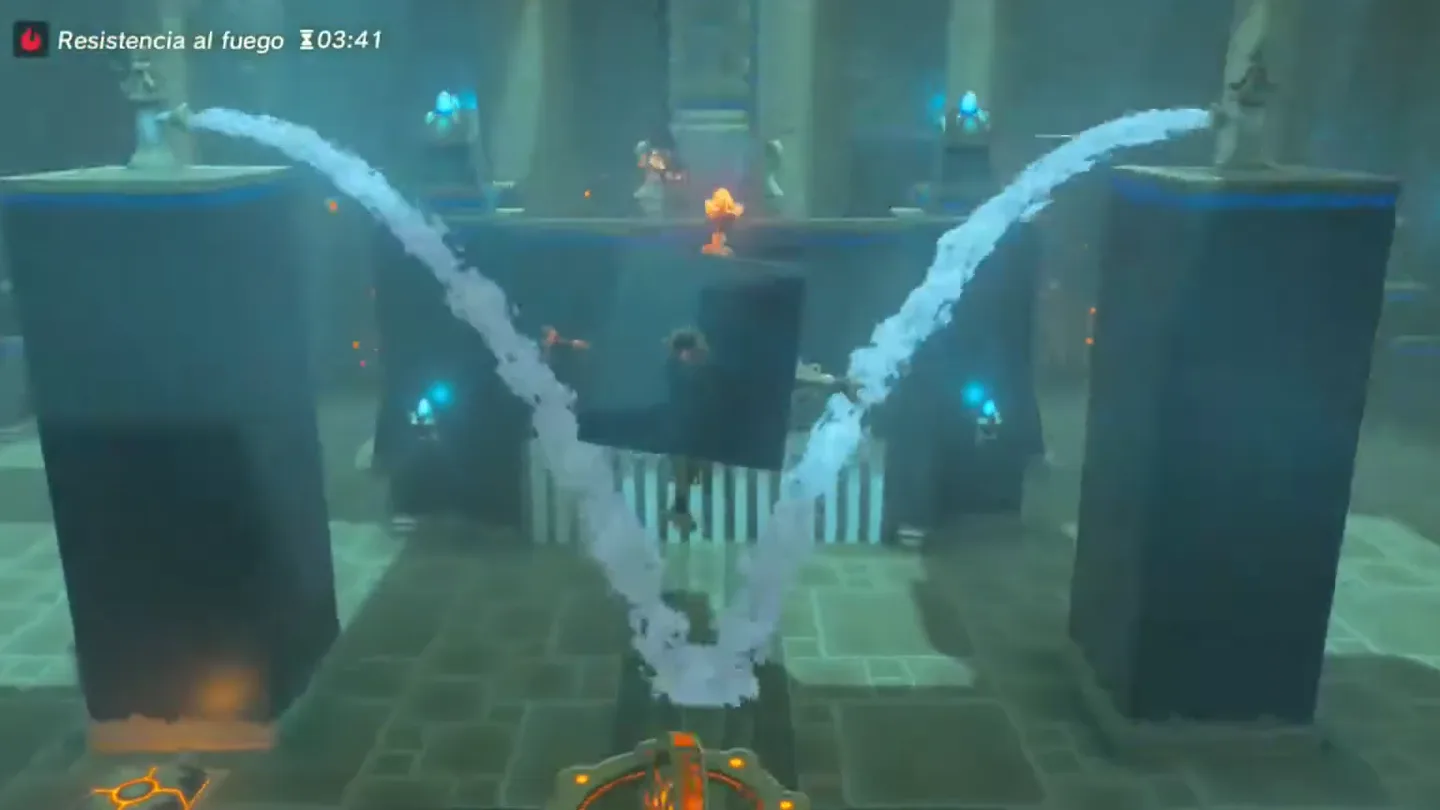
Magnesis the chest onto the button next to the right-hand waterfall block — the block lowers and that waterfall stops hitting the lantern cube, so it can no longer douse your flames.
Back on the apparatus, move the cube only forwards and backwards, carefully, to light the first four lanterns.
Step out of the apparatus and Stasis the remaining waterfall spout, then quickly return to the apparatus and light the final lanterns before the water turns on again.
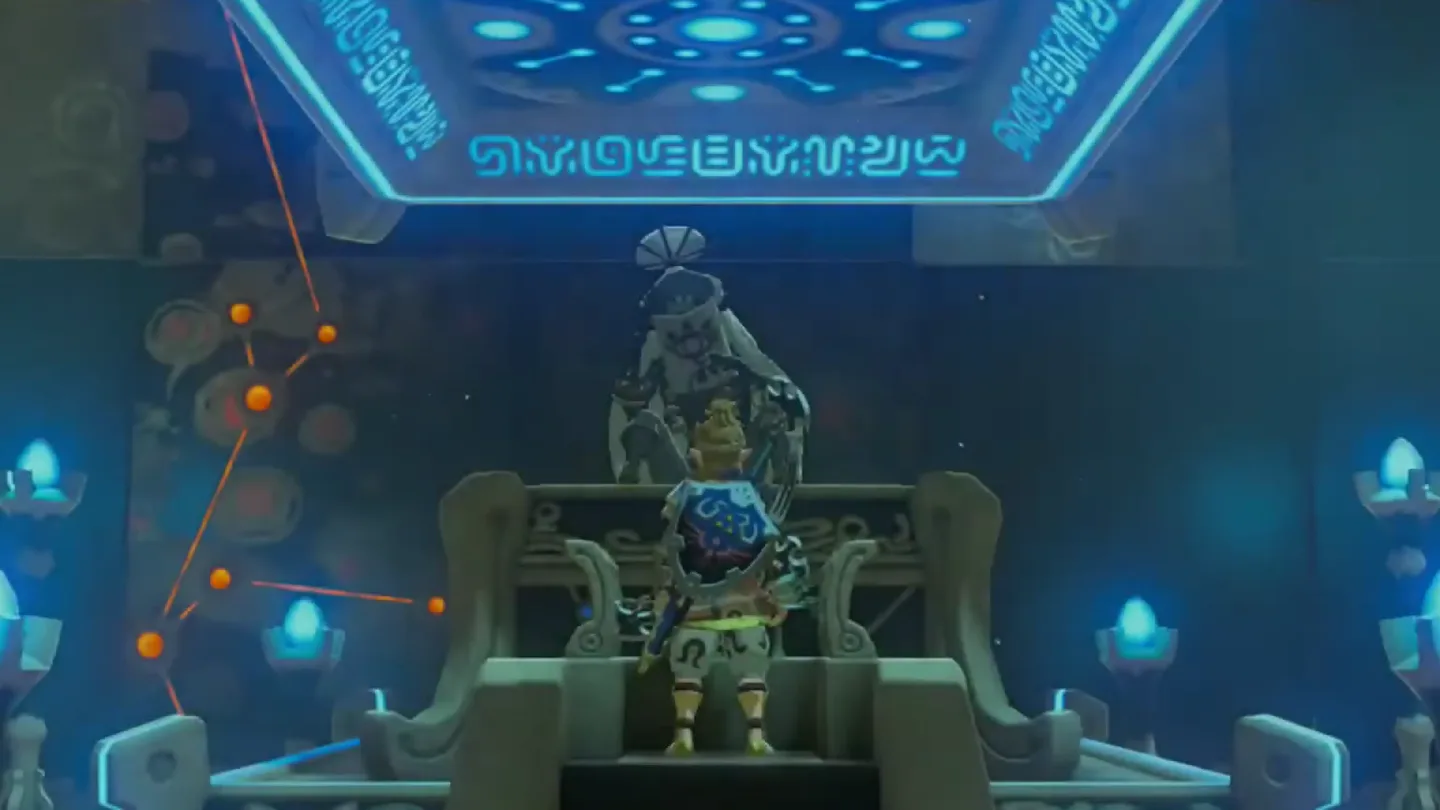
With every lantern burning, the gate to the monk’s pedestal opens — claim your Spirit Orb from Joloo Nah.
What is in each chest?
| Chest | Contents | How to get it |
|---|---|---|
| 1 | Golden Claymore | In the wind chamber, the chest sits on a platform in the bottom-left corner of the room. Tilt the apparatus so one gust points at that platform, then paraglide along the wind stream to land beside it and open it. |
| 2 | Gerudo Spear | In the torch chamber, Magnesis the hanging lantern into the leaves on the wall above it to burn the wooden platform and drop the chest. Keep it — you need the chest to weigh down the waterfall button. |
What do people miss here?
- The shrine never appears on the mountainside no matter how hard you look — it stays buried until you win the Test of Will contest at the Gorons’ ring just above the path near Koukot Plateau.
- The Golden Claymore chest in the wind room is easy to walk past: it sits on a platform in the bottom-left corner, reachable only by angling the wind machine at it and paragliding the gust — grab it before finishing the fan puzzle.
- If the wind-room gate slams shut the second you step off the button, that’s working as designed — Stasis the button while you’re still standing on it, then make your run before the effect ends.
- Don’t skip the chest in the final room: it’s not just loot, it’s the weight you need for the button beside the right-hand waterfall block. Without it, the spouts keep putting out torches you’ve already lit.
- Wild cube movements in the torch room get your flames doused — restrict yourself to gentle forwards/backwards tilts for the first four lanterns, then freeze the remaining spout for the rest.
What else is nearby?
| Shrine | Direction | Straight-line distance | Region |
|---|---|---|---|
| Dah Kaso Shrine | east | 309 | Central |
| Rota Ooh Shrine | northeast | 573 | Central |
| Keh Namut Shrine | southeast | 650 | Great Plateau |
Which guides help next?
FAQ
How do I make Joloo Nah Shrine appear?
Where is the Golden Claymore chest in Joloo Nah Shrine?
Why does the gate keep closing in the wind room?
How do I stop the waterfalls from putting out the torches?
What do you get for completing Joloo Nah Shrine?
Related Articles
guides
Breath of the Wild Captured Memories: All 13 Locations and Rewards
All 12 photo locations from Zelda's album plus the 13th memory in Impa's painting, with coordinates, nearby shrines, the Champion's Tunic and the extra ending scene.
guides
Breath of the Wild Great Fairy Fountains: Locations, Costs and Horse God
Where the four Great Fairy Fountains and the Horse God Malanya are in Breath of the Wild, what each fairy costs to release, and how many you need per armor upgrade.
guides
Hyrule Castle Walkthrough: Entry Routes, Hylian Shield and Final Prep
How to get into Hyrule Castle in Breath of the Wild: five entry routes, the Hylian Shield and other loot by room, and what to prepare before the final battle.
Was this helpful?
Thanks for the feedback!