

Mijah Rokee Shrine: Under a Red Moon and Chest Guide (BotW)
Reveal Mijah Rokee Shrine on Washa’s Bluff, complete Under a Red Moon, beat the combat trial, and collect the Frostblade chest in Breath of the Wild.
Where is Mijah Rokee Shrine?
From Tabantha Bridge Stable, head southeast to Washa’s Bluff. Climb onto the high ground and look for the large tree in its southern area. Kass is on top of that tree, with the challenge pedestal nearby below. The entrance remains underground until you complete his Blood Moon challenge; reaching the marker alone will not reveal it.
Use the BotW shrine location table to place this stop in your Ridgeland route.
| Item | Detail |
|---|---|
| Trial | A Modest Test of Strength / 力之考驗 中級 |
| Tower region | Ridgeland |
| Coordinates (X, Y, Z) | -2744, -0226, 0318 |
| Type | Combat trial, revealed by a shrine quest |
| Shrine quest | Under a Red Moon / 紅月之夜 |
| Chests | 1 |
| Names | Mijah Rokee Shrine / 米達‧羅基神廟 / 米达·罗基神庙 |
What should you bring?
Pack a melee weapon and a shield with durability to spare — the Guardian Scout hits hard and this is a sustained duel, so less practiced fighters should bring a backup weapon too. A bow with Shock Arrows is an optional extra for stunning the eye, the paraglider handles the laser sweep, and no runes are required for this trial. Since you will have just stripped every slot to stand bare on the pedestal, double-check that your weapon and shield are actually re-equipped before walking in. Approach the fight with perfect guards, sidehops and backflips rather than trading hits.
Video walkthrough

Solution: how do you reveal and clear the shrine?
How do you complete Under a Red Moon?
1. Blood Moon Ritual
Climb the large tree and listen to Kass’s ancient song. Agreeing to hear it registers the shrine quest.
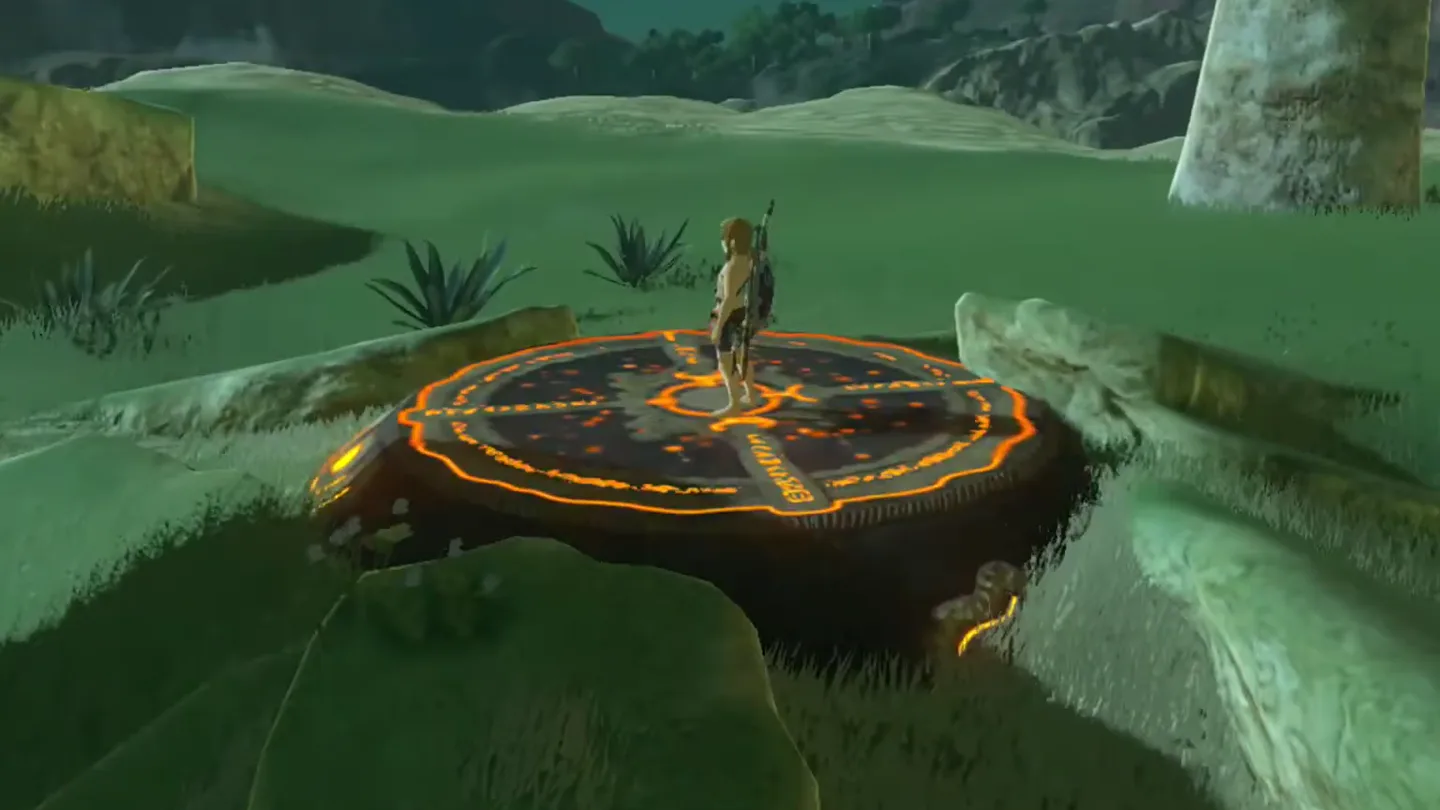
Stand bare on the pedestal during a Blood Moon night. Use the timing below and unequip your armor. For the equipment ambiguity, follow the callout before waiting on the platform.
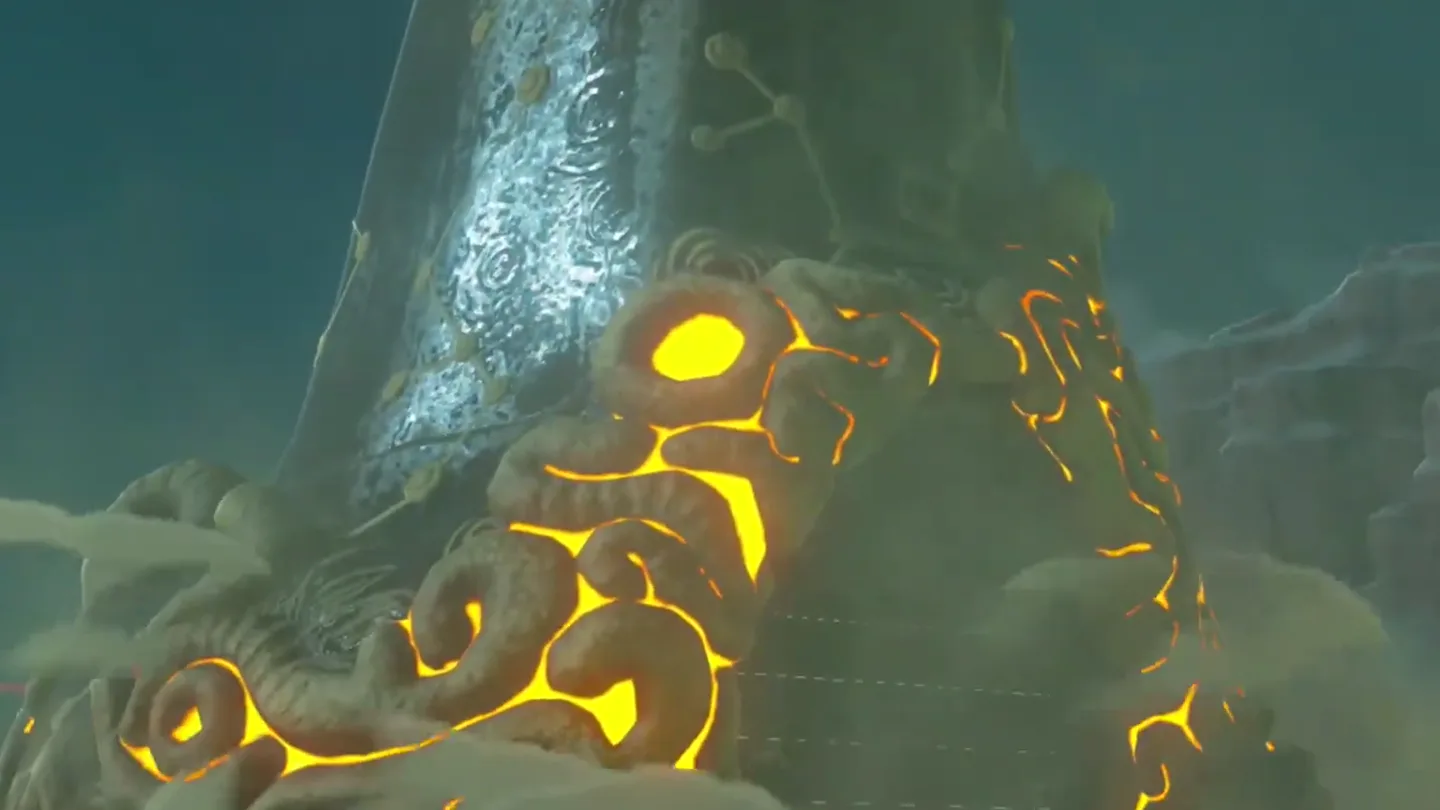
Wait for the shrine to rise, then equip your combat gear again. Enter the newly revealed shrine for the fight.
| Timing checkpoint | What to do |
|---|---|
| Blood Moon night, from 23:00 | Stand on the pedestal with your gear unequipped |
| Before the midnight event | Be in position; do not wait until after the cutscene to start undressing |
How do you win the combat trial?
Bring a melee weapon and shield. A bow with Shock Arrows is an optional way to attack the eye; the paraglider helps with the sweeping laser. The route below needs no Magnesis, Stasis, Cryonis or bombs.
| Combat detail | What to expect |
|---|---|
| Enemy level | Two reported labels: Guardian Scout III and Guardian Scout II |
| Enemy equipment | Guardian Sword+ and Guardian Shield+ |
| Optional control | Electricity stuns; ice freezes |
2. Defeat the Guardian Scout
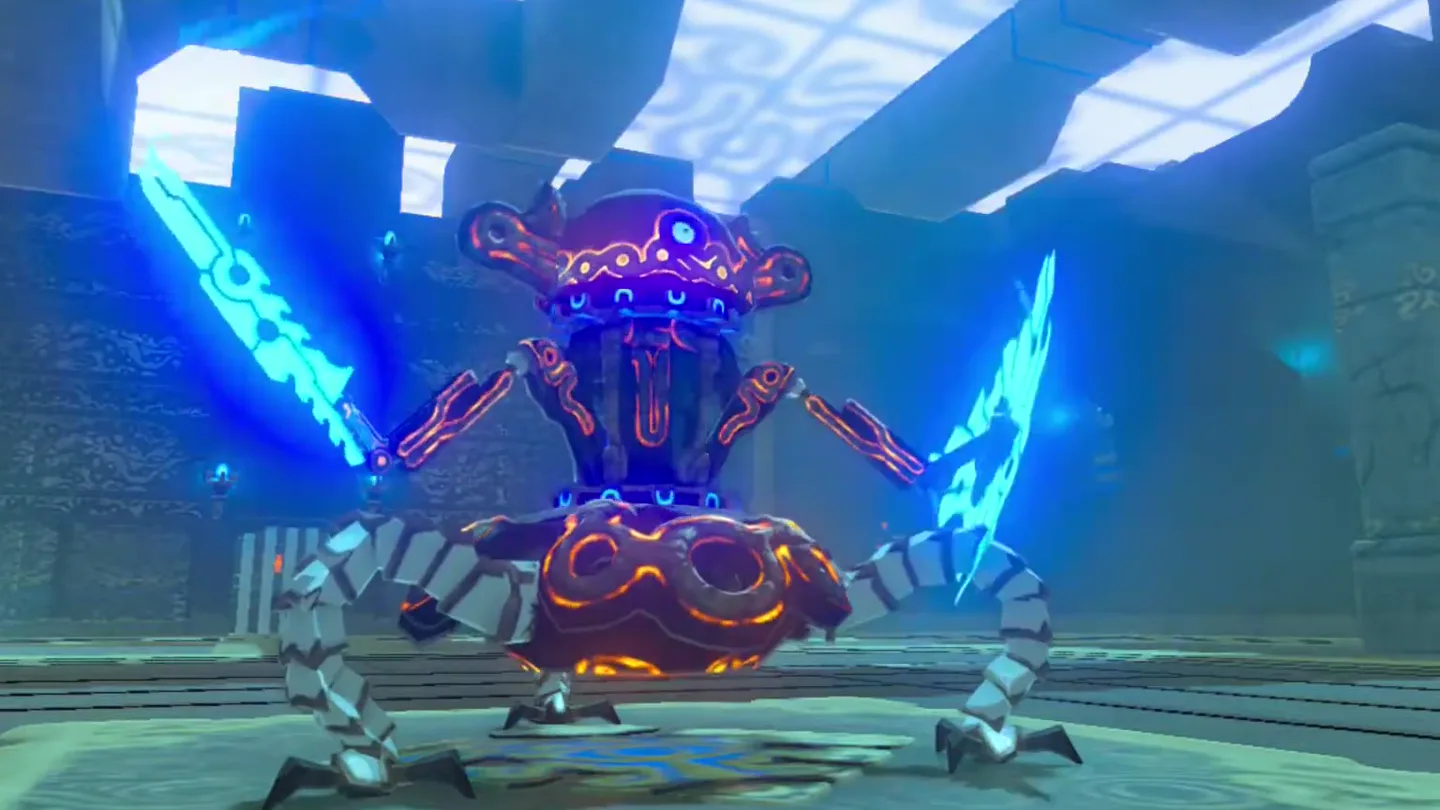
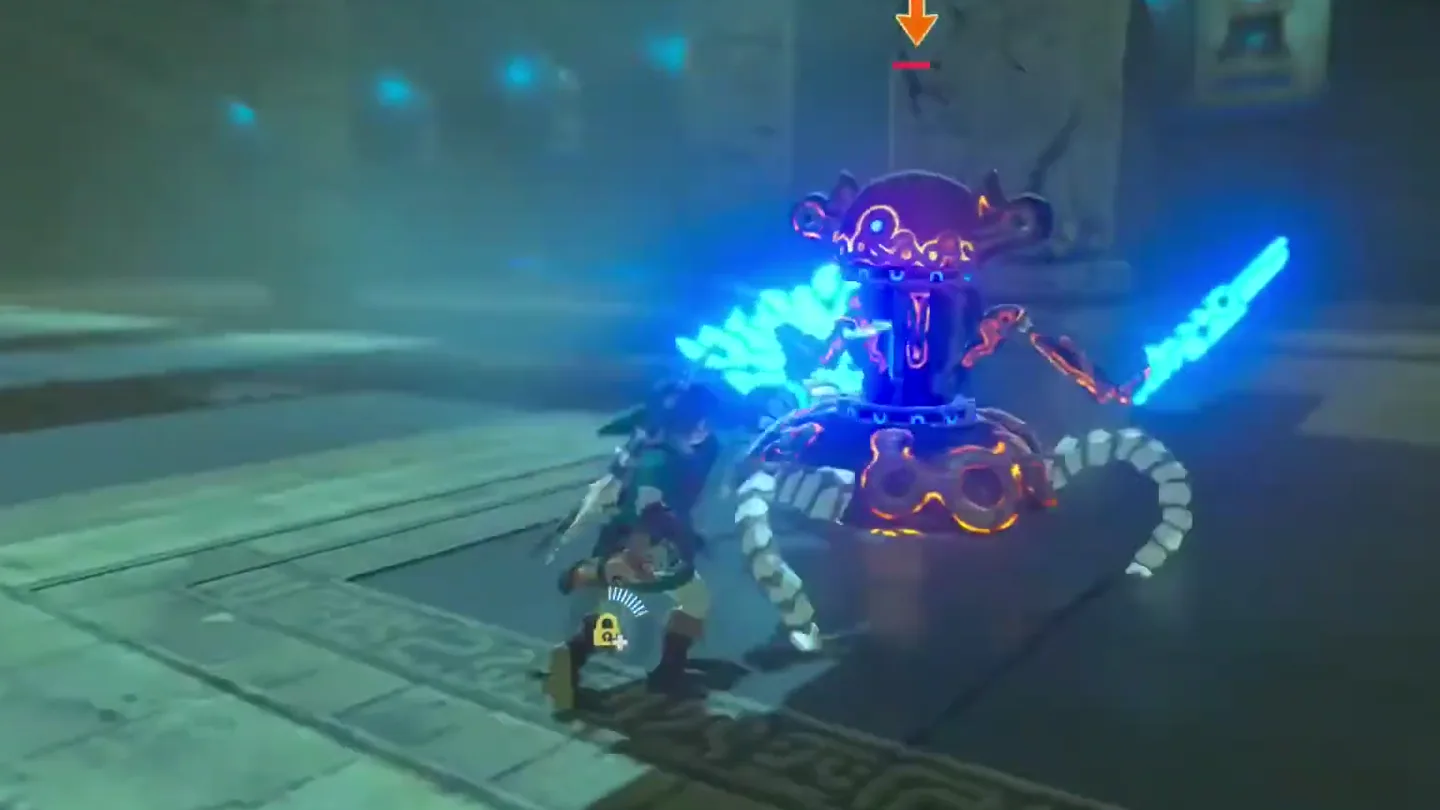
Approach the arena and dodge before counterattacking. Strike with your melee weapon when you have an opening, or aim Shock Arrows at the eye to stun the Scout.
If it sweeps the floor with its laser, use the updraft. Open the paraglider to rise over the beam and approach from above instead of crossing the sweep on foot.
If it begins its final charged laser, stop trading close-range hits. Give yourself room to evade the beam, then resume attacking when you have an opening; continue until the Scout is defeated.
3. Collect Reward
Go through the gate that opens and collect the Frostblade chest. The chest is beyond the combat arena, on the way to the monk.
Approach the monk’s altar to receive the Spirit Orb. This finishes the shrine itself after the outdoor quest.
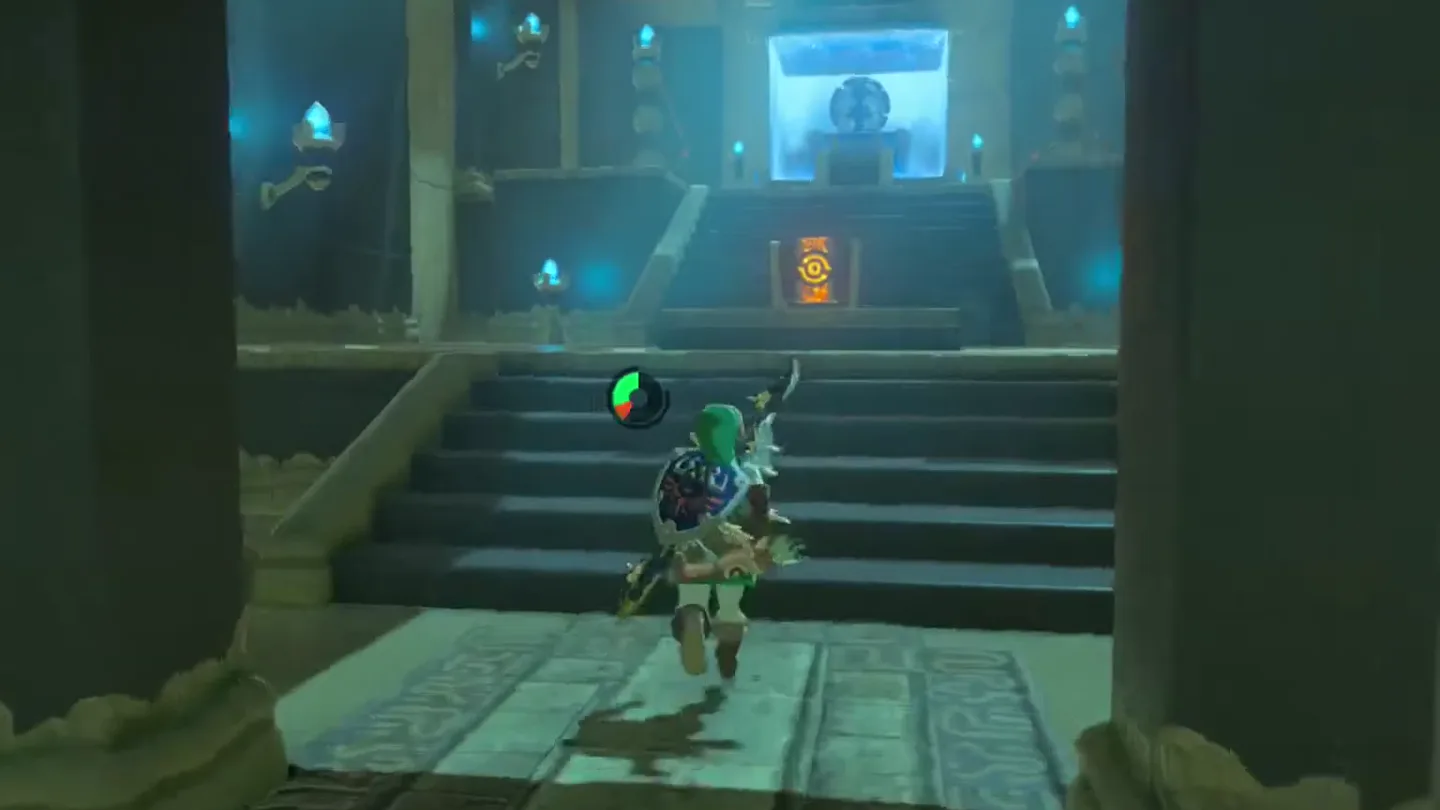
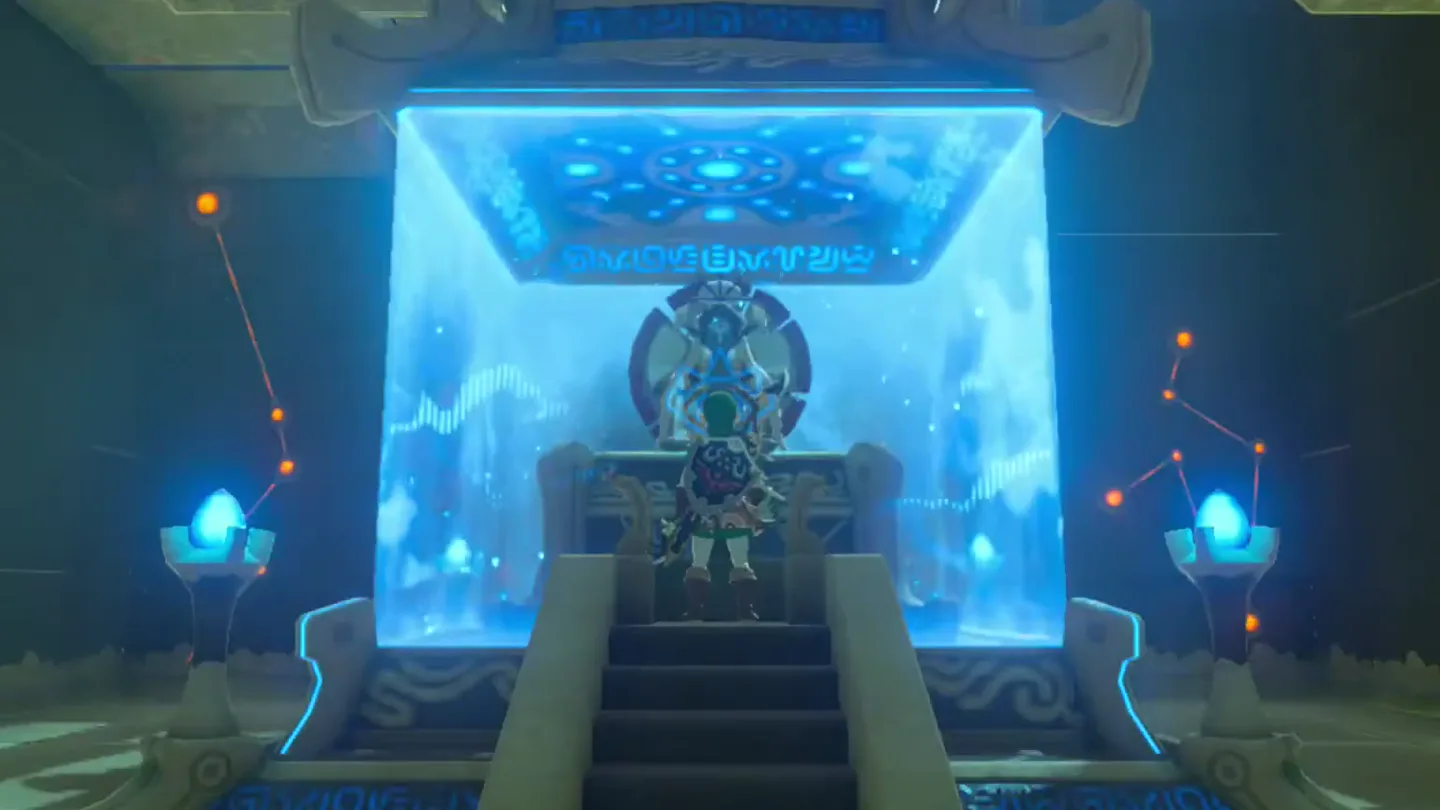
Chests: what is inside and how do you get it?
| Chest | Contents | How to get it |
|---|---|---|
| 1 | Frostblade | Defeat the Scout, pass through the opened gate and open the chest before reaching the monk |
What do people miss here?
- Under a Red Moon is simple but time-gated: it only completes when a Blood Moon actually occurs, so expect to wait out several in-game nights at Washa’s Bluff before the pedestal reacts. If nothing happens, the moon simply has not been red yet — the quest is not broken.
- The Guardian Scout rises from its pit only once you walk up to the arena, so the duel starts the moment you step forward — get fully equipped before approaching instead of waiting at the entrance for something to appear.
- Perfectly timed sidehops and backflips can trigger flurry attacks for heavy bonus damage; players who only sneak in hits between the Scout’s swings often never realize this mechanic exists.
What else is nearby?
| Shrine | Direction | Straight-line distance | Region |
|---|---|---|---|
| Mogg Latan Shrine | southeast | 504 | Ridgeland |
| Shae Loya Shrine | north | 685 | Ridgeland |
| Sheem Dagoze Shrine | east | 862 | Ridgeland |
Related: where should you go next?
- Sheem Dagoze Shrine: east of Mijah Rokee, another shrine revealed through a challenge.
- All BotW shrine locations: plan the rest of your Ridgeland checklist.
- How to find BotW shrines: help when a marked location does not show an obvious entrance.
- Tears of the Kingdom vs Breath of the Wild: check which game’s guide you need before changing routes.
FAQ
Why is Mijah Rokee Shrine not there?
Do I need to remove my weapons for Under a Red Moon?
When should I stand on the Blood Moon pedestal?
What is in the Mijah Rokee Shrine chest?
Related Articles
guides
Breath of the Wild Captured Memories: All 13 Locations and Rewards
All 12 photo locations from Zelda's album plus the 13th memory in Impa's painting, with coordinates, nearby shrines, the Champion's Tunic and the extra ending scene.
guides
Breath of the Wild Great Fairy Fountains: Locations, Costs and Horse God
Where the four Great Fairy Fountains and the Horse God Malanya are in Breath of the Wild, what each fairy costs to release, and how many you need per armor upgrade.
guides
Hyrule Castle Walkthrough: Entry Routes, Hylian Shield and Final Prep
How to get into Hyrule Castle in Breath of the Wild: five entry routes, the Hylian Shield and other loot by room, and what to prepare before the final battle.
Was this helpful?
Thanks for the feedback!