

Mirro Shaz Shrine Location and Solution (Breath of the Wild)
Find Mirro Shaz Shrine by Pico Pond, solve both Stasis golf puzzles, and collect two Iron Sledgehammers plus the Giant Ancient Core.
Where is Mirro Shaz Shrine?
Start at Woodland Stable and head northeast toward Pico Pond. The shrine is in plain sight on the north side of the pond, with no shrine quest or hidden entrance. If you are approaching from farther away, use the shrine-finding guide to plan the Woodland route.
| Item | Detail |
|---|---|
| Trial | Tempered Power |
| Tower region | Woodland |
| Coordinates (X, Y, Z) | 1231, 1213, 0141 |
| Type | Stasis power puzzle, not a Test of Strength |
| Shrine quest | None |
| Chests | 3 |
| English name | Mirro Shaz Shrine |
| Traditional Chinese name | 米羅‧茨席神廟 |
| Simplified Chinese name | 米罗·茨席神庙 |
What should you bring?
The only ability this shrine checks for is Stasis — no specific armor, meals, or elemental resistance matter, and the route never uses Magnesis, Cryonis, or Remote Bombs. The shrine itself supplies both Iron Sledgehammers through its chests, so you don’t need to pack a heavy two-handed weapon or burn your own gear on the orb shots. Do bring a lighter one-handed weapon of your own, though, because the optional shot needs one gentle extra hit after the five sledgehammer strikes.
Video walkthrough
How do you solve Mirro Shaz Shrine?
Bring Stasis and a lighter one-handed weapon. The shrine supplies both Iron Sledgehammers, and this route does not use Magnesis, Cryonis, or Remote Bombs.
1. First Orb Shot
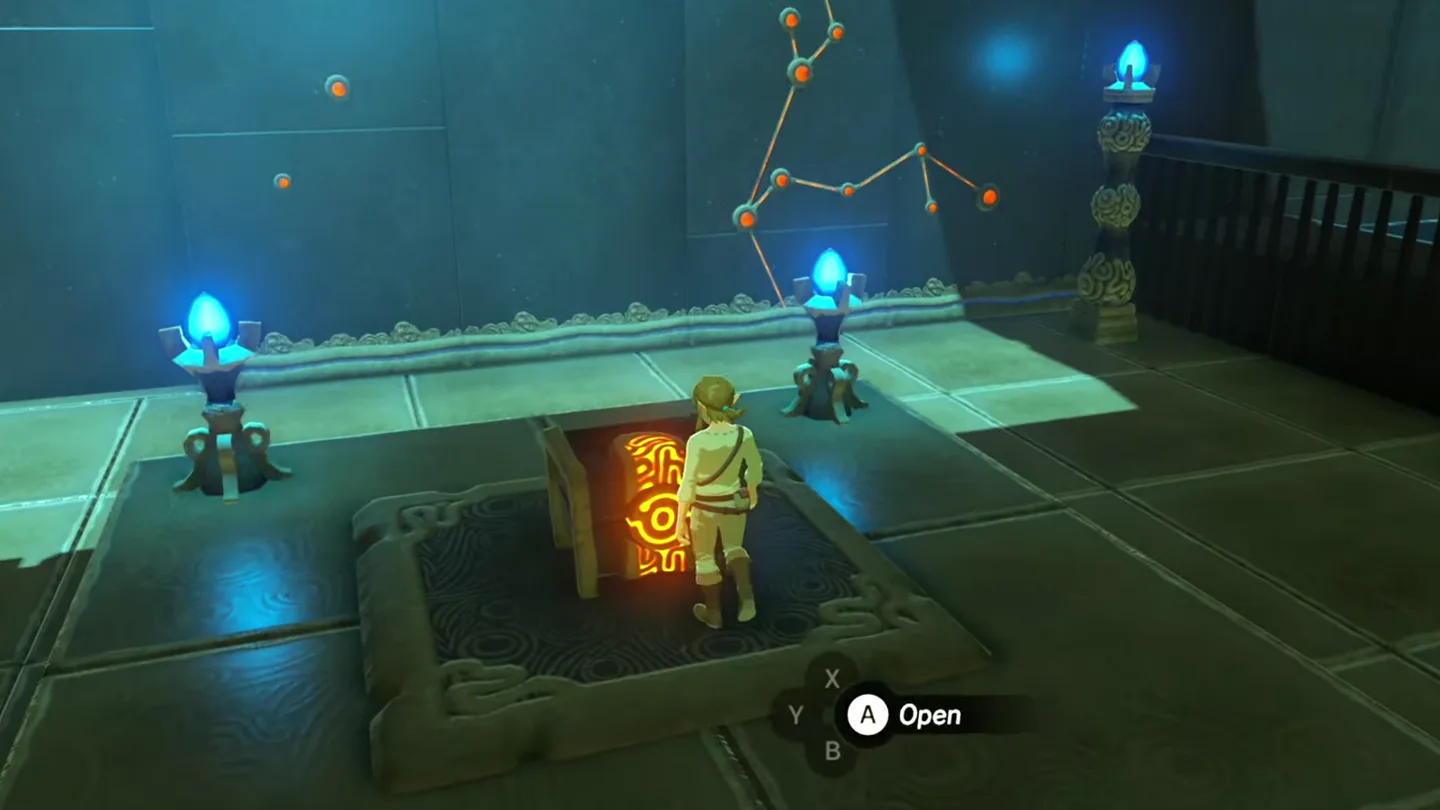
Drop into the first puzzle room and open the chest. Equip the Iron Sledgehammer inside.
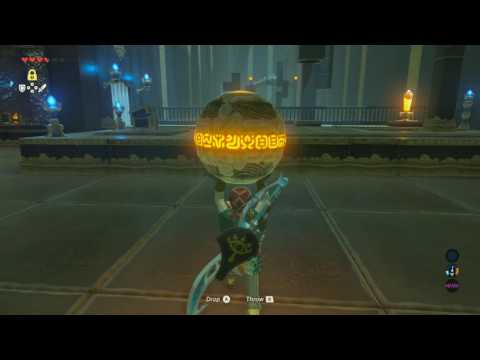
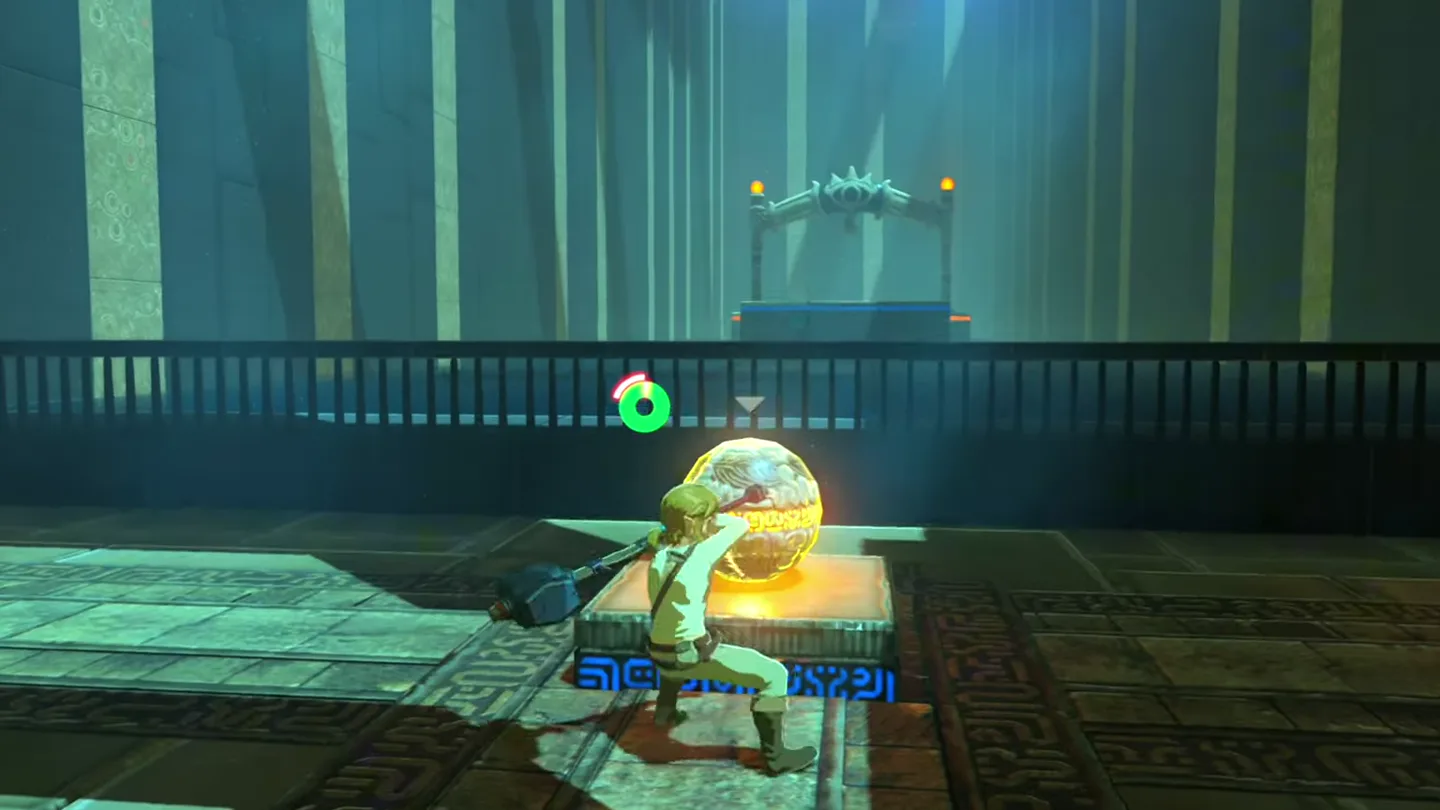
Center yourself directly behind the first orb. Face the socket across the water, use Stasis on the orb, then hit it exactly five times with the Iron Sledgehammer. It should launch straight into the socket.
Reset the orb if the shot misses. Strike the nearby crystal switch to bring in another orb, then correct your alignment before trying again.
2. Stone Block Ramp
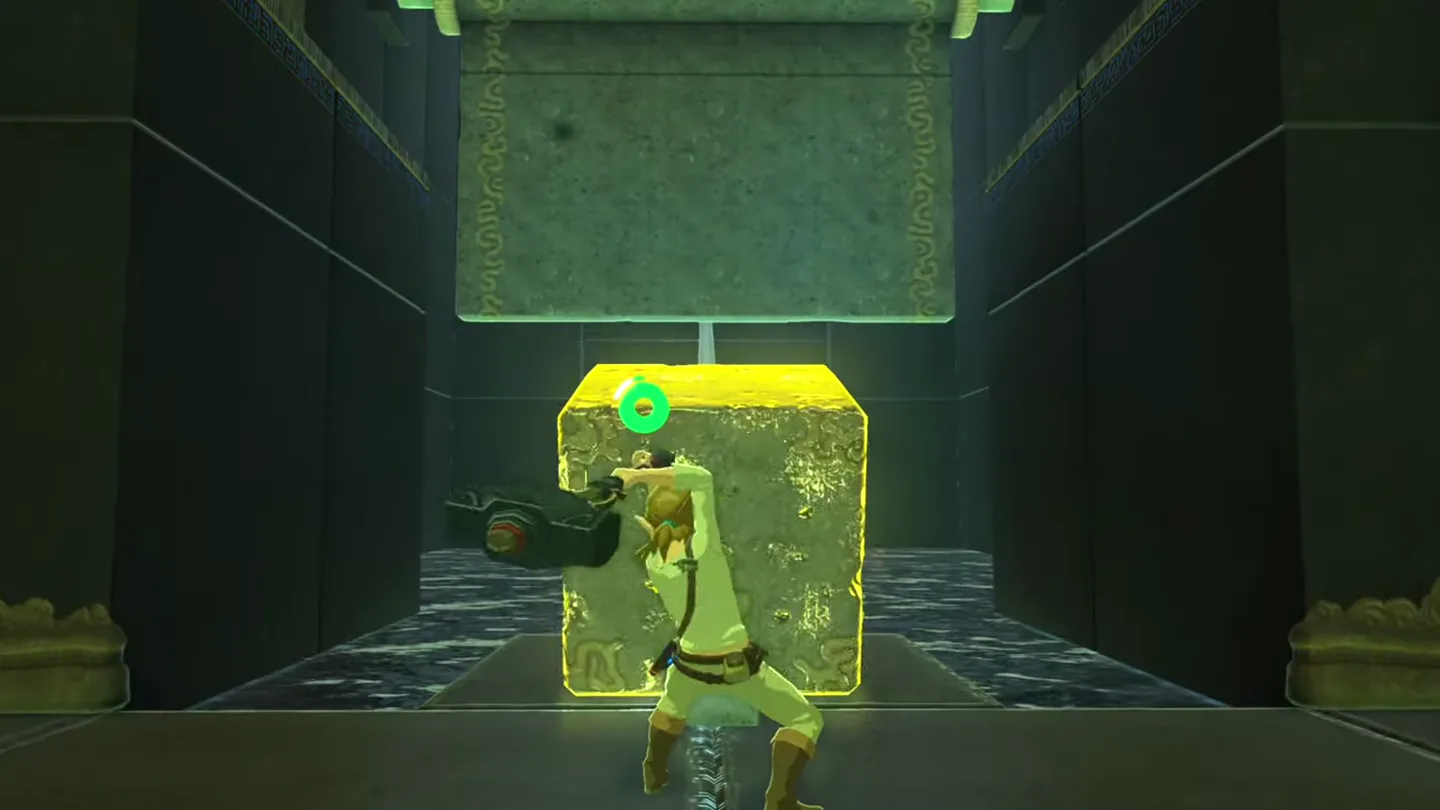
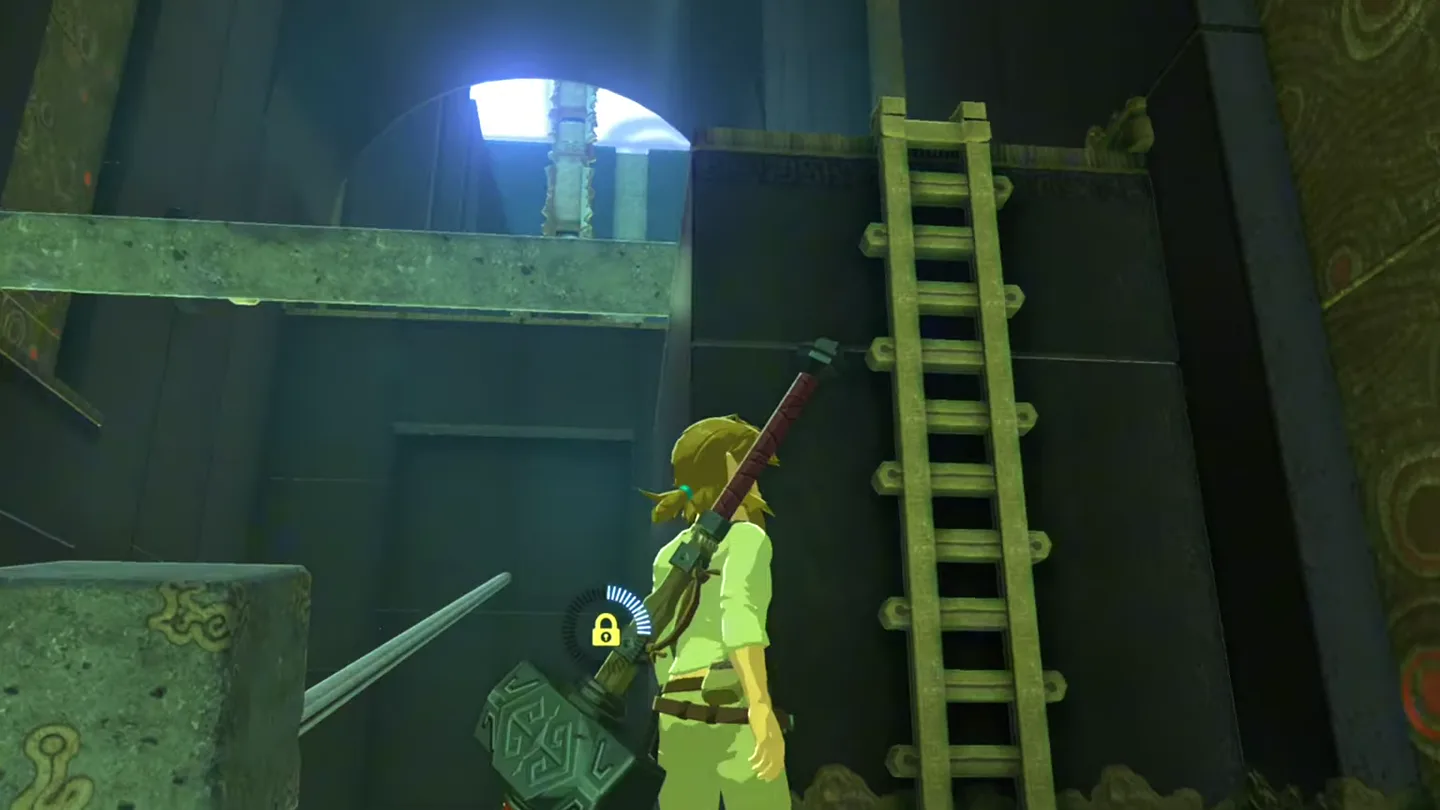
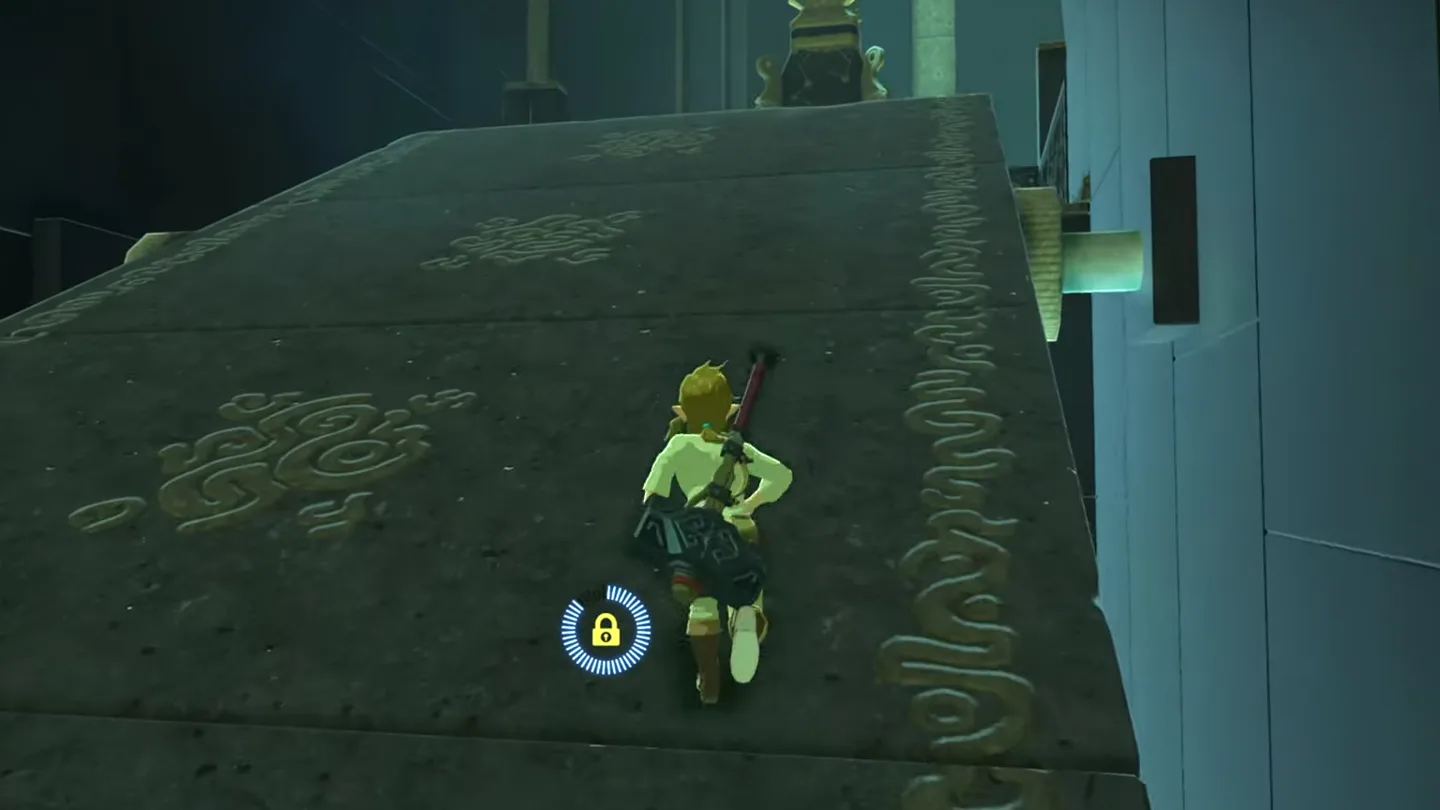
Launch the stone block along its rail. In the next section, use Stasis on the block and hit it five times with the Iron Sledgehammer, aiming straight along the rail. It strikes the stone slab and tips it into a ramp.
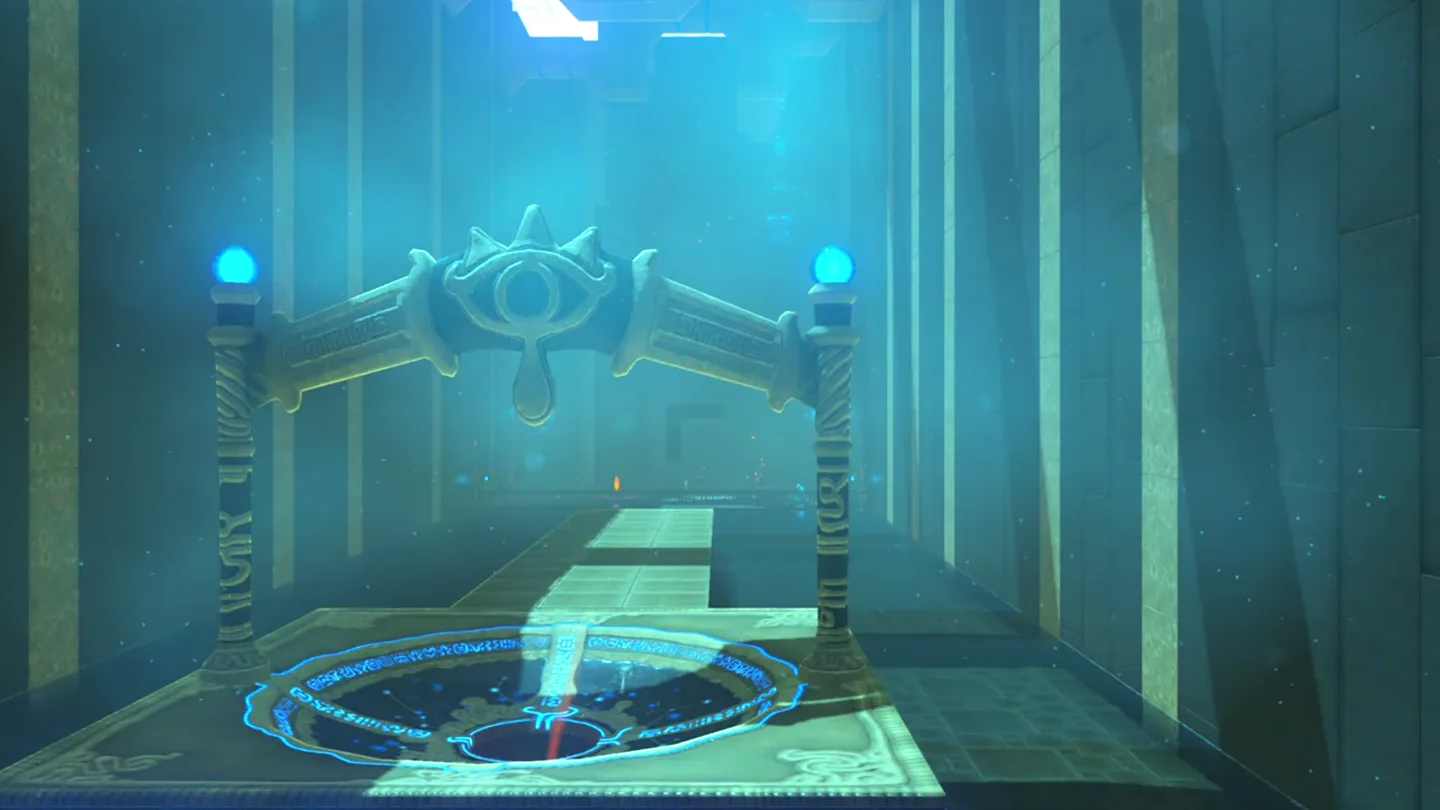
Climb the new ramp. It leads to the monk’s platform, but take the path on the left before finishing if you want every chest.
3. Optional Shot and Chests
Drop into the optional puzzle and open the next chest. Take the second Iron Sledgehammer provided here.
Make the harder optional shot. Stand directly behind the second orb, use Stasis, hit it five times with the Iron Sledgehammer, then switch and hit it once with a lighter one-handed weapon. The orb lands in its socket and raises the gate.
4. Return to the Monk
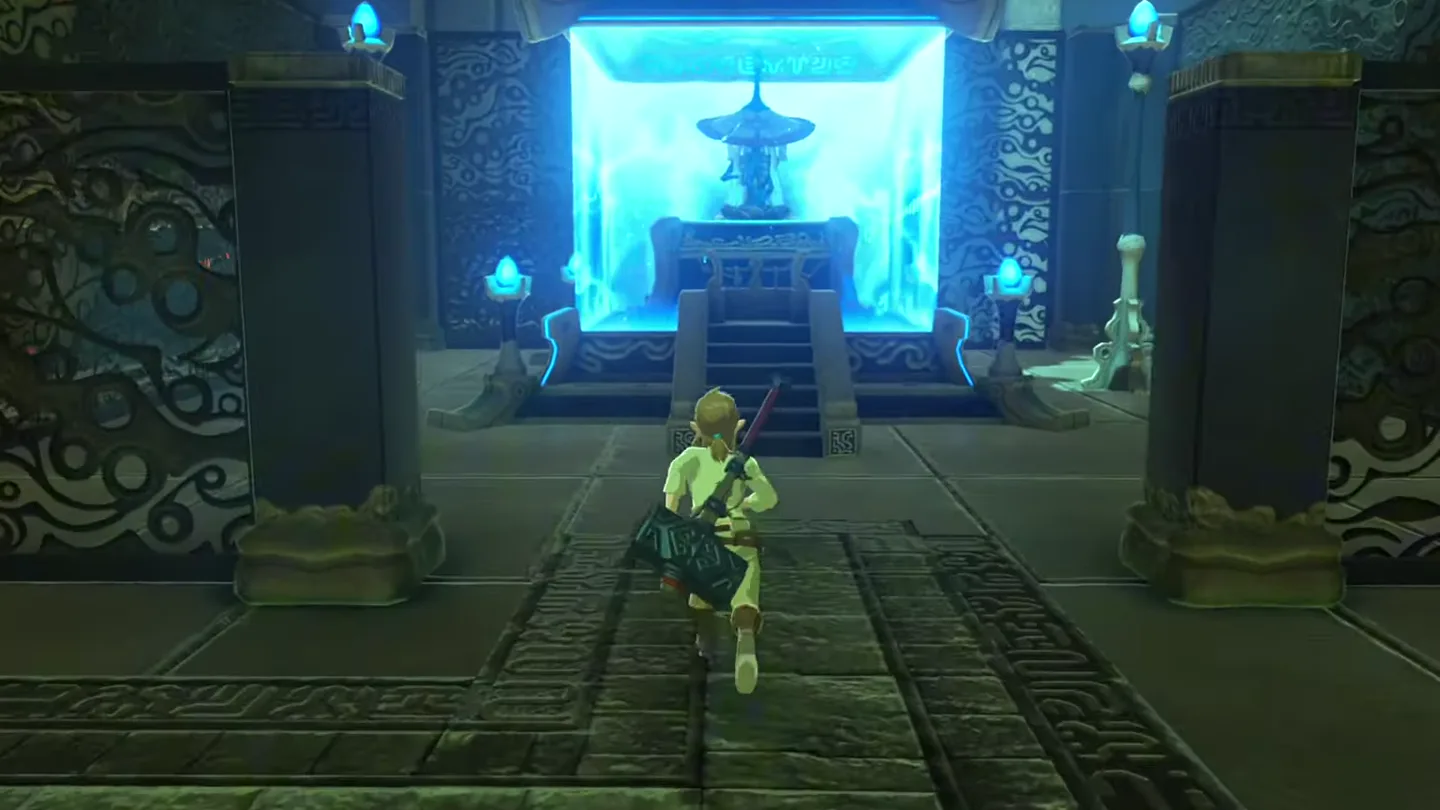
Open the gated chest, then return to the monk. Collect the Giant Ancient Core and go back upstairs to receive the Spirit Orb.
What is in the Mirro Shaz Shrine chests?
| Chest | Contents | How to get it |
|---|---|---|
| 1, first puzzle room | Iron Sledgehammer | Drop into the room and open the chest before attempting the required orb shot |
| 2, optional puzzle room | Iron Sledgehammer | Take the left path by the monk’s platform, drop down, and open the chest beside the second setup |
| 3, behind the optional gate | Giant Ancient Core | Land the second orb with five sledgehammer hits and one lighter one-handed hit, then enter the opened gate |
What do people miss here?
- Don’t just count your swings — watch the Stasis force gauge. Stop while it’s in the orange range, short of red (maximum): a full charge launches the orb too far and it bounces right back out of the socket, because it needs to roll in on moderate momentum.
- The hectic weapon-switch isn’t the only way to solve the optional puzzle. Pick the second orb up, carry it to the back of the room behind the small fence, and hit it with full Stasis force — it just about lands in the goal with no switching at all. You may need to play with exactly how far back you place it.
- Don’t skip the gated chest just because the optional puzzle isn’t required to finish: the Giant Ancient Core inside is used to forge ancient weapons at the Akkala Ancient Tech Lab, making it the one reward here worth going out of your way for.
- Both sledgehammer chests exist so the orb hits chew through the shrine’s hammers instead of your own weapons’ durability. Loot each hammer before its puzzle, or every five-hit combo comes straight out of your personal arsenal.
What else is nearby?
| Shrine | Direction | Straight-line distance | Region |
|---|---|---|---|
| Namika Ozz Shrine | southwest | 612 | Central |
| Qua Raym Shrine | northeast | 663 | Eldin |
| Sheh Rata Shrine | south | 881 | Lanayru |
Which guides are related to Mirro Shaz Shrine?
- All 120 BotW shrine locations: return to the full checklist after clearing Mirro Shaz.
- How to find shrines: plan routes through the Woodland tower region.
- Namika Ozz Shrine: the nearby shrine southwest of Mirro Shaz, toward Central Hyrule.
- Tears of the Kingdom vs. Breath of the Wild: compare the two games before moving between their shrine guides.
FAQ
Where is Mirro Shaz Shrine?
How many times do I hit the ball in Mirro Shaz Shrine?
What is in the Mirro Shaz Shrine chests?
Is Mirro Shaz Shrine a Test of Strength?
Related Articles
guides
Breath of the Wild Captured Memories: All 13 Locations and Rewards
All 12 photo locations from Zelda's album plus the 13th memory in Impa's painting, with coordinates, nearby shrines, the Champion's Tunic and the extra ending scene.
guides
Breath of the Wild Great Fairy Fountains: Locations, Costs and Horse God
Where the four Great Fairy Fountains and the Horse God Malanya are in Breath of the Wild, what each fairy costs to release, and how many you need per armor upgrade.
guides
Hyrule Castle Walkthrough: Entry Routes, Hylian Shield and Final Prep
How to get into Hyrule Castle in Breath of the Wild: five entry routes, the Hylian Shield and other loot by room, and what to prepare before the final battle.
Was this helpful?
Thanks for the feedback!