

Shae Loya Shrine Location and Solution (Breath of the Wild)
Find Shae Loya Shrine near Tabantha Bridge Stable, solve Aim for the Moment with Stasis and a bow, and collect the Falcon Bow and Topaz chests.
Where is Shae Loya Shrine?
Look on the ridge just south of Tabantha Bridge Stable. From the stable, head south and climb onto the ridge to reach the entrance. No shrine quest is required. Use the BotW shrine locations table to place it on your checklist.
| Item | Detail |
|---|---|
| Trial | Aim for the Moment / 瞄準剎那 |
| Tower region | Ridgeland |
| Coordinates (X, Y, Z) | -2931, 0433, 0319 |
| Type | Timing puzzle; not a Test of Strength |
| Shrine quest | None |
| Chests | 2: Falcon Bow, Topaz |
| English name | Shae Loya Shrine |
| Traditional Chinese name | 夏奧‧耀神廟 |
| Simplified Chinese name | 夏奥·耀神庙 |
What should you bring?
Arrive with a bow and plenty of arrows — they go toward the two ropes over the entrance, the frozen orb, and the crystal in the alcove, and this shrine asks for a lot of shooting. The only Sheikah Slate power the route uses is Stasis, plus the Paraglider to cross to the far chest; Magnesis, Cryonis and Remote Bombs are never needed. No shrine quest gates the entrance, there is no fighting (a timing puzzle, not a Test of Strength), and no armor or resistance requirement.
Video walkthrough

Solution: how do you clear Aim for the Moment?
The orb activates your launcher. The crystal opens the final gate. Treat those as separate goals, and bring a bow and arrows for both.
| Tool | Use in this route |
|---|---|
| Bow and arrows | Cut the chest ropes, strike the frozen orb and activate the crystal |
| Stasis | Hold the orb in midair so an arrow can change its course |
| Paraglider | Reach the chest across the room after being launched |
Magnesis, Cryonis and Remote Bombs are not used in this route.
1. Drop the entrance chest
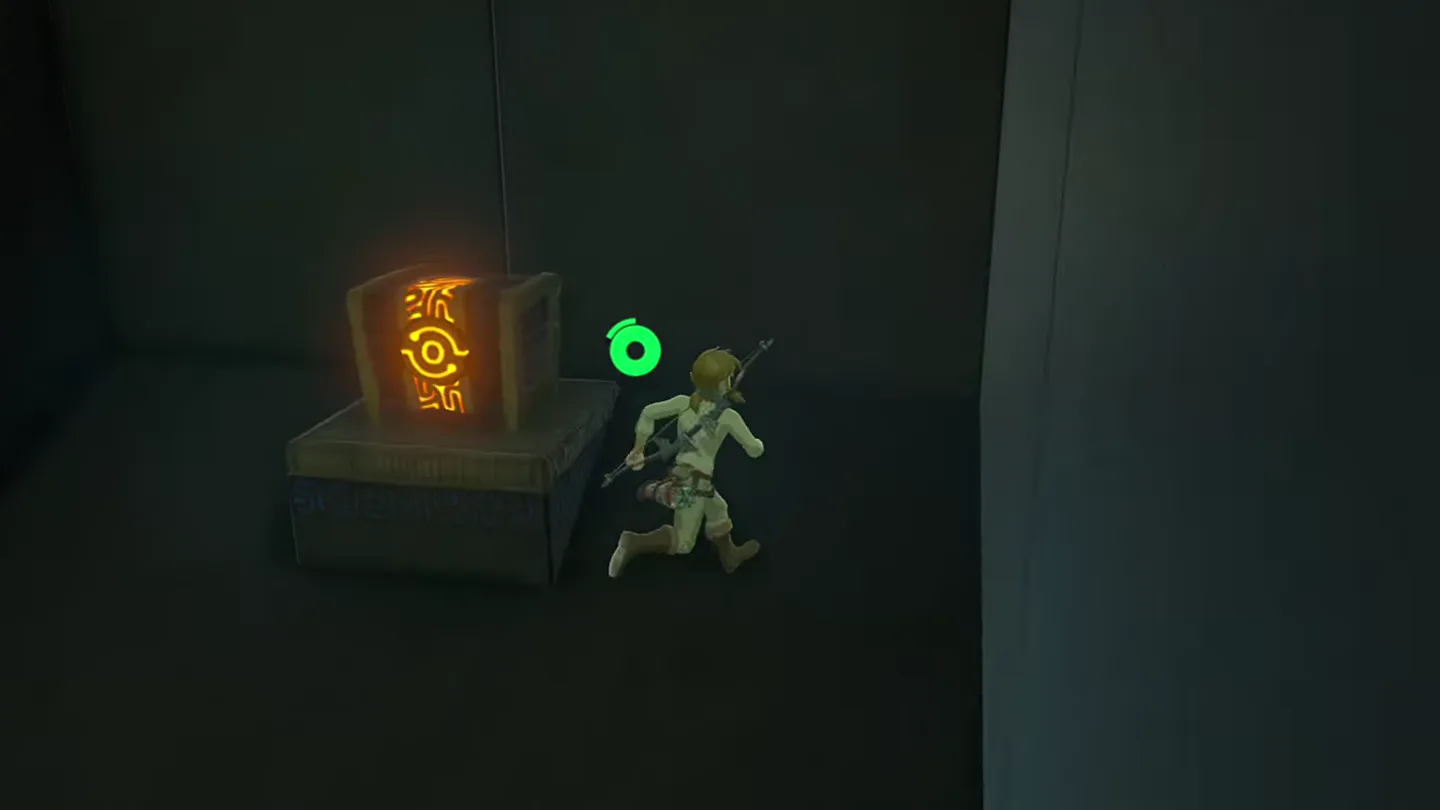
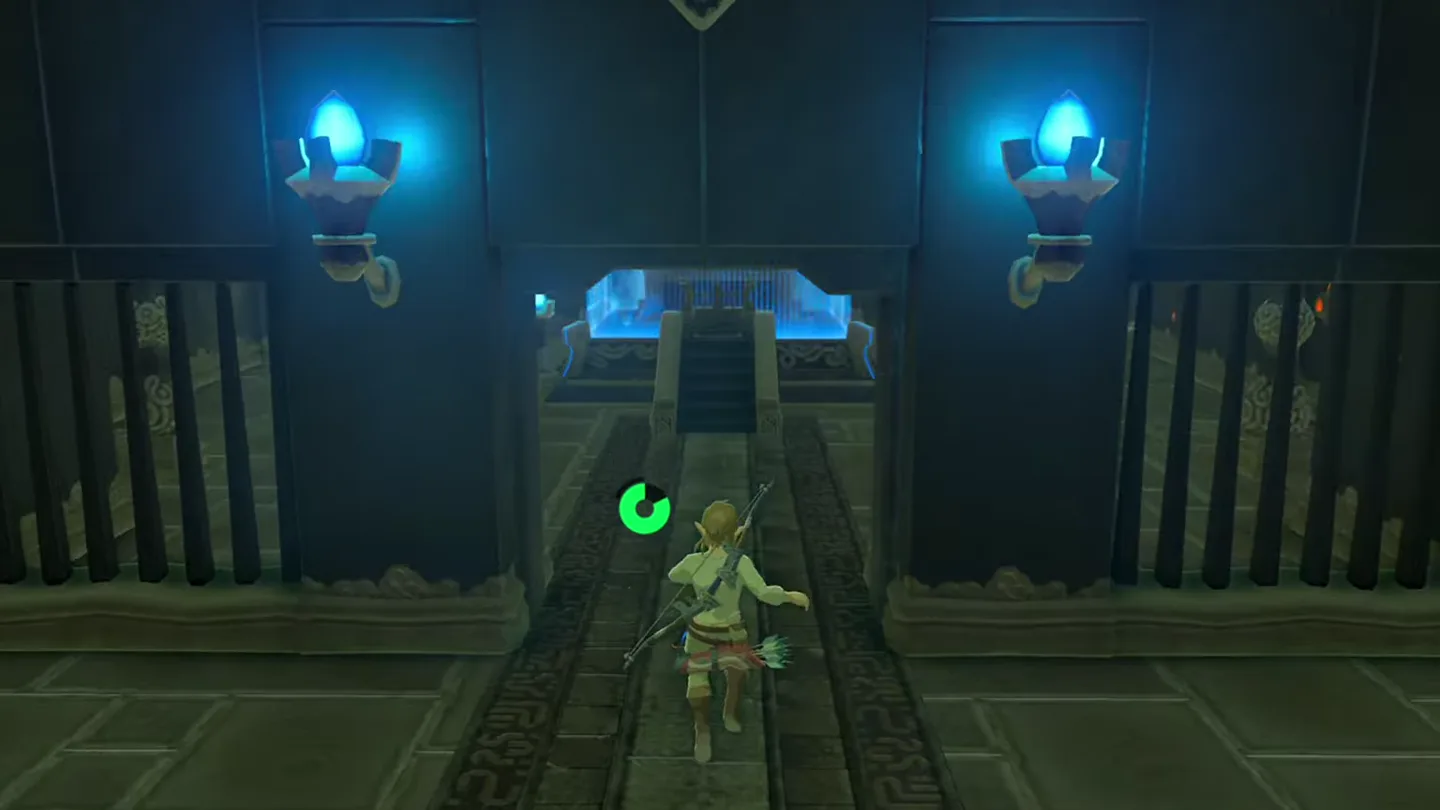
Drop the entrance chest. Look up above the entrance for a wooden shelf hanging from ropes. Shoot its supporting ropes and open the fallen chest for the Falcon Bow.
2. Freeze and redirect the orb
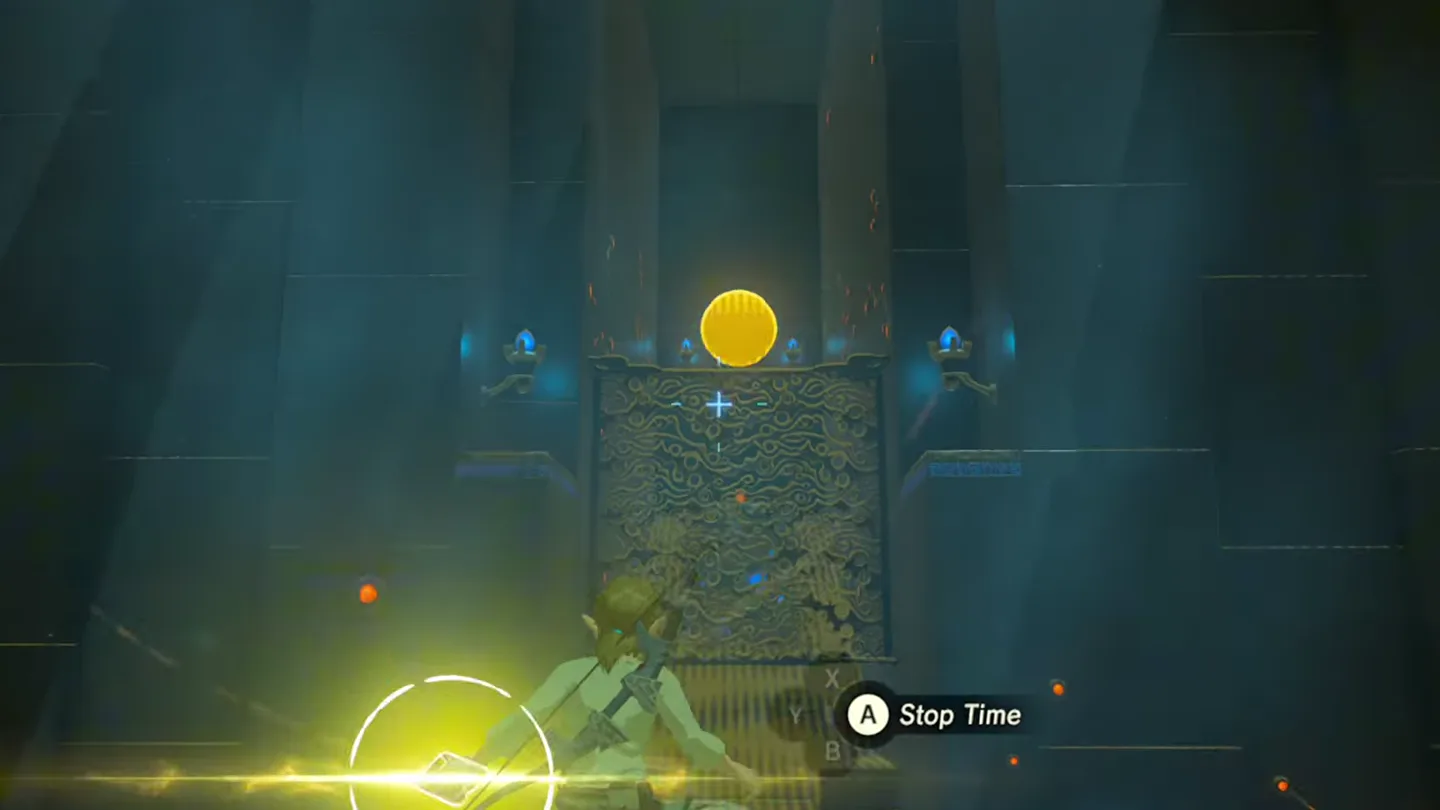
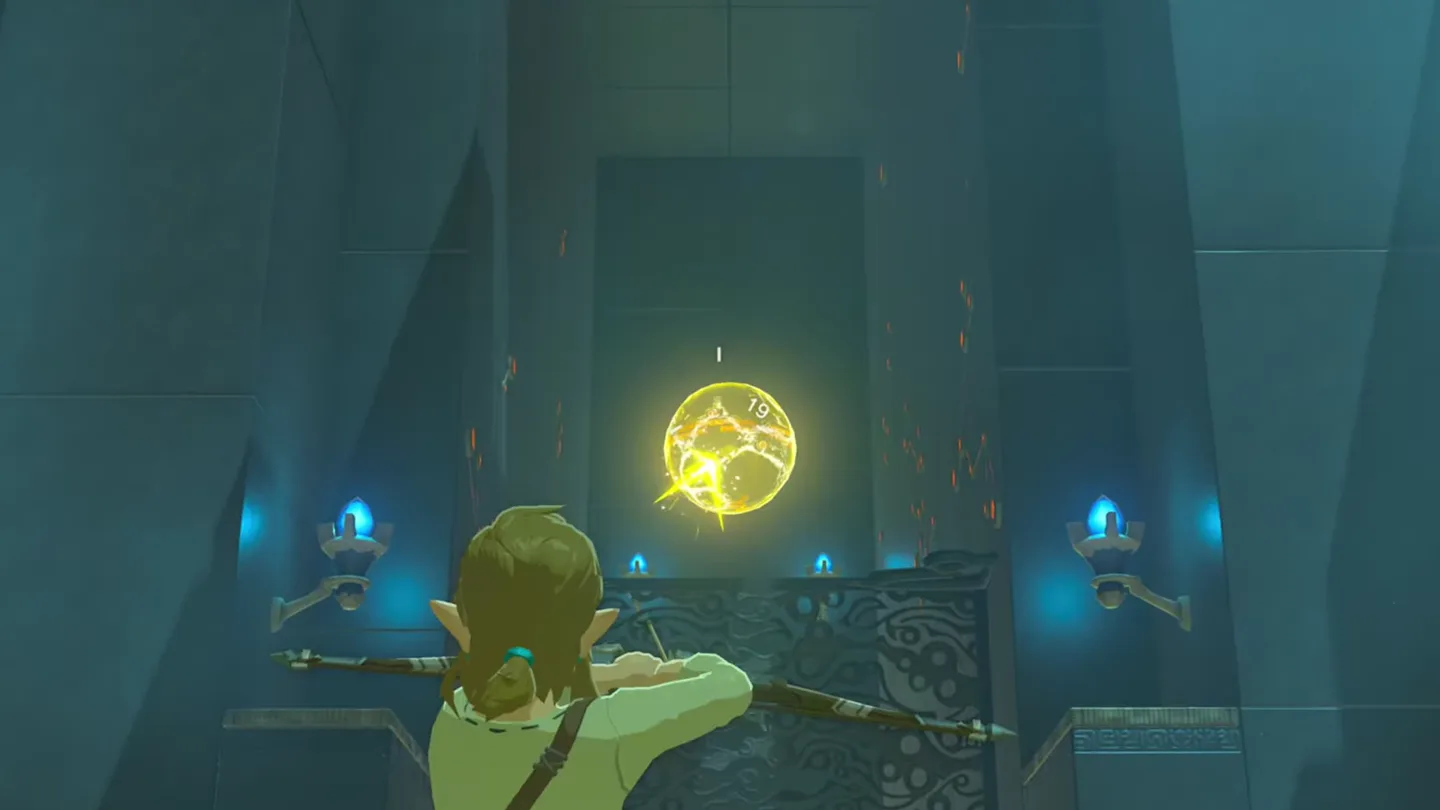
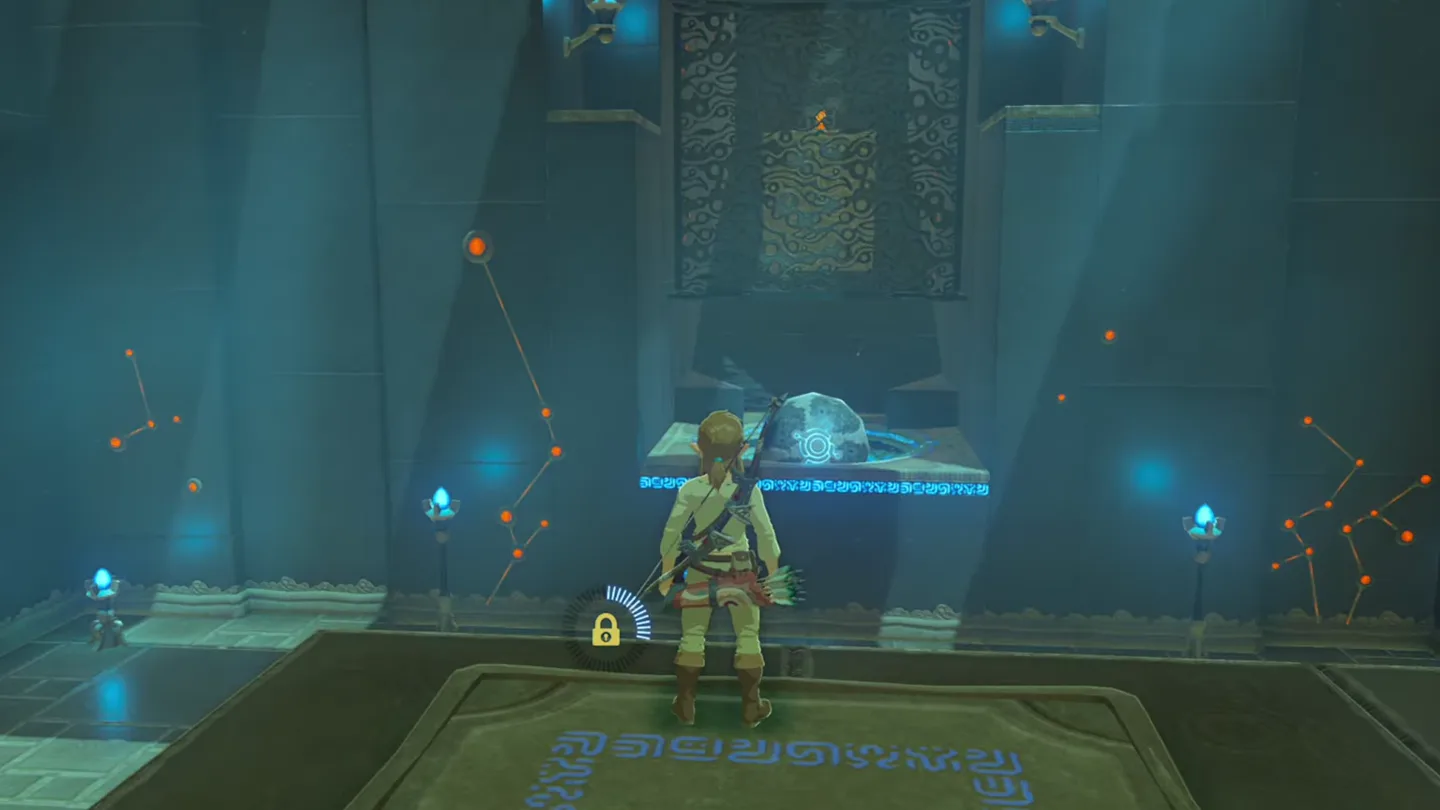
Freeze the airborne orb. Stand on the slab near the entrance and watch the orb being tossed by the platform across the room. Use Stasis near the top of its flight.
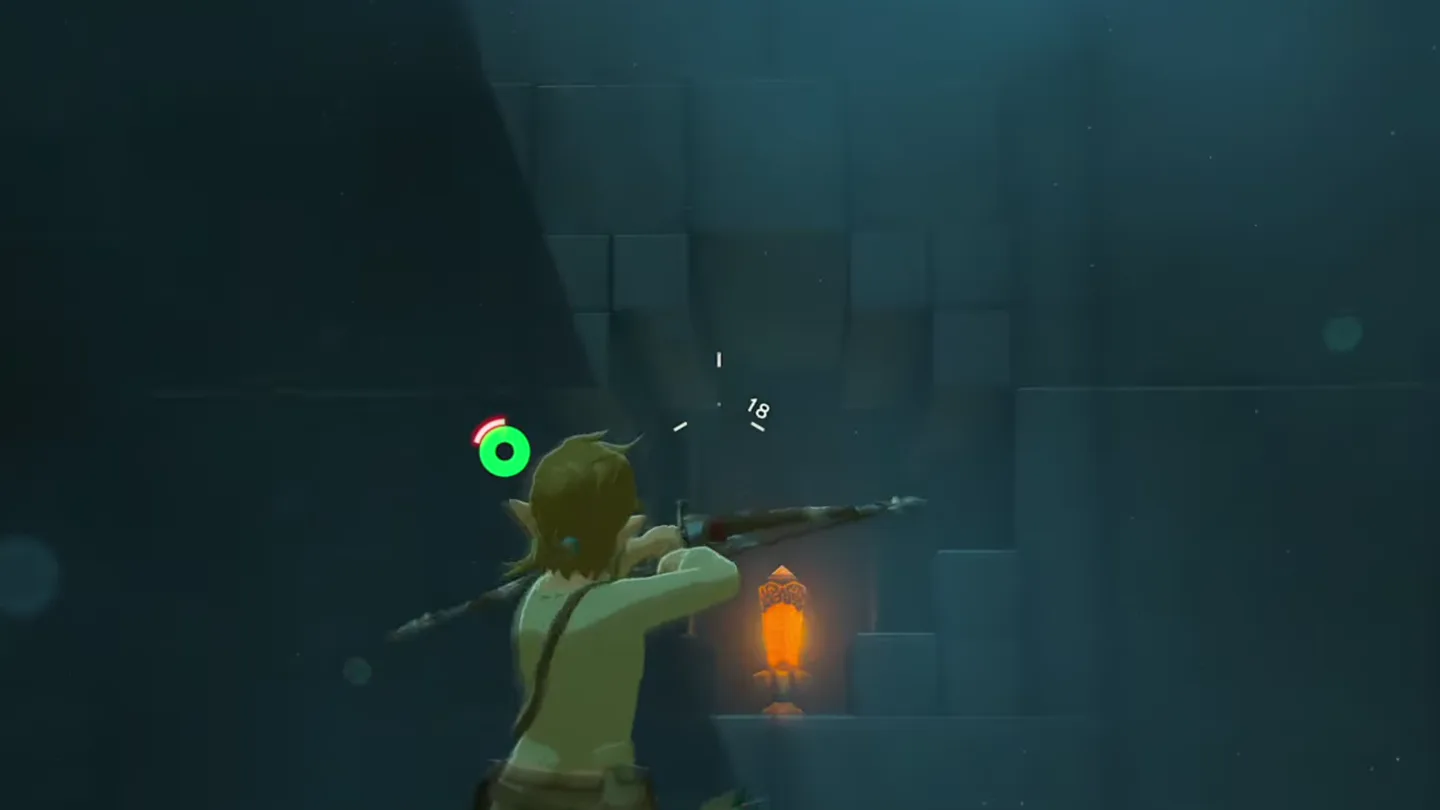
Knock the orb off its repeating path. Shoot the frozen orb so that it drops into the nearby socket after Stasis ends. Once it settles in the socket, the entrance-side launcher starts moving; the arrow-count caveat is below.
3. Glide to the Topaz chest
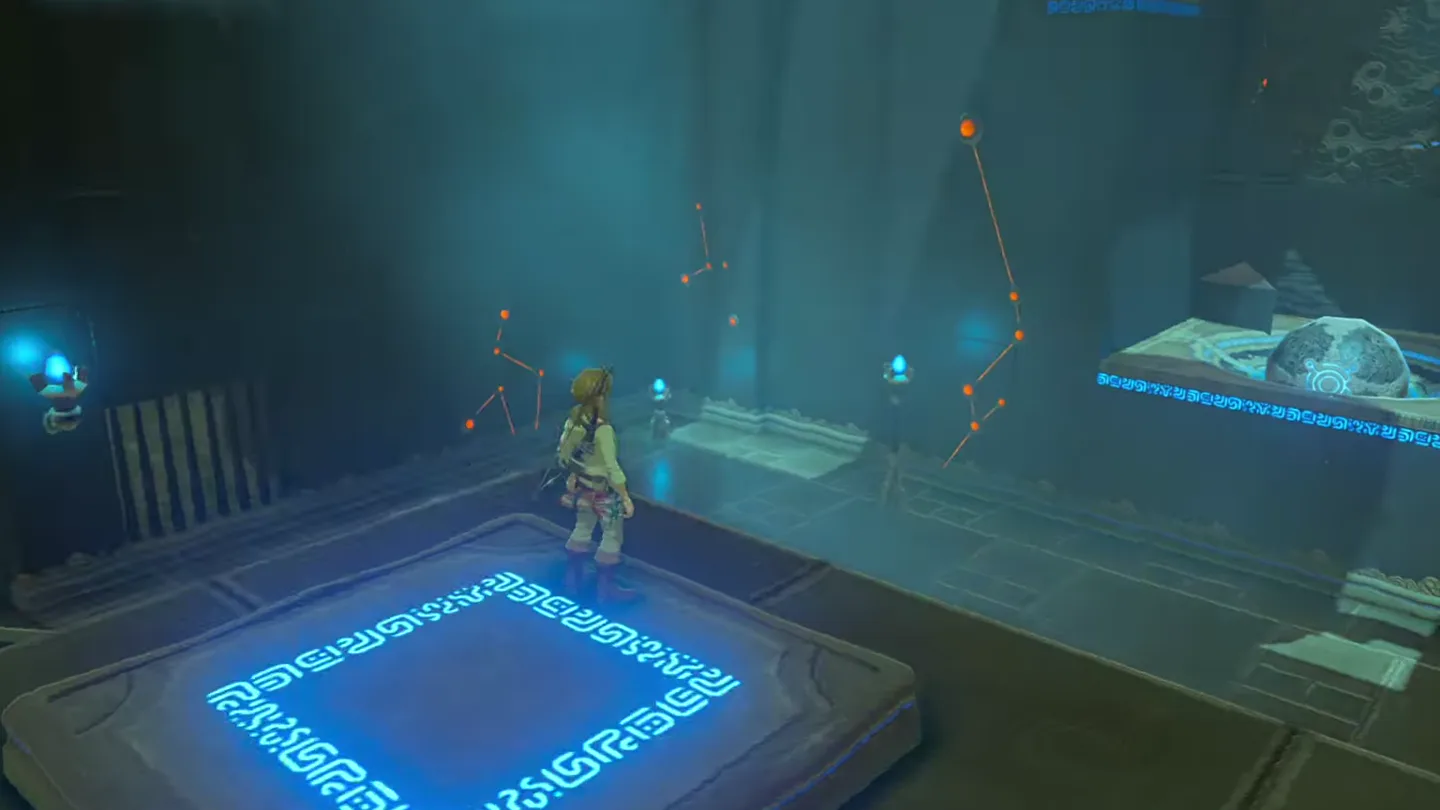
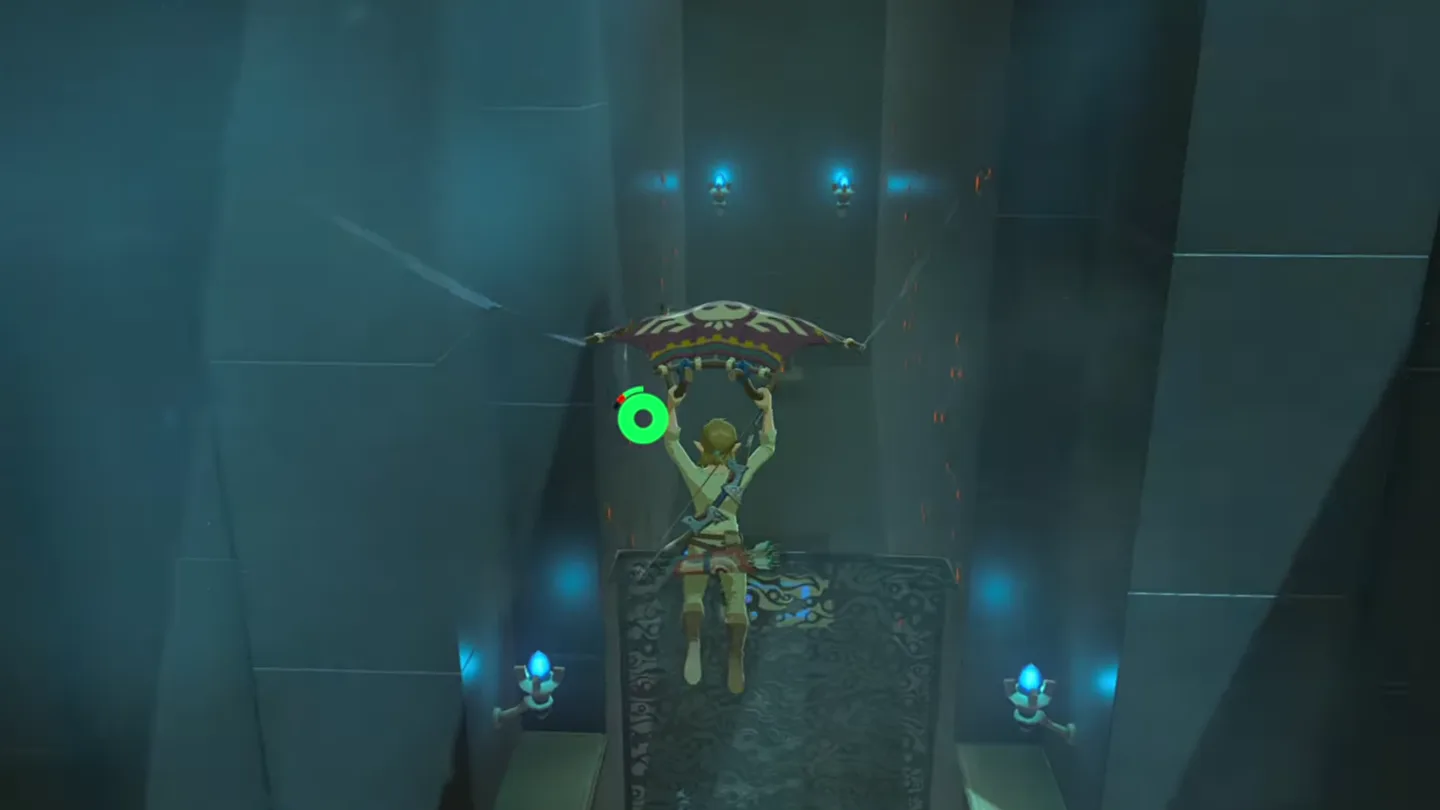
Glide to the Topaz chest. Stand on the activated launcher, let it throw you upward, then open the paraglider and cross to the chest behind the orb-launching platform. Open it for Topaz.
4. Shoot the crystal and finish
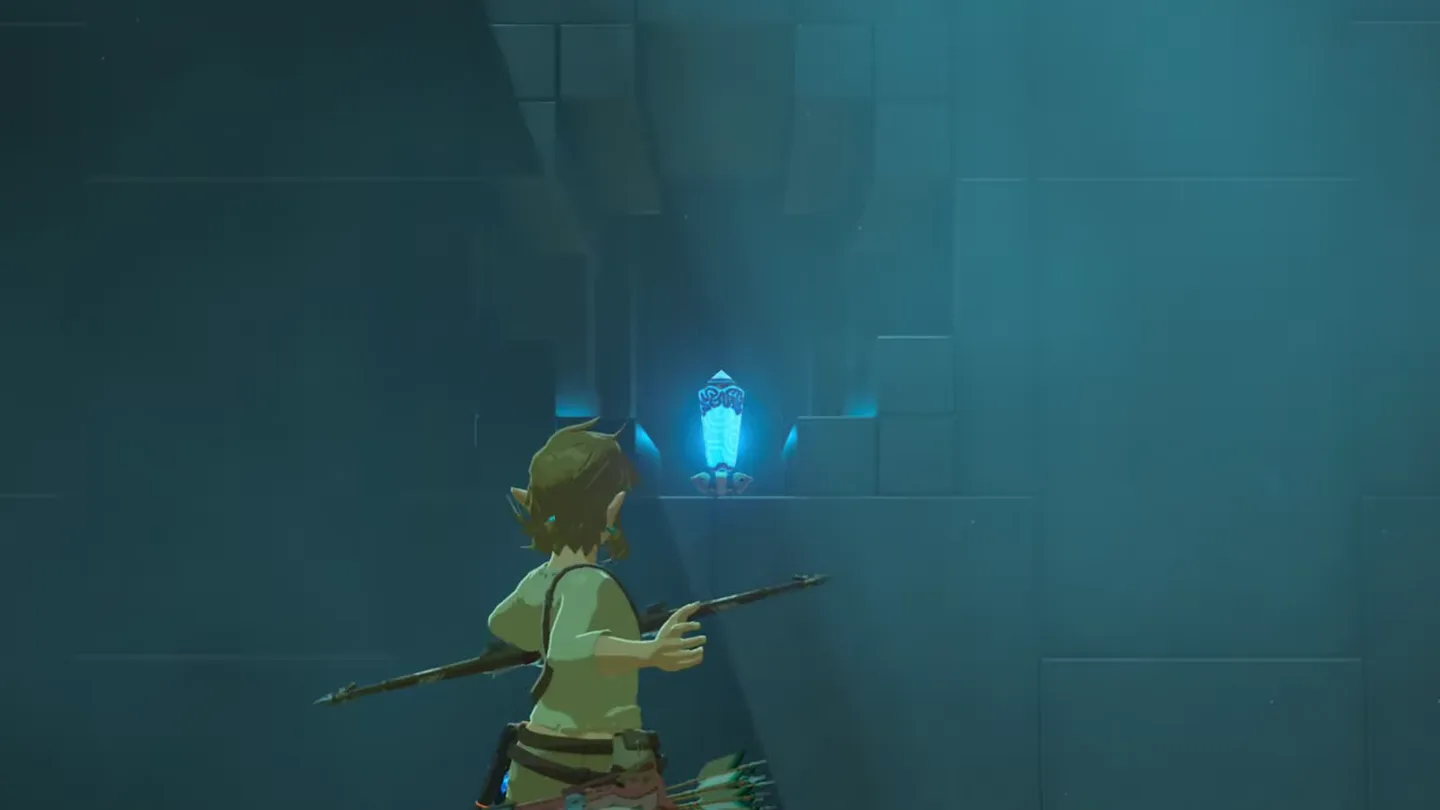
Launch again and find the crystal. Return to the entrance-side launcher and face the monk’s enclosure. While airborne, look for the crystal in the elevated alcove.
Shoot the crystal. Hit it with an arrow while you have a clear view from the air; this raises the gate blocking the monk.
Go through the open gate. Land and approach the monk to finish the trial.
| Orb-shot description | What remains uncertain |
|---|---|
| 1 arrow | The account uses the singular, without establishing a minimum |
| 2 arrows | Another account explicitly calls for this many shots |
Chests: where are they and what is inside?
| Chest | Contents | How to get it |
|---|---|---|
| A: above the entrance | Falcon Bow | Shoot the 2 ropes supporting the wooden shelf, then open the chest after it falls |
| B: across the room, behind the orb platform | Topaz | Activate the entrance-side launcher by putting the orb in its socket, then launch and glide over to the chest |
What do people miss here?
- The orb never reaches the socket on its own: the tilted platform across the room tosses it upward and catches it every cycle, so standing back and waiting achieves nothing — only freezing it with Stasis and shooting it loose breaks the loop.
- The alcove crystal is a mid-air-only target: it stays out of sight from the floor and only lines up while the launcher has you airborne, and the window is brief. Miss the shot and you only lose the arrow — step back on the entrance-side launcher and rise for another pass.
- Neither chest is required to finish: the monk’s gate answers only to the crystal, so it is entirely possible to claim the Spirit Orb and leave with the Falcon Bow and Topaz still sealed — double-check both before you go.
- Once activated, this shrine doubles as the fast-travel point for the Tabantha Bridge Stable area, with the stable just north of the shrine’s ridge — easy to forget when plotting routes around this part of the region.
What else is nearby?
| Shrine | Direction | Straight-line distance | Region |
|---|---|---|---|
| Tena Ko’sah Shrine | west | 535 | Tabantha |
| Mijah Rokee Shrine | south | 685 | Ridgeland |
| Toh Yahsa Shrine | northeast | 810 | Ridgeland |
Related: where should you look next?
- All BotW shrine locations: check the Ridgeland entries when planning your next stop.
- How to find shrines: use this when you need help locating an entrance.
- Tears of the Kingdom vs. Breath of the Wild: compare the games before switching to another set of shrine guides.
FAQ
Where is Shae Loya Shrine in BotW?
Why is the launcher not working in Shae Loya Shrine?
Where are the Shae Loya Shrine chests?
How do you open the final gate in Shae Loya Shrine?
Is Shae Loya Shrine a Test of Strength?
Related Articles
guides
Breath of the Wild Captured Memories: All 13 Locations and Rewards
All 12 photo locations from Zelda's album plus the 13th memory in Impa's painting, with coordinates, nearby shrines, the Champion's Tunic and the extra ending scene.
guides
Breath of the Wild Great Fairy Fountains: Locations, Costs and Horse God
Where the four Great Fairy Fountains and the Horse God Malanya are in Breath of the Wild, what each fairy costs to release, and how many you need per armor upgrade.
guides
Hyrule Castle Walkthrough: Entry Routes, Hylian Shield and Final Prep
How to get into Hyrule Castle in Breath of the Wild: five entry routes, the Hylian Shield and other loot by room, and what to prepare before the final battle.
Was this helpful?
Thanks for the feedback!