

Toh Yahsa Shrine Location and Solution (Breath of the Wild)
Find Toh Yahsa Shrine, complete Trial of Thunder with the colored orbs, and solve Buried Secrets with bombs and Magnesis to reach both chests.
Where is Toh Yahsa Shrine?
Head west from Ridgeland Tower to Thundra Plateau. The entrance is initially underground, so reaching the marker alone will not reveal it. Approach the storm-covered plateau to hear a voice and begin Trial of Thunder. Use the BotW shrine locations table to check the region while planning your route.
| Item | Detail |
|---|---|
| Trial | Buried Secrets / 埋藏的秘密 |
| Tower region | Ridgeland |
| Coordinates (X, Y, Z) | -2269, 0901, 0226 |
| Type | Shrine quest followed by a bomb-and-Magnesis puzzle; not a Test of Strength |
| Shrine quest | Trial of Thunder / 雷鳴的考驗 |
| Chests | 2 |
| English name | Toh Yahsa Shrine |
| Traditional Chinese name | 托‧雅薩神廟 |
| Simplified Chinese name | 托·雅萨神庙 |
What should you bring?
The Great Plateau runes cover everything: Remote Bomb and Magnesis carry the interior, while the outdoor Trial of Thunder adds Stasis plus a two-handed weapon to launch the orbs; Cryonis has no use on this route. Thundra Plateau sits under a permanent thunderstorm, so unequip any metal weapons before stepping onto it or you will be struck by lightning. Inside, Buried Secrets is purely a bomb-and-Magnesis puzzle with no combat, so no armor, resistances, or special gear are required.
Video walkthrough

How do you solve Toh Yahsa Shrine?
How do you complete Trial of Thunder?
The outdoor puzzle is about returning the orbs to matching sockets, not simply collecting them. Use the colors on the pillars to check your placements.
| Orb | Starting position | Matching socket |
|---|---|---|
| Purple | Ground beside the northern pillar within the plateau | North |
| Green | Top of the southern pillar within the plateau | South |
| Red | Stone statue east of the raised plateau | East |
| Orange | Taller stone statue north of the raised plateau | West |
| Required total | 4 colored orbs | All must be in their matching sockets |
1. Complete the overworld orb puzzle
Approach the plateau and listen to the voice. This starts Trial of Thunder without a separate quest giver to find.
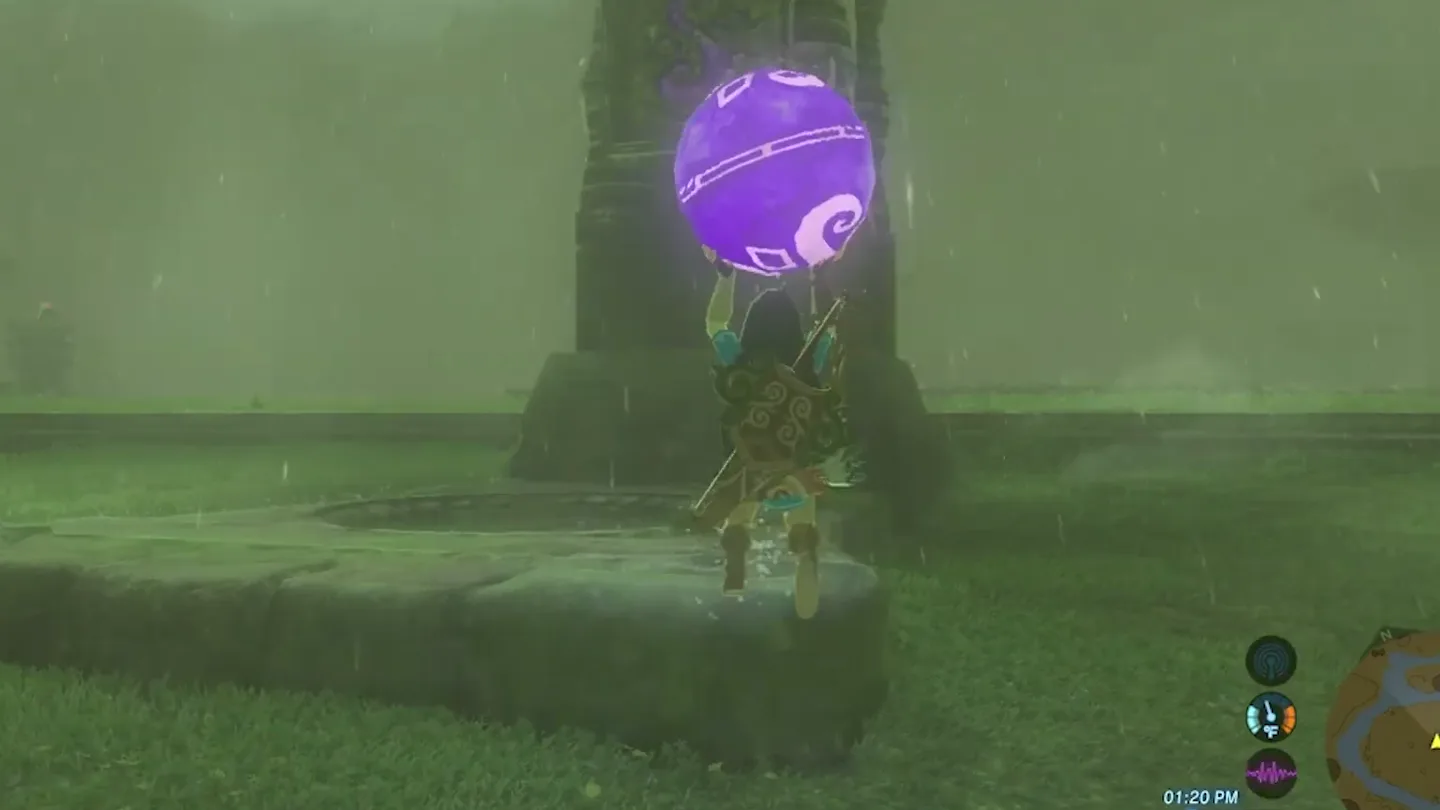
Place the purple and green orbs. Pick up the purple orb, climb to retrieve the green orb, and carry each to the socket beneath the same-colored pillar.
Climb the outer statues to reach the red and orange orbs. Rain makes this approach awkward; the red orb is east of the plateau and the orange orb is north of it.
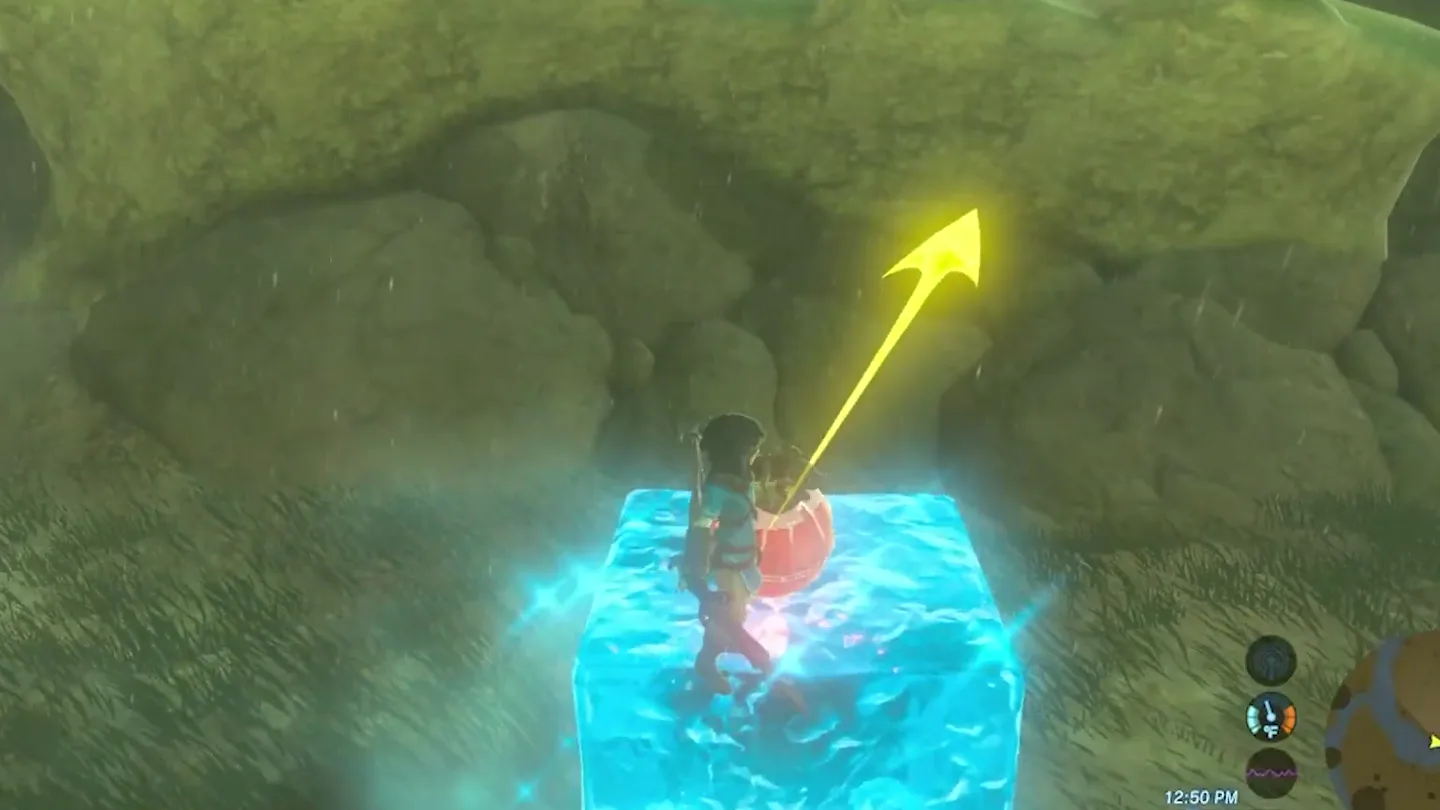
Launch each outer orb onto the plateau. Set it on the statue’s projecting nose, face the raised plateau, freeze the orb with Stasis, and strike it with a two-handed weapon so it flies toward the plateau when released. Repeat for the other outer orb.
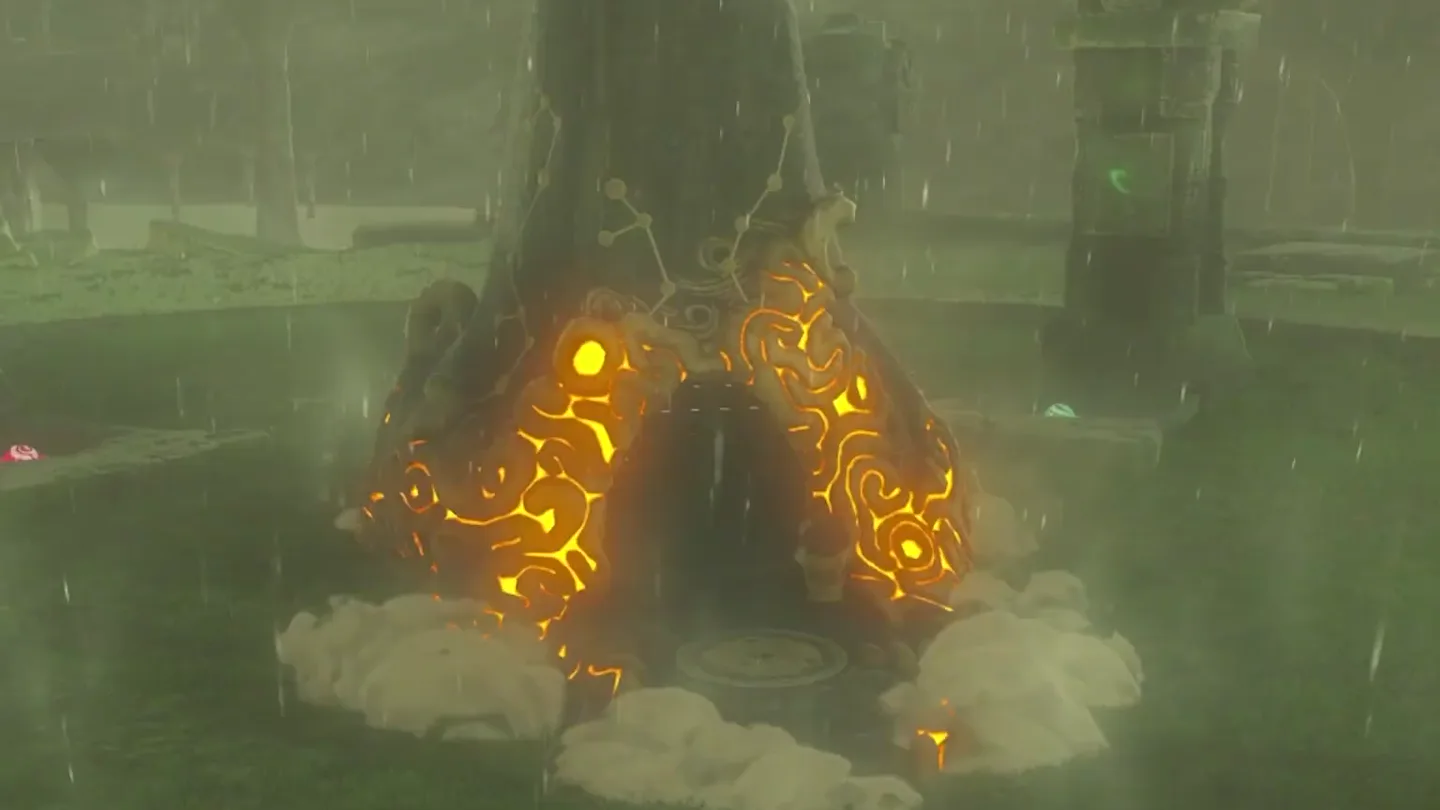
Climb back onto the plateau and finish the placements. Put red in the eastern socket and orange in the western socket, checking purple and green as well. Once every orb is correctly seated, the shrine rises and the quest ends.
How do you clear Buried Secrets inside?
| Tool | Use on this route |
|---|---|
| Stasis and a two-handed weapon | Launch the outdoor orbs |
| Remote Bombs | Clear the cracked blocks inside the shrine |
| Magnesis | Move the metal cube, knock down a chest, and weigh down the switch |
| Cryonis | Not needed for this route |
2. Clear the entrance and find the hidden chest
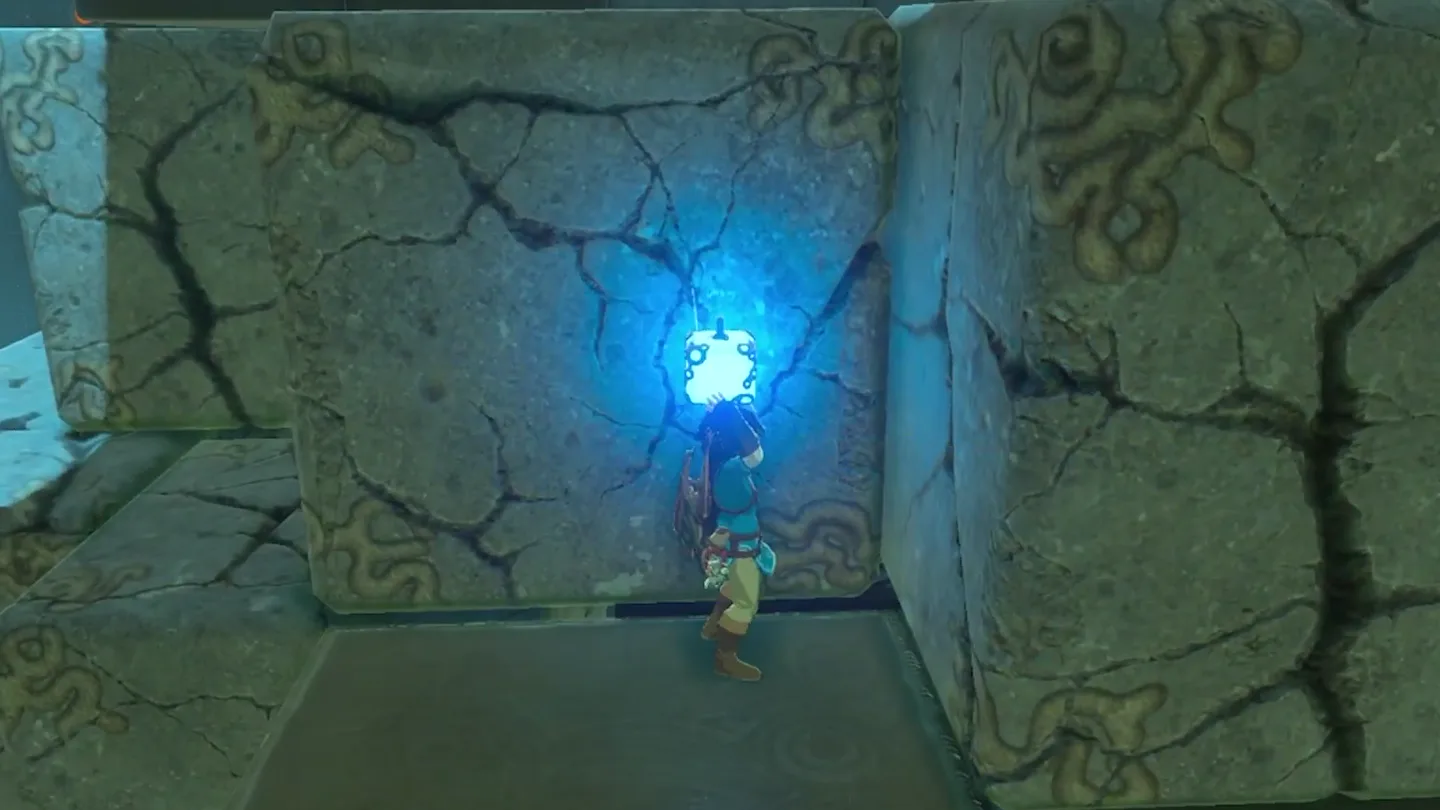
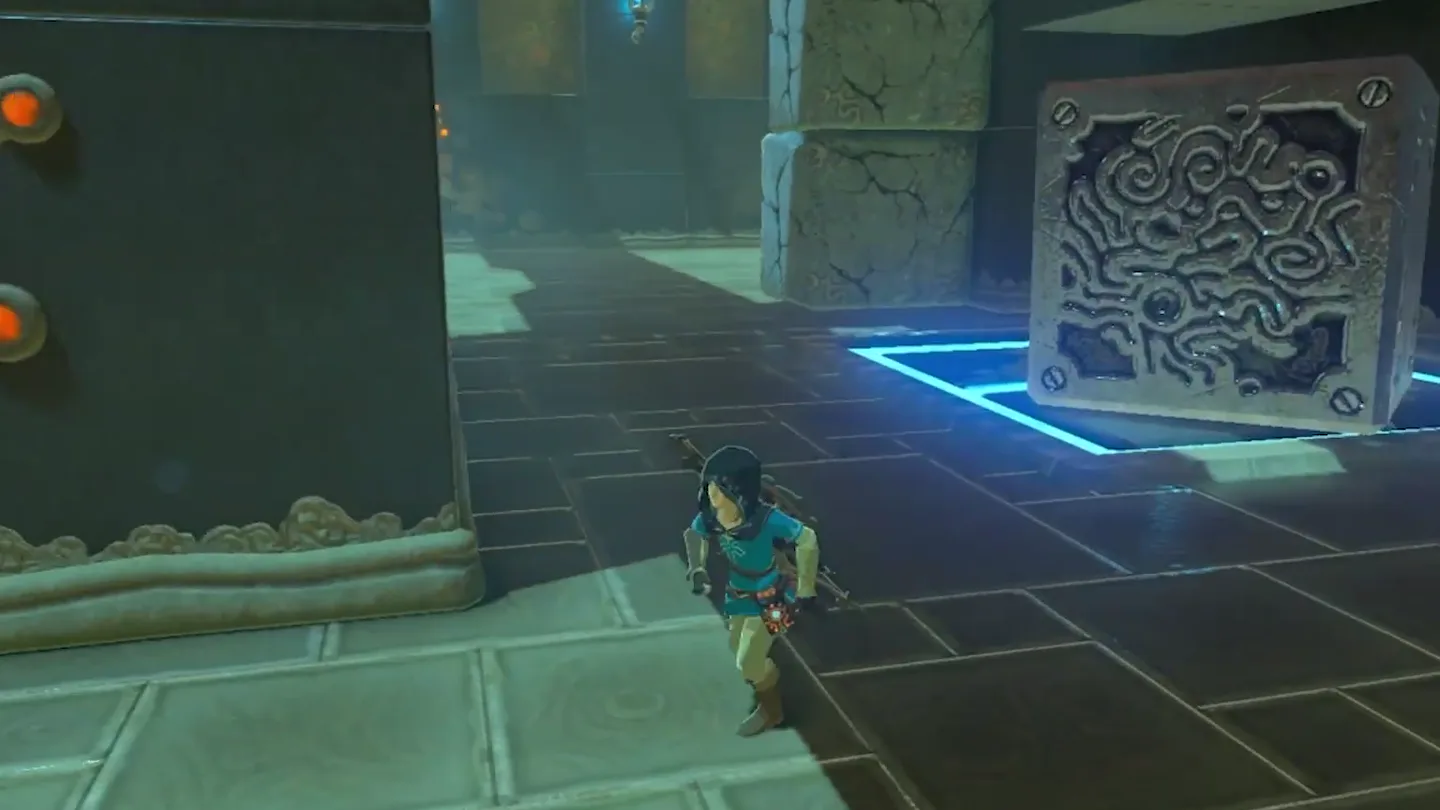
Bomb the cracked blocks ahead of the entrance. Clear enough of the pile to uncover the metal cube.
Check beneath the entrance platform. Turn back and bomb the cracked wall under the ledge where you arrived, then open the hidden chest. Its clothing reward has conflicting descriptions, listed in the chest table below.
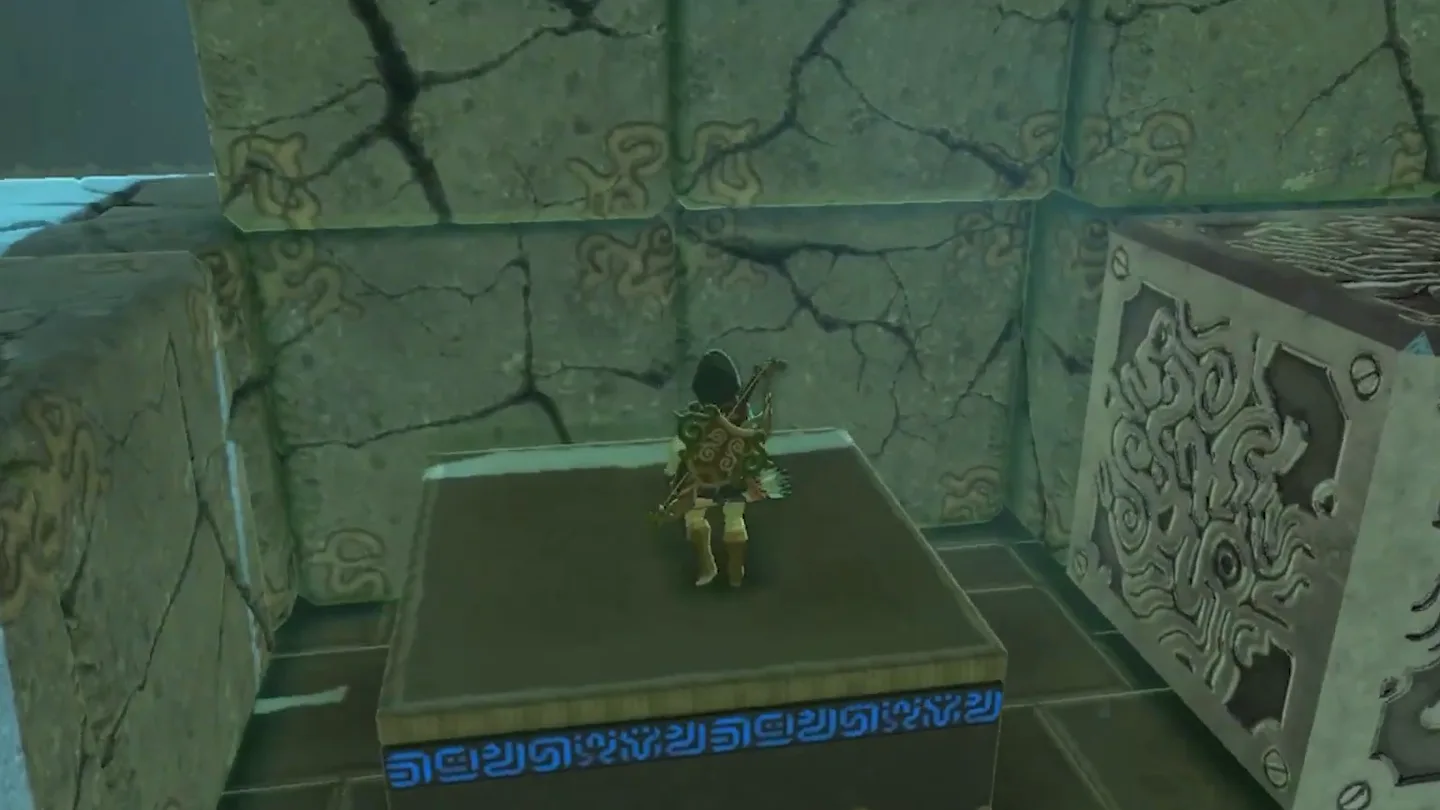
3. Use the cube to get the chest and reach the ladder
Knock down the chest on the right-hand pillar. Lift the metal cube with Magnesis and use it to push the chest off its perch. Open the fallen chest for an Opal.
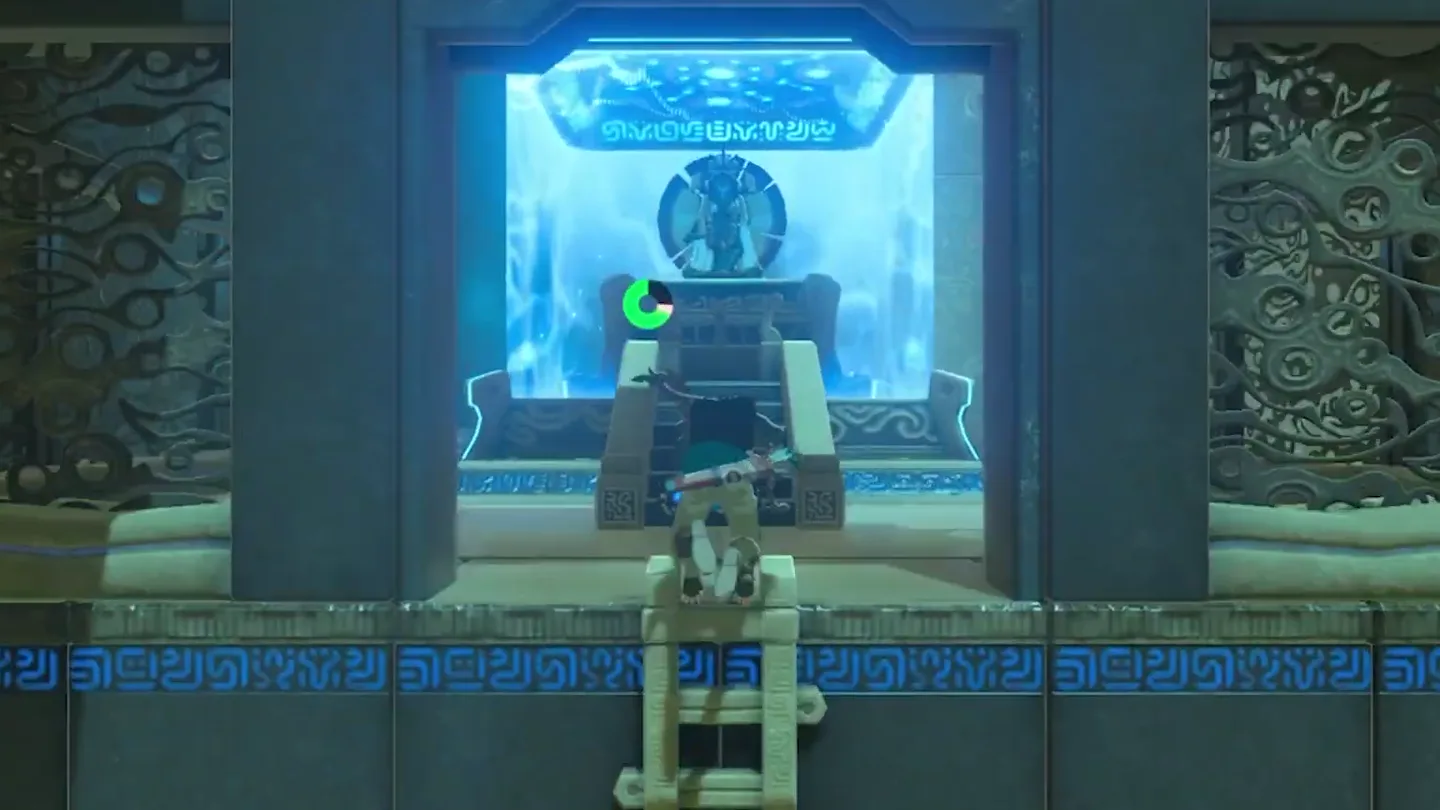
Use the cube to reach the ladder. Place it in front of the ladder, climb onto the small square platform, jump onto the cube, and climb the ladder.
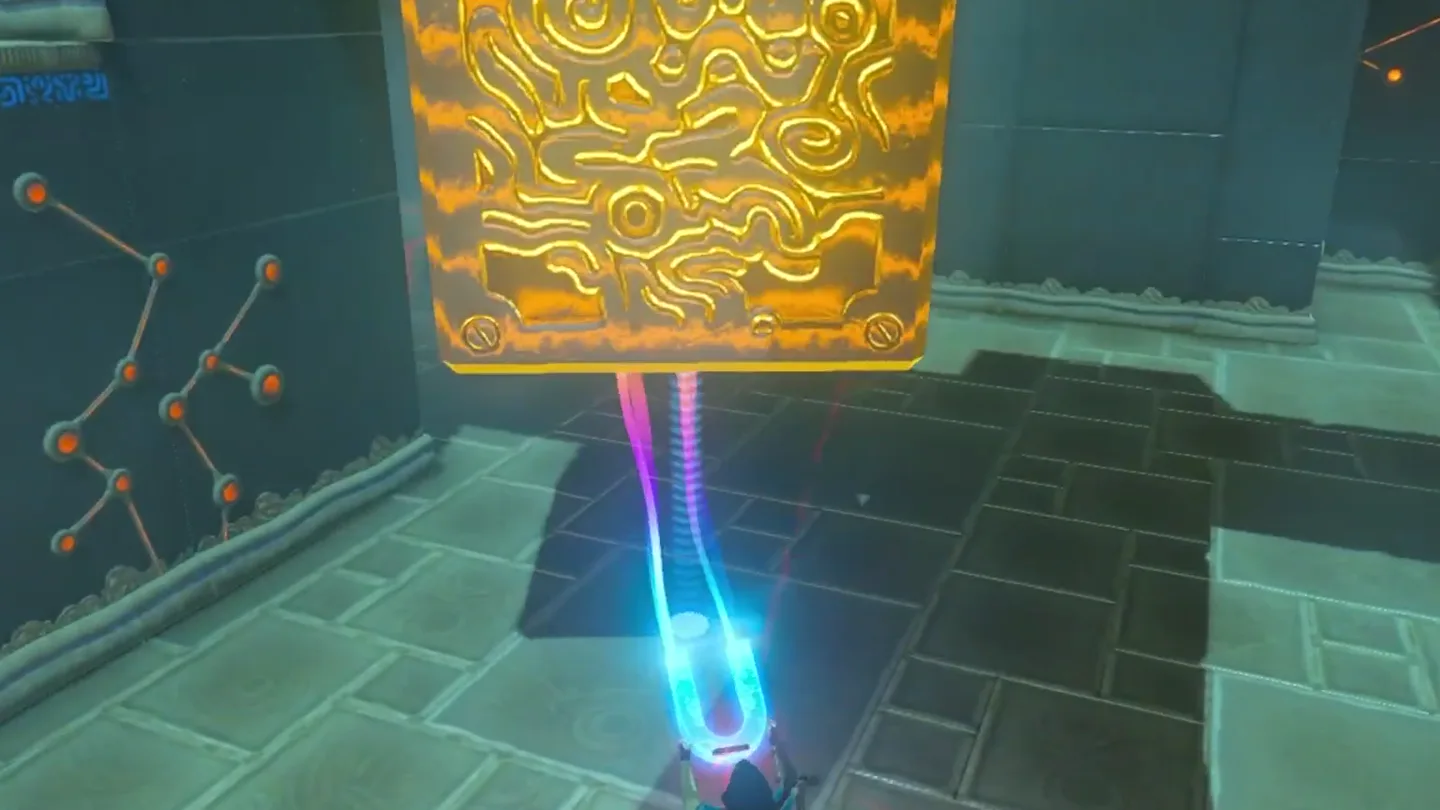
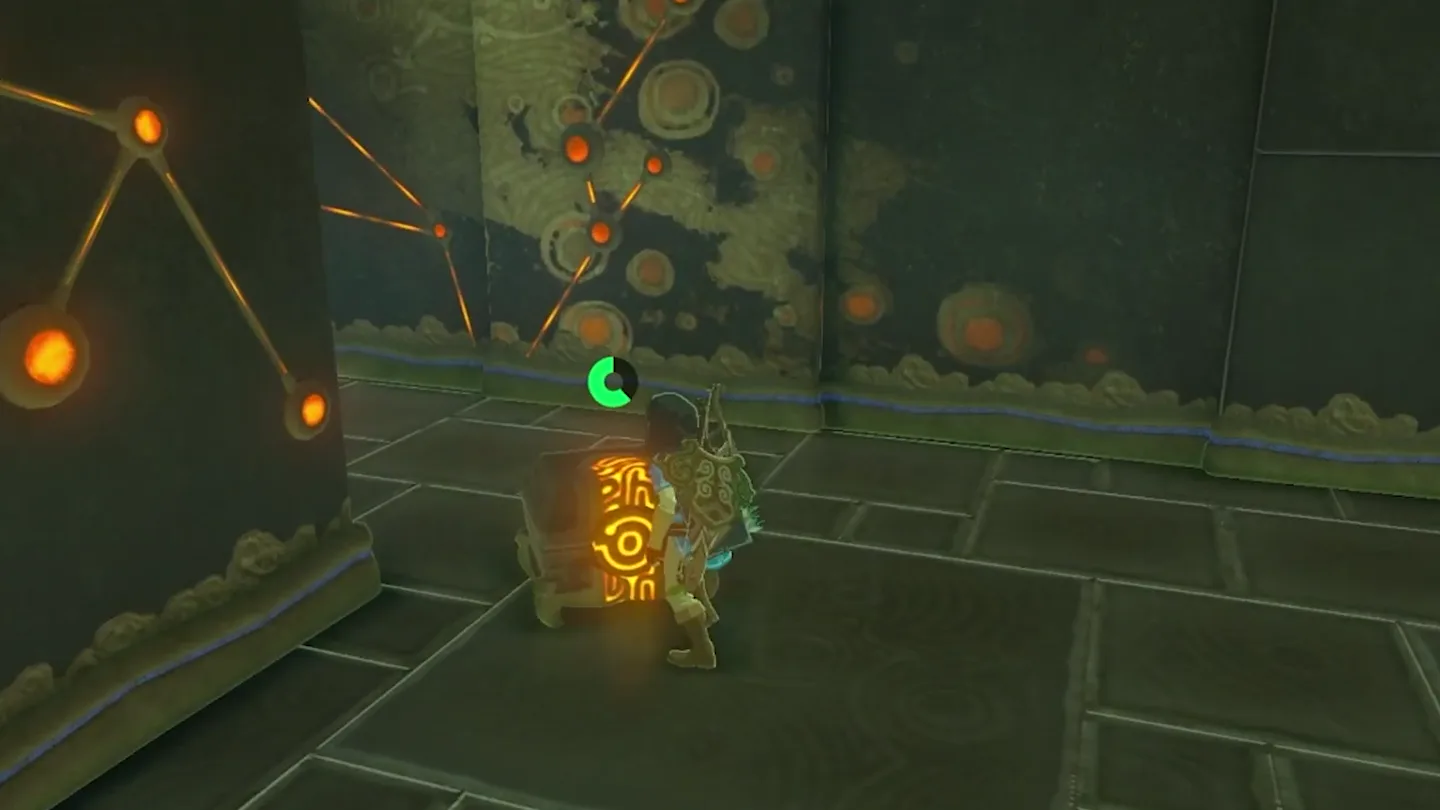
4. Open the gate and reach the altar
Bomb the remaining cracked blocks above. Clear the route to the next ladder and expose the large floor switch beneath it.
Move the cube onto the floor switch. From the top of the ladder you just climbed, use Magnesis to retrieve the cube and set it on the switch. The gate opens.
Climb the next ladder and pass through the gate. Approach the monk at the altar to finish the trial.
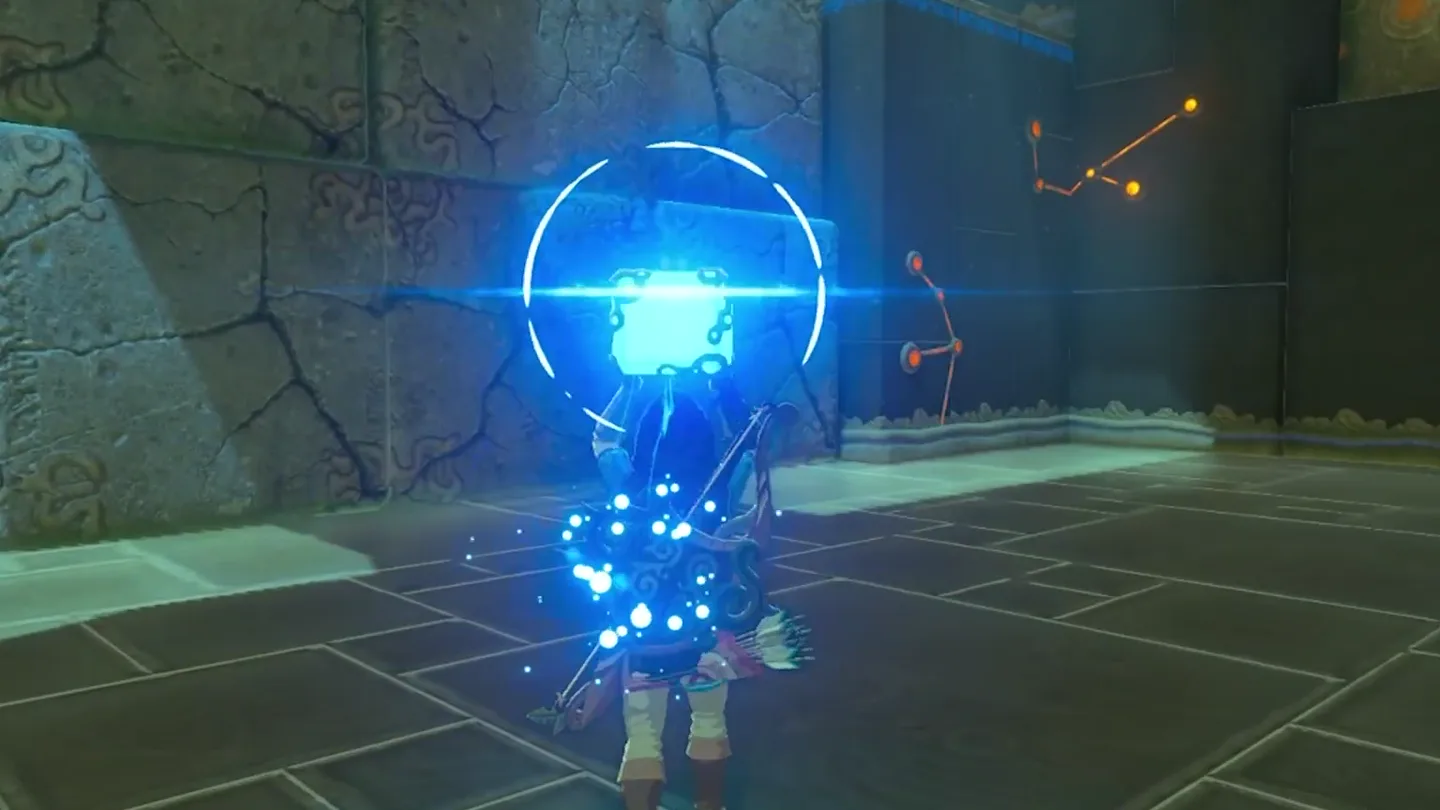
Where are the chests, and what is inside?
| Chest | Contents | How to get it |
|---|---|---|
| 1: beneath the entrance platform | Conflicting descriptions: Rubber Armor / Rubber Tights | Bomb the cracked wall directly below the entrance ledge and open the hidden metal chest |
| 2: on the pillar to the right as you enter | Opal | Use Magnesis on the metal cube to knock the wooden chest down, then open it on the floor |
What do people miss here?
- The easiest chest to miss is behind you from the first step: a destructible wall under the starting ledge hides a chest with clothing inside. Players who only push forward can finish the shrine without ever seeing it.
- A second chest is perched on a pillar to the right of the entrance, off the route toward the ladders. While the metal cube is still free, use Magnesis to shove it off its perch and open the fallen chest for an Opal.
- If the far gate won’t budge, check whether the floor switch is still buried. Bombing only enough cracked blocks to climb through leaves it covered—clear every destructible block, including the low ones around the bottom of the shrine, before deciding you’re stuck.
- The shock-resistant rubber clothing in the hidden chest arrives too late to protect you from this plateau’s permanent storm, since Trial of Thunder must be finished to even enter—pocket it for the next thunderstorm you have to cross.
What else is nearby?
| Shrine | Direction | Straight-line distance | Region |
|---|---|---|---|
| Maag No’rah Shrine | northeast | 647 | Ridgeland |
| Shae Loya Shrine | southwest | 810 | Ridgeland |
| Dunba Taag Shrine | northwest | 879 | Hebra |
Which related guides help with the next shrine?
- All BotW shrine locations: check the Ridgeland entries when choosing your next destination.
- How to find BotW shrines: use the location guide when a shrine is difficult to locate.
- Tears of the Kingdom vs Breath of the Wild: compare the games before following a guide for a different version of Hyrule.
FAQ
Why is Toh Yahsa Shrine not showing up?
How do I open the final gate in Toh Yahsa Shrine?
What is in the hidden chest under the entrance?
Is Toh Yahsa Shrine a Test of Strength?
Related Articles
guides
Breath of the Wild Captured Memories: All 13 Locations and Rewards
All 12 photo locations from Zelda's album plus the 13th memory in Impa's painting, with coordinates, nearby shrines, the Champion's Tunic and the extra ending scene.
guides
Breath of the Wild Great Fairy Fountains: Locations, Costs and Horse God
Where the four Great Fairy Fountains and the Horse God Malanya are in Breath of the Wild, what each fairy costs to release, and how many you need per armor upgrade.
guides
Hyrule Castle Walkthrough: Entry Routes, Hylian Shield and Final Prep
How to get into Hyrule Castle in Breath of the Wild: five entry routes, the Hylian Shield and other loot by room, and what to prepare before the final battle.
Was this helpful?
Thanks for the feedback!