

Zalta Wa Shrine Location and Solution (Breath of the Wild)
Find Zalta Wa Shrine in the Breach of Demise, solve Two Orbs to Guide You, time the launcher, and glide to the rooftop bow chest.
Where is Zalta Wa Shrine?
Head southeast from Ridgeland Tower toward the Breach of Demise, then look on the north side of the road through the valley. No shrine quest is needed to reveal the entrance.
| Item | Detail |
|---|---|
| Trial | Two Orbs to Guide You |
| Tower region | Ridgeland |
| Coordinates (X, Y, Z) | -1433, 0593, 0151 |
| Type | Orb-and-launcher puzzle; not a Test of Strength |
| Shrine quest | None |
| Chests | 1 |
| English name | Zalta Wa Shrine |
| Traditional Chinese name | 基瓦‧扎塔斯神廟 |
| Simplified Chinese name | 基瓦·扎塔斯神庙 |
The coordinates use the marker convention in our shrine locations table. For help finding entrances, use the shrine-finding guide.
What should you bring?
Preparation is minimal: bring a bow with arrows to knock the first orb off its perch, any weapon to strike the launch crystal, and the paraglider for the chest detour. None of the Sheikah Slate runes are required—Magnesis, Stasis, Cryonis, and Remote Bombs can all go unused (Stasis/Stasis+ only helps as a backup if you fumble the orb throw). There is no combat inside and the temperature is a mild +73 °F, so no Guardian prep and no resistance gear or elixirs are needed.
Video walkthrough

Solution
Bring a bow, arrows, a weapon for the crystal, and the paraglider. This route needs no Magnesis, Stasis, Cryonis, or Remote Bombs, and there is no required Guardian battle.
1. Shoot the first orb into its socket
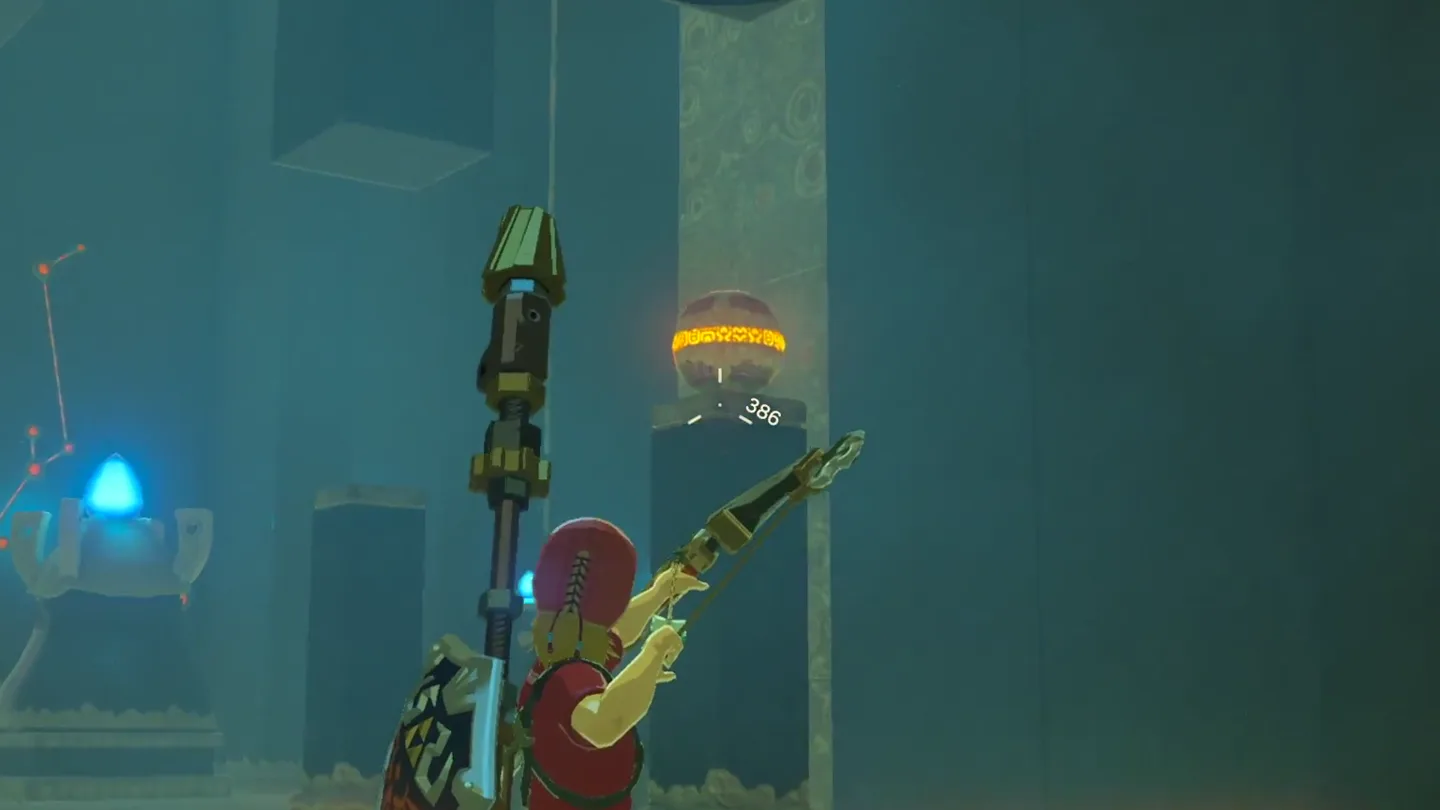
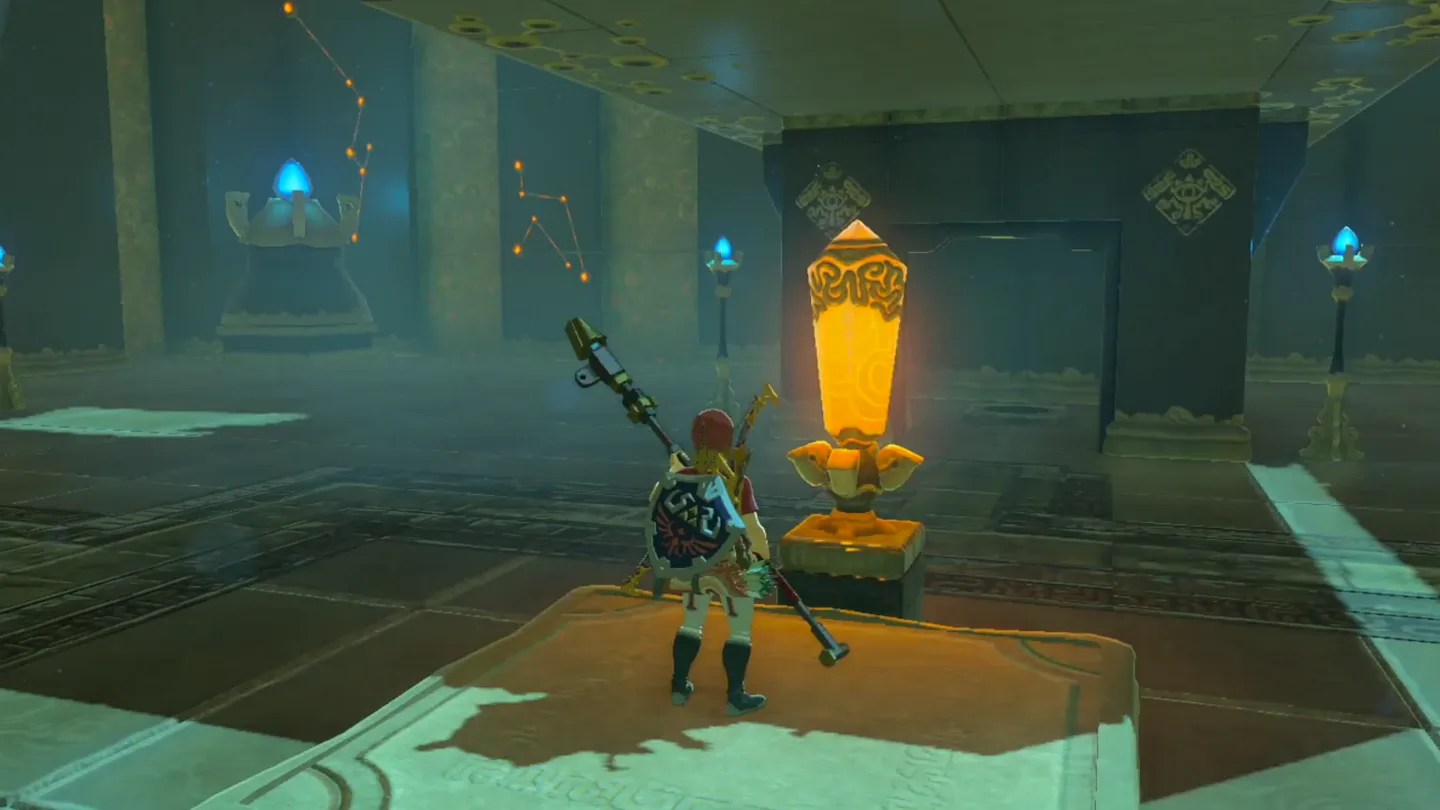
Shoot the raised orb on your right. Knock it off its perch into the socket below to open the room at the back of the chamber.
2. Place the second orb using the floor switch
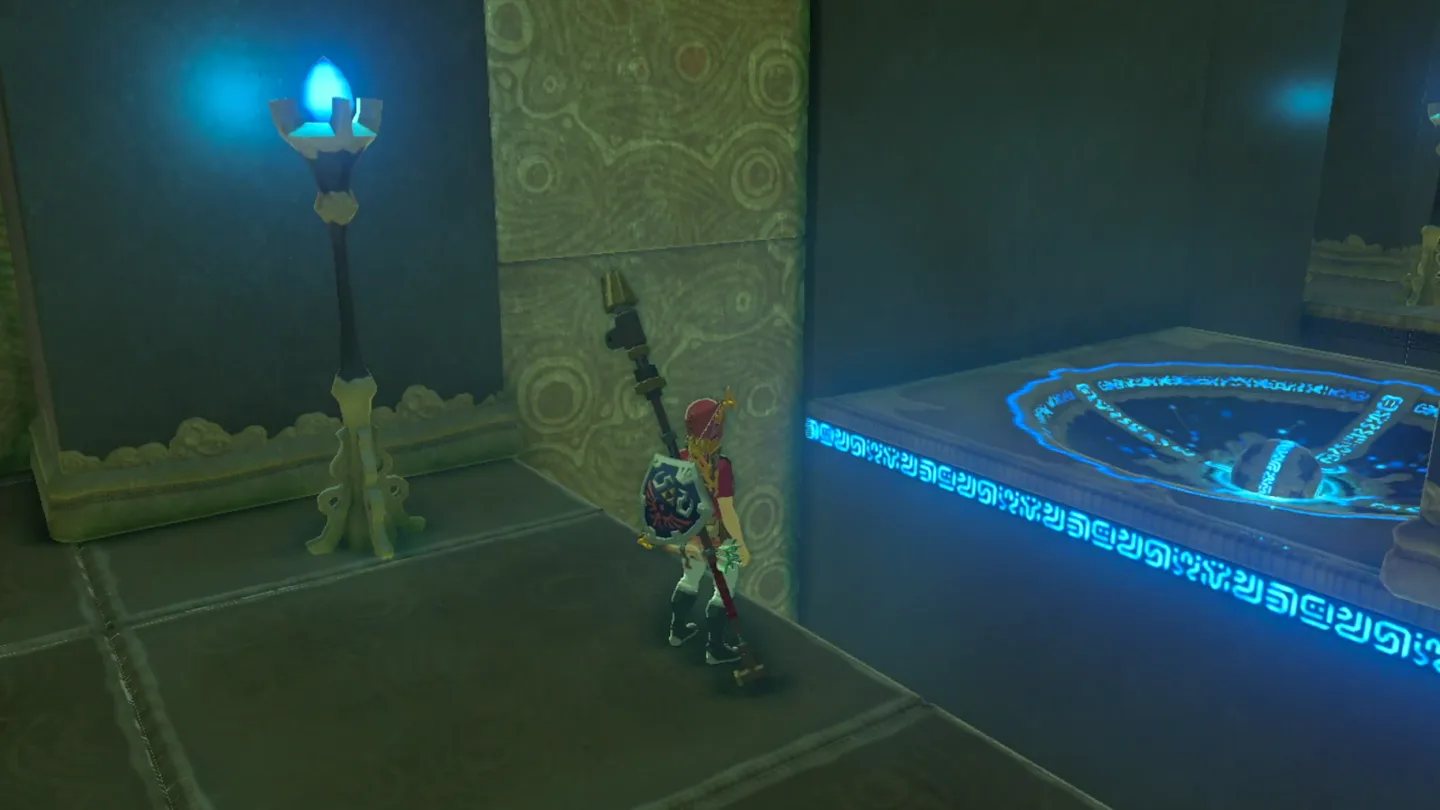
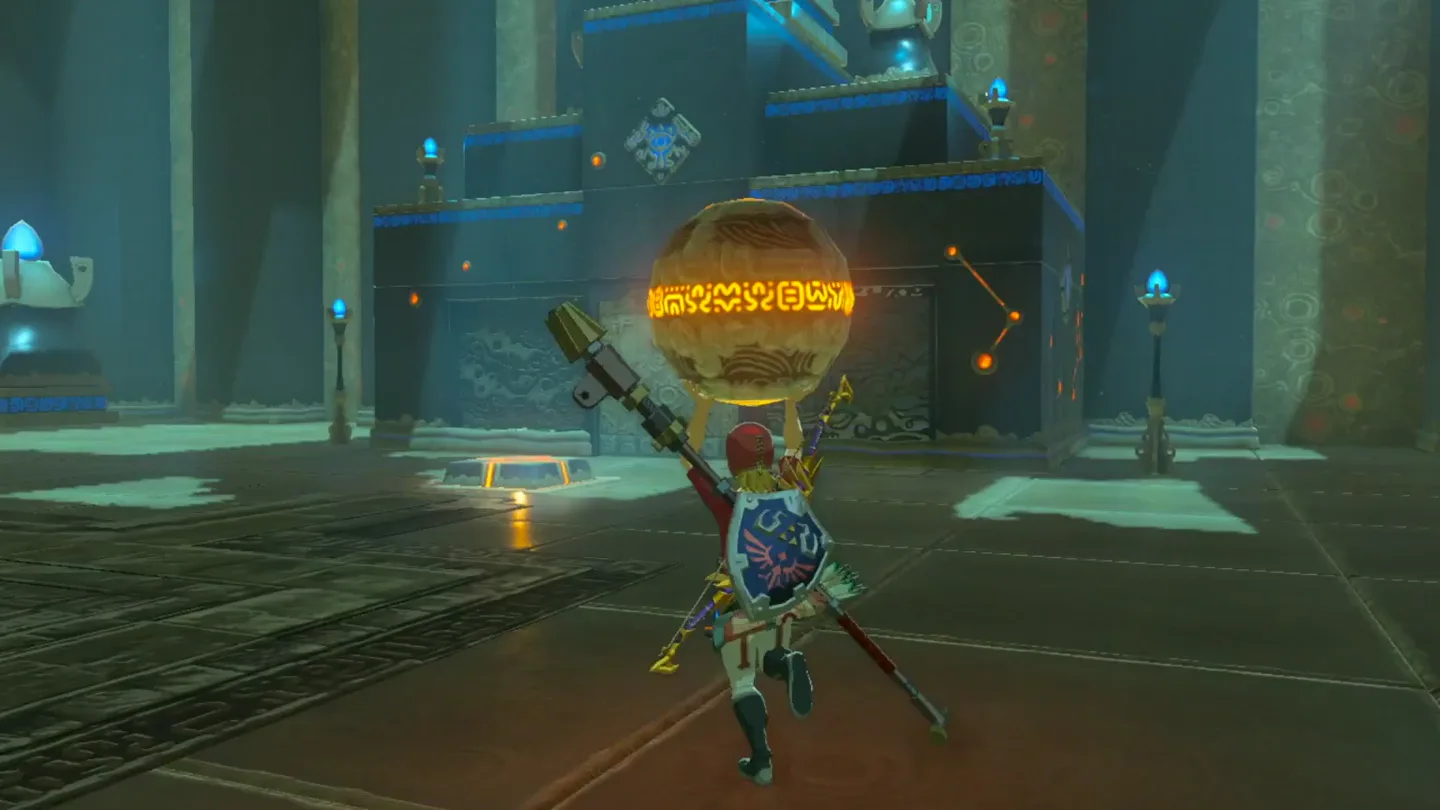
Collect the orb inside the newly opened room. Carry it toward the floor switch on the left side of the chamber.
Stand on the floor switch while holding the orb. The door to the left-hand socket opens; stay on the switch to keep it open.
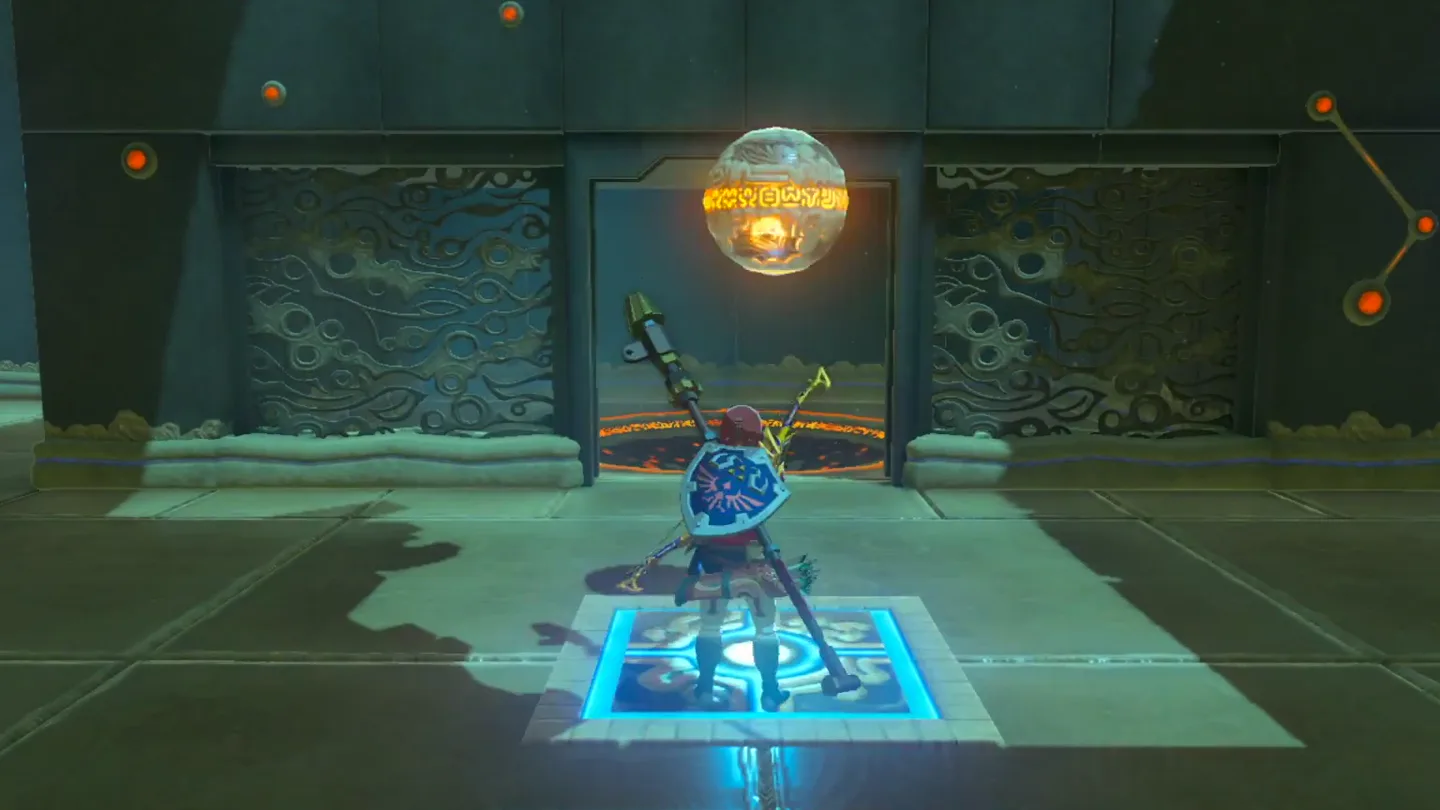
Throw the orb through the doorway into the socket. Once it settles into place, the elevated passage starts moving back and forth.
3. Launch onto the moving passage
Launch as the passage approaches. Stand on the central launching platform and hit the crystal beside it when the passage comes toward you, letting the platform throw you into the opening.
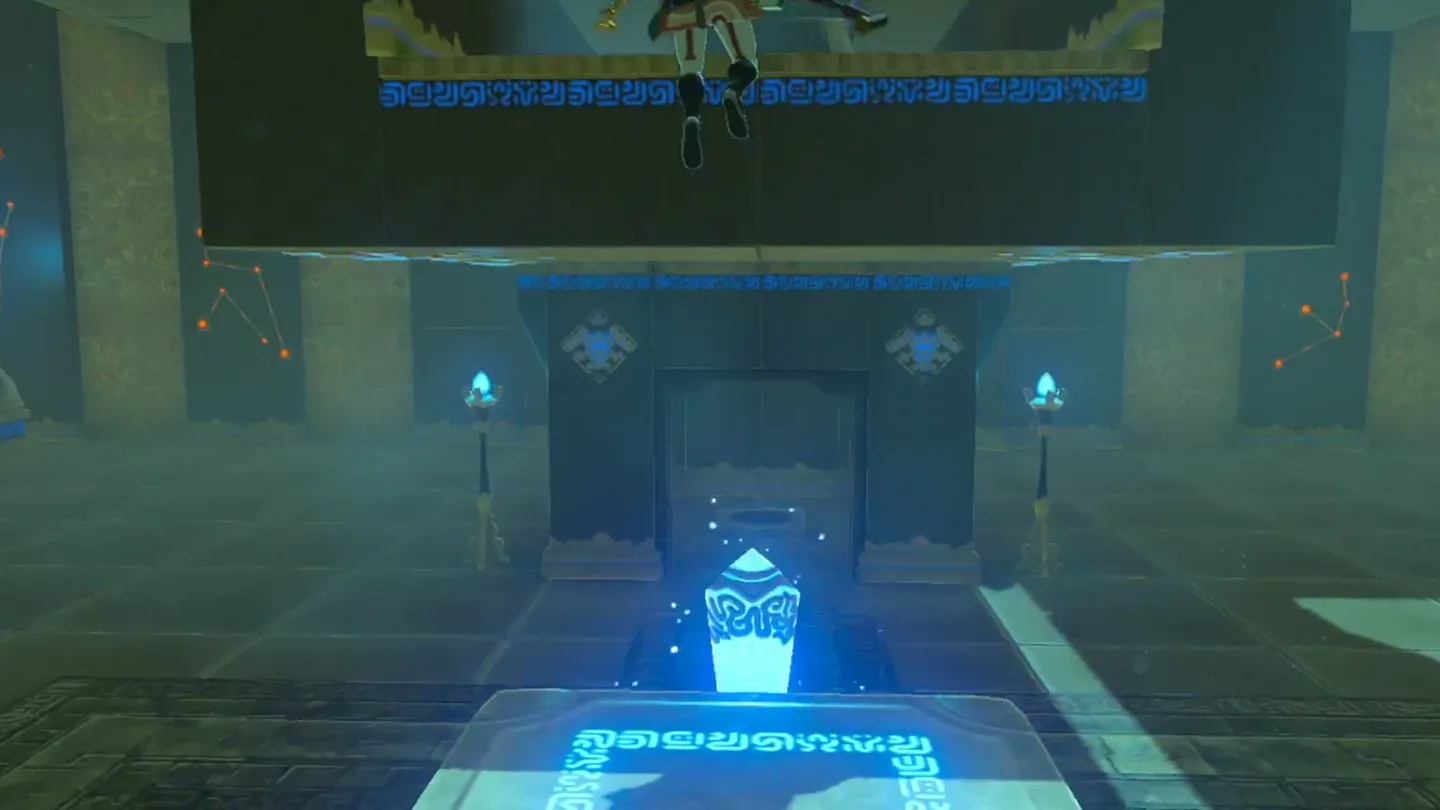
4. Reach the altar and finish
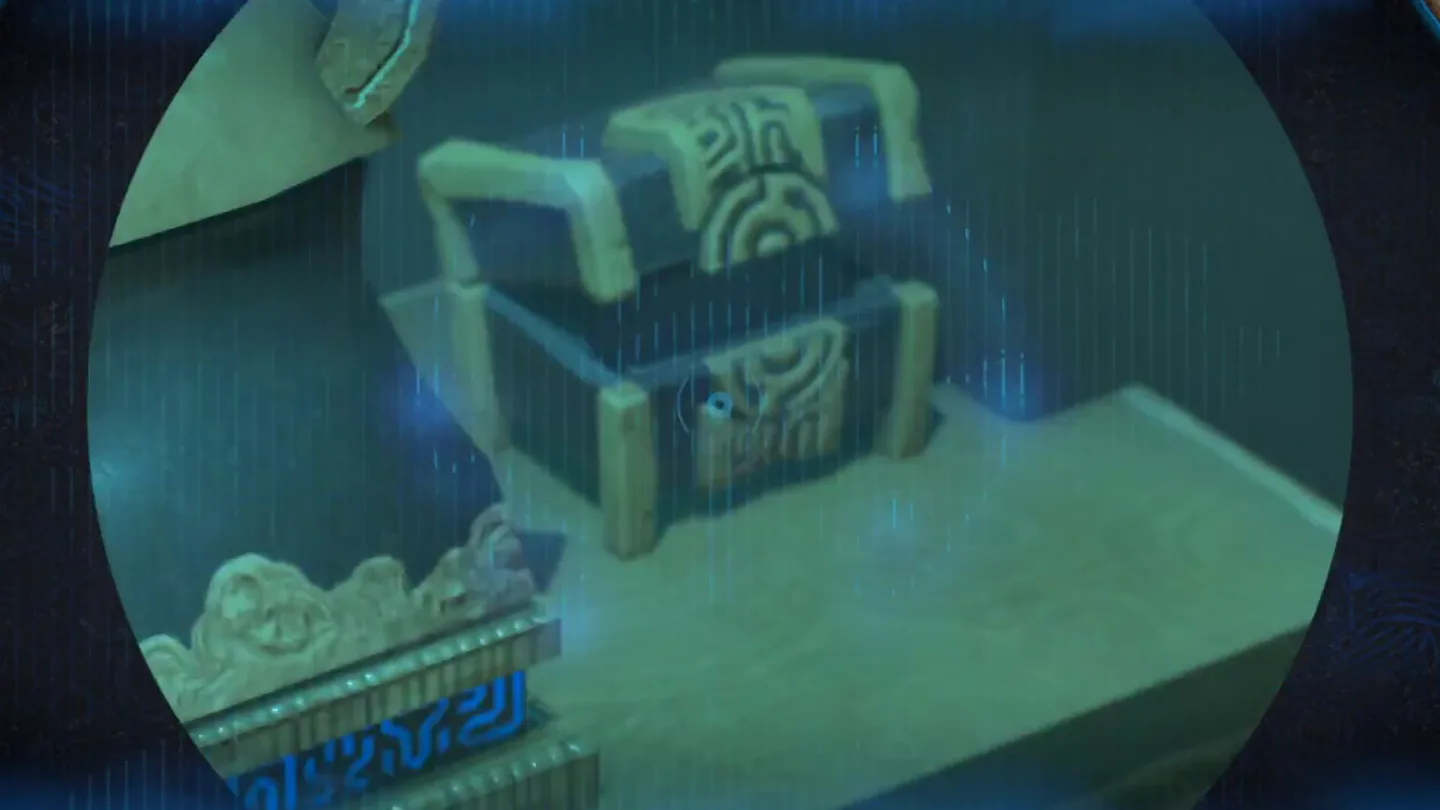
Detour to the chest. Climb the passage slope, take the slope to the left, then use the paraglider to descend onto the roof of the enclosed left-hand socket room. Open the chest there.
Return to the moving passage. Climb its slopes again and follow the stairs to the altar to finish the trial.
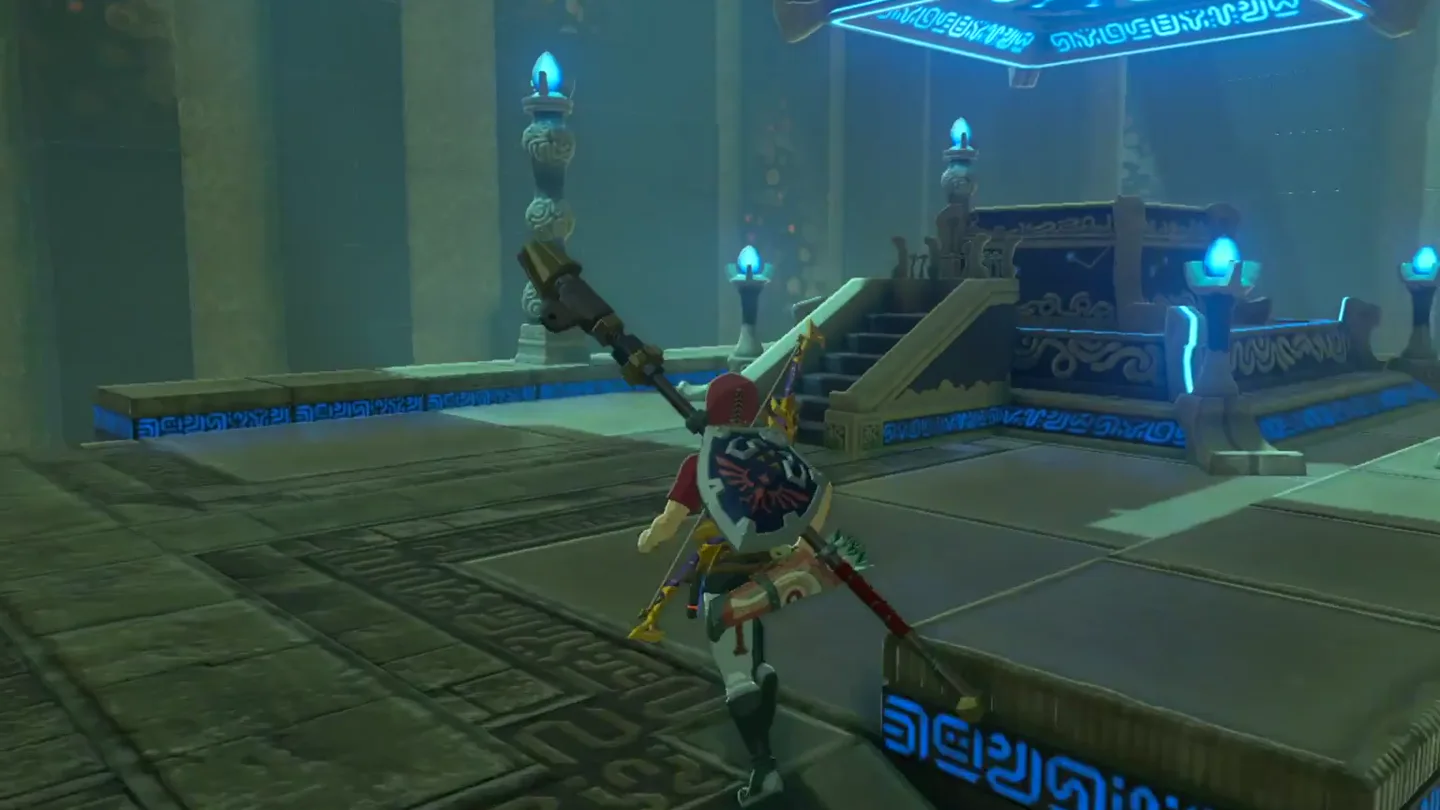
Chests
| Chest | Contents | How to reach it |
|---|---|---|
| 1, above the left-hand socket room | Two accounts: Knight’s Bow; or Knight’s Bow / Royal Bow | Enter the moving passage, climb the slope and the left-hand slope, then glide down onto the enclosed room’s roof. |
What do people miss here?
- The shrine’s single chest is its classic miss: it sits on the roof of the enclosed left-hand socket room, completely off the direct stairs-to-altar path, and Gamer Guides even captions it ‘Don’t miss this treasure chest.’ Look left as you climb the passage’s slope to spot it, and make the paraglider detour before heading up to Zalta Wa and the Spirit Orb.
- A missed orb throw from the floor switch is not a dead end—Gamer Guides openly admits needing several throw attempts. Freeze the floor switch you’re standing on with Stasis (Stasis+ recommended), then walk over and set the orb into the slot by hand; this works both as a rescue after a bad throw and as a plan A if you’d rather not throw at all.
- Don’t overthink the opening orb: a single arrow is enough—you only need to destabilize the ball so it topples off its perch into the slot below, with no Stasis setup or repeated shots required.
- The entrance itself is easy to walk past: the shrine is tucked away at the bottom of a small canyon below road level, so if your marker seems to point at empty road southeast of Ridgeland Tower, drop toward the canyon floor on the north side of the path—the orange glow around the shrine gives it away.
What else is nearby?
| Shrine | Direction | Straight-line distance | Region |
|---|---|---|---|
| Noya Neha Shrine | east | 481 | Central |
| Sheem Dagoze Shrine | southwest | 823 | Ridgeland |
| Katah Chuki Shrine | east | 834 | Central |
Related
- All BotW shrine locations: find other shrines in the Ridgeland group.
- How to find shrines: plan your approach when a map marker does not show the entrance.
- Noya Neha Shrine: nearby to the east, slightly north of Zalta Wa; this is a direction reference, not a direct walking route.
- Tears of the Kingdom vs. Breath of the Wild: compare the games and their different abilities.
FAQ
Why does the door close when I carry the orb toward it?
How do I reach the moving passage in Zalta Wa Shrine?
What is in the Zalta Wa Shrine chest?
Do I need Stasis or Magnesis for Zalta Wa Shrine?
Related Articles
guides
Breath of the Wild Captured Memories: All 13 Locations and Rewards
All 12 photo locations from Zelda's album plus the 13th memory in Impa's painting, with coordinates, nearby shrines, the Champion's Tunic and the extra ending scene.
guides
Breath of the Wild Great Fairy Fountains: Locations, Costs and Horse God
Where the four Great Fairy Fountains and the Horse God Malanya are in Breath of the Wild, what each fairy costs to release, and how many you need per armor upgrade.
guides
Hyrule Castle Walkthrough: Entry Routes, Hylian Shield and Final Prep
How to get into Hyrule Castle in Breath of the Wild: five entry routes, the Hylian Shield and other loot by room, and what to prepare before the final battle.
Was this helpful?
Thanks for the feedback!