

Mogg Latan Shrine Location and Solution (Breath of the Wild)
Find Mogg Latan Shrine on Satori Mountain, solve Synced Swing with Magnesis, clear the spiked balls, and collect every chest before opening the final doors.
Where is Mogg Latan Shrine?
Head southwest from Ridgeland Tower toward Satori Mountain, then climb toward the southern side of the summit. The entrance is near the top, with no shrine quest needed to make it appear. Use the shrine-finding guide if you need help planning the approach.
| Item | Detail |
|---|---|
| Trial | Synced Swing / 配合搖晃 |
| Tower region | Ridgeland |
| Coordinates (X, Y, Z) | -2298, -0462, 0453 |
| Type | Magnesis puzzle; not a Test of Strength |
| Shrine quest | None |
| Chests | 3 |
| English name | Mogg Latan Shrine |
| Traditional Chinese name | 摩‧拉塔尼阿神廟 |
| Simplified Chinese name | 摩·拉塔尼阿神庙 |
What should you bring?
Magnesis is the only rune this shrine truly requires, but bring a bow and arrows — the drawbridge ropes must be shot down, and the lantern workaround for the final fire obstacle also depends on shooting a rope. Any fire source (a fire arrow, a fire-based weapon, or flint) lets you skip that workaround entirely. The paraglider is required for the gold rupee chest detour, and Stasis is a handy optional extra for freezing spiked balls mid-swing. There is no combat inside, so no special armor or resistance is needed, and bombs and Cryonis are never used.
Video walkthrough

Solution
Bring a bow and arrows, and use Magnesis throughout. The chest detour needs the paraglider. A fire arrow simplifies the final obstacle; Stasis is optional for controlling a swinging hazard. This route does not require bombs or Cryonis, and there is no Guardian duel.
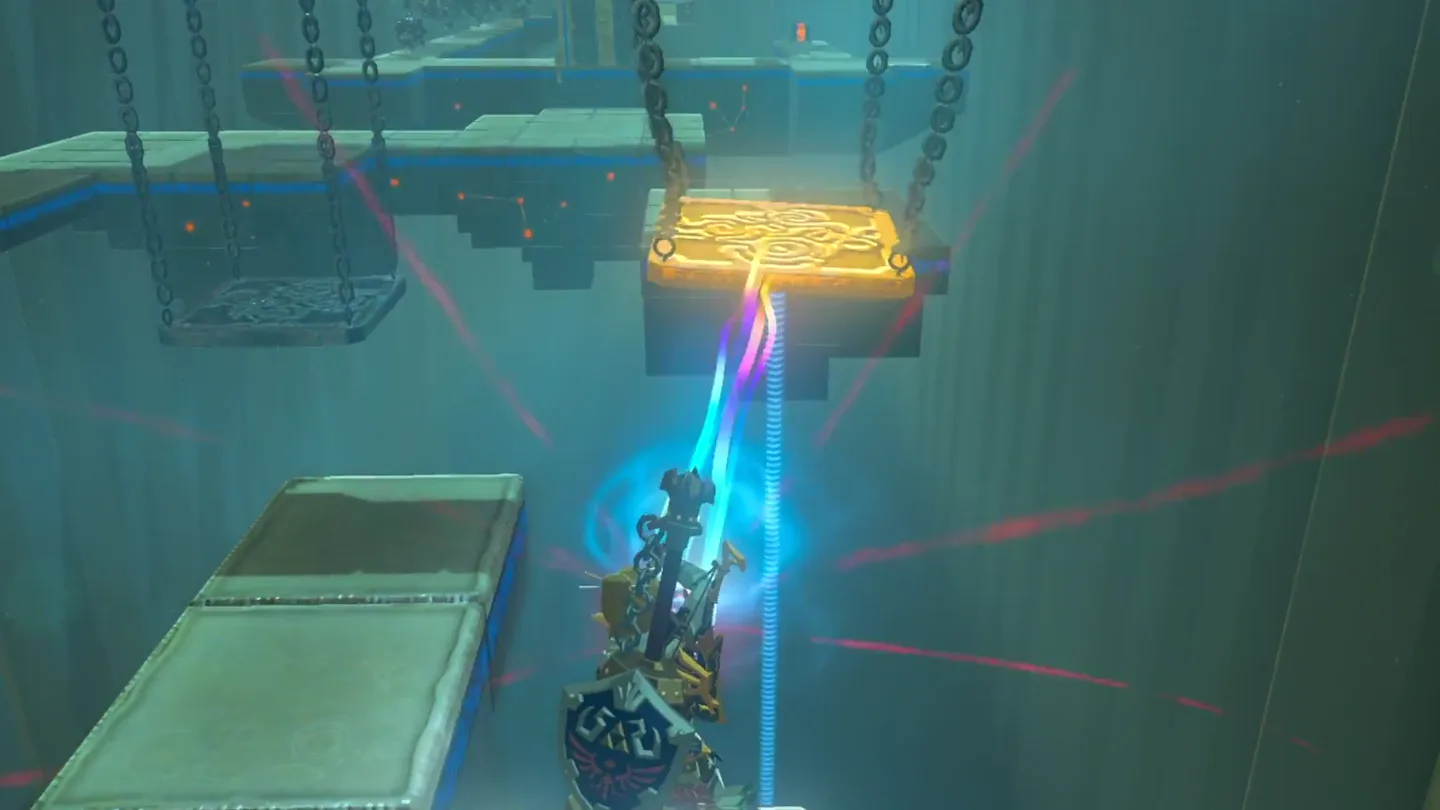
1. Cross the Hanging Platforms
Cross the hanging platforms. Ride each swing toward the next fixed ledge and jump off. If a platform is still or hard to board, pull it toward you with Magnesis and release it before jumping on.
2. Lower Bridge and Get Spear
Lower the drawbridge. Shoot both supporting ropes, let the bridge fall, then cross.
Turn right for the spear chest. Open the chest beyond the bridge before returning to the left-hand path.
3. Clear Spiked Balls and Get Bow
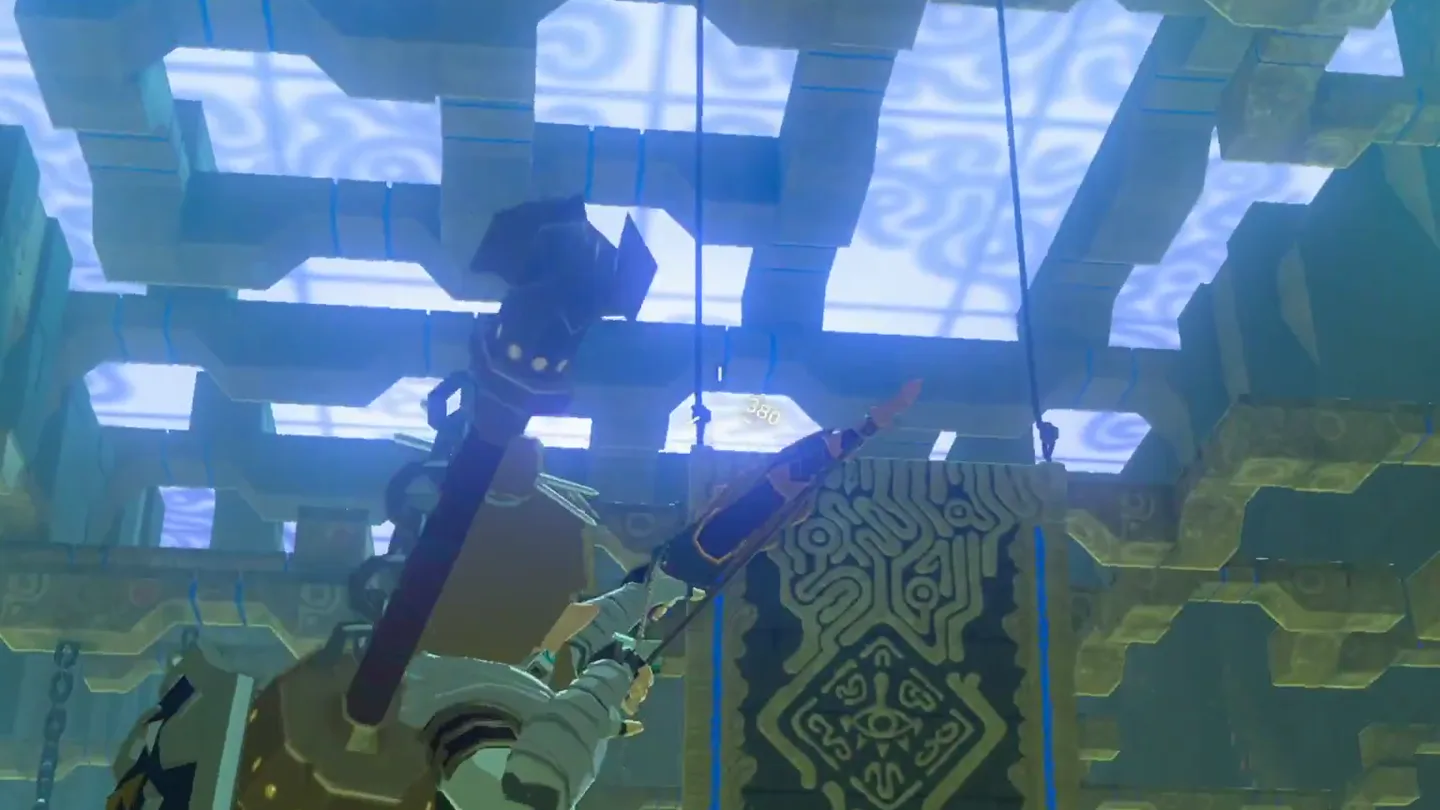
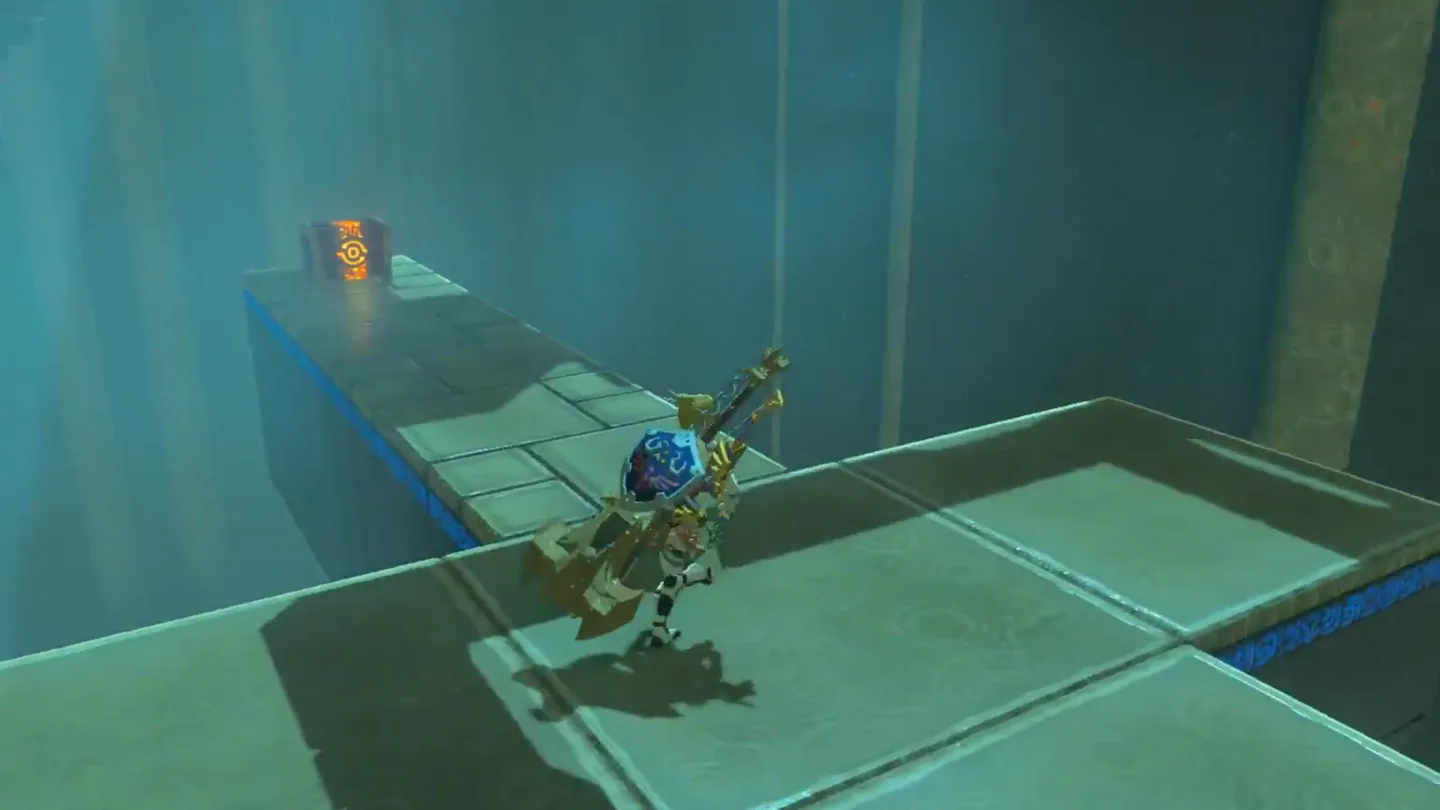
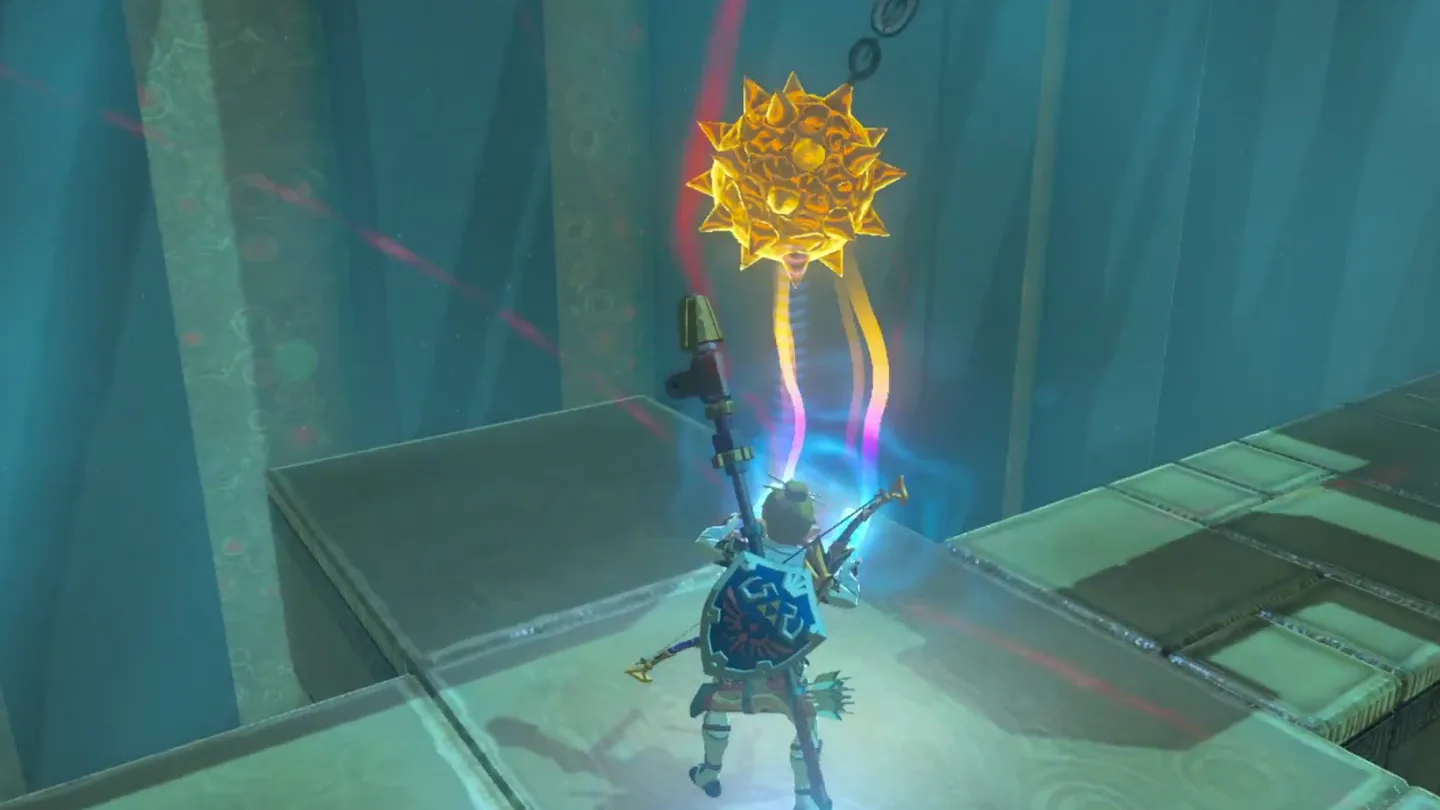
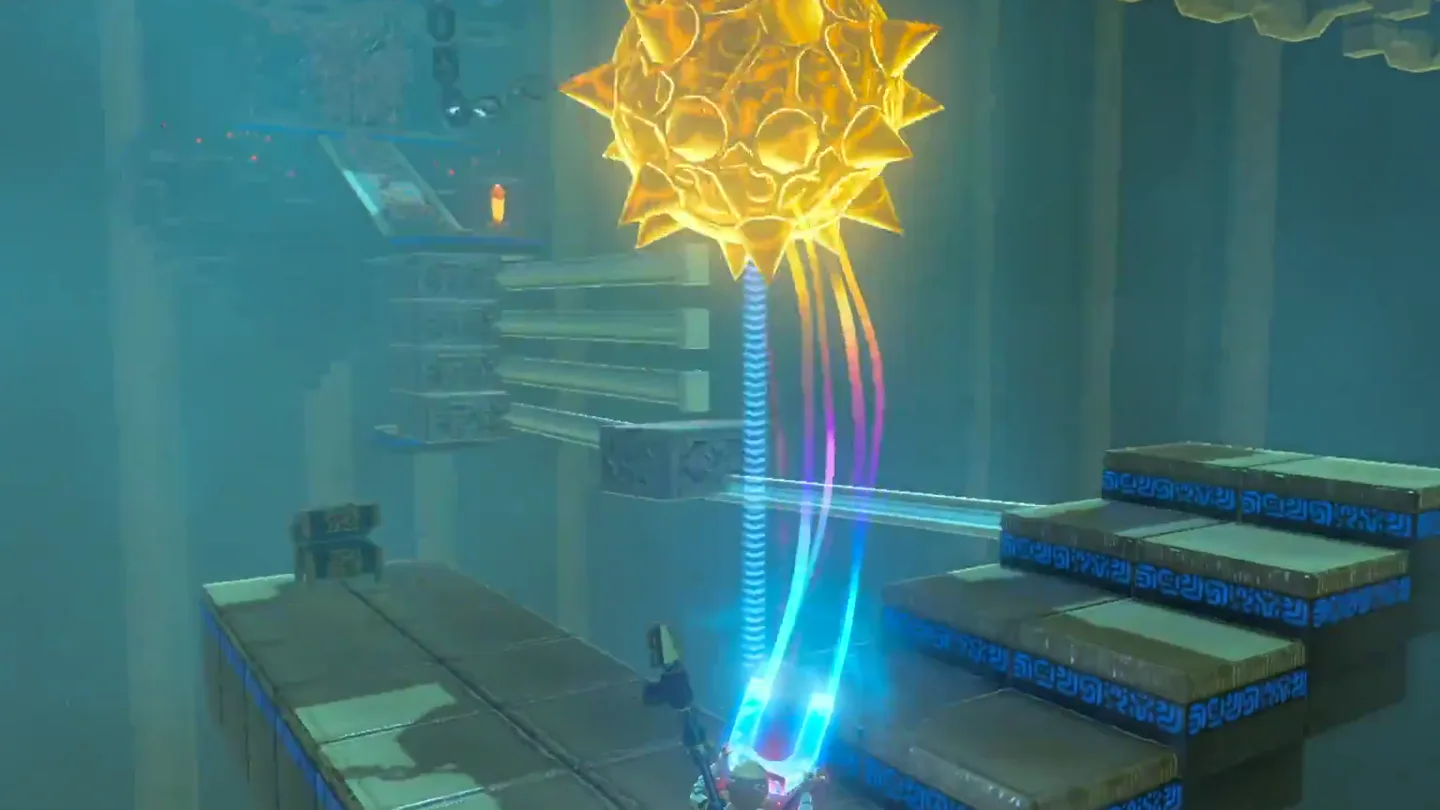
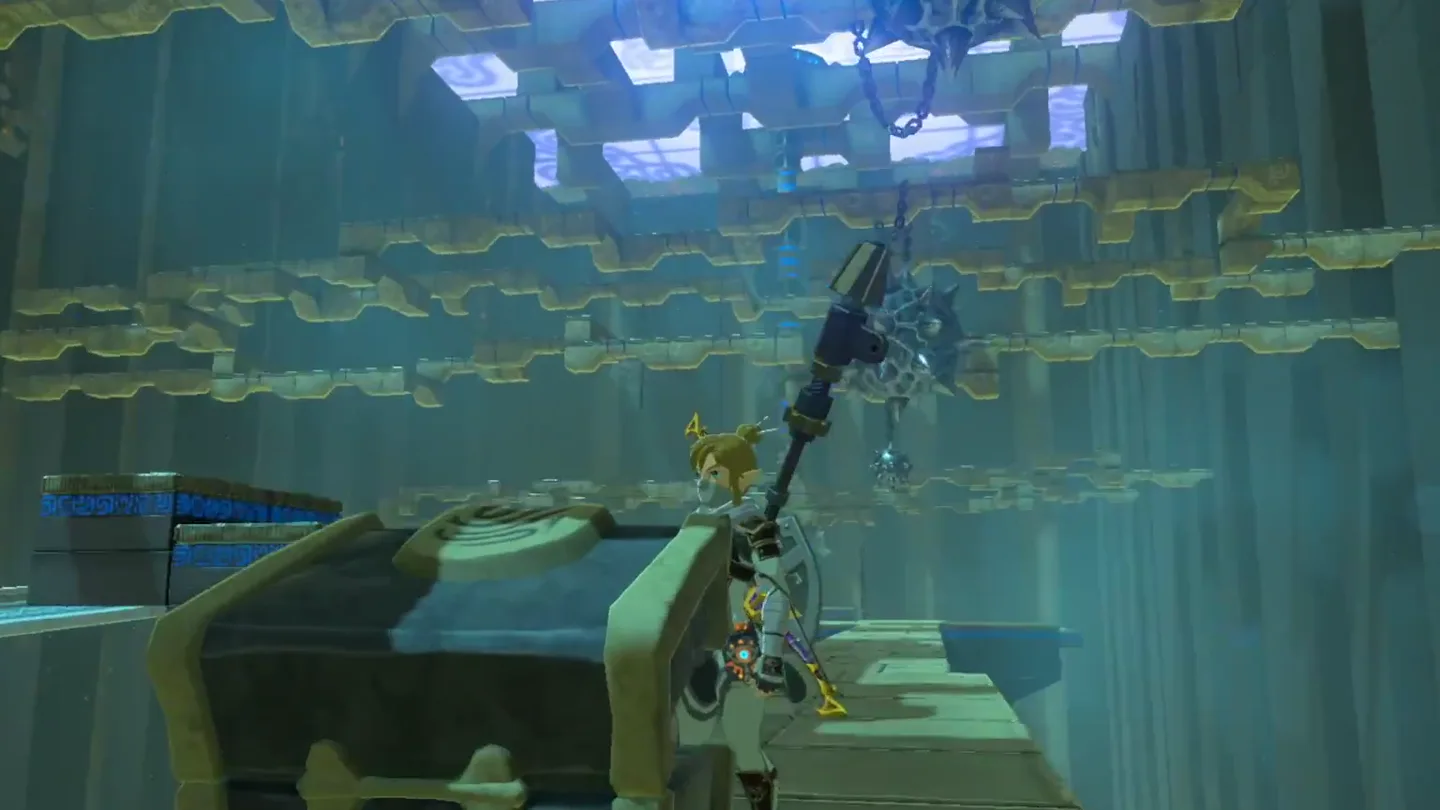
Clear the spiked-ball passage. Use Magnesis to move each ball out of your way, placing the near ball over the overhead support where possible and pushing the others away as you advance.
Collect the bow at the dead end. Move the last ball aside, reach the chest beyond it, then return to the steps beside the passage.
4. Ride Rail and Build Stairs
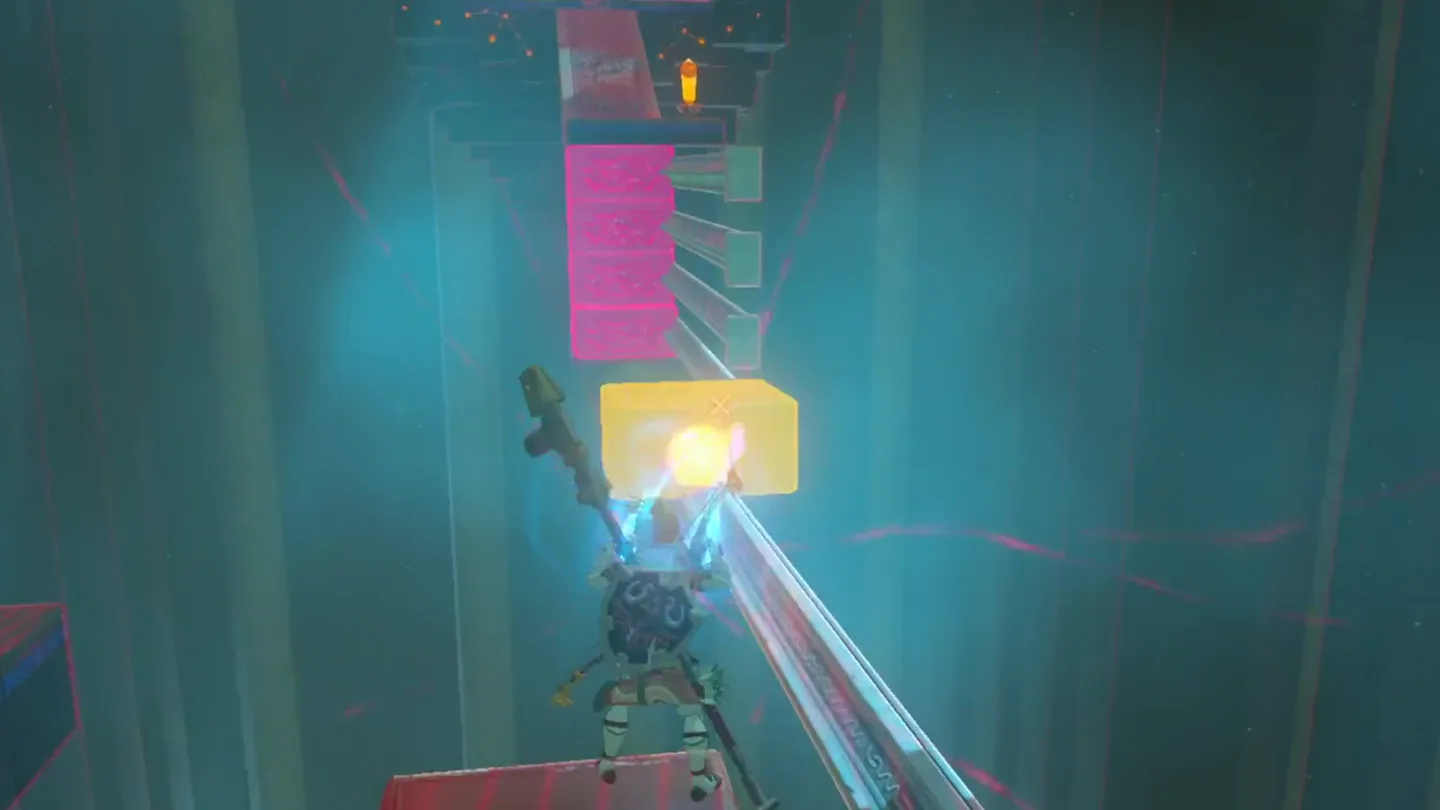
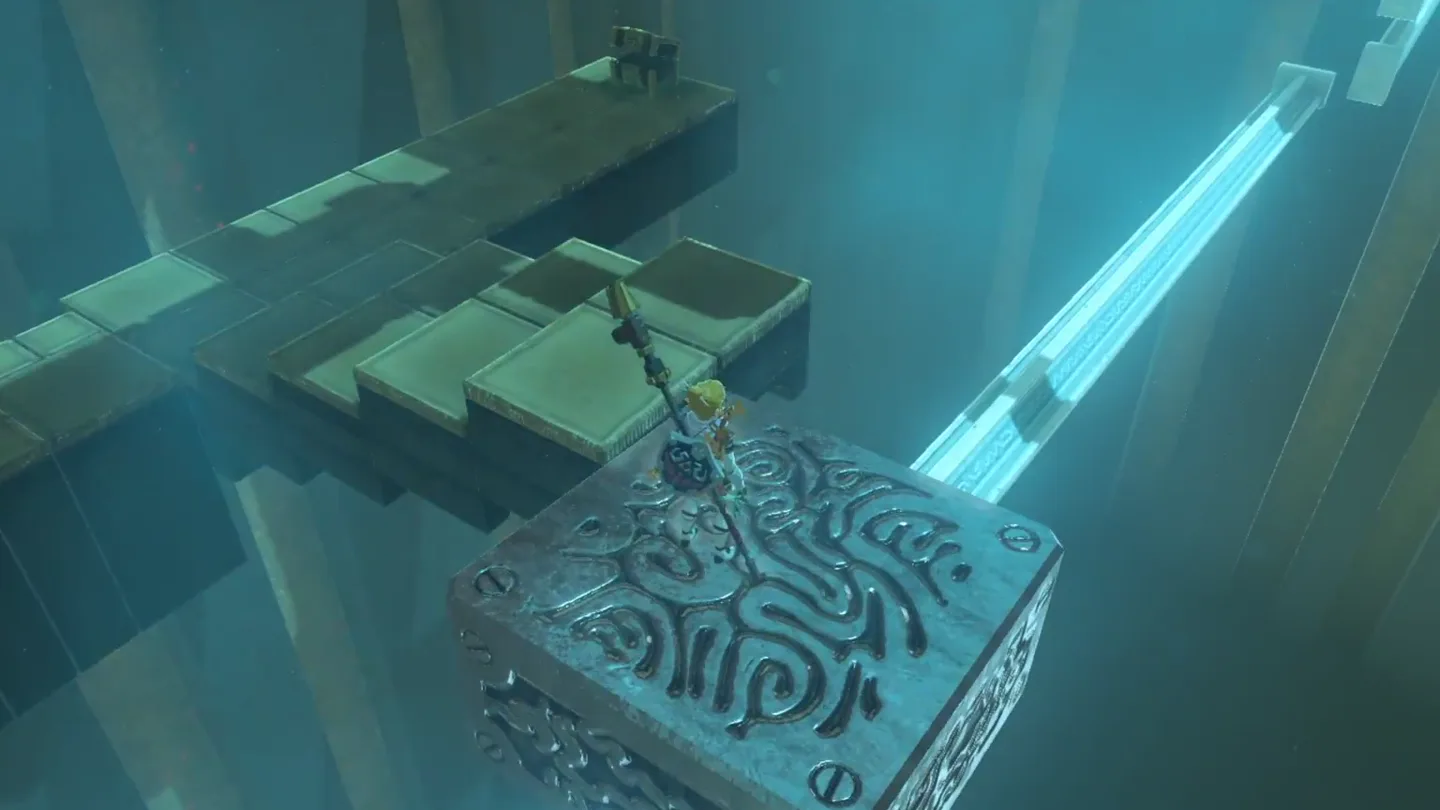
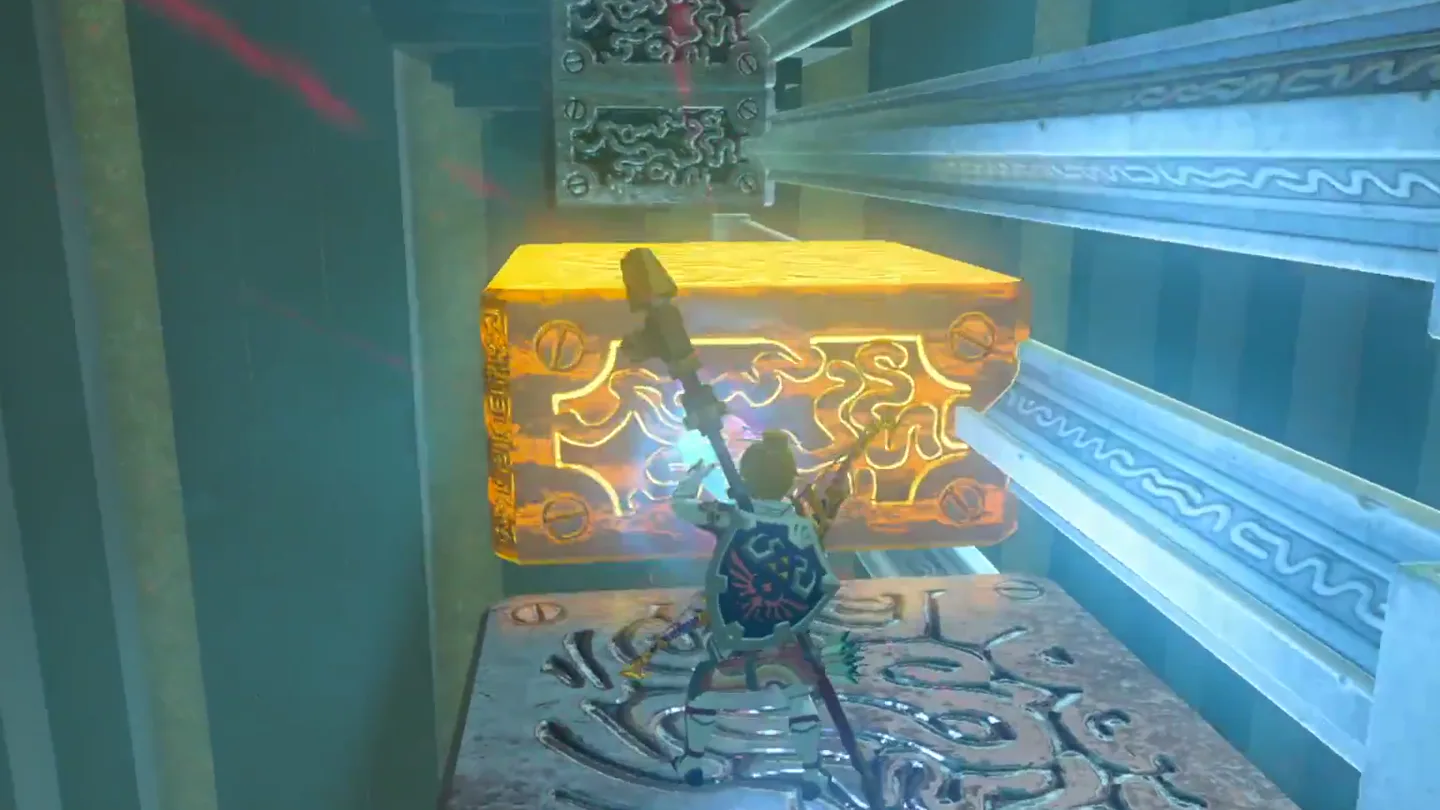
Ride the sloping rail platform. Pull the metal platform all the way toward you, release it and quickly board before it slides back.
Arrange the horizontal platforms into steps. Pull the rail-mounted blocks toward you with Magnesis and climb along the resulting staircase.
5. Detour for Gold Rupee
Detour to the gold rupee chest. From the third horizontal-rail platform, jump and glide around to the lower chest ledge ahead instead of continuing straight to the upper landing.
Build your way back up. Pull the lower rail platforms toward the chest ledge, climb back onto the staircase, then reposition the remaining platform to reach the upper landing.
6. Burn Foliage and Open Doors
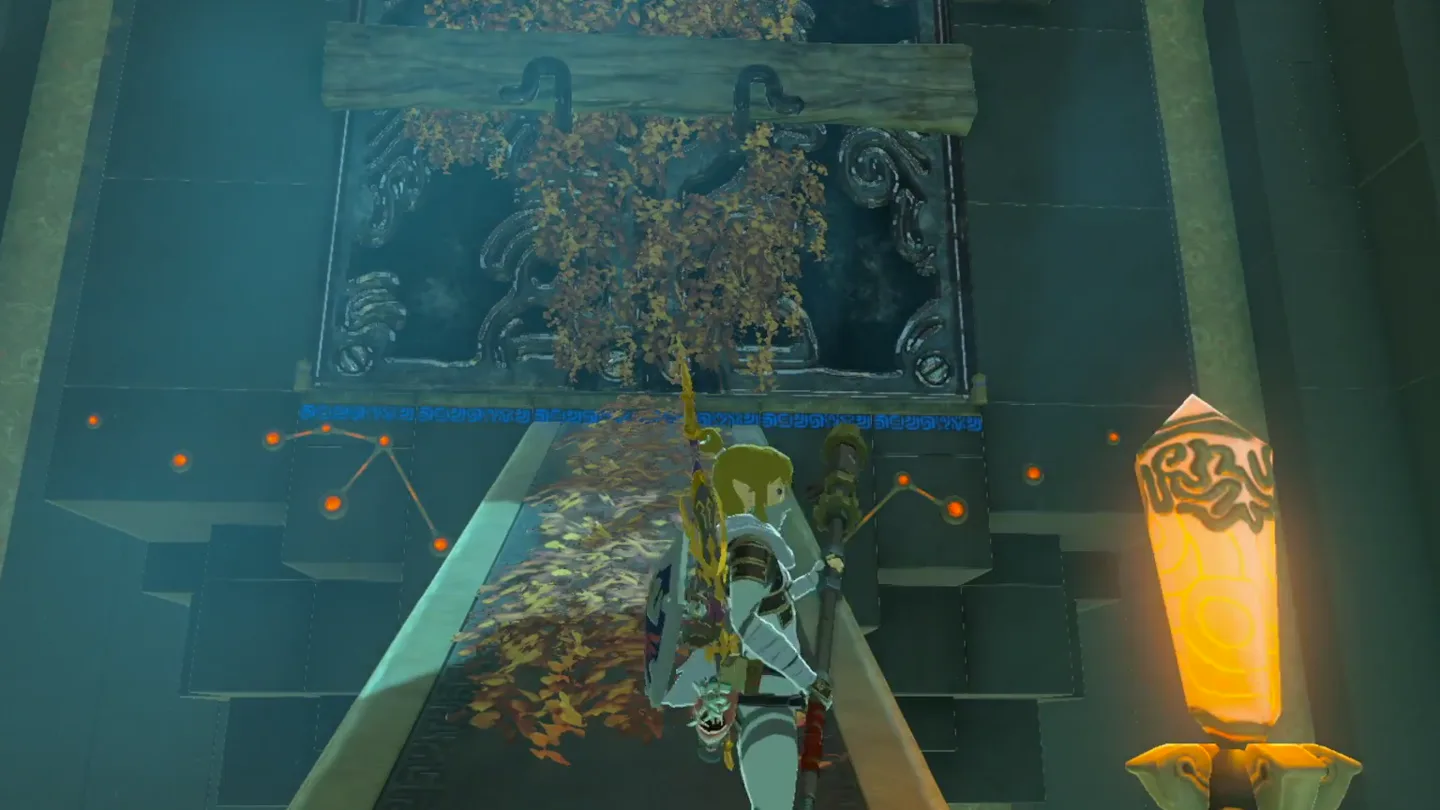
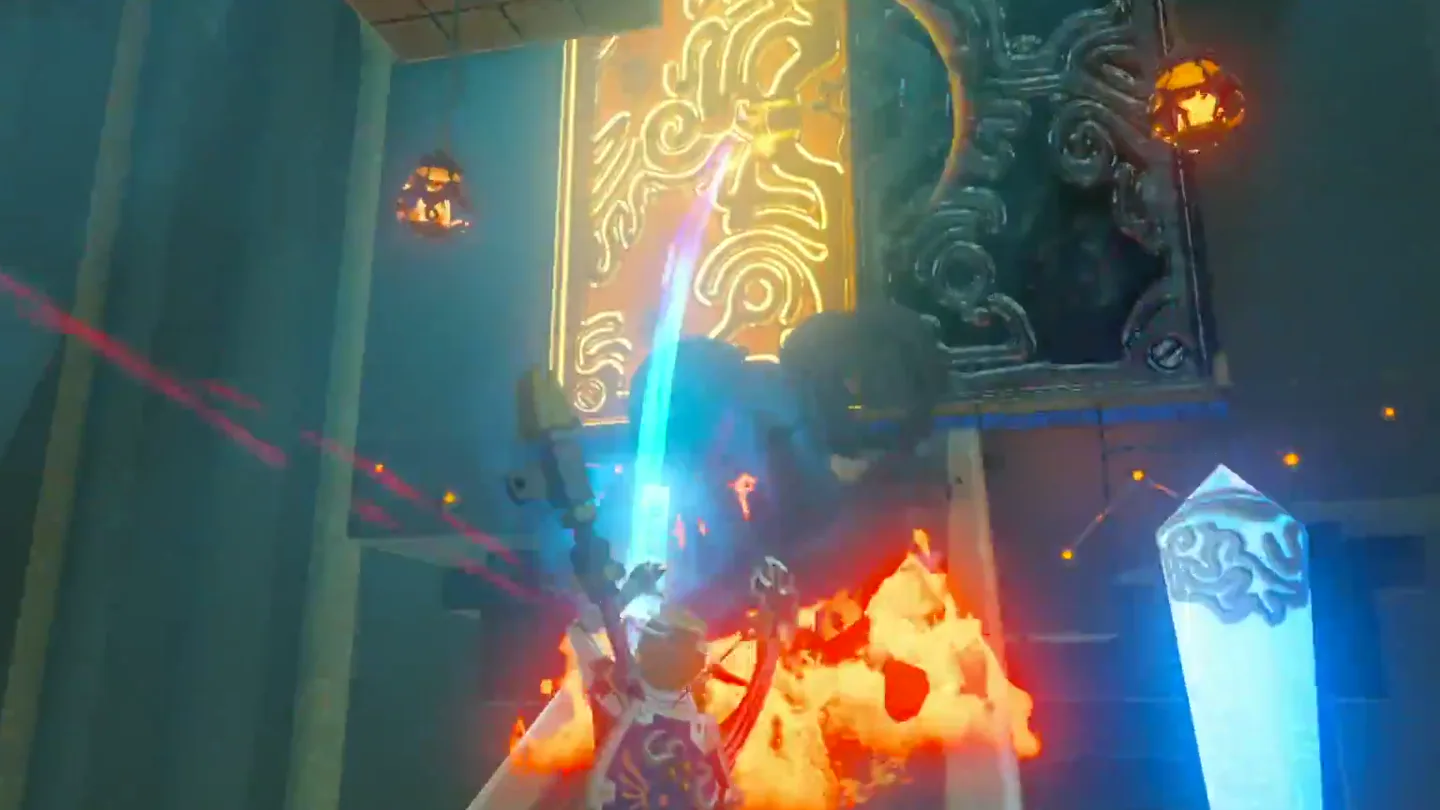
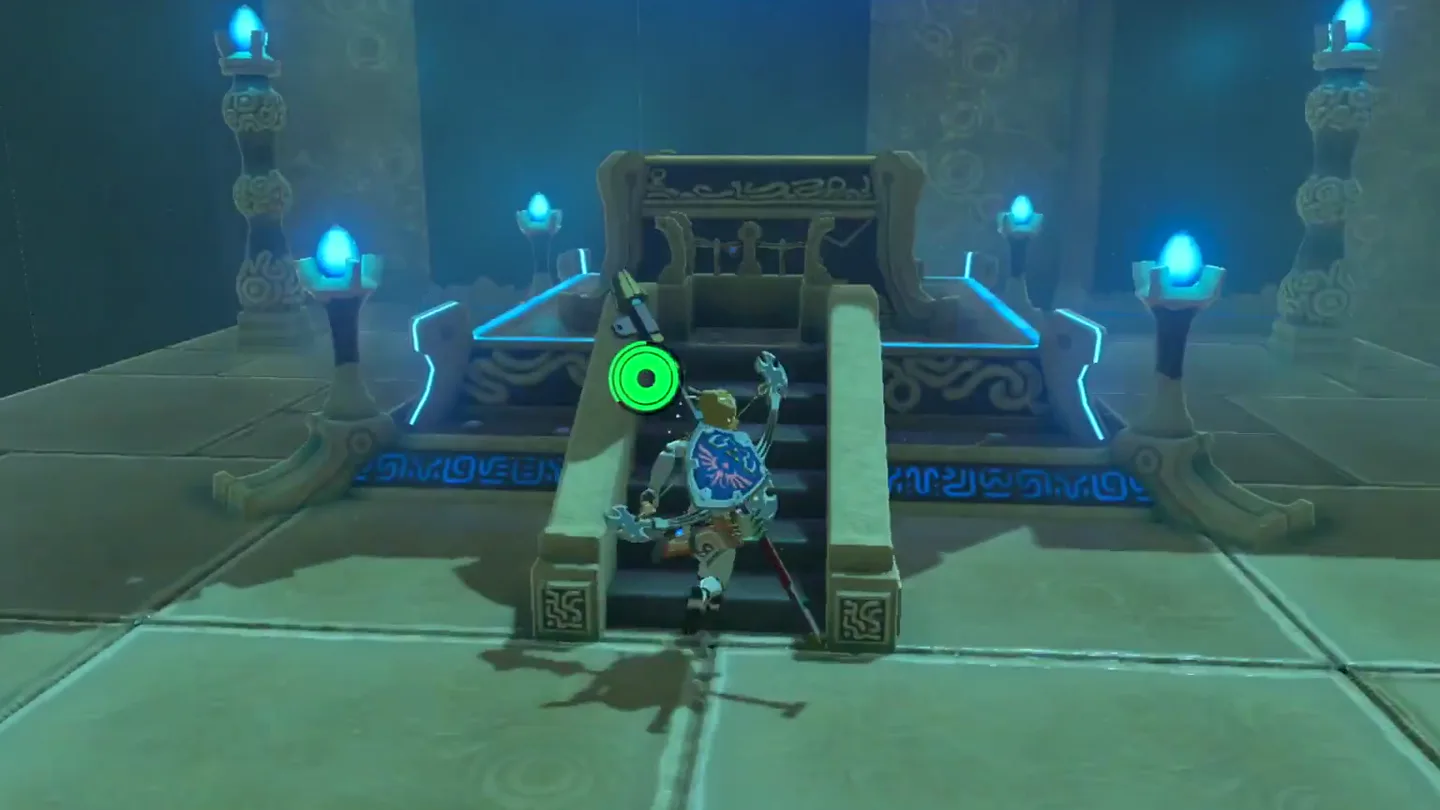
Burn the obstruction and open the doors. Ignite the foliage with a fire arrow, wait for the wooden barrier to burn away, then pull the metal doors open with Magnesis and walk up to the altar.
Chests
The spear is easy to miss by turning straight toward the spiked balls. The gold rupee requires a detour below the route to the altar.
| Chest | Contents | How to reach it |
|---|---|---|
| 1: After the drawbridge | Forest Dweller’s Spear | Turn right after crossing the lowered bridge |
| 2: End of the spiked-ball path | Forest Dweller’s Bow | Move the last hanging ball aside with Magnesis and walk to the chest |
| 3: Below the rail-platform exit | Gold Rupee, worth 300 rupees | Glide around from the third horizontal-rail platform; rearrange the lower platforms to return |
What do people miss here?
- The gold rupee chest sits below the rail-platform staircase, and the highest platform blocks the jump down — pull it out of the way with Magnesis first, then plan on restacking the lower platforms into steps to climb back out.
- The Forest Dweller’s Bow is in a dead end behind the very last spiked ball; the route onward turns up the steps beside the corridor, so the main path never passes this chest.
- Not all spiked balls are equal — some are noticeably heavier and barely budge on a short pull, so drag them farther with Magnesis to build up real momentum before you try to slip past.
- Skip the fiddly lantern routine at the end if you can: a fire arrow, any fire-based weapon, or a spark from striking flint will ignite the leaves directly, no crystal switch required.
What else is nearby?
| Shrine | Direction | Straight-line distance | Region |
|---|---|---|---|
| Mijah Rokee Shrine | northwest | 504 | Ridgeland |
| Sheem Dagoze Shrine | northeast | 549 | Ridgeland |
| Kuh Takkar Shrine | southwest | 1093 | Gerudo |
Related
- All BotW shrine locations: return to the regional checklist to plan the next stop.
- How to find shrines: help with locating entrances and using the shrine list.
- Which Zelda should you play first?: choose your next adventure after exploring Hyrule.
FAQ
Where is Mogg Latan Shrine in Breath of the Wild?
How do I get past the spiked balls in Mogg Latan Shrine?
Where is the gold rupee chest in Mogg Latan Shrine?
Do I need fire arrows to open the final doors?
Related Articles
guides
Breath of the Wild Captured Memories: All 13 Locations and Rewards
All 12 photo locations from Zelda's album plus the 13th memory in Impa's painting, with coordinates, nearby shrines, the Champion's Tunic and the extra ending scene.
guides
Breath of the Wild Great Fairy Fountains: Locations, Costs and Horse God
Where the four Great Fairy Fountains and the Horse God Malanya are in Breath of the Wild, what each fairy costs to release, and how many you need per armor upgrade.
guides
Hyrule Castle Walkthrough: Entry Routes, Hylian Shield and Final Prep
How to get into Hyrule Castle in Breath of the Wild: five entry routes, the Hylian Shield and other loot by room, and what to prepare before the final battle.
Was this helpful?
Thanks for the feedback!