

Maka Rah Shrine Walkthrough: Steady Thy Heart (BotW)
Full Maka Rah Shrine walkthrough: open the twin-sconce gate, cross the spiked spinner, survive the spiked iron balls, and grab all 3 chests plus the Spirit Orb.
Where is Maka Rah Shrine?
Maka Rah hides in a cave on the western edge of Lake Kilsie in the Hebra Mountains, northeast of Rito Village. From the lake’s western dock you can see the shrine through a crack in the cliff wall, but that gap isn’t the way in — search the cliffside further northeast for a separate cave entrance, then head inside, where the monk Maka Rah greets you and offers the trial.
| Item | Detail |
|---|---|
| Trial | Steady Thy Heart |
| Tower region | Hebra |
| Map-marker coordinates | -4059, 2508, 0108 |
| Shrine quest | None |
| Chests | 3 |
| Names | Maka Rah Shrine · 卡瑪‧拉席神廟 · 卡玛·拉席神庙 |
What should you bring?
Bring a torch or any fire weapon — the unlit left sconce in the first room must be lit to raise the gate, and without either you’re stuck at the door. You’ll also need the Cryonis rune (water-room ledges) and Magnesis (metal chests and the final spiked ball), plus any melee weapon or Remote Bombs for the four Guardian Scouts. No shrine quest is required to enter.
Video walkthrough

How do you solve Maka Rah Shrine?
This trial is a test of nerve: creep across a spiked spinner over lava, then dodge — and finally Magnesis-carry — the giant spiked iron balls that the later switches release.
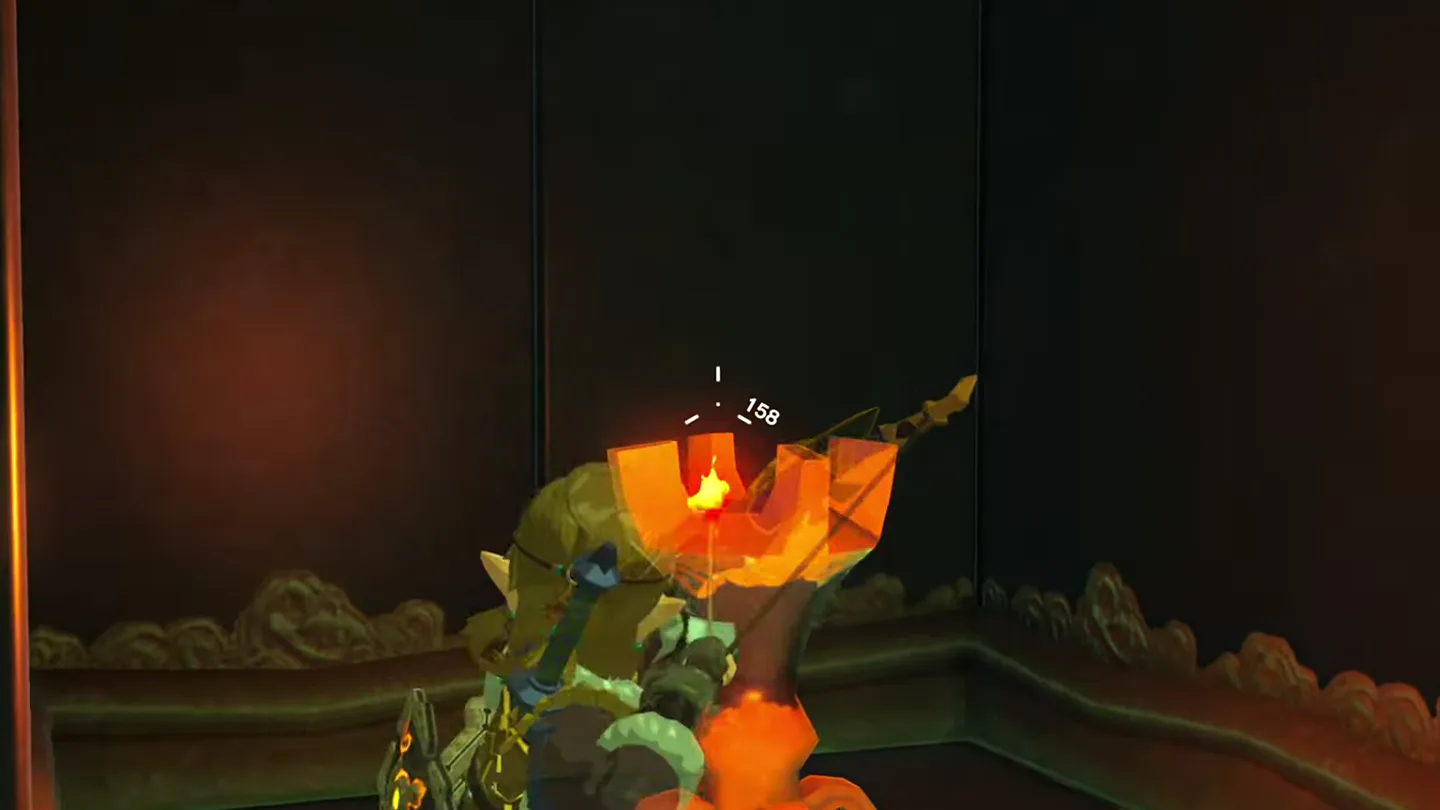
1. Light the sconces to open the gate
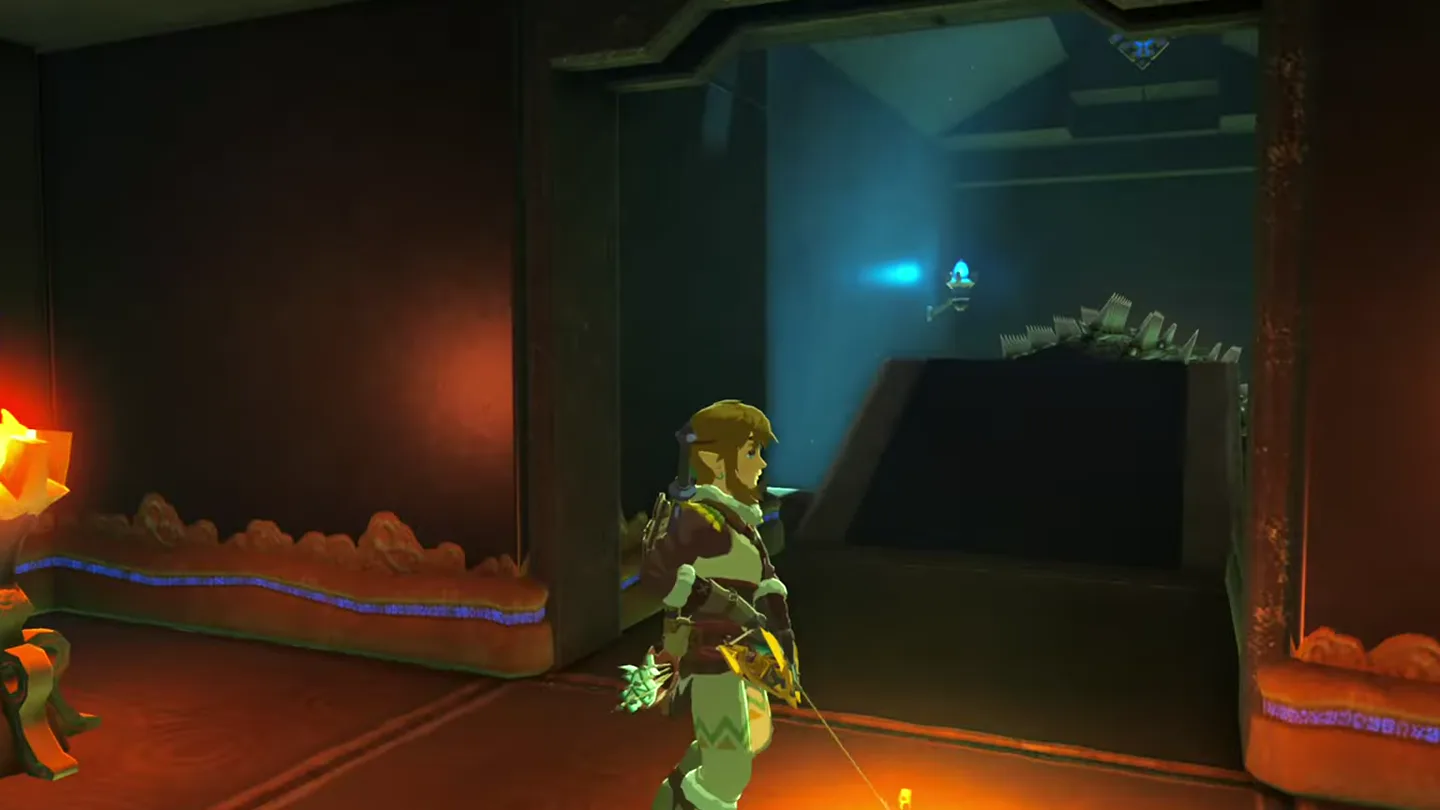
In the first room, two sconces flank the portcullis and only the right one is lit. Light the unlit left sconce — swing a fire weapon at it or carry the flame over with a torch. With both burning, the gate rises.
2. Cross the spiked column, beat the scouts, climb the ledges
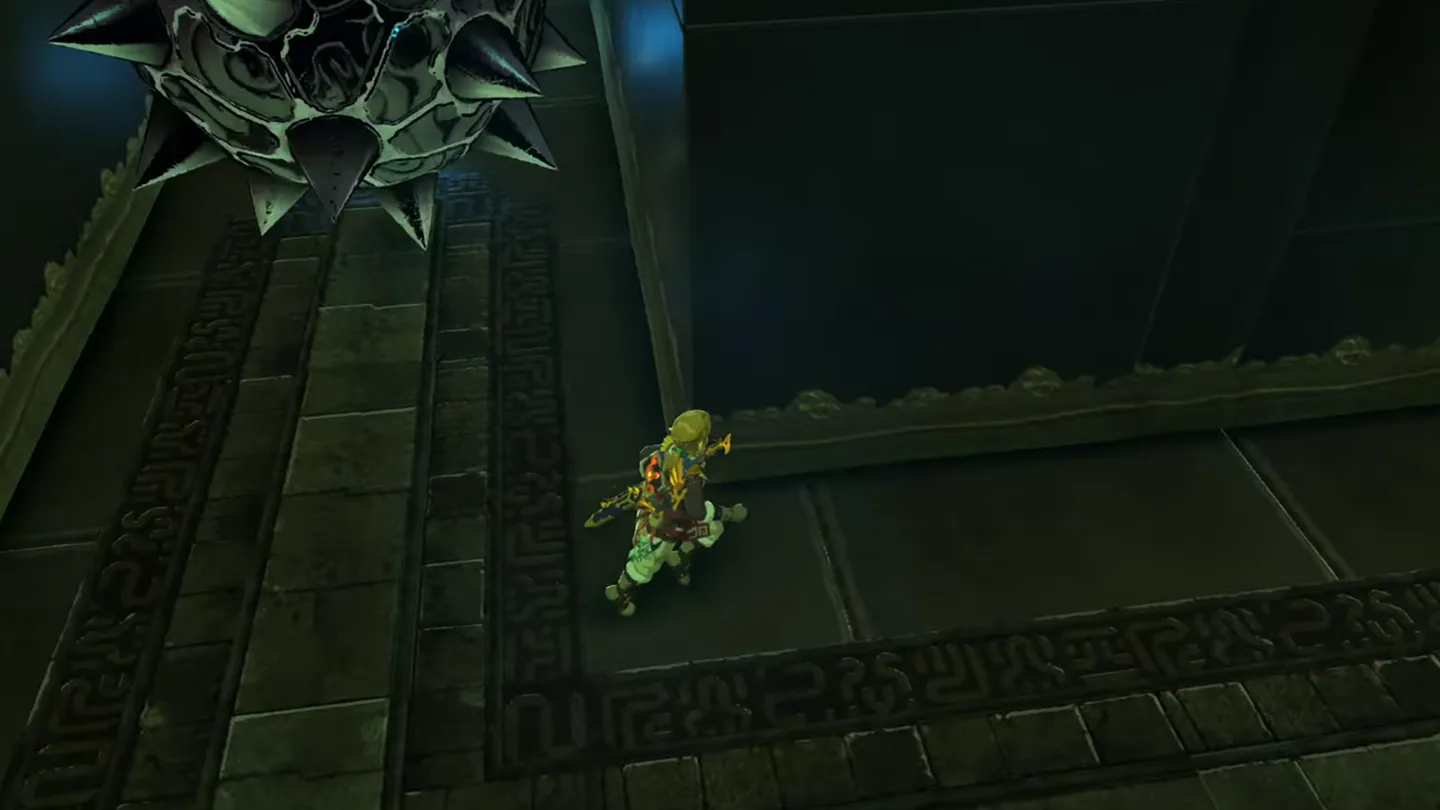
The next room holds a spiked, rotating hexagonal column over a pool of lava. Step on and cross slowly, moving between the spike-free faces as the column turns; rushing here is how you fall off into the lava.
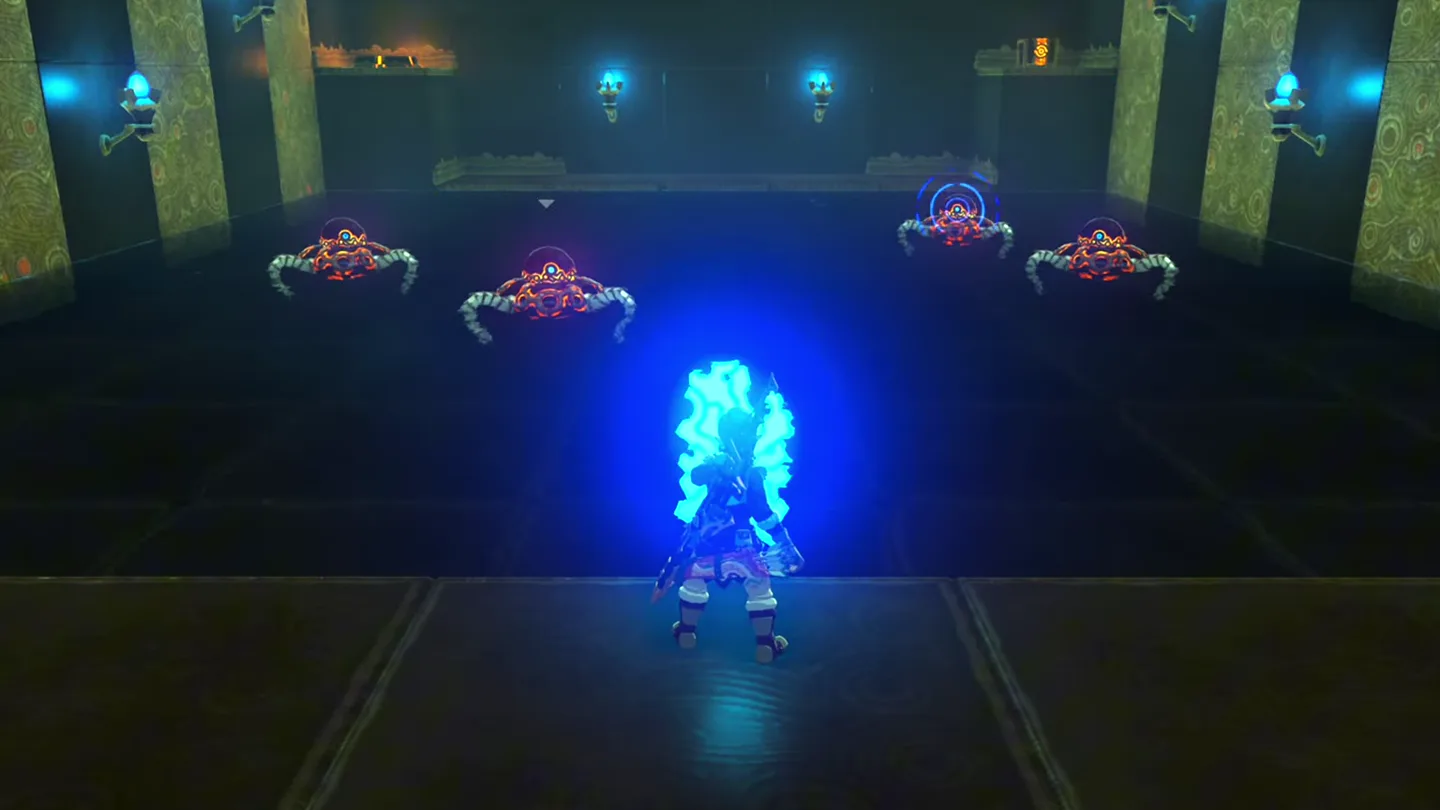
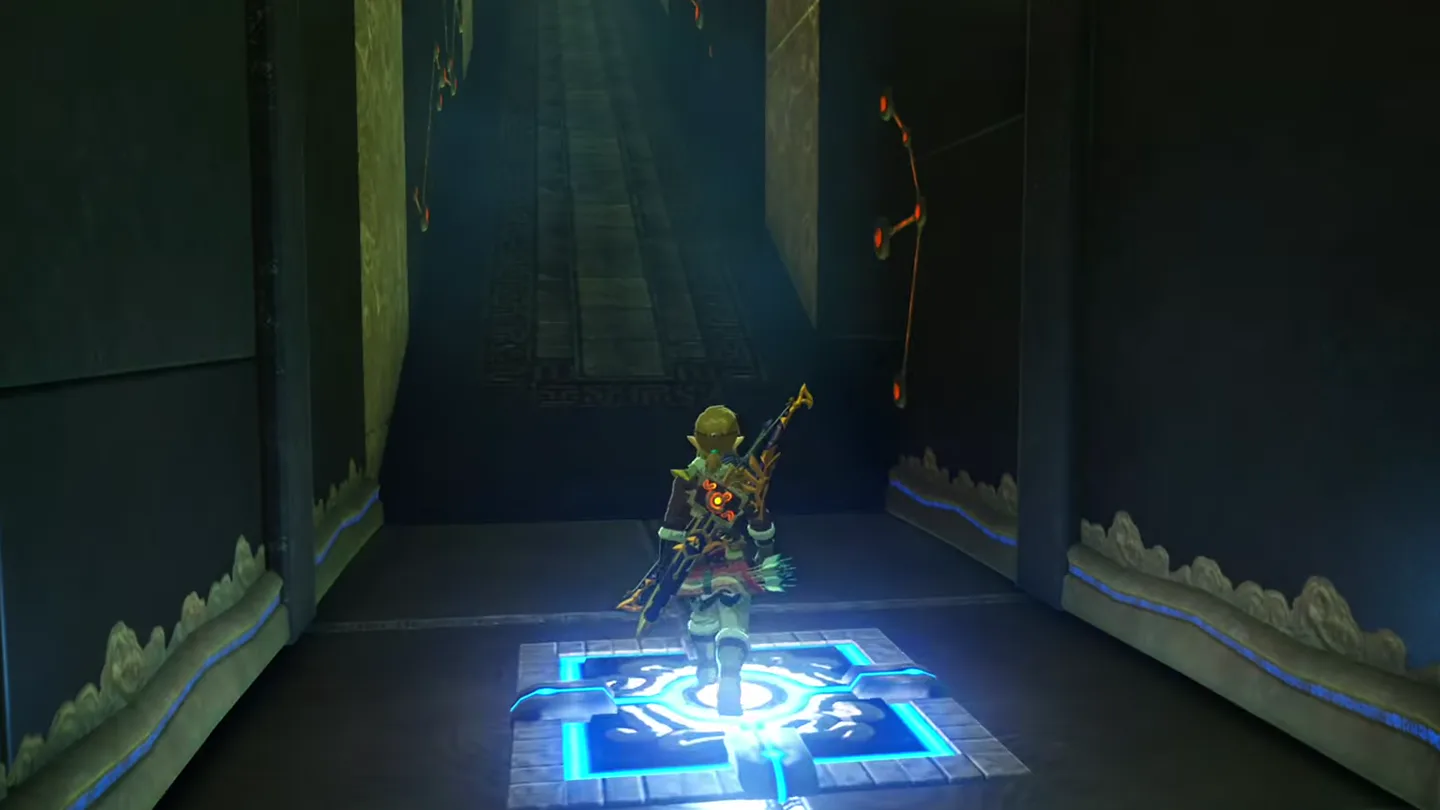
At the back of the room, stand on the pressure plate. The back wall rises and opens into a water room where four Guardian Scout I wade in shallow water.
Destroy all four scouts — charge them with a melee weapon or lob Remote Bombs; they’re weak and go down fast.
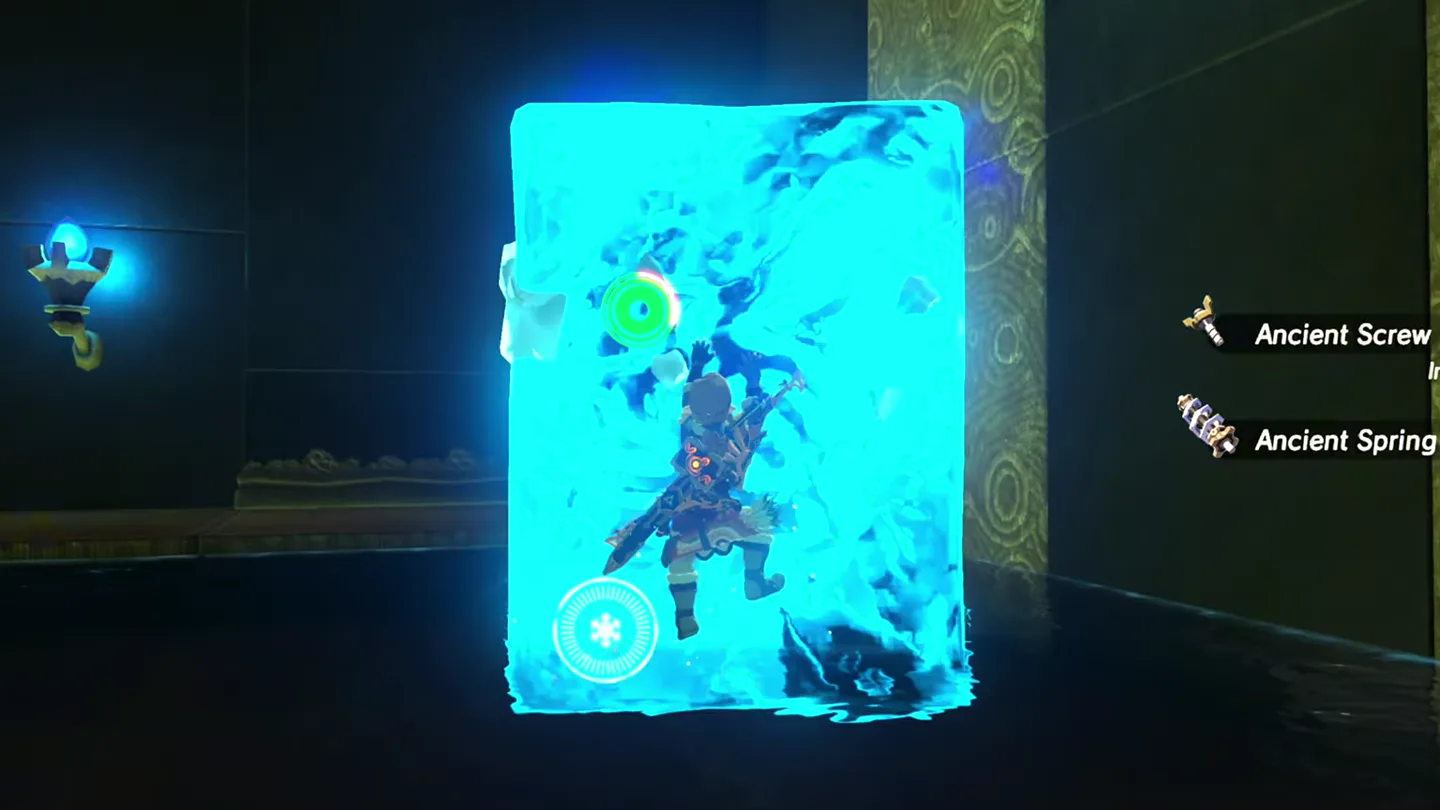
Behind them, the back wall has two ledges. On the right, raise Cryonis pillars in the water step-by-step to climb to the back-right ledge and open the chest for 10 Bomb Arrows.
Now Cryonis up to the ledge in the back-left corner and stand on its pressure plate. A section of the back wall lifts, revealing one more switch and a portcullis.
3. Trigger the spiked ball and collect the Diamond chest
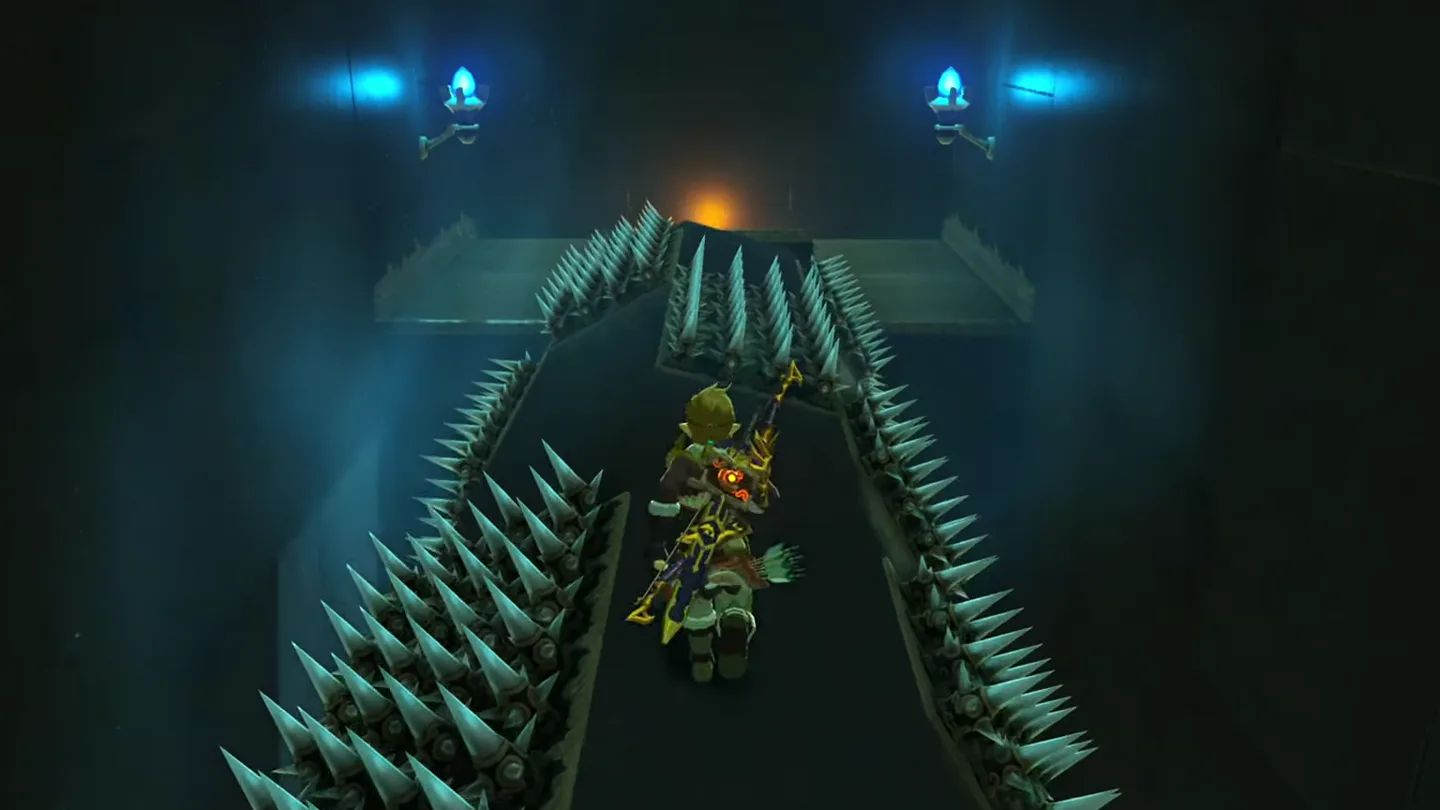
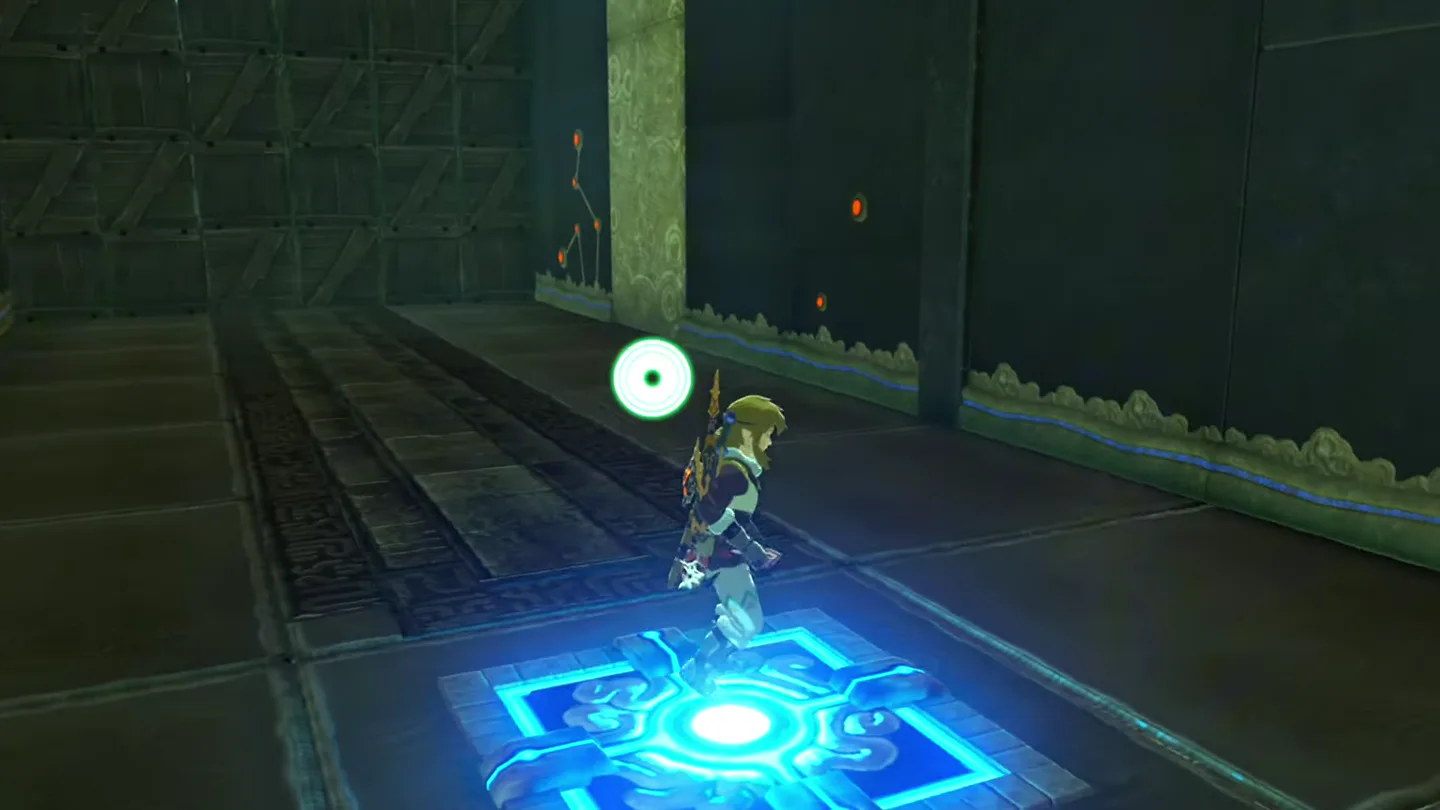
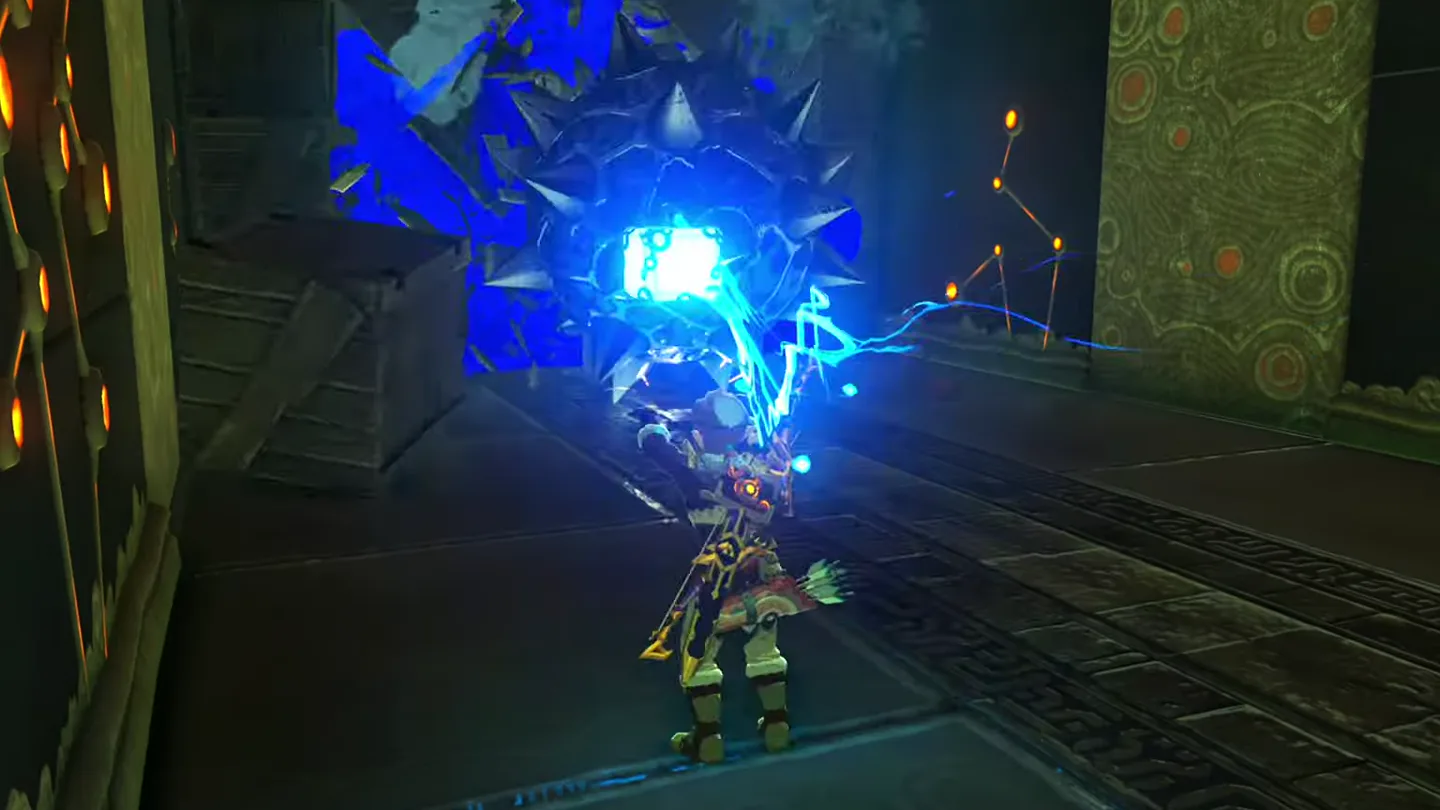
Step on the revealed switch — and immediately dodge out of the way. The portcullis rises and unleashes a giant spiked iron ball that smashes through the wall of wooden crates ahead and rolls straight at you.
Climb past the smashed crates as the path rises. In an alcove on the left wall — on a ledge above the crates, behind a row of cracked blocks — sits a metallic chest; drag it over with Magnesis and loot the Diamond.
4. Grab the Ancient Core and carry the last spiked ball up
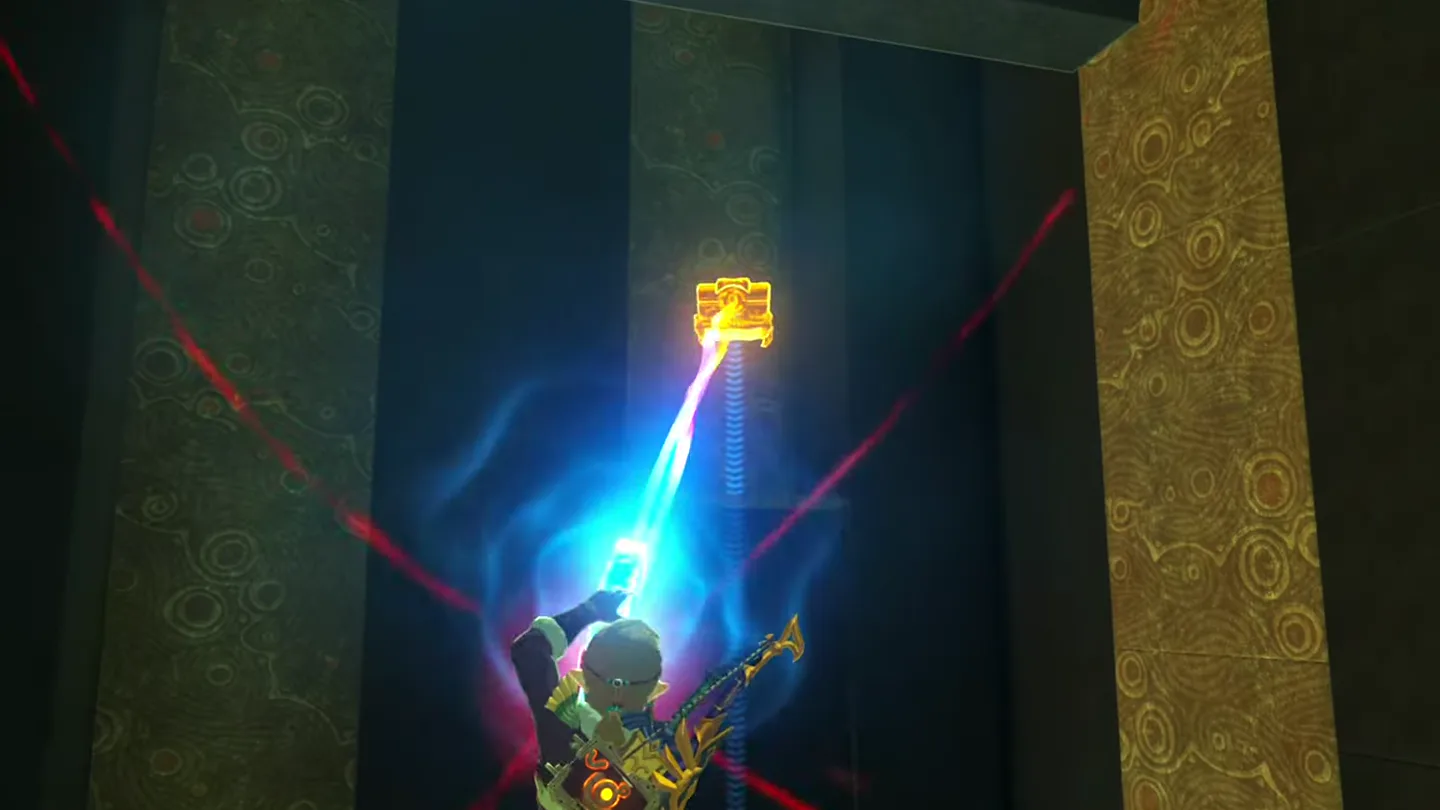
The corridor then crosses a second pool of lava. In a small nook just above the lava, right before the final switch, another metallic chest holds an Ancient Core — Magnesis it to you and open it.
Stand on the final switch. The last portcullis rises and a spiked iron ball hurtles down the ramp at you — sidestep it. If a ball lands in the lava pool behind the switch, a fresh one drops in its place.
Grab the spiked ball with Magnesis as it rolls toward you, keep hold of it, and walk up the ramp to the top.
5. Speak with Maka Rah and complete the trial
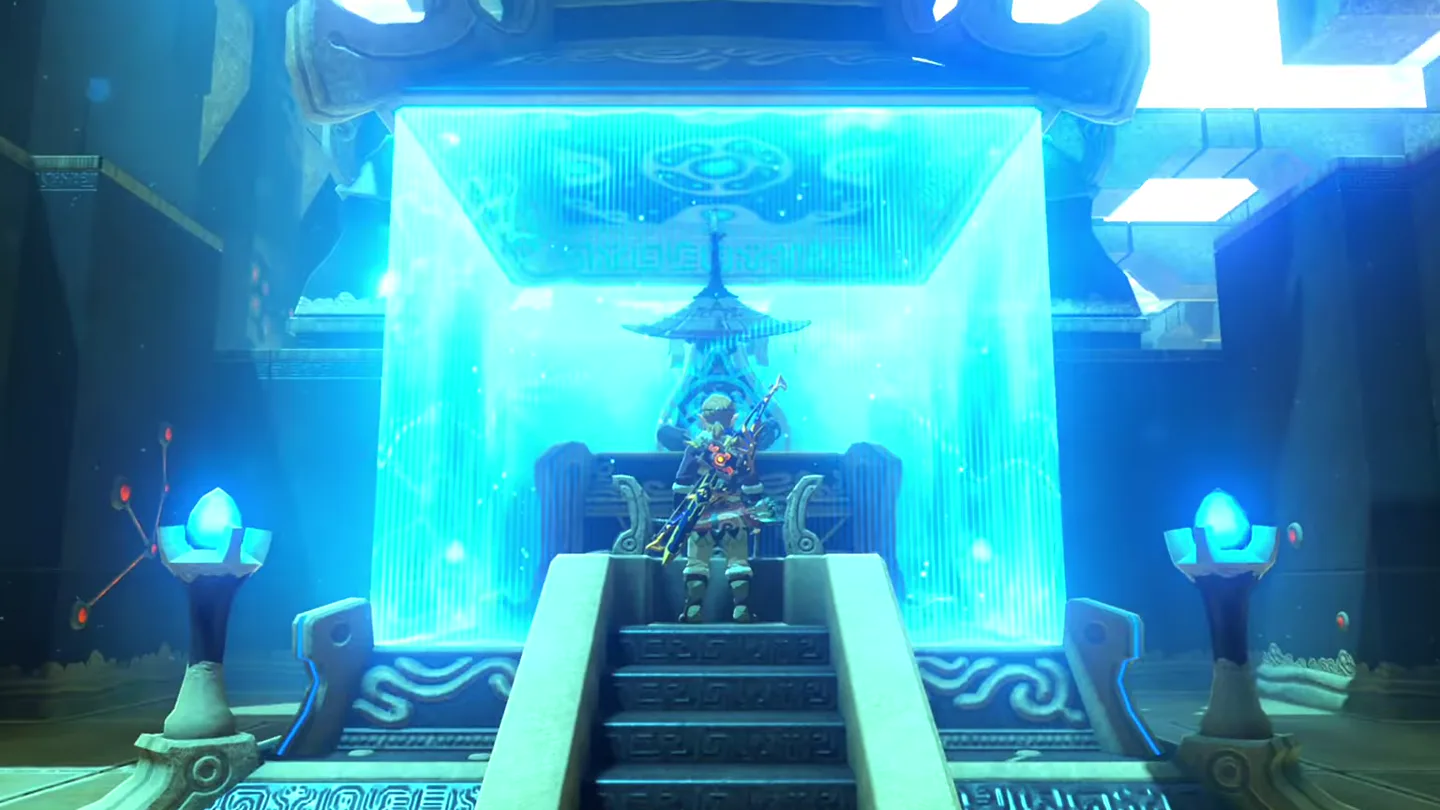
At the top of the ramp, speak with Maka Rah at the monk’s pedestal. He rewards you with a Spirit Orb, wishes you well, and fades away — the trial is complete.
What is in each chest?
| Chest | Contents | How to get it |
|---|---|---|
| 1 | 10 Bomb Arrows | In the water room with the Guardian Scouts, Cryonis-pillar up the right side to the ledge at the back right and open it. |
| 2 | Diamond | A metallic chest in an alcove on the left wall as the path climbs after the crates, on a ledge above the wooden boxes behind a row of cracked blocks. Use Magnesis to pull it to you. |
| 3 | Ancient Core | A metallic chest tucked in a small nook just before the final switch, above the second lava pool. Magnesis it over before hitting the last plate. |
What do people miss here?
- The Ancient Core chest is the most-skipped loot here: it sits in a small nook above the second lava pool, immediately before the final switch. Look up and Magnesis it over before stepping on the last plate.
- The Diamond chest hides in an alcove on the left wall as the path climbs after the crates — up on a ledge behind a row of cracked blocks. It’s metal, so Magnesis fetches it even if you can’t climb up.
- In the water room, most players beeline Cryonis to the left pressure plate and never visit the right ledge, missing the 10 Bomb Arrows. Clear the right side first, then do the left.
- Standing on the switch behind the water room with your guard down is the classic hit: the spiked iron ball smashes through the wooden crates instantly. Step on and dodge out of the way immediately.
- At the final ramp, dodging alone doesn’t solve it — if the ball rolls into the lava behind the switch, a new one simply drops. Grab it with Magnesis and carry it up.
What else is nearby?
| Shrine | Direction | Straight-line distance | Region |
|---|---|---|---|
| Sha Warvo Shrine | southeast | 383 | Tabantha |
| Mozo Shenno Shrine | northeast | 683 | Hebra |
| Voo Lota Shrine | south | 787 | Tabantha |
Which guides help next?
FAQ
Where is the entrance to Maka Rah Shrine?
How do I open the first gate in Maka Rah Shrine?
How do I get past the giant spiked ball at the final ramp?
Where are all three chests in Maka Rah Shrine?
What do I need to bring before entering Maka Rah Shrine?
Related Articles
guides
Breath of the Wild Captured Memories: All 13 Locations and Rewards
All 12 photo locations from Zelda's album plus the 13th memory in Impa's painting, with coordinates, nearby shrines, the Champion's Tunic and the extra ending scene.
guides
Breath of the Wild Great Fairy Fountains: Locations, Costs and Horse God
Where the four Great Fairy Fountains and the Horse God Malanya are in Breath of the Wild, what each fairy costs to release, and how many you need per armor upgrade.
guides
Hyrule Castle Walkthrough: Entry Routes, Hylian Shield and Final Prep
How to get into Hyrule Castle in Breath of the Wild: five entry routes, the Hylian Shield and other loot by room, and what to prepare before the final battle.
Was this helpful?
Thanks for the feedback!