

Sha Gehma Shrine Walkthrough – Shift and Lock Trial (BotW)
Step-by-step Sha Gehma Shrine guide: freeze the metal cube with Stasis, grab the Small Key and Royal Broadsword, and earn your Spirit Orb.
Where is Sha Gehma Shrine?
From Snowfield Stable, travel far north out into the N. Tabantha Snowfield: the shrine sits close to the snowfield’s northern edge, on the northern border of the Hebra region, in the Tabantha Tundra. Guides file it under the Hebra region’s shrines even though the snowfield itself lies in the tundra north of it.
| Item | Detail |
|---|---|
| Trial | Shift and Lock |
| Tower region | Hebra |
| Map-marker coordinates | -1672, 3759, 0360 |
| Shrine quest | None |
| Chests | 2 |
| Names | Sha Gehma Shrine · 夏‧格瑪神廟 · 夏·格玛神庙 |
What should you bring?
All you need are your runes: Magnesis and Stasis, both earned in the Great Plateau’s rune trials (Oman Au Shrine for Magnesis, Owa Daim Shrine for Stasis). The trial itself is pretty straightforward rune work from start to finish, so no special gear is required inside the shrine. Since it sits out in the Tabantha Tundra’s snowfield, cold-resistant gear or warming food simply makes the trip out more comfortable.
Video walkthrough
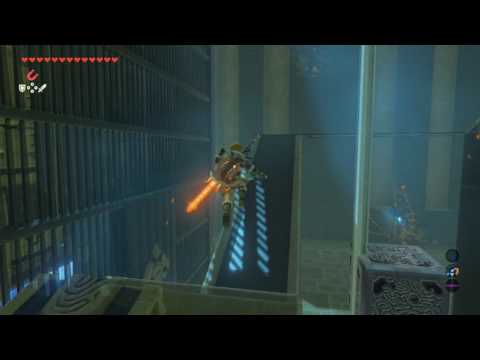
How do you solve Sha Gehma Shrine?
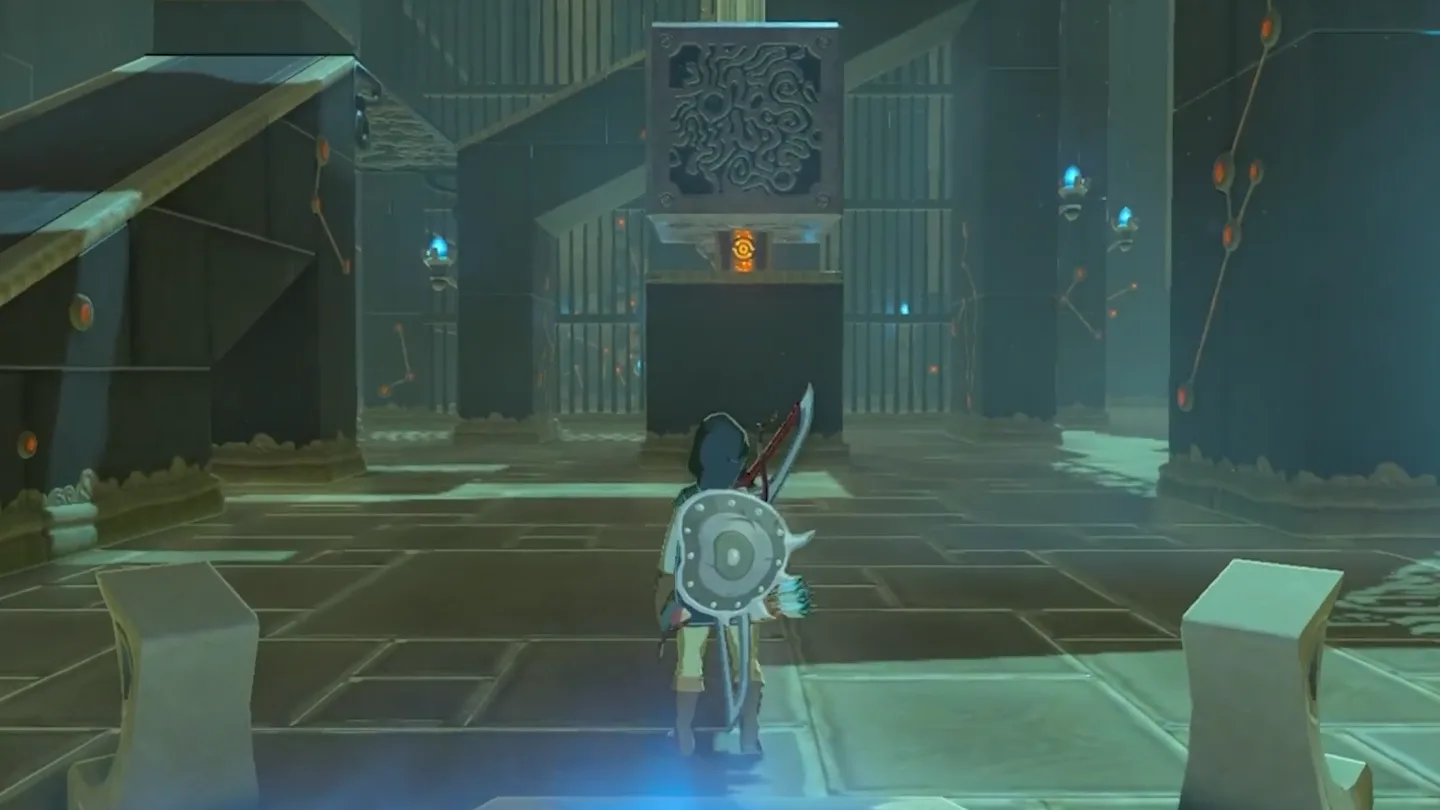
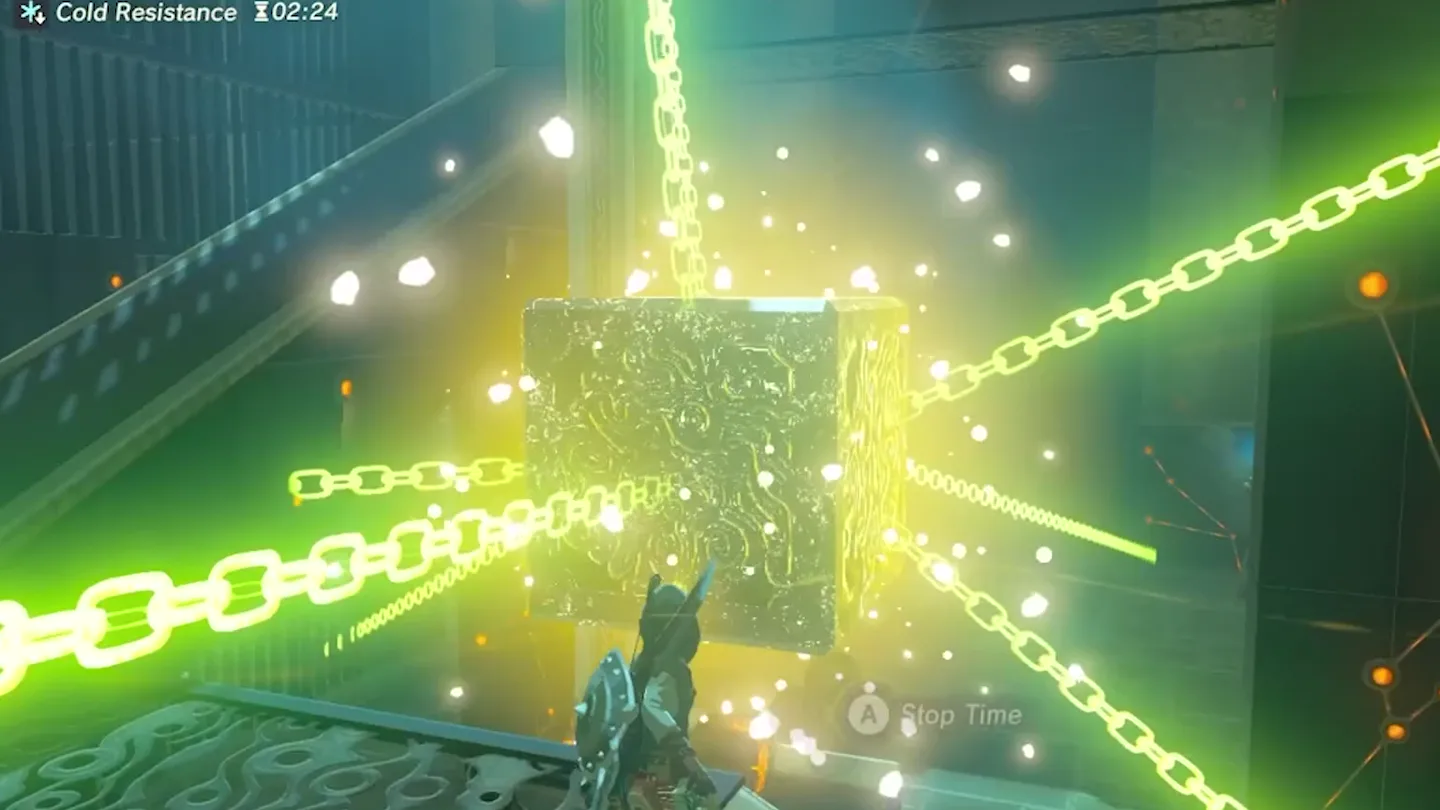
The entire trial turns on one idea: a metal cube on the central rail pins the Small Key chest shut at the bottom. You must lift it with Magnesis and then keep it from falling back — either by resting it on the two moving platforms or by freezing it with Stasis — while you glide down and open the chest.
1. Enter and survey the shrine
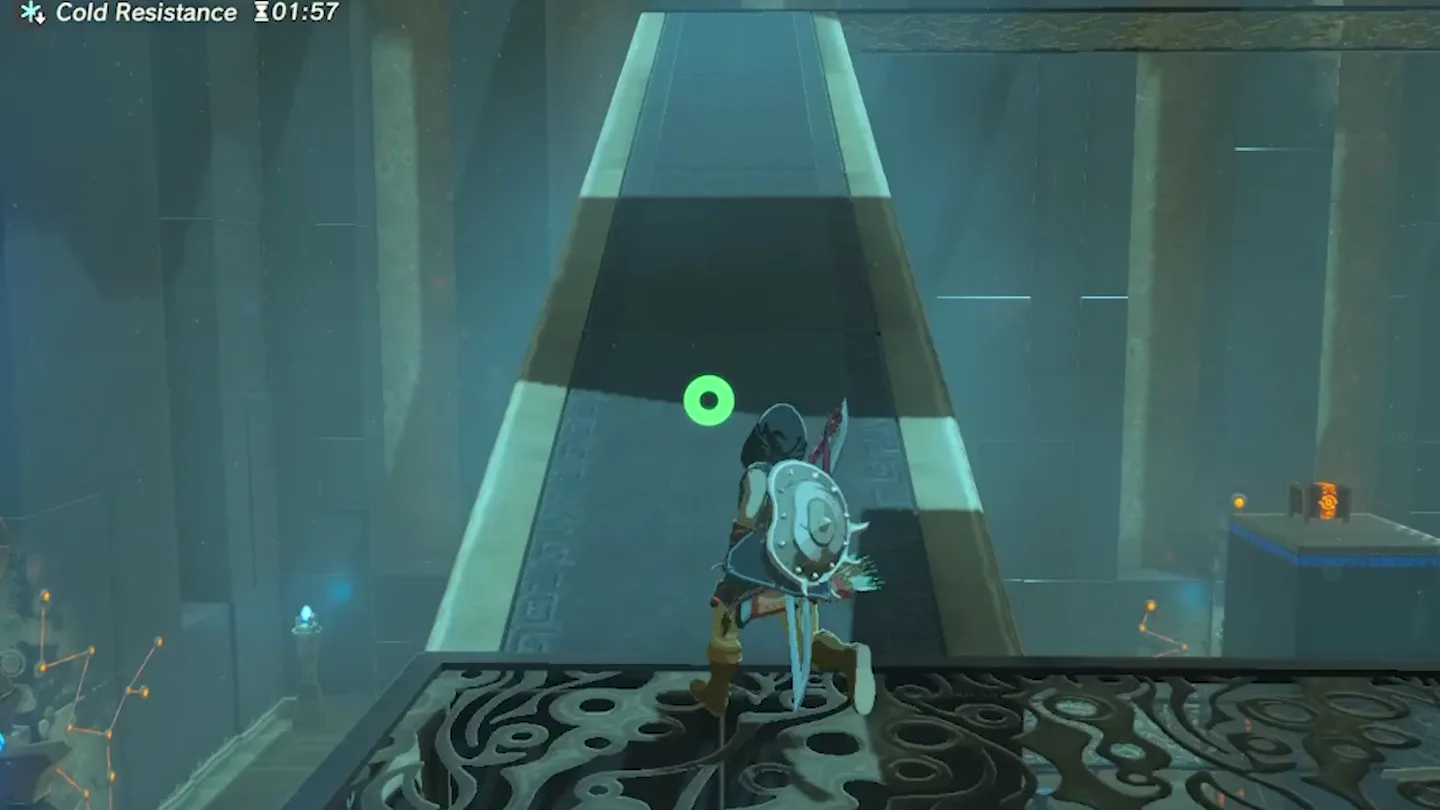
Step inside — the monk Sha Gehma greets you — and size up the room: a metal cube rests on the central rail, pinning a treasure chest at the bottom, a walkway spirals up around the rail, and two moving platforms pass near it.
Head up the ramp, following the spiraling walkway toward the top. This shrine is a pretty straightforward one — the only real puzzle is that cube.
2. Detour for the Royal Broadsword
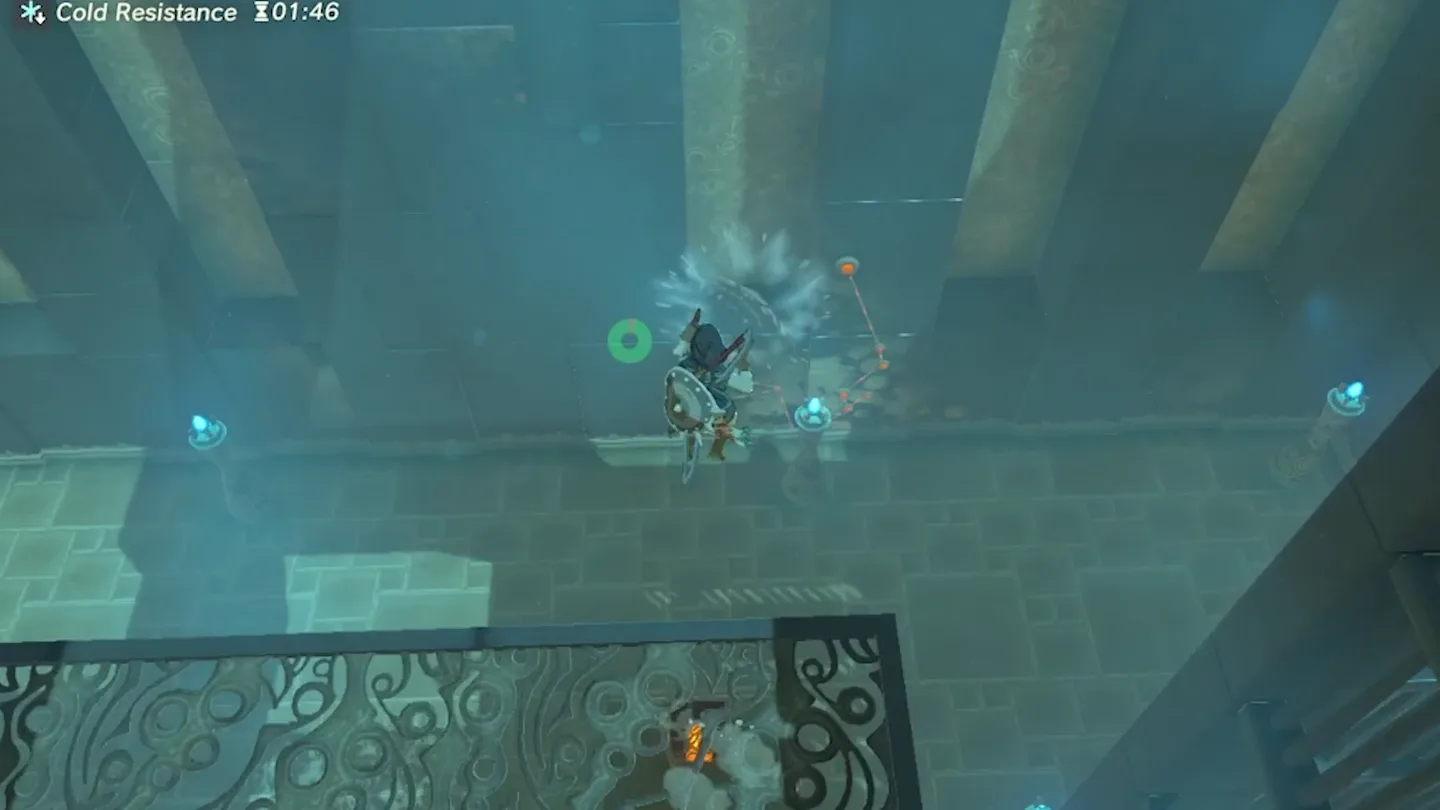
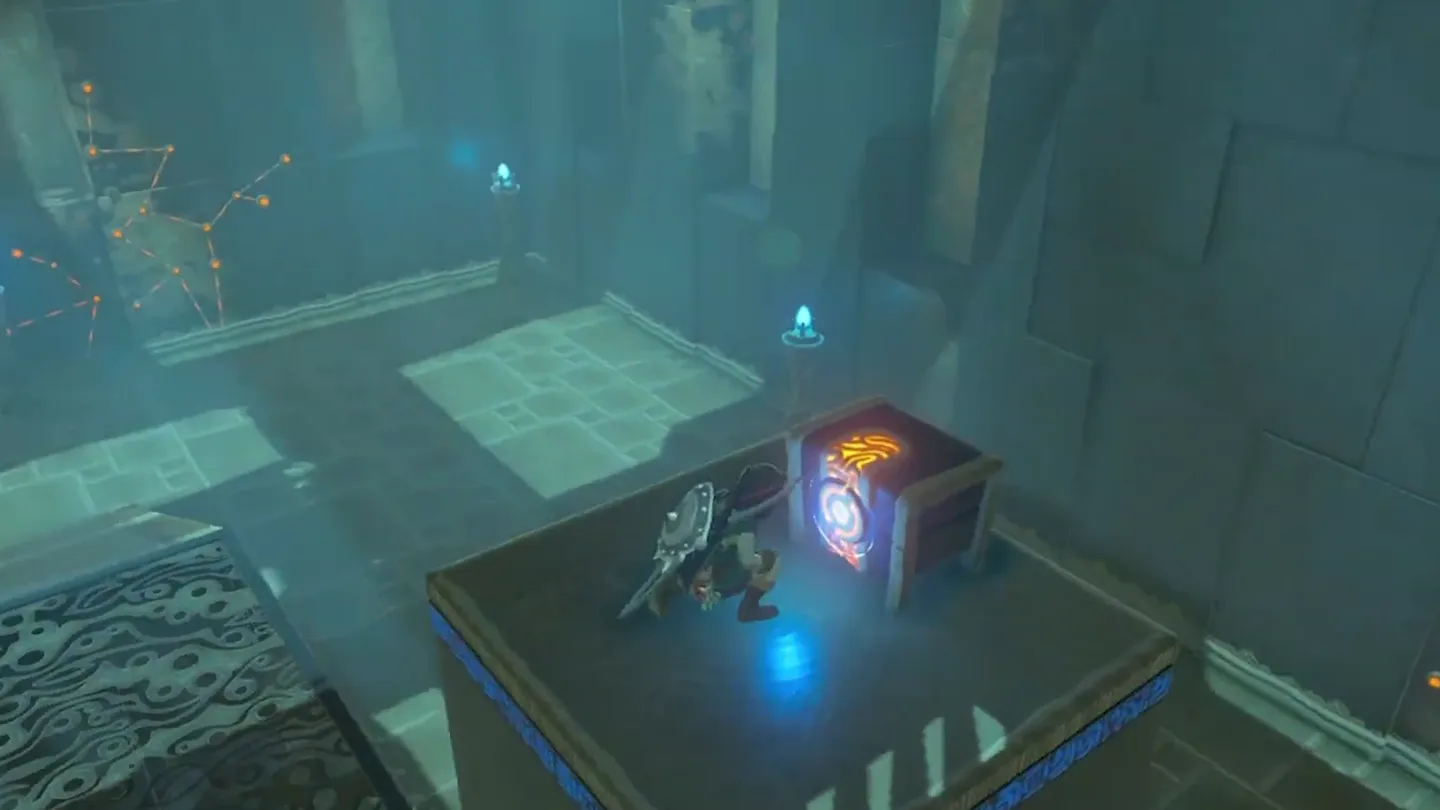
Near the top, make a quick detour: a treasure chest sits out on a pillar underneath the top of the walkway, off the main path.
From the top of the ramp pathway, paraglide down onto the pillar and open the chest to loot a Royal Broadsword.
3. Lift the cube and get the Small Key
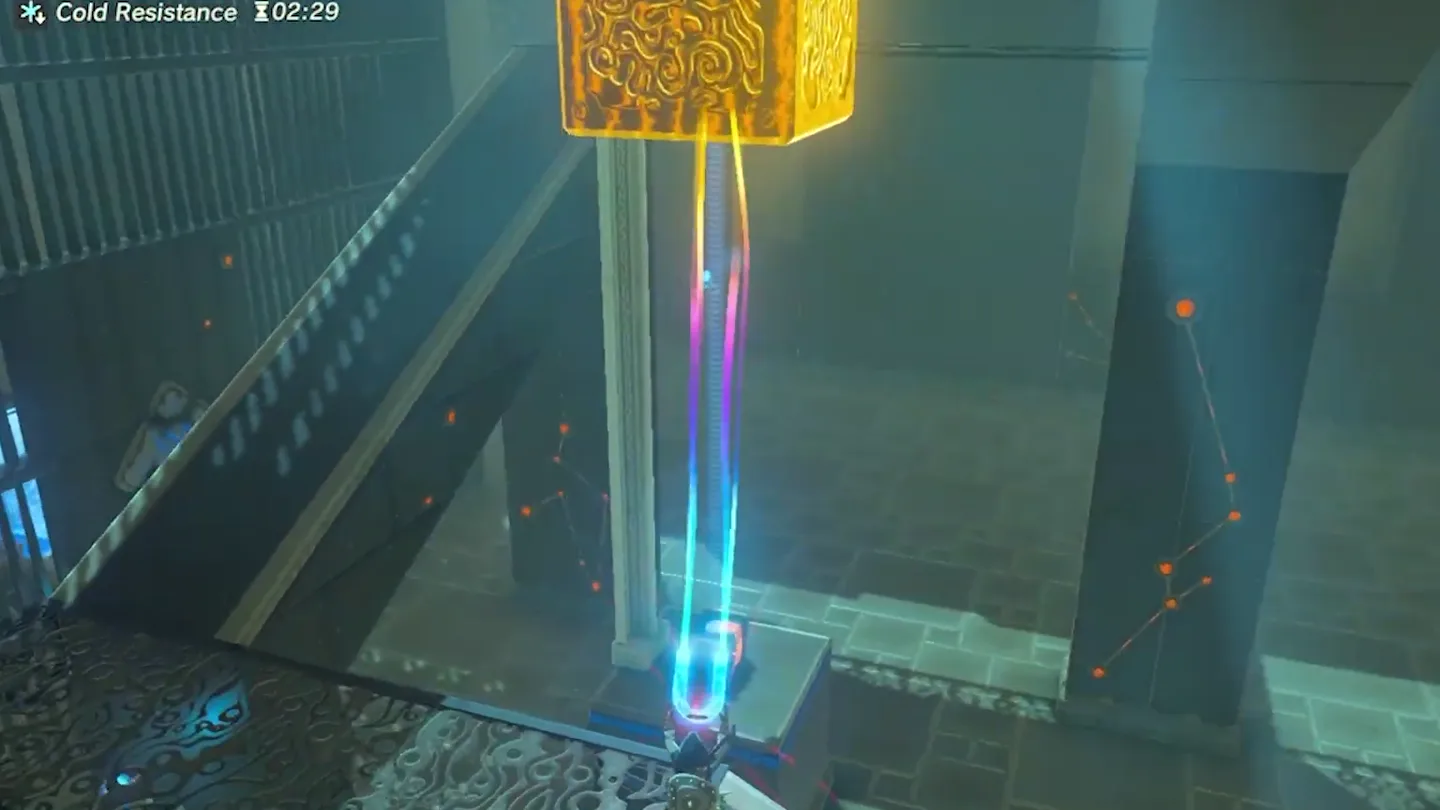
Climb back up and use Magnesis to grip the metal cube, pulling it up the rail as you make your way to the top.
At the top, watch the two moving platforms and wait for the moment they pass beneath the cube.
Option A (timing): release the cube when the two platforms are beneath it — it gets stuck resting on top of them, but only for a short time.
Option B (no timing): with the cube raised well clear of the chest below, cast Stasis on it to stop it from falling back down.
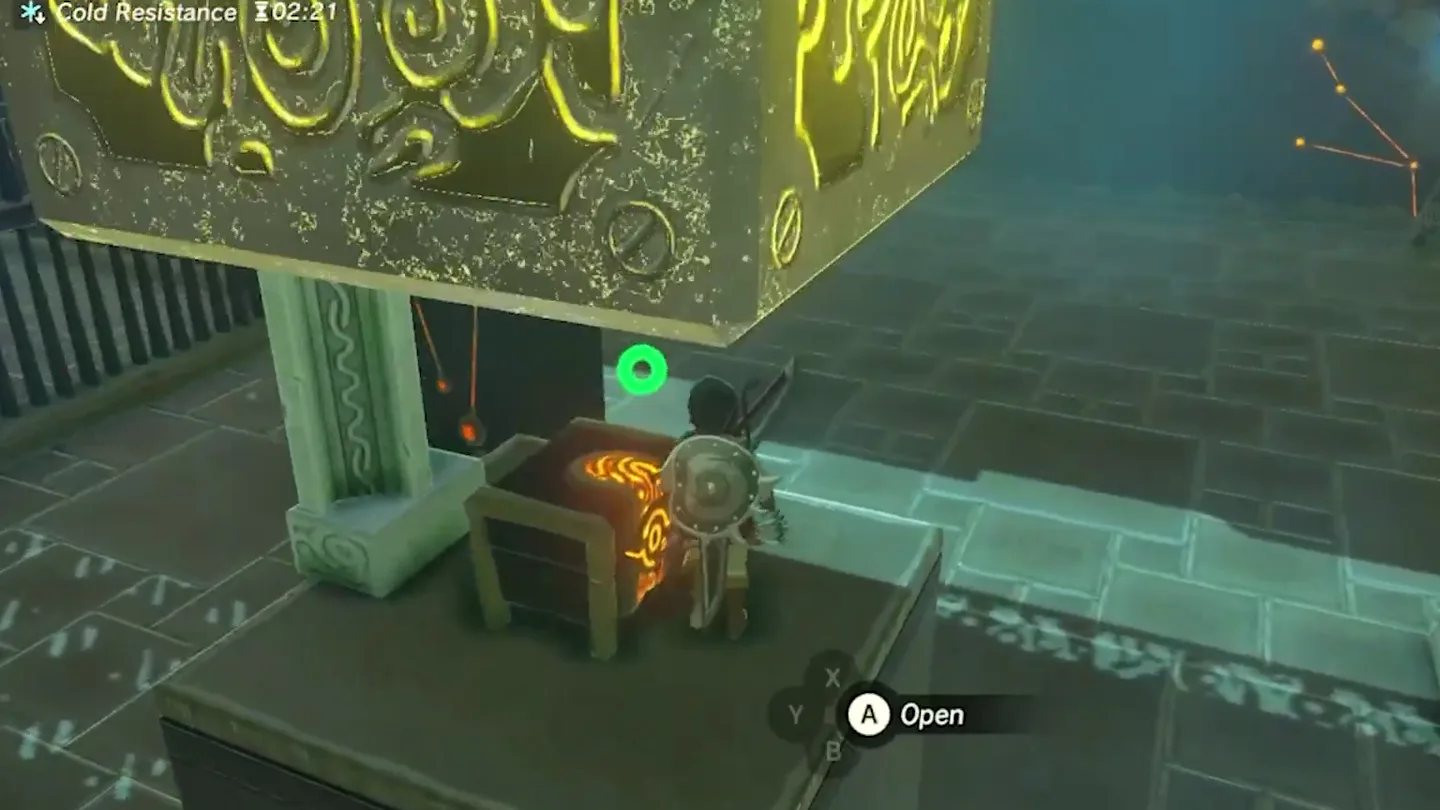
Jump and paraglide down to the bottom of the rail. If you went with Option A and need extra time, you can also cast Stasis on one of the moving platforms to keep the cube propped up longer.
While the top of the chest is clear, open it and retrieve the Small Key. If the cube drops back onto it first, simply climb up and lift it again with Magnesis.
4. Open the gate and complete the shrine
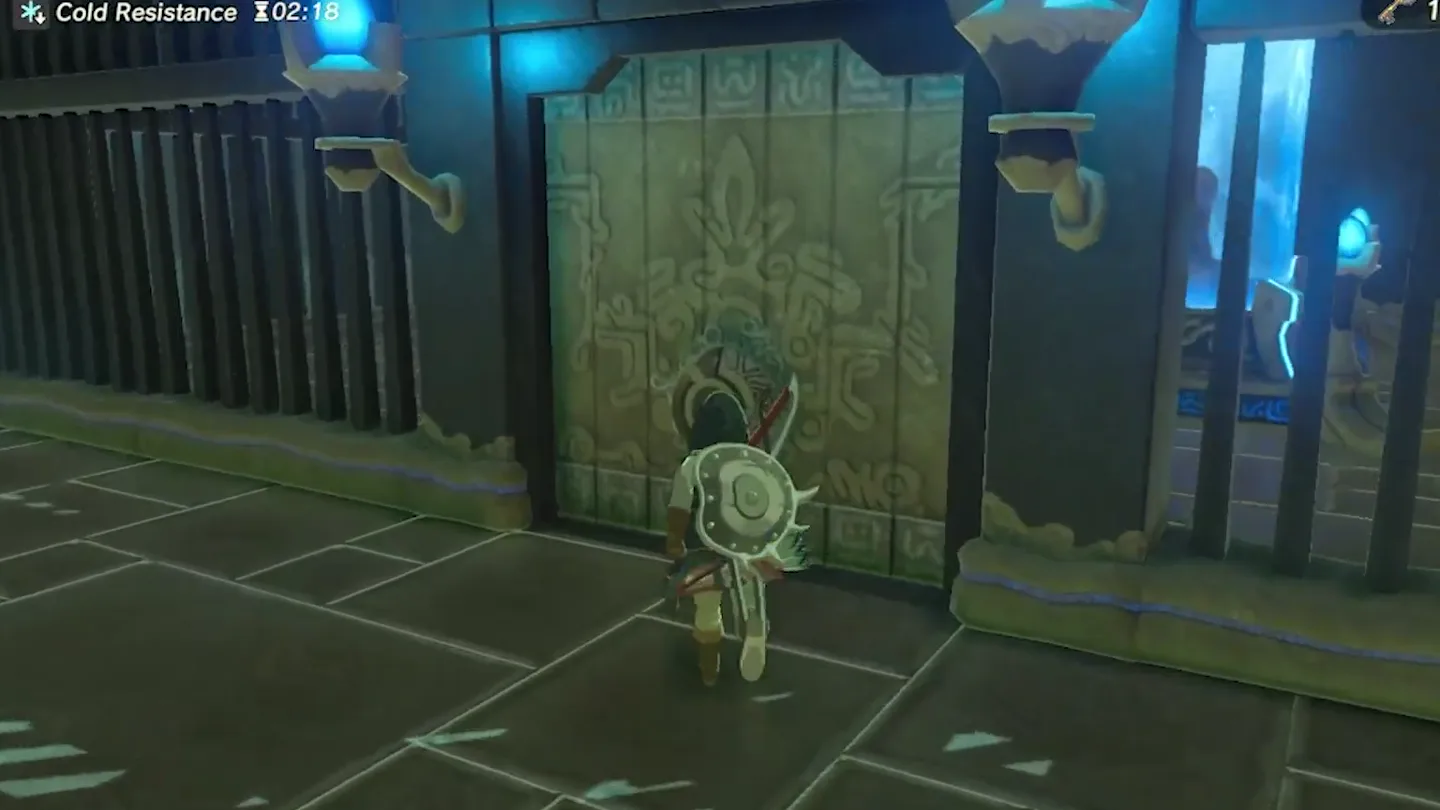
Take the Small Key to the portcullis at the end and use it to open the gate to the Monk’s Pedestal.
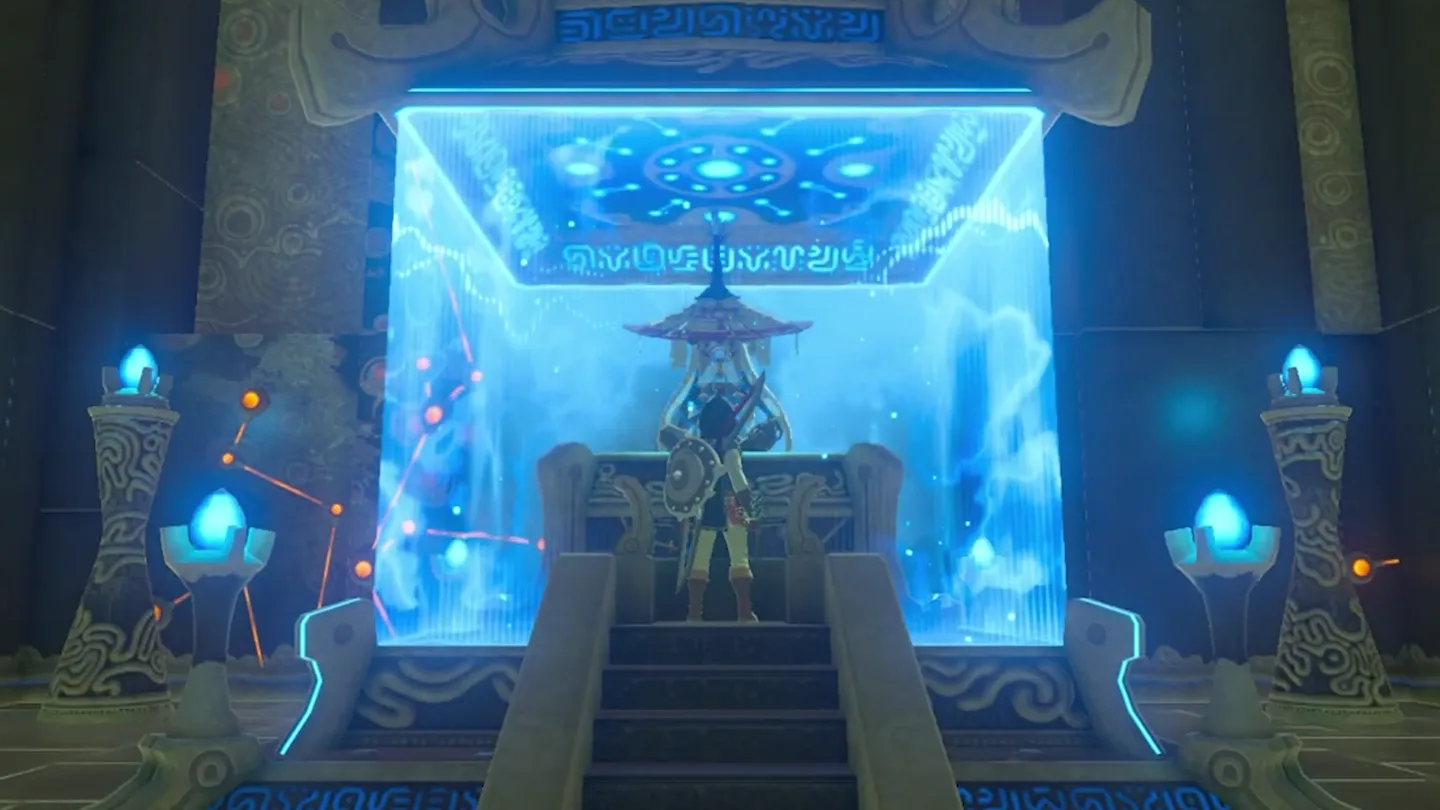
Approach Sha Gehma to receive your Spirit Orb. The monk wishes you well — ‘May the Goddess smile upon you’ — before fading away.
What is in each chest?
| Chest | Contents | How to get it |
|---|---|---|
| 1 | Royal Broadsword | Underneath the top of the spiraling walkway, out on a pillar off the main path. Climb the ramp to the top, then paraglide down onto the pillar to open it. |
| 2 | Small Key | In the chest trapped under the metal cube at the bottom of the central rail. Lift the cube with Magnesis, then either release it onto the two moving platforms or freeze it with Stasis so you can open the chest before it drops back. |
What do people miss here?
- The Royal Broadsword chest is easy to walk straight past — it hides underneath the top of the spiraling walkway, out on a pillar away from the main path. Paraglide to it from the top of the ramp before you finish the shrine.
- Timing pitfall: if you release the cube when the two platforms are not both beneath it, it falls straight back onto the key chest. No harm done — just climb back up and lift it again with Magnesis.
- Don’t linger at the bottom waiting for the cube to stay up on its own — it only stays raised while resting on top of the two platforms or while frozen by Stasis.
- Need more time with Option A? Cast Stasis on one of the moving platforms to extend the window during which the cube stays propped up.
- The portcullis at the end only opens with the Small Key, so the cube puzzle is mandatory — only the sword chest is optional.
What else is nearby?
| Shrine | Direction | Straight-line distance | Region |
|---|---|---|---|
| Qaza Tokki Shrine | east | 879 | Hebra |
| Rok Uwog Shrine | southwest | 884 | Hebra |
| Rin Oyaa Shrine | south | 1204 | Hebra |
Which guides help next?
FAQ
How do I keep the metal cube off the chest in Sha Gehma Shrine?
What's in the chests at Sha Gehma Shrine?
Why won't the gate at the end of Sha Gehma Shrine open?
Is Sha Gehma Shrine difficult?
Where exactly is Sha Gehma Shrine?
Related Articles
guides
Breath of the Wild Captured Memories: All 13 Locations and Rewards
All 12 photo locations from Zelda's album plus the 13th memory in Impa's painting, with coordinates, nearby shrines, the Champion's Tunic and the extra ending scene.
guides
Breath of the Wild Great Fairy Fountains: Locations, Costs and Horse God
Where the four Great Fairy Fountains and the Horse God Malanya are in Breath of the Wild, what each fairy costs to release, and how many you need per armor upgrade.
guides
Hyrule Castle Walkthrough: Entry Routes, Hylian Shield and Final Prep
How to get into Hyrule Castle in Breath of the Wild: five entry routes, the Hylian Shield and other loot by room, and what to prepare before the final battle.
Was this helpful?
Thanks for the feedback!