

Dako Tah Shrine Walkthrough: Electric Path Guide
Complete Dako Tah Shrine walkthrough: find it in the Great Cliffs sandstorm at night, drag the metal cube along the wire, and open every chest.
Where is Dako Tah Shrine?
The shrine hides inside the sandstorm that swirls over the Great Cliffs, southeast of Gerudo Tower, and during the day it never lifts. It only subsides between 9:00 PM and 4:00 AM, so plan your approach for night — that’s when you can actually see and navigate the cliffs to the entrance. Nobiro at Kara Kara Bazaar watches this same storm every day and will share his rumor of treasure hidden inside it; listening to him starts ‘The Eye of the Sandstorm’ shrine quest, and finding the shrine completes it.
| Item | Detail |
|---|---|
| Trial | Electric Path |
| Tower region | Wasteland |
| Map-marker coordinates | -3317, -2163, 0159 |
| Shrine quest | The Eye of the Sandstorm |
| Chests | 4 |
| Names | Dako Tah Shrine · 達科‧塔瓦神廟 · 达科·塔瓦神庙 |
What should you bring?
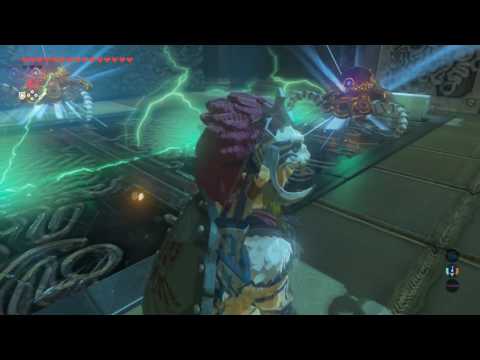
Only the Magnesis rune is required — the shrine supplies its own metal cube, and Magnesis does all the work. Three Guardian Scout Is wait inside: one in the entrance hallway and two in the second room. Any weapon handles them, or you can drop the cube onto their metal plates and let the electricity do the fighting.
Video walkthrough
How do you solve Dako Tah Shrine?
The entire trial turns on one metal cube: you use Magnesis to hold it against a live wire and a series of switches, keeping the current — and every platform in the shrine — running.
1. Cross the First Gap
Head up the steps from the entrance and bear right — a Guardian Scout I patrols the hallway. Take it out or run past, then follow the corridor into a large room with a big gap.
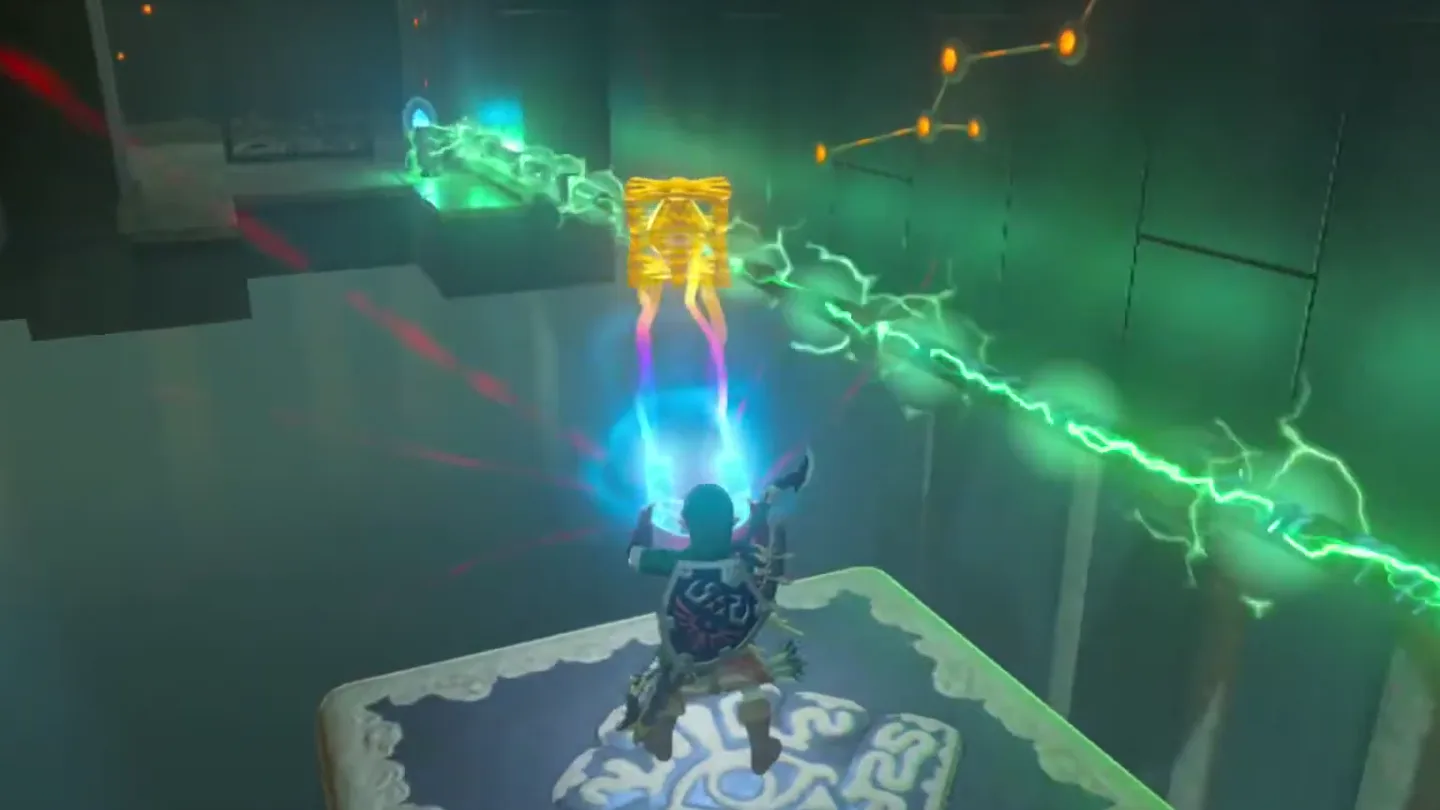
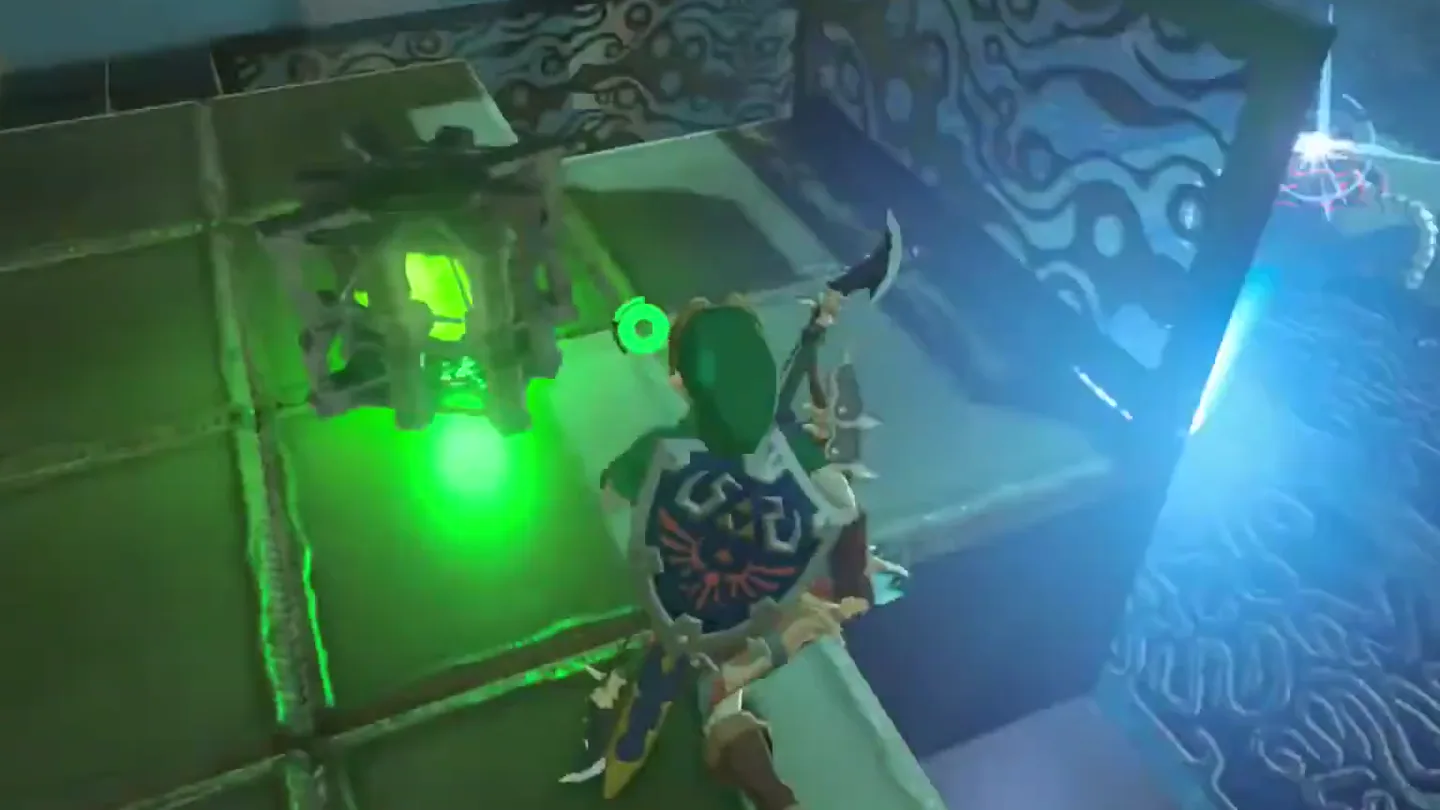
A green electric current runs along a wire from a metal cube on the far side to a switch near you, and that current powers the moving platform. Grab the cube with Magnesis and drag it along the wiring as you ride the platform across — picking the cube up stops the platform from moving, so keep it on the wire the whole way.
2. Ride Up and Find the Hidden Chest
On the far side, carry the cube up the ramp and set it on the second switch (bulb) — the platform in this room starts moving up and down. Ride it upward.
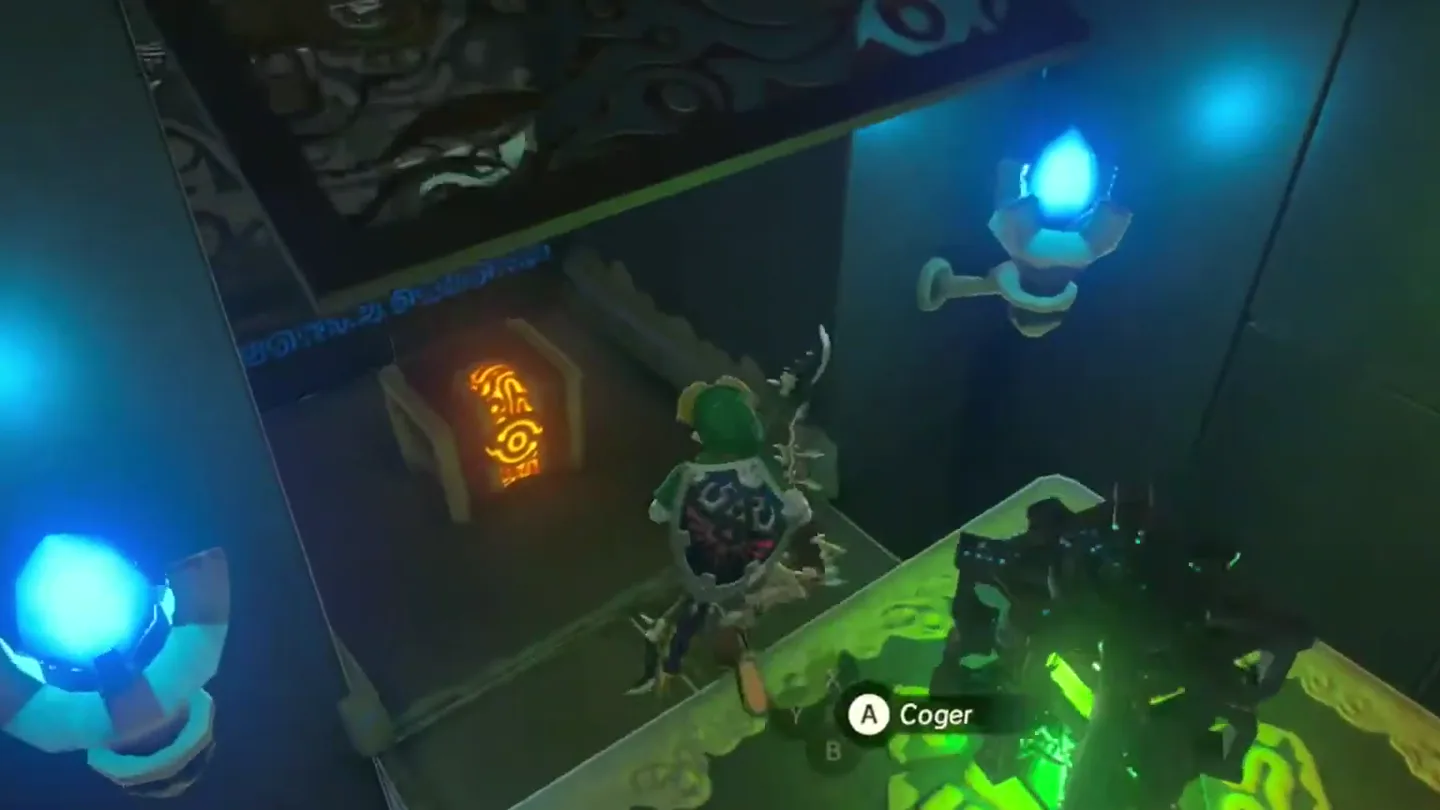
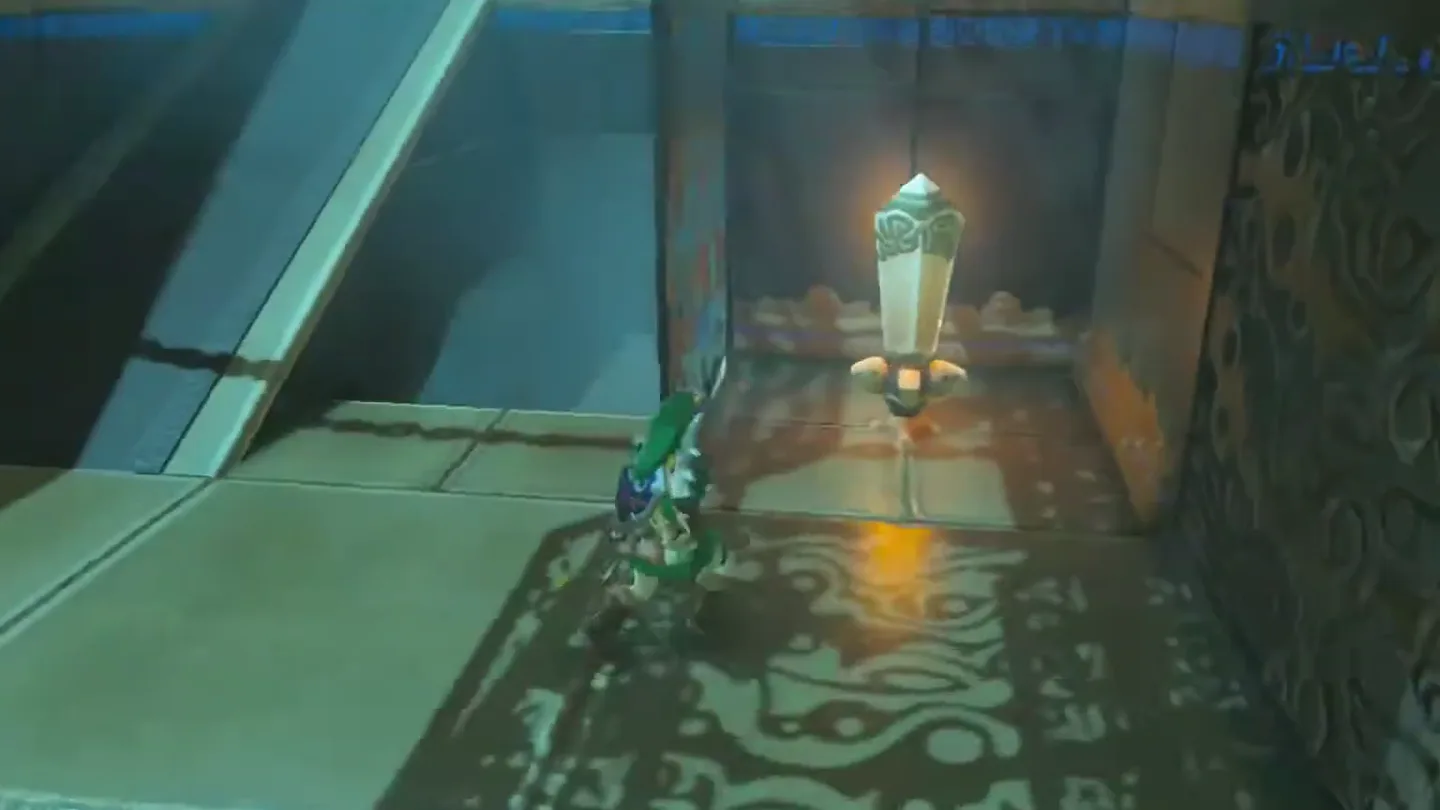
Stop before the platform reaches the very top: a hidden alcove sits right beneath the ramp at the top of its path. Jump in and open the chest for a Moonlight Scimitar, then head up the ramp — and don’t forget to bring the metal cube with you.
3. Shock the Guardian Scouts and Open the Path
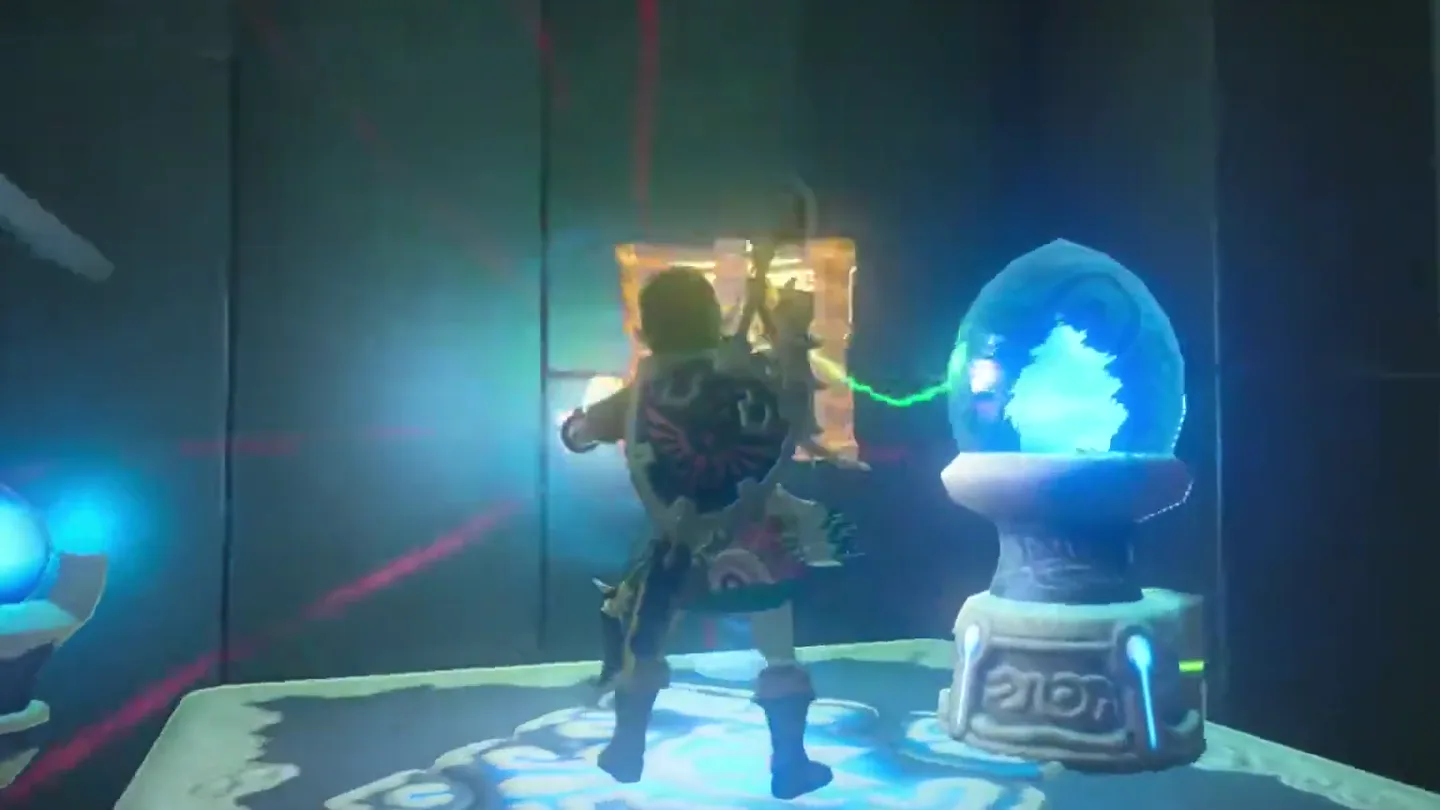
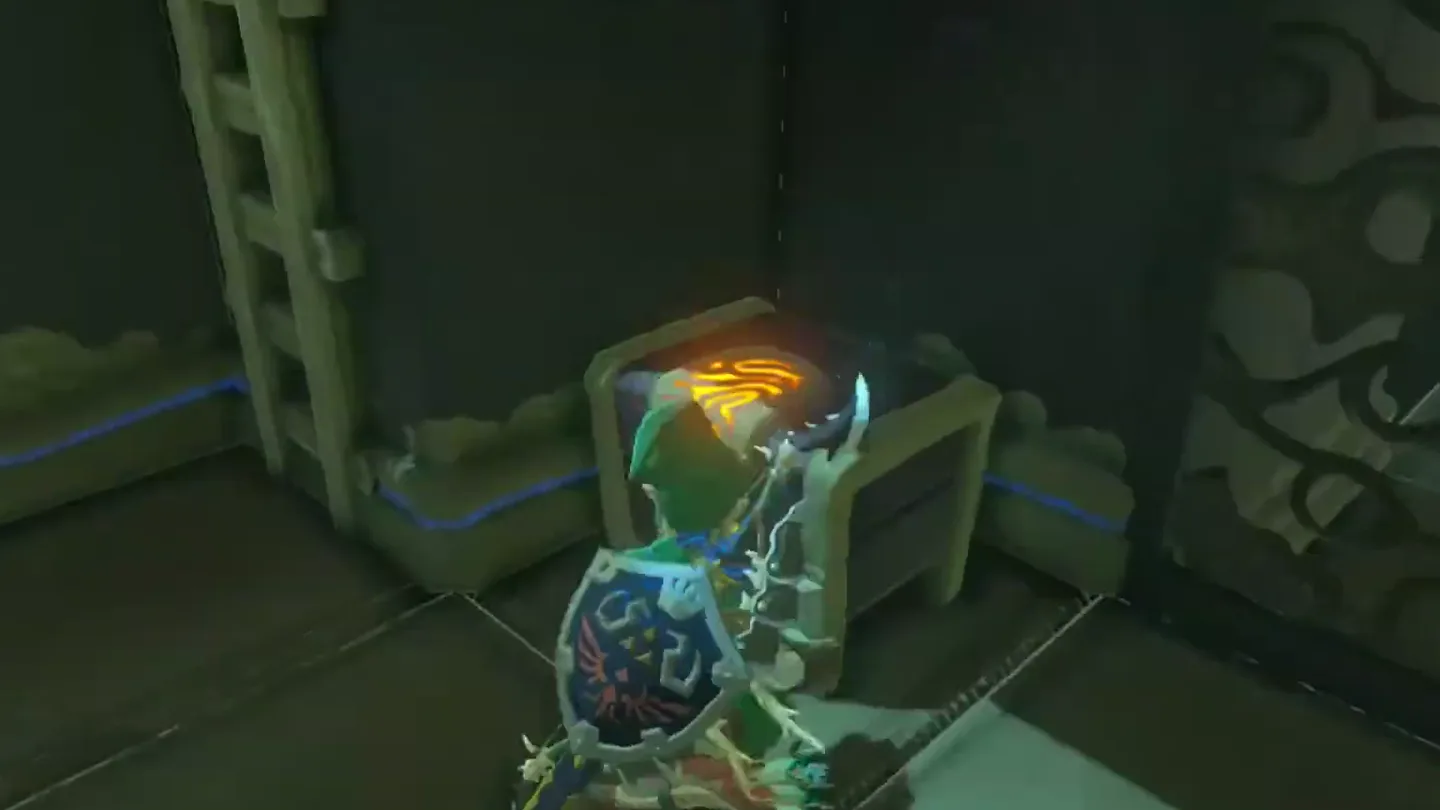
The next room holds two Guardian Scout Is standing on metal plates. Stay off the metal and drop the metal cube onto the metal floor — the surge shocks them. Just make sure you don’t stand on the metal floor yourself.
Loot the chest nearby for an Ancient Core.
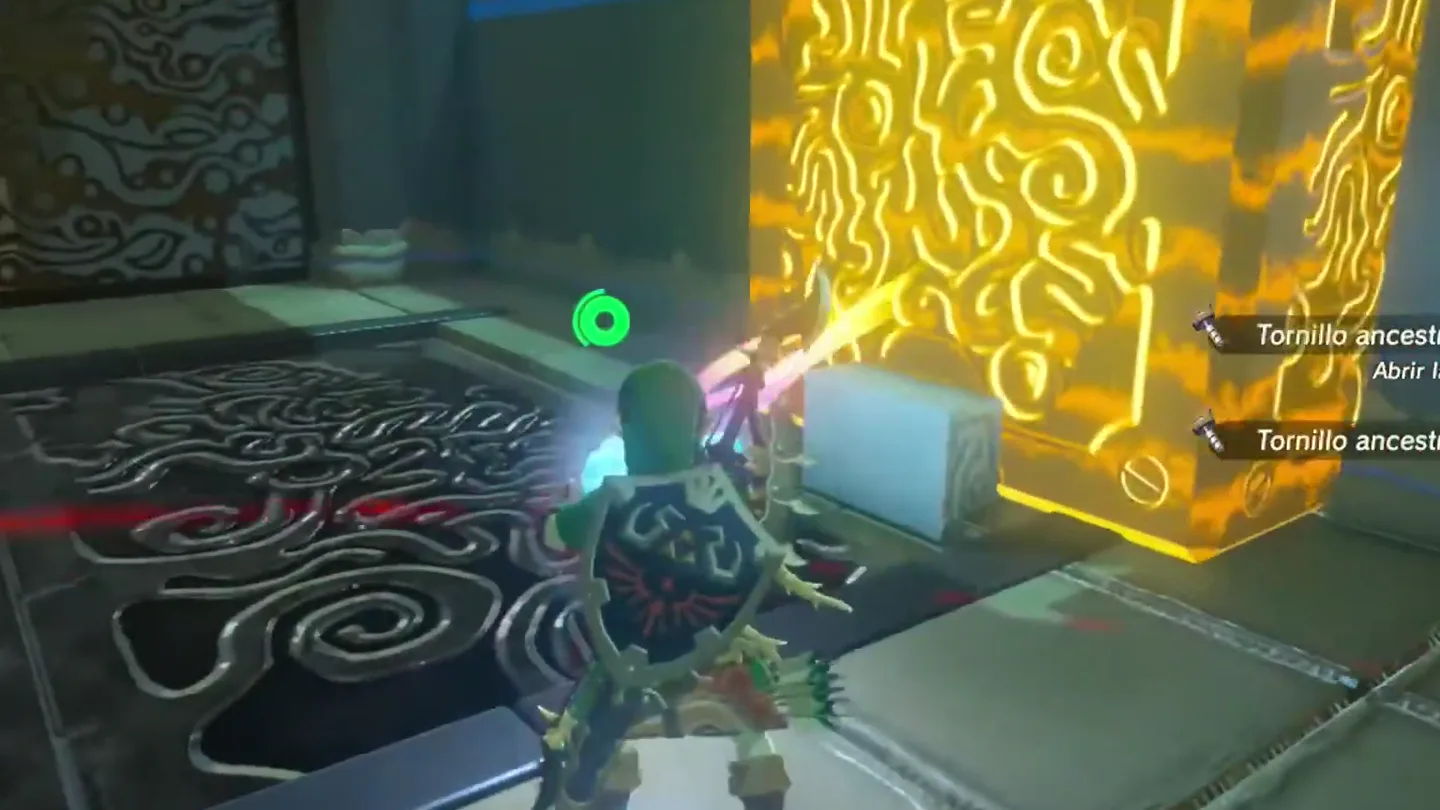
Carry the cube over and touch the big metal cube embedded in the wall — it zooms forward and opens up a new pathway.
4. Take the Side Path for the Silver Rupee Chest
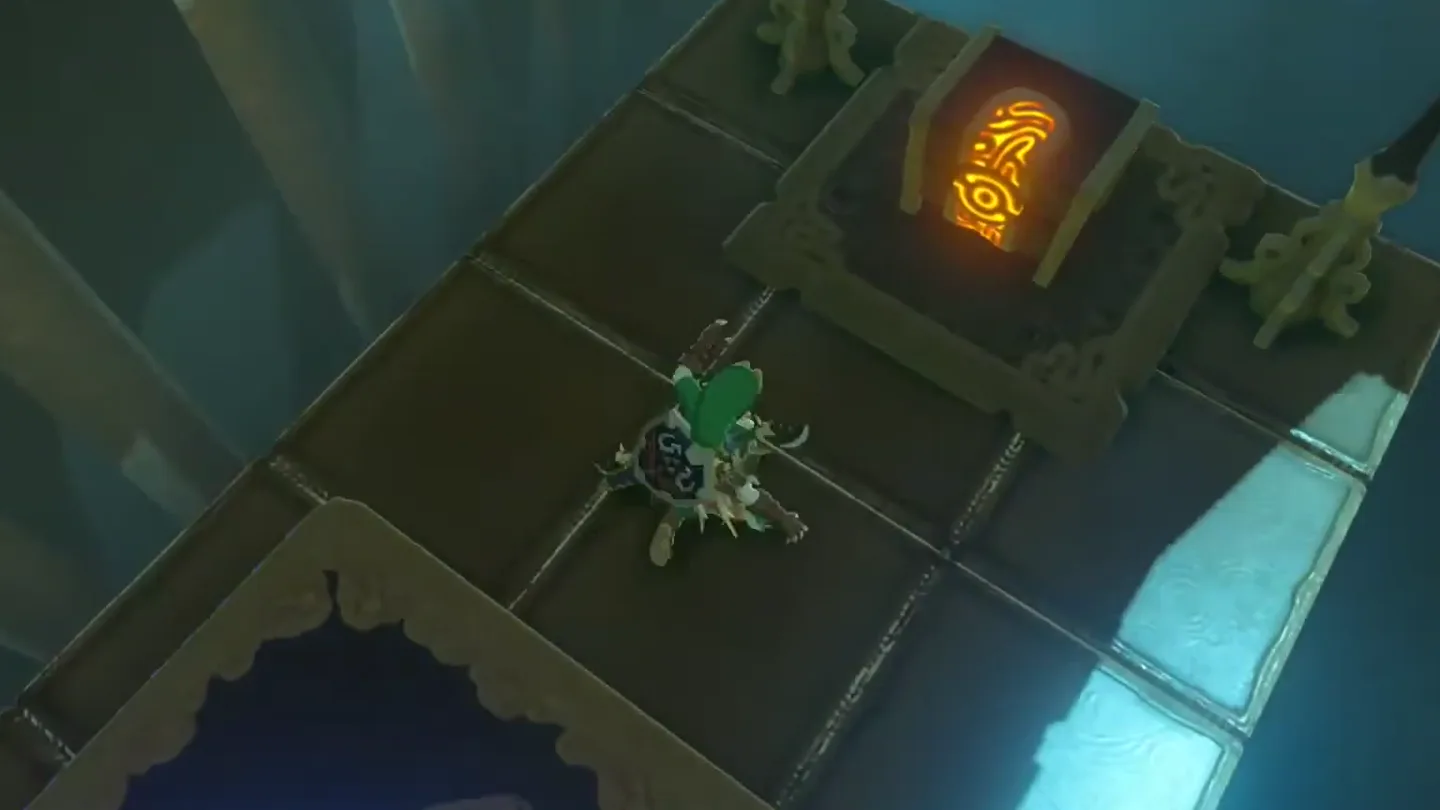
Ignore the left ramp for now. Take the right-hand ramp down to an orange crystal and hit it to trigger a moving platform.
Ride that platform all the way down to the hidden area beneath and open the chest for a Silver Rupee (100 rupees). This same crystal platform serves as the shortcut to and from the bottom floor.
5. Power the Chain Platform and Ride to the End
Head back up, pick up the metal cube, go up the left ramp, and take the moving platform all the way to the top.
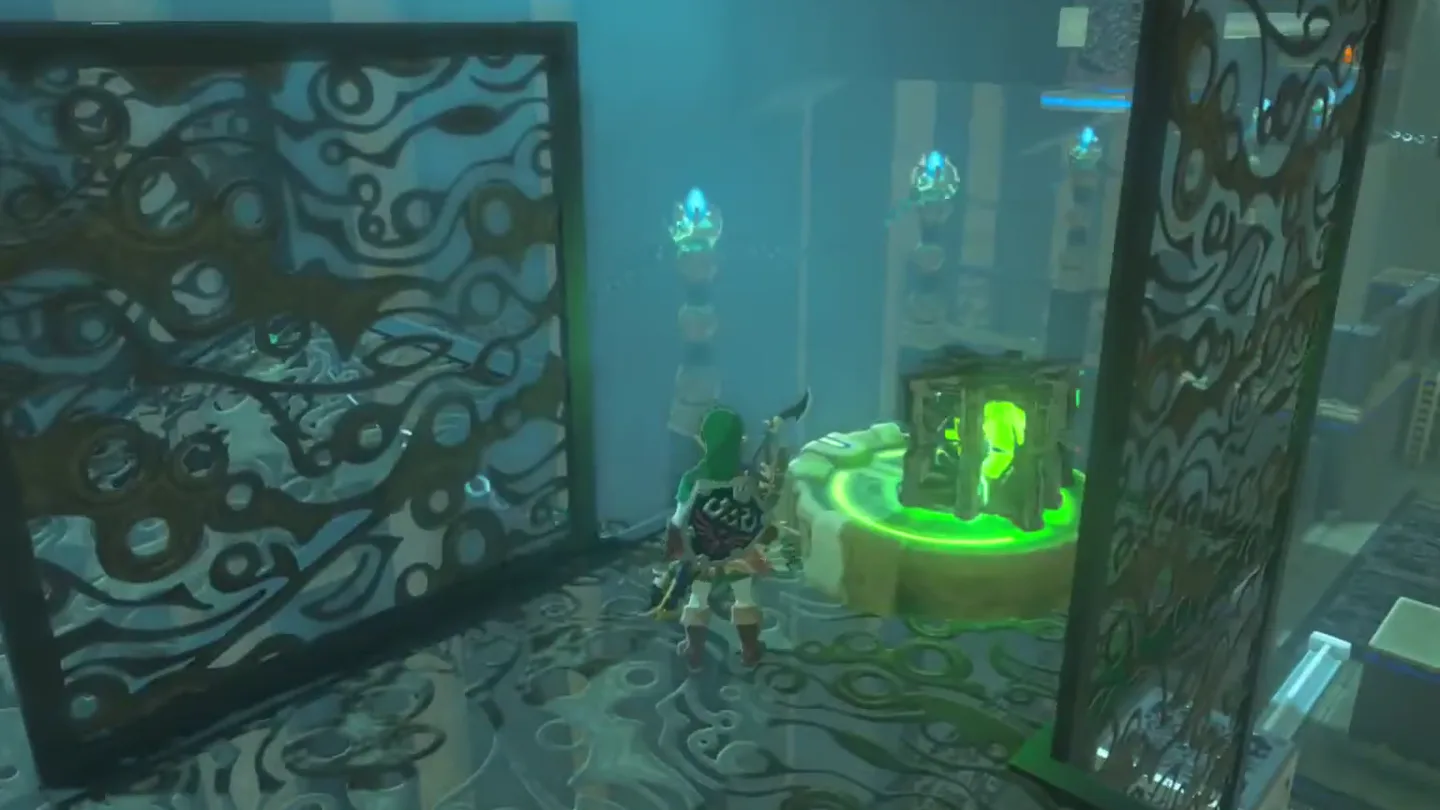
To the left of the moving platform is a circular charge plate — place the cube on it to power up the chains and set a platform running along them. Hop aboard when it comes close enough.
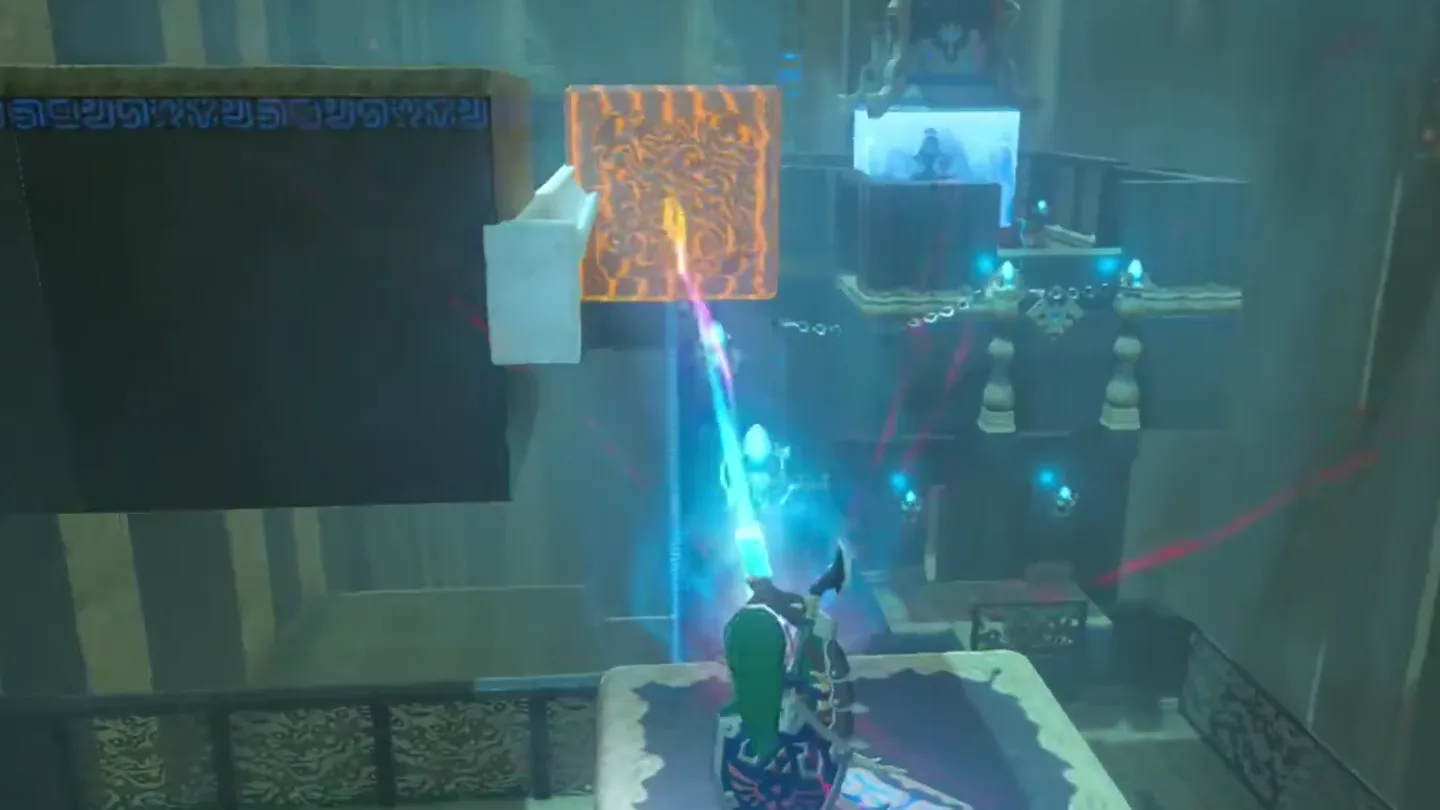
As the platform approaches the big metal cube, push it forward with Magnesis so you don’t bang into it — keep moving the cube as you ride so you don’t get knocked off.
6. Get the Final Chest and Complete the Shrine
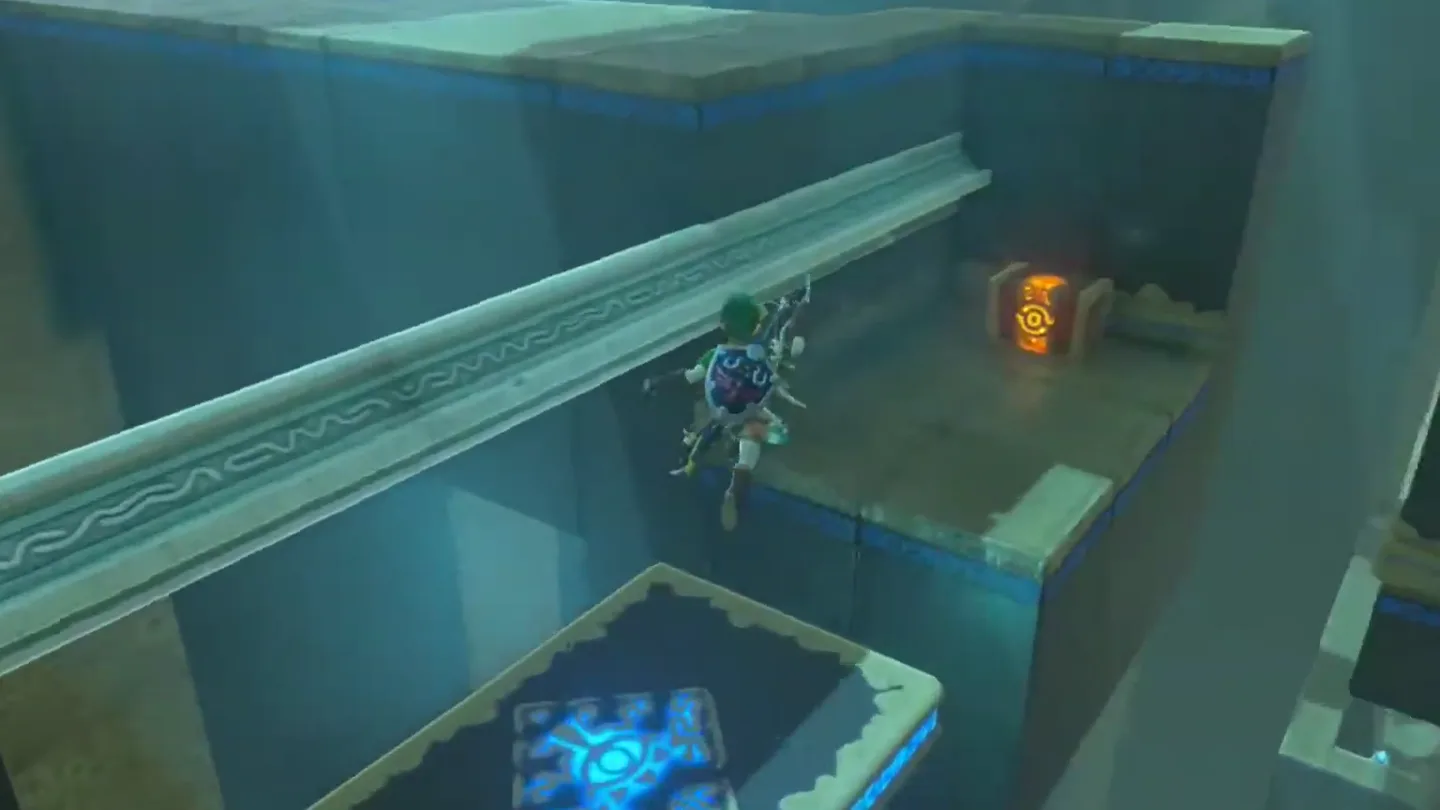
The platform halts right in front of the shrine’s end. Don’t walk straight to the monk — hop onto the top of the wall and paraglide left to a side platform holding a chest with the Radiant Shield (Shield Guard Up +10).
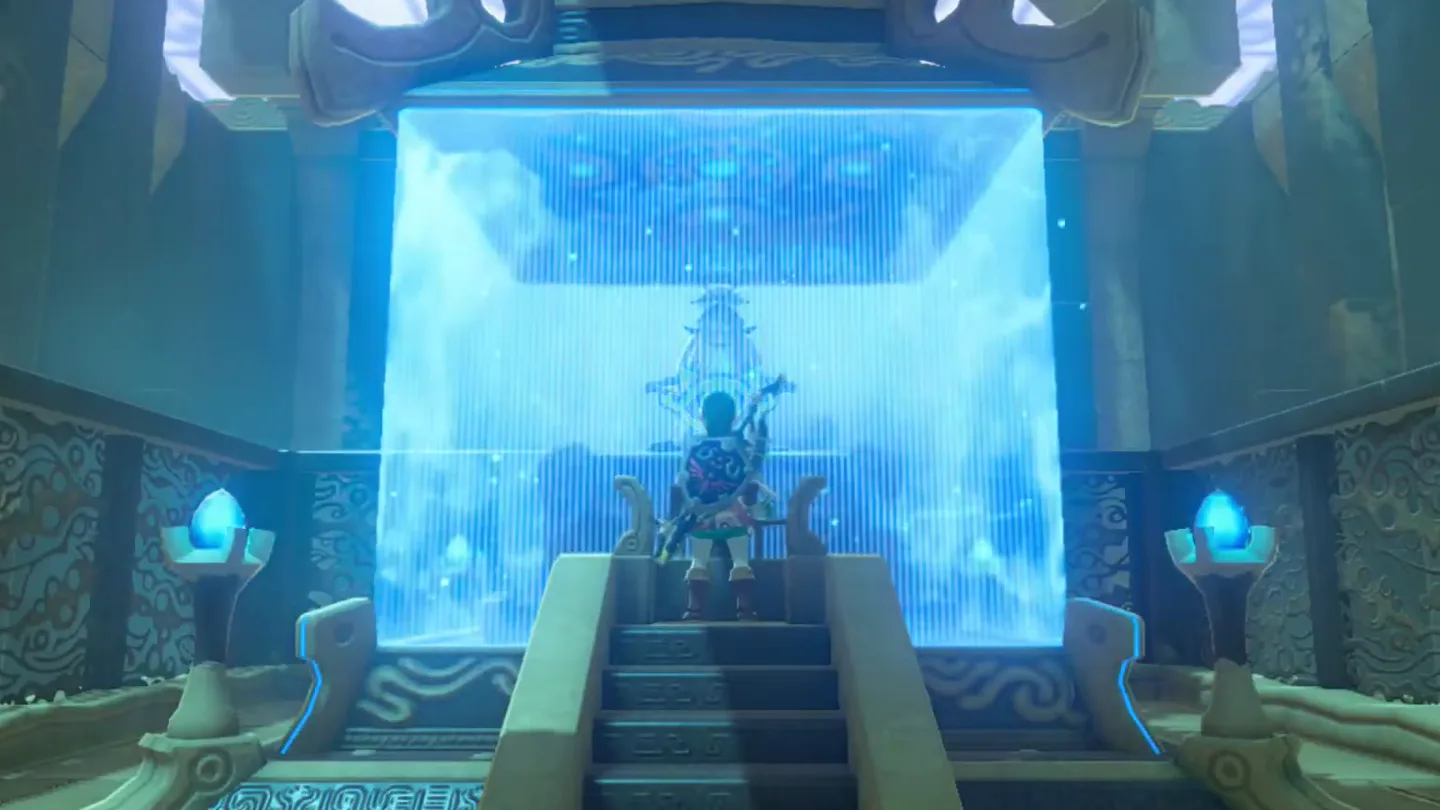
To climb back, hop on top of the chest, then the metal railing, then the top of the wall, and paraglide to the end of the shrine. Dako Tah rewards your resourcefulness with a Spirit Orb, wishes you luck, and fades away — and the sandstorm over the Great Cliffs disappears for good.
What is in each chest?
| Chest | Contents | How to get it |
|---|---|---|
| 1 | Moonlight Scimitar | Stop the first vertical platform before it reaches the top and jump into the hidden alcove right beneath the upper ramp — the chest is inside. Grab it before heading up the ramp, and take the metal cube with you. |
| 2 | Ancient Core | In the second large room with the two Guardian Scouts, near the metal plates — loot it once the scouts are shocked or defeated. |
| 3 | Silver Rupee (100 rupees) | Before taking the left ramp up, go down the right ramp, hit the orange crystal to trigger the moving platform, and ride it all the way down to the hidden area beneath. The same platform is your shortcut back up. |
| 4 | Radiant Shield (Shield Guard Up +10) | When the chain-powered platform halts just before the shrine’s end, hop onto the top of the wall and paraglide left to the chest platform. Return by hopping on the chest top, then the metal railing, then the wall top — or, alternatively, after the platform passes the big metal cube, pull the cube backwards with Magnesis and jump across to the chest’s spot. |
What do people miss here?
- The Moonlight Scimitar alcove hides right beneath the ramp at the top of the first vertical platform’s path — ride all the way up and you’ll walk straight past it, so stop the platform short.
- The Silver Rupee requires the orange-crystal detour; taking the left ramp immediately skips the whole lower area. The crystal platform is a shortcut both to and from the bottom floor, so use it to get back up.
- Don’t stand on the metal floor when you drop the cube to zap the scouts — the shock hits you too.
- If the final chain platform won’t start, you left the metal cube behind: it must sit on the circular charge plate to power the chains. Carry it up every ramp with you.
- The Radiant Shield chest is easy to miss at the end — after pushing the big cube forward and passing it, you can also pull the cube back toward you and jump across to the chest instead of gliding over from the wall.
What else is nearby?
| Shrine | Direction | Straight-line distance | Region |
|---|---|---|---|
| Sasa Kai Shrine | northwest | 320 | Gerudo |
| Kay Noh Shrine | east | 525 | Wasteland |
| Sho Dantu Shrine | northwest | 782 | Gerudo |
Which guides help next?
FAQ
Where is Dako Tah Shrine?
How do I get across the first gap in Dako Tah Shrine?
How do I beat the Guardian Scouts standing on metal plates?
How do I reach the chest with the Radiant Shield?
What happens after completing Dako Tah Shrine?
Related Articles
guides
Breath of the Wild Captured Memories: All 13 Locations and Rewards
All 12 photo locations from Zelda's album plus the 13th memory in Impa's painting, with coordinates, nearby shrines, the Champion's Tunic and the extra ending scene.
guides
Breath of the Wild Great Fairy Fountains: Locations, Costs and Horse God
Where the four Great Fairy Fountains and the Horse God Malanya are in Breath of the Wild, what each fairy costs to release, and how many you need per armor upgrade.
guides
Hyrule Castle Walkthrough: Entry Routes, Hylian Shield and Final Prep
How to get into Hyrule Castle in Breath of the Wild: five entry routes, the Hylian Shield and other loot by room, and what to prepare before the final battle.
Was this helpful?
Thanks for the feedback!