

Sheh Rata Shrine Guide: Speed of Light Trial Walkthrough
Full Speed of Light walkthrough: trip the laser crystal to flip the water level, grab the Opal and Giant Boomerang chests, and earn your Spirit Orb.
Where is Sheh Rata Shrine?
In the Lanayru Wetlands, look for a small island in the Hylia River east of Crenel Peak; a small hill rises from the island with the Sheh Rata Shrine on top. The hill is covered in thorned branches (vines) — burn them, jump over them, or bypass them with Revali’s Gale to reach the entrance.
| Item | Detail |
|---|---|
| Trial | Speed of Light |
| Tower region | Lanayru |
| Map-marker coordinates | 1509, 0377, 0141 |
| Shrine quest | None |
| Chests | 2 |
| Names | Sheh Rata Shrine · 協莫‧拉塔神廟 · 协莫·拉塔神庙 |
What should you bring?
Nothing exotic is required: have Cryonis and Remote Bomb ready (both earned in the Great Plateau rune trials) and carry a bow with a few arrows, since shooting the blue crystal is the cleanest way to drop the water level. Any fire source burns the thorned branches off the shrine’s hill, though jumping over them or using Revali’s Gale works too.
Video walkthrough
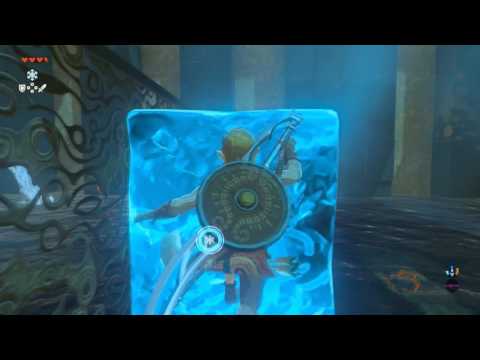
How do you solve Sheh Rata Shrine?
One blue crystal runs the whole trial: every time the roaming laser hits it, two pumps swap on or off and the water level flips between shallow and mid-height. Control when that flip happens and the entire shrine falls open.
1. First Chest: Opal
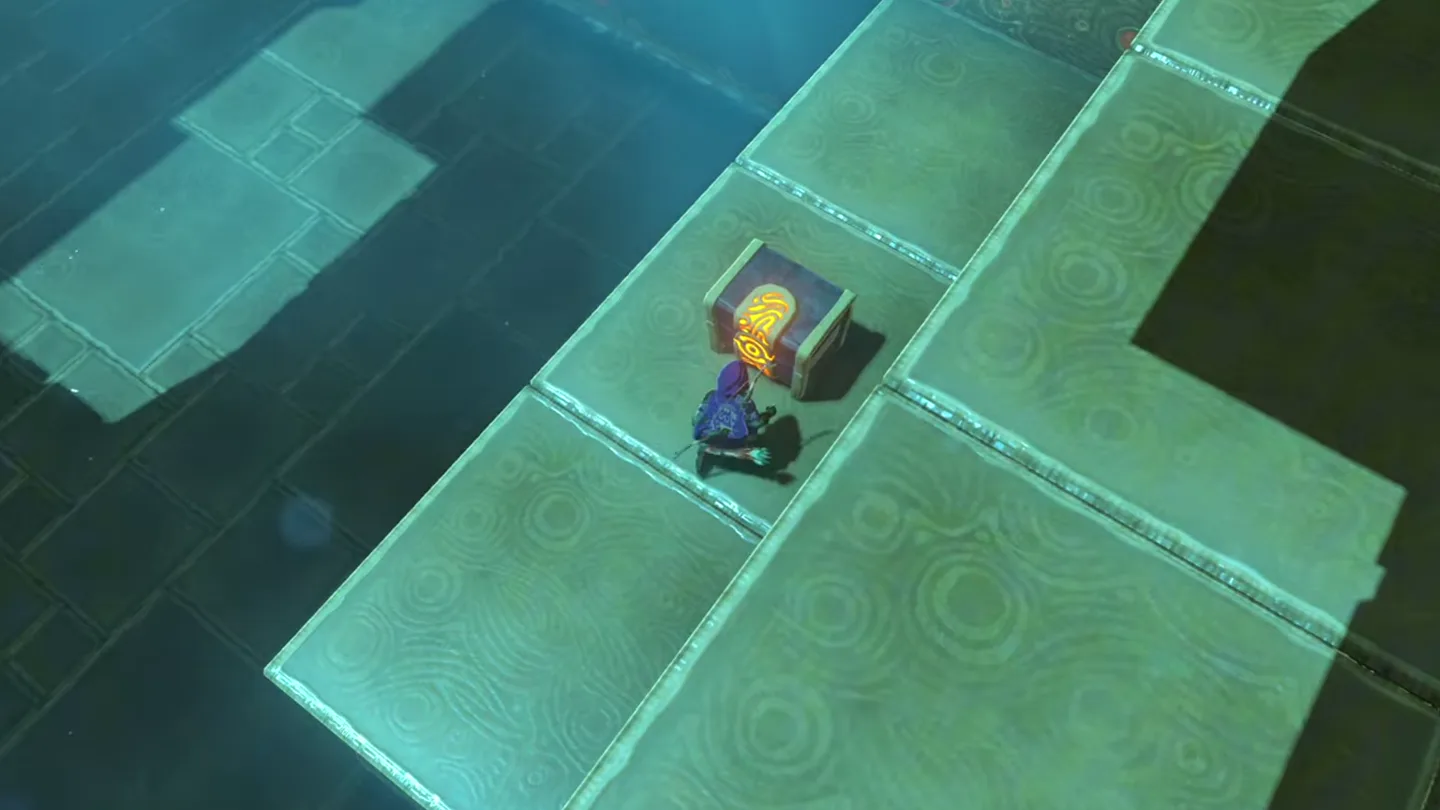
Ride the slope from the entrance down to the bottom of the shrine’s single large room, where a shallow level of water sits — just enough to use Cryonis on. Before touching anything, go right of the elevator platform and tilt your camera way down: a chest hides on a skinny ledge sticking out from the wall below the rim.
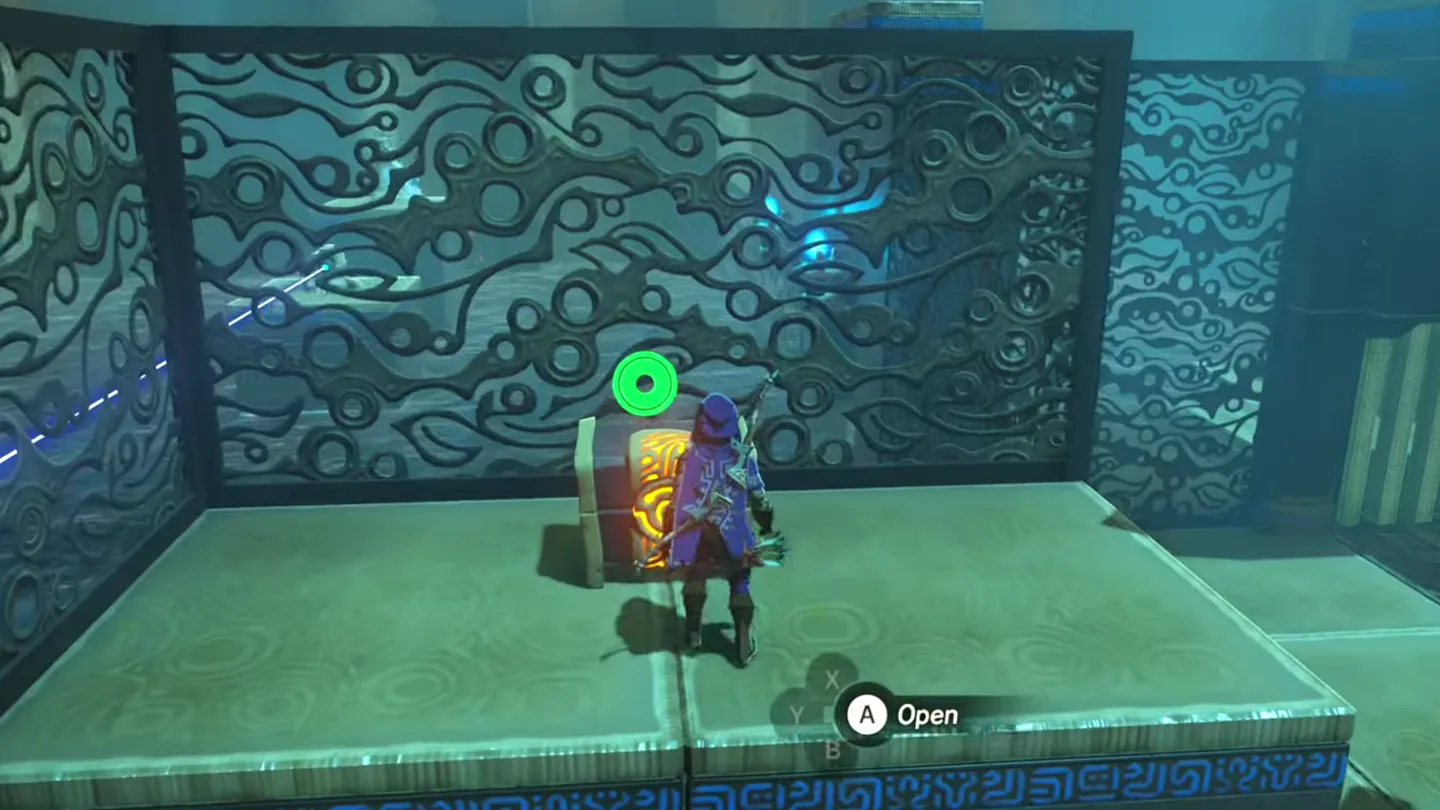
Jump down onto that ledge and open the chest for an Opal, then climb back up the stairs to where you first started.
2. Raise Water and Place Bomb
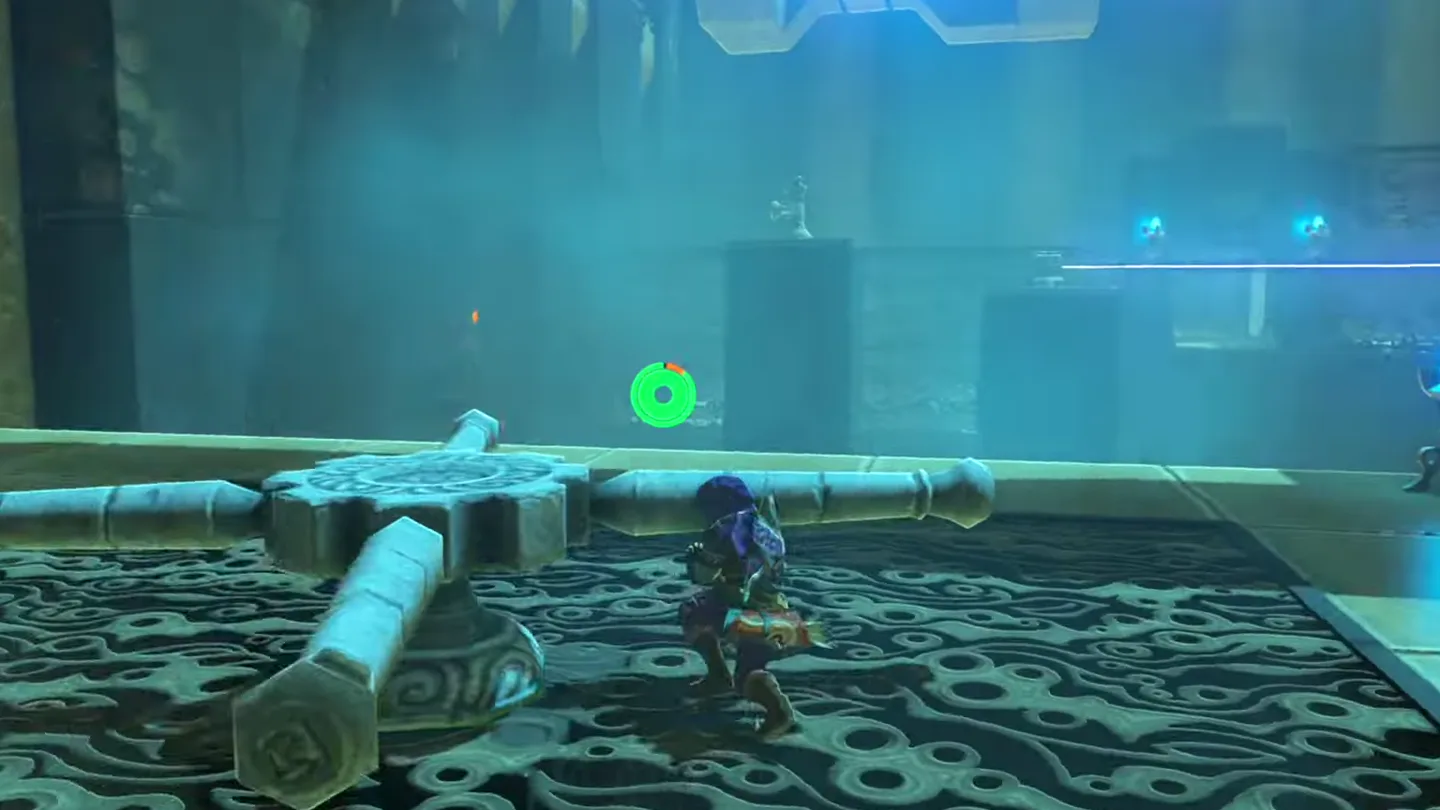
Find the large crank set into the floor to the left of the elevator and push it so it spins — a small nudge is enough to send the laser on its way.
Watch the Beamos laser on its high platform sweep one full counterclockwise lap around the room; when the beam clips the blue crystal, the two pumps switch on and the water rises to the middle level.
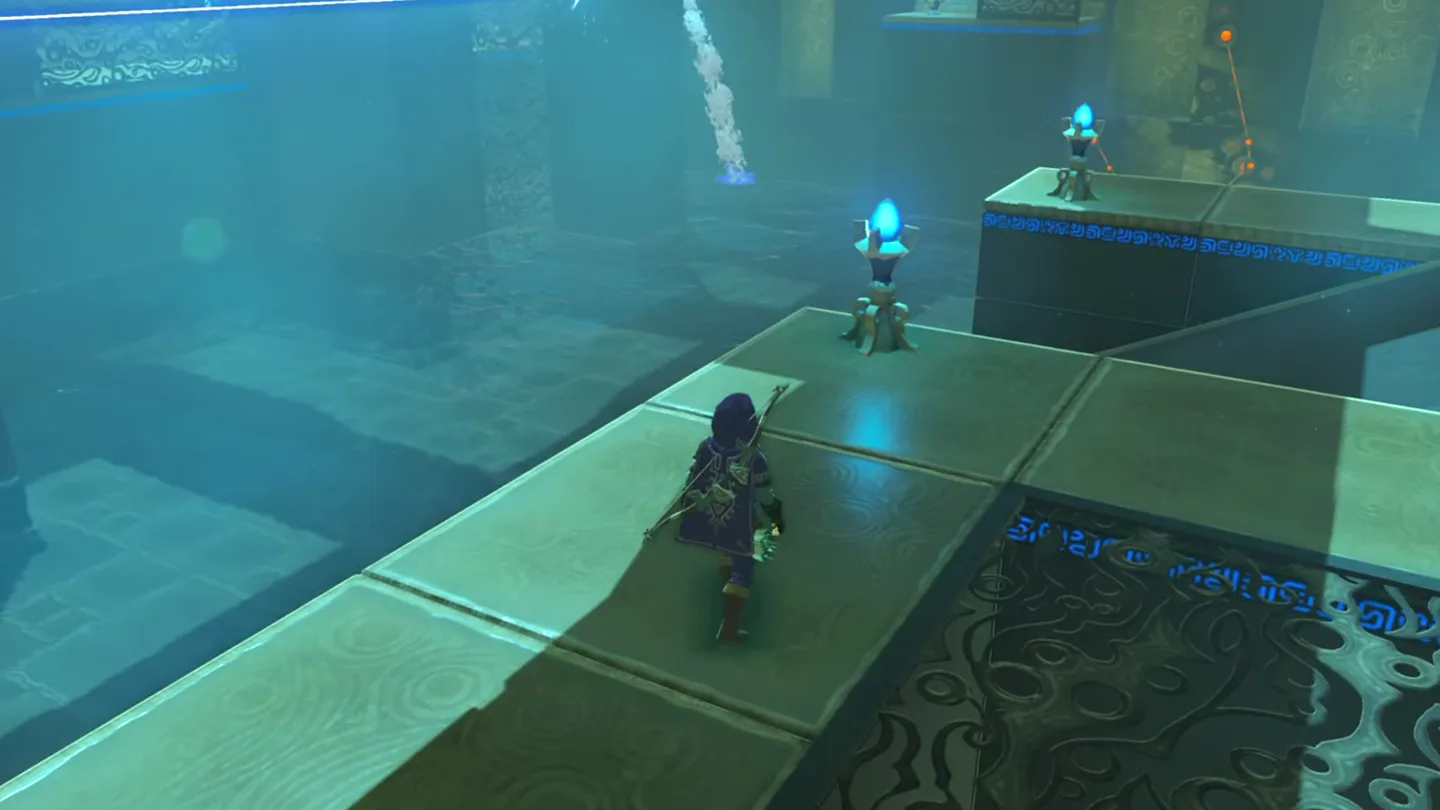
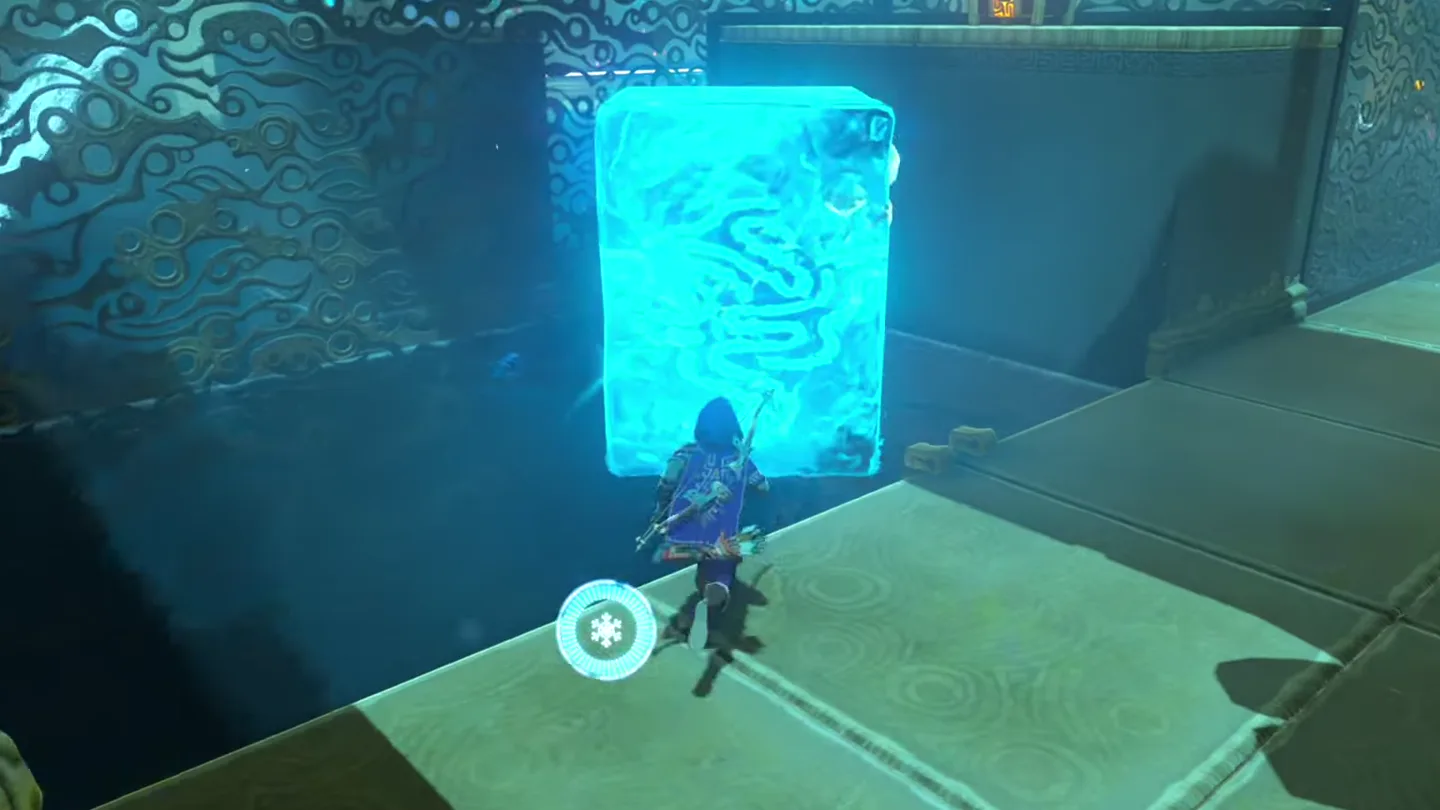
With the room flooded, use Cryonis blocks as stepping stones to get close to the blue crystal the laser just tripped.
Create a Square Bomb with your Sheikah Slate and throw it so it lands right next to the crystal — then leave it there. Do not detonate it. It is your remote water-level switch for later.
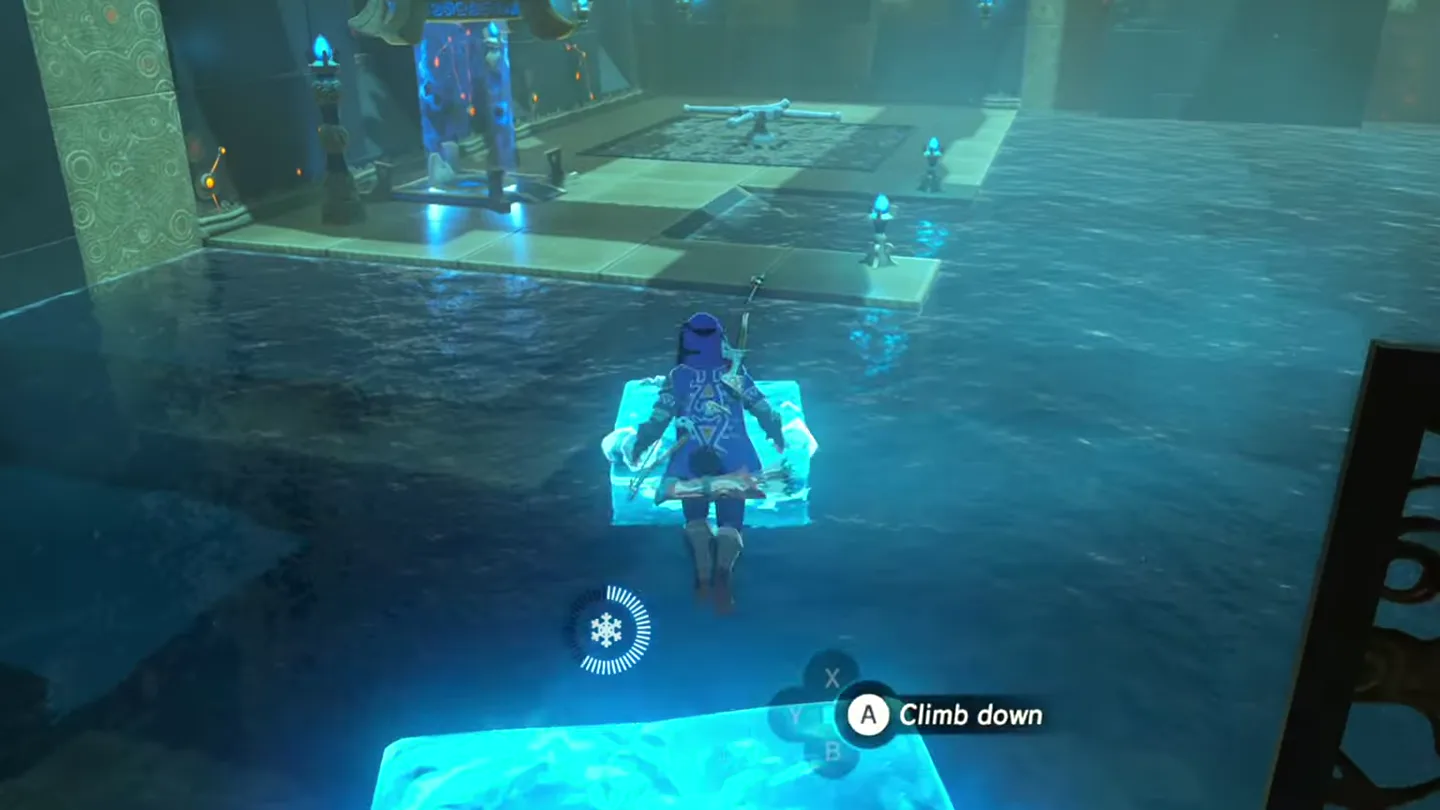
3. Drain Water and Open Gate
Swim through the raised doorway at the back of the chamber into the next area: another gate hides the monk’s pedestal, and to your left is a pool of water with a submerged floor switch and a metal barrel nearby.
The barrel floats in this much water and cannot press the switch, so the level must drop first — and not by blowing up your bomb, which is not what it is for. Raise a Cryonis block along the leftmost edge of the pool so the distant blue crystal comes into view.
Shoot the crystal with an arrow. The pumps switch off and the water drains back down to the shallow level.
Place the metal barrel on the floor switch. The gate hiding the monk’s pedestal opens, leading to the monk.
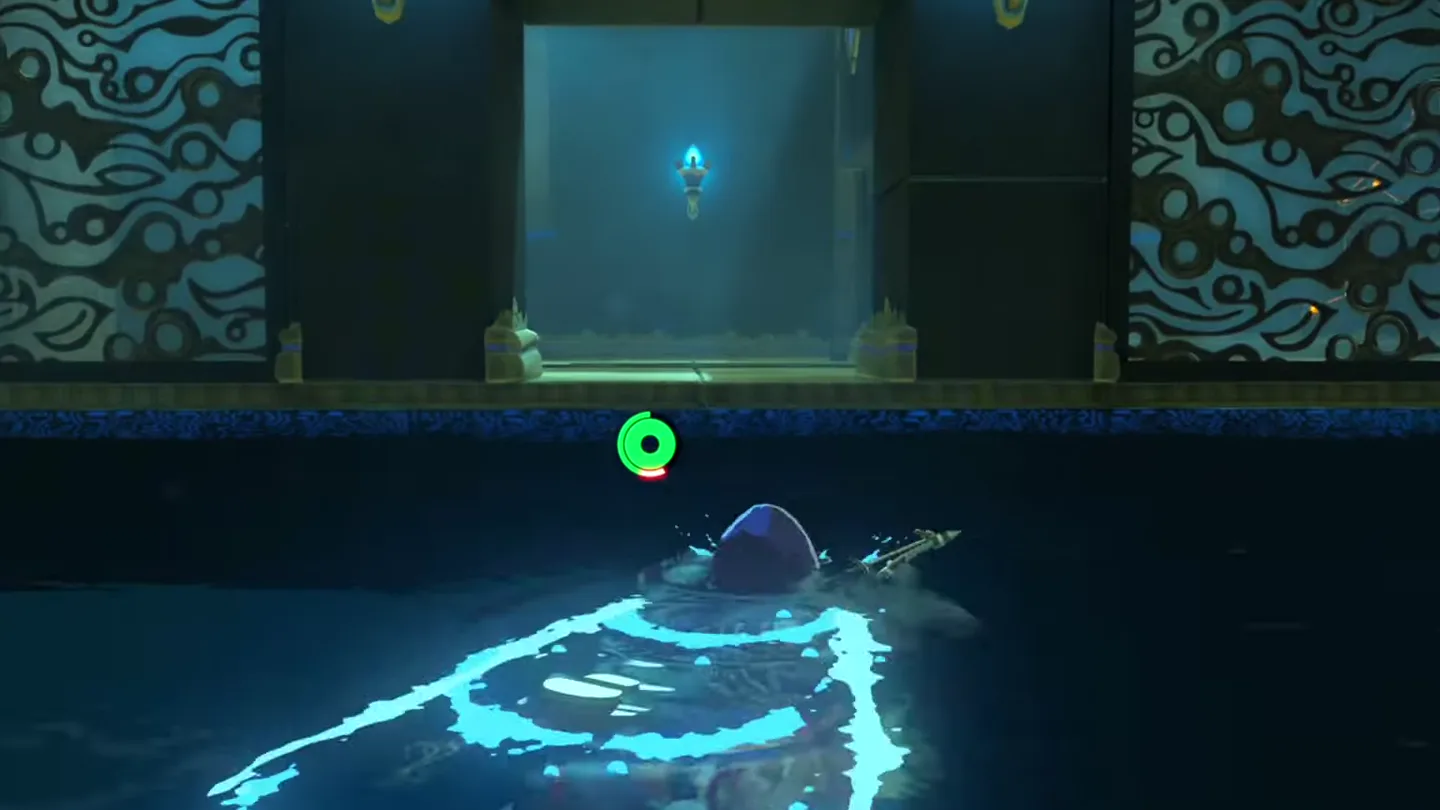
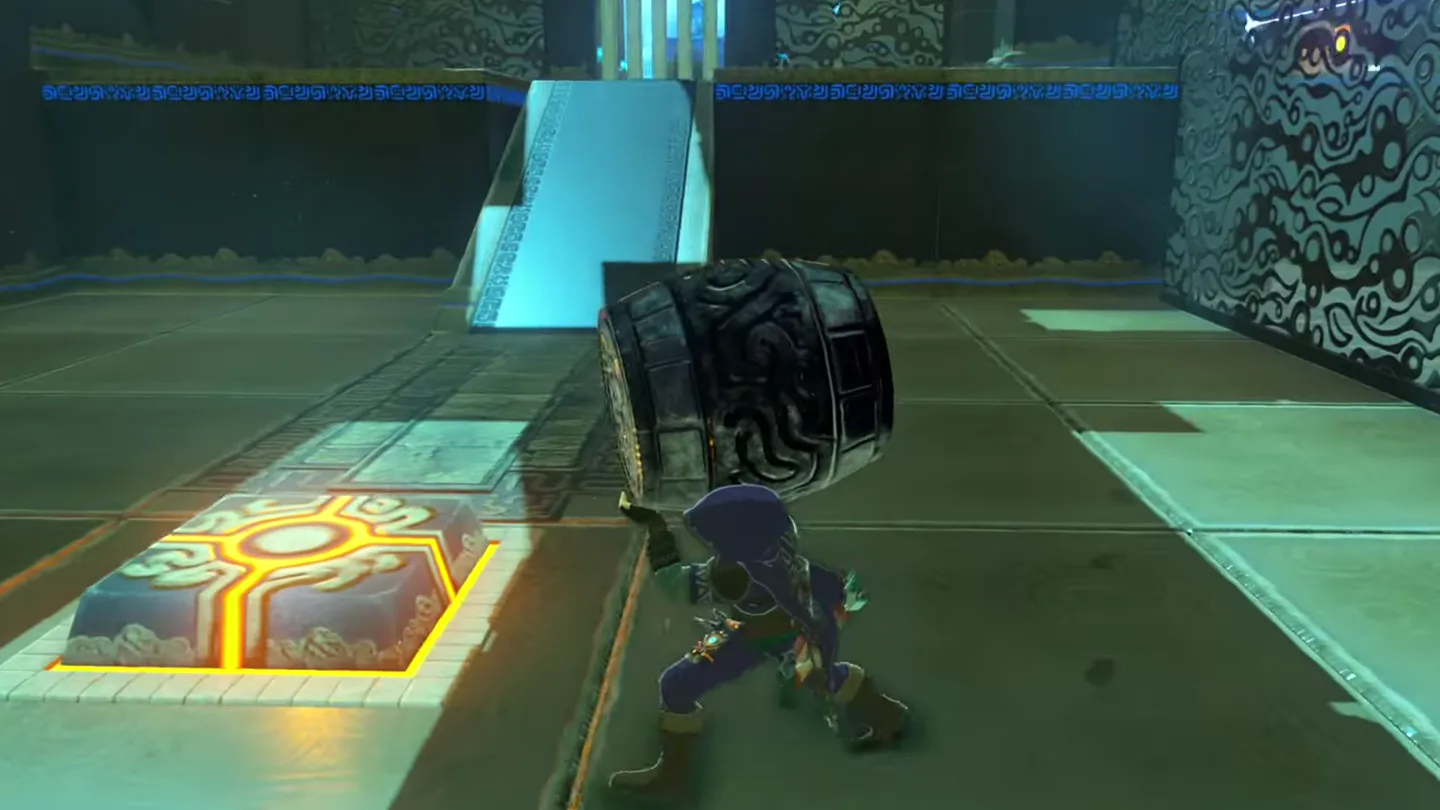
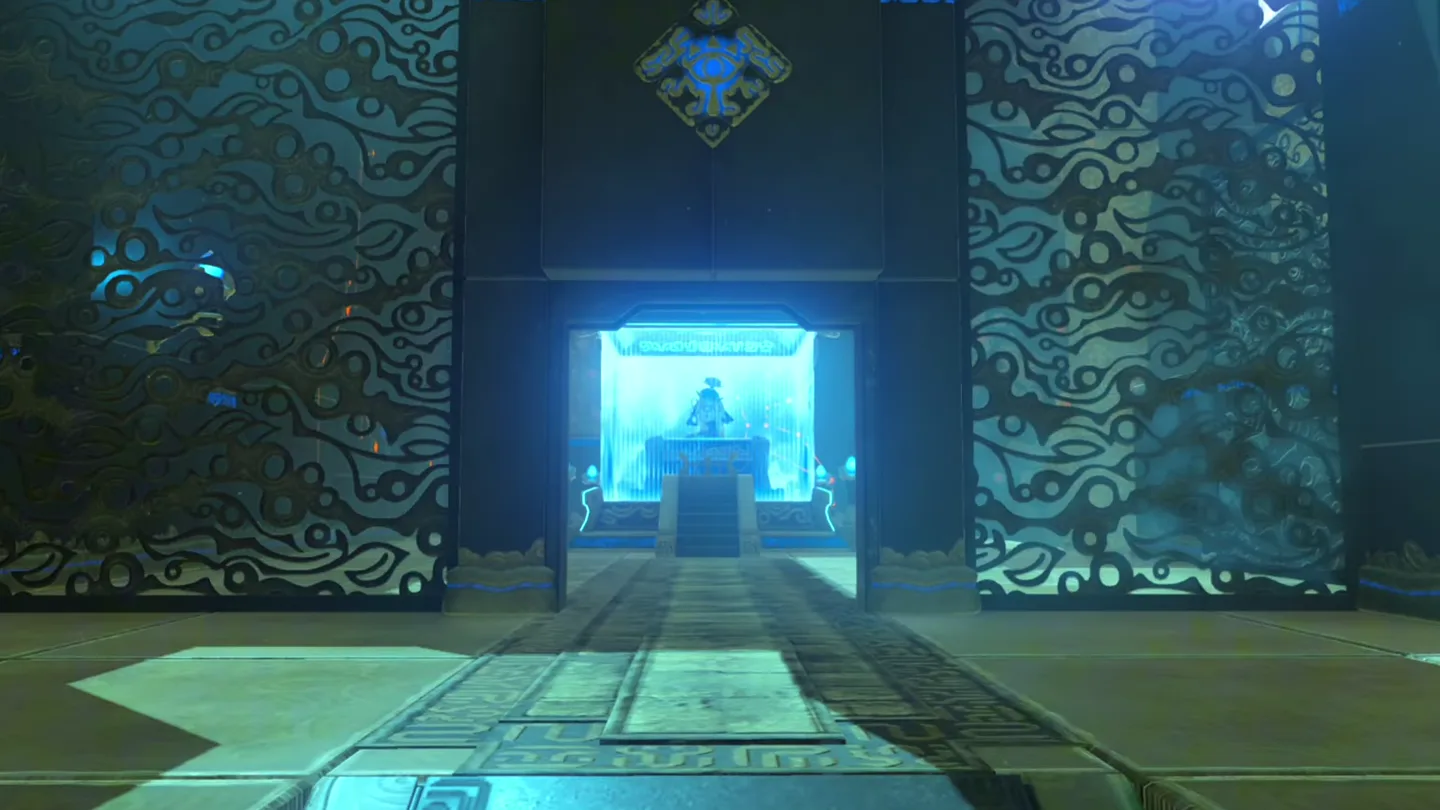
4. Second Chest and Complete Shrine
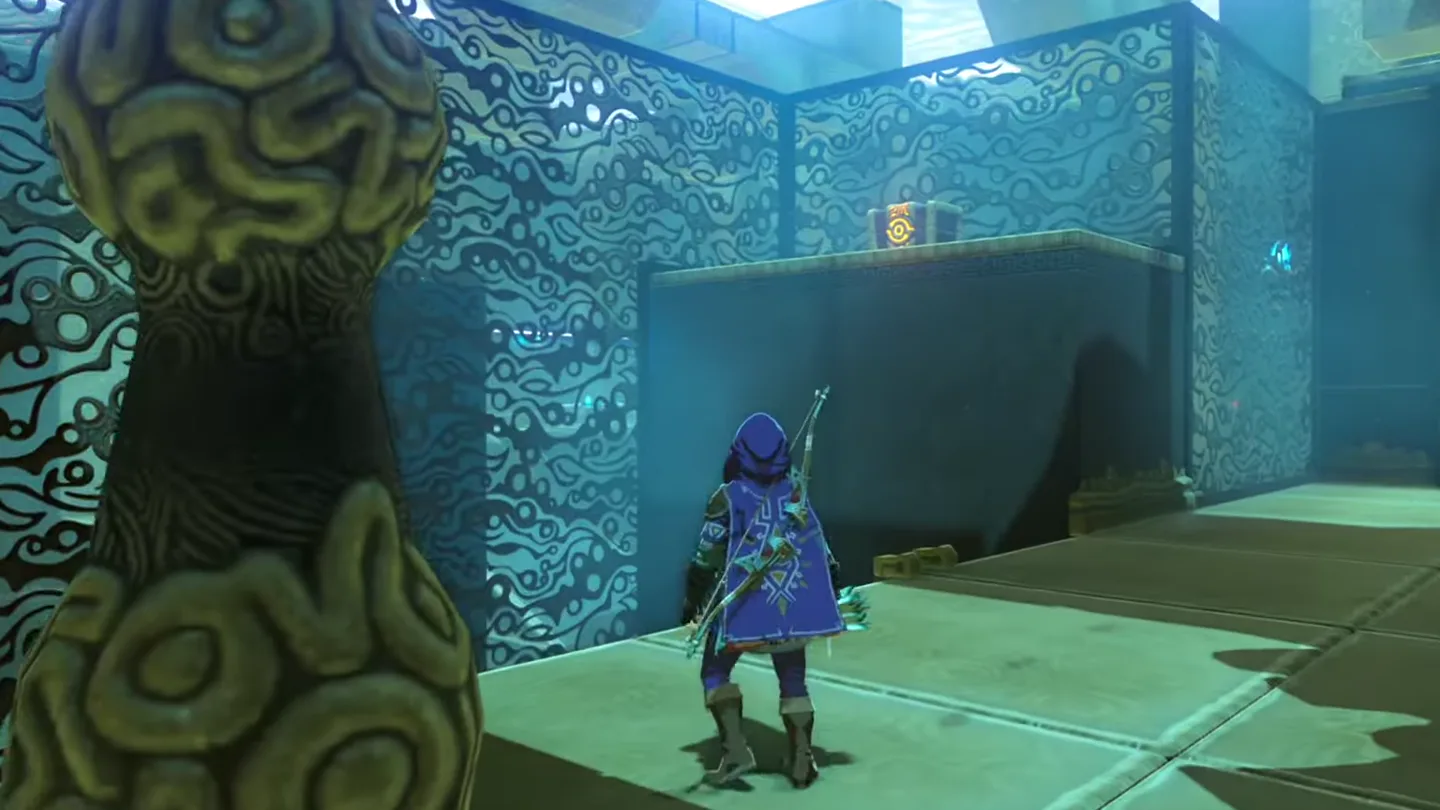
Don’t head to the monk yet — turn right and look up: a second chest sits high up on a ledge above the water.
Detonate the Square Bomb you parked next to the crystal. The water rises again and the monk’s gate closes, which doesn’t matter since you are already inside.
Use Cryonis to reach the ledge and open the chest for a Giant Boomerang — a great weapon worth the detour.
Finally, go speak with Sheh Rata at the pedestal to claim your Spirit Orb.
What is in each chest?
| Chest | Contents | How to get it |
|---|---|---|
| 1 | Opal | On a narrow ledge directly right of the elevator platform, hidden below the rim — tilt your camera way down to spot it. Jump down from above or use Cryonis from the shallow water below to climb back up. Opals can sell for a lot of rupees. |
| 2 | Giant Boomerang | On a high ledge to the right of Sheh Rata, reachable only with the water raised while you are already past the monk’s gate. Park a Square Bomb beside the crystal before draining, open the gate with the barrel on the switch, then detonate the bomb and Cryonis up to the ledge. |
What do people miss here?
- The Opal chest is invisible unless you tilt the camera way down over the ledge right of the elevator — most players walk straight past it. If you do miss it, you can still drop down from above or Cryonis up from the shallow water on the bottom floor.
- Do not detonate the Square Bomb to drain the second room — that is not what it is for. Draining is done by shooting the crystal with an arrow; the bomb is saved to re-flood the room for the Giant Boomerang.
- Putting the barrel on the floor switch while the water is raised does nothing, because the barrel floats. Drain the water first, then load the barrel on.
- Detonating the bomb re-raises the water and closes the monk’s gate — harmless once you are already inside, but make sure the barrel is on the switch and you are past the doorway before you blow it.
- Forgot to place the bomb entirely? Turn the crank again — the laser will re-trip the crystal and re-flood the room — then swim back through the raised doorway and plant a Square Bomb beside the crystal before continuing.
- Alternate route: with the water raised, head to the end near the gate blocking the monk’s pedestal, use Cryonis to climb up, and shoot the crystal with an arrow from afar while quickly jumping back into the doorway — you end up past the doorway with the water lowered, and a pre-placed bomb still sets up the second chest.
What else is nearby?
| Shrine | Direction | Straight-line distance | Region |
|---|---|---|---|
| Soh Kofi Shrine | east | 734 | Lanayru |
| Daka Tuss Shrine | south | 845 | Lanayru |
| Namika Ozz Shrine | northwest | 870 | Central |
Which guides help next?
FAQ
How do I get into Sheh Rata Shrine?
How do I lower the water level in Sheh Rata Shrine?
Why won't the barrel press the floor switch?
How do I reach the Giant Boomerang chest?
What does the laser crank actually do?
Related Articles
guides
Breath of the Wild Captured Memories: All 13 Locations and Rewards
All 12 photo locations from Zelda's album plus the 13th memory in Impa's painting, with coordinates, nearby shrines, the Champion's Tunic and the extra ending scene.
guides
Breath of the Wild Great Fairy Fountains: Locations, Costs and Horse God
Where the four Great Fairy Fountains and the Horse God Malanya are in Breath of the Wild, what each fairy costs to release, and how many you need per armor upgrade.
guides
Hyrule Castle Walkthrough: Entry Routes, Hylian Shield and Final Prep
How to get into Hyrule Castle in Breath of the Wild: five entry routes, the Hylian Shield and other loot by room, and what to prepare before the final battle.
Was this helpful?
Thanks for the feedback!