

Tu Ka'loh Shrine Walkthrough – Lomei Labyrinth Route & Barbarian Helm
Step-by-step guide to Tu Ka'loh Shrine: glide to Lomei Labyrinth Island, thread the maze, open the Barbarian Helm chest, and claim your Spirit Orb.
Where is Tu Ka’loh Shrine?
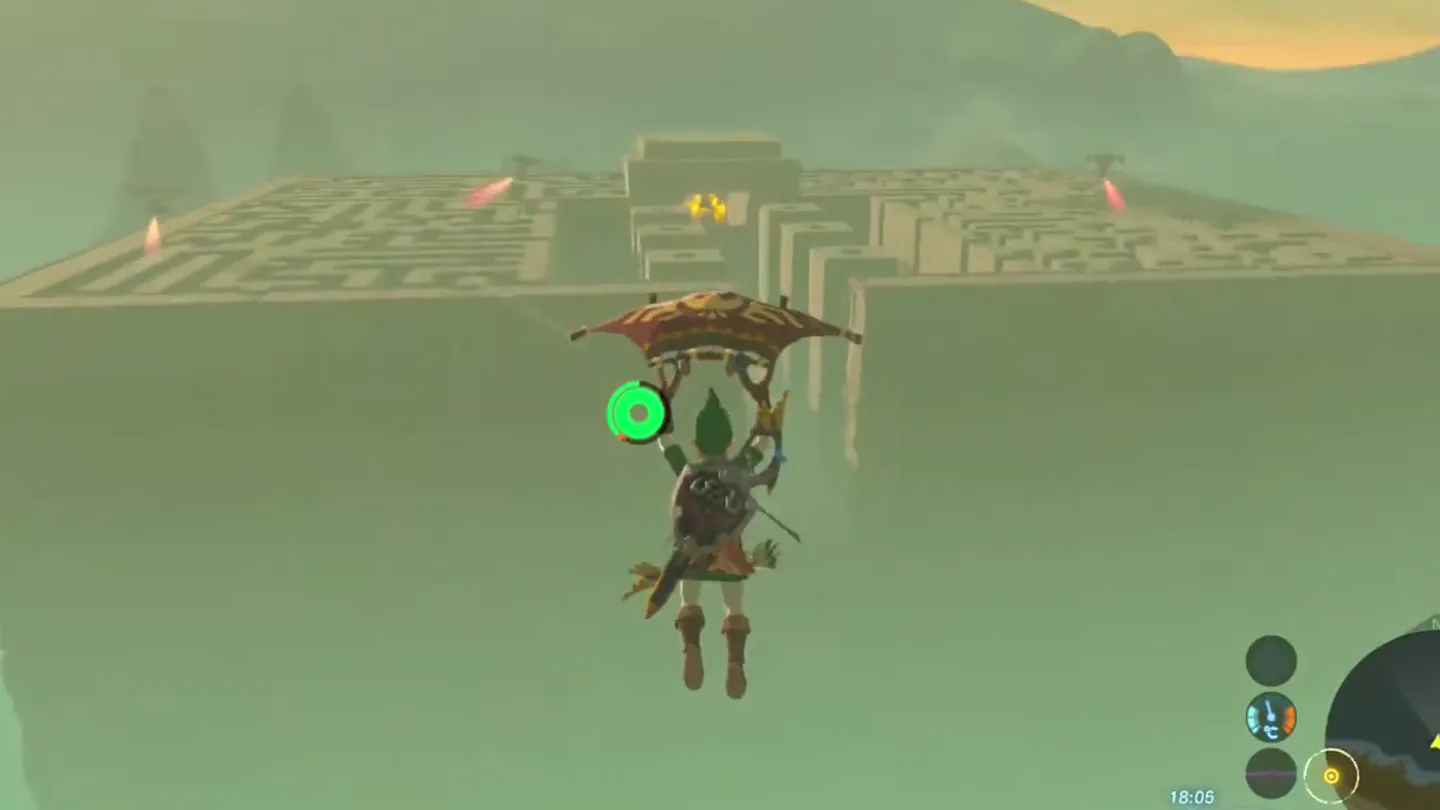
Lomei Labyrinth Island sits in the northern part of the Akkala Sea, north of the Akkala Ancient Tech Lab — to reach it for the first time you paraglide from the cliff near the lab. The shrine itself waits in a chamber at the top of the island. When you first approach the labyrinth, a mysterious voice tells you that proceeding onward through the maze will earn you a reward, starting the ‘Trial of the Labyrinth’ shrine quest, which completes the moment you activate the shrine. Guardian enemies lurk up ahead if you push straight on from the entrance.
| Item | Detail |
|---|---|
| Trial | Tu Ka’loh’s Blessing |
| Tower region | Akkala |
| Map-marker coordinates | 4655, 3709, 0250 |
| Shrine quest | Trial of the Labyrinth |
| Chests | 1 |
| Names | Tu Ka’loh Shrine · 圖‧卡羅神廟 · 图·卡罗神庙 |
What should you bring?
Nothing special is required for the shrine itself — it is a Blessing shrine with no puzzles inside. What you do need is stamina: fairly high stamina and/or stamina-replenishing food, because the paraglide from the cliff near the Akkala Ancient Tech Lab is a decent distance. A weapon is optional if you would rather fight the labyrinth’s enemies than route around them; the route below avoids the Guardian enemies entirely.
Video walkthrough

How do you solve Tu Ka’loh Shrine?
The labyrinth outside is the entire trial — thread the maze to reach the shrine, and Tu Ka’loh’s Blessing asks nothing further of you inside.
1. Glide to Lomei Labyrinth Island
Stand on the cliff near the Akkala Ancient Tech Lab and paraglide out over the Akkala Sea toward Lomei Labyrinth Island — the glide is a decent distance, so eat stamina-replenishing food mid-air if your wheel runs low.
As you reach the island, a mysterious voice hails you: proceed onward through the maze and you will receive a reward — this starts the ‘Trial of the Labyrinth’ shrine quest. Land and enter the labyrinth.
2. Navigate the Labyrinth Mazes
Inside, turn left immediately — heading straight on leads you toward the Guardian enemies waiting up ahead.
Head north along this corridor past the three large pillars.
A short while after the third column passes on your right, take the second left to venture deeper into the maze.
Follow this path all the way up, then turn left through a small doorway — this turn does not show on the map because it is a small doorway in the wall, not a gap, so keep your eye on the wall itself.
Continue along until you find a path heading south, then immediately take a right.
Follow this path all the way until you come to an entrance that takes you into the dark square on the map — go through it.
3. Climb to the Shrine
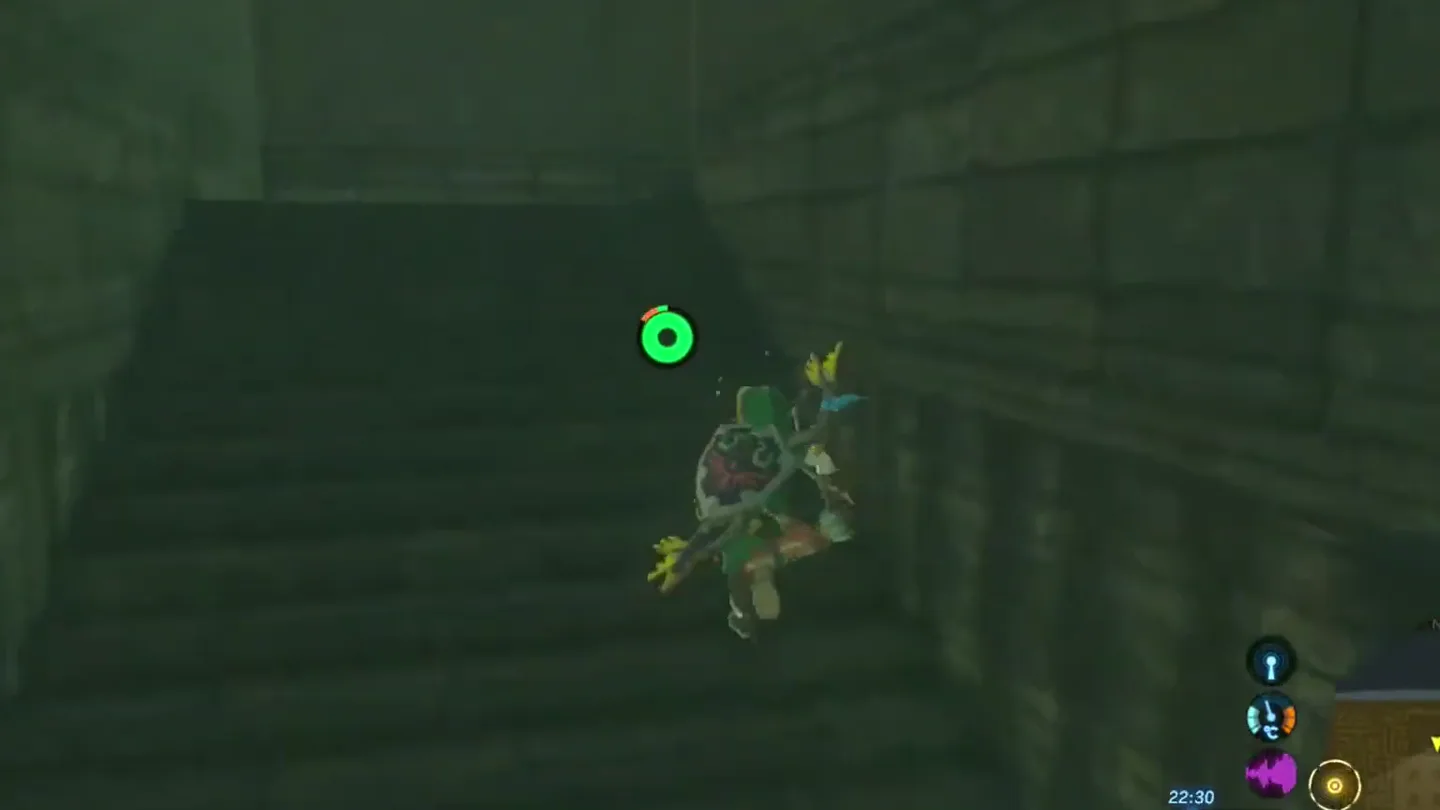
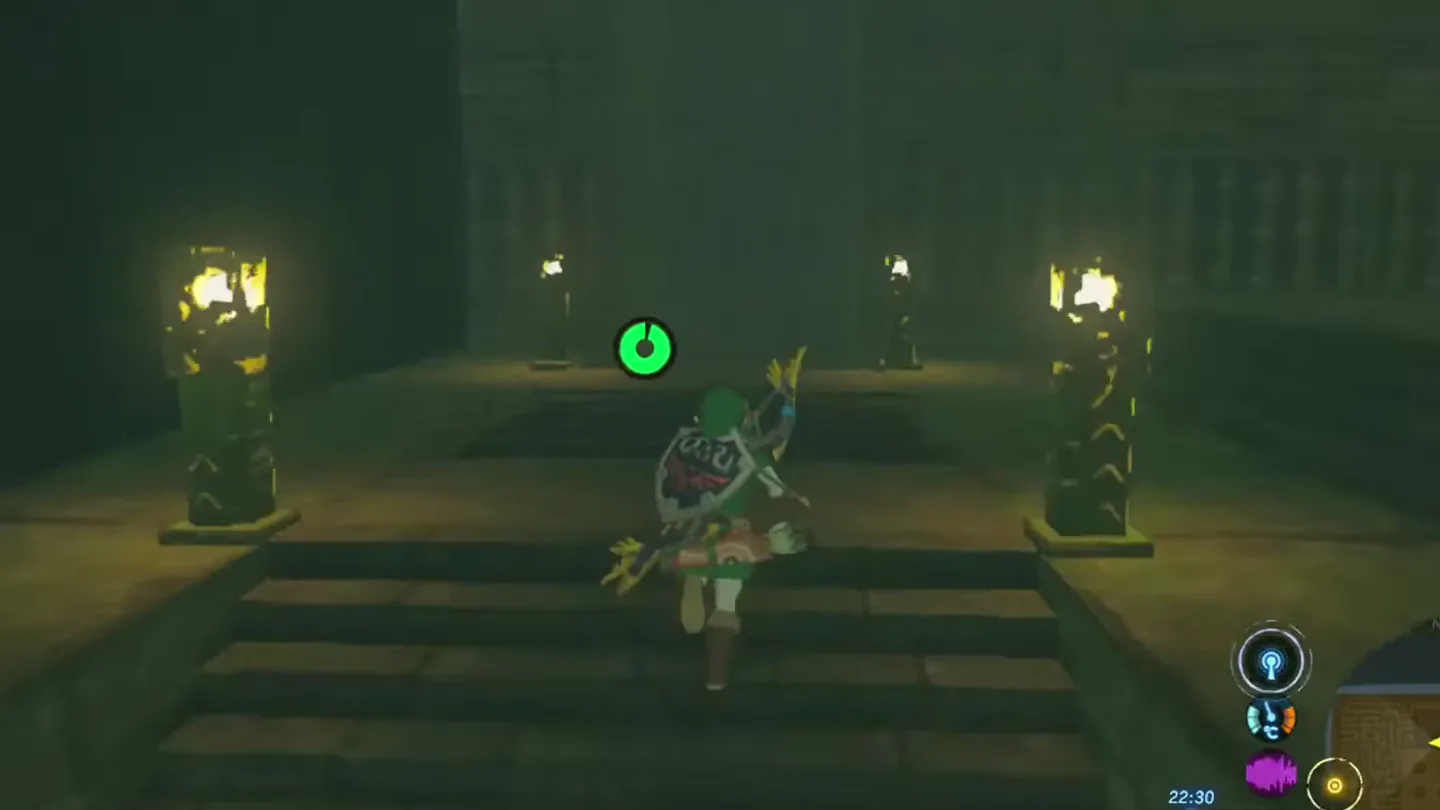
Take the stairs all the way around the square until you reach an entrance into the area where the shrine sits.
Follow the spiraling path upward to the shrine at the top of the island and activate it — the ‘Trial of the Labyrinth’ shrine quest completes the moment you do.
4. Claim the Blessing
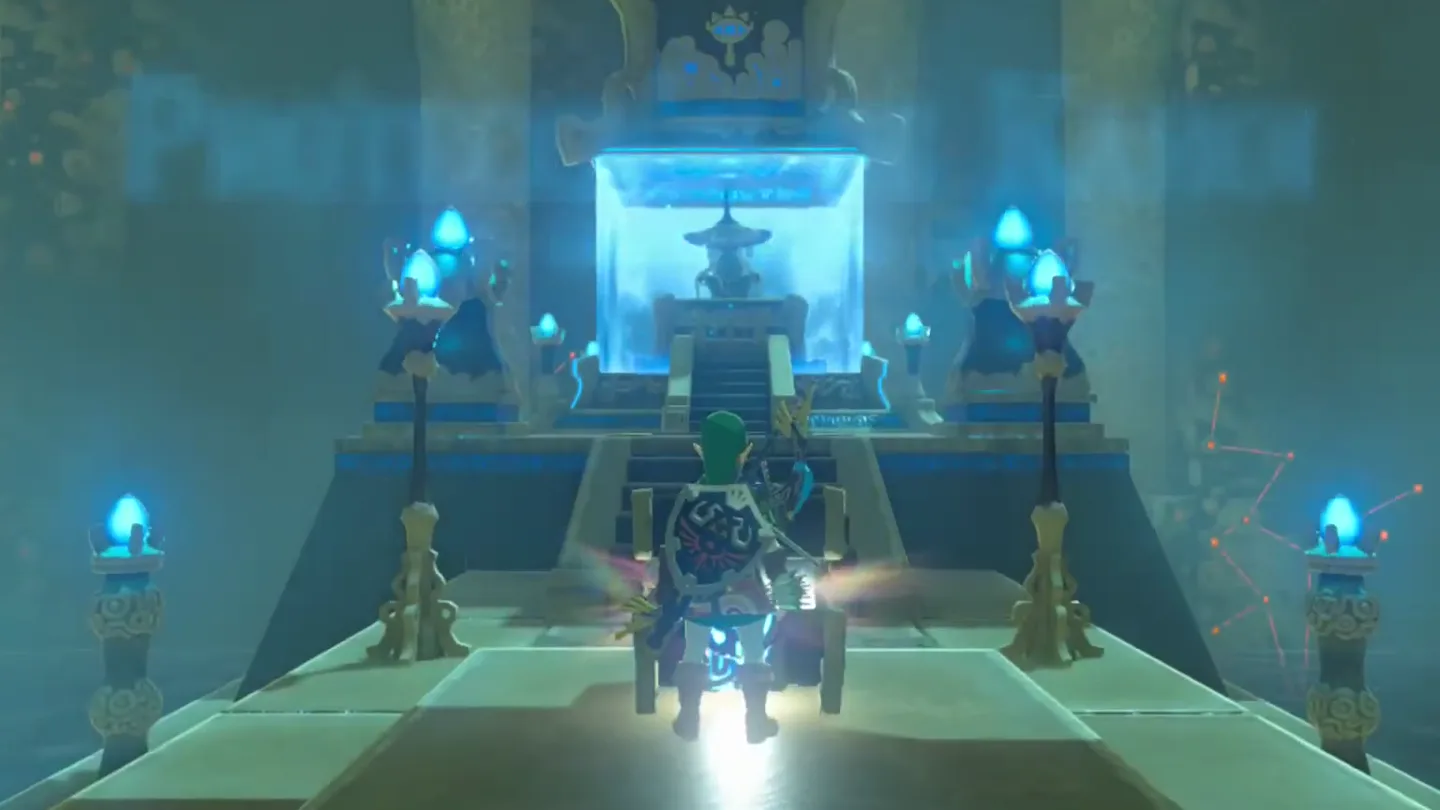
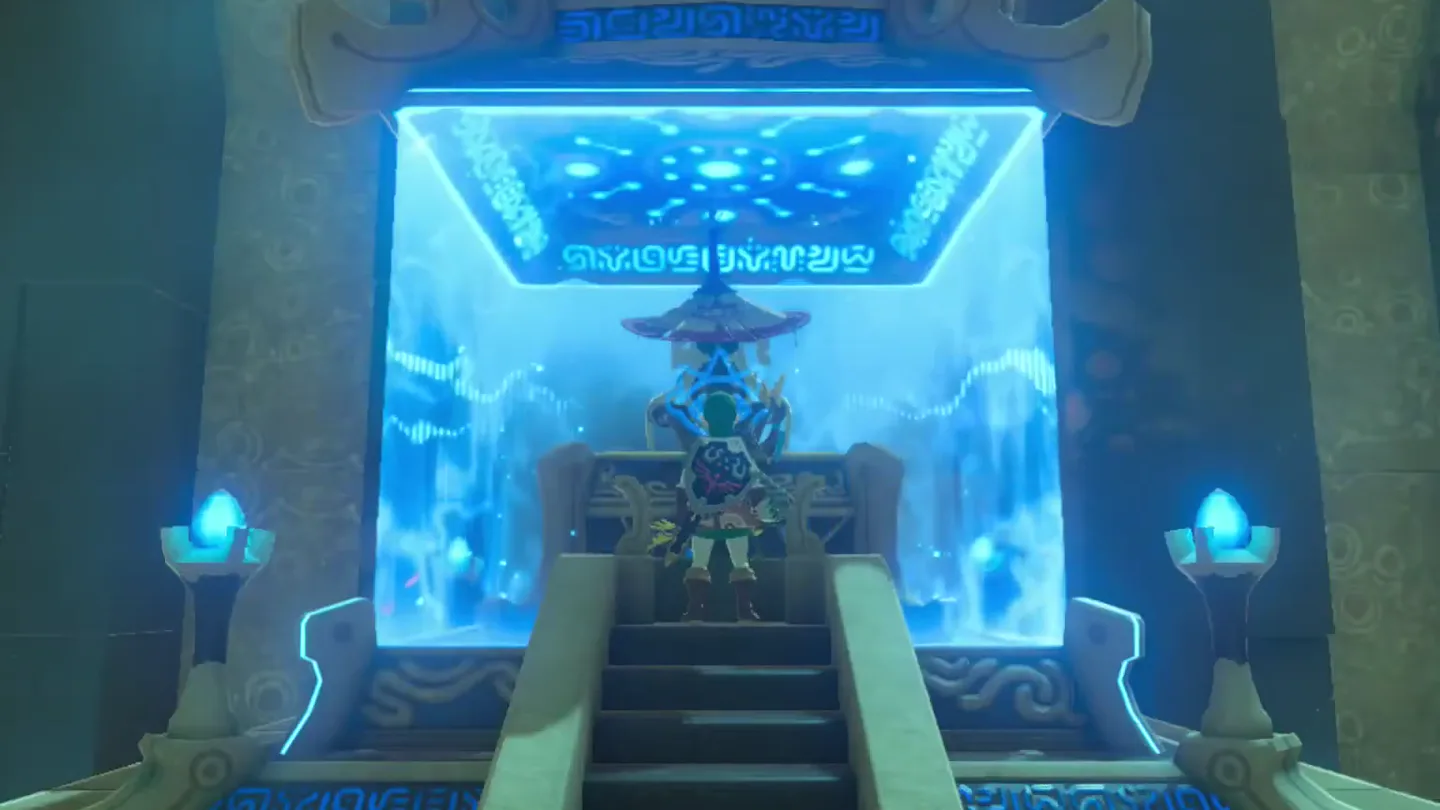
Go inside: there are no puzzles, just a direct path toward the Monk’s Pedestal. The monk Tu Ka’loh greets you as you enter, noting that reaching this place has already proven your worth.
Open the stone chest along the path to claim the Barbarian Helm before doing anything else.
Approach Tu Ka’loh at his pedestal to receive a Spirit Orb; after wishing you well, the monk fades away.
What is in the chest?
| Chest | Contents | How to get it |
|---|---|---|
| 1 | Barbarian Helm | A stone chest sits right along the direct path to the Monk’s Pedestal, so you pass it on the way in. Pop it open before you speak to the monk — it is the shrine’s only chest. |
What do people miss here?
- Running out of stamina mid-glide and dropping into the sea: the crossing from the cliff near the Akkala Ancient Tech Lab is a decent distance, so bring stamina-replenishing food even with a fairly full stamina wheel.
- Missing the key left turn after the long path up — it is a small doorway set into the wall, not a gap, and it does not appear on the map. If the maze seems to dead-end, backtrack and check that wall for the door.
- Going straight at the first junction instead of turning left runs you into the labyrinth’s Guardian enemies; the route above avoids them, so there is no need to fight.
- Beelining to the monk and forgetting the chest — it is sitting on the path itself, and it is the only one in the shrine.
- The labyrinth also hides optional secret treasure and enemies off the direct route; the walkthrough skips all of it, so explore the side corridors afterward if you want the extra loot.
What else is nearby?
| Shrine | Direction | Straight-line distance | Region |
|---|---|---|---|
| Katosa Aug Shrine | south | 1043 | Akkala |
| Tutsuwa Nima Shrine | southwest | 1334 | Akkala |
| Zuna Kai Shrine | west | 1361 | Akkala |
Which guides help next?
FAQ
Is there a puzzle inside Tu Ka'loh Shrine?
How do I get to Lomei Labyrinth Island?
What's in the chest in Tu Ka'loh Shrine?
Can I avoid the Guardians in the labyrinth?
Why can't I find the left turn after the long path?
Related Articles
guides
Breath of the Wild Captured Memories: All 13 Locations and Rewards
All 12 photo locations from Zelda's album plus the 13th memory in Impa's painting, with coordinates, nearby shrines, the Champion's Tunic and the extra ending scene.
guides
Breath of the Wild Great Fairy Fountains: Locations, Costs and Horse God
Where the four Great Fairy Fountains and the Horse God Malanya are in Breath of the Wild, what each fairy costs to release, and how many you need per armor upgrade.
guides
Hyrule Castle Walkthrough: Entry Routes, Hylian Shield and Final Prep
How to get into Hyrule Castle in Breath of the Wild: five entry routes, the Hylian Shield and other loot by room, and what to prepare before the final battle.
Was this helpful?
Thanks for the feedback!