

Ze Kasho Shrine Walkthrough: Spikes, Lasers & the Silverscale Spear
Complete Ze Kasho Shrine guide: clear the spiked platform, time the laser crystal, roll three orbs onto switches, and claim the Silverscale Spear chest.
Where is Ze Kasho Shrine?
Ze Kasho Shrine sits on a ridge above South Akkala Stable — you’ll be climbing up from the stable’s grounds to reach the entrance. It is one of eight shrines in Akkala: the others are Dah Hesho, Katosa Aug, Tutsuwa Nima, Ritaag Zumo, Zuna Kai, Tu Ka’loh, and Ke’nai Shakah, if you’re clearing the whole region.
| Item | Detail |
|---|---|
| Trial | Ze Kasho Apparatus |
| Tower region | Akkala |
| Map-marker coordinates | 3028, 1668, 0362 |
| Shrine quest | None |
| Chests | 1 |
| Names | Ze Kasho Shrine · 吉茲‧卡夫伊神廟 · 吉兹·卡夫伊神庙 |
What should you bring?
Bring a bow with a few arrows, or have the Remote Bomb rune ready — you must re-trigger the orange crystal from mid-corridor, and again to reach the chest. If you’re out of arrows, throwing a spare weapon at the crystal works too. The other two puzzles are pure motion controls, so your controller does the work.
Video walkthrough

How do you solve Ze Kasho Shrine?
Two of the three puzzles here are Motion Control Puzzles — you physically tilt your controller or console to shift the spiked platform and the orb board — while the middle room runs on one orange crystal that flips the black platforms shielding you from the lasers.
1. Cross the spiked platform
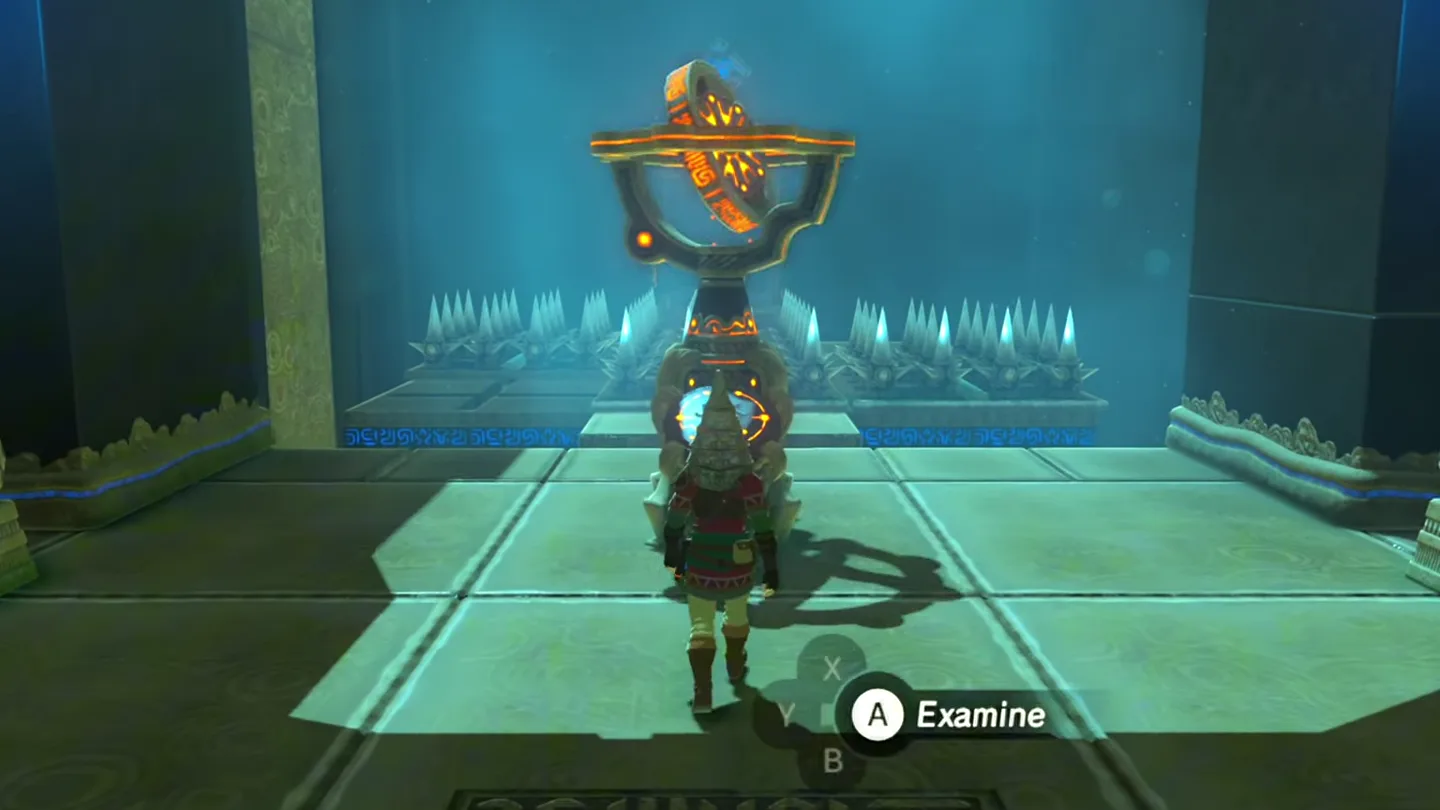
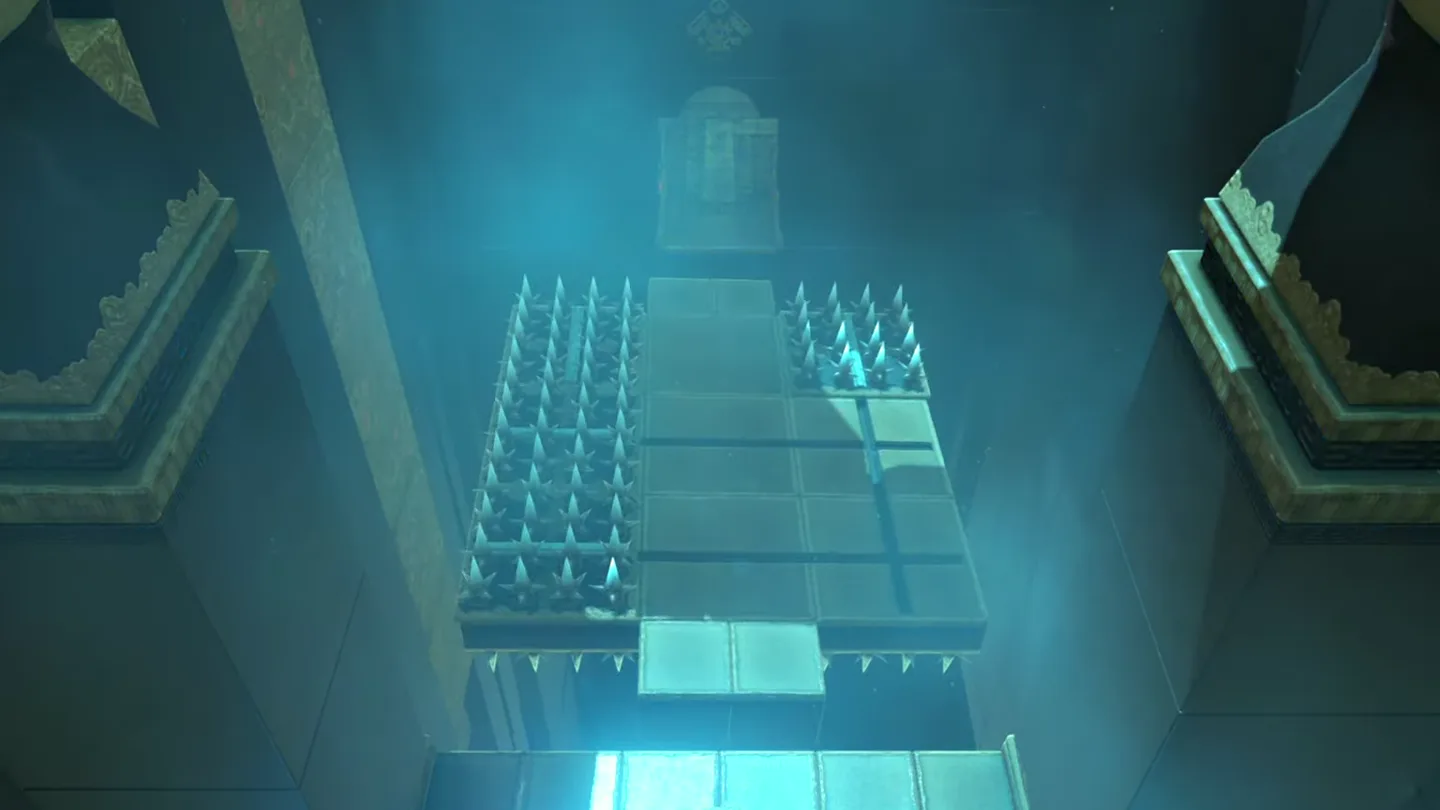
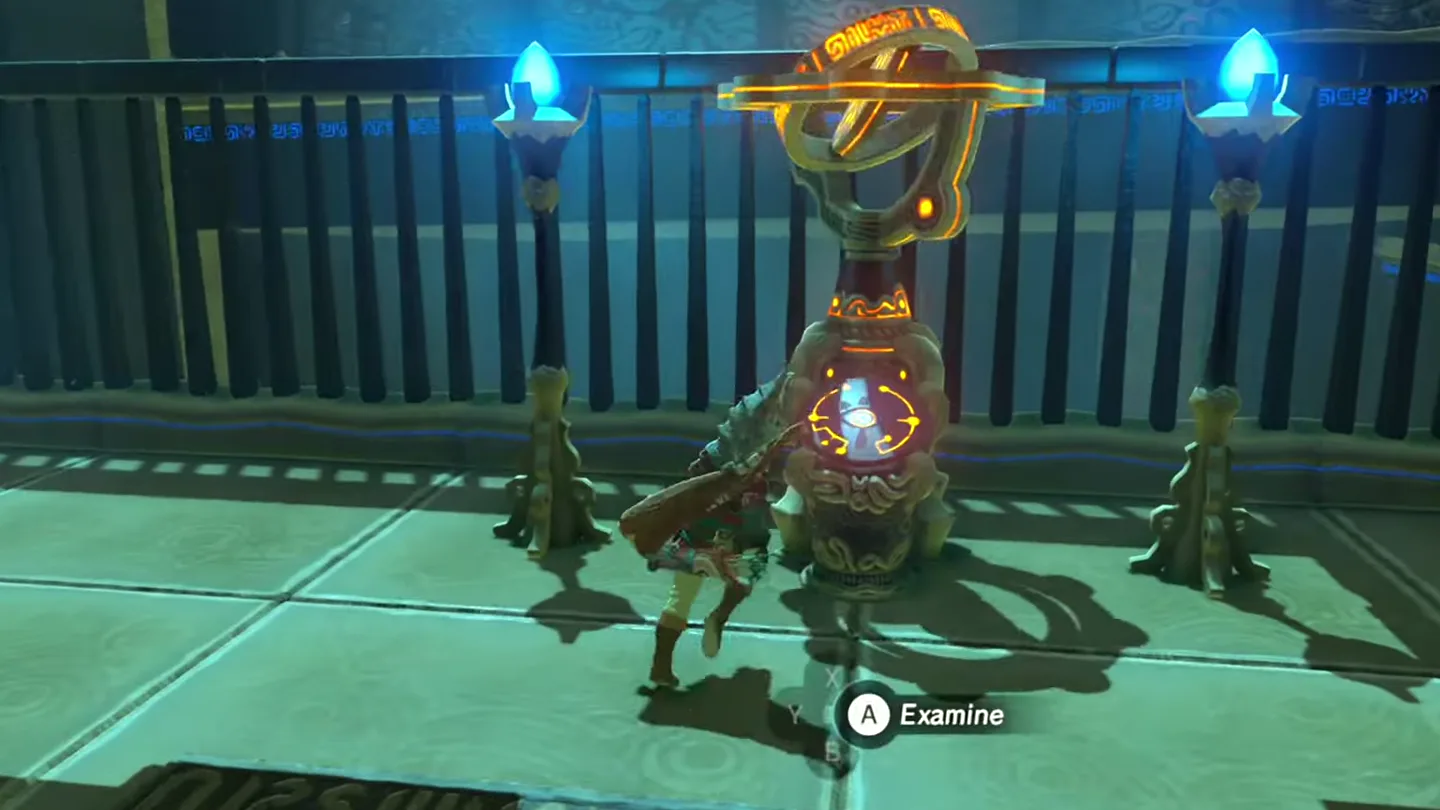
Enter the shrine and approach the Motion Control terminal. The platform ahead is covered in Floor Spikes, and a bottomless pit sits underneath it.
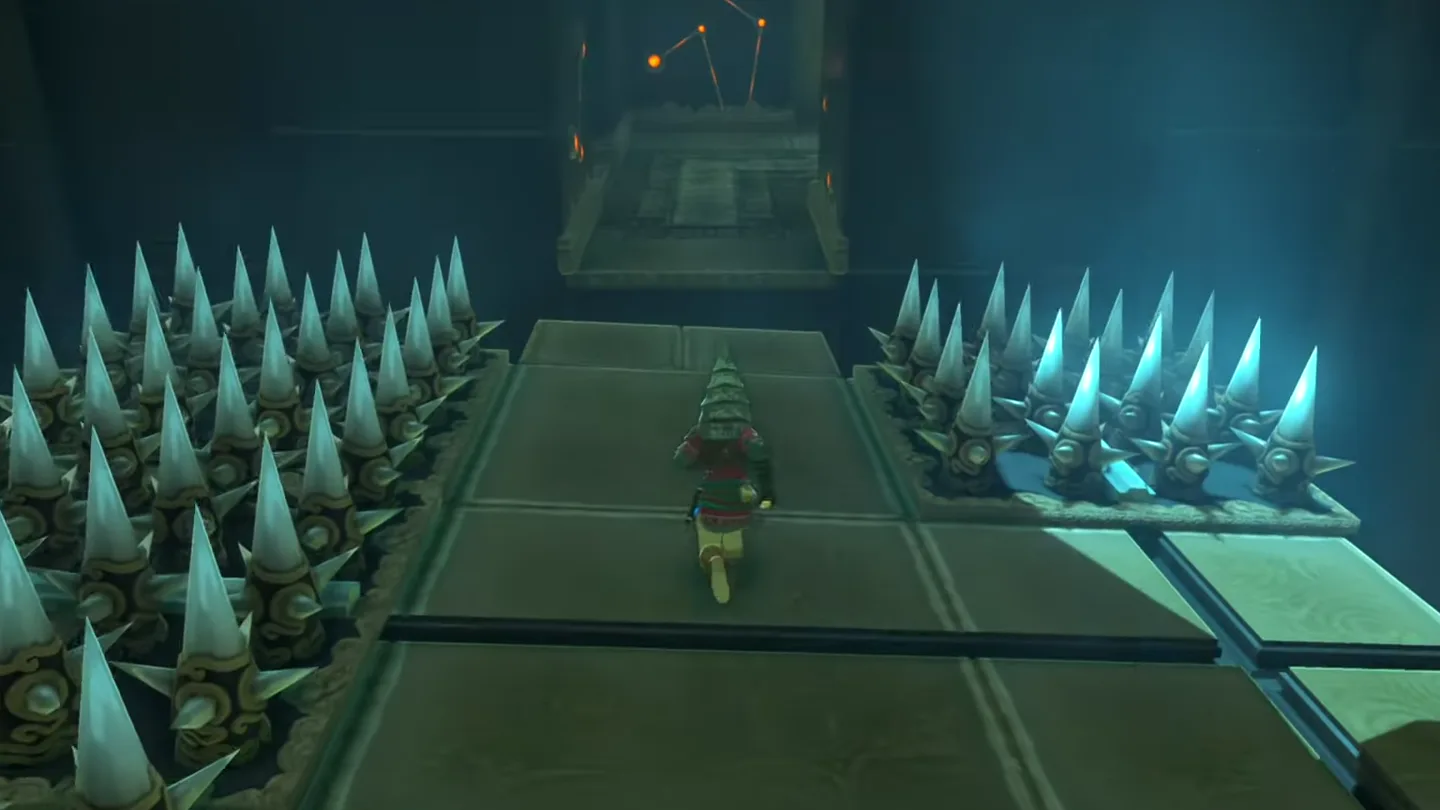
Grab the terminal to take control of the platform, then tilt your controller side to side — the spike squares slide along rails as the platform tilts, so keep going until the center squares are clear and a safe path runs down the middle.
Level the platform back to center before stepping on. If it’s still tilted, you’ll have a tough time jumping up onto the far side.
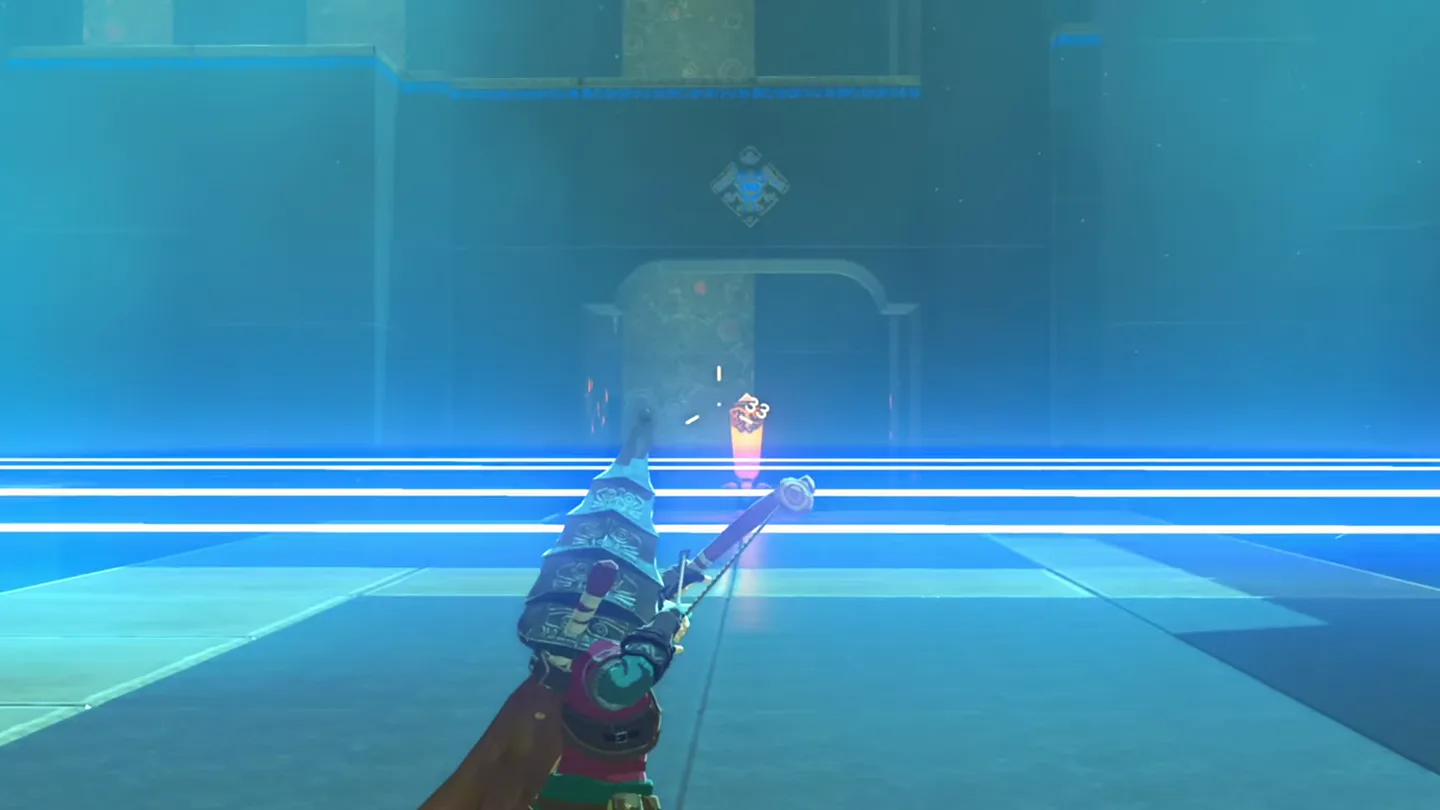
Cross the clear middle path to the far ledge and continue into the next room, where several lasers shoot across the corridor and two black platforms sit embedded in the floor.
2. Get the treasure chest in the laser corridor
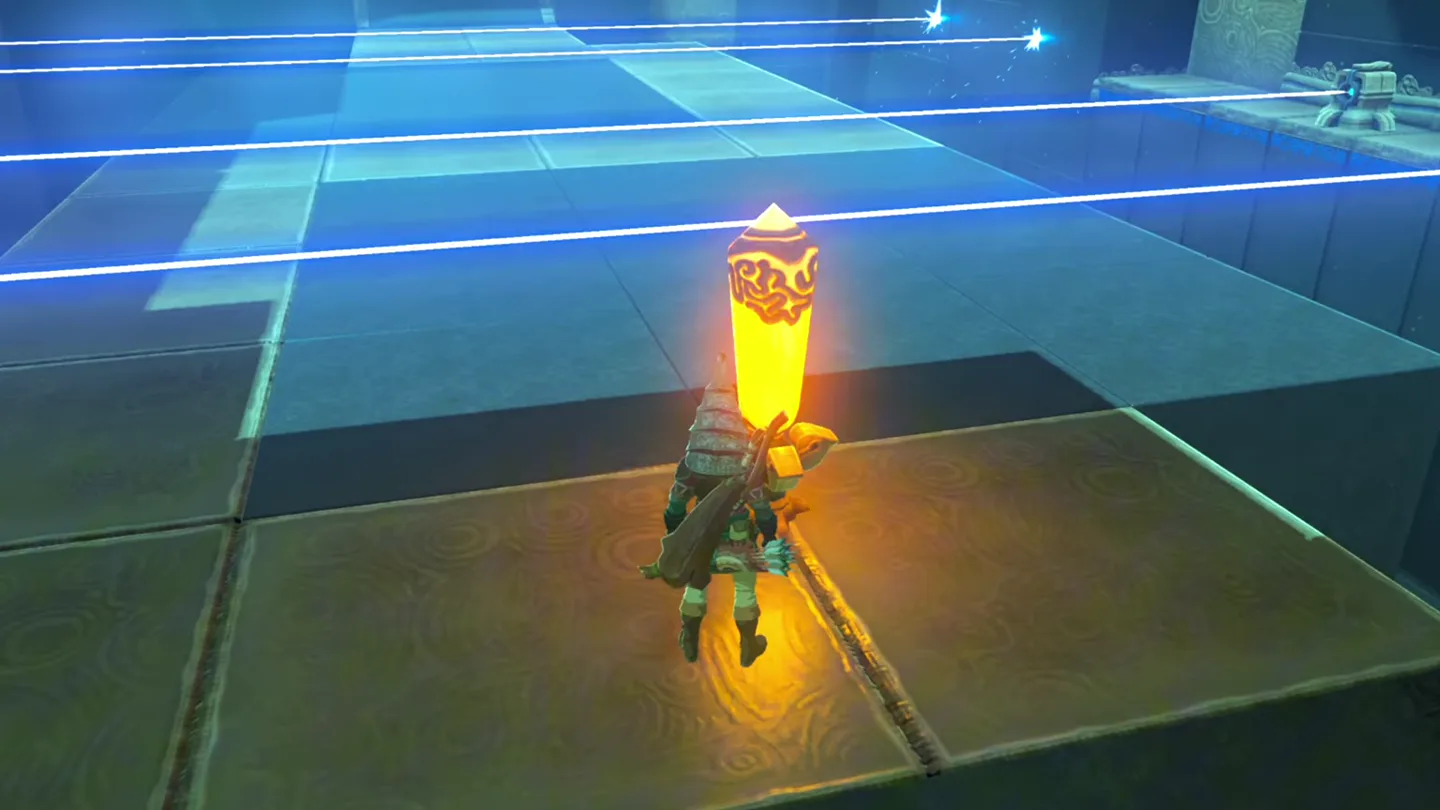
Strike the orange crystal — it turns blue and the black platforms flip up to block the lasers, but only for a short period. You’ll probably only make it about halfway across before they rotate back.
From mid-corridor, hit the crystal again with a ranged attack — a bow shot, a thrown bomb, or any thrown weapon works. When it turns blue again, run the rest of the way across.
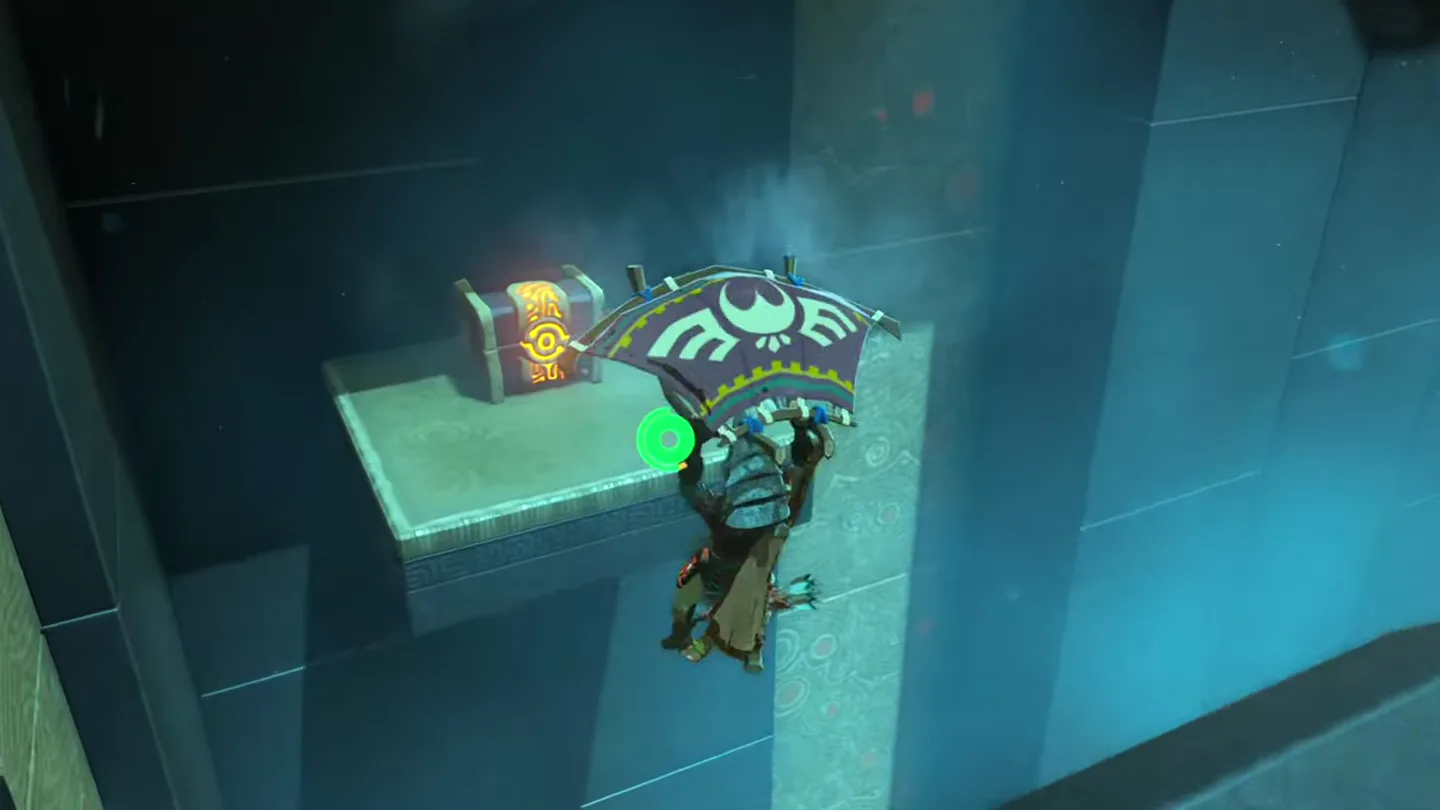
Stop at the far end and don’t go through the exit door yet: the treasure chest sits on a high platform to the right of the door.
Walk to the left side of the walkway and turn around so you have a clear line on the crystal.
Shoot the crystal again and a dark block will start moving up from beneath the pathway — hop onto it quickly before it stops just above the exit.
Ride the block to its highest point, then paraglide across to the platform holding the chest.
Open the chest to get the Silverscale Spear, then head through the door into the final room.
3. Roll the Ancient Orbs onto the switches
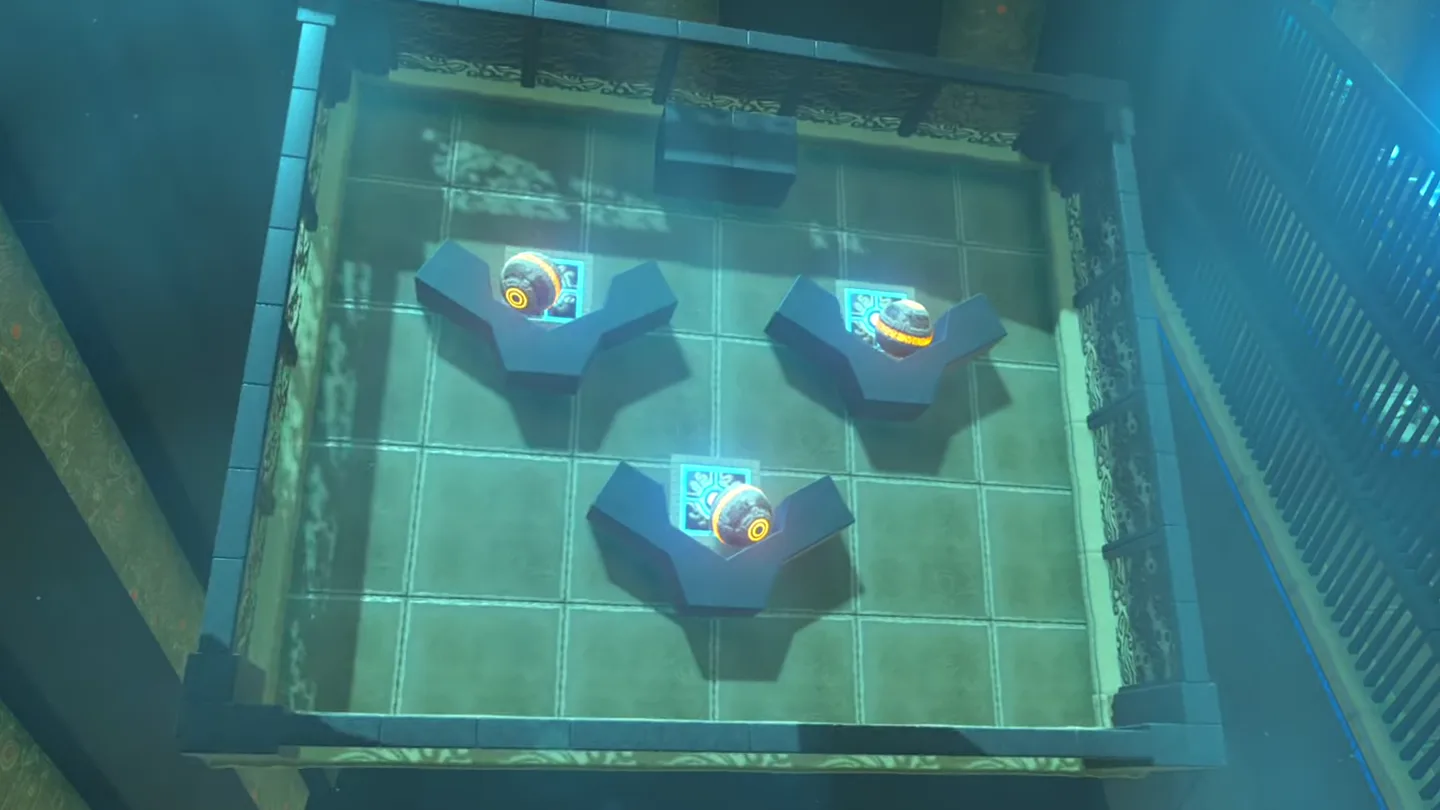
In the final room, activate the second Motion Control terminal: a board with three Ancient Orbs that must reach three separate floor switches.
Tilt and move your controller to roll each orb onto a switch — all three must be activated at the same time, so if one rolls off, gently level the board and guide it back. This one can take a bit of trial and error because the motion controls are tricky to maneuver.
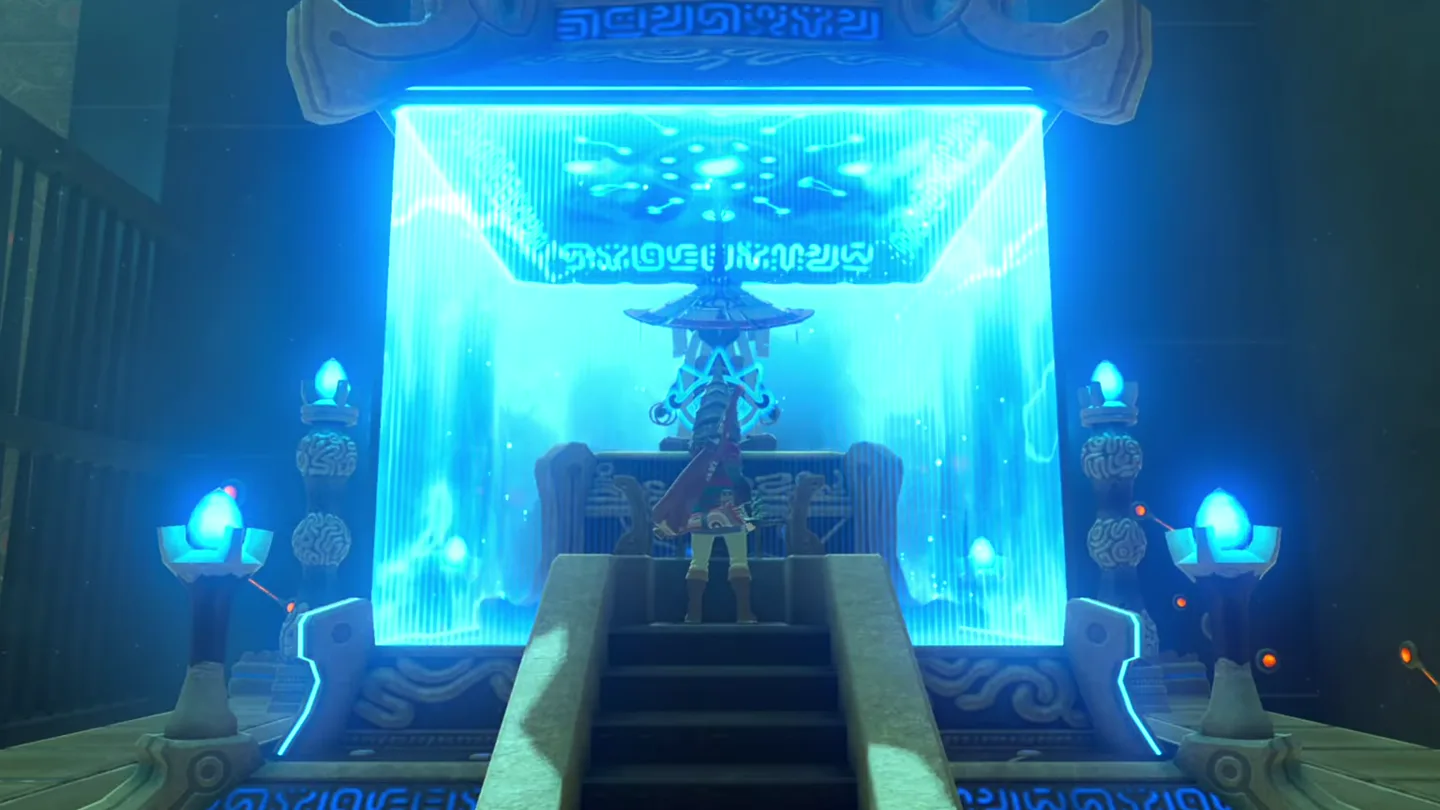
Once all three orbs are seated, the gate to the Monk’s Pedestal opens. Approach Ze Kasho to receive your Spirit Orb.
What is in the chest?
| Chest | Contents | How to get it |
|---|---|---|
| 1 | Silverscale Spear | At the end of the laser corridor, before the exit door, go to the left side of the walkway and turn around, then shoot the crystal again. Hop onto the dark block that rises from beneath the pathway, ride it to its highest point just above the exit, and paraglide over to the high platform on the right. |
What do people miss here?
- The Silverscale Spear chest is the classic miss — it sits on a high platform to the right of the exit door, and it’s easy to walk straight through into the final room without it. Grab it before leaving the laser room.
- Trying to cross the entire laser corridor on one crystal hit. The platforms rotate back after only a short window and you’ll only reach about halfway — plan to re-hit the crystal with a bow shot, bomb, or thrown weapon from mid-corridor.
- Forgetting to re-center the spiked platform before crossing. A tilted platform makes it hard to jump up onto the far ledge, so level it first, then cross.
- Shooting the chest crystal from the wrong spot — the route is to head to the left side of the walkway, turn around, shoot the crystal, and hop onto the rising dark block quickly before it stops.
- The final orb puzzle takes trial and error — the motion controls can be tricky to maneuver, so expect to re-tilt the board a few times before all three orbs rest on their switches at once.
What else is nearby?
| Shrine | Direction | Straight-line distance | Region |
|---|---|---|---|
| Sah Dahaj Shrine | west | 372 | Eldin |
| Mo’a Keet Shrine | southwest | 588 | Eldin |
| Dah Hesho Shrine | southeast | 944 | Akkala |
Which guides help next?
FAQ
How do I cross the laser room in Ze Kasho Shrine?
How do I get the Silverscale Spear chest?
Do I need motion controls for Ze Kasho Shrine?
How does the final orb puzzle work?
What do I get from Ze Kasho Shrine?
Related Articles
guides
Breath of the Wild Captured Memories: All 13 Locations and Rewards
All 12 photo locations from Zelda's album plus the 13th memory in Impa's painting, with coordinates, nearby shrines, the Champion's Tunic and the extra ending scene.
guides
Breath of the Wild Great Fairy Fountains: Locations, Costs and Horse God
Where the four Great Fairy Fountains and the Horse God Malanya are in Breath of the Wild, what each fairy costs to release, and how many you need per armor upgrade.
guides
Hyrule Castle Walkthrough: Entry Routes, Hylian Shield and Final Prep
How to get into Hyrule Castle in Breath of the Wild: five entry routes, the Hylian Shield and other loot by room, and what to prepare before the final battle.
Was this helpful?
Thanks for the feedback!